

Make a "Nine Patch Shoofly" Quilt With Jenny Doan Of Missouri Star
 Jenny Doan
- Jelly Roll
- Traditional
- Twin
- Beginner
- Quilt size 65" × 75"
Jenny demonstrates how to make a 9-patch shoofly quilt block using 2.5 inch strips of precut fabric. Her fabric is Strawberries and Cream Double Scoops by Edyta Sitar of Laundry Basket Quilts for Andover Fabric. This pretty jelly roll quilt is sweet as a valentine in red, white, and pink. Best of all, Jenny uses the scraps to make a scrappy bonus project!
Instructor
Jenny Doan
Jenny Doan is an American quilter, author, and YouTube personality. Jenny started Missouri Star Quilt Company in 2008 and today it is the largest quilting supply vendor in the United States.
Shop this tutorial
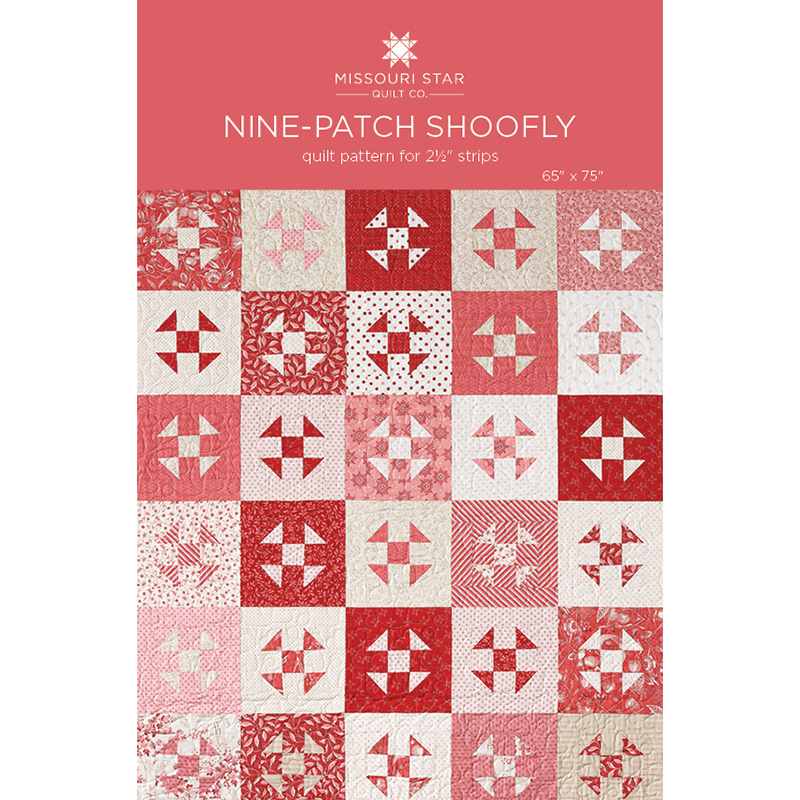 Nine-Patch Shoofly Quilt Pattern by Missouri Star$6.95Shop →
 Digital Download - Nine-Patch Shoofly Quilt Pattern by Missouri Star$4.95Shop →
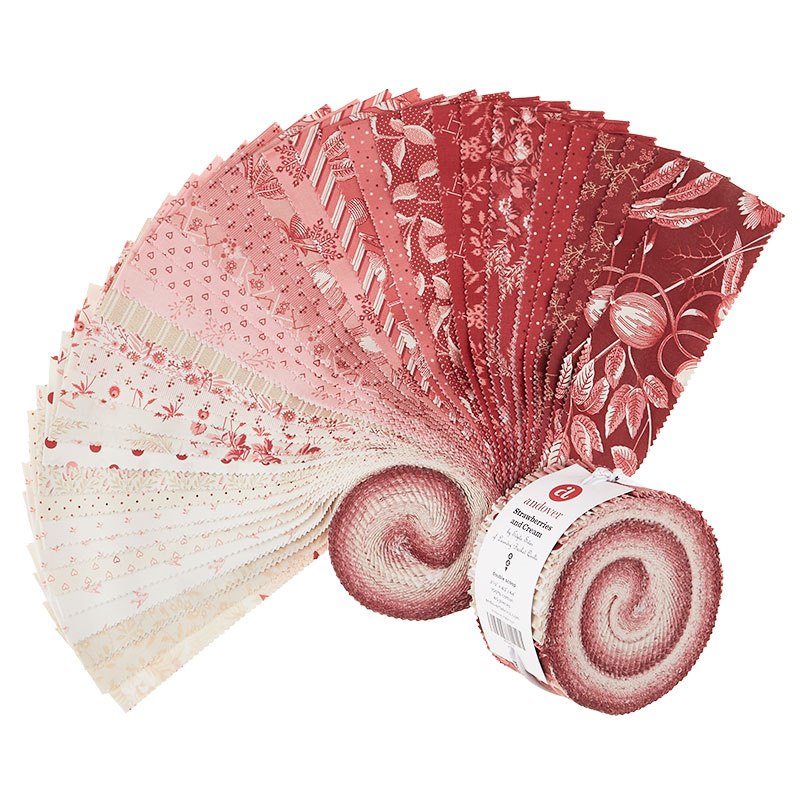 Strawberries and Cream Double Scoops$39.95Shop →
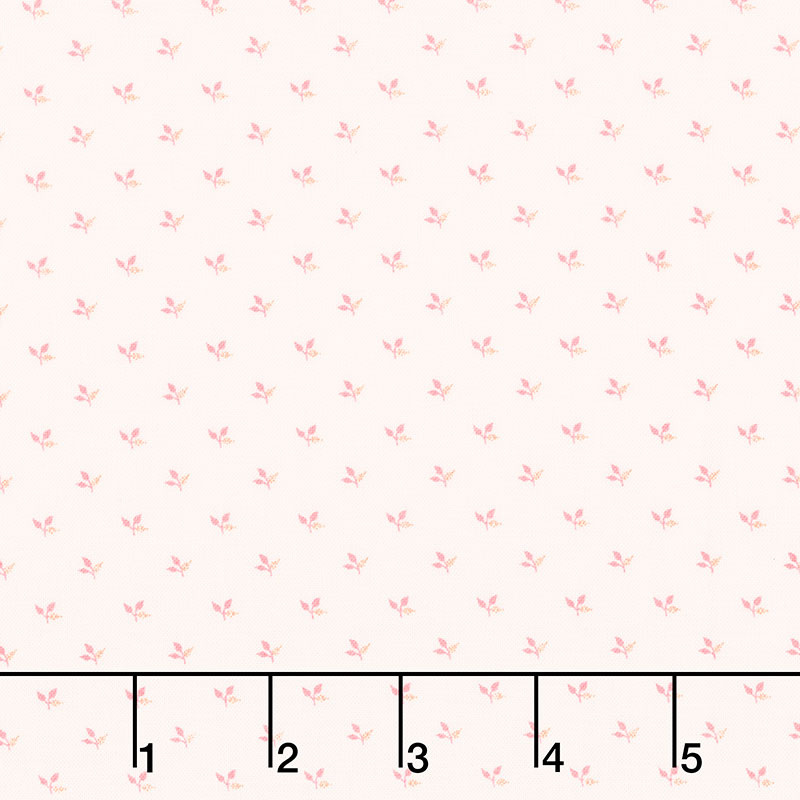 Strawberries and Cream - Tiny Leaf Sprig Yardage$11.96Shop →
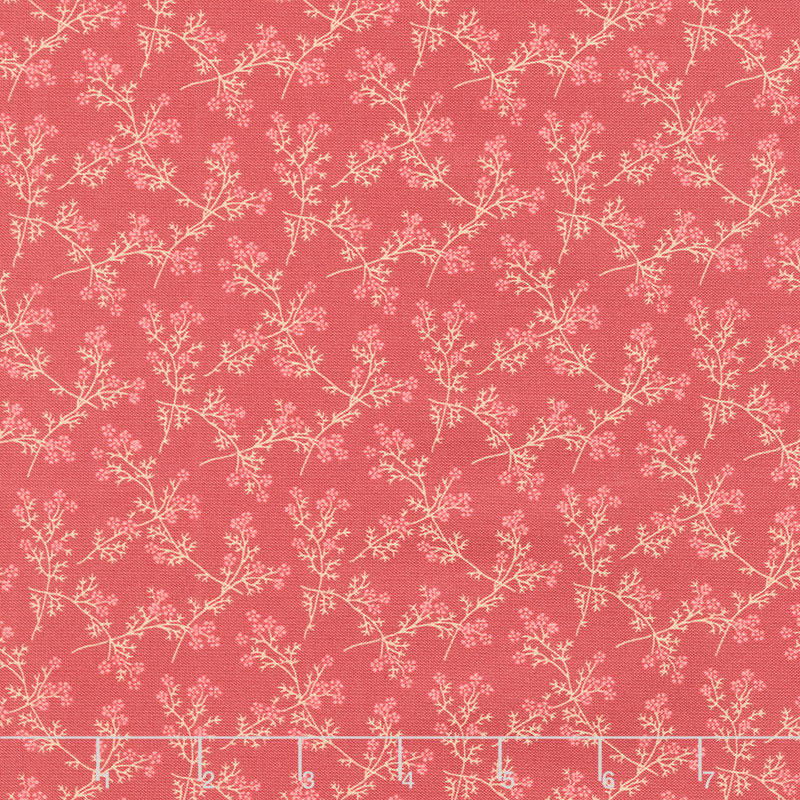 Strawberries and Cream - Spring Bouquet Barn Red Yardage$11.96Shop →
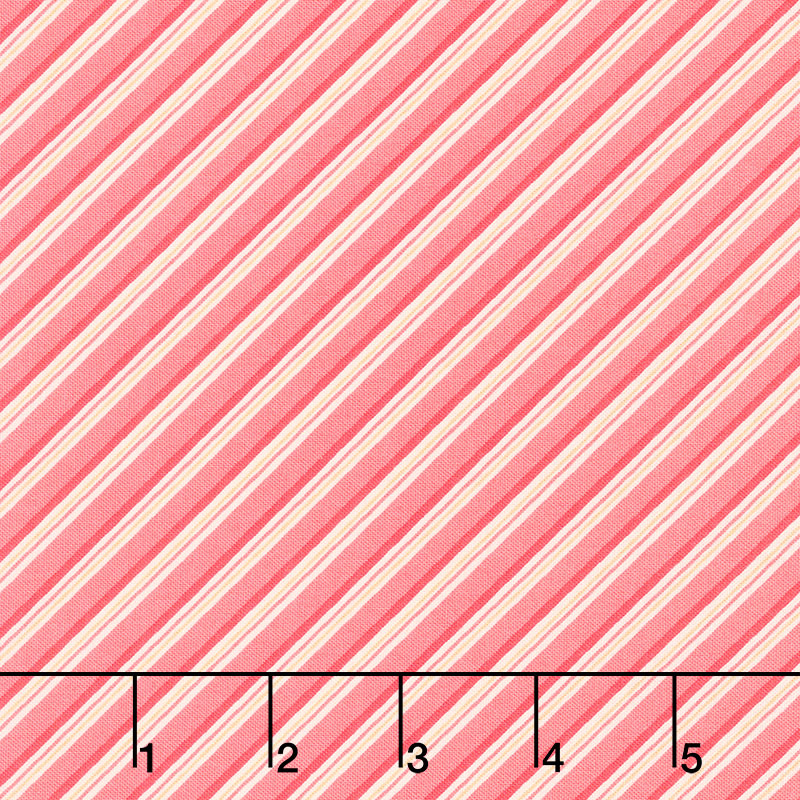 Strawberries and Cream - Getaway Cerise Yardage$11.96Shop →
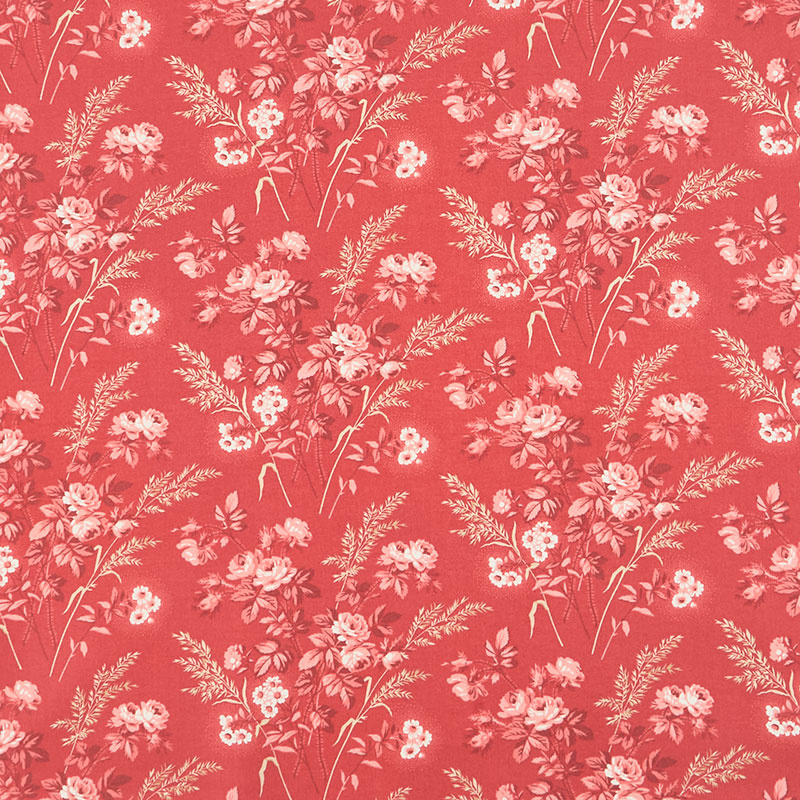 Strawberries and Cream - Cottage Vermilion Yardage$11.96Shop →
Common Questions
What is covered in Make a "Nine Patch Shoofly" Quilt With Jenny Doan Of Missouri Star?
Jenny demonstrates how to make a 9-patch shoofly quilt block using 2.5 inch strips of precut fabric. Her fabric is Strawberries and Cream Double Scoops by Edyta Sitar of Laundry Basket Quilts for Andover Fabric. This pretty jelly roll quilt is sweet as a valentine in red, whit...
How long is the tutorial video?
The tutorial video is 00:17:59.
Are supplies listed for this tutorial?
Yes. The tutorial page includes the supplies and materials connected to this project.
Is a transcript available?
Yes. A written transcript is available on the tutorial page.
Video Transcript
All right, so today's quilt is this quilt right here, and it's a little shoofly that we've made out of nine patch. And to make this quilt, you're going to need one roll of 2-1/2" strips, and we have used Strawberry and Cream by Edyta Sitar for Andover. You're going to need a little bit for your inner border. This inner border out here, a lot of times I just use the solid, but I kept with the fabric line. For that inner border, you're going to need half a yard, and that's a 2-1/2" border. For your outer border, it's a nice big 6" border, and it's 1-1/4 yards. And then your backing, you're going to need 4-3/4 yards of backing. And this is just a darling backing. We used a heart pattern to quilt it with, because we're getting close to Valentine's Day, and this was pink and red.
But you'll also notice up there I have a striped fabric, and that's because anytime there's a stripe in the line, I love using it on that outer border. So for that binding, you're going to need 3/4 of a yard of fabric. Now this makes a quilt that is 65 by 75, so it's a great size quilt. This is the block we're talking about, and it's a traditional shoofly block just like this one over here. But I have jelly roll strips to work with, so I wanted to make it and frame it so that little shoofly actually popped. And so let me show you how to do that.
Now, when you make these blocks, you get two blocks out of it, but you're going to use four strips, so you have to have two lights and two darks that are matching. And so here's some lights right here, and I'm going to grab two of those, and I'm going to grab two darks as well. And by lights and darks, I just mean colors that have good contrast. They can pop, because you're going to get a sister block, out of every set you make, you're going to get one block where the churn dash is light and one block where the churn dash is dark.
And so, let's go ahead, and we're going to do some cuts first. The first thing we're going to cut is our borders, so we're going to put our pieces together, like this. I'm just going to stack them, two of the strip sets, and I've left them folded in half so I get all of my cuts ... or two cuts at a time, I guess. And so, what we're going to do is we're going to cut off our little selvage right here, and then I'm going to take my little ruler and I need a 6-1/2" inch piece right here, two pieces, those are my side borders right here, my little side borders. And then I'm going to need a 10-1/2" strip for my side borders, so 1, 2, 3, 4, 5, 6, 7, 8, 9, 10-1/2 right here. And I'm going to set these over here because these are going to become my blocks. Then I'm going to cut one set of 2-1/2" squares out of this, and just set those over here.
Now this one, I'm going to stack together, and I need some more 2-1/2" squares. I need four to snowball my corners, and I'm just going to go ahead and again, trim off my selvages. When I don't get it lined up on the mat, I know it looks a little wonky to you, but I'm using my ruler at that point. So, I'm going to take those little selvages off. I'm going to cut off four of these, so I now have two reds and two whites, so I need to make two of those cuts, like this, and keep them in piles. And we should probably go ahead and do that with these as well while we're doing it. So just set these out here, because these are going to be two different blocks. There we go, these and these.
Now this piece that's left over right here, we are going to sew it together on one side. So, let's go ahead and open that up. We're keeping right sides together, and we're just going to sew it 1/4" down the side. All righty. So just line it up and let it go. Make sure it stays nice and together.
I'm going to leave this folded in half and I'm going to trim up. One of my ends is a little bit longer, so again, I'm going to straighten that up, like this, and I have it folded in half, so I'm going to get two cuts each time. And so what I'm going to do is I'm going to put my ruler on here, and I'm going to cut two, like this. And what that means is we're going to get two sections that are sewn together already, just like this. We're going to need eight of those, because we'll need four for each block. Let me make sure if I can line up this edge. There we go. And if it ever gets a little bit wonky, you do have a little bit of playroom on here. My edge was a little wonky. I'm going to line it up here and just trim that off. So two, four, we've got six here, and eight. And then you just set this aside for something special at the end.
All right, so now, let's go ahead and press these open, because this is going to be the basis of our nine patch. So there's three, four, then we got seven right here. I'm counting in my head, seven and eight. And let me show you how I put these together.
All right, so now we're going to make two nine patches, but one nine patch is going to have the dark square in the center and the other one is going to have the light square. We're going to put them like this. This is going to be my light square in the center. I'm going to put them like this, and like this. Turn it so they're offset. And then one more block here, and then one corner to fill it, like that, so that's going to be one.
The other one, we're going to start with the darks over here. So, we have the dark and the light, and the dark goes to the middle, like that. And then this one here, and then we'll take one of these to come in over here on this side, and that makes our two little nine patches. Let's go ahead and sew these together. Again, these three can be sewn together, and then this row will be sewn together and added on, so let's go ahead and sew this top part first. You're going to nest those middle seams, so that means put them right next to each other, and make sure that one seam is pressed one way, and one seam the other, so they just nest really nice. And then we're going to open this up and add the other one. Just remember to make sure that it's opposite colors next to each other.
All right, so here's the top of our block, and then this is the bottom. Oh, and I've made this one exactly like this one. So now this one, I'm going to have to flip around, which is totally okay. Whichever way your first one goes together, you make your second one the opposite. All right, so now you have your top part sewn together and you have your bottom row, and you're just going to add it on like this. Let's go ahead and nest those seams, so line up your edge, take a few stitches, and then make sure those seams are lined up that you can't feel any fabric in between those seams, that they're just nested nice and tight. All right, so there's this one. Now we can go ahead and sew this one together too, and so we're going to have our reds on the outside of this one. Isn't this such a gorgeous line? And right before Valentine's, I just can see so many things you can do with it. It's just so beautiful. All right, then this one goes here.
Now, you can do them scrappy, but I found when I did some scrappy ones that you kind of lose the look of the shoofly, so I kept my two colors together. And this roll has perfect amounts, two of each color, so it worked really well for what I wanted to do. All right, that's right. All right, so now line up my seams, nest up those seams.
All right. And I know you're thinking, "That is a nine patch, not a shoofly," but we are going to take one of these and we are going to make it into a shoofly, just like that. All right.
Whenever you have the light corners on the outside, you're going to grab your dark colors, and we are going to snowball each of these corners. And that means I'm going to put my corner square right in there, and it will cross over the seam a little bit, and I'm going to sew diagonally. So you're going to line up your 2-1/2" square right in the corner, and because you've taken seams, it will cross the seams. That won't matter. And what you want to do is you want to draw your line, or iron a line, or use your diagonal seam tape, which I'm going to do. You're going to put one of these on all four corners, so we're just going to sew this way. I'm going to cut my thread and come to the next corner. And go ahead and lay this one in, line it up in the corner. Let that corner be your guide. Follow your line or your seam tape. And then one more here.
And what this is going to do by putting the darks in this format, it's going to make the light squares become the churn dash. All right, so now we're going to trim these off, and I have a pair of scissors here. You can do it with a rotary cutter or scissors. I'm just going to go ahead and trim these off, like this, and one more, and then we are going to press this back.
Now I've got this one finished. This is our little light one right here, and look, how cute is that? And we're ready to add the borders to it. I have already finished this one up with its side points, and we're going to add the borders to that, and I'll show you how this works. Whatever color is on the outside part right here, that's going to be your border. And so we're going to go ahead and put these on here. This is our 6-1/2" sides, like this. And then this is our 10-1/2" top, like this, top and bottom. And it keeps the whole block ... it just pops it off the block. And so again, our 6" over here, like this, and then our 10-1/2 on the top and the bottom.
Let's go ahead and sew those together. All right, so now I'm going to lay this little 6" one on the edge right here, and sew down the side. And then I'm going to put the other 6" over here, and sew down this side. Then we're going to open this up. I'll finger press it, and then we're going to add our top and bottom strip to this. And this literally sets this dark little churn dash on this sea of light, and it just looks so darling. All right, one more over here. Oh, thread caught up right there.
All right, let's go ahead and add our borders to this other one as well, so you can see both of them. And if you're ever adding one of these side borders, and this one fits really good, but if it feels like it's too long or the block is much longer than your border, put your longer part on the bottom, and the feed dogs will take in fabric and they will make that fit. This one came out just right.
Let me see this one. This one is a little bit longer than the top, so if I flip this over and put my longer part on the bottom, then when I go to sew it in, the feed dogs take in that little bit more of fabric and it will just fit perfectly here. And I don't know if you can see this part right here as it comes through, but it's not quite square. See right here, this part came off just a little bit, but it fits in the seam, so we don't have to worry about it too much.
All right, so now we're going to press these. So out of each of your four strips, you're going to get two of these blocks, and look how cute that is. Just pops that whole little churn dash right there, and then this one too. Now what we're going to do is we are going to square these to 10, and so I'm just going to lay my 10" square on here like this. I'm going to match it up right in that center square, make sure that's the center of my block, and I'm just going to trim it all the way around so that it's exactly 10". Because I find that when I'm sewing these blocks, oftentimes they're not exactly square, and that's because my seam allowances aren't totally perfect. But I'm okay with that, and I don't mind squaring it up at the end. Here's this one all nice and square, and then let's see how this one came out. Okay, so this is pretty good. It's right on there.
All right, let me see this right here. If I can clean up this edge or if it's going to go right in there. There we go. A little bit off this edge. All right, so here's our two blocks. Now when we go to set them together, you can see in the quilt behind me, I did a light and a dark, or a dark and a light, and a dark and a light. And we have 1, 2, 3, 4, 5 by 6, so 30 blocks, and it just makes a great quilt. It's so cute.
But also at the end of the day, we have this left over, and I couldn't just leave that. It isn't enough to make another block, but I could make a block if I made them scrappy. So I have a little bonus project for you, and you'll see what happens when the fabrics are a little different. I took those little scrappy pieces and I made some more little nine patches, and then I bordered them with a lighter color, hoping that the darker churn dash would be dark enough for the whole thing to pop. But you lose your churn dash a little bit when you do this. It kind of looks like a little snowball nine patch rather than a churn dash, but I still thought it made a really cool little bonus project.
When I finish my little blocks like this, I'll show you how I sashed them, because this is a really easy way to do that. When you finish your little block, what I did was I put a sashing on the side and on the bottom, and then when you set them together, you set them together like this, and they're automatically already sashed when you put them in a row together.
But let's go back to the quilt for a minute and let's take a look at the quilt behind me. I used 30 blocks. The reason I did that was because I didn't have enough strips that were the same to make all 42 blocks, so I had some strips left over in my strip set as well. And I had to make sure that these stripes here weren't too close to these stripes here. When I first started making, I was putting them right next to each other and I'm like, "No, we got to mix those up." So, we put them together and it just makes a darling, darling quilt. I just think it's fun. It's quick and easy. It's a great hack on a nine patch to make a shoofly, and we hope you enjoyed this tutorial and our little bonus project, and the lady who made that quilt, from the Missouri Stark Quilt Company.
Hi everybody, it's Jenny from the Missouri Stark Quilt Company. We hope you enjoyed watching this video. If you aren't already part of the Missouri Stark Quilt Company family, be sure to subscribe so you won't miss a thing. And if you click that bell, it'll notify you every time a new tutorial comes out. See you next Friday.


