Skip to content

Free quilting video tutorials from Missouri Star

Quilting Tutorials
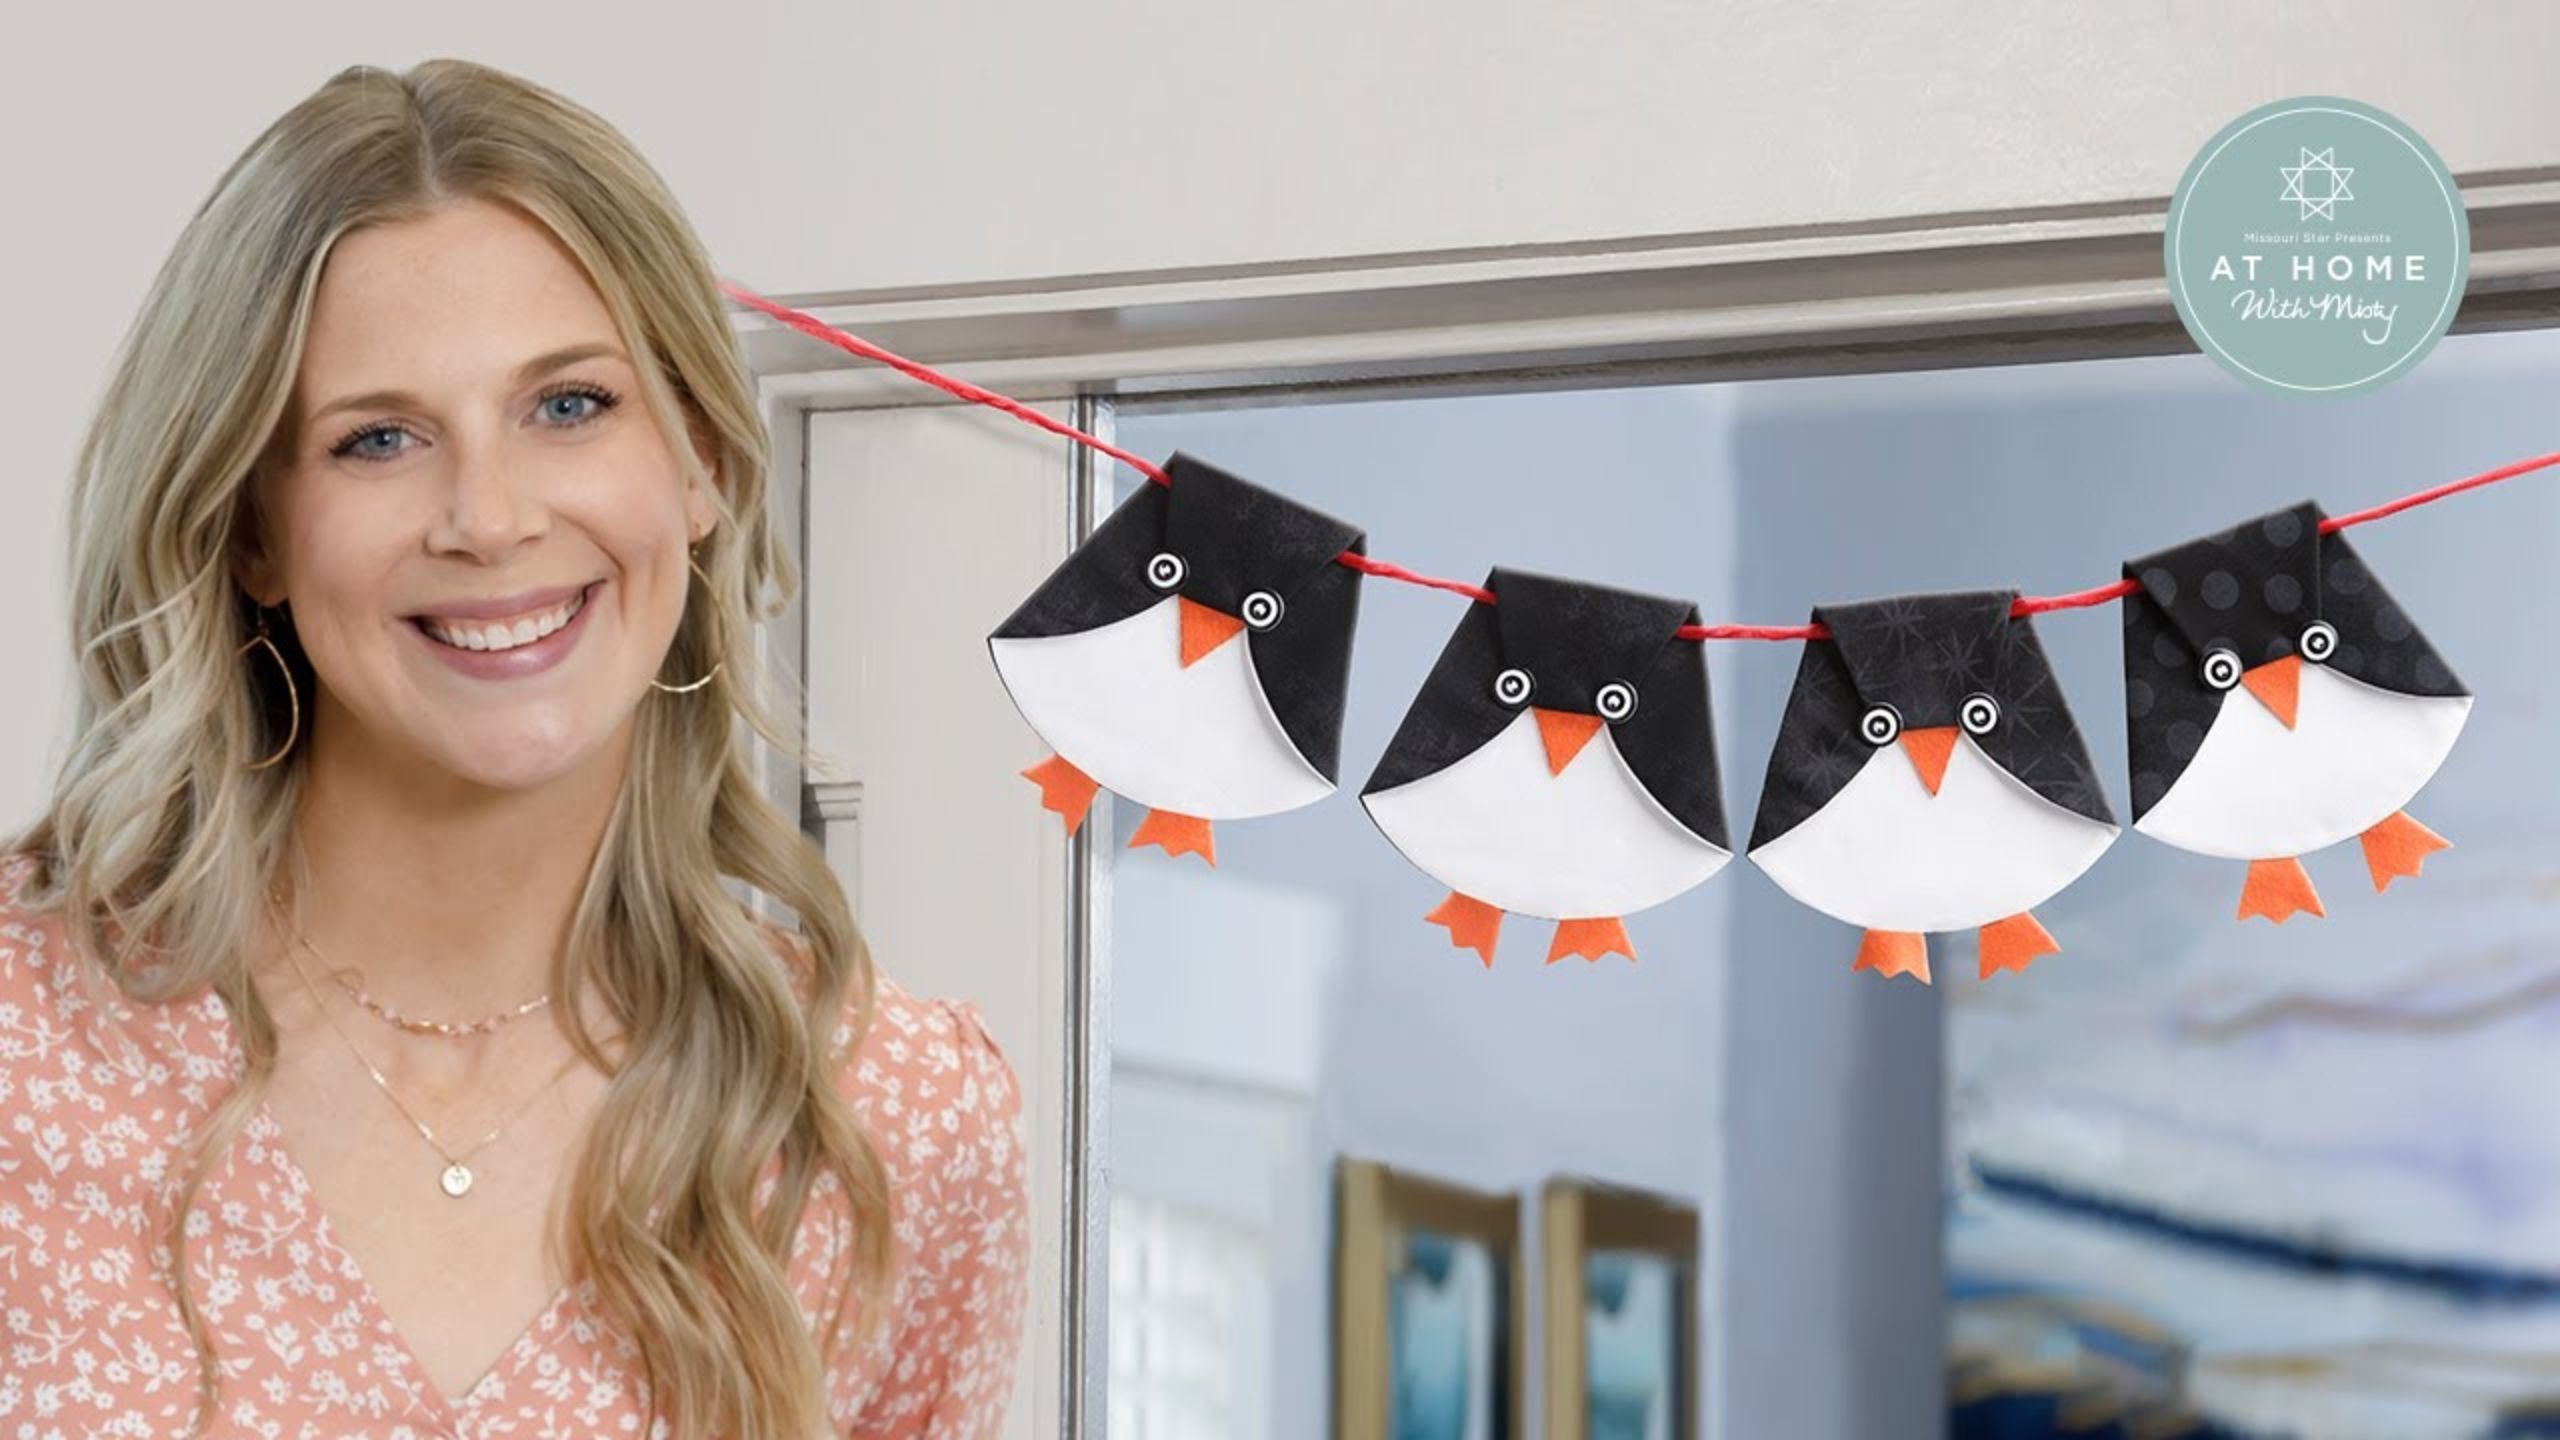
Make a "Penguin March" project with Misty Doan on At Home With Misty

Make a "Penguin March" project with Misty Doan on At Home With Misty

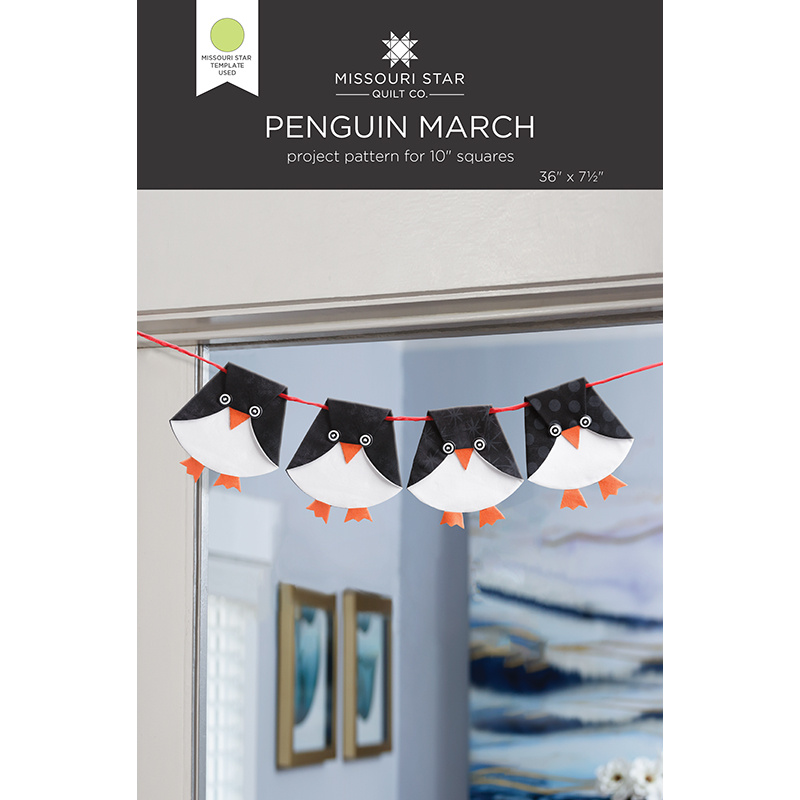
These little penguins are so flipping cute! Waddle on over to see Misty create some adorable little penguins in this week's tutorial. The Penguin March is the perfect project to make the snowy nights pass in a flash. When finished, you can hang these cool birds for the holidays or display them for themed parties (because who doesn't love penguins, right?). This project is so easy and chill that anyone can enjoy it!

Instructor

Misty Doan

Misty Doan grew up surrounded by sewing and quilting. She loves spending time sharing tutorials each week each week, and when she’s not stitching up one of her fun sewing projects for home decor, most likely you’ll find her hanging out with her husband and three awesome kids or working on a house project.

Common Questions

What is covered in Make a "Penguin March" project with Misty Doan on At Home With Misty (Video Tutorial)?

These little penguins are so flipping cute! Waddle on over to see Misty create some adorable little penguins in this week's tutorial. The Penguin March is the perfect project to make the snowy nights pass in a flash. When finished, you can hang these cool birds for the holiday...

How long is the tutorial video?

The tutorial video is 00:13:38.
Video Transcript

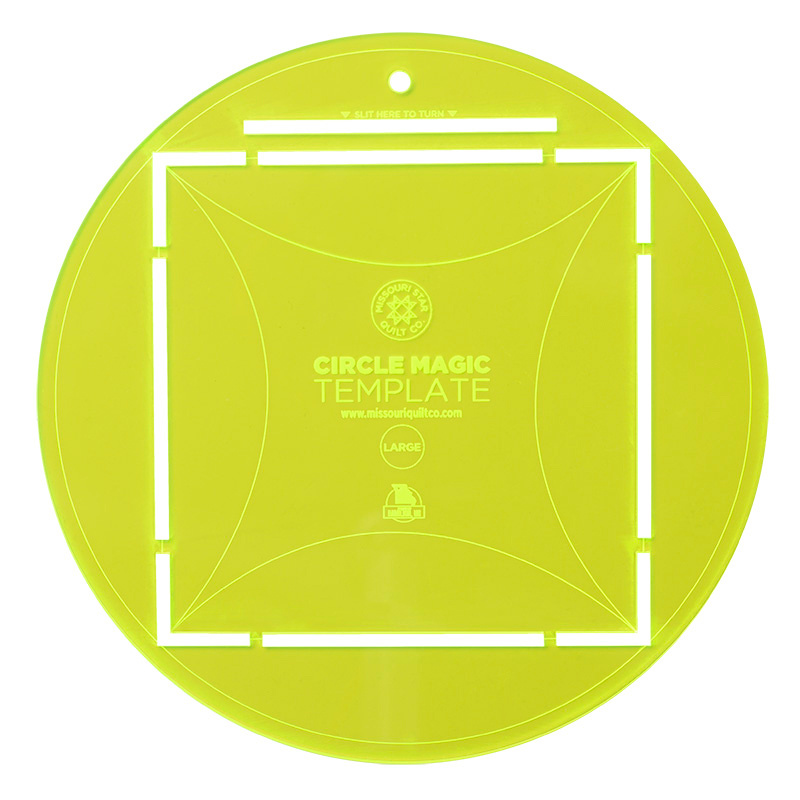
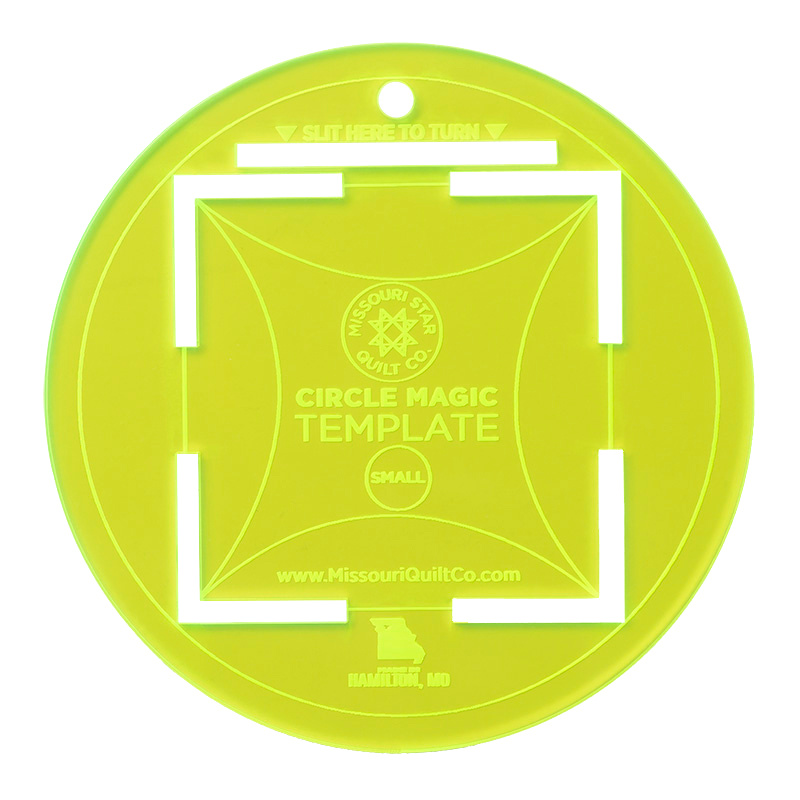
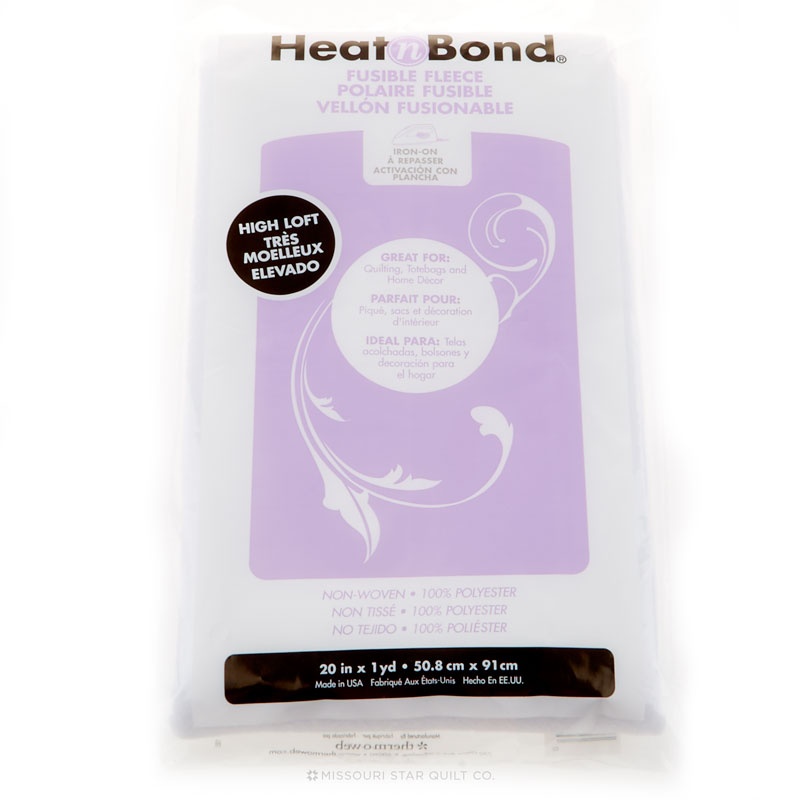
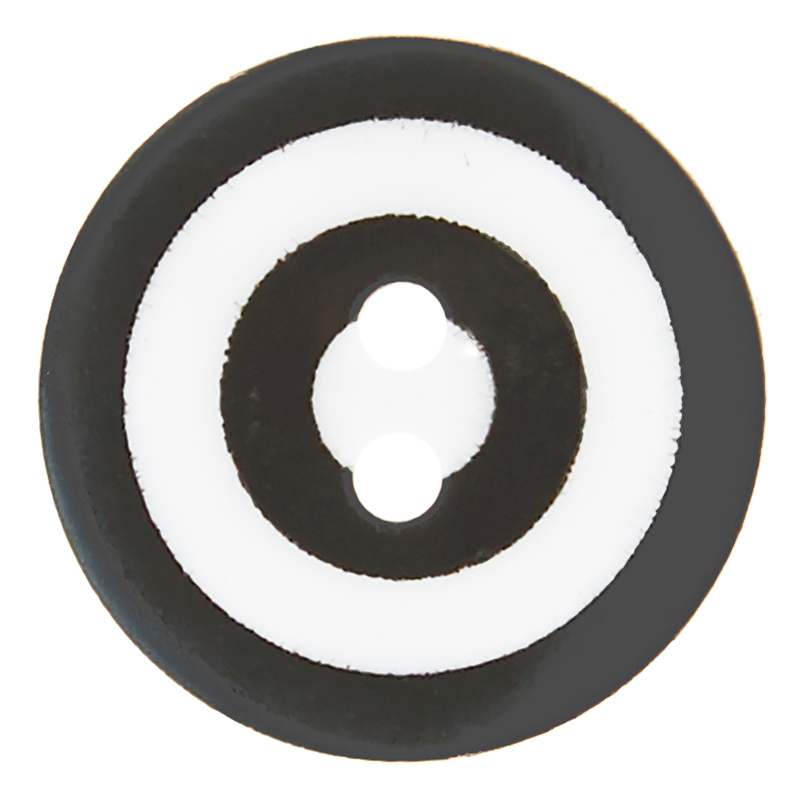
I have a great little last minute project for you for the holidays we're going to make this adorable penguin March [Music] Banner so if you've ever used our Circle magic template for any of our quilt projects you can bust that out and use it to make these great little penguins if you don't have the template don't worry pick up the pattern and all of the templates that you'll need are in there but this is really handy to have to make it easier to cut out so let's Dive Right In This is basically just a scrap Buster project I used some some grunge that I had and some you know leftover white 10-in squares and I'm going to be making the larger size using the large Circle magic template and so I just have a 10-in square of that black grunge and a 10-in square of white fabric and then a piece of fusible fleece in the same size so you're going to need that you're also going to need a little piece of felt some orange felt for the beak and the feet and some cute little buttons for the eyes which I have here so that's all you need to make these penguins let's dive right into it and I'll show you how we're going to do it so first up we are going to stack our black and white fabric whatever you choose like I said this is a great stash Buster and I am just going to lay my circle magic template on here and I'm just going to use it to cut the outside of my circle so we'll just go all the way around if you have a rotating mat this would be a great time to use it but I'm just going to be careful and just rotate my fabric just make sure I'm getting it as I go just be careful not to be cutting towards yourself or cutting at odd angles there we go we've made it all the way around and now we have our two circles cut next up we're going to take this little template piece that's in your pattern and we can set it on our white circle I like to use this as well as a little ruler and we are going to draw some guidelines for ourselves so I'm just laying this right along the edge and marking here and then again on this other side then you'll notice there's some little um indicators on here this is where we're going to want to cut the slit so so I'm just going to put a little Mark on this side there and then I'm going to slide this down to put a little Mark for where we will Center our beak and then slide this up a little bit so I can Mark our feet placement just like so and then we can set this aside and now you can see I've got the little Marks here on my white circle so now I'm going to set this aside for just a moment and we are going to cut out our fusible fleece so for this I'm going to lay the template on here and I'm just going to trace it with a marker or a pin there we go and now I'm actually going to cut a quar inch inside of that marked line so let me grab my scissors here and I'm just going to use my scissors and trim just a little ways in because we don't want this fusible fleece to be in the seam there we go doesn't have to be perfect I just eyeballed that quarter inch all the way around so that we have this ending up smaller than the circles we cut out of our fabric so I'm going to now cut out my beak and the feet so I'll grab that little bit of felt and we can just Trace those shapes so we'll need one beak and two little feet and of course I if you don't want to trace them you could just freehand these pretty simple little shapes and one more you can see one piece of felt is going to get you quite a few of these so it goes a long way there we go so now we can cut those out there's one of the feet and we'll cut one more here there we go just like that so super quick and easy and so now we have all of the pieces that we need to make our little penguin so first I'm going to take that piece of fusible fleece and my white circle over to my pressing mat to make sure my iron is good and hot and on the back side where I didn't draw the line I'm going to flip this over put the bumpy side down of that fusible fleece just make sure it's centered up on that other Circle and we're going to press that in place till it's all [Music] adhered all right so now that we have that fusible fleece in place on the back it's just going to add a little bit of body to our Circle um we're going to go back flip this over over excuse me and remember we made those little marks where we're going to add our slit so I'm just going to take my scissors and fold this right along that line so I can snip there and then I'm going to cut from point to point that I marked so we'll just right on that line till we get to this point and then back the other way there we go and so now the next thing we need to do is based our little beak and our feet in place so I'm going to grab those and the beak sits right between these little markers on top and so if you ever see um instructions to base that just means you're going to lengthen your Stitch length a little bit and take a really narrow um seam so that it will be hidden in your final seam just to hold this in place so we're not fighting with it later so there's my beak and I'm going to turn down here and do the same thing for my feet I am going to make sure if any of the markers showing that it's face up because once we sew this and flip it it will be face down so we'll base this little foot in place and the other one there we go turn my Stitch length back to normal and then we can sandwich this together since this is right sides up we'll put right sides down for our black circle and you can put a few pins or Clips in here if you need to but I'm just going to take my time and I'm going to sew all the way around the outside edge of this circle using a/4 in seam we go I'll back stitch there at the end we've got this all the way sewn around and now because we already cut our slit we can go ahead and flip this right sides out and I like to just kind of run my fingers along those seams just so everything lays down nicely you can clip those curves if you feel like you need to but I just never find it necessary everything lays just so nice with this so let's go ahead and take this to the pressing mat now and just press it so it lays nice and flat you can see our beak and our feet are sticking out exactly like we want them to and now we're going to fold over on those lines that we drew and we are going to press that in place there's that side and we'll turn and do this other side right along our line and then lastly we're just going to fold our little beak down so it overlaps in the middle here so here you can see our it's starting to look like our penguin and now all that we have left and how we actually hold this together is by adding our little eyes which are just these cute little Bullseye buttons that I've chosen here so I've got my needle and thread ready to go and we're just going to put one at a time poke that [Music] through and attach our little eyeball whoops to the front so there you can see how that's starting to look it's really easy to stitch those in place and because this is how we're holding it all together this is still open through here so it's really easy to feed a piece of yarn or ribbon and hang them onto a banner it also if you use the smaller size where is it hiding now can make a really cute little ornament just a tiny little penguin I left off the feet on this one just because I thought it wasn't really necessary but just so cute to hang on your Christmas tree or add to a little gift or teacher gift and it's so quick and easy to make I also think depending on what fabric you chose this could look like a little owl so there's just a lot of possibilities with this little project and I hope you enjoy it and have a wonderful merry Christmas and I'll see you next year hey everyone it's Misty thanks for watching at home if you aren't already a part of our Missouri Star Family be sure to subscribe and hit the Bell if you want a notification every time we release a new video I'll see you you next Monday on the newest episode of at home [Music]

More Scraps tutorials

See all