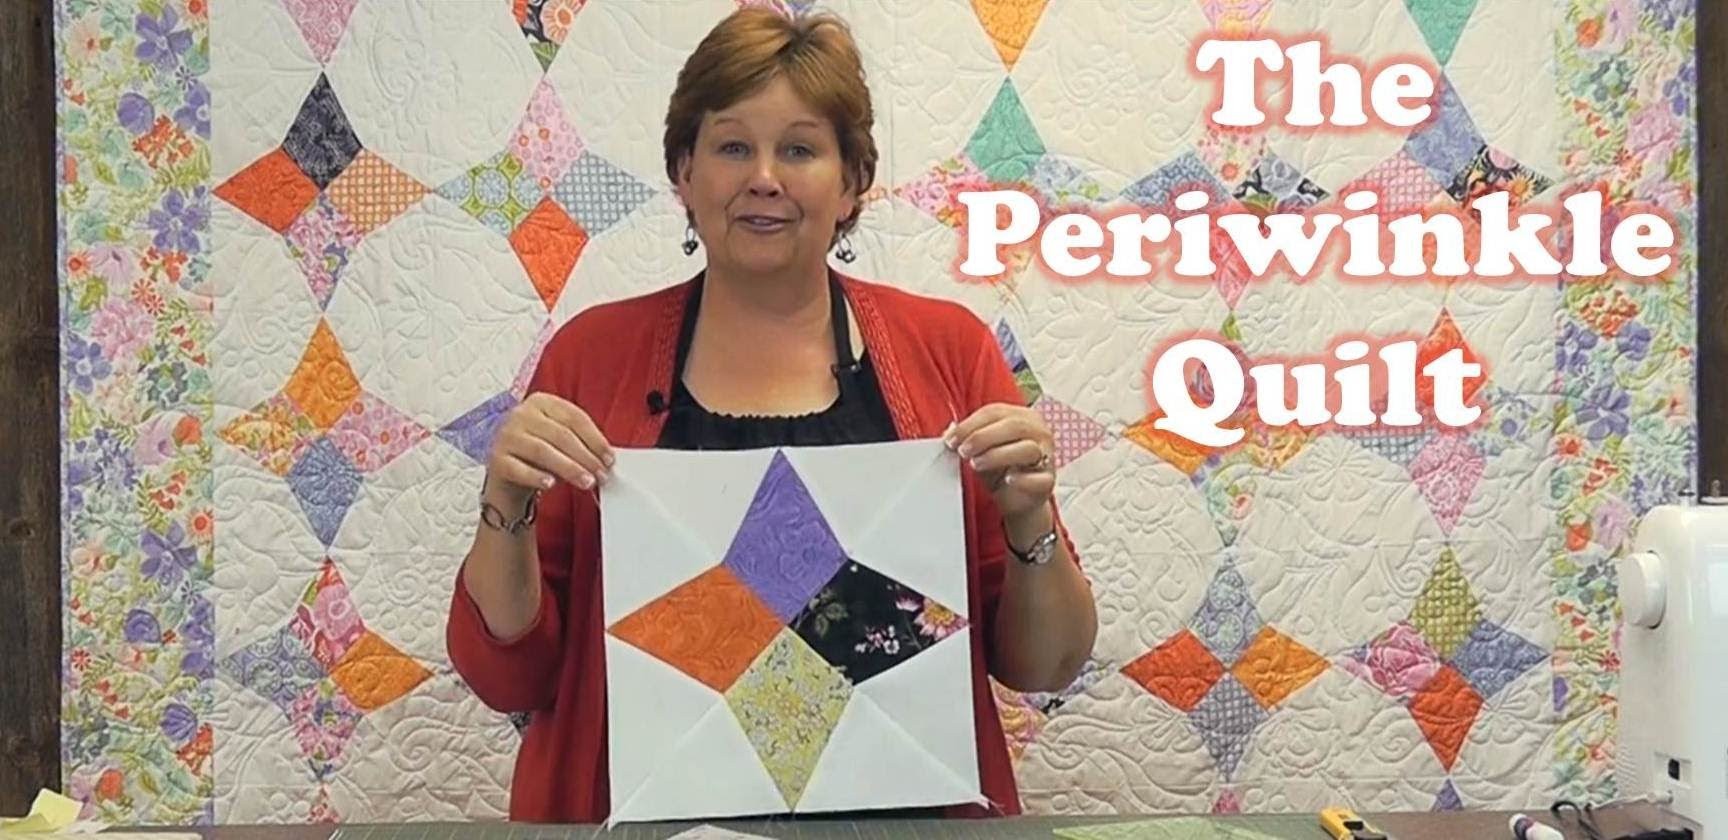
Jenny Doan shows another great way to use the Wacky Web Template! Meet the Periwinkle Quilt, designed after a lovely antique quilt that Jenny purchased of a darling lady who came by our shop. After creating this video we released an additional tutorial clarifying how to "get the Periwinkle Point". . Wacky Web Starter Kit (includes Wacky Web Template, paper refills and Lapel Stick). Wacky Web Template. Wacky Web Paper Refills. Lapel Stick. Charm Packs (best selection on the internet!).
Jenny Doan is an American quilter, author, and YouTube personality. Jenny started Missouri Star Quilt Company in 2008 and today it is the largest quilting supply vendor in the United States.
Jenny Doan shows another great way to use the Wacky Web Template! Meet the Periwinkle Quilt, designed after a lovely antique quilt that Jenny purchased of a darling lady who came by our shop. After creating this video we released an additional tutorial clarifying how to "get t...
How long is the tutorial video?
The tutorial video is 00:08:09.
Are supplies listed for this tutorial?
Yes. The tutorial page includes the supplies and materials connected to this project.
Video Transcript
[Music] Hi, I'm Jenny from the Missouri Star Quilt Company. I love old quilts and I don't have very many of them because as a lot of you know, I'm the first in several generations to sew and so there was one day this um older gal came in and she had a bunch of quilts that her mother had made for her and she didn't have any children and so she wanted to sell them. Well, I was so excited. So, this is one of those quilts. She called it periwinkle. We did a little research on it because we wanted to find out if that was the name. And a friend of ours came up with it and she discovered that it was called Periwinkle and it was in a 1929 Wallace Farmer magazine. So, I think that's really cool. The Wallace that, you know, it's just I like knowing the history on it. Well, when I am not filming, this is the quilt that hangs on my wall. it. I love it and it hangs there and it makes me just it's just a cheerful, happy quilt. I love the history of it and I just really enjoyed it. Well, one day Natalie got to looking at it and she got so excited because she realized that she could reproduce this quilt in a larger format obviously using her wacky web wacky web ruler and the papers. So, I want to show you how we did that because this is so cool back here. So, if you take a look at the quilt behind me, um we used four charm packs for this quilt. And because we've got so much um negative white space in between here, it is about 7 and 1/2 maybe 7 and 5/8 yards of um background fabric. And that's quite a bit of background fabric. But look what you get. Look how awesome this is. So, let's let's talk about this a little more. the charm pack. The wacky web ruler fits on a charm pack right here. And so we just line that up like that. Put our put our peak in the corner and then we make our cut. And that gives us the shape for the center like that. I'll just peel these away. Oops, missed just a hair right there. So this is the shape we get just like the wacky web template. And then we take one of our um wacky web papers. And these are them. They're they're just a triangle. And I like to use this lapel glue stick. And I just stick it, you know, I just run a a piece right up front. It was a, you know, one of those glue sticks that you can sew through. It's just great. It holds the fabric on. So I'm going to place that on there. Okay. So now we have the center piece on. And for the side pieces, you're going to need a rectangle that is 6 and 1/2 x 5 in. And we're just going to put those right sides together. using the edge of our um our uh middle fabric as the guide. And we're going to sew those down. Same quarter of an inch that we always use. And we're just going to sew down that. So, you're going to add this piece of fabric to both sides to both sides of your template piece. So, here's another piece of fabric here. And we're just going to lay this one on here and do the same thing and just sew it to the paper. The paper does a couple of things. It offers stability and it also um gives you a guide to cut out your triangle, which is what you're going to do. So, now we have these two pieces on here and we need to iron them back flat. So, I will do that. Let me get these things out of the way so you can be sure you guys can see well. Okay. So, now you've got it all ironed and it has an odd shape to it. But when you turn this over, the paper acts as a pattern. And so, what we're going to do is I'm going to turn this so that I can get a good cut on here. And you just use your ruler and line it up. Let the um the paper be your pattern. And I need to make sure this is on here so I can cut off both sides. And I just line my ruler up with the edge of the triangle because that's going to be our guide like that. And then you're going to do the same thing on the edges of these this triangle right here. And you want to make sure that you don't cut that paper, but you just let it be, you know, let that be your pattern. And then and then you're done with this part. And you need four of these. So I have got some over here that are already done. And I wanted to show you how easy this is to take this paper off as well because now's the time you take the paper off. You just can just kind of fold this back and crease it. And it just comes right off. I mean, it just comes off so easily. And you want to take that paper off before you sew it. Now I'm going to pull this middle piece out. And even even though we have a little bit of glue on there, I mean that glue stick is it's just a perfect medium for this. So here's the next side over here. The other thing you can do too sometimes is you can just pull it a little bit and it just loosens up those stitches. But I kind of like the crease method myself. So there it's all the paper's off of there. And then you're going to lay your square your I'm sorry your triangles together. Can you see how these go together? We're going to put them right sides together. The line you want to match is this line right here where these two come together. You want to make sure that that lines up. And so I like to just kind of give a good look at that. And um you can put a pin in that if you'd like. And then we go to the sewing machine and we do our quarter of an inch. And then we're going to iron this open. And then of course we have two more of these already sewn together right here. And we're going to put it together. And this is going to make our block. So again, you want to watch you want to line your your edges up. But this this right here is the point you want to watch. So if your points aren't exact out there, we're not going to dye over that because we're going to that will be included in the seam. These are the the colored points are the points we want to make sure line up pretty good. Now, if you have one edge of a block that is a little bit longer, put that one on the bottom because the feed dogs will help ease that in. So, let's sew this one together. All right. Now, we get to press this open. And if you need to do any um trimming of the edges, you know, you can do that. The point the the whole point is to match those pieces in the center. And it gives you this great looking block like this. And that's the whole quilt right there. So you're going to put six across and seven rows down. You're going to need again four charm packs about 7 and 1/2 7 and 58 yards of the white and about two yards for a border. And you can have the awesome periwinkle quilts. And we hope you enjoyed this tutorial from the Missouri Star Quilt Company.

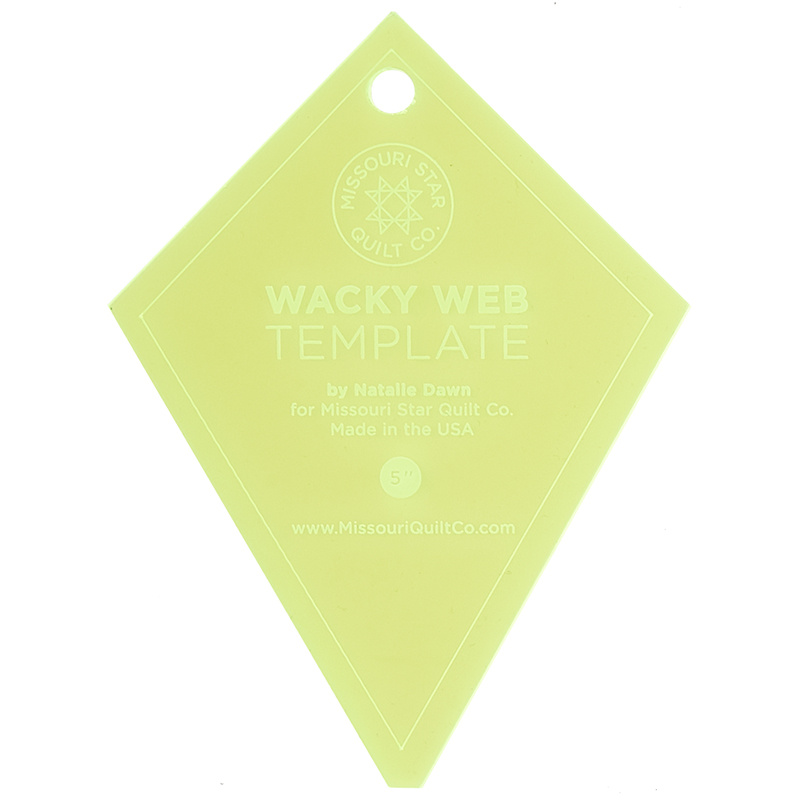 Missouri Star Small Periwinkle (Wacky Web) Template for 5" Charm Packs$7.95Shop →
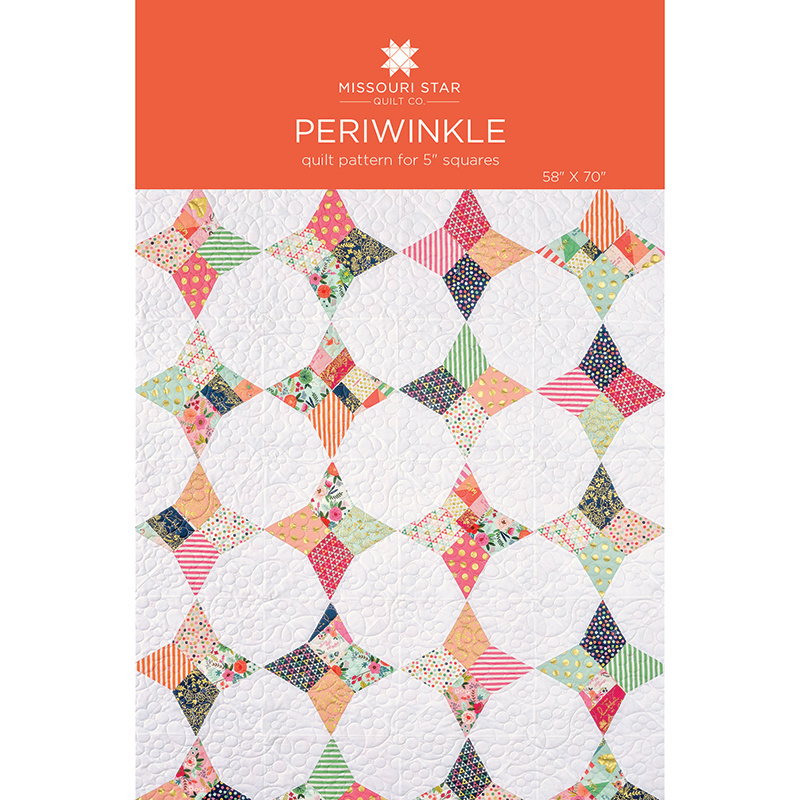 Periwinkle Quilt Pattern by Missouri Star$6.95Shop →
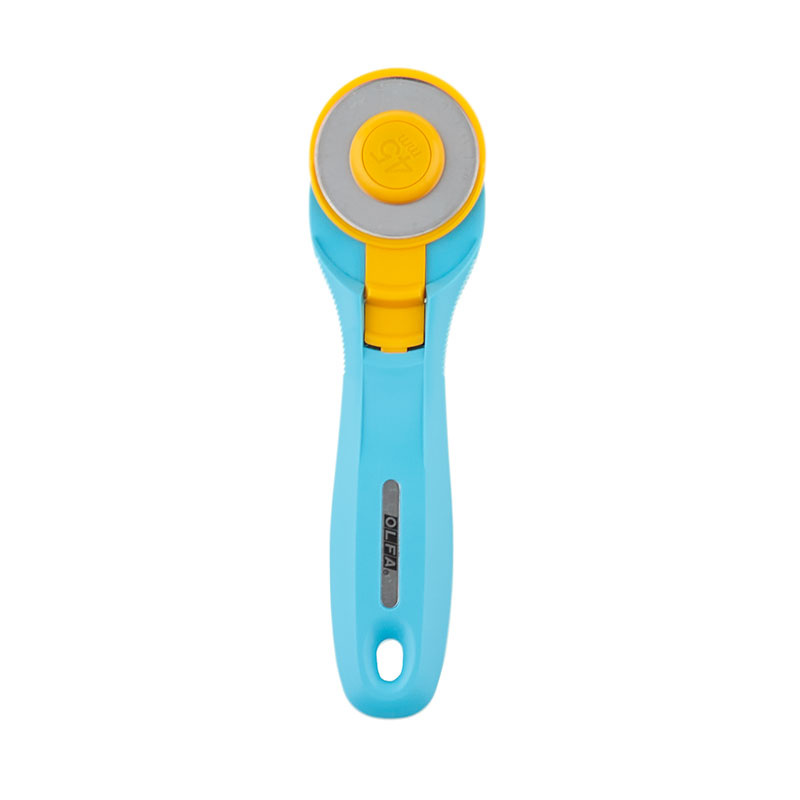 Olfa Splash Aqua 45mm Rotary Cutter$18.75Shop →
 Bosal Craf-Tex Double Sided Fusible Round Coasters$8.45Shop →
 Exclusive Missouri Star Jenny TG1600 ProPlus Oliso Smart Iron$199.99Shop →
 Missouri Star 5" x 15" Ruler$15.95Shop →


