

Make a "Pixie Sticks" Quilt with Jenny Doan of Missouri Star
 Jenny Doan
- Charm Pack
- Lap / Throw
- Beginner
- Quilt size 63" × 67"
Jenny Doan demonstrates how to make an adorably modern Pixie Sticks quilt using 1.5 inch strips and 5 inch squares of precut fabric. For a happy splash of color, Jenny chose the Sun Print 2022 10th Anniversary Collection by Alison Glass for Andover Fabric. This fun improv patchwork pattern was inspired by the classic Pixie Pick-up Stix game we all loved as children.
Instructor
Jenny Doan
Jenny Doan is an American quilter, author, and YouTube personality. Jenny started Missouri Star Quilt Company in 2008 and today it is the largest quilting supply vendor in the United States.
Shop this tutorial
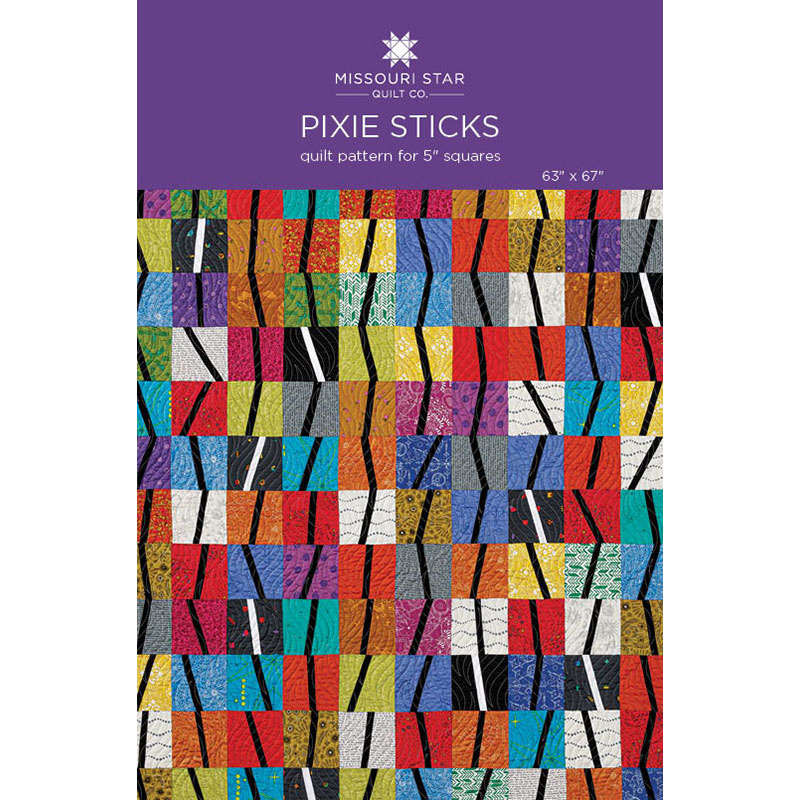 Pixie Sticks Quilt Pattern by Missouri Star$9.95Shop →
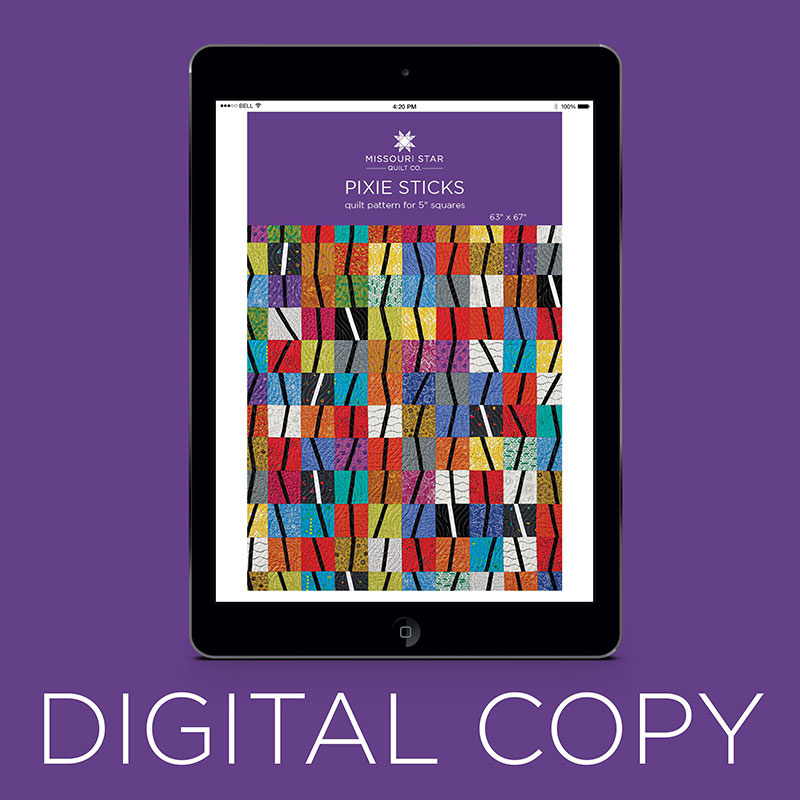 Digital Download - Pixie Sticks Quilt Pattern by Missouri Star$4.95Shop →
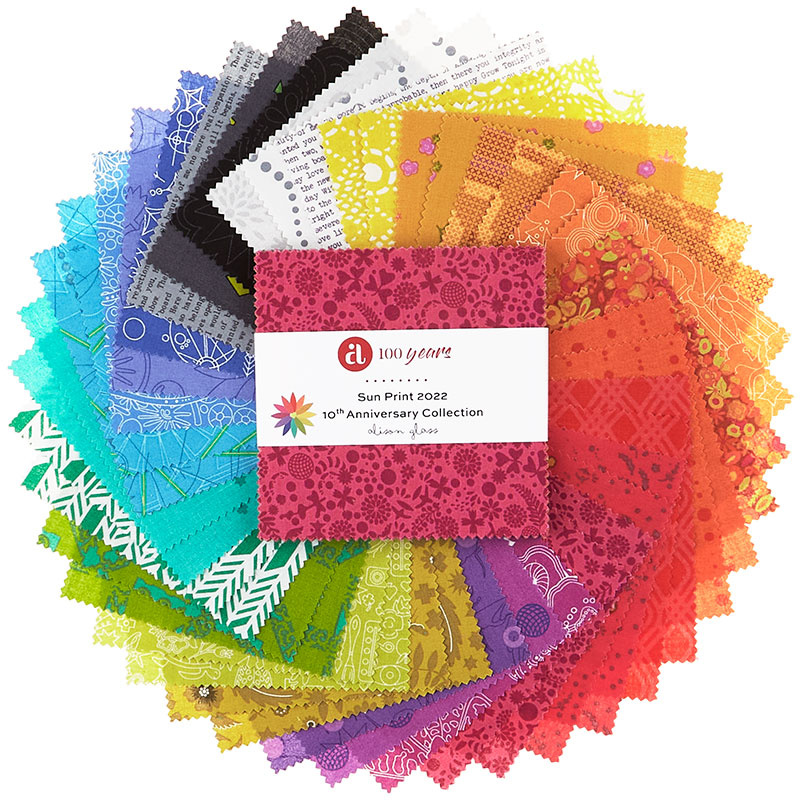 Sun Print 2022 10th Anniversary Collection Single Scoops$10.95Shop →
 Kona Cotton - Black Yardage$7.28Shop →
 Kona Cotton - White Yardage$7.28Shop →
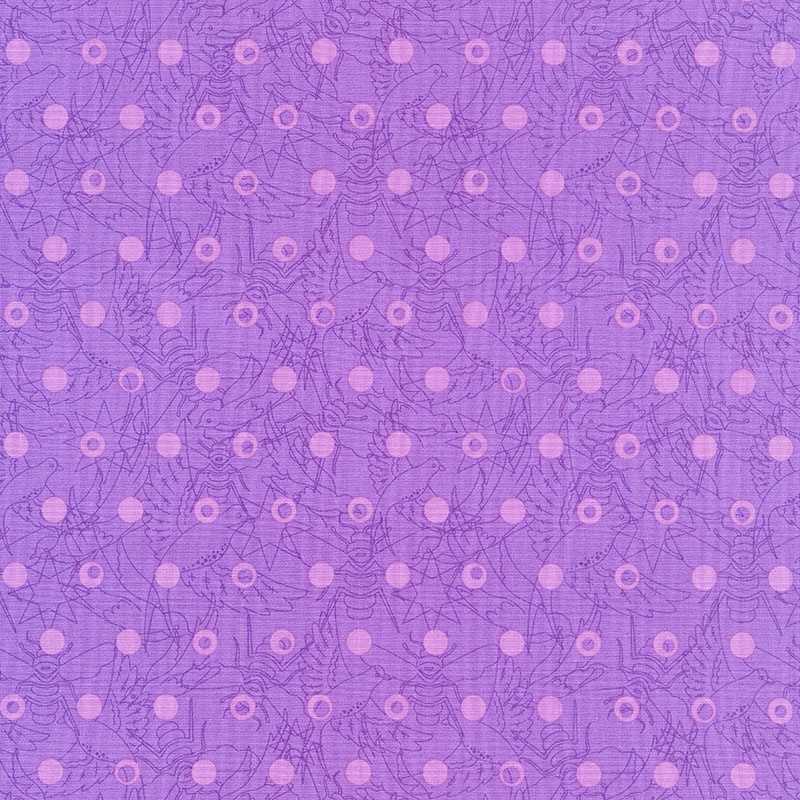 Sun Print 2022 - 10th Anniversary Collection Link Plum Yardage$11.96Shop →
Common Questions
What is covered in Make a "Pixie Sticks" Quilt with Jenny Doan of Missouri Star?
Jenny Doan demonstrates how to make an adorably modern Pixie Sticks quilt using 1.5 inch strips and 5 inch squares of precut fabric. For a happy splash of color, Jenny chose the Sun Print 2022 10th Anniversary Collection by Alison Glass for Andover Fabric. This fun improv patc...
How long is the tutorial video?
The tutorial video is 00:08:47.
Are supplies listed for this tutorial?
Yes. The tutorial page includes the supplies and materials connected to this project.
Is a transcript available?
Yes. A written transcript is available on the tutorial page.
Video Transcript
So I just think this is such a fun quilt. It can be modern or traditional. It just has a great look it and it’s super easy so let me show you how to do this. First we’re going to go to our charm pack and we’re going to take out about four at a time. Now you can cut as many of these as your blade will handle. But we’re going to take about four of these and then I’m just going to take my little ruler and I’m going to put it anywhere I want to on this block, just like this. And I’m just going to make a cut. And now we need our middle strip. Now your middle strip is a one inch piece. And don’t be afraid of that. It’s just super easy. You’re just going to take your fabric like this. I like to fold mine fold to selvedge like this so I have a smaller area I’m working with. And if your fabric is uneven at all because we’re dealing with such a small area, you’ll want to trim that up and make it even. I recently cut a strip off here so it looks great. And so what I’m going to do is I’m just going to take my ruler and I’m going to move it to the one inch line just like this. Keep a firm hand on it and just cut right along there and you have your little one inch strip.
And so for this quilt you can see that I used mostly black strips. But this quilt also had some darker fabrics in it so here I threw in that little white strip. Here and there and I just think it makes it pop and it’s so much fun. Obviously you can use any color you want but I used this black. So what I’m going to do now is I’m going to grab this stack right here and I’m going to keep them together as a stack and I’m going to put this one over here on my sewing machine under the throat so it’s ready to go. And I’m going to chain piece these. Now on one strip you can get eight of these five inch squares on there. I just have four and that’s what we’ll do for now. And so what I’m going to do is I’m going to put my strip right down here. And then I’m going to put my piece with the angle and I’m going to put my strip on top of it. Now leave a little bit extra at the top and bottom because it’s on an angle. And when you fold that you want to make sure that it stays straight across. I would normally use black thread for this but I’m using white thread so you can see it. And we’re just going to go along here and sew it on a quarter of an inch and then I’m just going to slide this next one under here leaving a little bit of space, about a half an inch. And I’m going to slide the next one like this. Leave a little bit of room. And one more.
Alright, so now what I’m going to do is I’m just going to clip these apart. And I’m just going to go about in the middle of where my little piece was. And you can press these back now. You can finger press them or go to the iron and press them back. I’m just going to go the iron and roll them back. And if you keep them in the order you sewed them, which I don’t think I did. But I would if I were chain piecing these. If you keep them in the order, then when you get back to your machine they’re already stacked up in that order. Oh! The first one is right. And then we’re just going to add this piece to the other side. Now let me show you how this is going to look on here. So I have my little extra on the top and the bottom. And I’m going to line this up. An inch is not very much to look across. So just look across here. Know that this needs to go up just a hair. You can fold it back to see if it’s going to match up on the top. We can trim those up a little if you want but I try to get it as close as I can. And then we’re just going to sew that on there like that. And then we’re going to go down and sew this other side to all of these. Just like this. You can actually leave your strip in tact if you want to, whatever works for you. This is one of those quilts that you’re going to be surprised at how fast it goes together. And actually when I first made it I thought, oh this will be a cute little baby quilt, so I’ll use one charm pack. So I made it with one charm pack. And I was like, I wonder what two charm packs will look like. And then I’m like, you know what, I think I’m going to go for three charm packs. And so three makes a nice lap quilt, you know, or a toddler bed quilt or you know, across your lap or wherever it is you want to use a smaller quilt. It just works really well. And it’s very quick. There’s a lot of these little quilts out there and this is just my take on it. Alright so here’s our last one here. And you’ll get pretty good at eyeballing these. Alright and just like that we have made four blocks. So let me cut these apart. We’ll come over here and press them. So then we’re just going to press all these back.
And then you just want to clean up the top and bottom of these squares. And so I just lay the ruler across, I’m matching it on my corners, going straight across like this. And we’re going to do this to all of them. Here’s one more. And here’s my last little one. Trimming off the top and trimming off the bottom. And just like that you’ve got four blocks done. Now the reason I did four at a time is because you really want all these angles to go different directions and so let’s look at the quilt. So I have all different angles here. I didn’t worry about if they connected. That didn’t bother me at all as I was laying it out. I worried about my color placement. And so, you know, if they’re off a little bit, if they’re way off, I just think it adds to the interest. And so literally, what I did was I just took my blocks like this and I sewed them together in rows.
So we used one, two, three, four, five, six, seven, eight, nine, ten in each row. And we did 12 rows. And that makes 120. And so you have a few blocks leftover but it just goes together so quick. Now remember on the dark ones I used a light. You know, on the light ones I used a dark. Just make sure you have some variety in your cuts. And we just sewed them all together. Now this block is going to be ½ inch wider than it is tall. So you can’t actually turn it and have it fit. But as long as we’ve got it all going up and down, you can just sew your rows all together and it will work. We then put a little inch and a half sashing out here. I thought keeping with the small size was perfect. And then I put a nice big six inch border out here because I thought it was really fun. Our backing, look how pretty the backing looks. And don’t you love this quilting pattern. This quilting pattern is called Timewarp. And it’s just perfect, I think for this quilt. So again it makes a quilt that is 63 by 67. And it’s just fun. It goes together so quickly. And if you can cut a charm pack in half you’re going to have a quilt that looks just like this. Have fun with this, enjoy it. And we hope you enjoyed this tutorial on the Pixie Stix quilt from the Missouri Star Quilt Company.
Hi everybody, it’s Jenny from the Missouri Star Quilt Company. We hope you enjoyed watching this video. If you aren’t already part of the Missouri Star Quilt Company family be sure to subscribe so you won’t miss a thing. And if you click that bell it will notify you every time a new tutorial comes out. See you next Friday.


