

Make a Quilt-As-You-Go Tote Bag with Nicola Walton of Daisy & Grace!
 Nicola Walton
- Charm Pack
- Totes, Bag, Purses
- Intermediate
- Quilt size 12" × 15"
Get stitchy with Nicola Walton of Daisy & Grace, one of our favorite collaborators, as she shows you how to make your very own beautiful tote bag. This clever bag is made in a unique way, as you'll see. It uses Nicola's brand new Bigs Quilt As You Go templates. And when you're finished sewing, that's it! Time to gather up your essentials and head out on the town with your stylish new tote.
Instructor
Nicola Walton
Nicola Walton is the founder of <a href="https://www.daisyandgrace.co.uk/">Daisy & Grace</a>. After a lifetime of sewing and a traditional education from the London College of Fashion, Nicola found patchwork and realized her pattern cutting skills could greatly improve the world of quilting. She loves patterns that use up leftover scraps!
Shop this tutorial
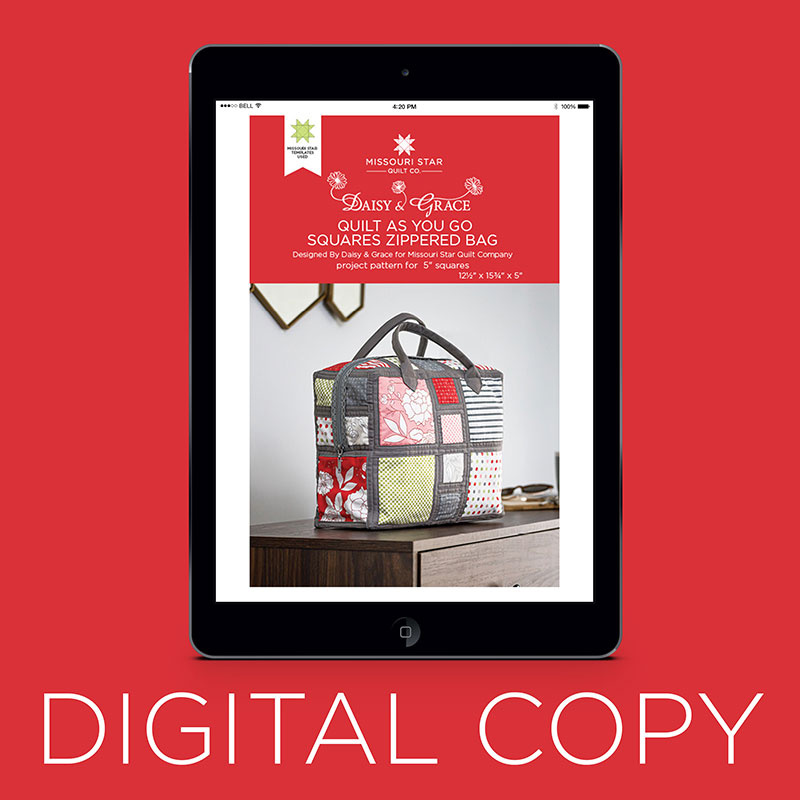 Digital Download - Quilt As You Go Squares Zippered Bag by Missouri Star$4.95Shop →
 Quilt As You Go Squares Zippered Bag by Missouri Star$6.95Shop →
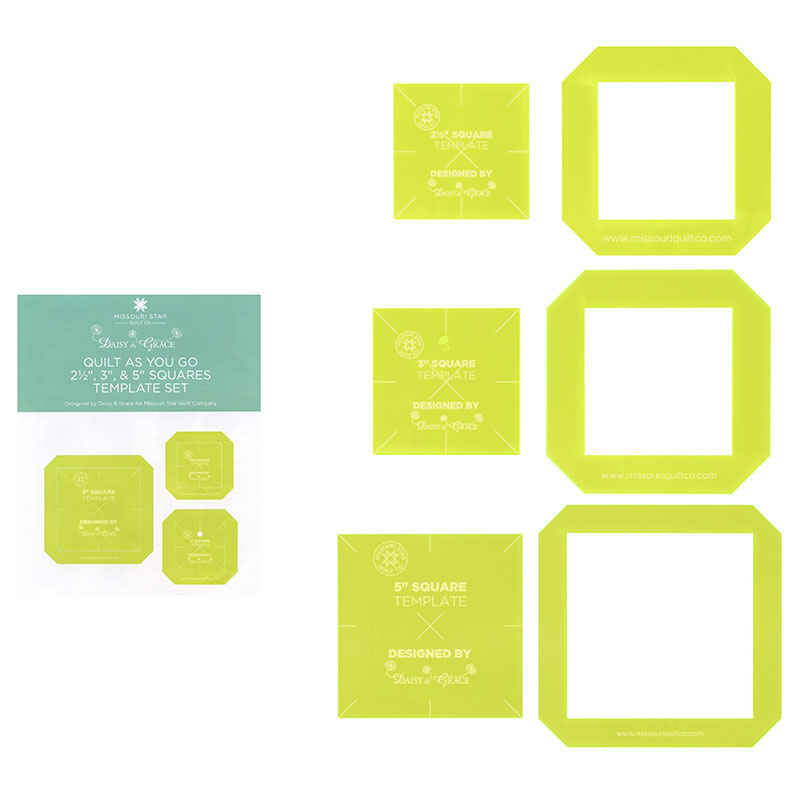 Quilt As You Go Squares Set by Daisy & Grace for Missouri Star Quilt Company$35.95Shop →
 Missouri Star Fancy Zips 24" 6-pack$16.95Shop →
 Peltex Ultra Firm Sew-In (White) Stabilizer Yardage$7.75Shop →
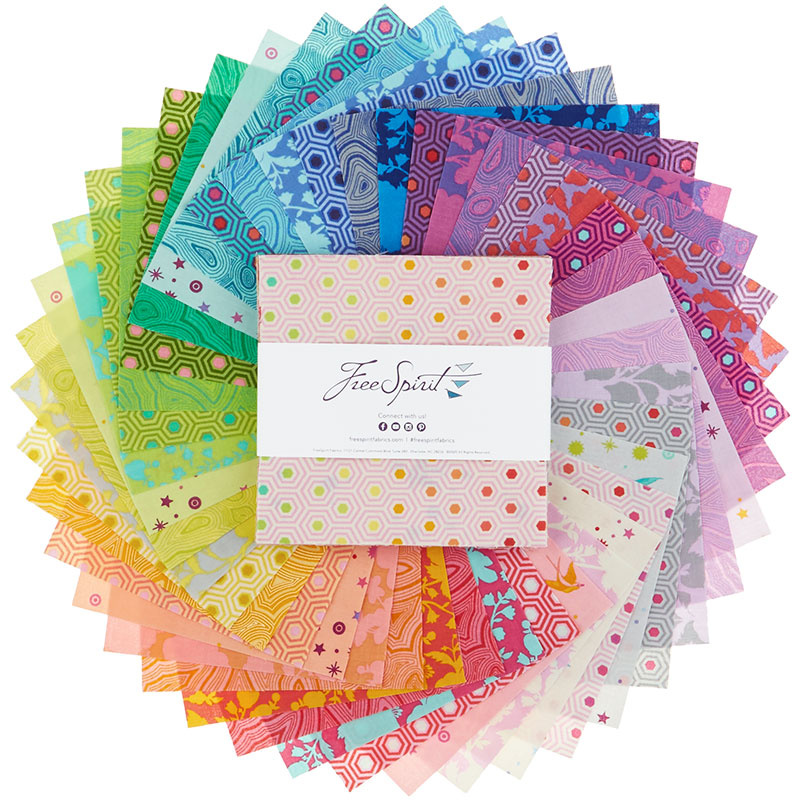 Tula Pink's True Colors Charm Pack$13.45Shop →
 Bella Solids - Silver Yardage$8.24Shop →
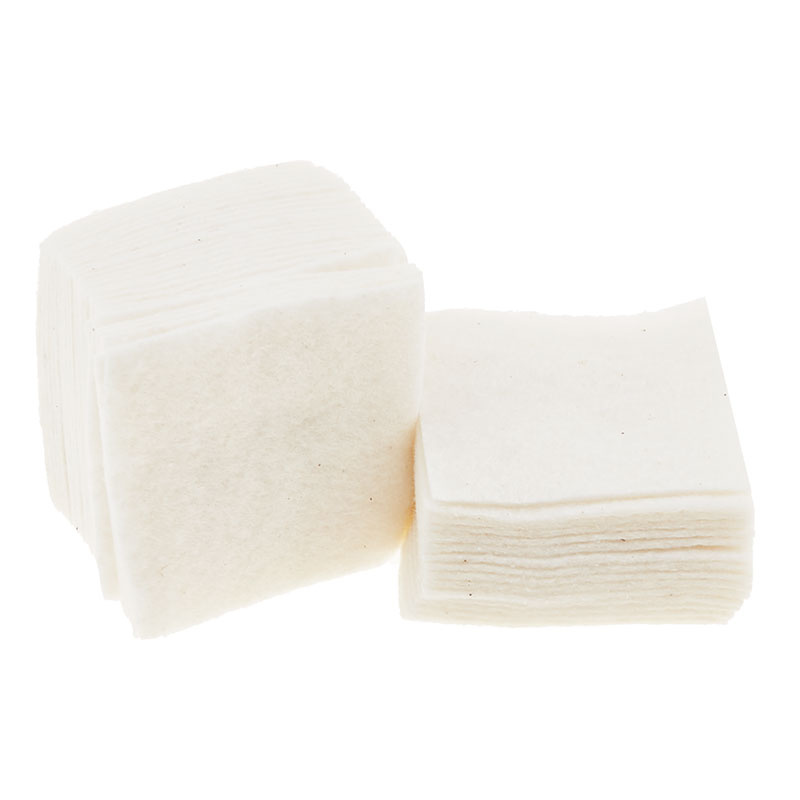 Missouri Star Quilt As You Go 2 1/2" Square Batting Shapes$9.95Shop →
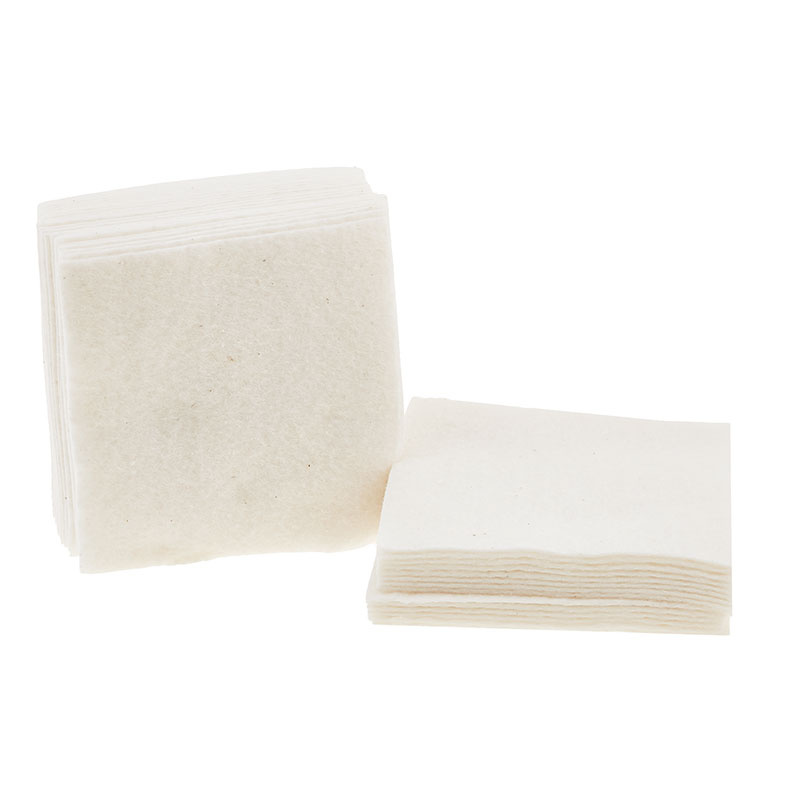 Missouri Star Quilt As You Go 5" Square Batting Shapes$26.95Shop →
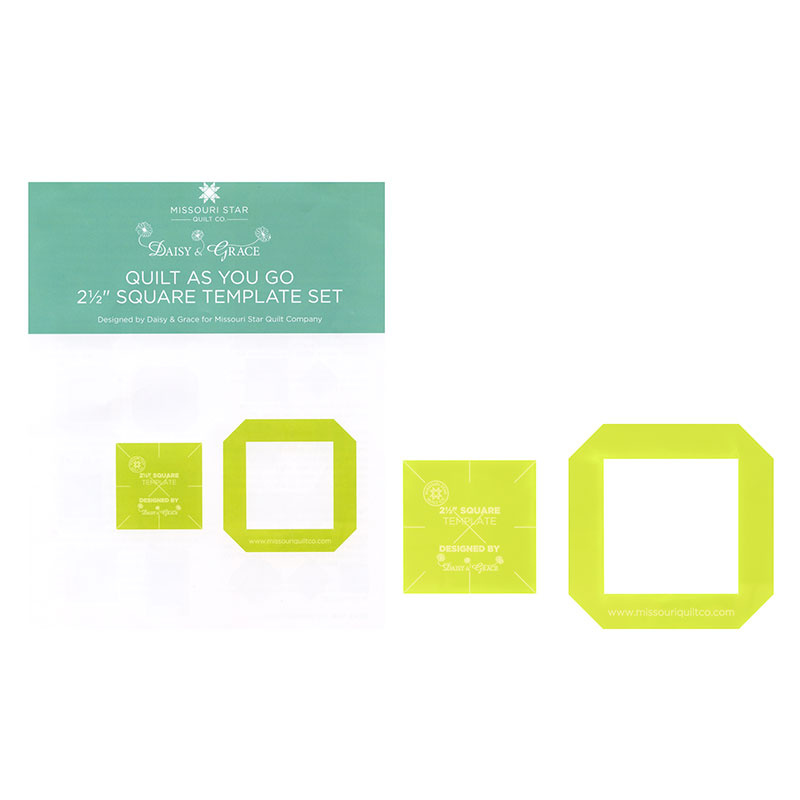 Quilt As You Go 2 1/2" Square Template by Daisy & Grace for Missouri Star Quilt Company$10.95Shop →
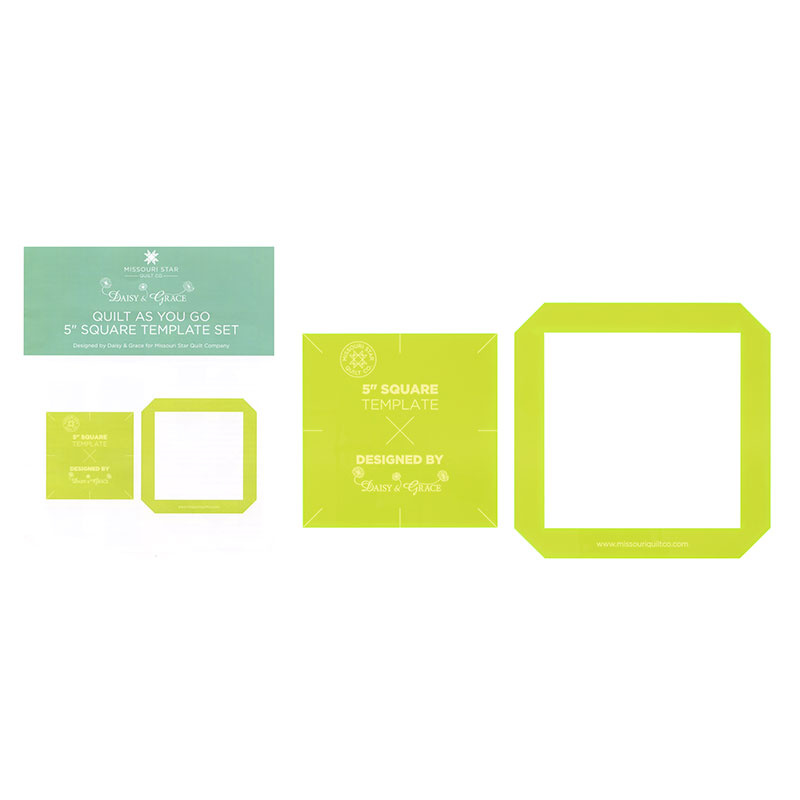 Quilt As You Go 5" Square Template by Daisy & Grace for Missouri Star Quilt Company$15.95Shop →
 Missouri Star 50 WT Cotton Thread Grey Horizon$6.95Shop →
 Olfa Splash Aqua 45mm Rotary Cutter$18.75Shop →
 Olfa Splash 6" x 8" Cutting Mat Navy$4.75Shop →
 Elan 8" Dressmaker Scissors$20.95Shop →
 Magic Pins™ Patchwork Regular Pins - 100 count$18.75Shop →
 Perfect Scissors Multi-Purpose - Small 4 1/2"$21.75Shop →
Common Questions
What is covered in Make a Quilt-As-You-Go Tote Bag with Nicola Walton of Daisy & Grace! (Video Tutorial)?
Get stitchy with Nicola Walton of Daisy & Grace, one of our favorite collaborators, as she shows you how to make your very own beautiful tote bag. This clever bag is made in a unique way, as you'll see. It uses Nicola's brand new Bigs Quilt As You Go templates. And when you're...
How long is the tutorial video?
The tutorial video is 00:57:03.
Are supplies listed for this tutorial?
Yes. The tutorial page includes the supplies and materials connected to this project.
Is a transcript available?
Yes. A written transcript is available on the tutorial page.
Video Transcript
Nicola starts with a charm pack and adds some Bella solids for backing.
From the inner shape, you'll cut your main fabric and your batting. For a 5" square, you can start with charm pack squares.
From the outer template, you'll cut your backing, which will also serve as your binding (you'll be using it to create self binding).
Layer your quilt sandwich starting with your backing fabric wrong side up. Layer the outer template on there, and nest your batting and main square inside the the outer template. Pin once to secure layers together.
Now you'll create your binding. Roll your backing over and finger press, then roll that enclosed seam up over the front fabric as binding, and pin in place. Give it a quick press and head over to the sewing machine to top stitch close to the edge, creating a mini quilted square! You may wish to start with two opposite sides, then pin and sew the remaining sides.
Next Nicola shows you how to join the squares. Hold them up against each other, and use a decorative or zig zag stitching to join your squares into larger pieces (to create front and back panels, 2 side panels, and 2 top edges.
For the base, Nicola adds a heavy weight fusible to add stability. She creates a bottom from 2 larger squares and 2 smaller squares and repeats the construction. To finish she'll place all those seams on the inside.
Create the top halves (of smaller squares) and it's time to add the zipper. With a fancy zip, you'll be sewing so the zipper tape is on the outside, as a decorative detail. Nicola uses a bit of fabric glue to position the zipper appropriately on the quilted panel. Add a few pins just to keep it in place. Switch out to your zipper foot to make the sewing easier, but you don't need to sew right up against the teeth.
Repeat for the other side, lining up the seams as best as you can. Finish the zipper by tacking down the ends on the inside of the bag.
Next Nicola matches the top zippered section to the side panels. She hand sews them on the wrong side (with right sides together) and use an oversewing stitch. This will be hidden on the inside of the bag.
Now let's work on the handles. Cut the pattern pieces, and your fabric into the correct shapes and size. Cut a pair in your backing fabric, and a pair in heavy weight interfacing to add a bit more structure to your straps.
Then she tacks the interlining to the bag handle with a really long stitch (on her machine, set at a 5) at a scant 1/8", only on the long edges. This is just tacking to hold things in place so it doesn't have to be perfect!
Go back to about a 2.5 stitch length, and fold the handle in half, right sides together. Sew around the edges at 1/4" leaving a gap so you can turn the strap right sides out. Trim the edges near the points but not into your seam. If you do snip your seam by mistake, just sew over it again making sure to secure the ends. Then turn the strap right side out, using a point turn to get those points nice and crisp and press.
Fold the handle in half, all except for a bit at the end (leaving the points flat). Top stitch the center section together which will seal up the open edge you used for turning.
Then it's time to add the straps to the bag. Take time to measure correctly so you can sew only once, opening the point.
Finally, it's time to start assembling the bag pieces. You will be zig zagging the pieces together and it's going to get a bit tighter as the bag shape comes more into form, but just take your time and work slowly. Finally, oversew the length of the four side seams to add extra strength!
Enjoy you new bag!


