
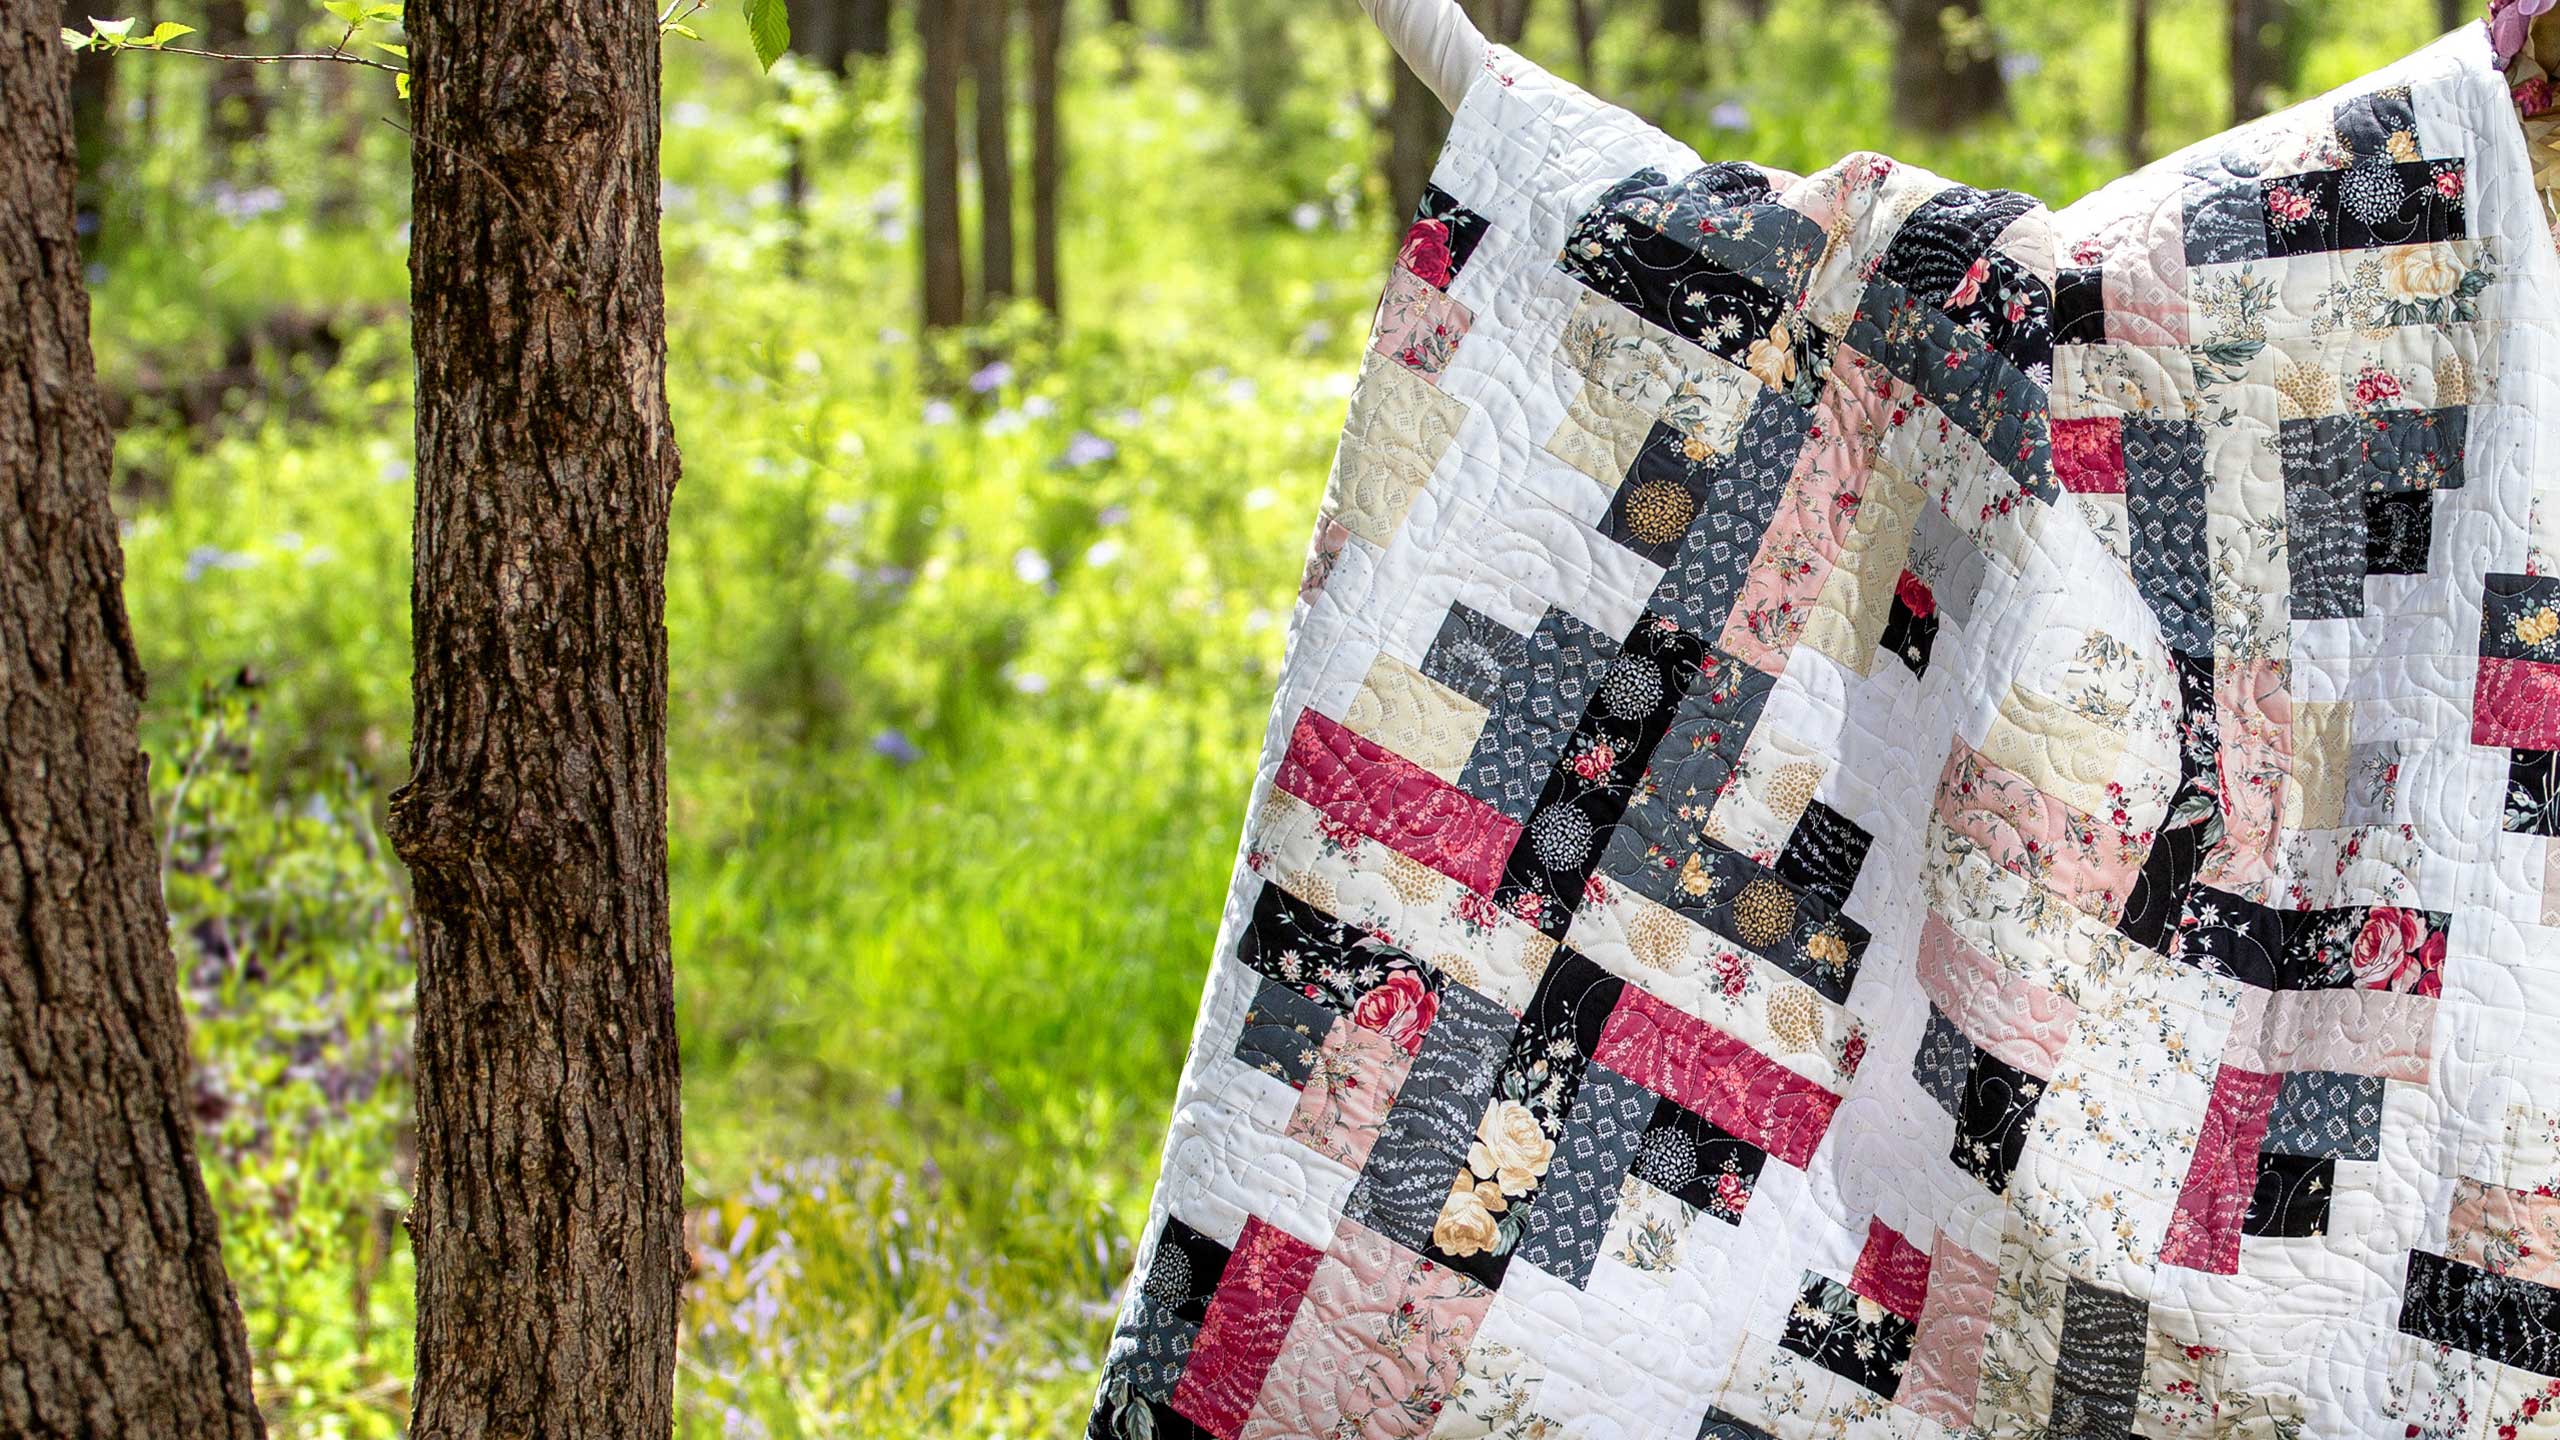
Make a "River Log Cabin" Quilt with Jenny!
 Jenny Doan
- Jelly Roll
- Traditional
- Lap / Throw
- Beginner
- Quilt size 64" × 80"
Jenny demonstrates how to make a beautiful variation of a log cabin pattern using 2.5 inch strips of precut fabric (jelly rolls). Jenny used "Rosette" Pixie Strips by RJR Studio for RJR Fabrics.
Instructor
Jenny Doan
Jenny Doan is an American quilter, author, and YouTube personality. Jenny started Missouri Star Quilt Company in 2008 and today it is the largest quilting supply vendor in the United States.
Shop this tutorial
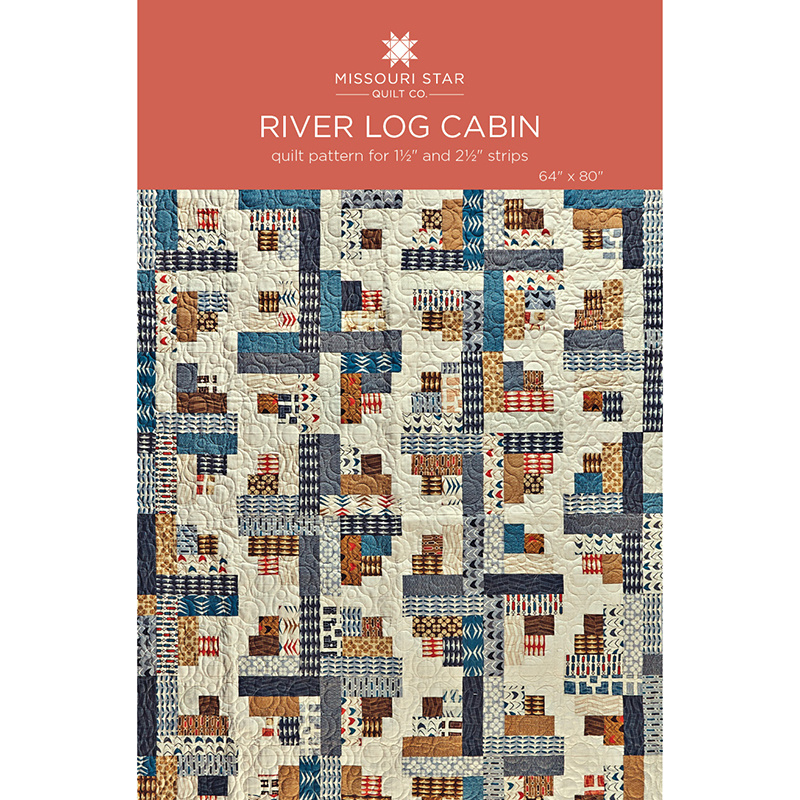 River Log Cabin Quilt Pattern by Missouri Star$6.95Shop →
 Missouri Star 2.5" x 8" Ruler$10.95Shop →
 Missouri Star 5" x 15" Ruler$15.95Shop →
 Olfa Splash Aqua 45mm Rotary Cutter$18.75Shop →
 Olfa Splash 24" x 36" Cutting Mat Navy$68.95Shop →
 Exclusive Missouri Star Jenny TG1600 ProPlus Oliso Smart Iron$199.99Shop →
 Missouri Star Wooly Betty Board - 17.5" x 17.5" Aqua Border$88.95Shop →
 Missouri Star 50 WT Cotton Thread White$6.95Shop →
 Digital Download - River Log Cabin Quilt Pattern by Missouri Star$4.95Shop →
Common Questions
What is covered in Make a "River Log Cabin" Quilt with Jenny!?
Jenny demonstrates how to make a beautiful variation of a log cabin pattern using 2.5 inch strips of precut fabric (jelly rolls). Jenny used "Rosette" Pixie Strips by RJR Studio for RJR Fabrics.
How long is the tutorial video?
The tutorial video is 00:11:05.
Are supplies listed for this tutorial?
Yes. The tutorial page includes the supplies and materials connected to this project.
Is a transcript available?
Yes. A written transcript is available on the tutorial page.
Video Transcript
You’re going to take each strip and you’re going to do all the same cuts from each strip. But then you’re going to mix them all up. So we’re going to open up our strips here and because we’re opening them up you may want to stack them up. You know like you could do four or so and get four cuts at once. I’m just going to do one to show you. First thing I’m going to do is cut off my little selvedge edge. And then I”m going to cut a 2 ½ inch block. And we’ll set that over here. And then we have a 3 ½ inch piece. So one, two, three, and a half. And you will just want to make little stacks of these. And then we’re going to have a 5 ½ inch piece. One, two, three, four, five, I’ve already got my half at the beginning. Just checking to make sure on that one. And this next one is going to be one, two, three, four, five, six. The next one is going to be 6 ½. Let me move this up there. And then this last one is going to be 8 ½. So one, two, three, four, five, six, seven, eight and a half. Just like that. And then you’re going to have this extra piece leftover that you’re going to save for another project. You’re also going to do the same thing with your 1 ½ inch strip. And you’re going to cut those 2 ½ , 3 ½, 5 ½, and 6 ½.
Now this is the block we’re going for right here. This is what it looks like when it’s all together, just like that.. And I’m going to show you how it all works and it all goes together so easily. Alright so we’re going to take this 2 ½ inch strip and we’re going to put it on the side of our 2 ½ inch square. And this is the fun part about pre cutting your strips is because everything is just going to fit together. And then we’re going to add the other 2 ½ inch white. So you always add two whites and two colors and two whites and two colors just like that. So let’s go to the sewing machine and we’ll put on our two inch and a half white strips. Now the trick with this is that when you put smaller strips on one side, it gives it a curved look. So that makes it really fun. Alright, let me press, I’m just finger pressing this back and then I’m going to put this strip on this side. And just make sure when you add your strips like this right here, just make sure when you add your strips that the white always touches the white or the color always touches the color. It has to touch it on some side. So that’s how you know that you’ve got it going on the right way. I always make those little mantras for myself so I don’t get lost. Alright so we’re going to press this open. And I’m just going to set my seam there and roll it back, the one I already finger pressed open. Alright.
So now, alright so see right here where this is a little off right here? That’s not going to matter because I can put another strip on there. It will be enclosed in the quarter of an inch seam so it won’t work. Ideally these should have lined up perfectly but that’s alright because it’s still going to work. Alright so now we go to our color side over here. And we’re going to put this 3 ½ on this side and this 5 ½ on this side, alright? So let’s go do that. And you’re always surrounding your middle square first. And again I’m just going to finger press this back. Now if you want, you know honestly if I were doing this in my sewing room, I would have my ironing area right here next to me so I could iron every little seam so that I could go, I could go from the iron to the sewing machine, from the iron to the sewing machine. And we’re using quarter of an inch seams. And when you put a block like this together where you put a lot of little pieces in you want to make sure that those quarter of an inch seams stay that way because that’s going to help your block fit. This is one of those times where that, it is kind of important to pay attention to those little strips. Alright so now we’ve added two colors and it’s time to add two more white ones. And we’re going to put those over here like this and like this. So you just keep adding the white side to the white side, the color to the color. And let’s go ahead and put those on. This little background on here that is a white but it has a little silver dot, I think it’s really fun. Alrighty, here we go. And then I”m going to open that up and then put this other side on just like this. Alright we’ll press this back now.
Alright so once your block is pressed nice and open then we’re going to add our other two pieces. And we’re going to add them so that it checkerboards. Make sure, you know if you put it on this side and they line up exactly the same, that’s not the look you’re looking for. You’re looking for this side where it actually, you know, it stops and it has that weave look to it. And then the other one is going to be over here. So just watch as you’re putting together. These really won’t matter too much, although you want to follow that. But because it’s the same color it’s not going to show. But this side is definitely going to show. So right here where we have the shortest piece we’re going to add our next piece. And, and we’re just going to sew it a quarter of an inch down. And then we’ll finger press this back and then we will add this other strip to the other side. Alright now let’s press this open.
So once you get your block ironed you are ready to go. And you need four of these to make a block. There’s two different block sets. But it’s just going to take four of these to make a block. And basically when you start what you’re going to do is you’re going to take two of your blocks together like this. Make sure they’re set together so the weave is still here. And you’re going to sew all your blocks in pairs of two. So let’s go to the sewing machine and do that. Here’s my other block. And again I’m looking for this weave and I’m going to sew them together in blocks of two. So let’s do that right here. And one more. And you’re going to do this to your whole stack, the whole stack is going to go together like this. And then the difference comes in how we lay them out. So let me press these open right here. And I like especially on this kind of block I like to iron from the top. If you iron from the top you make sure that there’s no pleats or seams that are folded over because if you have, if I have a little seam that’s folded in here that’s going to change the size of my block. So be real careful on your ironing. Make sure you press from the top of your block so that everything is nice wide open. And I like to actually just you know set my seam and roll it back, just roll it back like that. And use the side of my iron to push to make sure that’s completely open.
Alright now let me show you how these go together because these are going to go together to form two different blocks. The first block is this one right here. Where all of our background colors are to the corners. Ok everybody got that. The second block we’re just going to go together on opposite sides right here. So that now this comes together where the white ones come together just like that. And that makes our secondary block. Let me show you how this looks laid out. Alright I’m going to lay this over here like I sewed it together pretending. So this is my white to the outside. And then this is my one where or white to the inside. And this is my one where they’re all on the outside like this. So basically the blocks are sewn together this same way. But as you put them together, as you put them together, you’re going to put them together in rows like this. And it’s going to make this pattern. See how this pattern is beginning to curve right here. That’s, here’s where that is on the quilt right here. This is it right here. This is the curve that makes this happen right here.
So when you put your rows together a lot of times we offset our rows, these are lined up exactly the same. So all of these blocks go in a straight row down. And that means you’re going to get your circle here and a secondary circle here and they’re going to be offset a little bit. So it’s really fun to make. Really fun to put together. It’s fun to see, you know with a, with a log cabin block like this, it’s fun to see all the designs and patterns that happen because there’s a million ways to set it. And this is just a fun new way. And we hope you enjoyed this tutorial from the MSQC.


