

Make a Sawtooth Stars and Stripes quilt with Misty Doan on At Home With Misty
 Misty Doan
- Holiday
- Lap / Throw
- Beginner
- Quilt size 64" × 80"
Thinking about your next patriotic project? Misty might already have it for you! Today, you get to follow along with Misty as she uses yardage to make a quilt spangled with Missouri Stars and stripes. Who wouldn't want to spend their Fourth of July laying on this beautiful quilt watching the fireworks sparkle above?
Instructor
Misty Doan
Misty Doan grew up surrounded by sewing and quilting. She loves spending time sharing tutorials each week each week, and when she’s not stitching up one of her fun sewing projects for home decor, most likely you’ll find her hanging out with her husband and three awesome kids or working on a house project.
Shop this tutorial
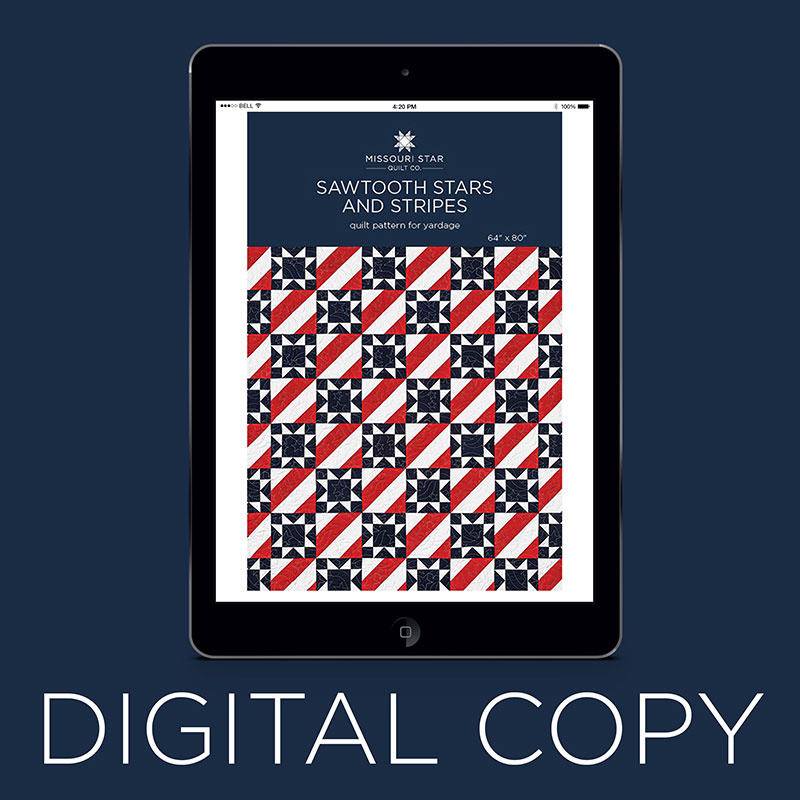 Digital Download - Sawtooth Stars and Stripes Quilt Pattern by Missouri Star$4.95Shop →
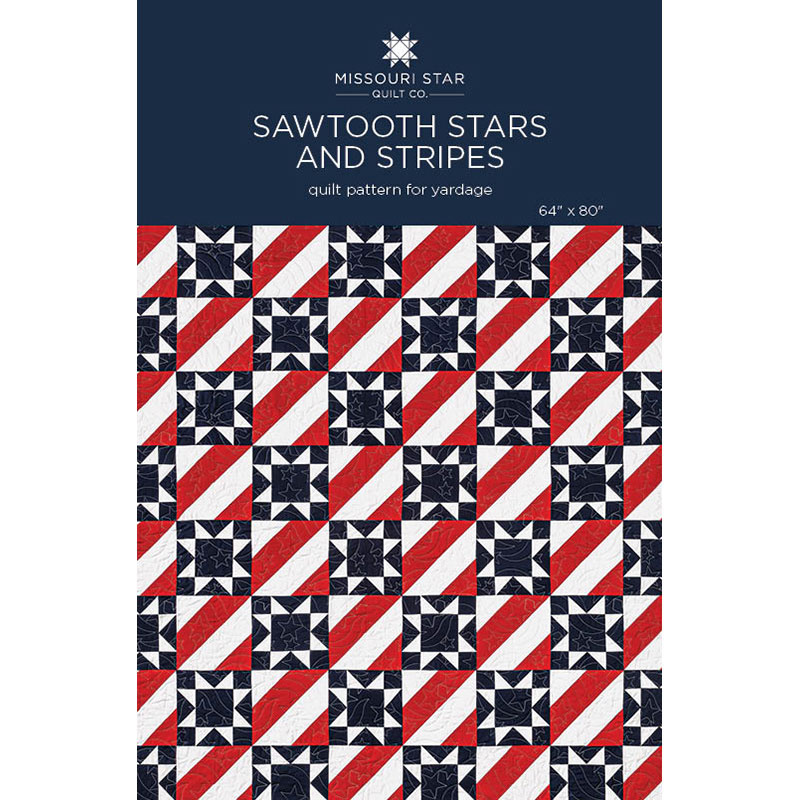 Sawtooth Stars and Stripes Quilt Pattern by Missouri Star$6.95Shop →
 Confetti Cottons - Crayola Solid Color Riley White Yardage$7.76Shop →
 Confetti Cottons - Crayola Solid Color Navy Niblet Yardage$7.76Shop →
 Confetti Cottons - Riley Red Yardage$7.76Shop →
 Missouri Star Quilter’s Best Blend Twin Batting$26.45Shop →
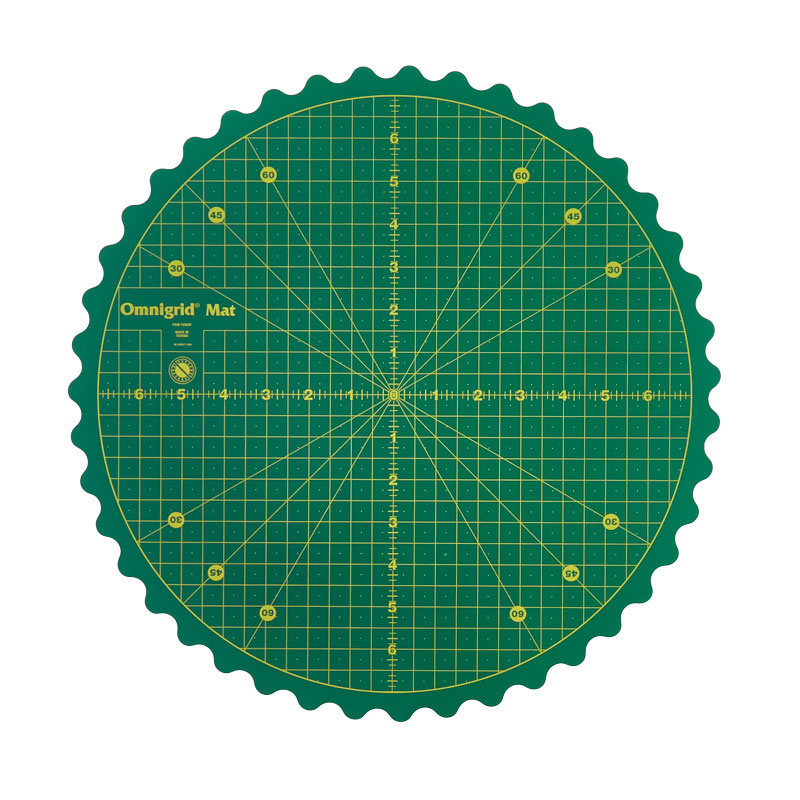 Omnigrid® 360 Rotating Cutting Mat - 14" Diameter$56.95Shop →
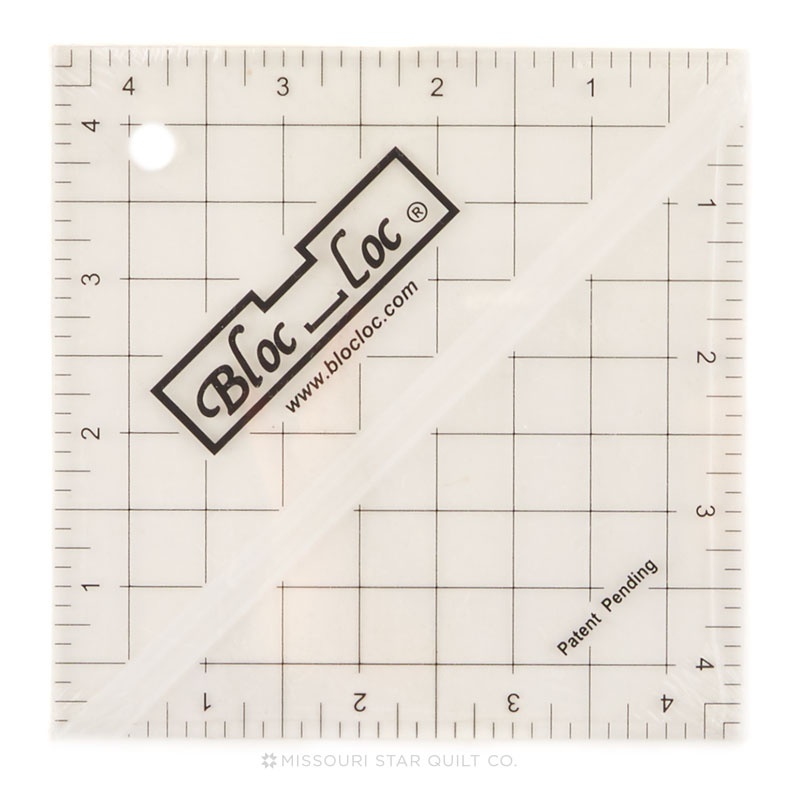 Bloc Loc 4 1/2" Square Up Ruler$25.00Shop →
 Missouri Star 5" x 15" Ruler$15.95Shop →
 Olfa Splash Aqua 45mm Rotary Cutter$18.75Shop →
 Olfa Splash 24" x 36" Cutting Mat Navy$68.95Shop →
 Missouri Star 50 WT Cotton Thread White$6.95Shop →
 Exclusive Missouri Star Jenny TG1600 ProPlus Oliso Smart Iron$199.99Shop →
 Missouri Star Wooly Betty Board - 17.5" x 17.5" Aqua Border$88.95Shop →
 Elan 8" Dressmaker Scissors$20.95Shop →
Common Questions
What is covered in Make a Sawtooth Stars and Stripes quilt with Misty Doan on At Home With Misty (Video Tutorial)?
Thinking about your next patriotic project? Misty might already have it for you! Today, you get to follow along with Misty as she uses yardage to make a quilt spangled with Missouri Stars and stripes. Who wouldn't want to spend their Fourth of July laying on this beautiful qui...
How long is the tutorial video?
The tutorial video is 00:24:55.
Are supplies listed for this tutorial?
Yes. The tutorial page includes the supplies and materials connected to this project.
Is a transcript available?
Yes. A written transcript is available on the tutorial page.
Video Transcript
you today!
Okay I am so excited about this quilt - I have been dreaming about making this for a little while and I finally have the pattern together in an easy way that I think you guys are going to love. Look at this beautiful Sawtooth Stars and Stripes quilt. It's just two simple blocks, but it's really striking. I decided to go with yardage for this quilt even though it is pre-cut friendly, and you'll see that as I show you how to make it.
So to make the quilt like you see here you're going to need one and a half yards of red, and all of the fabric we use today is the Riley Blake Confetti
Cottons. So one and a half yards red, two and three quarter yards of navy, and three yards of your white background. I did bind it with navy and so if you want to do that you'll need an additional three quarter yards of that.
So let me show you how to make this. I'm really really excited. Let's start with the stripes block because I think you're going to be surprised at how simple it is. So to do that we're going to take a 10 inch square of red and a 10 inch square of white and I have both of those already cut here. If you had pre-cuts you could just use them.
I'm just going to stack them. If you were using prints, of course you'd want
to have them right sides together. Then I'm going to grab a pin and my ruler
and I'm just going to mark corner to corner in both directions. If you're familiar with our easy eight half square triangle method, that's what we're going to do here. So I'm just going to draw a line this way, and then this way
and now we're going to sew a quarter inch seam on either side of both of
these lines. So let's go ahead and take this to the machine and I am going to do that.
So we're going to start by going down this direction and we can just flip this around and go back down the other side. Then we're going to do the same thing on that other line. There we go. Now we can cut this apart. I'm going to start by laying this nice and straight on my mat. If I had my Missouri Star 5 by 15 ruler, I could lay it right on the edge since it's 5 inches wide but I don't actually have that over here right now. I can use this little one so I'm just going to count over and if this is all straight that should intersect with
where my seams cross in the middle. So I have that where I want it, and I'm
going to make this first cut and then same thing the other direction across. There we go and now those are four independent squares and I can just cut them in half, just like so.
Now when I am making half square triangles I like to square mine up using the Bloc Loc. The Bloc Loc makes a four and a half inch ruler and
that's the size we need to square to, so that's what I'm going to be using today. So we're going to cut all of these in half and you'll see that it's going to give us eight of these half square triangles once we get them all cut apart. So let me finish that up and then with the Bloc Loc we do want to press them open. You could use the Clearly Perfect Slotted trimmer here if you have that or you could just use any squaring tool that you like.
So let's go ahead and press these back. I do want to press to the dark side,
which in this case is the red, so I'm going to roll this back so that my seam is hidden on that side. I have some of these already ready to go, so I'm just going to press four of them because we're actually going to get enough to
make two of our stripe blocks. This is our block right here. There's enough to make two of these out of every set. So you can see I've got four here. I've got four more that I could press and it takes four to make this block.
So now that we have these pressed, let's go ahead and square them. So I am going to be using a rotating mat. I really like this Omni Grid - it doesn't slip, it's easy to turn. And so with the Bloc Loc there is a groove that nestles right in to that seam. The Bloc Loc lettering is always going to be on the
background side or away from wherever you pressed your seam. So for me that's on the white. I've got that all lined up and I'm going to go ahead and cut and turn, and cut and turn, and then I have that squared. I'll go ahead and do that again so you guys can see. Again the Bloc Loc is going to go on the white. I like to start by lining up this bottom corner down here by me and then I can make a cut, and a cut. And for this project I do like to make sure all these little corners that overhang are trimmed off. I just don't like having them in my way.
So there we go, that one's square. Let's do this a couple more times just
so you guys really get the hang of it. I love the Bloc Loc. I find that it's really precise because you've done the pressing first you don't get any shifting by pressing after the fact, so your block stays nice and square.
There's that one and one more, whoops I had it on the wrong side, did
you see that? But you'll notice it just doesn't fit the same - it's pretty hard to cut it the wrong way. And so then we're trimming that off and you'll notice it's not much that we're trimming, but we just want it to be as precise as possible. And so now I have these four squared up to four and a half and ready to put together into the block.
So I know this is my block here. You can flip them around, so whether you start with the red in the corner or the white in the corner it doesn't really matter, but I just like to build them all the same way just to be safe. I don't want to run into any issues later so I'm going to go ahead and lay this out to match right here on the table of my machine. So this one I have white in the corner and this one red in the top corner. This is red in the top corner and this one is white and now I can just fold these over like so and I can chain piece these one after the other on my machine.
So let's go ahead and start with this one since this is the top of my block.
With our quarter inch seam we're just going to sew down this first set
and then slide this one in right after. I love chain piecing on projects like this because now it almost acts as a pin. It just holds it together in the right orientation and so I can fold this, line it up, and now I can sew my two rows of the block together.
So I take a few seams and then I'm going to line up the middle and make sure that they're going in opposite directions, that those seams nest nicely
so be nice and crisp where they meet up. And then once I get to that point, I line up the end of my block. So simple. Now we can press that and just like that our stripe block is done.
So you're going to make 40 of these for the quilt because it measures eight across by 10 down and we're alternating between the star blocks and the stripe blocks. There we go alternating between the two. So just some quick math. Since you need 40 of these, you'll need 20 sets of your red and white 10 inch squares to get all the blocks that you need, because each set gives you two of these blocks. Hopefully that made sense.
Okay so let's move over to the Star Blocks again. This could totally be pre-cut friendly. You could use a layer cake for this but what you would need to do is you would cut it down from ten inches square to nine and a half inches square. So I have gone ahead and trimmed my navy squares to nine and a half inches. If you're working from yardage, you would just cut them at nine and a half. There's no sense in having that extra half inch to cut off, so that's what I've done here.
This is something that I think is really fun and I'm going to use my rotating mat again here, but I'm going to take my two and a half by 15 inch ruler (any ruler is fine but two and a half is the measurement we're looking for). So on all four sides of this nine and a half inch square I'm going to cut two and a half inches in. So I'm lining my ruler up with this outside edge and I'm going to make a cut and you'll see why the rotating mat would be so helpful! I don't want to move it, I'm just going to leave it just like that. I'm going to rotate it again, line up my ruler on the edge and make a cut. We'll just continue on all four sides and I love this trick because it saves us some steps in cutting. We're going to get all the pieces we need just by doing this.
So now you can see this comes apart and what this gives us by using this
method is four two and a half inch squares for the corners, four two and a half by four and a half inch rectangles that are going to become our star legs, and one four and a half inch square in the center and we got all of those pieces by just making four cuts instead of all these individual cuts.
I think it's a great time saver!
So now I'm just going to stack these pieces up so that they're easy for me to find in their different size orientations. Then I've got a two and a half inch strip of my background that we're going to go ahead and cut into some two and a half inch squares. So I'm just going to stack this up and for this one I'll probably move my rotating mat out of the way and we'll just cut some two and a half inch squares really quick. I'm going to straighten up this edge first, and then I like to just flip these around. Again, I can use the width of my ruler as my guide. So if you were wanting to buy a pre-cut, you can get those little pre-cut packs of these two and a half inch squares and for this quilt that would save you some time. If you have those handy, this would be a great time to use them.
All right so now I have my two and a half inch squares ready and I'm going to need those and my two and a half by four and a half inch rectangles. So let's go ahead and start. Essentially what we're doing here is making what is traditionally known as a flying geese unit or star legs. In this case it looks like star legs, since we're working with this dark navy and the white.
So I'm just going to lay this and line it up on the outside edge of my rectangle. We are going to be sewing from this inside corner to the outside corner. Let me go ahead and draw a line so you guys can see. I have the diagonal seam tape on my machine so I don't need to draw a line.
We're going to be sewing right on this line. So, just like so, that's where we want to stitch. Let's go ahead and do that. Again, I like to chain piece, so I'm just going to put one under the machine, stitch straight down. Then I can grab another one here - remember it takes us four for each block - and I just slide that right in behind. We're sewing corner to corner if I can get a hold of my little squares and one more. You do want to make sure they're nice and straight so that this finishes up that same two and a half by four and a half when we're done. We don't want it to get too wonky.
Now I can trim these four apart, and I just like to use my scissors here. And I'm just going to snip off so that I have just what I need for my quarter inch seam on each of these. I’m just eyeballing it; if you want to use a ruler and a rota rotary cutter you can. Now we're going to press back those corners that we put on. So we're just going to roll that back, and again, and again and our last one. So now we're going to do the exact same thing, but we're going to put it on the opposite side. So you can see when I line my square up in this corner it's overlapping the first corner that I put on and that's what we want. That's so we don't lose our the points in our seam allowance. We want it to overlap so that we have that quarter inch to hide in our seam.
So now I can sew this one corner to corner. just like we did before. Let me go ahead and do one more. I have some of these ready but again, let me make sure you guys can see this. We're gonna lay this right in line with
our navy piece on the edge and we're going to sew from this corner to this corner so that it overlaps our first white square. So let's just slide this in behind, just like so, and then we can trim that off again on this opposite side. There's one, and two. So then we'll go ahead and press these back.
For each block you're going to need four of these little star leg units. Like I said, I have a few of them all ready to go - just to save us some time. So let me grab those and then we can start assembling our block back together. So we need to grab that four and a half inch center square, and our four
two and a half inch squares, and if you don't have a table on your
machine like this I recommend just laying it out next to your machine. So we can just do it right down here if we need to.
So we have a two and a half inch square, our star legs, and a two and a half inch square. Then we have our star legs, our four and a half inch square, and our star legs. Then again with our two and a half inch squares in the corner, and our star legs. So I like to lay mine out like this because any chance I have to chain piece I choose to do that. So I'm going to go ahead and just pick up these two pieces here, lay them right sides together, and I'm going to sew these together first. Then I can pick up these two and I like doing this because it just like I said earlier it just holds it all in place in the right order so I don't have to worry about sewing it together in the wrong orientation or any of those mistakes that happen sometimes. And then our last little row, there we go.
Then I like to kind of flip it over and then I know I can work from the bottom. I can add this two and a half inch square to this side - whoops make sure it's nice and straight - make my sure my star legs are the wide white part is pointing towards the center, then my last little two and a half inch square at the bottom. Now you'll see when we flip all of these open.
Let's take it over to the ironing mat actually so that we can see this a little better. I do like to press my star legs. These top and bottom pieces I like to just roll those squares out. So we'll do that first and then on this one I like to make it so that the seam is going towards that big square in the center. It takes a little maneuvering since they're all stuck together but then it's helpful, you can see. Once this is all folded it looks exactly like we need it to. We know it's all laid out correctly. These are stuck together and I can just kind of fold that over and take this to the machine and sew it down.
So let's line it up. Take those first couple of stitches and then check to make sure my seams are nesting nicely, which they are. Great. I do want to pause - I'm going to back stitch here just so I can show you this. I hear a lot of questions about how to keep your points and so, as you can see, this is a really great example because I've used white thread here. As I'm approaching this you can see where the threads cross on this star leg. You can see where the white threads cross and as my seam is coming across here, to make sure that I don't lose this point that I've created I need this new seam to be on this side of where those stitches intersect. So hopefully that makes sense. If I were to sew over here, you can see how I would cut off that point and I would lose it.
So we're just going to make sure as we come back here, that we stay on this side of that intersecting seam and sometimes if you have to just
slightly narrow your seam allowance there to make that correct. That will be fine and you'll be glad you did, because that will stay lined up.
There we go. Okay now we can flip this around, we're going to do the same thing on the other side. Make sure we're nice and straight. I'm going to show you guys one more time. So I'm going to backstitch again. Just to make sure that you can see what I'm talking about so let me move this
over here and make sure our cameras can see it. So here is where our seams are crossing from our star legs. You can see right here this is the magic point that we're trying to keep on our block. So as my other
stitch line is coming across here and getting ready to approach
that center point, I want to make sure that those stitches stay on this side
the seam side of the point as opposed to this side. You can see if I were to stitch across here and come up right here where my finger is, I would lose that point and it's just a little detail. It's not a huge deal if it happens, but if you're worried about it and you're trying to keep it, just make sure that you're stitching on that seam side and you can even you know bump out
a little bit like I said before.
So let's go ahead and stitch that down, make sure I'm lined up as I approach this other side, and then I'm going to watch that center as it comes to my needle to just make sure that my needle is staying on the seam side of that point. And when you fold this back you'll see what I mean my little points are not lost in this center square. You can see exactly where they all meet and that's what we want we want. Just a hint of that white fabric to poke through at the seam.
So that is it - there is our beautiful star block! Isn't that so fun? And then when we set these together, we're just going to lay them out. I'll do it over here on my cutting mat. I have a little bit more working room here, so let's just clear this out of the way. We're just going to start with a star block and then we're going to alternate with our stripe block. I did all of mine with the white pointing up. Then the next row they're all oriented the same way and you just start one row with a star and one row with a stripe. You will notice that you know every single row is the same - it's eight blocks across by 10 down. This makes a great size quilt, it's perfect for a picnic. It's 64 by 80.
I do want to show you this cute backing I used. It's just a regular quilting cotton. So you are going to need five yards - let me show you on here. It's this great firework print which I just love and seemed perfect. I used this great star Spangled Banner quilt pattern which is just perfect for this project.
So I hope you enjoyed this quilt and I hope you have a great time making it and. Until next time, have a wonderful week and I'll see you soon!


