Make a Scrappy Cross quilt with Beth Shibley
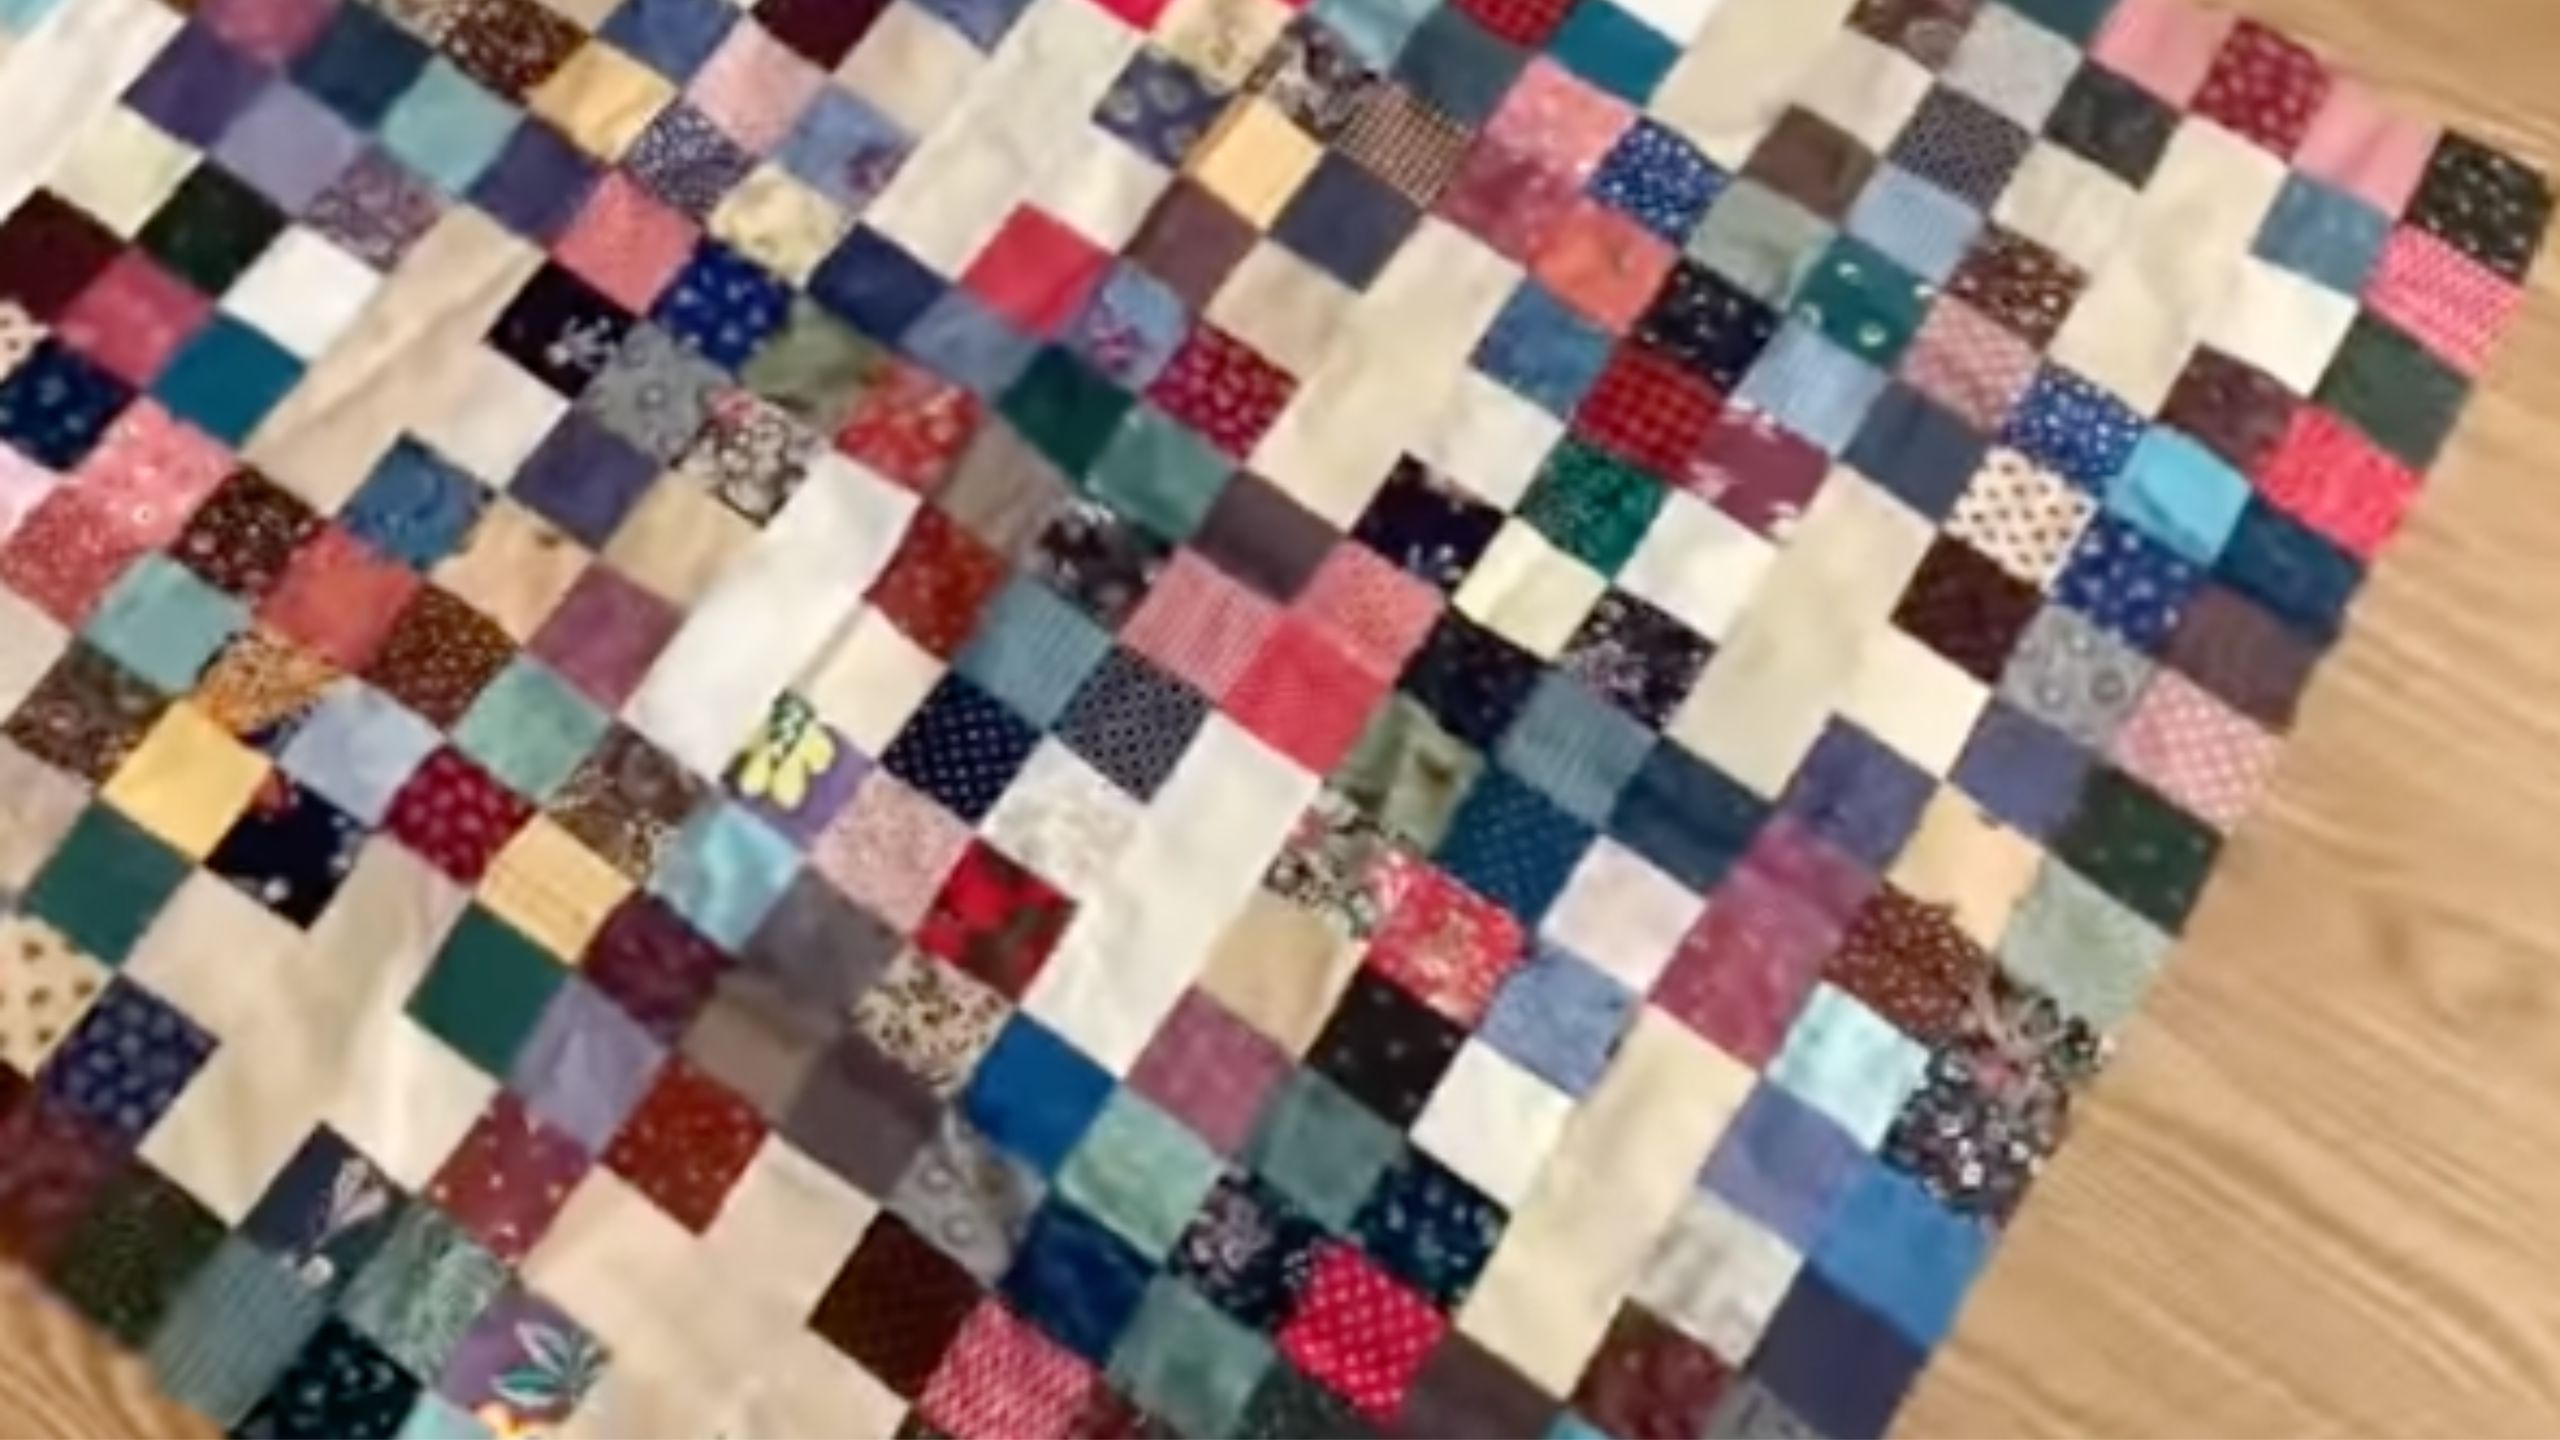
Today Beth Shibley is working on a quilt that has been in progress for a while. She arranges scrappy squares that have already been pieced into columns that create a lovely cross quilt!
Instructor
Beth Shibley
Beth Shibley loves to create and share her adventures in quilting. Simple patterns and practical gifts are what she loves most.
Shop this tutorial

Common Questions
What is covered in Make a Scrappy Cross quilt with Beth Shibley?
Today Beth Shibley is working on a quilt that has been in progress for a while. She arranges scrappy squares that have already been pieced into columns that create a lovely cross quilt!
How long is the tutorial video?
The tutorial video is 00:09:53.
Are supplies listed for this tutorial?
Yes. The tutorial page includes the supplies and materials connected to this project.
Is a transcript available?
Yes. A written transcript is available on the tutorial page.
Video Transcript
A scrappy patchwork quilt is a type of quilt made from various fabric scraps. Instead of using uniform fabric pieces, a scrappy patchwork quilt embraces the use of diverse fabric remnants, creating a unique and eclectic look.
Here's a general overview of how you can create a scrappy patchwork quilt:
Gathering fabric scraps: Collect a variety of fabric scraps in different colors, patterns, and textures. You can use leftover fabrics from previous sewing projects, repurpose old clothing, or even ask friends and family for their fabric remnants.
Sorting and organizing: Sort the fabric scraps according to color, pattern, or theme. This will help you plan the layout of your quilt and ensure a harmonious overall design.
Cutting the fabric: Determine the desired size and shape of the fabric pieces for your quilt. Common shapes used in patchwork quilts include squares, rectangles, triangles, and hexagons. Use a rotary cutter, quilting ruler, and cutting mat to accurately cut the fabric pieces.
Planning the layout: Lay out the fabric pieces on a large work surface, such as a design wall or floor, to visualize the overall design of your quilt. Experiment with different arrangements until you find a layout that you like.
Sewing the patches: Once you have finalized the layout, start sewing the fabric pieces together. Use a ¼-inch seam allowance and a sewing machine or hand-sewing techniques, such as whipstitch or running stitch, to join the patches. You can sew the pieces together individually or create larger fabric blocks before joining them.
Assembling the quilt top: Continue sewing the fabric pieces together until you have completed the entire quilt top. Press the seams open or to one side to reduce bulk.
Adding borders (optional): If desired, add borders to the edges of the quilt top to frame the design and create a finished look. Cut fabric strips in the desired width and sew them to the quilt top.
Adding batting and backing: Cut a piece of quilt batting and a backing fabric slightly larger than the quilt top. Layer the backing fabric, batting, and quilt top together, aligning the edges. Baste the layers together using safety pins or basting stitches.
Quilting: Quilt the layers together to create texture and secure the quilt. You can choose from various quilting techniques, such as hand quilting or machine quilting. Stitch along the seams or create intricate patterns across the quilt top.
Binding: Finish the edges of the quilt by adding binding. Cut fabric strips, fold them in half lengthwise, and attach them to the quilt's edges. You can sew the binding by machine or hand.
Finishing touches: Trim any excess batting or backing fabric and give the quilt a final press to remove wrinkles.
Creating a scrappy patchwork quilt allows you to express your creativity and make use of leftover fabrics, resulting in a unique and personalized keepsake. Enjoy the process and have fun with your quilt-making adventure!
Here's a general overview of how you can create a scrappy patchwork quilt:
Gathering fabric scraps: Collect a variety of fabric scraps in different colors, patterns, and textures. You can use leftover fabrics from previous sewing projects, repurpose old clothing, or even ask friends and family for their fabric remnants.
Sorting and organizing: Sort the fabric scraps according to color, pattern, or theme. This will help you plan the layout of your quilt and ensure a harmonious overall design.
Cutting the fabric: Determine the desired size and shape of the fabric pieces for your quilt. Common shapes used in patchwork quilts include squares, rectangles, triangles, and hexagons. Use a rotary cutter, quilting ruler, and cutting mat to accurately cut the fabric pieces.
Planning the layout: Lay out the fabric pieces on a large work surface, such as a design wall or floor, to visualize the overall design of your quilt. Experiment with different arrangements until you find a layout that you like.
Sewing the patches: Once you have finalized the layout, start sewing the fabric pieces together. Use a ¼-inch seam allowance and a sewing machine or hand-sewing techniques, such as whipstitch or running stitch, to join the patches. You can sew the pieces together individually or create larger fabric blocks before joining them.
Assembling the quilt top: Continue sewing the fabric pieces together until you have completed the entire quilt top. Press the seams open or to one side to reduce bulk.
Adding borders (optional): If desired, add borders to the edges of the quilt top to frame the design and create a finished look. Cut fabric strips in the desired width and sew them to the quilt top.
Adding batting and backing: Cut a piece of quilt batting and a backing fabric slightly larger than the quilt top. Layer the backing fabric, batting, and quilt top together, aligning the edges. Baste the layers together using safety pins or basting stitches.
Quilting: Quilt the layers together to create texture and secure the quilt. You can choose from various quilting techniques, such as hand quilting or machine quilting. Stitch along the seams or create intricate patterns across the quilt top.
Binding: Finish the edges of the quilt by adding binding. Cut fabric strips, fold them in half lengthwise, and attach them to the quilt's edges. You can sew the binding by machine or hand.
Finishing touches: Trim any excess batting or backing fabric and give the quilt a final press to remove wrinkles.
Creating a scrappy patchwork quilt allows you to express your creativity and make use of leftover fabrics, resulting in a unique and personalized keepsake. Enjoy the process and have fun with your quilt-making adventure!