

Make a "Sew Many Squares" Quilt with Jenny Doan of Missouri Star
 Jenny Doan
- Jelly Roll
- Traditional
- Queen
- Beginner
- Quilt size 79" × 95"
Jenny Doan demonstrates how to make a beautiful scrap-busting quilt with hundreds of pretty little squares. This quilt can be constructed with scraps made into individual four patches, or it can be made with jelly roll strips sets stitched into big 16 blocks. Jenny made one quilt with her scraps and a second with a jelly roll from the Blue Ridge Mountain Batiks collection by Kathy Engle for Island Batik.
Instructor
Jenny Doan
Jenny Doan is an American quilter, author, and YouTube personality. Jenny started Missouri Star Quilt Company in 2008 and today it is the largest quilting supply vendor in the United States.
Shop this tutorial
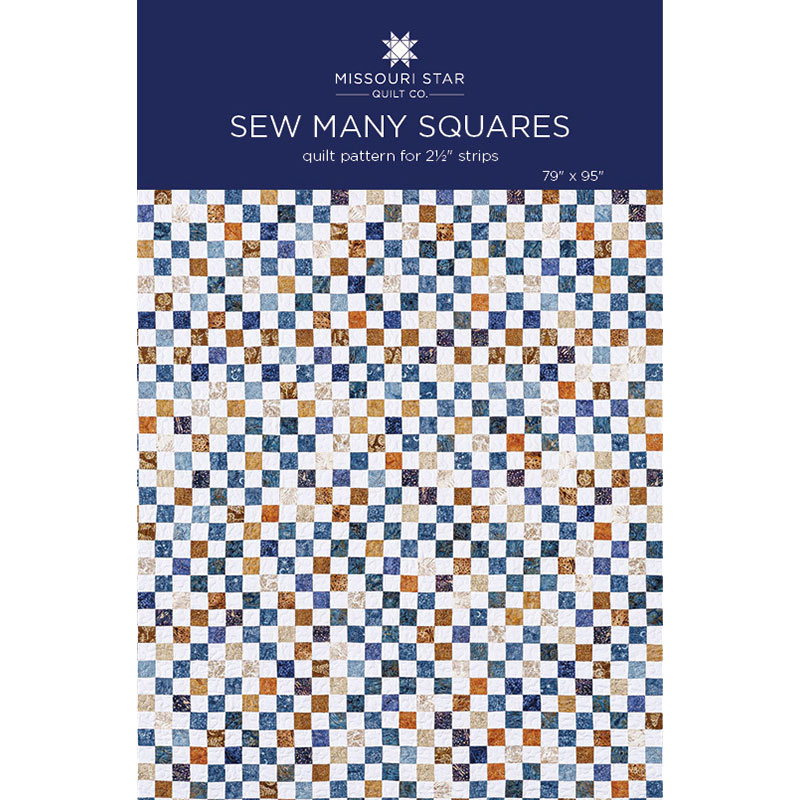 Sew Many Squares Quilt Pattern by Missouri Star$5.95Shop →
 Digital Download - Sew Many Squares Quilt Pattern by Missouri Star$4.95Shop →
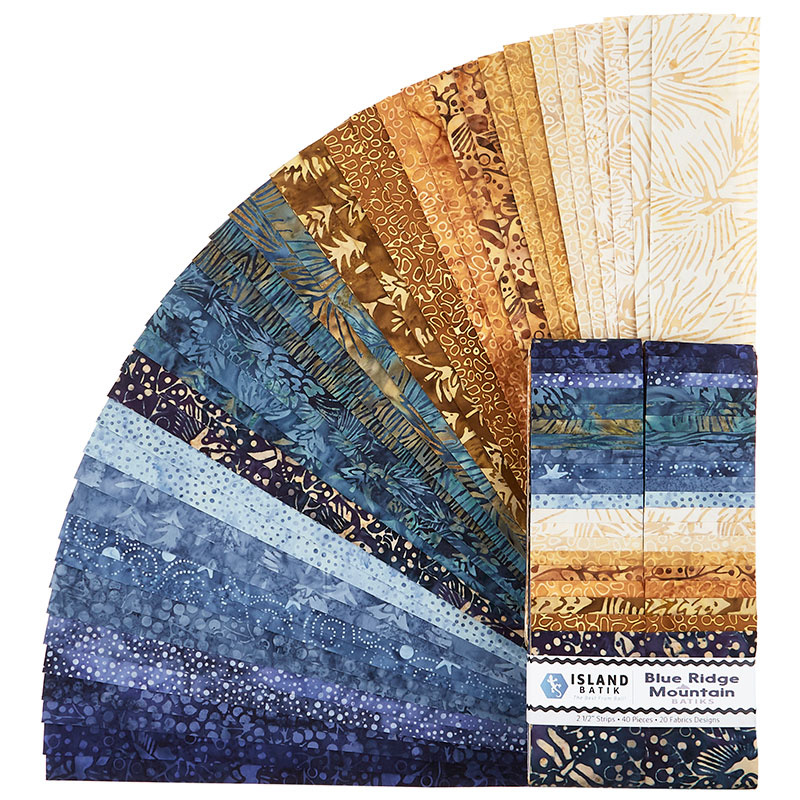 Blue Ridge Mountain Batiks Strips$38.95Shop →
 Kona Cotton - White Roll Up$30.95Shop →
 Kona Cotton - White Yardage$7.28Shop →
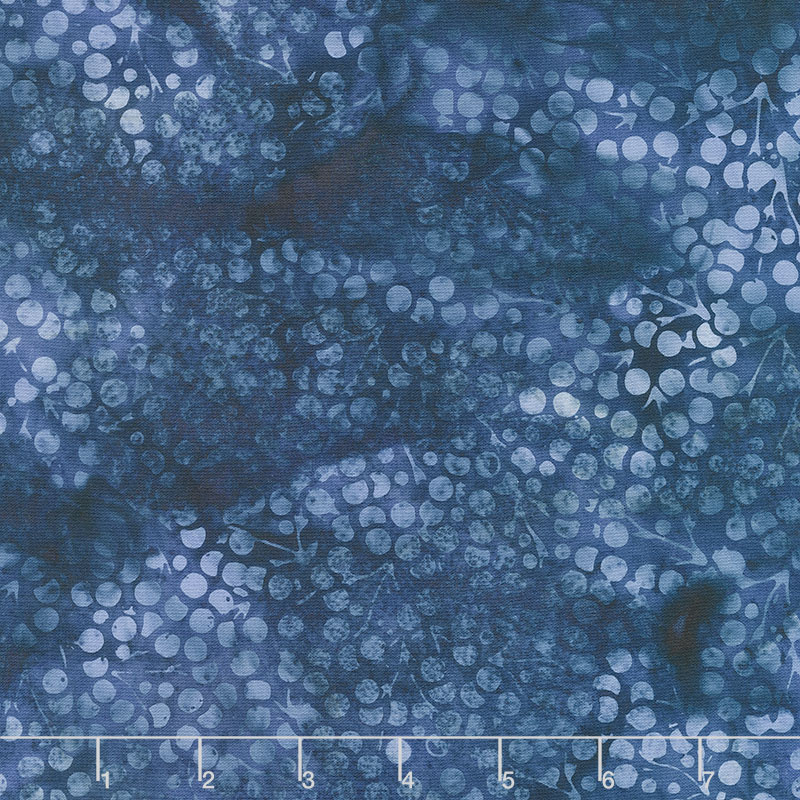 Blue Ridge Mountain Batiks - Blue Berries Midnight Yardage$11.44Shop →
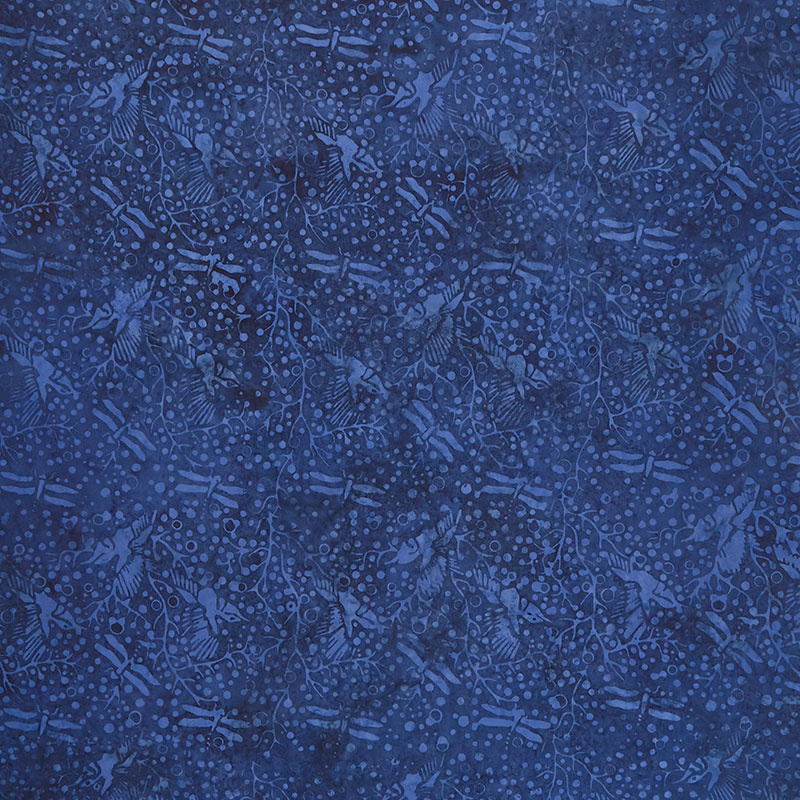 Blue Ridge Mountain Batiks - Dragonfly Midnight Blue Yardage$11.44Shop →
Common Questions
What is covered in Make a "Sew Many Squares" Quilt with Jenny Doan of Missouri Star?
Jenny Doan demonstrates how to make a beautiful scrap-busting quilt with hundreds of pretty little squares. This quilt can be constructed with scraps made into individual four patches, or it can be made with jelly roll strips sets stitched into big 16 blocks. Jenny made one qu...
How long is the tutorial video?
The tutorial video is 00:12:29.
Are supplies listed for this tutorial?
Yes. The tutorial page includes the supplies and materials connected to this project.
Is a transcript available?
Yes. A written transcript is available on the tutorial page.
Video Transcript
Hi everybody, it’s Jenny from the Missouri Star Quilt Company. And you guys know I do not like waste and so when I get to the end of a project and I have a little 2 ½ inch square, I have a little bit of a 2 ½ inch strip left, I have a charm pack that I can cut into quarters, I will take those little squares and I will make little four patches with a background fabric. Well recently I discovered that I had enough of these four patches that I put together that I actually put together this quilt. Now these quilts are quick and easy and they make great little picnic quilts, gift quilts. You know, that sort of thing. Isn’t this fun? All those different squares, all those different fabrics. It actually can become a memory quilt for you. So when I did it and I was laying it out, I thought, you know what, I’ve never taught anything with just squares and this might be a really fun tutorial for you guys. It’s a great way to not waste anything and it’s a great way to use up your leftovers and not have any waste in the end. So let’s take a look at this quilt behind me. Isn’t this fun? Now this looks like a lot of tiny piecing. And if you did it the four patch way like I did this one, it is lots of little seams. But I’m going to teach you how to do this with a jelly roll so it’s quick and easy. It makes a fun project for you and it goes together super fast. Now for me, this is one of the quilts that I’m actually really drawn to. I love order and I love simplicity. And so when there’s a lot going on it just kind of gets my brain going. But this for me is relaxing and calming and I have one just like this on my bed. And so I just want to show you how to make it.
So to make this quilt you’re going to need one roll of 2 ½ inch strips. And we have used Blue Ridge Mountain Batiks by Kathy Engle for Island Batiks. You’re also going to need a roll of 2 ½ inch background squares. For your inner border you’re going to need a half a yard and it should match the roll that you got and so it’s going to be eight more 2 ½ inch strips or a half a yard of extra fabric that you’ll cut into 2 ½. For your outer border out here we used a nice big six inch border and we used a yard and a half for that. Your backing is 5 ¾ yards and we used this beautiful backing right here. And our quilting pattern is called Cotton Candy and you’re going to need 5 ¾ yards for your backing or three yards of a 108 wide. Now this makes a quilt that is 79 by 95 so it’s a great big size quilt and you use every bit of this fabric.
Ok, so let me show you how to make this block. We are going to make this big 16 blocks. Now this one literally came from four patches which you can do. But I’m going to show you an easier way to do that. So what we’re going to do is we’re going to make strip sets. So we’re going to take four of our batiks like this. You’re just going to pick four random ones and I kind of alternated between the lights and the darks and that sort of thing. And you’re going to put a white strip right in between each one of these. And let me just open these up and show you how I did this. And then we’ve got our white strips here. And so you’re just going to sew these right sides together like this and then another white strip here. And then we’ve got this one and another white one like this. And here’s a lighter strip and maybe we’ll put a blue in there and save that light for the outside. You want to vary where you put your strips so that you don’t have all your lights on the top and bottom and all your, you know, you want to make sure that, if I’m going to put these two blues inside this time, the next time I’m going to put them in here. So you just want to vary them. So you’re going to use four strips of white, of your background, whatever your background is and four strips of color, just like that.
So once you decide on your color placement, you’re just going to sew these together. Now whenever I sew a big strip set, I will sew down this way and then I will come back the other way. Because if you sew all one way, in a strip set this large, the whole thing could curve. Now the benefit of this is we are going to slice all of these into 2 ½ inch segments, so the curve is not going to show up that much. So don’t worry about that too much. But that’s just a little trick I do. So I have one right here that’s all sewn together, put these over here. And I want to show you this. So these are all sewn together. Now you are going to have 40 strips in yours and we’re using four strips in each one. That means you’re going to have ten strip sets. And every one is going to be different. And that’s going to be great for you because as we start assembling our blocks we want you to mix all those up and put all the different colors together. So once you get all your strips together like that you’re going to want to press them. And I pressed all my seams inside so they laid against that darker fabric. When you’re doing a block like this and you have a background, if that background is really opaque that’s great. If it’s not you don’t want to see the little edges of the little fabric peeking through. So all my seams are ironed to the dark side. And then we’re just going to lay this down here. And we’re going to cut 2 ½ inch segments like this. And so just lay your ruler on the edge, make sure you have a nice clean edge to start with because your edge, literally, you know, when you sew your strips together it’s going to be like this. It’s going to be all topsy turvy. So you’re going to straighten that up. And then you’re just going to start cutting 2 ½ inch pieces like this. And you’re going to leave them in a big pile because we’re just going to draw from that pile to make our block.
So what we’re going to do, I have a bunch of strips cut over here already. And I’ve made, these are from all my other strip sets. And so I’ve used all the different blocks. And what we’re going to do is we’re going to put eight of these together to make a 16 patch. And I’m going to watch here, and every other one you flip. So you make your strip sets the same but you’ll flip them so that you end up checkerboarding the whole thing. So for instance, you can see right here, if I laid them together, you’d see right away that was a mistake right there because the colors come. But when you flip it then it becomes the other, you know, it just checkerboards. And so we’re looking at all of our different fabrics and I’m going to pull in one of these over here, down here like this. And I’m going to pull in one of the ones I cut over here. And flip them. Let me get these out of the way so you can see what I’m doing here. And what do we have, one, two, three, four, five, six. Two more. We’ve got seven right here. And see even, so look at this. So this is the same strip, exactly the same fabrics but when I flip it they’re going to fall in completely different places on here. And so you can actually use the same one. I just wouldn’t use the same one over and over. So then we’ve got this one right here. So that’s eight. So now what we’re going to do is we are going to sew these together and make a big eight block like this.
And so I am just going to line these up right here. And I’m just going to start sewing down the side a quarter of an inch and I’m going to match at every little junction. So every time that there’s a little seam right here, I’m going to match that together and make sure that my blocks stay lined up with each other. That’s important on a quilt like this. When you’re sewing little patches together, it’s even more important the smaller they get, the more important that is because you want to make sure that these little corners are pretty close. It’s pretty easy, because if you’re off just a little, they’re going to be way off down here. And so I’m just going to take my little squares and nest those seams, everytime I come to them. So I’ll sew down and I stop at every seam and nest the next one because we’re only sewing two inches at a time. But we’re making sure they all lay nice and together. Let’s see here. Oh and for that reason there’s another trick that I want to show you in just a second. Alright so I have this one sewn. Now I’m going to add my next one on here and watch very carefully to make sure they’re still offset from each other. Alright so line up your square, make sure each little seam nests. Alright now I’m just going to go ahead and keep sewing these together as I go along. And I’ll meet you back here when I’m done.
Alright, so there I am at my very last square. And now we have these 16 blocks because there’s four, one, two, three, four and one, two, three, four of background and print. And all together it makes this nice big block. So let’s press this. And then I want to share my tip with you because this is important when using pre cuts. Alright. One of the things that’s important when putting these things together is to make sure they always start and stop the same way. So you don’t want your block to start with a solid or these two will line up. And so you just want to make sure when you put them together you do that or you’ll be adding a little strip here or you’ll be having to turn or something like that and you’ll be like, I don’t want to do that. But if you are sewing strips together and you’re finding they’re not matching up, here’s something I want to show you. When you use a strip from two different companies, what I always do before I start is I take my strip and I take my background. So our background strip is a Kona and this is an island batik. This one obviously doesn’t have the pinked edges and this one does. So I lay them on top of each other to see what the size difference is. And generally, so see here you can see, that the little pinked edges stick out on both sides of this. So what I remember when I’m sewing them together is that this fabric right here is going to be my gauge to putting next to my quarter of an inch foot. I’m going to ignore these little peaks altogether because if I sew them so that the peaks are on the edge and it’s all the way out here, I’ve got this whole edge out here and it’s going to way throw your strip sets off. So make sure you lay those strips together and make sure that they’re the same size or that there’s a reference point that you can sew from. And for me I’m going to always have this printed fabric on top so that I don’t use the little pinked edge as my guide. So that’s a little tip from someone who knows.
Alright so let me show you how this fits into the quilt. So right here, we’re going to start here and this is how it fits in there right here. So we have one, two, three, four. So we have four across right here. And then going down we have five. So we have five rows with four big blocks but when you put them all together it literally looks like you sewed every little square individually and it just looks great. So the size of the quilt again is 79 by 95. Great size quilt. I just love it. I love how it came together. I love the peaceful feel and look of a quilt like this. And this is a great way to use up scraps. But if you want to make one with a jelly roll you can do it. If you want to make one with a layer cake, you’re just going to cut that into 2 ½ inch squares. And if you want to make it with a charm you’re going to quarter it and of course we have those little 2 ½ inch squares that we can use all day long. So we hope you enjoyed this tutorial on Sew, S E W Many Squares from the Missouri Star Quilt Company.
Hi everybody, it’s Jenny from the Missouri Star Quilt Company. We hope you enjoyed watching this video. If you aren’t already part of the Missouri Star Quilt Company family be sure to subscribe so you won’t miss a thing. And if you click that bell it will notify you every time a new tutorial comes out. See you next Friday.


