

How to Make a Spiderweb Quilt - a tutorial with Jenny Doan.
Jenny Doan shows how to make a fast and easy Spiderweb Quilt using the Wacky Web template and some scraps.

Instructor
Jenny Doan
Jenny Doan is an American quilter, author, and YouTube personality. Jenny started Missouri Star Quilt Company in 2008 and today it is the largest quilting supply vendor in the United States.
Shop this tutorial
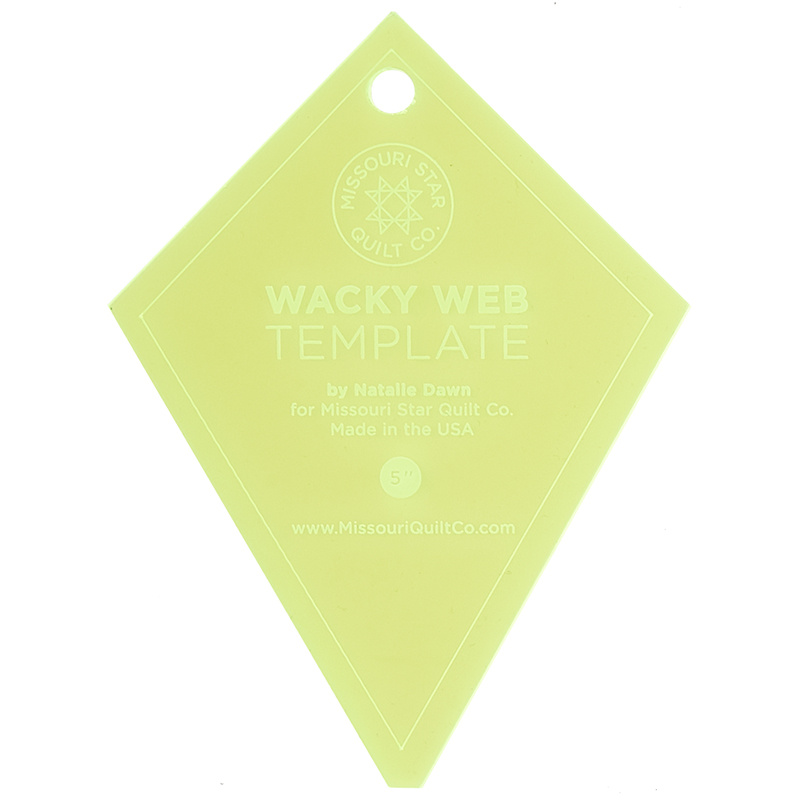 Missouri Star Small Periwinkle (Wacky Web) Template for 5" Charm Packs$7.95Shop →
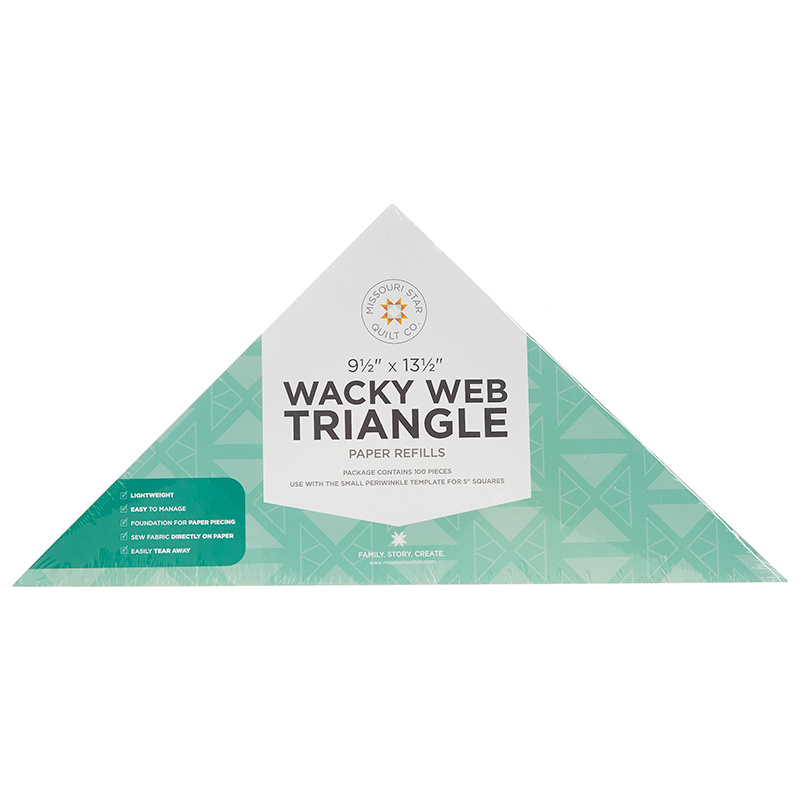 Wacky Web Triangle Paper Refills 9 1/2" x 13 1/2"$9.95Shop →
 Olfa Cutting Mat - 24" X 36"$68.95Shop →
 Olfa Splash Aqua 45mm Rotary Cutter$18.75Shop →
 Exclusive Missouri Star Jenny TG1600 ProPlus Oliso Smart Iron$199.99Shop →
Common Questions
What is covered in How to Make a Spiderweb Quilt - a tutorial with Jenny Doan.?
Jenny Doan shows how to make a fast and easy Spiderweb Quilt using the Wacky Web template and some scraps.
How long is the tutorial video?
The tutorial video is 00:16:45.
Are supplies listed for this tutorial?
Yes. The tutorial page includes the supplies and materials connected to this project.
Video Transcript
[Music] hi it's Jenny from the Missouri Star Quilt Company I've got a great tutorial for you today who has some scraps look at these every time I get a little bit left from my binding or anything I put my strips in a basket because I'm always going to do some great project with them not that I uh ever really get around to it but I'm always going to do it but this is the year of the stash Buster now for those of you who don't know what a stash is a stash is all of your extra fabric that's it's anything that you get you know when you get to yards for a project and you have a little bit left that's where your stash is so we've got all develop quite a stash really fast and I have a stash Buster for you this year look at this great little quilt behind me this is a spiderweb quilt and they're just that's why we have the spiderweb up here because uh you know we know it's not Halloween but this is the spiderweb quilt and I want to show you how to make it this is a very simple form of paper piecing don't be scared by that word paper piecing is not hard and this is a really simple form and a really fun way to do it so for this project you're going to need your scraps now I'm going to use a charm pack um because it's you know I it's what I have and it works well but I also you know a lot of times we'll buy a random charm pack and we're not sure what to do with it well this is a great thing to throw them in because you can put any fabric next to each other you're ALS also going to need some kind of solid for your middles if you have a a solid piece in your middle then it makes the web pop so you want that web to stand out we also have the Wacky Web template right here which is a new template for us and this is going to become one of your favorite tools because you can put this together so many ways and do so many things with it and these papers are available through us also and we actually piece on these papers and I'll show you how that's done the other thing you're going to need of course is your rotary cutter and you're going to need your iron look at this iron this is my new Christmas present iron we love this iron and also last but not least at all is the lapel stick and we use this to glue the actual middle section of the fabric down to the paper this was originally made for wardrobe malfunctions and things like that works great for that let me tell you but the other thing is is that it's awesome for applique or any time you want to uh attach something when you're going to sew it back together it this works great for that it doesn't gum up your needle you can hand sew right through it it doesn't get hard it's just awesome so let's get into this a little bit first thing what we're going to do we're going to start with our little piece of paper right here and we're going to cut out this middle block right here so we're going to use our Wacky Web template here right here and we're going to get um a charm pack size now this any size square or any any fabric you can use any fabric you want and but it'll end up being you'll need a 5 in square just like a charm pack because all of our templates fit for the pre-cuts you know we we have this one so see how this one lays right on here it goes right you know you just put it in the corner right there so really all you're going to do is you're going to chop off this side and let me scoot these things over you're going to chop off this side and then you're just going to chop this little bottom piece right here this is the foundation for your um your the beginning of your web your paper piece web so now what we're going to do is we're going to get our lapel stick and we're just going to do a couple of lines on this paper like this so we just put that right on there and then we lay this on here and we just you know just tap it on there and make sure that it stays on there I mean it'll stay on there fine so then you need to gather up your scraps and this is a fun part because you really literally they used to do this in the old days did these out of um phone books old phone books and they tear out the pages and make their patterns and um and they they made them with all the scraps of all their old clothing and everything like that and they're so beautiful and so the scrappier the better so what I've got here I'm going to use some of these charm pack pieces and this is really fun because um there is no rhyme nor reason to this you can see I'm laying this ruler on here it's not at all straight I'm just going to whack me off a piece and then I'm going to whack off another piece it doesn't matter how skinny or wide they are this is going to be your favorite thing for using every single strip you can find you'll use teeny pieces you'll use big pieces it's just it's so much fun to put these together because you know I used to throw away the little bits of scraps but now that I do these webs even those little bits will fit right on the little corners of the of the web so let me cut a few more of these so we can uh do some of that so see and I'm stacking them up here you can see I've got a little stack you know four or five of them here um you know you can see I have I have a few I generally don't cut more than four or five it gets too wonky but seriously for this doesn't even matter all right so there we go okay so now what we're going to do is we're going to take our um our piece with our paper glued on and we're going to take one of these strips and we're going to just lay it on here right sides together and just match it up right with the edge of the paper and we are going to go over and sew this on the sewing machine so you sew right through the paper so let me get my foot turned over and I'll be ready to go so we're going to go right here and I am going to just sew straight down this finish that off and this is one of those times where you really need an iron close by and so you're coming over here to your iron and you're going to flip this back and you'll want to press this every time so that's how you end up with with that piece right there then we're going to stick another piece on and again you lay it right along the edge whatever Edge whatever angle that edge is going you're just laying it right along the edge and you're sewing a/4 of an inch I tend to sew all all the way down to the bottom just because um just cuz it you know it I I just think it stabilizes a little better but you can see now here we have two pieces so we're going to attach another one of these and we're going to put it right along that edge just keep going out and you come over here and you just going to iron that straight back now you can see I have a I have one little one little bitty corner there left and what I can do with that if I want something let's find something really different to put on that corner how about this brown piece right here what I can do is I can lay this like this and then when I flip it over it'll cover that point let me see if I can get one that's a little bigger make sure I cover it so I'm going to put this so really what I need is a piece that's about this big this is so not an exact science it's just really whatever pieces you have so what I'm going to do is I'm going to plop that one right on that edge we're going to come over here and sew that there we go and even you know even your quarter of an inch isn't crucial on this I mean this you're just putting them together we're going to put another piece over here right sides together and start down the other side press it open let me cut up the last few of these pieces cuz there's some nice Blues in here that I want to use one of the reasons I kind of chose this pack to show you is that this is all from a same line but they're they're it's really um it's one of those lines that you can hardly imagine would go together until you see it up here like this and then you're like oh that looks great so this is Fiona Fancy by Riley Lake and it's just a great line of fabric look here's a little one going have a little piece in there going to iron it open let me see here maybe I'll end it with this dark brown one so you just keep adding these on now a way to um one of the ways to get a lot more of this done quickly is you can put a whole bunch you know glue a whole bunch of your middles on and then you can um just chain piece them through you know one after the other and then you know Iron you know like four or five or however many you want to do at a time um Iron them out and then um and then they go together a lot faster so then let me show you this if we're going to turn this over now and you can see where the paper is on this right here and what we're going to do is that paper then becomes our cutting line because this right here is not going to go together too pretty so we to make it so it goes together really nicely so we're just going to lay this ruler here along the edge of our paper and we're going to trim this off this little extra stuff like this there we go and then across the bottom there we are make sure your paper's straight there we go so then you end up with a piece that looks like that it's really clean and tidy it just it just looks really you know the edges are sharp and perfect and it's going to go together perfectly so let's just let me just show you that I have one here that I did before um we'll just go through it again and I'll show you how we cut it so we're just going to lay our ruler along the edge of the of the paper and then we're going to turn this again along the edge of the paper make sure your rulers and a lot of people ask me how I keep my ruler in place well a lot of times I'll keep that little finger off the ruler on the mat that gives me some stability and it's it's um it just helps you as you to keep your ruler in place there's all kinds of uh tips and tricks for that all kinds of little things you add to them and and do to your rulers I'm just going to pull this off I'm going to scoot this down a little bit and I'm going to go ahead and line my ruler up on the paper slice this off there we go so now we have two of these here that are ready and this will make a half of our block so look how they go together just like that and you'll put four of these together and it'll make a block so this quilt goes together in Big Blocks uh there's there's other ways to set it this is just the way I'm going to show you you also want to make sure uh try and make sure that these line up this Edge isn't crucial I have some edges here you know that aren't perfect and you know because what you want is the look of the spider we and and all no spider webs are the same they're all just a little bit different so they don't have to be perfect and you know this is just great for for any of those projects where you just want to sit down and sew so then what we're going to do is we're going to lay these right sides together just like this you know if it's really crucial to you that these match up exactly you know you can put a pin right there if not you can just take them over to your sewing machine and just sew 1/4 of an inch right down the side and I'm sewing right through this paper every time I sew through this paper that needle going in and out perforates it so when to take it off it's going to be a piece of cake there you go all right so now we're going to bring this over to the I'm trim these threads and then bring it over here to the ironing board we're going to open that up and we're just going to press this flat and then this makes a half of our Square so once we get our Square together I have a square here here's a square all together and I mean it's just such a fun little shape I just love looking at them I love all the colors how it mixes all up and then um before you're going to sew it together on your quilt you're going to want to take these paper pieces off so what I do is I have a um a scissor somewhere here we go I have one of these little um scissors you can use your regular scissor and I just gently drag my blade across these pieces so I can get my um my thumb in underneath I mean you can do it any way you want this is not a rocket science this is not a half to this is just a something you know an easy way to do it and see right there where where those seams are you've perforated it with your sewing machine needle so it all comes off this is a great job for your grandchildren by the way they can sit there and peel your paper it's awesome and you don't actually have to do this before you the blocks you can do this after your quilt is done and just sit sit down in front of the TV and um you know put a put a good old movie on and and uh and see now I want you to notice this too now what I'm doing these blocks have all been glued to this paper but look look how easily this comes off it's not it's not any kind of work you know getting that off of there it just it held it on perfectly for as long as I needed and then it just comes off so nicely all right so we're going to pretend that all this papers off and we're going to attach these blocks to our quilt so here's how they're going to go like this let me get a pin let me grab a pen over here my arms aren't long enough for this job there we go all right so we're going to stick this up over here oh goodness there we go so you can see how this is going to look when it all starts coming together and I have another one here and it's going to go together here what's fun about these scrap quilts is they very quickly go from um and here's my half a block you can see how that's going to finish that off right there once we get two more of those done it's going to finish this this web off right here there we go well that will actually fit up in there once those seams are taken in I hope you can see what I'm getting at with that what's wonderful about these stash quilts these you know these Scrappy quilts and these paper piecing quilts is that these very quickly become an heirloom because you're using pieces from all the quilts you've made you're using little scraps of things maybe even clothing and it just becomes a wonderful heirloom project goes together very quickly and easily we hope you enjoyed this tutorial from the Missouri Star Quil company [Music]


