
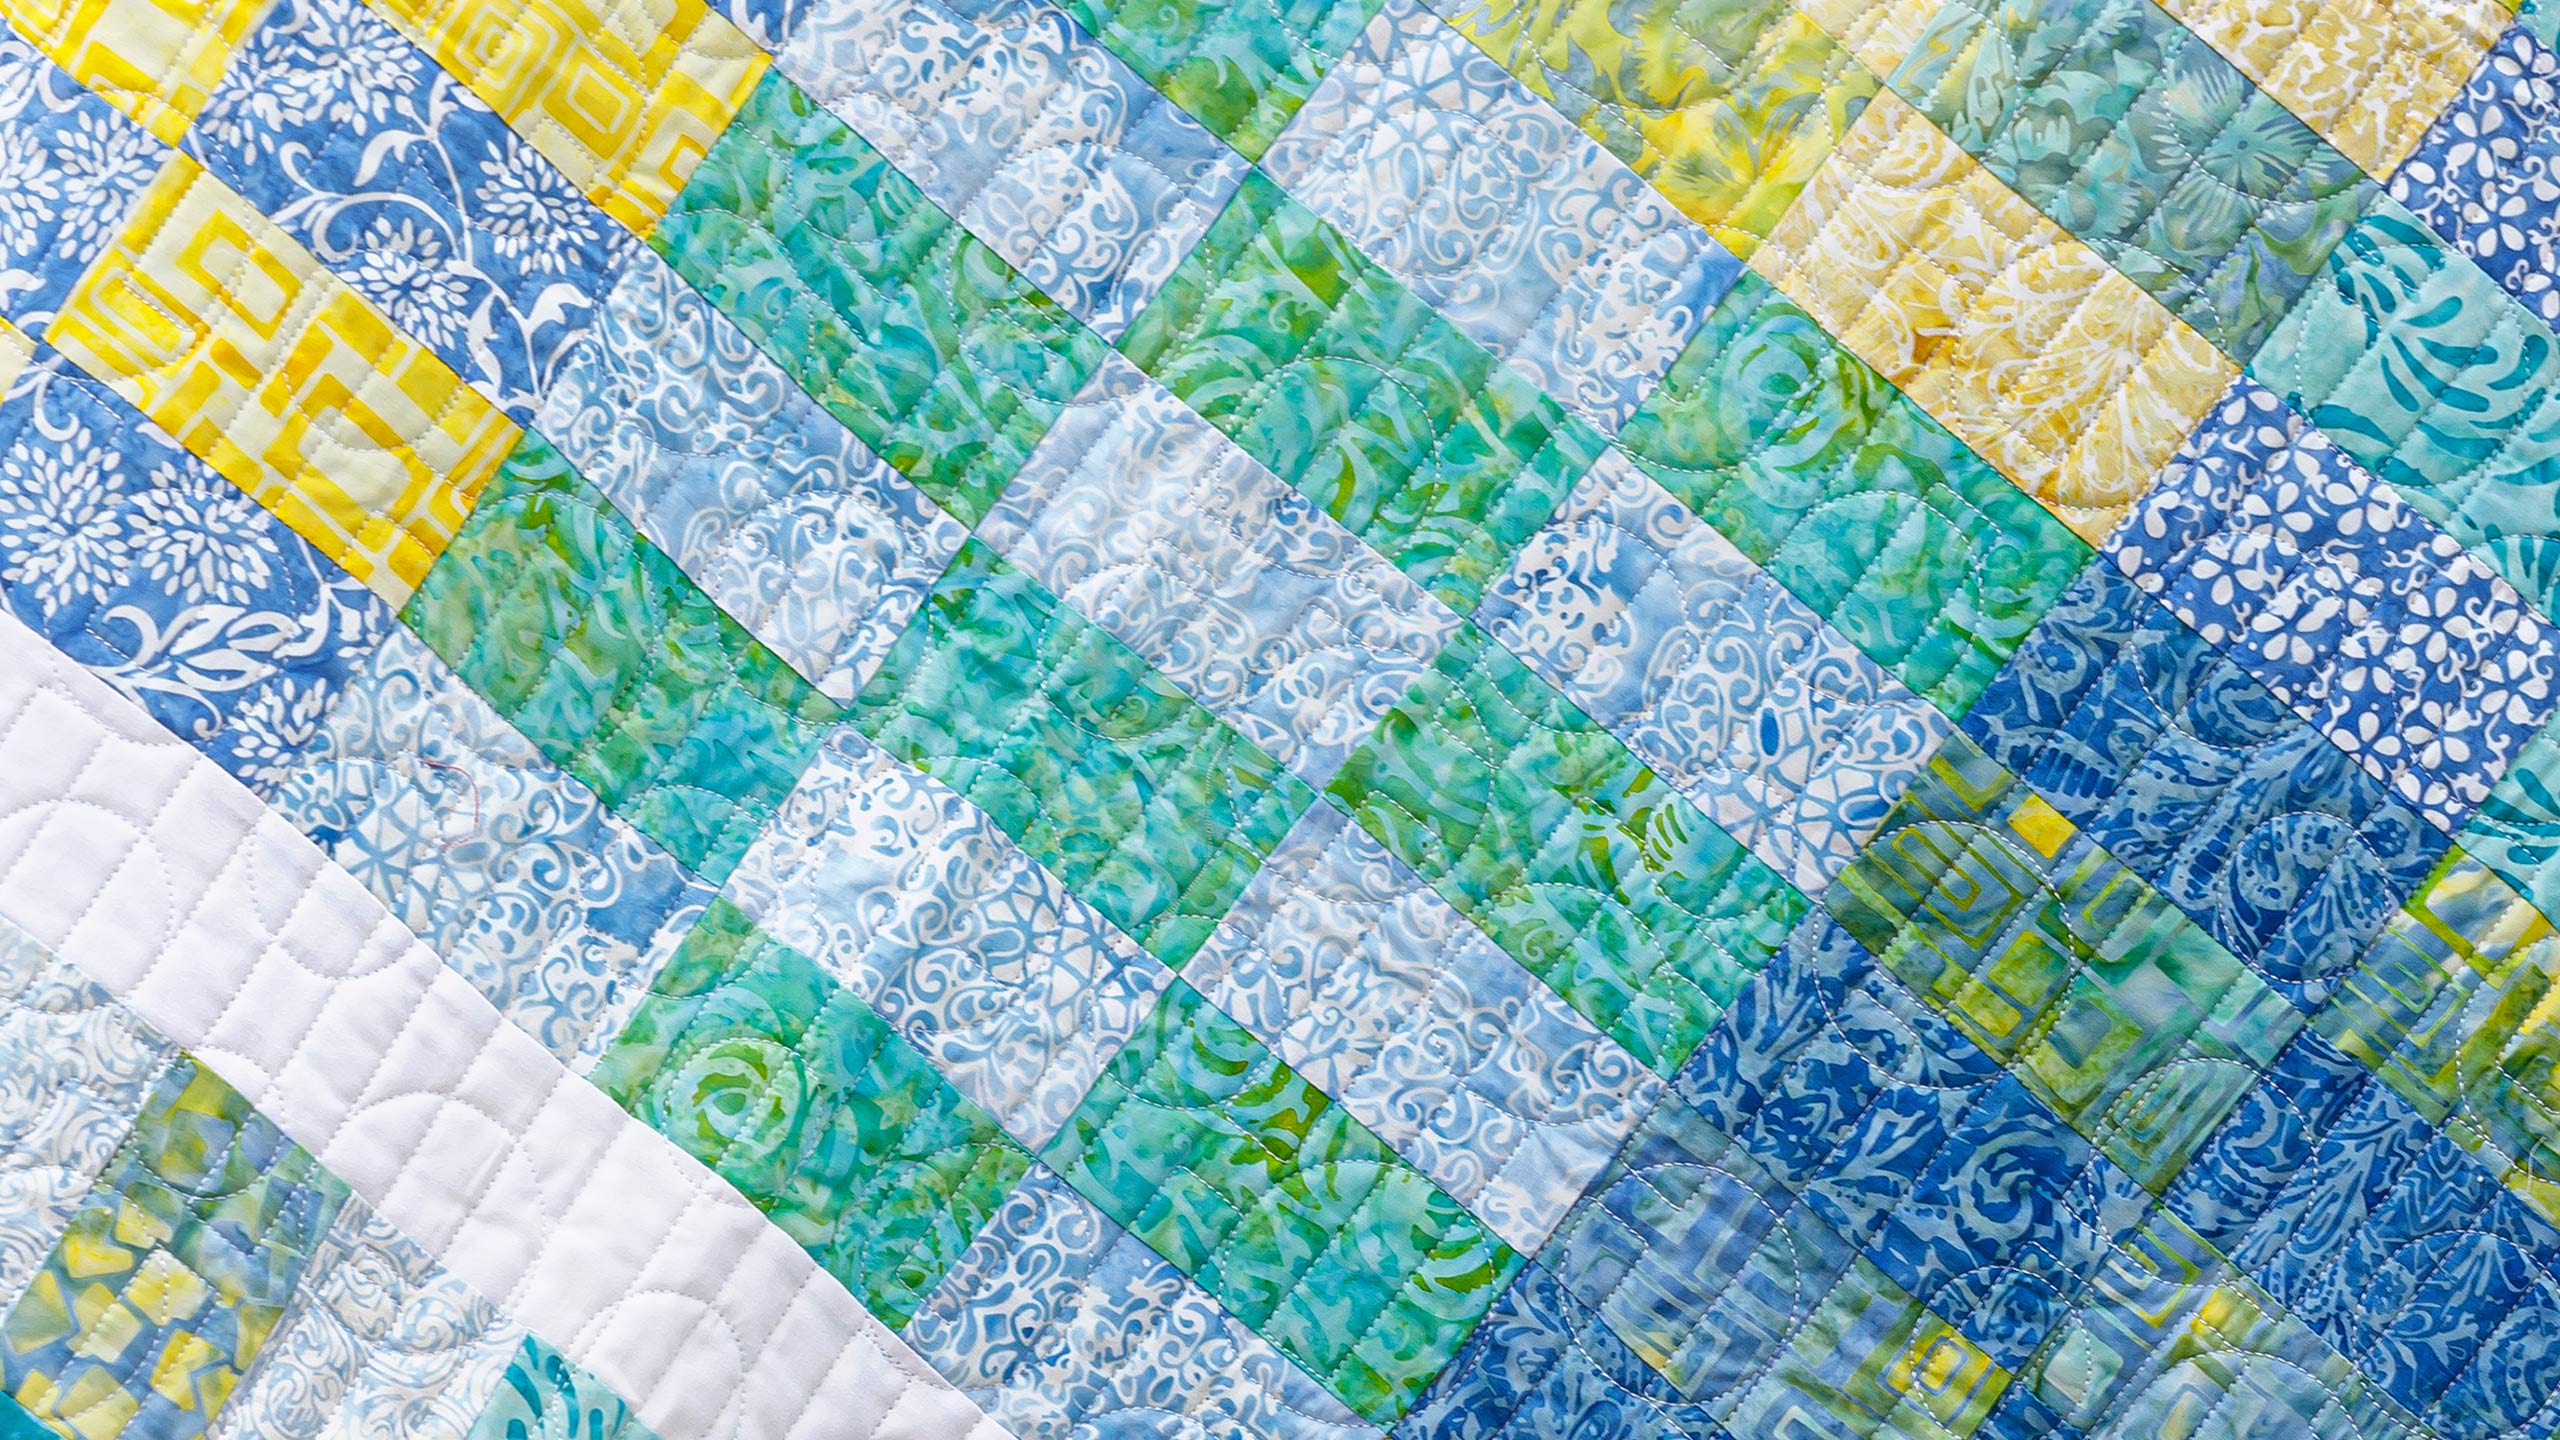
Make a Split Bars Quilt with Jenny Doan of Missouri Star Quilt Co
 Jenny Doan
- Jelly Roll
- Modern
- Lap / Throw
- Beginner
- Quilt size 47" × 47"
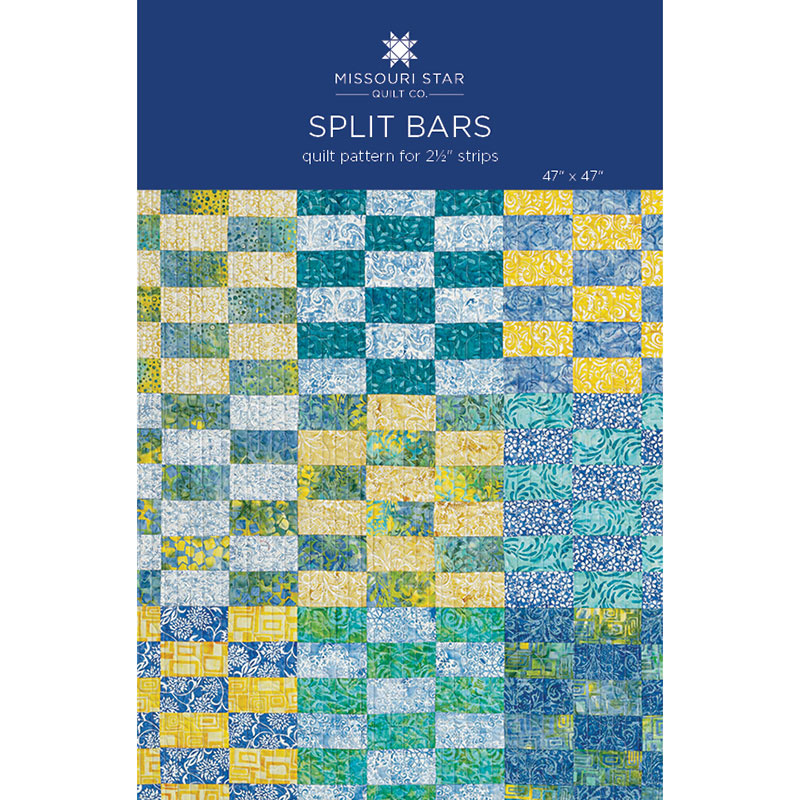
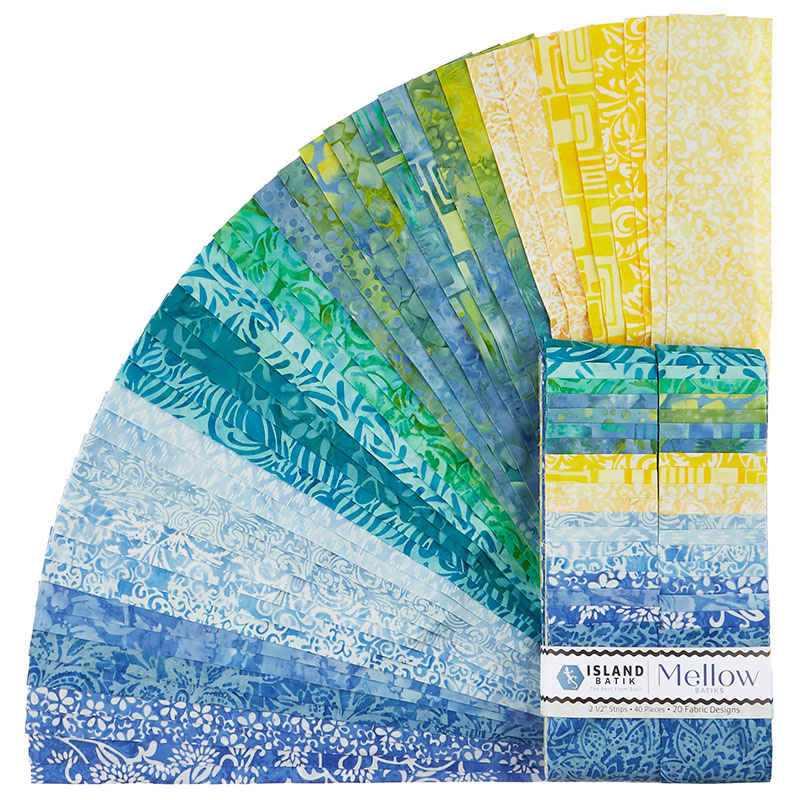
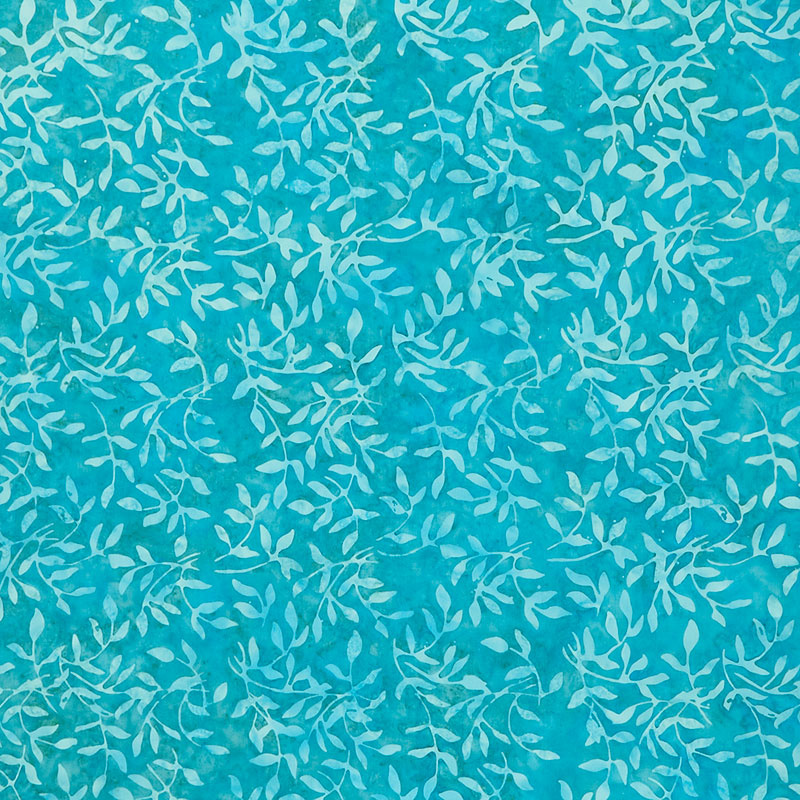
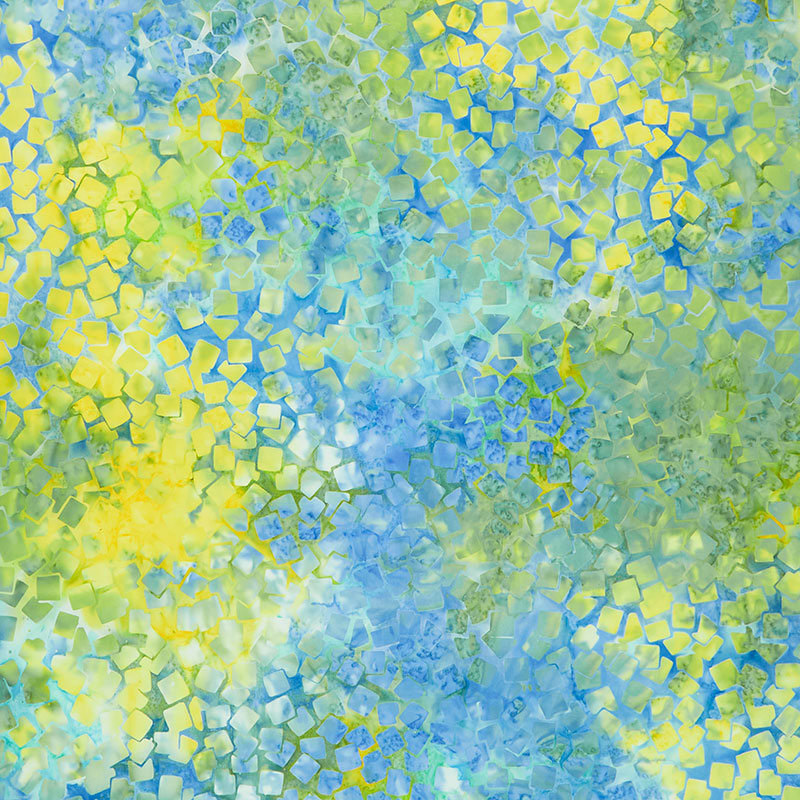
Jenny Doan demonstrates how to make the sweet n’ simple Split Bars quilt using 2.5 inch strips of precut fabric. For this project, she chose Mellow Batiks Strips by Kathy Engle for Island Batik. This pretty jelly roll quilt is made with strip sets and comes together quick as a wink. And here’s the best part: You can make the quilt, a piano key border, and a bonus table runner—all with just one marvelous jelly roll!
Instructor
Jenny Doan
Jenny Doan is an American quilter, author, and YouTube personality. Jenny started Missouri Star Quilt Company in 2008 and today it is the largest quilting supply vendor in the United States.
Shop this tutorial

Common Questions
What is covered in Make a Split Bars Quilt with Jenny Doan of Missouri Star Quilt Co (Video Tutorial)?
Jenny Doan demonstrates how to make the sweet n’ simple Split Bars quilt using 2.5 inch strips of precut fabric. For this project, she chose Mellow Batiks Strips by Kathy Engle for Island Batik. This pretty jelly roll quilt is made with strip sets and comes together quick as a...
How long is the tutorial video?
The tutorial video is 00:11:49.
Are supplies listed for this tutorial?
Yes. The tutorial page includes the supplies and materials connected to this project.
Is a transcript available?
Yes. A written transcript is available on the tutorial page.
Video Transcript
So to make this quilt, you're going to need one roll of two and a half inch strips. And we have used this gorgeous line called Mellow Yellow by Island Boutiques. You're also going to need a half a yard for your inner border, and we've just used this white. Use whatever works for you. For your backing, you're going to need three and a quarter yards. And we've used this gorgeous piece from the line with all the colors in it. Now your outer border out here is all made up with the jelly roll strips, so that's really all the fabric that you need. The quilting pattern we used on this is called Circles and Lines. And it's one of our new patterns. And it's just really fun and modern. And it makes a quilt that is 47 by 47, so it's a great size.
So let me show you how to make this. First thing you're going to do is you're going to go through your roll and you're going to select your lights and your darks. And we use matching pieces. What makes this quilt so cool is the continuity of the blocks are the same. So you can see that in this block. You can see that in this block we've used the same two colors. And what is it does is it just gives it this great kind of overall pattern that really stands out. So I'm going to choose two blues right here. I've got these kind of vibrant blues right here. And I've got these kind of pale yellows. And I'm going to put those together and I'm going to show you how to do this.
So we're going to sew these both together, long ways, just like this. And we're just going to line them right up. Remember with boutiques, any side is the right side. So it makes it real easy to put them together. So line this up and come back and get back a little bit. And make sure they line up. With boutiques, they say snugged pretty good. And so you can sew quite a little ways without readjusting. All right, now I'm going to stop and look and make sure I'm still in the right spot. And on we go. And one more line up. And you're sewing that a quarter of an inch all the way down the side. And you're going to do that to two strip sets.
And what we're going to do now is we're going to press them open. And I'm going to press to the dark side. And so I'm going to open this up and just roll this back. You want to make sure there's no pleats or folds, that they're rolled right back. And then we're going to do the same thing to the other one. Let me grab this and get it going the right direction. Press it back. And the tail end.
All right, so now what we're going to do is we're going to take these and we're going to cut them in half. And so I'm just going to take my two that are stacked like this and fold them in half like this. Make sure I know just where the middle is. And I'm going to go ahead and just trim right on the edge of the fold. You can actually come in with a scissor and clip it apart. I'm just going to barely shave this off so I cut through both pieces, just like that. And then what we're going to do is we're going to sew these together, three of them. We're going to set aside number four over here. And three of these we're going to set together just like this. So we have dark, light, dark, light, dark, light. And so we're going to lay this on top of here and sew that.
So this is a really quick quilt. And I just wanted to say that the way I put this together, I used everything in the whole jelly roll. And so if you want to make it bigger, you're just going to need to add another jelly roll. So let's go ahead and sew down the side of these. Keep them lined up. And now we're going to add that next piece because we're looking for six of these, six strips zone together. Make sure your yellow is to the blue or your light is to the dark, whatever you want to call it. Make sure they're nice and lined up.
And then we're going to press these nice and flat. All right, so we're just pressing them nice and flat. And at this point, really make sure you have no folds. And then I'm going to flip my strip set over and I'm going to make all my strips go one direction. So I'm going to come along here like this, and I'm just going to coax those strips to go one direction. And I'll show you why I do that in a minute.
All right. So now they're coaxed to go in one direction. And what we're going to do now is we are going to cut four and a half inch strips off of here. So the first thing we want to do is we want to lay this on our mat and line it up. And make sure that we are pretty square to the mat. And so if you need to trim off this little outer edge, you can do that. My edge looks pretty straight, so I'm just going to come in four and a half like this. And I'm going to cut one and move that aside. And I'm going to cut two. Line it up four and a half.
You can also check this by making sure that your ruler lines line up along your strips as well. Two and then I'm going to cut three. Again, four and a half inches wide. And we're going to set this over here. Now what we're going to do is we're going to take these right here, line them up like this. And the reason I call this split bars is we are splitting this look by turning this center one right around like this. So now we can sew these together and it makes this great checkerboard pattern. So, because we've ironed all of our strips going one direction, when I flip this one over, the strips are going the other direction and they will all nest. And so it's just a little trick to help your pieces fit nicely together. And we're going to sew this together. And this is going to make our block. And so let me go ahead and line this up. And every little junction where those seams come together, feel with your finger to make sure that your seams are going opposite directions and everything is laying down real nice.
And then we're going to add our other one on the other side right here. Make sure you've got it going the right direction. We'll flip this over and we're going to start right down this side, quarter of an inch. Make sure they're snugged up. And just remember all your seams should be going the same direction. All right, now let's press this open.
Now you're actually going to get 10 strip sets doing this and it makes you 10 blocks. But 10 blocks does not make a quilt. Nine blocks makes a quilt. So you're going to make nine of those. And we're just going to sew them together like this, just like right next to each other. We're just going to take these two blocks and sew them together, just like this.
Once you get your blocks sewn together, three rows of three, one, two, two, four, five, six, seven, eight, nine, you're going to put your little two and a half inch border on the outside. And then we have this outer border out here. Now this is a piano key border. So what I did was with all of these pieces right here, all of these leftover pieces, you get a piece just about this big. It's not enough to do two four and a halfs. It's not big enough. So we're going to do two fours. So our outside piano key border, we're going to cut these into fours, just like this. And then we're going to cut a second one into fours like this, four inches. And we have this little piece of leftover right here.
And then these are going to become our piano key border out here. And so you can see, I have four of a kind, four of a kind, four of a kind. These are enough to go all the way around. You have two, which means you have one to go on this side and one to go on that side and you'll have plenty of these to border your quilt. But we still have these other halves of our pieces, of our strips, left over in a pile over here. So what I did with these was I just kept them all in a pile like this and I pressed them open. And then I started sewing them together randomly. So you have three rows of six right here. I mean, oh, you want to put them light and dark. So let's flip this one over.
So again, you're going to put six strips together. So light and dark, but it can be any strip sets you want now, just like this. So once you get these sewn together, we're going to cut these in four inch increments all the way along here. That gives you a pretty good stack. Now you're going to get one of these strip sets left over from every single one of your blocks, so that's quite a few. Well, I started putting them together and look what I made. I made this great table runner. It's a great size. And you see these, they're all mixed and matched, but they all look so fun. And it's such a great bonus project. And I literally just sewed rows together, mixing them up as I went along. Put a little two and a half inch strip on the outside and bound it. My backing is the same as the big quilt.
I mean, it just came together so cute. And you know, I have a big table, so you know I like a long table runner. So this is a true bonus project because you literally can make that quilt. And this table runner out of this one, bundle of two and a half inch strips. So we hope you enjoyed this tutorial on the split bars quilt from the Missouri Star Quilt Company.
Hi everybody. It's Jenny from the Missouri Star Quilt Company. We hope you enjoyed watching this video. If you aren't already part of the Missouri Star Quilt Company, family, be sure to subscribe, so you won't miss a thing. And if you click that bell, it'll notify you every time a new tutorial comes out. See you next Friday.


