Skip to content

Free quilting video tutorials from Missouri Star

Quilting Tutorials
Make a "Spring Sling" bag with Misty Doan on At Home with Misty!

Make a "Spring Sling" bag with Misty Doan on At Home with Misty!

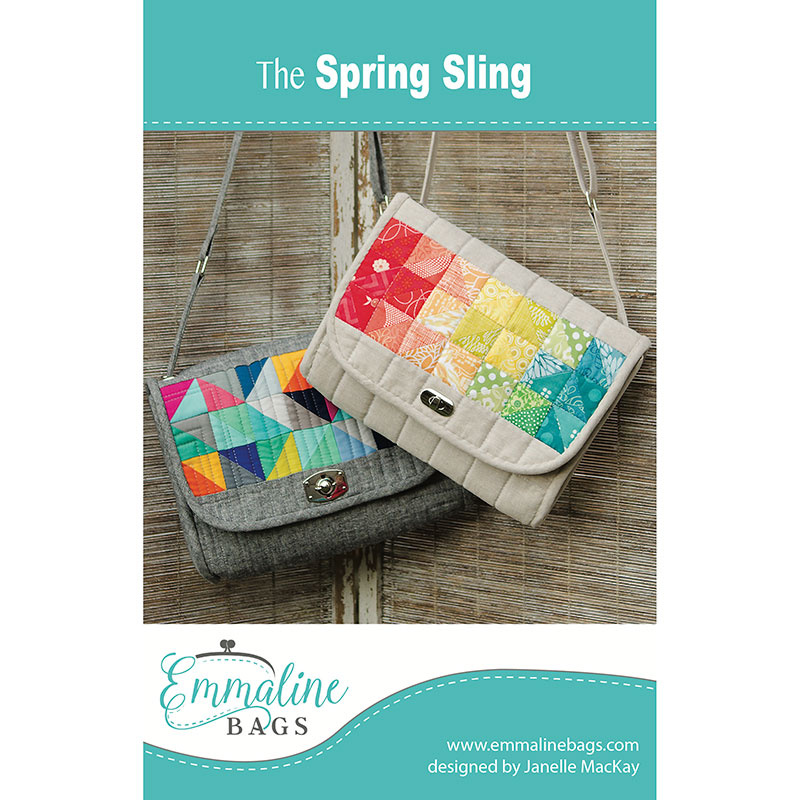
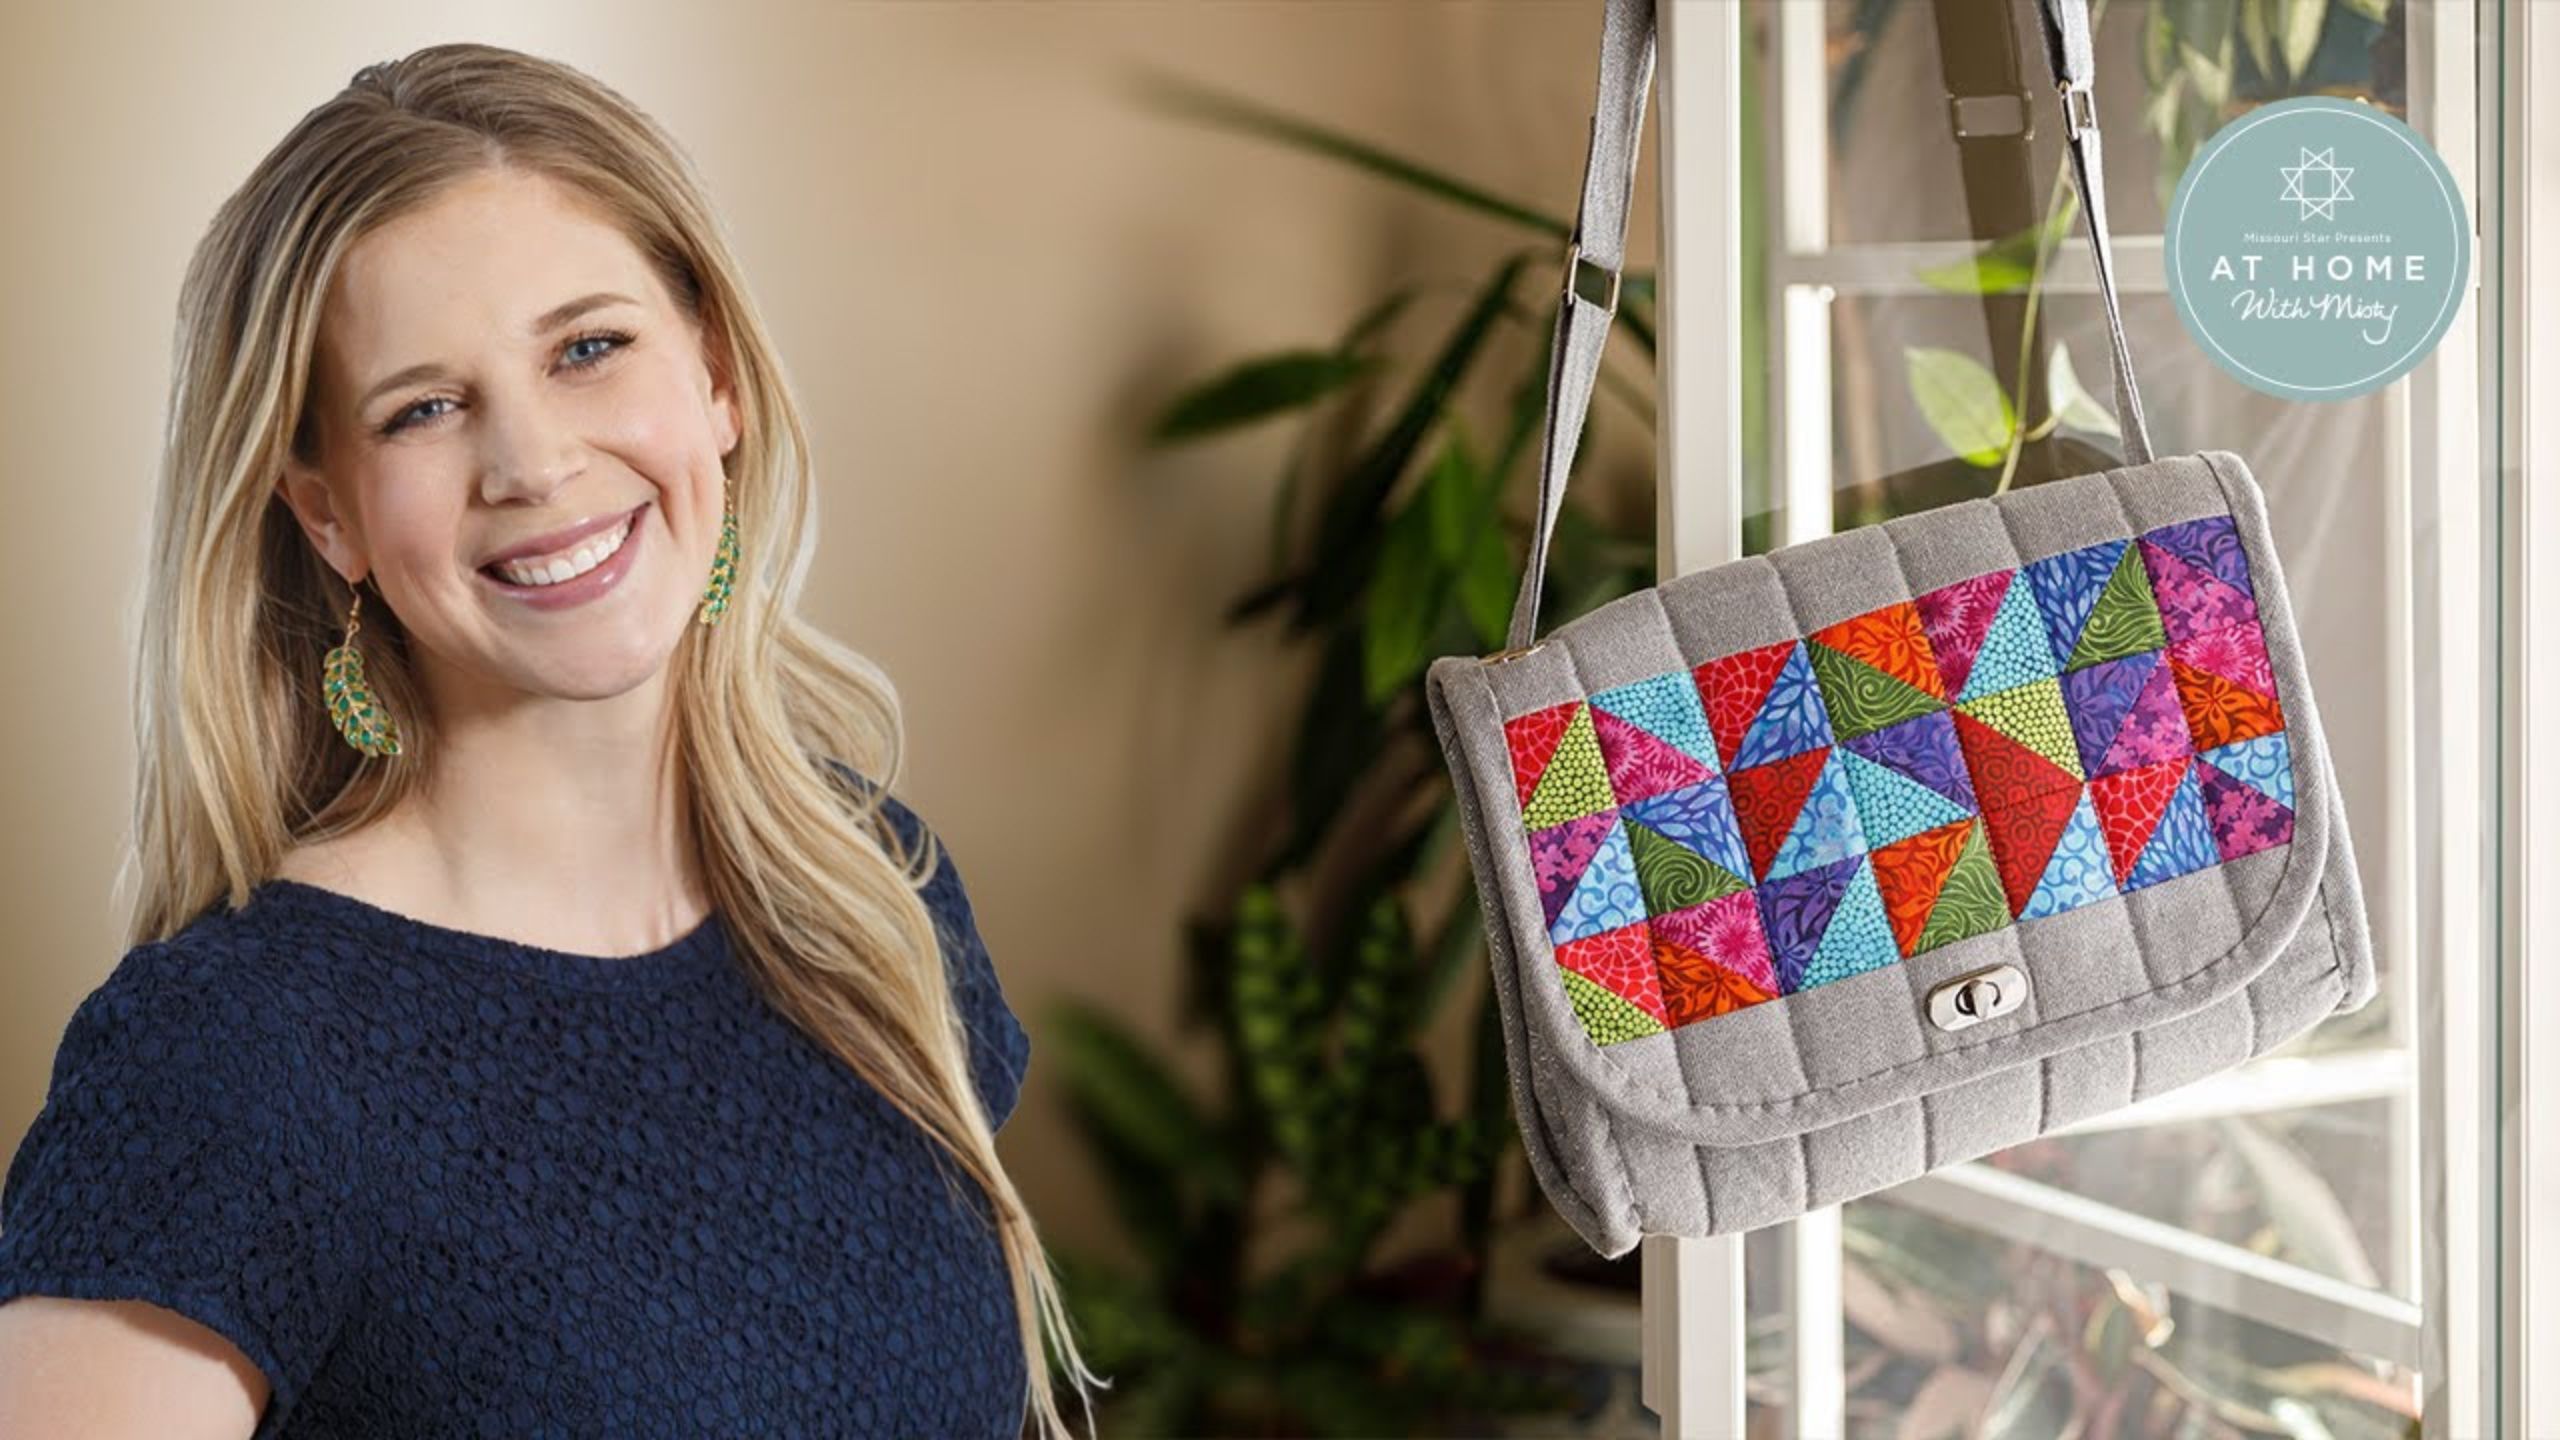
Turn rainbow charms into a stylish purse you can take anywhere you want to go! Watch and learn as Misty sews the Spring Sling, a quilted crossbody bag with a twist lock and handy zippered pocket to keep all your essentials secure. This clever pattern by Emmaline Bags will turn any quilter into a bag maker, and vice versa!

Instructor

Misty Doan

Misty Doan grew up surrounded by sewing and quilting. She loves spending time sharing tutorials each week each week, and when she’s not stitching up one of her fun sewing projects for home decor, most likely you’ll find her hanging out with her husband and three awesome kids or working on a house project.

Common Questions

What is covered in Make a "Spring Sling" bag with Misty Doan on At Home with Misty!?

Turn rainbow charms into a stylish purse you can take anywhere you want to go! Watch and learn as Misty sews the Spring Sling, a quilted crossbody bag with a twist lock and handy zippered pocket to keep all your essentials secure. This clever pattern by Emmaline Bags will turn...

How long is the tutorial video?

The tutorial video is 00:48:02.

Are supplies listed for this tutorial?

Yes. The tutorial page includes the supplies and materials connected to this project.

Video Transcript

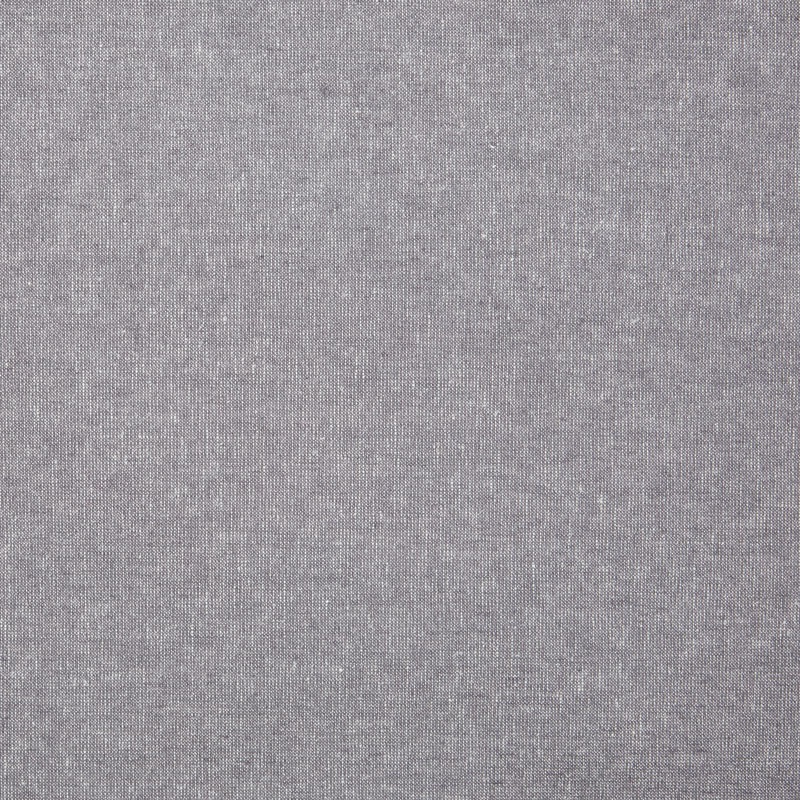
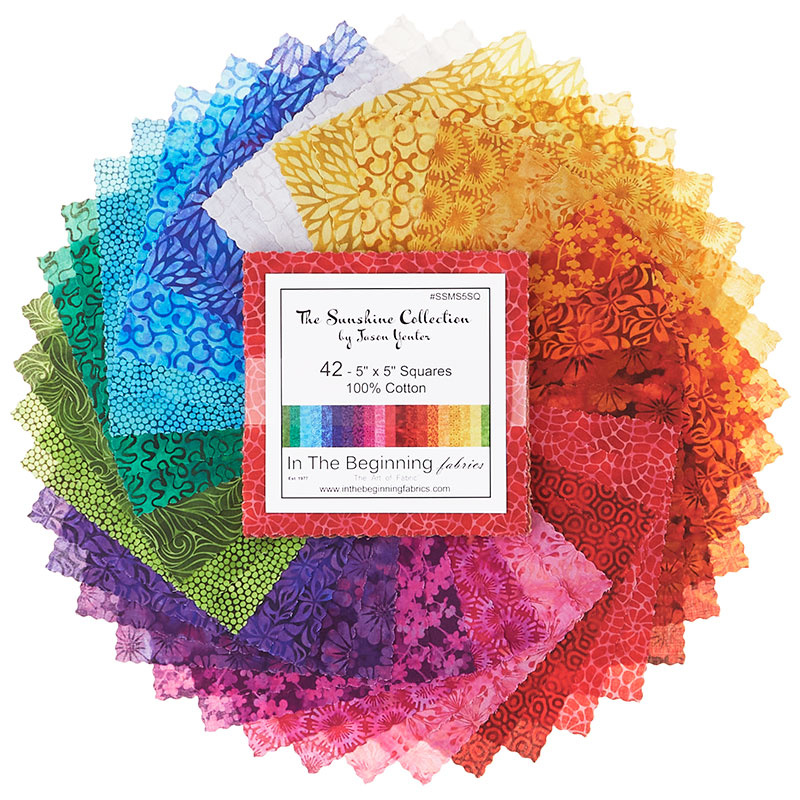
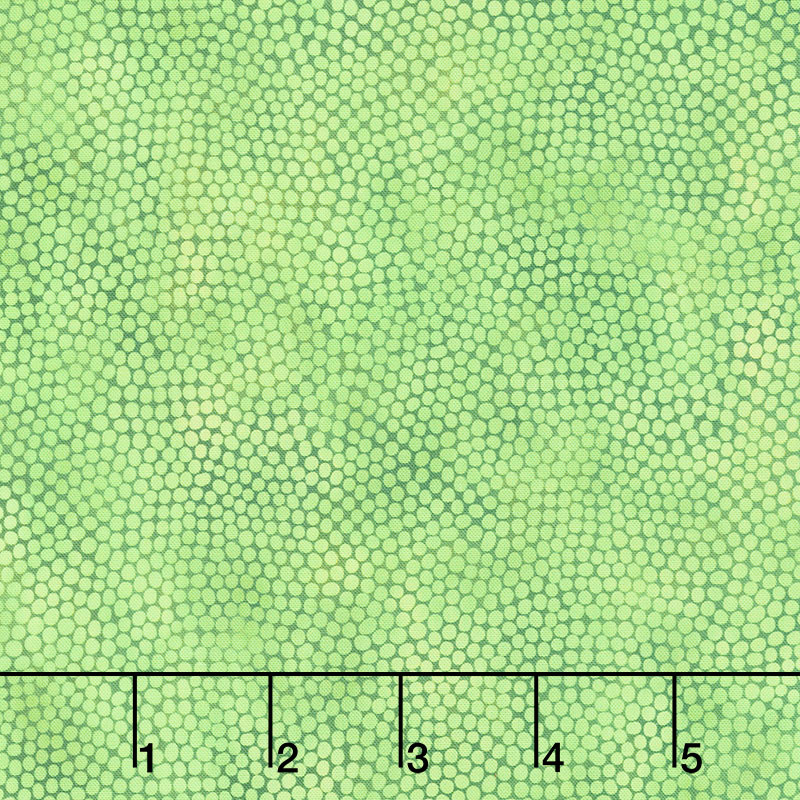
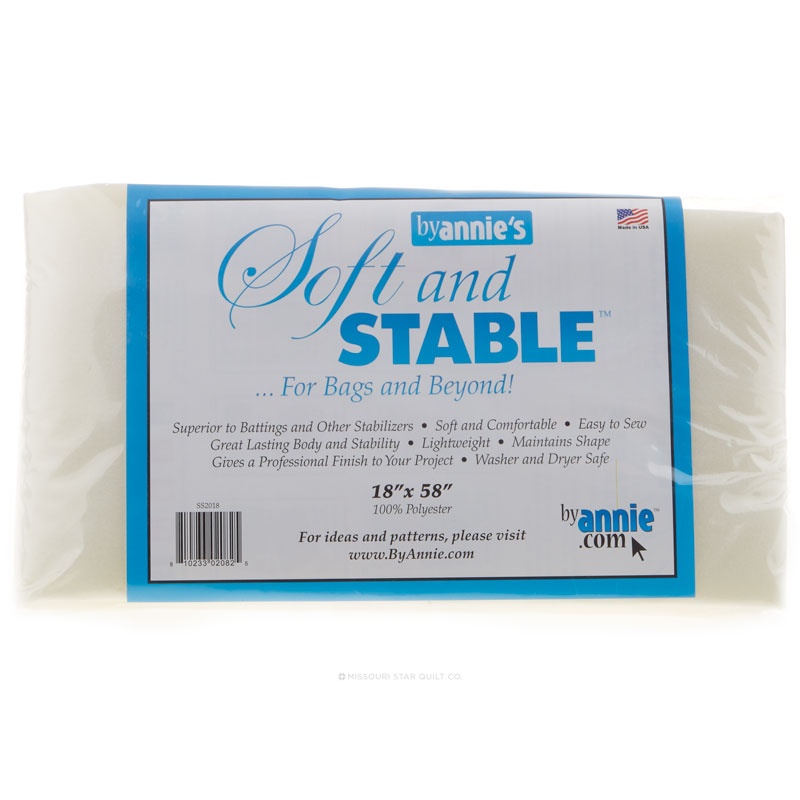
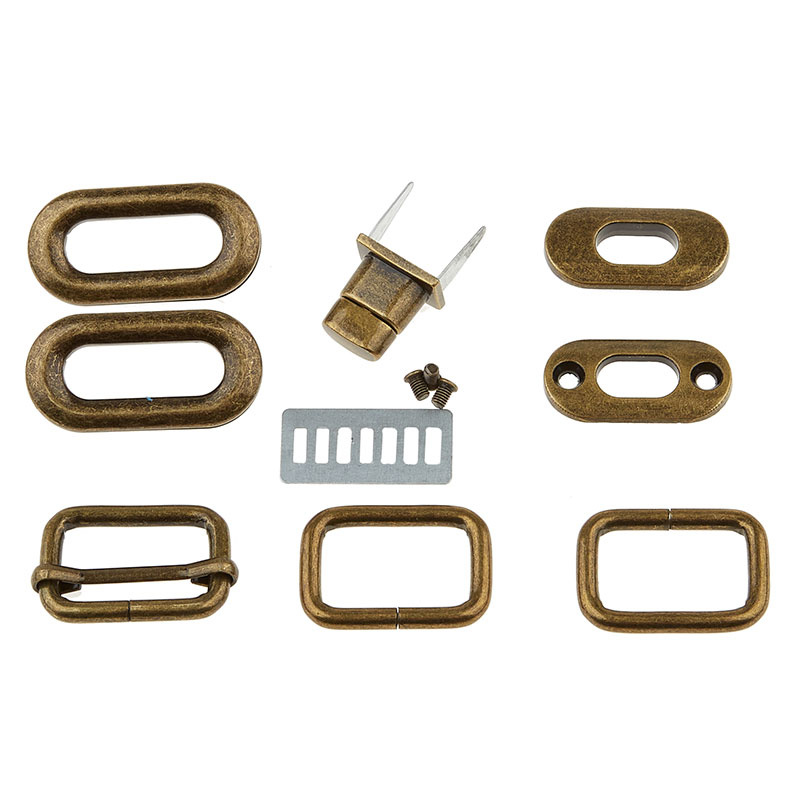
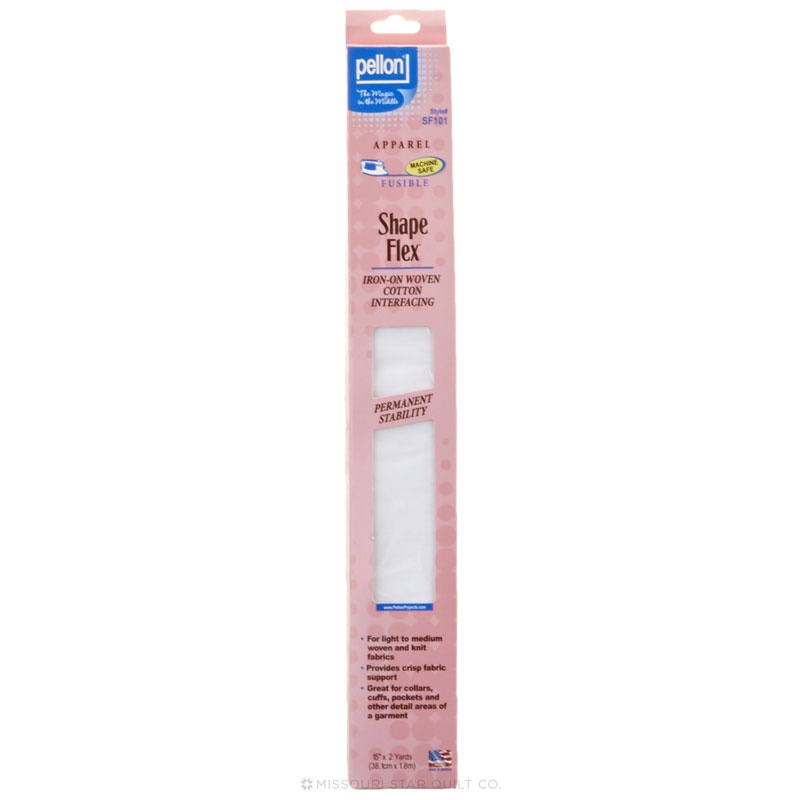
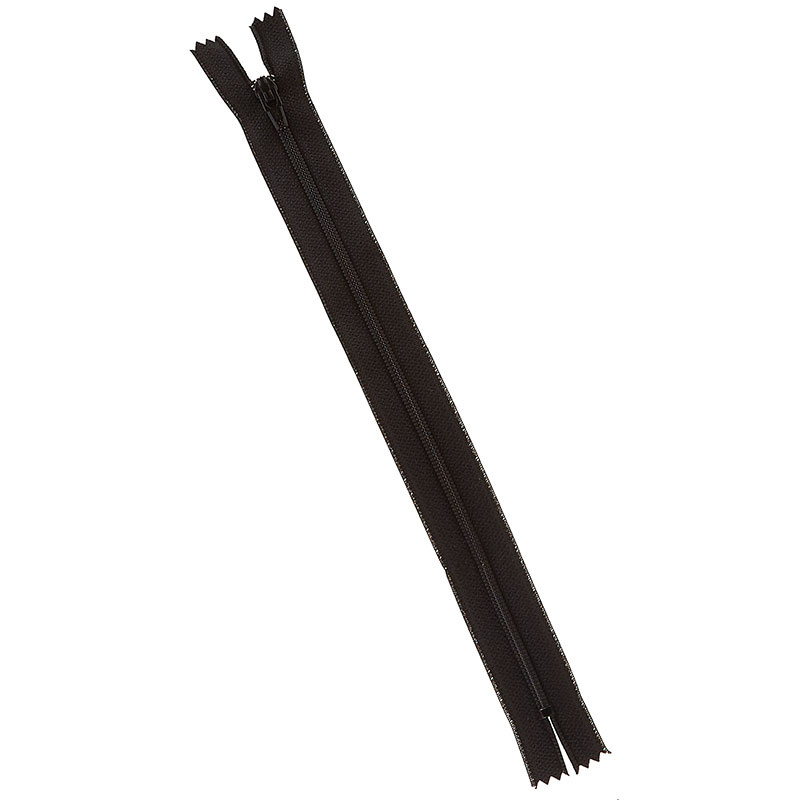
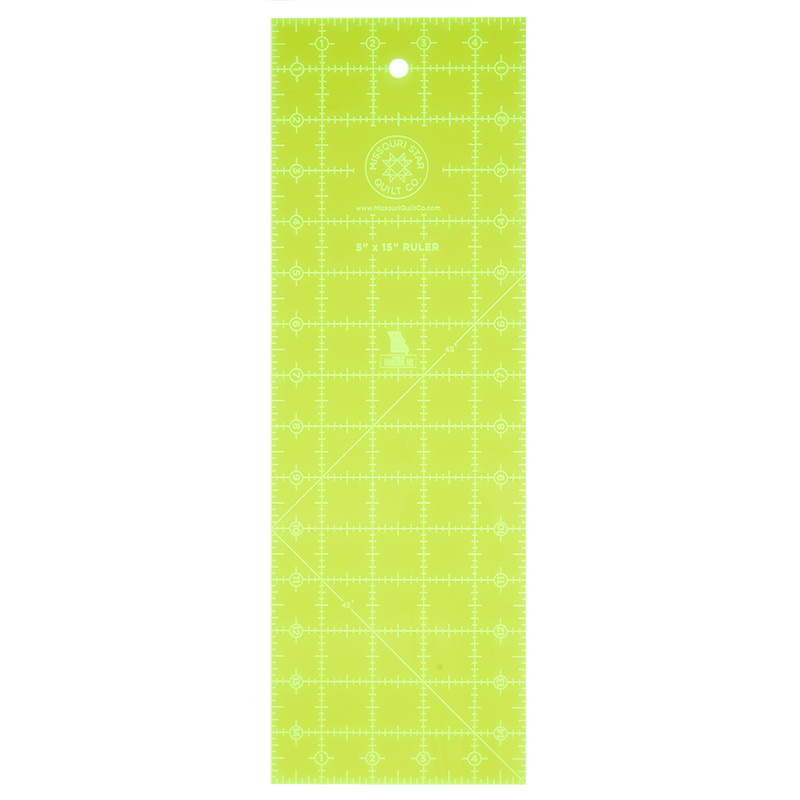
hey everyone this week on at home with Misty we're going to be making this adorable spring sling bag [Music] so like I said this week we're making this adorable bag from Emmeline bags it's called the Spring sling and for those of us who are piecers who like to quilt there is a fun little quilted detail in this bag so I think you're really going to like it let me tell you everything you're going to need to make this set this out of the way for a minute so first up you're going to need one yard of quilting cotton or linen for the bag exterior I use this kind of sparkly linen which I think is a really fun detail you're also going to need three quarter yard of quilting cotton for the inside and I use this fun green kind of dot it's really cute and then for the Quilted part you're going to need either 22 mini charm squares or just grab some two and a half inch squares from your stash I actually had this Sunshine collection by Jason yenter pack of five inch squares so I just cut this down and I thought it was really really fun in this project so in addition to that you are going to need a 12 inch by 36 inch piece of soft and stable it's this great kind of foam stabilizer that gives the bag some body and then you will also need a half yard of some light interfacing so whatever you have around should be fine as long as it's lightweight I use some shape flex and then you will need a tiny little scrap just an inch and a half of some fusible peltex that's like a really heavy stabilizer so if you have a scrap of that just grab it that's just to Anchor your hardware and then you will also need a zipper so make sure you have that and you are good to go so let's dive into making this great pattern the spring sling bag by emiline bags okay to begin we're going to make our little quilted section of the bag it's a panel that looks basically like this that we're wanting to make so like I said if you have some scrap two and a half inch squares from your stash just grab those and we are going to pair those up so let me just grab a couple here of contrasting prints and I'm just going to put those right sides together and then we are going to draw a line or press a line corner to corner I have this little marking pin I'll use this time I don't always do this because I have my diagonal seam tape on my machine but I just want you to know that this is an option to do it you might not be able to see that chalk line but I can and that's what matters back at home so then we're going to sew a quarter inch away from that line on both sides so now I can just put that line that I drew right on the quarter inch line of my machine and I'm going to sew on both sides of it so we'll turn around and go back the other way just like so and now we can trim right on that line that we drew and that will leave our quarter inch seam allowance and now we want to square these little half Square triangles that we've made to two inches so you can either press them open and use any ruler or squaring tool that you like I'm going to use trimmer B from the clearly perfect slotted trimmers so I'm just going to lay this on here and so my Stitch line goes right on the dashed line of the ruler and then I can trim off this excess and I like to go ahead and cut these off as well especially when I'm dealing with these smaller triangles because it gets rid of some of the bulk in the seam and so I'm just going to go ahead and trim this one as well again lining up the Stitch line I'm going to trim this one on both sides just to make it nice and even get rid of the the bulk in my seam and now that I have these squared we can take these over to the iron and press them open there's one and two so you'll get two of these little two inch half Square triangles from each set of your two and a half inch squares that you put together and then you're just going to mix those all up and you're going to lay them until they're you know totally Scrappy and we're going to do three rows of seven two inch squares and we're just going to sew them together in a panel just like this and so you can see I have that already done I'm going to go ahead and press this so it's lays nice and flat and I really didn't try to make a secondary pattern at all when I put these together it's just totally random however you pick up your squares and sew them together so that's what you're looking for and you might get these broken dishes or pinwheels that appear but that's just part of the fun all right so then once we have that done we are going to take this 2 by 11 inch rectangle from our outside fabric and let me clear some of this other stuff out of the way another piece that is 11 by let me double check this length so I don't tell you wrong 11 by 20 and we are going to sandwich our Scrappy quilted section in between these two pieces and so I'm going to go ahead and sew one of these on either side using a quarter inch seam allowance there's that one now we can add this to the other side the nice thing about using this linen is there isn't really a right or a wrong side acts as a solid even though we've got that Shimmer in there which is really nice and then there we go now I can press these back whoops got a little crease there the same thing going this direction okay so in your uh pattern for this project you will find a template that's called piece a curve template and so we are going to line this up and it tells you to place this at the center so let's go ahead and fold this and make a center crease line just so I remember there is the center and then we are going to line this up right on that Center fold and we are going to mark this outside curve and you'll see it's pretty gentle here and we're going to trim that if you want to make sure that they match on both sides we can actually fold this in half and cut it while it's folded and then our curves will be exactly the same we can just place this here and I'll grab a pin there we go and then we'll cut this curve okay so once we have trimmed the curve for the front flap of our bag like we see here now we need to go ahead and prep this so that we can put our clasp which is actually the part that you're going to see underneath here we need to put that in now so I'm going to flip this around I'm working on the wrong side and I know that because I can see all of my seams from my quilted section and we are going to measure over five and a half inches from the bottom Edge oops I've got my ruler upside down so we're gonna go five and a half and then we need to come another half inch over so I can just straighten this up on my mat and then I know this point right here is five and a half by five and a half so I'm just gonna put a mark I'm gonna use a different color that might show up a little bit better for you here there we go I'm just going to draw a little X right there because that is where my clasp needs to go and so initially I'm going to find the center of this little square of peltex that I have and it's going to go right in the middle there and then I'm going to use my little anchor this is how we're going to attach the clasp from the back side I think they call it a washer and so I am just going to figure out which ones I need to to mark on this peltex and that are that's the second one in on both sides there we go and so you can see that is where the clasp is going to come through and anchor on the back side of this and it will just poke through that washer so now let's go ahead and flip this over and install the clasp on the front all right so we have our Center Mark there and now I'm going to use my little scrap of peltex and I just want to Center that as well and so I can do the same thing I did where I measure over five and a half inches and up five and a half inches and since this little square is right at two inches then I know if I've got just a one inch square in the corner here that's pretty darn close to Center which is close enough for me so let's take this over and press it in place because this one is fusible if you're not using a fusible stabilizer then you don't need to press it there we go so now that is attached it's not going anywhere and let's go ahead and make our marks for our little washer so I know I'm actually going to do my little Center dot again so like I said this is a two inch square so here's the very middle of my stabilizer and then I need to Center this and I need to measure which one of these slots in the washer the clasp is going to come through and so that is the second one from each end so I'm just going to mark those slits just like so you can see what I've got going on there and then let's grab our seam ripper oops I rolled mine all the way under my table here there we go and we're going to carefully press through our stabilizer and our linen and we're going to just cut these little slits there's the first one and the second one and so now I can flip this over and all that's showing on the right side of my fabric are those tiny little slits that I made and I can just slide the clasp right in there and then when I flip it back over this washer is going to slide right on and I'll just press the tabs out to either side and anchor it in place and so then that is done and so from here once you have this clasp installed you have to do this first you're going to sandwich it excuse me with your soft and stable and your lining Fabric and then I just did some simple straight line quilting so here you can see we just quilted around the clasp obviously you don't want to get too close to that and I just followed the lines from our squares and did simple straight line quilting all the way through it and so now the outside panel of your bag is complete so let's move on to the little side panels all right so to make the side gussets for our bag you're going to need this PSP template from the pattern and you're going to cut two of your lining two of your exterior and two of your stabilizer the soft and stable pieces and so then we are just going to sandwich together right sides up with our exterior fabric and right sides down with our lining fabric so that the wrong sides of the of both Fabrics are touching the stabilizer and then we can put a few pins in here and I'm just going to do a basting stitch around the edge so let's just hold these in place and I have lost my pins so I will just use some clips because they will work too just put a few of these to hold everything together and then I'm just going to take a narrow eighth inch seam just to hold all of this together if you wanted to use some spray based you could but we want this to be a nice soft bag here we go just like so and you can see how quick and easy it is to just add that basting stitch so then after that I went ahead and just did some straight line quilting to match what I did on the rest of the bag so you'll see exactly how those pieces look so now we are going to attach the side straps to these two side gussets that we made and what I mean by that is these pieces that you see here and those are really easy to do you're going to cut two pieces from your outside fabric that measure two by 15 and we're going to press that so each end comes into the halfway of the long sides just like this so you can see I just folded each side in a half an inch so it turned from a two inch strip to a one inch strip and then we are going to take our little um kind of buckle I guess and we are going to feed this through and we're right now I have it so that the folds are on the outside which I know is a little bit different than normal and we're going to open back up these ends now and I'm going to sew with an eighth inch seam right along this side so let's go ahead and take this to the machine there we go just like so and now we can fold in those seams that we made and when we flip this that is going to be enclosed so you can see now all of our seams including that one that we just made are on the inside so let's go ahead and press this really quick so it will lay nice and flat and now we're going to sew a nice big box from about oh I don't know a half an inch to three quarters of an inch down from the Buckle whatever is far enough to keep it out of the way of your presser foot and we're just going to do a nice narrow eighth inch all the way around to make a nice long box on this so let's go ahead and do that so I will back stitch at the start and stop keep my needle down and pivot and the same thing here and I'm just watching to see when I get up to that same height as I was on the other side one more Stitch and turn and back stitch there we go so I have the other one of these already complete so you're going to make two just like that so we're going to attach that to the inside of our side gusset and so I actually just typically eyeball things like that it says to measure down an inch and a half so if you want to you can get out your ruler but my goodness look how close that was I don't know why that works out but it just does and then of course you want to center it along here and this is three and a half inches across and so I'm just going to make sure that my little strap is centered and that looks great and so now I can just do another box with an X in it to Anchor this to my side gusset box first and I'm trying to match as close to that first one that I I stitched as possible but this is going to be inside your bag so it is not a big deal now I'm going to turn and go corner to corner and then once more in the other direction there we go and so that's how you're going to do that we have both of those ready to go now because I made my other one and so now we're going to set those aside for a minute and we're going to make our inside pocket so to make the zipper pocket I'm not sure if I mentioned earlier but we're using a 12 inch zipper and initially I'm going to go ahead and I am just going to baste this one end because I'm actually going to get rid of this zipper stop because I'll be trimming it down to get the size that I want so I'm just going to just on this other side of the lock on the zipper head I'm going to do a row of stitches and I've made sure the zipper head is out of the way and I'm just holding these together with my fingers and I'm going to back stitch over that again there we go perfect so now that's going to be anchored once I trim this down so to begin with let's go ahead and cut off that first side I'm just going to lay my ruler on here and trim that off and now because my zipper is closed on this side I'm going to measure over nine inches and so here is 9 inches 10 plus 9 is 19. I'm going to go ahead and cut this side as well um lost my rotary cutter there we go just like so and I'm going to go ahead and baste just like I did on the other side just to be safe because I don't want this to run any risk of having my zipper head fall off and I want to keep everything together so I've just put a row of stitches there just to help hold it all together so now I have these one by two inch pieces that I've cut from my lining fabric and we are going to line this up oops lost my zipper there we're going to line this up so that the right sides of the fabric is facing the zipper and I'm going to take a quarter inch seam on both sides of this zipper so now I'm going to take a full quarter inch seam which means that that basting line that we did will be within the seam allowance so there's that one and then I can flip this around and do the same thing on the other side actually going to move this zipper down just a little bit more so it's completely out of my way and a quarter inch seam again there we go and now we can press these back there's one and then the other and we're gonna top Stitch across both of those there we go and the other side foreign so then our zipper is all secured both of our ends now we don't have to worry about losing our zipper head that is good to go and so now we're just going to trim this up because we want it to measure 11 inches so let me lay this on my mat and it does need just a little bit of trimming so I'm going to move it over here and I'm just going to kind of Center my zipper and cut a little bit off each end so that this finishes at 11. so we'll cut this little bit off here there we go and then I can flip this around line it up exactly now and cut this little bit off here perfect so now our zipper part is ready so then you're going to cut from both your lightweight interfacing and your lining fabric you're going to cut four of these rectangles that Measure 11 by six and a half and we are going to now sandwich our zipper in between and so now you can see because we trimmed this up our zipper fits exactly along that rectangle just like so and so then right sides together we're going to sandwich our zipper in between and so let me grab a few Clips I like to use Clips when I'm working with zippers as opposed to pins so we'll just put a few of these in here to hold it all together and make sure the edges stay nice and lined up if you need to switch to a zipper foot on your machine you're of course going to want to do that before you start stitching this down so now would be the time to switch it up all righty and then we're just going to sew this down foreign beautiful all right and so now we can open that up we can take it over here to our ironing board and we're going to give this a nice press so I like to start from the back side first and just roll my lining back away from the zipper just like so that looks nice and now we can flip it over and make sure the top is laying nice as well Perfect all right so then we're going to do the exact same thing on the other side and then we're just going to top Stitch which I have that part done so you can see our zipper is now sandwiched in between and I've done a line of top stitching on either side and so this is our inside pocket so now we have all of the components for our bag body so let's go ahead and start putting this together so you can see I've top stitched on either side here and our our zipper is now sandwiched in the middle and so now the last step to prepare this pocket is we're just going to fold this with the zipper inside and we are going to sew a quarter inch seam along this bottom Edge leaving the sides open for now okay so let's go ahead and do that again if you want to use pins you are more than welcome I feel pretty comfortable with this seam just stop to make sure everything is staying lined up as you go there we go so now that we've done that we can turn this right sides out just like that and let's give this bottom Edge a good press I'm just going to roll it with my fingers a little bit first to make sure it's laying smoothly and then we'll press that down with the iron lovely all right so now that that is all pressed we have all of the components for our bag body ready and we can start assembling this together so now we're going to go back to our quilted section that we have here and we're going to measure up 10 inches from the straight side of our bag and we're going to place the bottom side of our pocket so that's the side without the zipper at that 10 inch line so let me just double check make sure this is straight with that clasp sometimes it can be a little bit tricky so I just want to make sure I have it all lined up there we go and I'm going to go ahead and grab a couple clips and clip that in place on both sides making sure it's laying nice and flat there we go I need one more clip and then we are going to top Stitch down and across the bottom and back up the other side so let's go ahead and move this down and I'm doing a narrow seam here there we go I will rotate so straight across the bottom and back up this other side Oops said daisies all right there we go now our pocket is attached you can see it kind of creates this secondary pocket behind and our zipper is there in the front and so now let's go ahead and mark the rest of the areas for our hardware and so to begin with we have these side grommets but you'll see where the strap comes through in the bag and so those we are going to measure an inch and a half up from our zipper pocket on both sides and one inch in and so I'm going to make a mark you can see I've got the one inch line along the edge of the bag and I can see my inch and a half mark right there so I'm just going to make a DOT right there at that inch and a half mark So I remember where it is and I'm going to do the same thing from the other side oh there we go just like so and so now if you're not familiar with grommets like this we are going to open this up and it pops apart like that and so then we're going to want to Center The Grommet over that Mark that we just made and I'm going to draw and Trace this shape here because that's the shape that we're going to want to cut out I'm going to do that on both sides and I'm just eyeballing this making sure it's centered there we go just like so and so again even though this is a little bit bigger I still like to use my seam ripper to make these cuts it's just so much easier and so I am just going to slide right along that edge and then slowly curve around and these are pretty forgiving I know when I made my first bag I was really nervous about this part but once you put that Hardware over the top you are good to go this little piece from the front because it's not wanting to slide through there we go you can see now I've got just a little opening cut there I'm going to do the same thing on this other side you always want to be working away from yourself there we go that last little bit this is one way to know if your seam ripper is sharp because it will just go through all those layers with no trouble and so then you'll notice on your grommets one of the pieces has these little prongs that poke up hopefully you guys can see that and so we're going to poke that through from the right side of our bag just like so whoop and see I can flip this over and it looks like I didn't cut quite enough see I was being careful and I need to cut a little bit more so it's always good to check that our scissors are nice and sharp snip off just a little bit more because we don't want it to peek through the hardware we want it to have a nice beautiful finish let me try this one one more time getting closer I need to make it just a little bit wider here we go all right that is going to be great once I get my second piece on and so now I just want to make sure that I don't have any fabric poking through all right so then now I can take my other piece and I just kind of flip this over and I make sure that my fabric is tucked inside this back piece kind of has like a little Ridge on it and so I like to push against that and make sure none of my raw edges are going to show through and then I'll put my pronged piece back in place all right so now I have that in if you want you can press with your fingers to kind of initially start locking those little clasps in place they are very hard to move though so if you have a small screwdriver or something that you can press against them that is really helpful and so I'm just going to use the flat end of the screwdriver to lock that in place and you can see how beautifully that turns out so now I'm just going to repeat that and get this other side installed and I will meet you right back here foreign [Music] [Music] foreign [Music] [Music] so I've gone ahead and installed both of these grommets and you see I have those done and then I went ahead and marked for our last locking clasp this is the last little bit of Hardware we need to install in the body of this bag and so you can see I just measured down one inch from this top Edge that's the edge with the Curve and found the center and made a mark and then I drew a circle using the inside of my little clasp and I made a mark using a pin with each of these screw holes so you can see if you set this piece in here's the center all cut out and then I marked those dots now that I have that done I actually want to take my scissors and I want to cut out a little bit more because we're going to come out past those screw holes so we just need to cut out a little bit more of this bulk and widen this up so I'm just going to snip this and we're going to come out here on this side to that Mark make sure I'm getting through all the layers of our Fabric and our stabilizer and then the same thing on this side and you can see it does not have to be perfect all of this is going to get enclosed in our clasp and so now I have a nice large opening I need to trim off just a little bit more of this piece from my front fabric I can see that I missed it there we go and so now I can take my clasp and now I have a large enough opening that you can see I can see the opening and the two screw holes through my fabric but it doesn't go out past the edge of the clasp and so now I can sit this side right on top of it and you can see it all just matches neatly now when you're working with these little tiny screws you want to be really careful not to lose them because they're very small and so sometimes I like to have like a piece of masking tape and I'll make a little Loop and I'll just stick the screws to that so I don't have to worry about them rolling off my table and then we are just going to install these with our little screwdriver there's one and one more on this side all right there we go we have that clasp in now it looks beautiful and so I can take this little protective layer off of the top and if you want to test that out the screws should be towards the inside on your lining Fabric and this is just going to loop around and you can see how that's going to work so now we can attach our side gussets we are down to the very end here and so I've gone ahead and I measured using my ruler and made a Mark 3 8 of an inch up from our zipper pocket here there's just a little black line and 3 8 from this bottom Edge and that is the mark for our our side gussets and so I can just line the top up with that first mark and we are just going to pull this around and this other side comes up 3 8 of an inch as well and then we can install our side gussets by stitching all the way around on both sides and so this one will go in just like this and we will finish this off and so let me put a few more pins in here and then we'll take this to the machine okay so I have all my Wonder Clips here holding the gussets on and you'll notice our raw edges are pointing out that's the correct way because we're going to bind this so we can finish this off beautifully at the end so I just want to make sure my little side straps that I attach to the gusset are out of the way and I'm going to use a scant quarter inch and sew all the way around this curve on both sides so let's go ahead and do that now all right foreign going around that curve is probably the trickiest part but we've made it and it's smooth sailing all the way down the other side all right and now we're just going to repeat that same thing on the other side that's what we're looking for right there all right there we go it's really starting to look like a sling bag now isn't it all right so you're going to finish off these edges using bias binding I have that made here that you're just going to attach it just like you would normal binding but I'm going to go ahead and skip over that part because I feel like that's pretty straightforward and let's talk about making the last little strap and so remember we have these little side straps those are going to poke through the grommets that we added on the top so there's one and here is the other just like so there we go you can see how that's going to work and then we are going to make the top strap and so I have that so for this piece we cut a four inch by width of fabric and we have just folded that in in half and then each of those halves inside and pressed it and then I've done a nice uh you know box all the way around to hold that finished Edge so just top stitched it on both sides and we've got this beautiful strap so then now the last remaining piece of our Hardware from this kit is this little slide and that is what's going to make our uh strap adjustable that's how we can change the length here you can see we can go all the way over to make it much shorter whatever your preference is and so let's go ahead and start by taking this side of our buckle and I've slid it through once and so you can see just like that and then now I'm going to flip this back on itself and you just need a little bit of room to work and we're going to do the same thing that we did when we attached our um our side straps in we're going to make a little box here with an X to attach that together so let's go ahead and do that first foreign and then now I can go corner to corner and come back and do this other direction as well there we go and so now that slide is attached on one side so now Let's Pretend This Edge is already lovely and bound and then we are going to slide this through make sure I've got it correctly there we go we're going to slide this through this way and then we can feed this so you'll notice my buckles on this end it's facing up and then we can slide this piece through it again you following and then back down so that little Loop that I made is on the bottom side the inside of my strap and so then now we'll just take this side and loop it through this other little Loop and we'll do the exact same thing we did on the other side and just make our box I like to always flip it over so I can see here and we will make our box with our X here we go [Music] move all those out of the way foreign there we go so now we have a finished strap and you can see on our beautiful finished bag once you add that bias binding how great it all turns out we can open our cute little clasp and we have that zipper pocket that we made inside it's just such a fun little sling bag so I hope you enjoyed this tutorial on the spring sling bag hey everyone it's Misty thanks for watching at home if you aren't already a part of our Missouri Star Family be sure to subscribe and hit the Bell if you want a notification every time we release a new video I'll see you next Monday on the newest episode of at home

More Mini Charms tutorials

See all