Skip to content

Free quilting video tutorials from Missouri Star

Quilting Tutorials
Make a "String Star" Patriotic Pillow with Misty Doan on At Home With Misty

Make a "String Star" Patriotic Pillow with Misty Doan on At Home With Misty

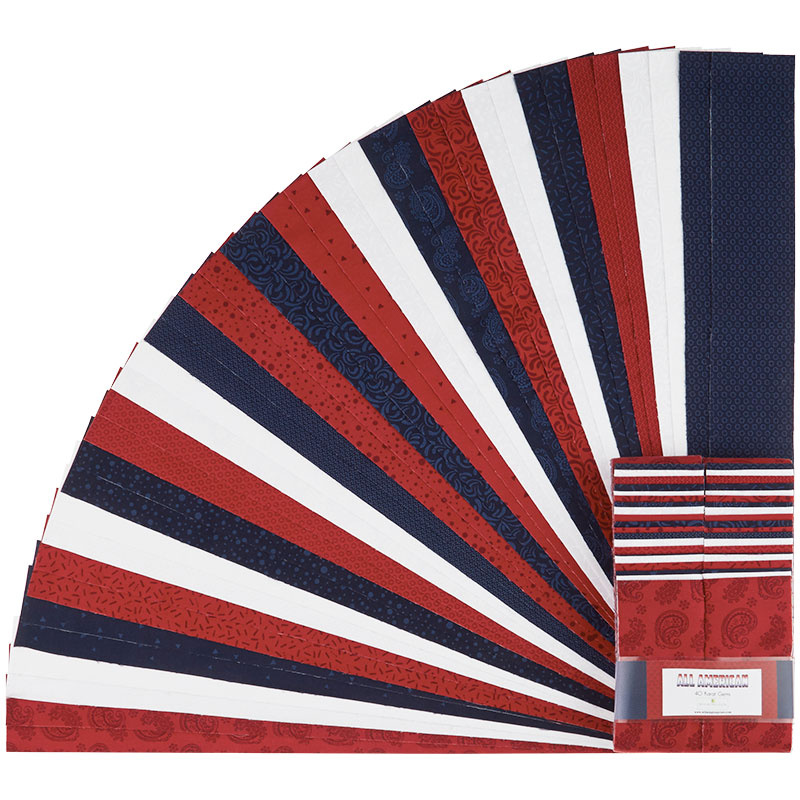
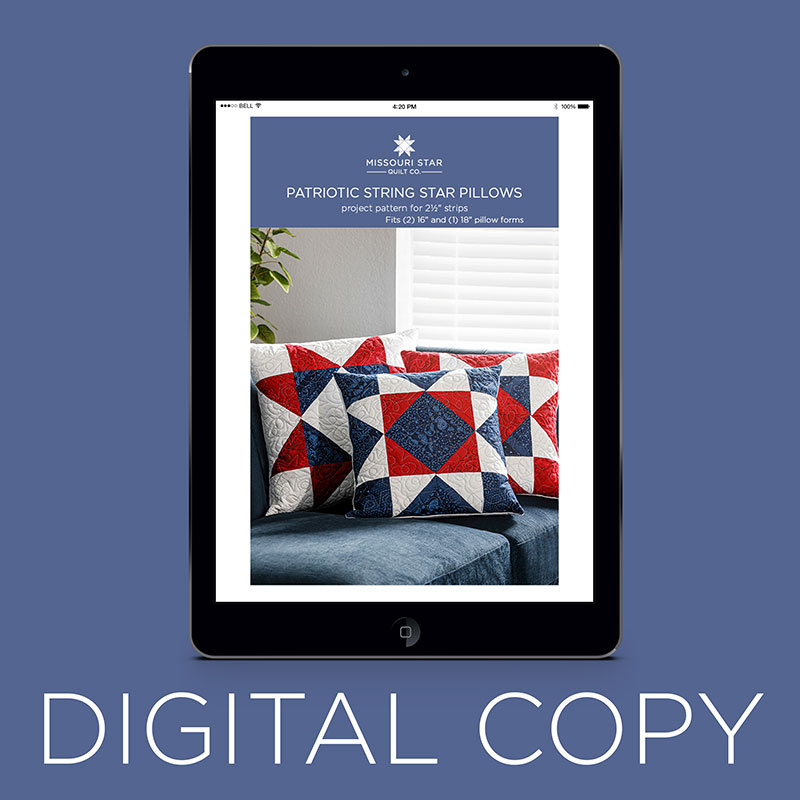
Twinkle, twinkle, string of stars, Misty shows us what you are. In today's tutorial, Misty uses 2.5" strips from the All American collection by Wilmington Prints to make a set of beautiful, patriotic couch pillow--each featuring an eight-pointed star in red, white, and blue! Because of the classic patriotic look, you'll find yourself returning these pillows to the couch every July.

Instructor

Misty Doan

Misty Doan grew up surrounded by sewing and quilting. She loves spending time sharing tutorials each week each week, and when she’s not stitching up one of her fun sewing projects for home decor, most likely you’ll find her hanging out with her husband and three awesome kids or working on a house project.

Common Questions

What is covered in Make a "String Star" Patriotic Pillow with Misty Doan on At Home With Misty (Video Tutorial)?

Twinkle, twinkle, string of stars, Misty shows us what you are. In today's tutorial, Misty uses 2.5" strips from the All American collection by Wilmington Prints to make a set of beautiful, patriotic couch pillow--each featuring an eight-pointed star in red, white, and blue! B...

How long is the tutorial video?

The tutorial video is 00:17:56.

Are supplies listed for this tutorial?

Yes. The tutorial page includes the supplies and materials connected to this project.

Video Transcript

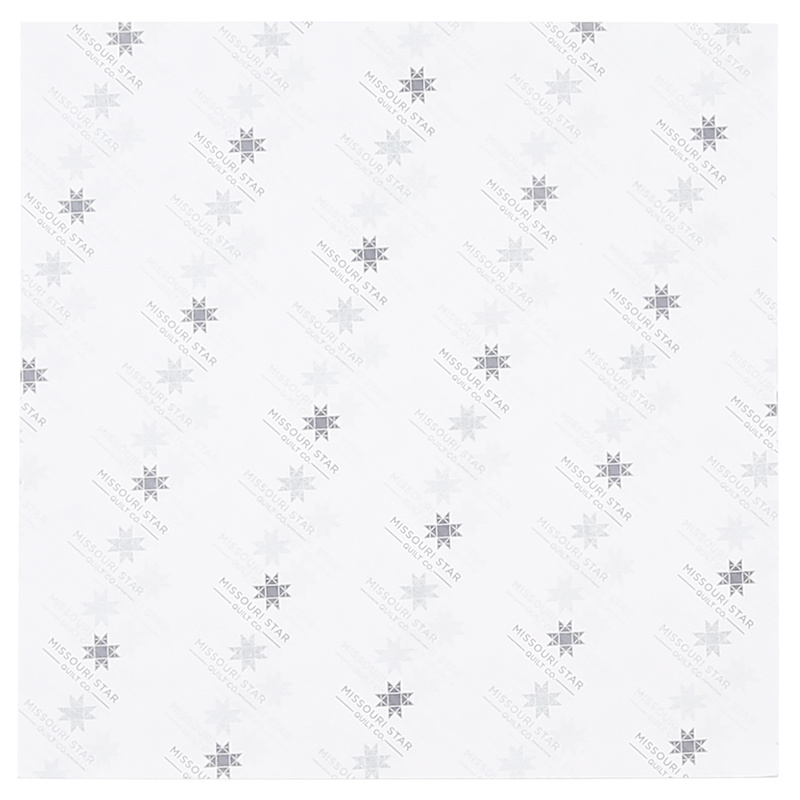
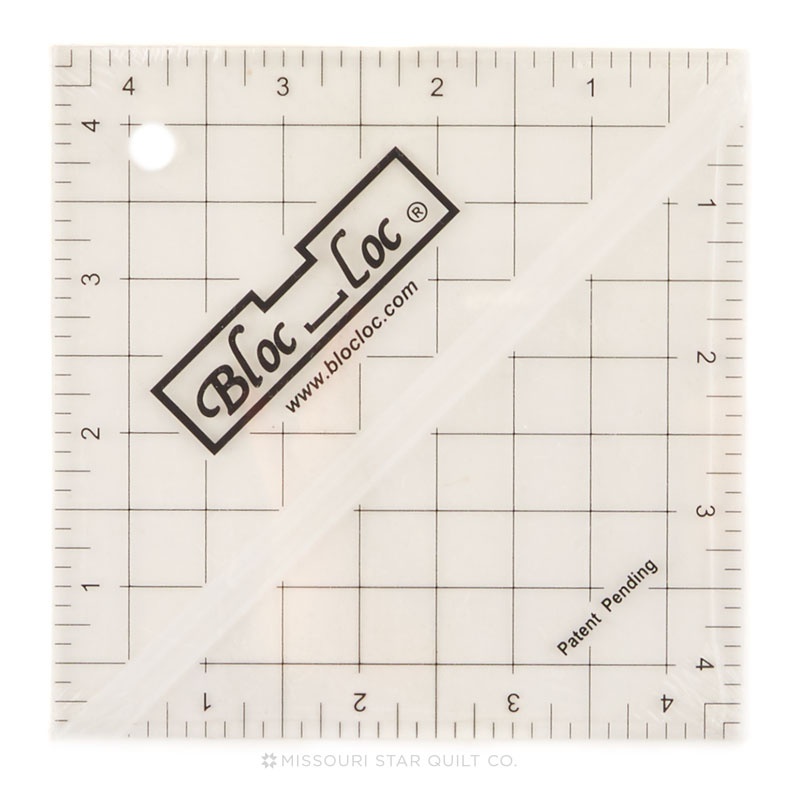
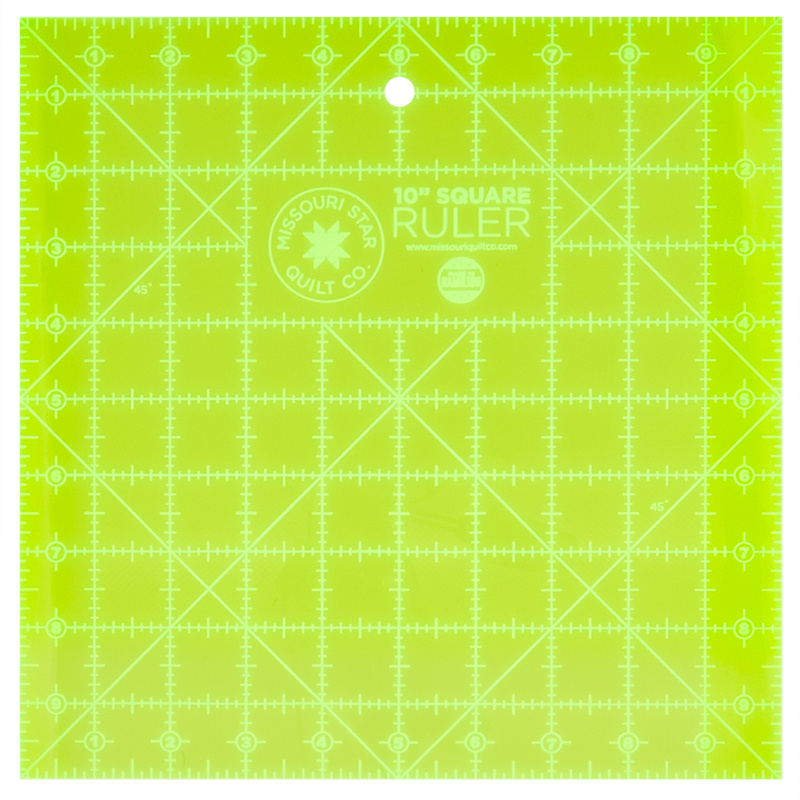
today we're throwing it back to a great old project from missouri star live in a brand new way [Music] a few years back on missouri star live we made this string star wall hanging using our scraps and i love hosting a big party on the 4th of july every year we have all of our friends and family over and it is just so much fun so i like to have lots of things around the house to decorate and just really you know make it feel festive so i've had this wall hanging laying around for a while and i needed some new pillows so i have you know used this as inspiration and we've turned it into a fun new project to make these great string star pillows so let me show you how we did it it's really simple and using this method of course you can make the big wall hanging just with bigger half square triangles so to get started we have used this all american 40 carat gems by wilmington it's a great tonal red white and blue pack of two and a half inch strips you're also going to need some of our 10 inch square foundation papers that we have here at missouri star it'll be helpful if you have a 10 inch square ruler and maybe a four and a half inch block lock or ruler to square you can totally do this with your 10 inch but it's handy to have the exact size that you need so let's dive into making this i have gone ahead and opened up my strips and i've just cut them down in a bunch of random sizes because i like a lot of variety and if you look at this pack you can see these are all reds they're similar tones but they have just different prints on them and it just makes it really interesting and fun and all of them are that way in this collection even the white have different prints on them which is really fun because it makes it look like you've dug through your scraps but you didn't have to work as hard because we can just pick up this pack and have it all coordinate together so now we're going to go ahead and take one of our 10 inch strips or 10 inch squares i should say and we are going to fill this with our strips and so i'm just going to pull some out of here and i think i'm going to do navy for this one so to begin with i'm going to lay one down the center and i'm going to pick a different print let's see maybe this little guy looks fun oh that one's not long enough this one this paisley so i'm going to lay these together so that they overlap the edge of my paper and i'm just going to sew with a quarter inch seam [Applause] and the reason that we're using these papers is it just helps stabilize a little bit there's quite a bit of bias when you use this method and this just helps hold everything together there we go i'm going to pull out my scissors here just because it makes it quicker and i can just cut off these we can use those again as we keep going and it's nice to have your iron close by because you just want to stop and roll this back in between and now we can add a piece to the other side see if this one will fit it will so i'll lay this one here and like you can see these are all just cut at random width so i started with my two and a half inch strips some of them i cut an inch off some of them i cut an inch and a half some of them i left whole just to give me some variety we'll turn this one around and we are just going to keep building out until we cover our whole paper so as you'll notice i'm adding strips to both sides before i'm pressing so i'm just picking the print that i like best i'll add this one to this side just sew a little bit past the paper trim this off flip it around to the other side add another strip here and this project is so forgiving even if your seam allowance gets a little wonky it's not going to matter we'll trim this one off and now i can take this to the iron and press both sides back it just saves a little bit of time we are getting really close to the end so i think we can just add one more strip to both sides and finish this off so we'll add this one here trim let's get a nice wide strip for this other side maybe maybe this guy here we'll sew this one down and that will finish up our square now we can just trim and press one final time you can see how this would be a great project to go through your scraps and get rid of some fabric that you've been holding onto [Music] because you just need you know red white and blue and the print doesn't matter even if it's christmas fabric it's going to turn out great in the end all right so now to make this we need to make four sorry two red squares one blue square and one white square so i have some of these already done in a stack over here but we are going to go ahead and take our ten inch square ruler now and flip this over and we're going to trim these down so that they finish at 10 inches you could use the paper as your outline but as you stitch it does kind of cause the paper to warp and so i don't know if you can see behind my 10 inch ruler my paper ends up just a little bit small so i prefer to use the 10 inch square as the guide as opposed to the paper itself so we'll cut that side and this side and then i like to stop and turn this so i'm not cutting at any weird angles we want to be safe just line this up again in that bottom corner make sure it's nice and straight and then we can cut and cut so let me show you that i have a red one already cut but i need to go ahead and trim another white and red so i'll show you one more time we just flip this over to the back side technically you could square it from the front but i just like to make sure i'm not cutting through my papers i just kind of use that as my guide since that's what we started with so we cut cut rotate there we go i'll cut one more from my white oops that one slipped a little bit so i'm just gonna do that last cut one more time make sure it's nice and square there we go all right now they are all square and ready to go and so now we're going to be using the typical easy eight method that jenny teaches for half square triangles using our string pieces and so i'm going to pair up my white with a red i'm just going to put those right sides together you can go ahead and peel off the paper if you want at this point i feel like the more seams you take the easier it is to pull this thing off in the long run but you can see how how easy it is to just peel this off but for me because it can get wonky i like to leave most of this on until the end and so i'm just going to take that little bit off to show you make sure these are all lined up and then i'm going to get a pin and my ruler here and we can draw a line corner to corner in both directions so i'm just going to mark that this way and this way and then now we are going to sew a quarter inch seam on either side of those lines that we drew with our sets sandwiched together so i'm going to start here [Applause] make sure we're staying lined up as we go that looks good we can just flip this around and come back down the other side [Applause] and then we'll go the other direction [Applause] [Applause] there we go and now we can cut this apart and so i like to start by just laying my ruler on the edge making sure i'm going through those center seams and we'll make one cut that direction and one cut this direction we are going to square these up so we don't need to worry too much and now that they're apart i can go back and cut on that diagonal line you can see there we get our half square triangles so let's just go ahead and finish cutting these apart and this is going to give us eight from each set there we go now i'm going to go ahead and press these all back i'm going to press to the dark side so i'm going to roll these back so the seam is behind the red fabric and our last one we'll just press that back and now we can take these and square them up i like to use the block lock dropped one there let me grab my four and a half inch block lock that's the measurement we are looking for and so if you're not familiar when you're working with the block lock the writing should be on your background fabric or your light fabric if you've pressed to the dark side and then that ridge in the middle of your seam locks into the ruler so that we can go back and trim off this excess and we know we're going to keep it nice and centered so i'm just going to trim off this little bit from each of these and this is one of those times where you'll be glad you took the time to square these up because you can see even though we had the papers even though we're working with the same measurement that last one i barely had to trim any and on this one i have quite a bit to trim and that's just how it goes sometimes so we can just trim that off and we're just checking each step of the way to make sure our pieces are staying square so i'm going to finish squaring these up and then we can get back to the layout all right we have squared up the last one so i have all eight of those trimmed up i went ahead and squared my blue and red sets those are ready to go and then the last piece that i need for this project is some solid reds for the corners of the pillow if you notice here this is the version i'm making and so the outside corners are just four solid four and a half inch i went ahead and they're still strip pieced just like everything else in the pillow but they're not half square triangles so let's go ahead and cut those out now from this square i am just you know what i'm actually going to do i'm going to cut a four and a half inch strip just to make this easier on myself since i have my ruler here there's one and we'll need one more since remember these are 10 inch squares and then i can now come back and use my my little block lock that i used for squaring up my half square triangles there's one two three this one's a little wonky on this corner here we go and the last one and so now it's all in the layout so let's go ahead and lay out our star here so remember our solids are going to be in our four corners so i can start by putting those in and then i'm going to use my red and my blue for the middles oops flip it this way so the red is to the center make sure i have plenty of room to work here there we go and so i'll have four more of these that i can use for another pillow and then i will use these star legs oops let me make sure i turn it correctly the white goes towards the red there we go you can see our star beginning to take shape so there it is all right so now that we have this all laid out we're going to sew our rows together so we're just going to go four across we'll make four rows just like so and then we'll add those rows together until our pillow is complete and then you can see on this one here i went ahead and sandwiched the top you know with some batting and backing and i just did this stars and loops quilting pattern and then it's just a simple envelope back that it's finished off with we have that great printable for you that explains how to make that depending on the size of pillow that you have so be sure to check that out in the link so you can see it's easy to customize these to your preference depending on how you put those half square triangles it comes together really quick and easy and again it was inspired by this old tutorial that we did on missouri star live a few years back so be sure to go back and check that out if you want to make a wall hanging to match i hope you enjoyed this tutorial and i'll see you next time hey everyone it's misty thanks for watching at home if you aren't already a part of our missouri star family be sure to subscribe and hit the bell if you want a notification every time we release a new video i'll see you next monday on the newest episode of at home [Music]

More Jelly Roll tutorials

See all