Make a STRING TULIP quilt using scraps with Beth Shibley
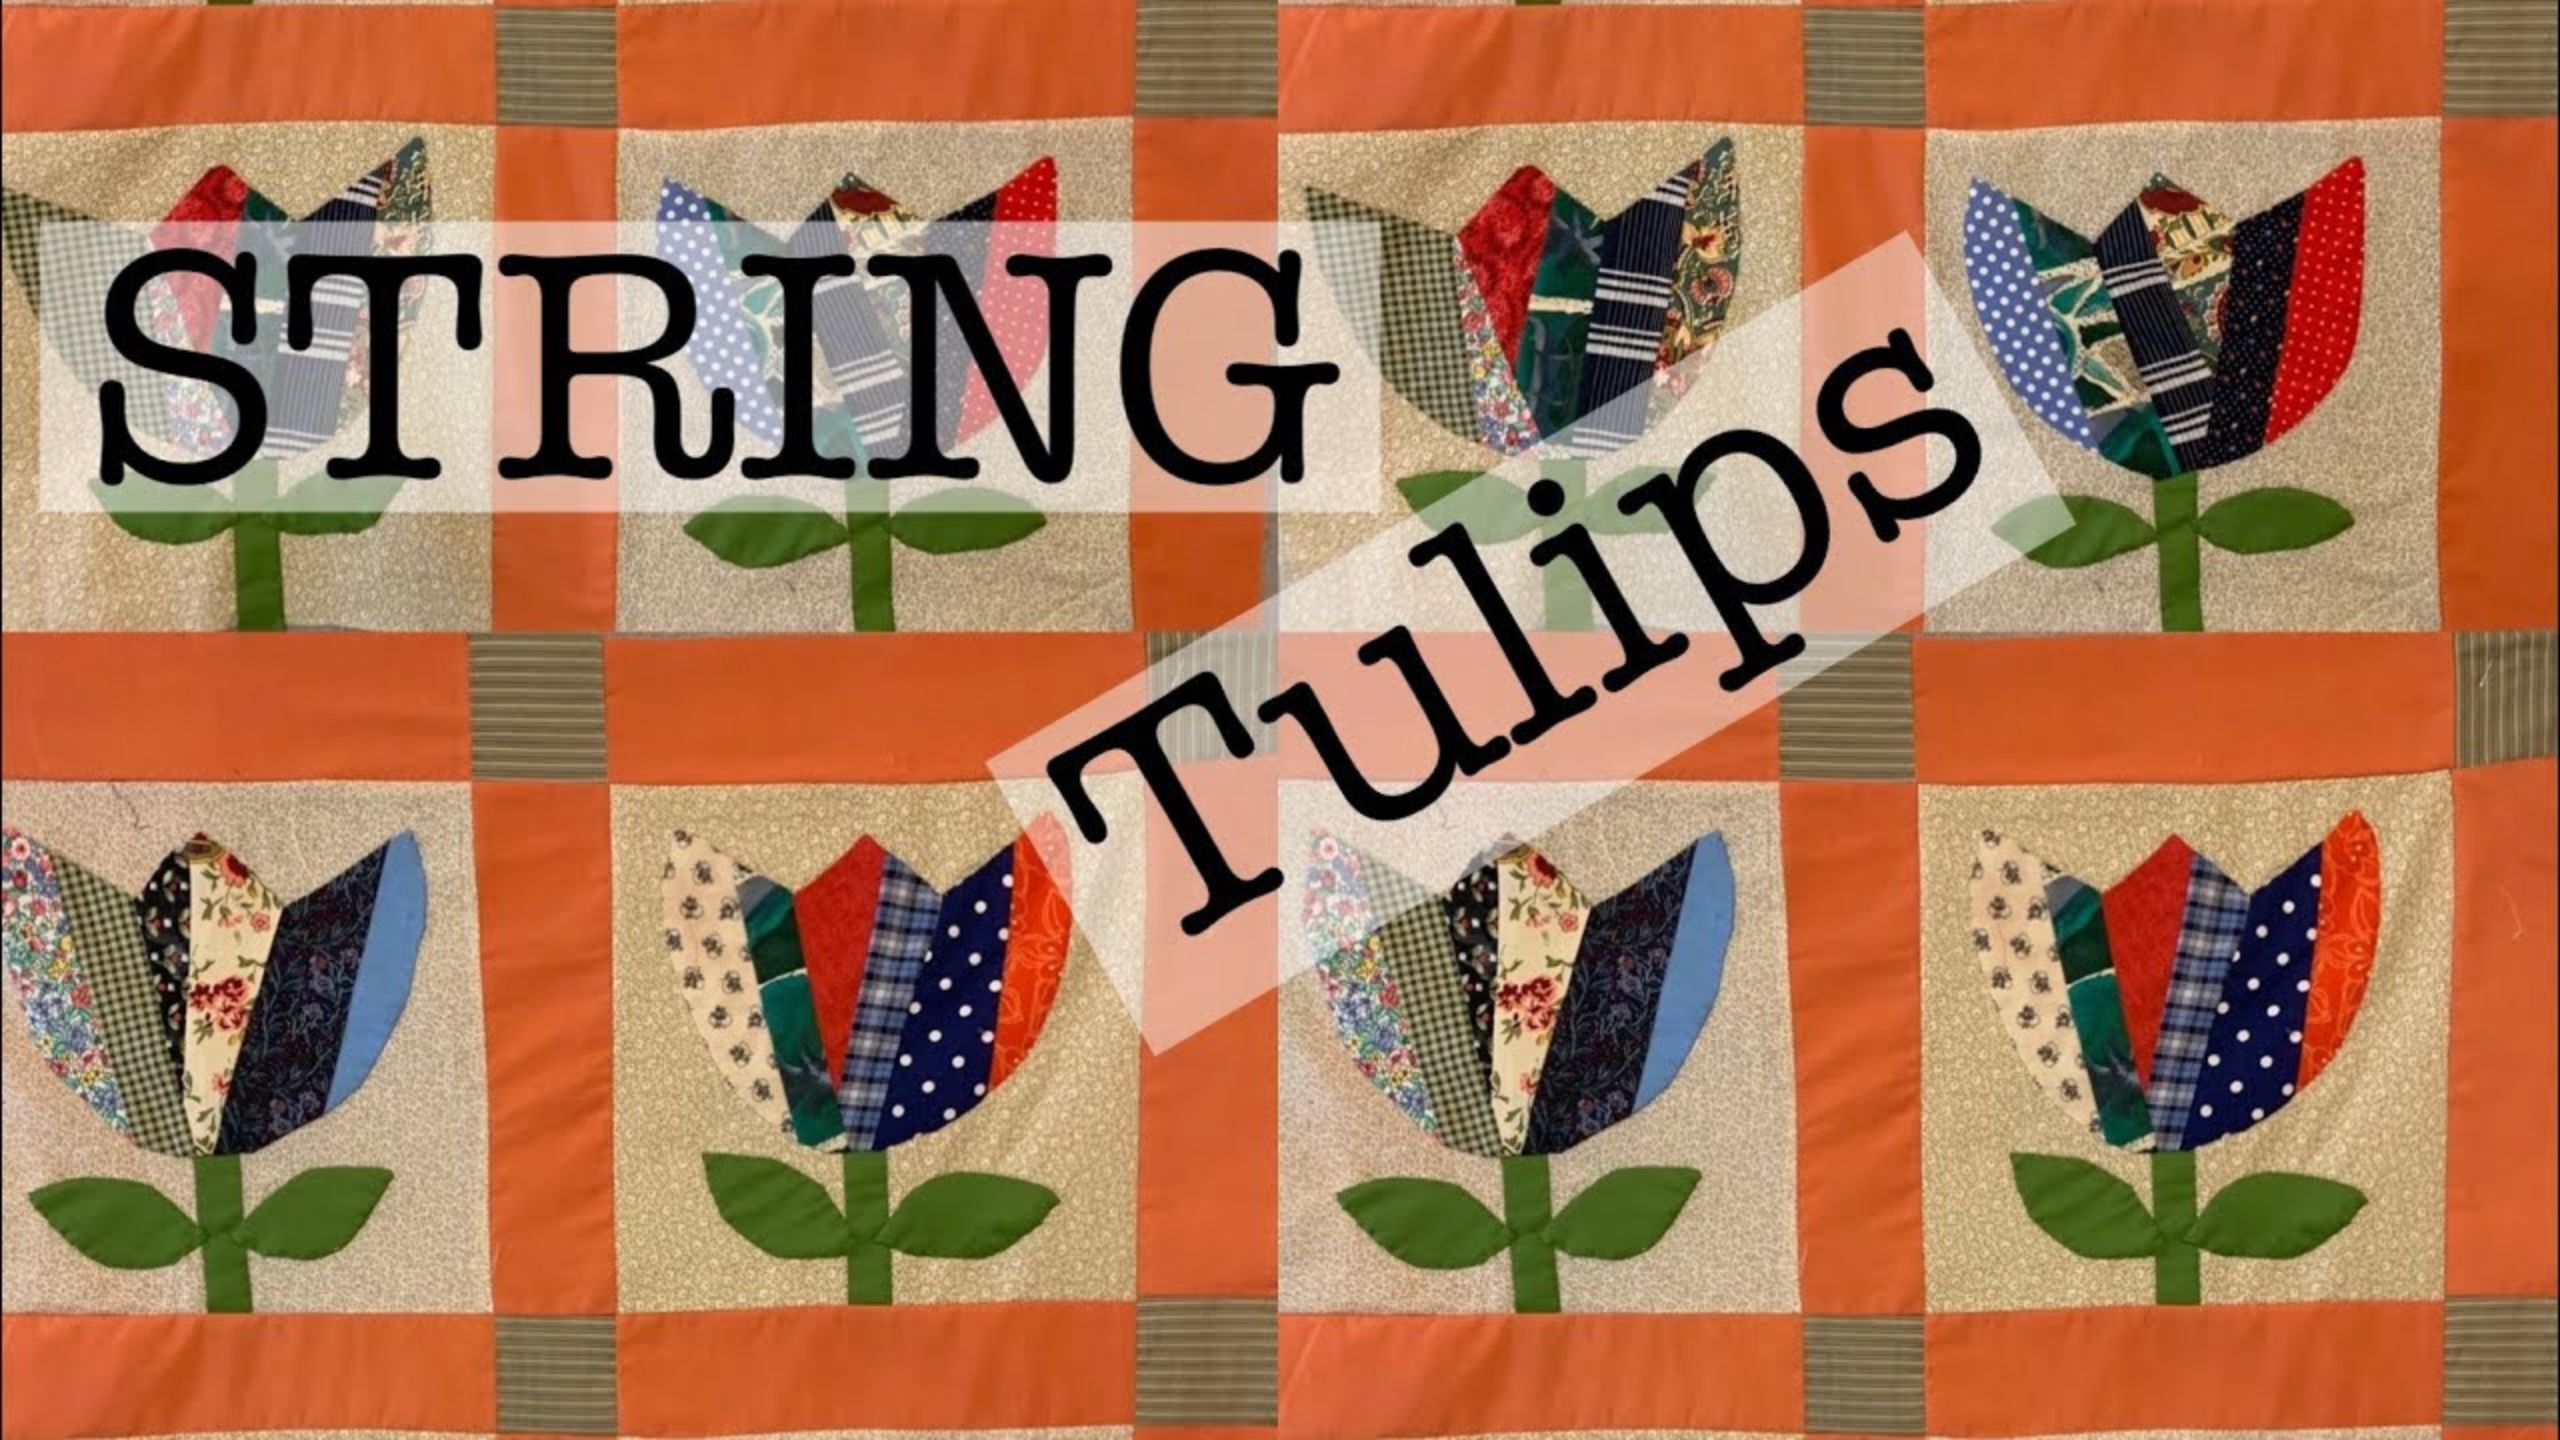
Beth Shibley has always wanted to make a String Tulip quilt. So today she's taking her scraps to applique beautiful tulips into quilt blocks!

Instructor
Beth Shibley
Beth Shibley loves to create and share her adventures in quilting. Simple patterns and practical gifts are what she loves most.


Common Questions
What is covered in Make a STRING TULIP quilt using scraps with Beth Shibley?
Beth Shibley has always wanted to make a String Tulip quilt. So today she's taking her scraps to applique beautiful tulips into quilt blocks!
How long is the tutorial video?
The tutorial video is 00:16:31.
Are supplies listed for this tutorial?
Yes. The tutorial page includes the supplies and materials connected to this project.
Is a transcript available?
Yes. A written transcript is available on the tutorial page.
Video Transcript
A string tulip quilt is a type of quilt that features a tulip block made from string piecing. String piecing involves sewing strips of fabric onto a foundation fabric, creating a quilt block with a scrappy, quilt-as-you-go effect.
Here are the steps to make a string tulip quilt:
Choose your fabrics: Select a variety of fabrics in colors and patterns that complement each other. You will need a mix of light and dark fabrics for the tulip petals and background.
Cut your foundation fabric: Cut your foundation fabric into squares or rectangles, depending on the size of your tulip block. The foundation fabric should be a neutral color or a color that complements your other fabrics.
String piecing: Cut your fabric strips into the same width and sew them onto the foundation fabric using a sewing machine. Place the first strip at a diagonal angle across the center of the foundation fabric and continue sewing strips in a clockwise or counterclockwise direction until the foundation fabric is covered. Press the seams flat after each strip is sewn.
Cut your tulip pieces: Once the foundation fabric is covered in string piecing, cut out the tulip shape from the block. You can create a tulip shape by free-hand cutting or using a template.
Assemble the tulip block: Once you have cut out your tulip pieces, arrange them on a background fabric and sew them together to create the tulip block. You can also add stems and leaves to the block.
Assemble the quilt top: Repeat the process to create more tulip blocks and arrange them into rows to create the quilt top. Add sashing and borders if desired.
Quilting and finishing: Once the quilt top is complete, layer it with batting and backing fabric and quilt as desired. You can use a quilting machine or hand-quilt to add decorative stitching to the quilt. Finally, bind the quilt and add any finishing touches, such as a label or hanging sleeve.
Overall, the string tulip quilt is a fun and unique way to create a scrappy and colorful quilt that celebrates the beauty of nature.
Here are the steps to make a string tulip quilt:
Choose your fabrics: Select a variety of fabrics in colors and patterns that complement each other. You will need a mix of light and dark fabrics for the tulip petals and background.
Cut your foundation fabric: Cut your foundation fabric into squares or rectangles, depending on the size of your tulip block. The foundation fabric should be a neutral color or a color that complements your other fabrics.
String piecing: Cut your fabric strips into the same width and sew them onto the foundation fabric using a sewing machine. Place the first strip at a diagonal angle across the center of the foundation fabric and continue sewing strips in a clockwise or counterclockwise direction until the foundation fabric is covered. Press the seams flat after each strip is sewn.
Cut your tulip pieces: Once the foundation fabric is covered in string piecing, cut out the tulip shape from the block. You can create a tulip shape by free-hand cutting or using a template.
Assemble the tulip block: Once you have cut out your tulip pieces, arrange them on a background fabric and sew them together to create the tulip block. You can also add stems and leaves to the block.
Assemble the quilt top: Repeat the process to create more tulip blocks and arrange them into rows to create the quilt top. Add sashing and borders if desired.
Quilting and finishing: Once the quilt top is complete, layer it with batting and backing fabric and quilt as desired. You can use a quilting machine or hand-quilt to add decorative stitching to the quilt. Finally, bind the quilt and add any finishing touches, such as a label or hanging sleeve.
Overall, the string tulip quilt is a fun and unique way to create a scrappy and colorful quilt that celebrates the beauty of nature.