Make a "Summer Stars" Picnic Quilt with Jenny Doan of Missouri Star
 Jenny Doan
- Mini Charms
- Traditional
- Lap / Throw
- Beginner
- Quilt size 60" × 72"
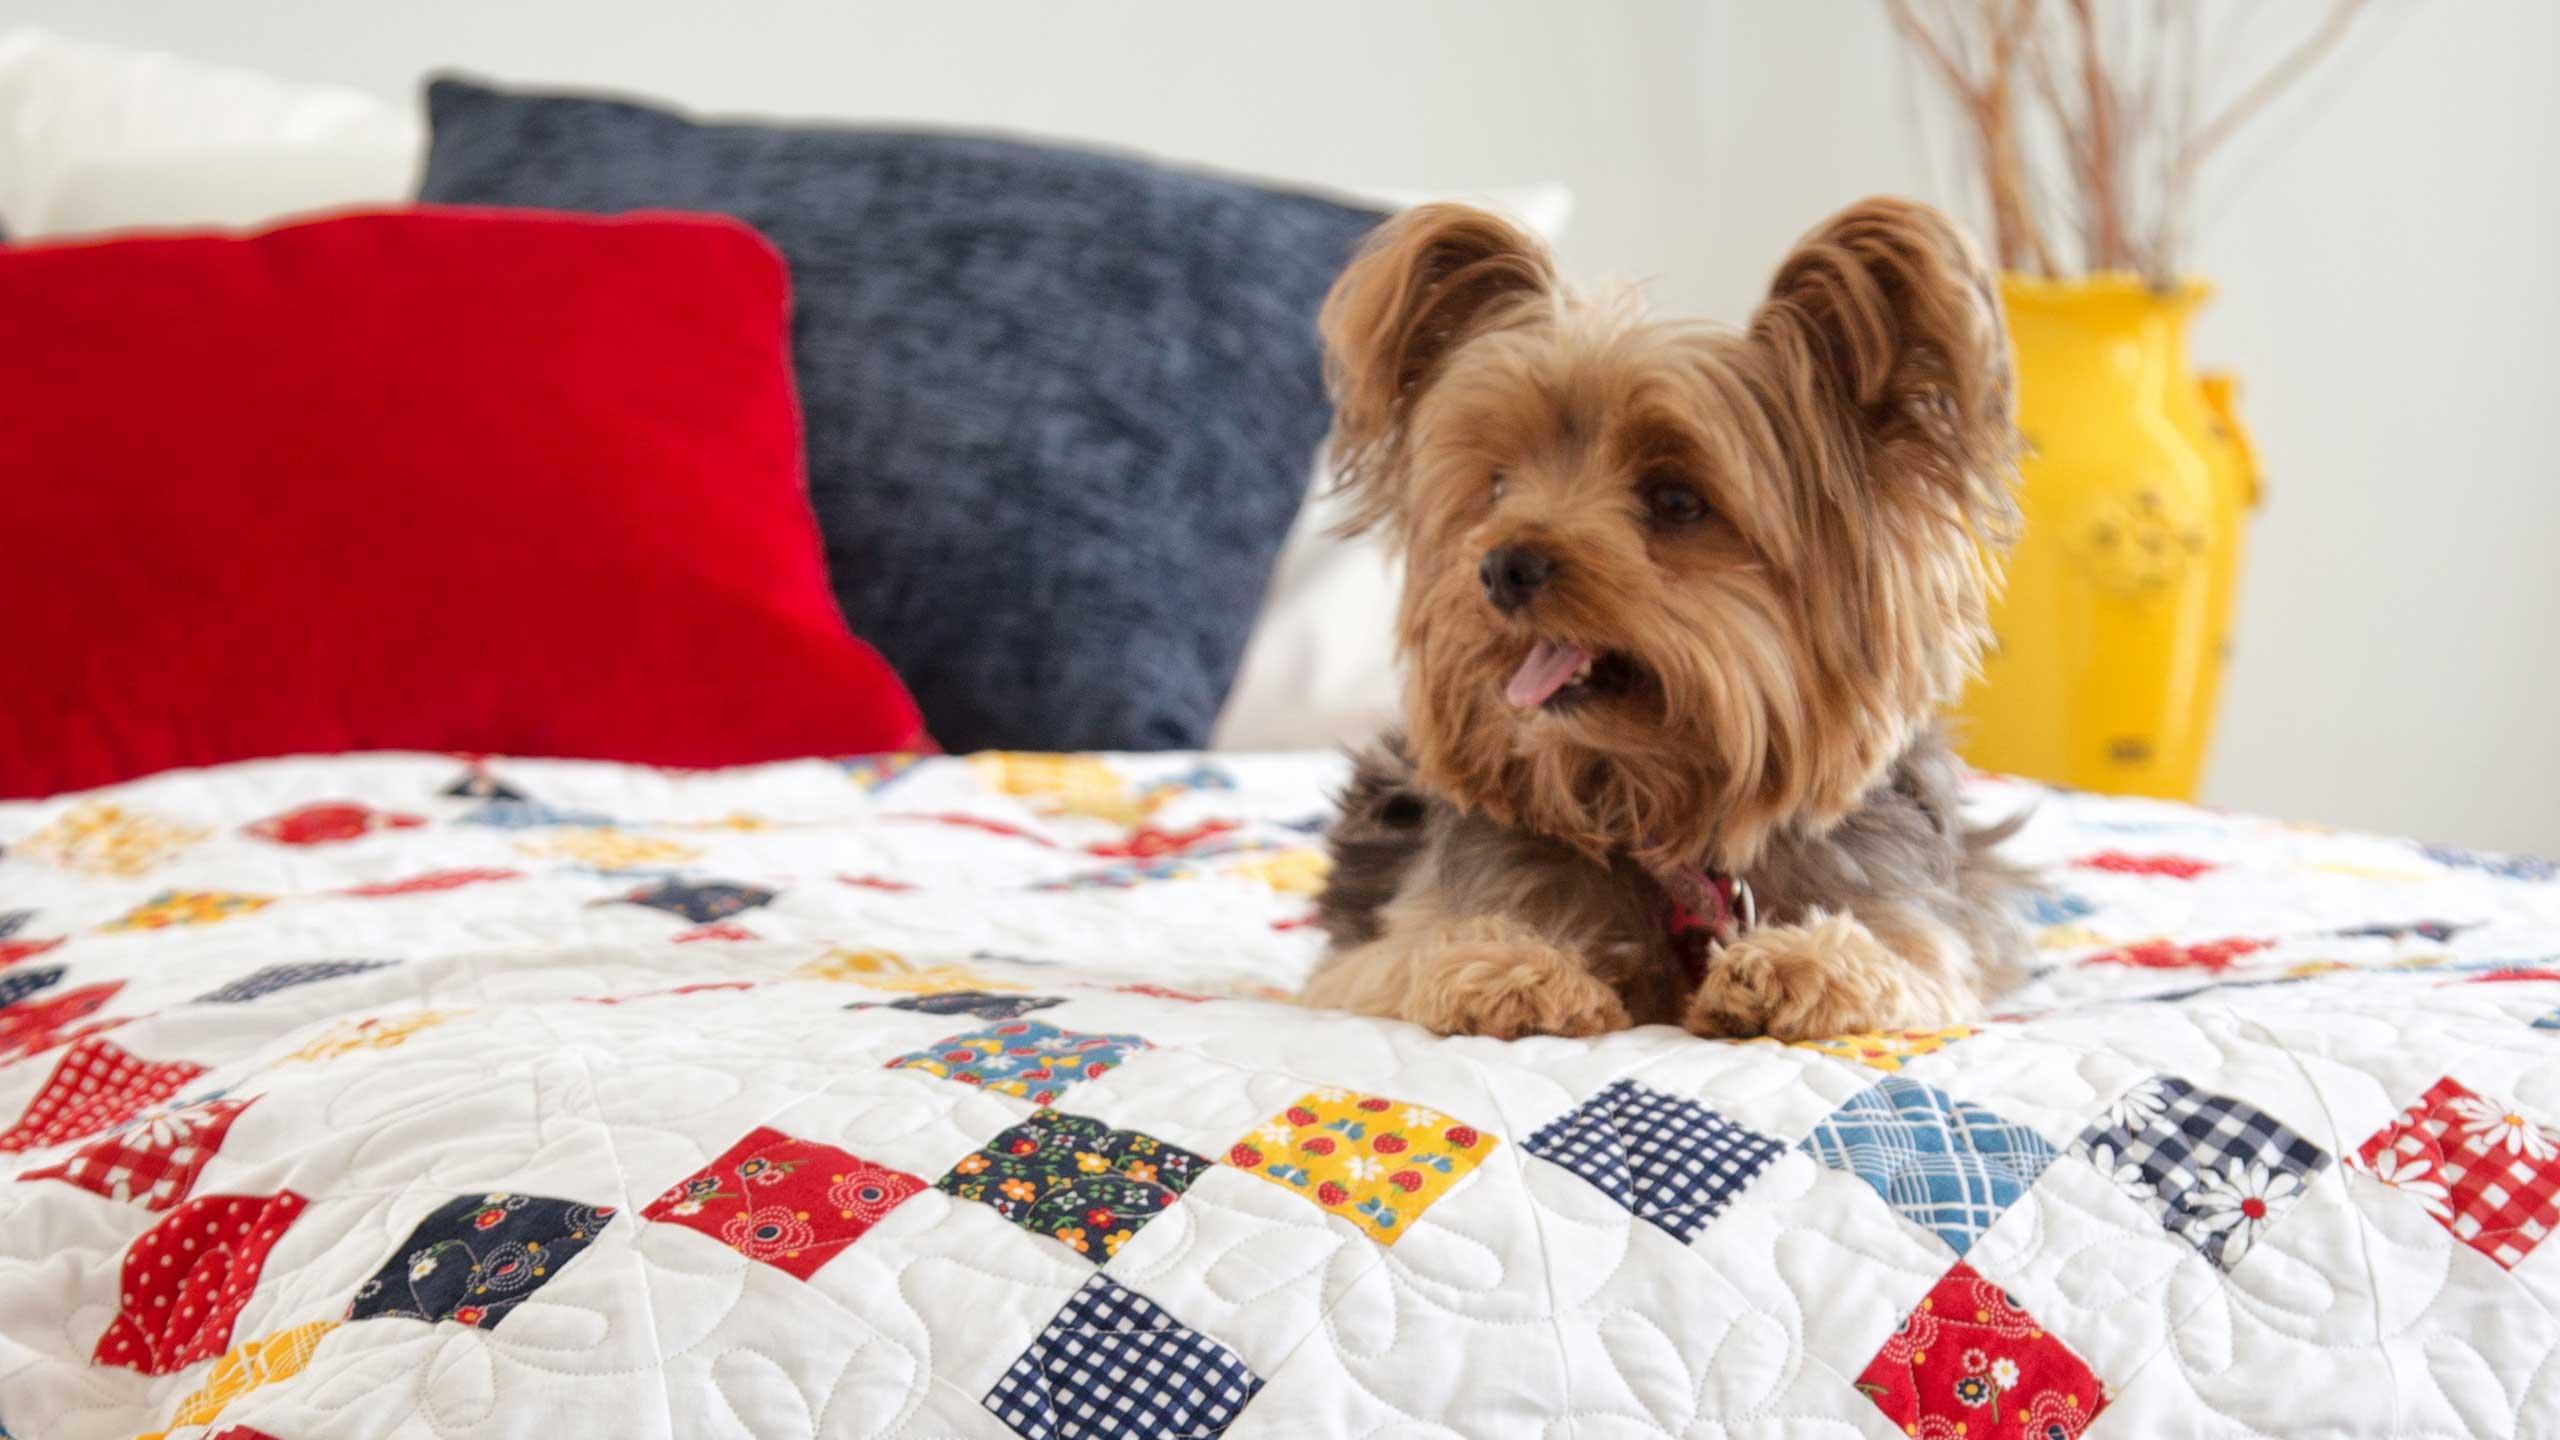
Jenny demonstrates how to make a beautiful Summer Stars picnic quilt using 2.5 inch strips of precut fabric. For this project, Jenny chose "Queen Bee" Batiks 40 Karat Jewels by Wilmington Batiks. This quilt combines two of our favorite patterns, Summer in the Park and Wonky Stars, and it comes together in a flash with quick and easy strip sets.
Instructor
Jenny Doan
Jenny Doan is an American quilter, author, and YouTube personality. Jenny started Missouri Star Quilt Company in 2008 and today it is the largest quilting supply vendor in the United States.
Shop this tutorial




Common Questions
What is covered in Make a "Summer Stars" Picnic Quilt with Jenny Doan of Missouri Star?
Jenny demonstrates how to make a beautiful Summer Stars picnic quilt using 2.5 inch strips of precut fabric. For this project, Jenny chose "Queen Bee" Batiks 40 Karat Jewels by Wilmington Batiks. This quilt combines two of our favorite patterns, Summer in the Park and Wonky St...
How long is the tutorial video?
The tutorial video is 00:18:04.
Are supplies listed for this tutorial?
Yes. The tutorial page includes the supplies and materials connected to this project.
Is a transcript available?
Yes. A written transcript is available on the tutorial page.
Video Transcript
So first of all congratulations. We love having Aislen in our family. She’s such a great addition. But this is your picnic basket with your quilt inside. And I want you to open this up and take a look at this quilt.
Isaac: Let’s see.
Aislen: That’s so cute.
Jenny: Isn’t that cute? And look the little glass dishes, so cute. And look here’s your quilt. Now Isaac and Aislen asked for blue and white. And I understand you guys actually got engaged on a picnic. Is that right?
Isaac: Yep. Yes we did.
Jenny: This is your picnic quilt. I just hope you keep dating the rest of your life. Now the fun thing about this quilt is that this is actually the Summer in the Park pattern which is Natalie’s pattern. So I feel like it combined Isaac’s mom and his grandma to make this great quilt. You guys, congratulations. Love you.
Isaac: Yep.
Jenny: Isaac is on our film team and Aislen actually works in our sewing department so it’s fun to have them on board and have them working with us. We get to see them every day. Alright, don’t forget your basket. You can’t have a picnic without a picnic basket. Well you can but it’s a lot easier if you have tiny little goblets to drink out of, right?
Isaac: Right. Thank you.
Jenny: You bet.
Alright so to make this quilt what you’re going to need is one roll of 2 ½ inch strips. And we have used Queen Bee Batiks and they’re by Wilmington Batiks. And it’s just a fun golden line. I love how we were able to incorporate the little stars out of the pattern. You’re going to need a yard of background fabric. That takes care of this and this first border. I outer border out here is 1 ½ yards and it’s a 6 ½ inch strip. Your backing is 3 ¾ yards. And we have put this yummy, yummy soft cuddle on the back. I love how quilting shows up on cuddle. It just, it’s just so great and it’s just so nice to cuddle under. It’s just a great way to back a quilt.
Anyway, this quilt is made of two different blocks. We did the wonky star block and then this is the Summer in the Park block. And the way we did that was we took our strips, we’re going to do the Summer in the Park block first. And we took our strips and we sewed them together light and dark like this. And so we have a light and a dark. And then I have one here that I’ve sewn together and it is also light and dark. And we’re going to press this open. And then we’re going to sew it together in a tube. So you can see my sew line right here, a quarter of an inch, we’ve sewn these two strips together. And we’re going to go ahead and press this. I like to press up here to the dark like this and make sure my seam lays, hides behind that dark strip. And there are actually full tutorials on Summer in the Park and on the Wonky Stars. And I just thought it would be fun to combine two blocks for Isaac and Aislen’s quilt. You know I thought it was that it was a quilt their mom designed and you know that together we made, you know, we made this quilt and it’s just fun.
Now before you start sewing all your strips together, you want to make sure that you have the strips out that you want to make your stars with. So we used yellow and they’re all, we used all different yellows in the bundle. And you’re going to pull four strips out of your pack to make your stars with. And so don’t forget to do that because you might get sewing these little strip sets together and you might get them all sewn together and not have any stars and that would not be good. So here’s what we’re going to do, we’re going to lay these together, match them up and we are going to sew a quarter of an inch seam on both sides. So here we go on this one and we’re and actually batik nests pretty good against itself and so they stay pretty good together. You don’t have to adjust them too too much. We can really just sew down the side. Alright, now we’ve got our tube all done. And what you’re going to want to do now is you’re going to want to take out your clearly perfect slotted trimmer because we are going to cut blocks out of this. And so what we want to do, this is trimmer B, so it’s the straight sizes, the two, three, four, five, six. And we are laying this on the six line right here. And it’s going to take four of these to make a block. So what we’re going to do is we’re going to cut up here like this and across here like this. This is your waste over here, this is your block. And then you’re just going to rotate your ruler, keep it lined up on that stitch line. And I”m going to move this over here so I don’t cut into one of those other blocks. So let’s go here. And basically then you’re just cutting back and forth, back and forth.. You can also do this with a ruler that has a 45 on it and that works as well. You just want to lay your 45 along the bottom edge of your strip set. And one more. Well you’re going to cut your whole strip set. And then I actually made my strip sets, cut my strip sets so I could really scrap up and mix up my blocks. So you’re going to make eight of these tube sets. And I would make them all and mix them all up and go. Now you can see right here at the top. See right here there’s a couple of stitches right here, you really can just open this and they will come right out. Just like that. And so what we’re going to do is we’re going to take these four. And remember now normally I would scrap these up. Also I always try to put these together so they form squares in a squares in a square. And there are odd number of blocks so you can’t really do that with this so it’s way better to scrap them up. And what I’m going to do is I”m going to press these open like this. And I”m pressing the same direction. Let me press to the dark. And because you cut two from the top and two from the bottom you get blocks that look very different.
So see here’s our blocks. And they all look so different. Isn’t that interesting? Alright now what I did with mine was I put them together so a dark light came together in the center. So we have this like this. And then we have another dark here and we have another light here. And so it just scrapped them all up and made them look scrappy. Then what you’re going to do is you’re going to sew this together as a four patch. So we’re going to sew a quarter of an inch right down the side of this one and this one too. We’re just going to chain piece it right underneath. And then we’ll pick these up and put them together this way making sure that they still match, they’re going the right way and they are. So we’re going to go ahead and put this on here, line it up. And I take a few little stitches to hold it and then I’m going to line up this middle part. Make sure it stays together. And then we can sew right over here to the end. And then we’re going to press this open. And this is our block.This is the block we’re going to make for our Summer in the Park part of it. And so there we have that.
Now let’s look at the quilt behind me because what I did was one row of these blocks, here’s our blocks. So one, two, three, four of these. Then I did two rows, so eight blocks here and then four more down here. In between I put a row on wonky stars on the top and on the bottom down here. I just thought it would be so fun and it would make a beautiful quilt. So let me show you how to make a wonky star.
Again you’re going to pull out the four strips that you want to make your stars with. And on Isaac’s they were all blue and white and this one we did yellows. I love the idea of the yellow stars. And so what you’re going to need for this is you’re going to need a middle of your color and four legs. So we’re going to put our legs out here like this. One, two, three, four. And you’re going to make your legs on a white square. So we have a white square for each one of those. So five 2 ½ inch squares of color. And then we have four for the legs and then you’re going to put two on each side like this. So a total of eight to make your little wonky star. So let me show you how we make these legs.
So the wonky star is one of my favorite blocks. I love it because I feel like every time I make it it is a little bit different like a little present. So what I”m going to do is I”m going to take my white square. And I’m going to lay my colored square over it. And as long as this point right here, as long as this point right here crosses that middle. So if you need to, you can make a little fold, a crease to show that middle. And as long as this block comes, or this edge comes across that middle this leg out here can go anywhere. It can go short, it can go long. I tend to like mine longer. So then what I’m going to do is I”m going to come over here and I’m going to sew a quarter of an inch right down the side of this. But what I like to do is do all four of my legs at one time. And I’m just going to go ahead and lay them all on here like this and sew down. I’m going to add another one in, sew down. And this is how I’ll do, I’ll do all four of these. Actually I probably did all the star’s legs so I had many, many legs out here as I was going along. And because I do these, mine don’t always look so wonky. They actually tend to get pretty uniform because I tend to kind of put them in the same place.
So now what we’re going to do on these is we’re going to go ahead and cut these apart. And then I’m going to remember, and this is important, I’m going to remember that my white is actually the background. So it’s the yellow I’m going to peel back like this. And I’m going to iron these back on all four of these like this. And then I’m going to trim them off. So I”m going to grab my little ruler. I really like to use my little 2 ½ inch ruler when I’m working with these small things. I’m going to flip all these over. And now what I’m going to do is I’m going to cut off this triangle so I remember that my white is the foundation part for my leg. And I’m going to cut this off and trim off this top as well. Right like this. Now what I can do, this is trash, but this part right here becomes the other leg. So then we’re going to fold that. I’ll fold that back for you so I’ll sew it on here so you can see how it works. And press that back like this. And then we’re just going to trim that off. We use our little 2 ½ inch white square as our pattern. Trim that off and then we’re going to trim this side off as well. And there’s the first of our star legs and we need to make four of those. So I”m going to put this guy right here something coming. And I’m going to go ahead and trim all these up and we’ll make some more legs. Alright we’re on our last leg here. That sounded terrible, we’re on our last leg. We’re not on our last leg but we’re on our last star leg.
Alright so then we’re going to put these together and then this goes together like a little nine patch, three rows of three. So we’ll sew these together and we’ll sew these together. And then this middle one we’ll do as soon as we’re done with the sides. And what we want to remember on these is that a white square goes on the side of both of these yellow middles. So I’m going to put it on like this. Then I”m just going to flip these around and attach a white square to the other side as well. And then here’s the next one. Now on the middle one we have legs that go to either side of our center square so we want to just take these and put these on both sides. Make sure the points of our legs are pointing out. And then we’re going to put this one on this side as well. I’m going to unattach these. So see how this is going to go like this and we’re just going to fold it over. Alright and now it’s time to sew our block together. And I actually like to iron these before I sew them together. So when I iron them my center block, and you’ll find often seams kind of tell you the way they want to be ironed. These seams want to go in, see how they’re folded in as they lay here. And so that’s how I’m going to let that, I’m going to let that have its way. We’re going to fold those in. These outer rows we’re going to fold out and that will make our seams just nest perfectly. Alright so there’s that one and here’s this one. Alright so we’re just going to sew one of these leg sets to either side of this middle here. Sew a quarter of an inch down the side, line this up on our center seam and make sure it matches up on both sides. And then right here, this other side. There we go. And when you match up those center seams your blocks should come out pretty even and they should look real nice. Let me see, I’m going to put some steam on here and have this lay down really nice. So here’s our little star block. And you’re going to need, I think, one, two, three, four, five, six, seven, 14 of those and you’ll do them in rows of two.
Now one of the things that I noticed in making this quilt is that, because I’ve made it twice now, is that sometimes this row doesn’t match up with this row. If you find your row shorter or longer, you can put a little, add just a little piece in there to make it to fit the width. It depends all on your quarter inch. You don’t want to stress too much about that and so just make it work. You know the pattern is written with a little strip in there. This one actually fit perfectly because I have a little bit of a narrower quarter of an inch seam so whatever works. You know, just make it work.
So this is a really fun project. It’s a really fun idea to make a quilt for a couple who’s getting married that is a picnic quilt because that quilt is going to live in their car. It’s going to be part of their adventures. It’s not going to be a quilt that lives its life on a shelf and so hope you enjoyed this tutorial on the Summer Stars quilt from the MSQC.