

Make a Sweet Petunias Quilt with Jenny!
 Jenny Doan
- Jelly Roll
- Modern
- Lap / Throw
- Beginner
- Quilt size 46" × 56"
Jenny demonstrates how to make a quick and easy Sweet Petunias using 2.5-inch strips of precut fabric (jelly rolls). We used a "Victoria Gardens" Roll Up by Robert Kaufman Fabrics.
Instructor
Jenny Doan
Jenny Doan is an American quilter, author, and YouTube personality. Jenny started Missouri Star Quilt Company in 2008 and today it is the largest quilting supply vendor in the United States.
Shop this tutorial
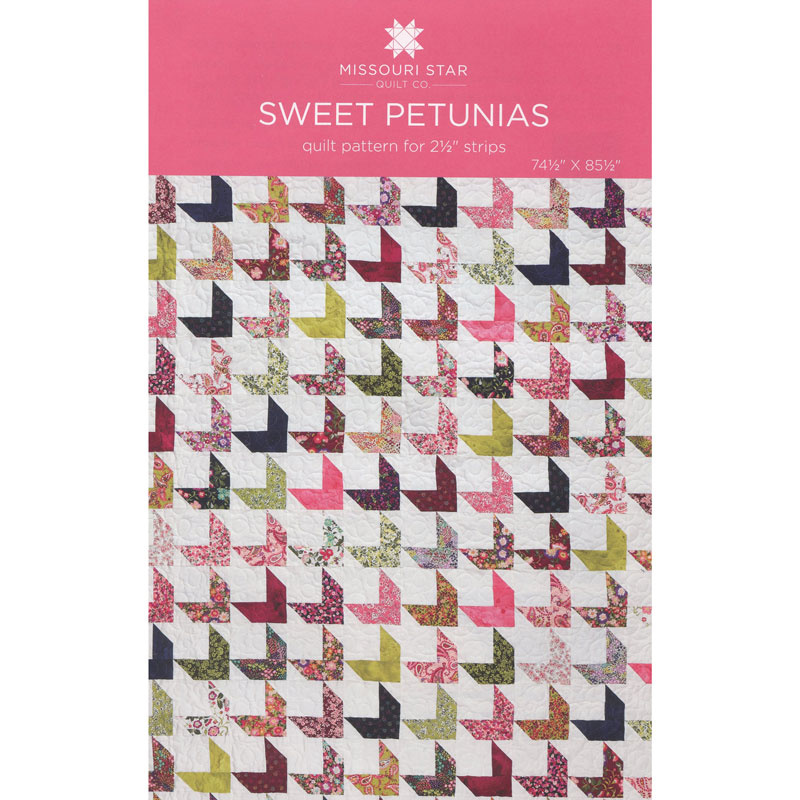 Sweet Petunias Quilt Pattern by Missouri Star$4.95Shop →
 Digital Download - Sweet Petunias Quilt Pattern by Missouri Star$3.95Shop →
 Olfa Splash Aqua 45mm Rotary Cutter$17.25Shop →
 Missouri Star 5" x 15" Ruler$14.95Shop →
 Olfa Splash 24" x 36" Cutting Mat Navy$68.95Shop →
 Exclusive Missouri Star Jenny TG1600 ProPlus Oliso Smart Iron$199.99Shop →
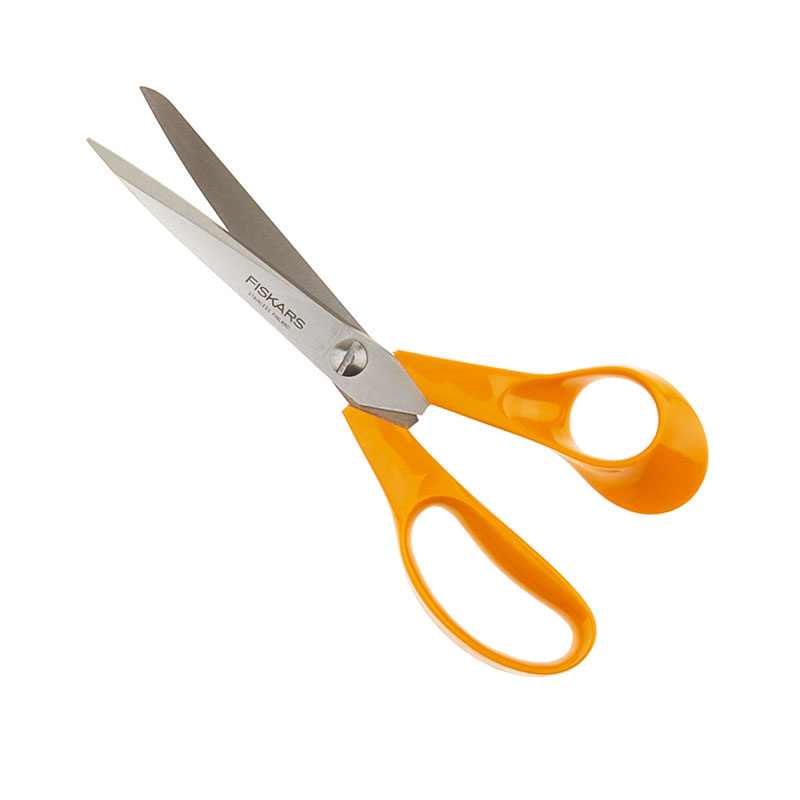 Fiskars Seamstress Scissors 8"$25.75Shop →
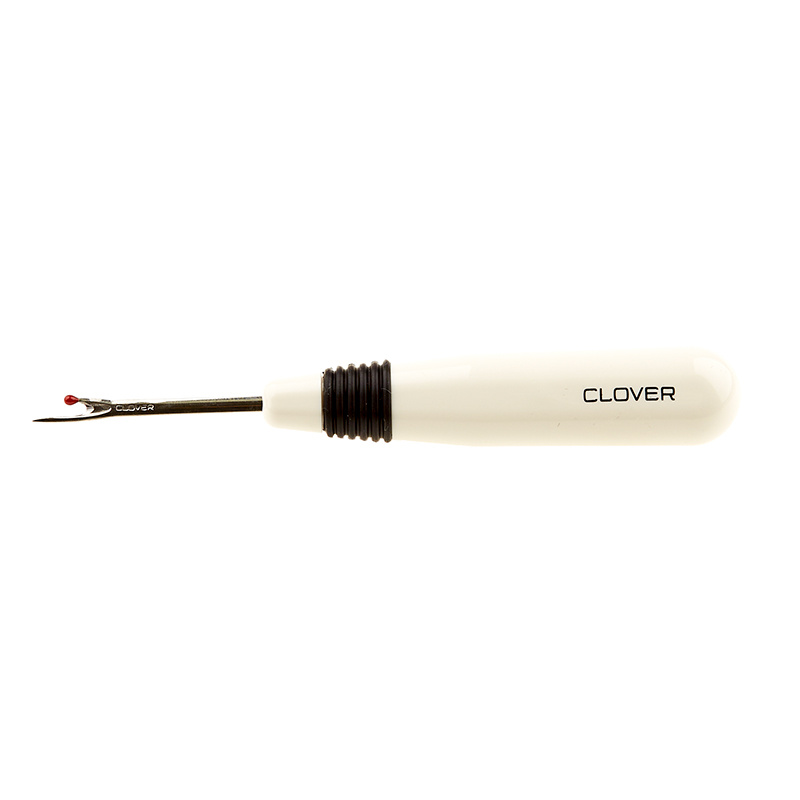 White Seam Ripper from Clover$5.45Shop →
Common Questions
What is covered in Make a Sweet Petunias Quilt with Jenny!?
Jenny demonstrates how to make a quick and easy Sweet Petunias using 2.5-inch strips of precut fabric (jelly rolls). We used a "Victoria Gardens" Roll Up by Robert Kaufman Fabrics.
How long is the tutorial video?
The tutorial video is 00:05:35.
Are supplies listed for this tutorial?
Yes. The tutorial page includes the supplies and materials connected to this project.
Is a transcript available?
Yes. A written transcript is available on the tutorial page.
Video Transcript
Hi everybody, it’s Jenny from the MSQC. And I’ve got a fun project for you today. It’s in one of my favorite colorways and I can’t wait to show it to you. So this quilt is called Sweet Petunias because they’re just like little flowers lifting their face to the sun. It’s just so cute. Comes together so quick and easy. To make this quilt what you’re going to need is one roll of 2 ½ inch strips. And we have used Victoria Garden for Robert Kaufman. And it’s just beautiful. You’re going to need some background fabric. You’re going to need 3 ½ yards. That’s going to include this inner border right here. And then you’re going to have 1 ½ yards for this outer, a 5 ½ inch border and it just frames the whole thing really nicely. The backing, you can see I’ve grabbed for this a couple of times. I just want to show you the backing. Look at this beautiful backing. The backing is 5 ¼ yards and oh my gosh. That’s so fun. It’s so pretty with all those roses. It just makes a really pretty quilt. Alright, so let me show you how to do this because this is pretty easy.
So out of each strip you’re going to cut four four inch pieces, four six inch pieces. So let’s cut our selvedge off, just like this. And we’re going to cut four four inch pieces and with each cut, because my strip is in half I’m getting two, four. So there’s four right there. Now we’ve got six, one, two, three, four, five, six, and six. Now this is actually going to make four flowers. So you get a lot of bang for your buck out of this. Alright so you’re going to take one four inch strip and one six inch strip. And then we’ve got to cut some background fabric. And we’re going to cut two 2 ½ inch squares to doggear the corners. And then one four inch square of background fabric. And that’s what you need to make each little flower. So let’s go ahead and we’re going to put our, our little doggears, our snowball, whatever we want to call this corner. We’re going to put that on the top corner. And I’m going to lay this on here like this. I’ve finger pressed a line across here for me to sew on. And the only thing you have to make sure of on these is that they’re going opposite ways. So this one is going to go this way, see you can see. See my line right here how they’re going opposite ways. That’s what you want to make sure. So let’s go sew these down and trim them off for our little flower.
I have actually made this in several other fabrics and they’re just so pretty. All the little flowers look so cute together. So we’re going to take this one. Oop, there we go. Hang on, hang on. Stay right on that line. Alright now what we’re going to do is we’re going to trim this off and press it back. We’re going to trim a quarter of an inch from our seam line about-ish. It doesn’t really matter because we’re not, we don’t have to be perfect on that cut. So we just go here. I try to catch my threads at the same time. And then we’re going to press these back. Alrighty. Now we’re going to take this four inch guy right here and we are going to sew him to a four inch background square. You want your color to be to the side of the square. So we’re going to go back here and sew this one on. And we’re going to press him open, just like this. Oop, I kind of wrangled up my other half of the block here. Let me just straighten that out. Ironing can do so much to straighten out. And then you’re going to turn this one so the color goes along side the block. There is it. There’s our little flower.
So let’s go ahead and stitch this down. And then we’ll press it open. Alrighty. Now we’re just going to press this back. I’m going to keep my fabric, my seam to the dark side. And there’s your little flower. How cute is that? Wasn’t that quick and easy? So let’s look at how we laid these together. We actually just put them going all the same direction like this so that all their little faces are looking up to the sun. And you’re going to make a row of them. And because you get four out of each strip there’s a lot of little flowers in here. As you get your rows sewn together you’re going to sew your next row together and then you’re just going to match these up like this. Every one just the same, just like that. Such a great, quick tutorial. Such a stunning look to it. We love it. Here it is again. It’s really pretty. It’s called Sweet Petunia. And we hope you enjoyed this tutorial from the MSQC.
So out of each strip you’re going to cut four four inch pieces, four six inch pieces. So let’s cut our selvedge off, just like this. And we’re going to cut four four inch pieces and with each cut, because my strip is in half I’m getting two, four. So there’s four right there. Now we’ve got six, one, two, three, four, five, six, and six. Now this is actually going to make four flowers. So you get a lot of bang for your buck out of this. Alright so you’re going to take one four inch strip and one six inch strip. And then we’ve got to cut some background fabric. And we’re going to cut two 2 ½ inch squares to doggear the corners. And then one four inch square of background fabric. And that’s what you need to make each little flower. So let’s go ahead and we’re going to put our, our little doggears, our snowball, whatever we want to call this corner. We’re going to put that on the top corner. And I’m going to lay this on here like this. I’ve finger pressed a line across here for me to sew on. And the only thing you have to make sure of on these is that they’re going opposite ways. So this one is going to go this way, see you can see. See my line right here how they’re going opposite ways. That’s what you want to make sure. So let’s go sew these down and trim them off for our little flower.
I have actually made this in several other fabrics and they’re just so pretty. All the little flowers look so cute together. So we’re going to take this one. Oop, there we go. Hang on, hang on. Stay right on that line. Alright now what we’re going to do is we’re going to trim this off and press it back. We’re going to trim a quarter of an inch from our seam line about-ish. It doesn’t really matter because we’re not, we don’t have to be perfect on that cut. So we just go here. I try to catch my threads at the same time. And then we’re going to press these back. Alrighty. Now we’re going to take this four inch guy right here and we are going to sew him to a four inch background square. You want your color to be to the side of the square. So we’re going to go back here and sew this one on. And we’re going to press him open, just like this. Oop, I kind of wrangled up my other half of the block here. Let me just straighten that out. Ironing can do so much to straighten out. And then you’re going to turn this one so the color goes along side the block. There is it. There’s our little flower.
So let’s go ahead and stitch this down. And then we’ll press it open. Alrighty. Now we’re just going to press this back. I’m going to keep my fabric, my seam to the dark side. And there’s your little flower. How cute is that? Wasn’t that quick and easy? So let’s look at how we laid these together. We actually just put them going all the same direction like this so that all their little faces are looking up to the sun. And you’re going to make a row of them. And because you get four out of each strip there’s a lot of little flowers in here. As you get your rows sewn together you’re going to sew your next row together and then you’re just going to match these up like this. Every one just the same, just like that. Such a great, quick tutorial. Such a stunning look to it. We love it. Here it is again. It’s really pretty. It’s called Sweet Petunia. And we hope you enjoyed this tutorial from the MSQC.


