
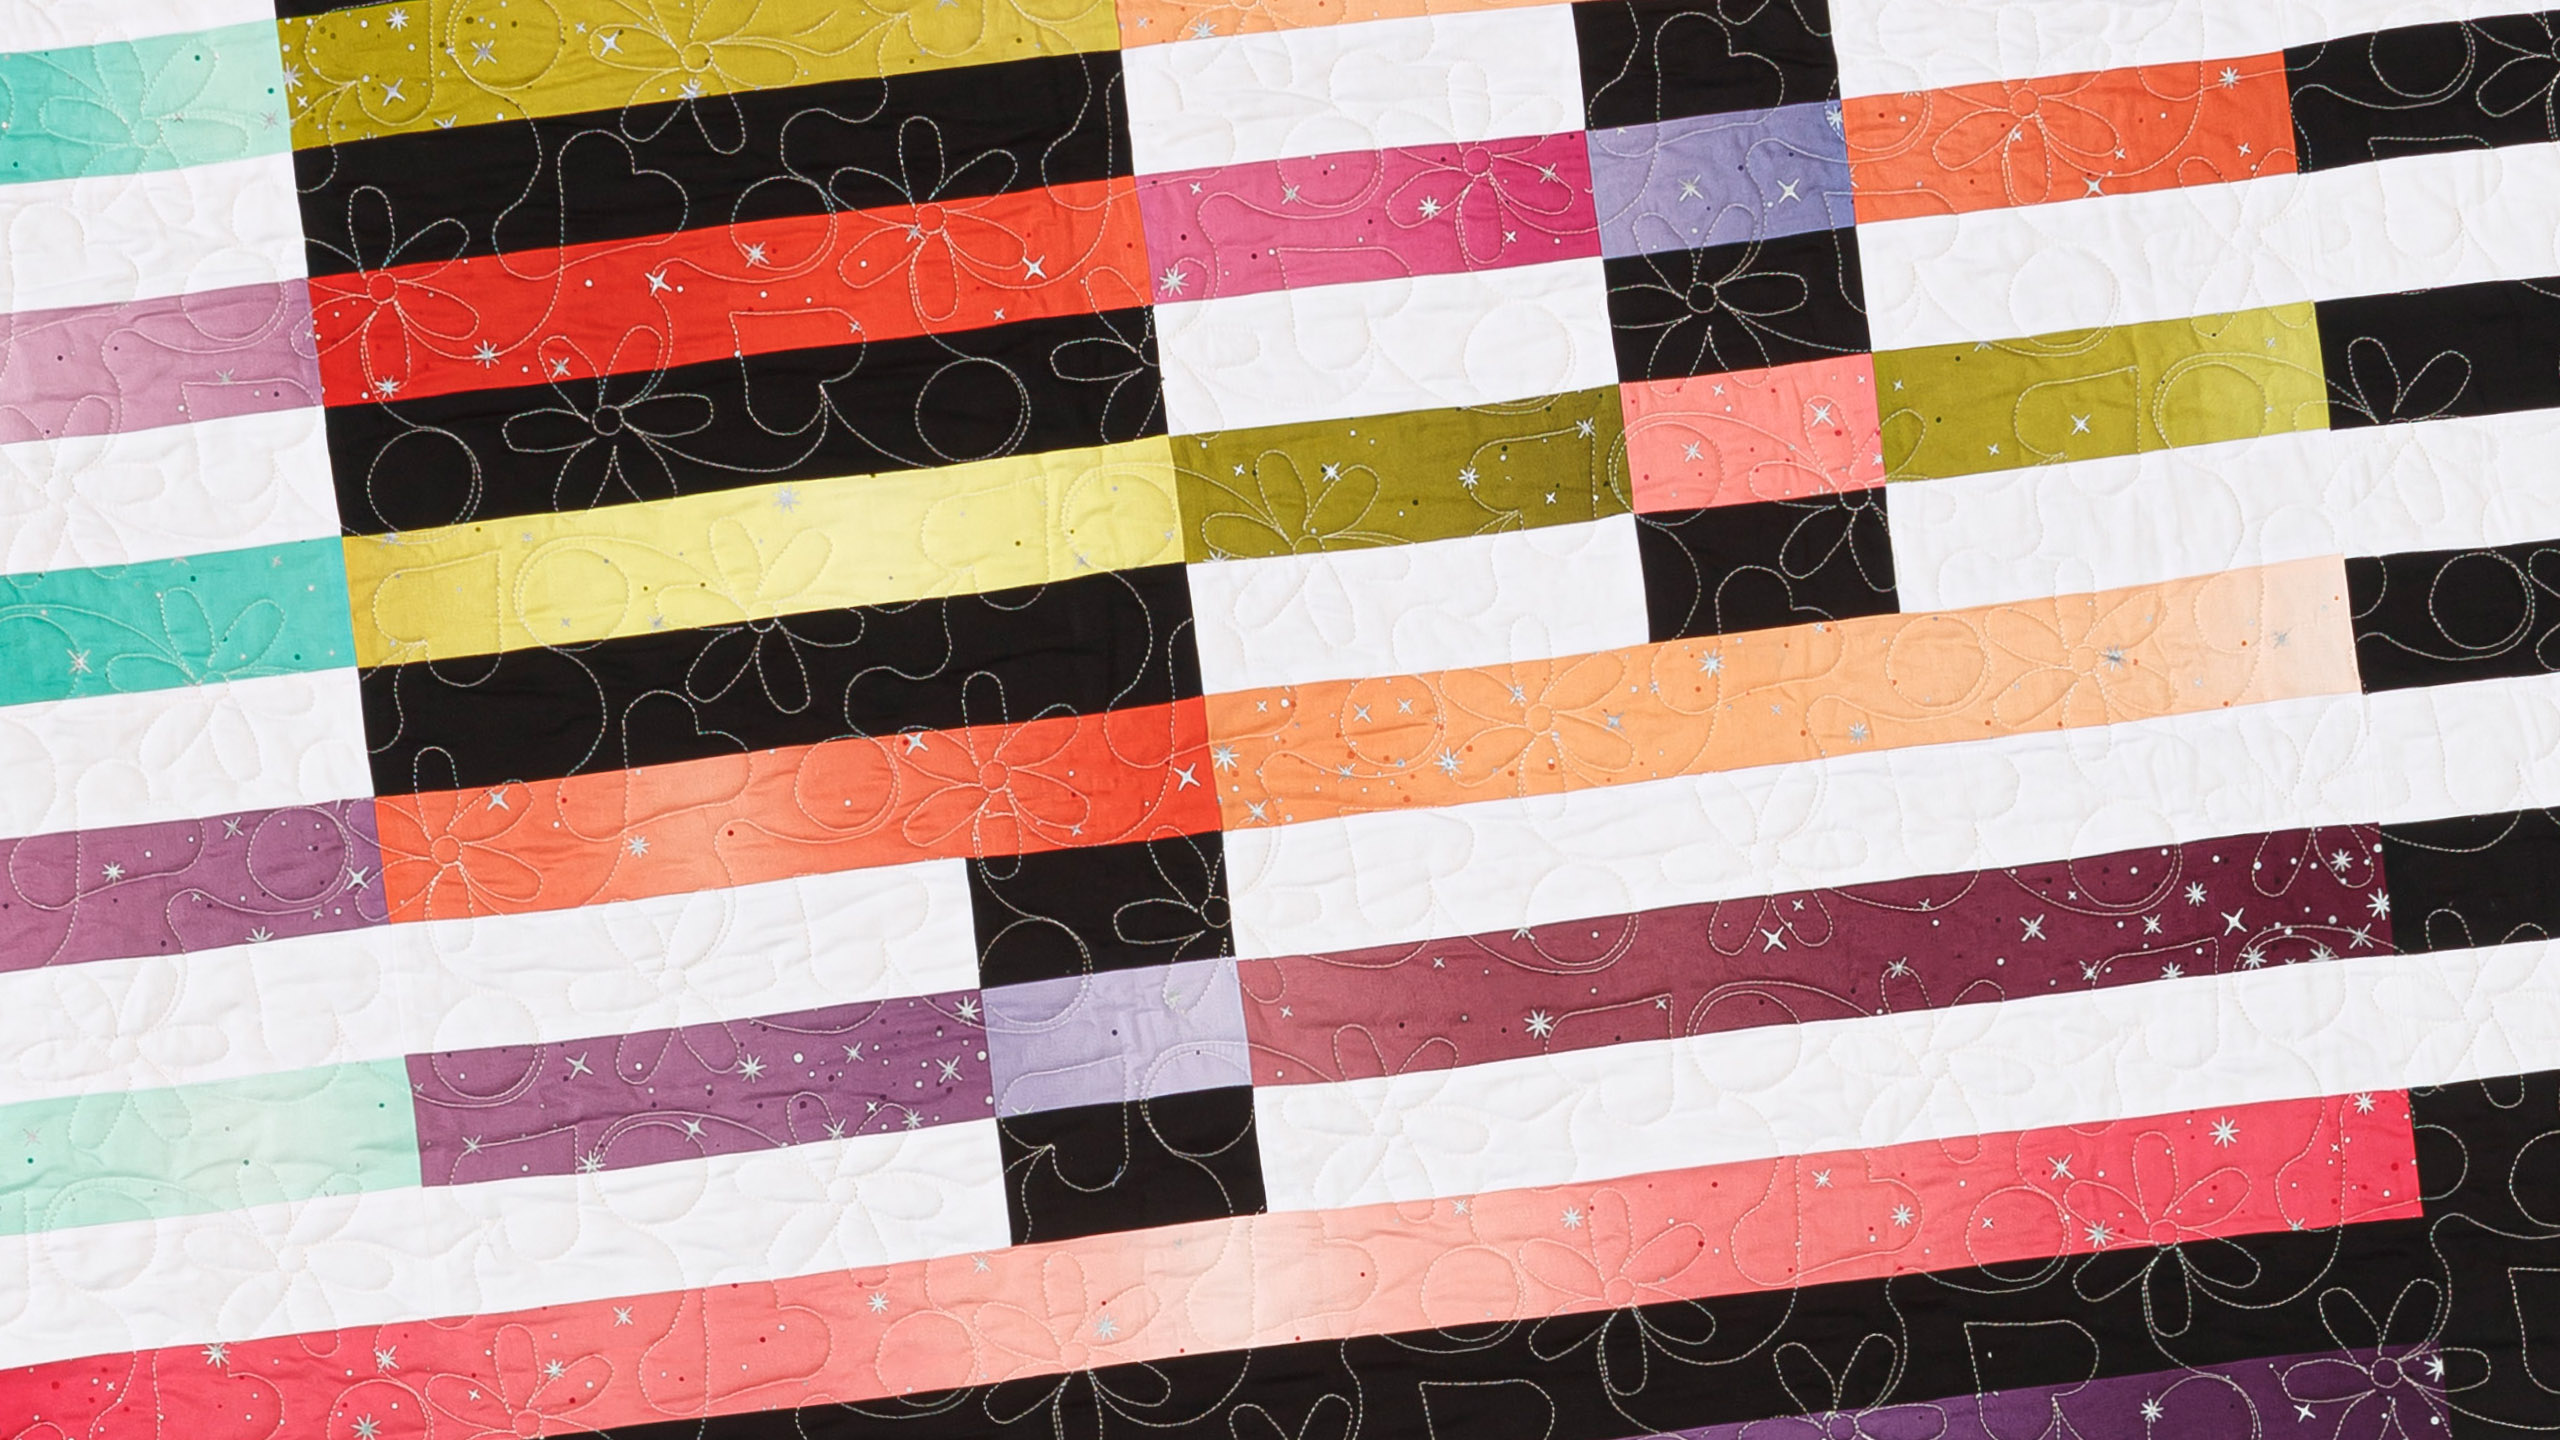
Make a "Through Love" Quilt with Jenny Doan of Missouri Star
 Jenny Doan
- Jelly Roll
- Lap / Throw
- Beginner
- Quilt size 64" × 78"
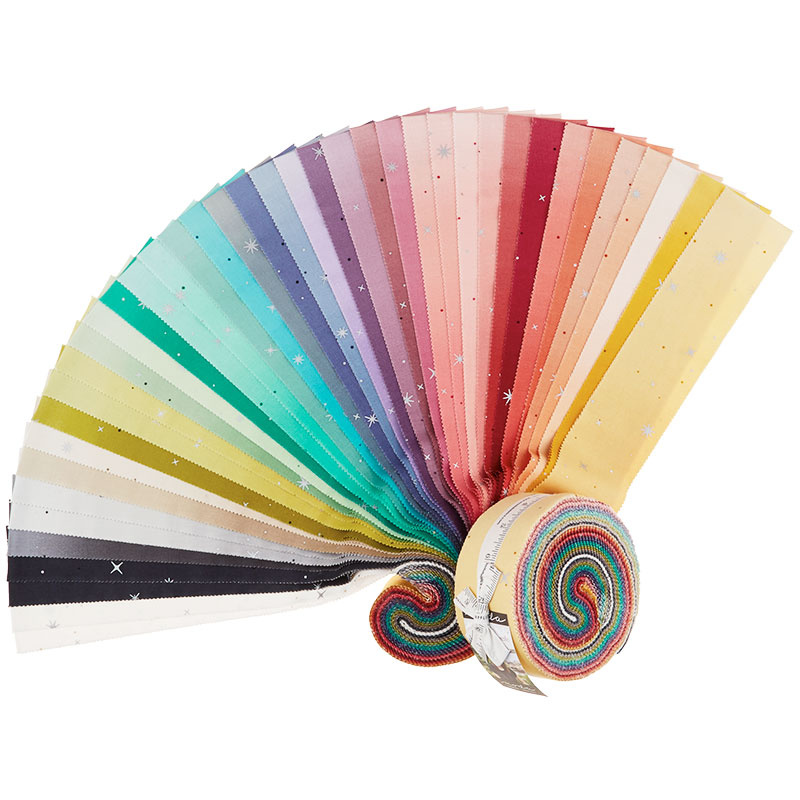
Jenny demonstrates how to put together a gorgeous quilt pattern designed by Allie Perry for Taren Studios. This quick and easy quilt is made with yardage and 2.5 inch strips of precut fabric. For this project, Jenny chose Ombre Fairy Dust Metallic Jelly Roll by V & Co. for Moda Fabrics. This quilt comes together lickety split with easy strip sets, and it's the perfect pattern to compliment this year's Missouri Star holiday theme: #GiveLove.
Instructor
Jenny Doan
Jenny Doan is an American quilter, author, and YouTube personality. Jenny started Missouri Star Quilt Company in 2008 and today it is the largest quilting supply vendor in the United States.
Shop this tutorial



Common Questions
What is covered in Make a "Through Love" Quilt with Jenny Doan of Missouri Star?
Jenny demonstrates how to put together a gorgeous quilt pattern designed by Allie Perry for Taren Studios. This quick and easy quilt is made with yardage and 2.5 inch strips of precut fabric. For this project, Jenny chose Ombre Fairy Dust Metallic Jelly Roll by V & Co. for Mod...
How long is the tutorial video?
The tutorial video is 00:13:04.
Are supplies listed for this tutorial?
Yes. The tutorial page includes the supplies and materials connected to this project.
Is a transcript available?
Yes. A written transcript is available on the tutorial page.
Video Transcript
Jenny: Hi everybody, it’s Jenny from the MSQC. And I am here today with Natalie.
Natalie: Hi everybody.
Jenny: Thanks for joining me today.
Natalie: I’m excited to be here.
Jenny: Anytime I can spend with my girl, I love it. So we love doing this. So anyway, one of the campaigns we have going on at Missouri Star right now is called Give Love. And when we saw this Love quilt right here. It’s so adorable. We just had to teach you how to make it. Natalie fell in love with it.
Natalie: You can literally give love with this quilt. It’s so pretty.
Jenny: Yes you can. And so we wanted to show you how to make this. This is actually a pattern. And it’s by Taren Studios and the gal’s name who made it is Allie. And it’s a super easy quilt because you’re just sewing strips together but to make these letters you have to kind of stay in order and do it because the pattern is actually written for three colors. So it’s black and white and a color. And we decided that we were going to use a print. So to make this quilt you’re going to need one roll of 2 ½ inch strips. And we have used this beautiful Ombre Fairy Dust Metallic. And I’ll talk a little bit more about the ombre as we go along. And you’re going to need one roll of those. You’re also going to need some black fabric and we went with yardage on this. There are a lot of 2 ½ inch strips that we used in here but they’re also some bigger pieces. So the black fabric is 2 ¼ yards. Our white fabric is 1 ¾ yards and again you’ll also need some strips but you’ll also need some pieces. So if you have, you know, a jelly roll strip laying around that’s the color that you want it would be perfect to use for that. Especially if you have a little bit added yardage for the background. I love it when I don’t have to cut a strip, I’m just saying it makes it so much easier. Your backing is four yards on this. And it just makes a nice quilt. This is a beautiful quilting pattern. You can see it really show up on the black fabrics. It’s got the daisies and the hearts and circles. Really a cute quilting pattern. And it makes a quilt that is 64 by 78. And I just love, you said earlier, you can literally give love when you give this. And I love that so much.
Natalie: And I love that it’s modern and kind of looks like you’re looking at the words through like blinds or shades.
Jenny: Or shutters or something.
Natalie: Ya it’s very cool.
Jenny: It’s very cool. Ya it’s a kind of a subtle reminder for everybody out there, I mean never have we needed to give love so much as we do right now.
Natalie: Oh for sure.
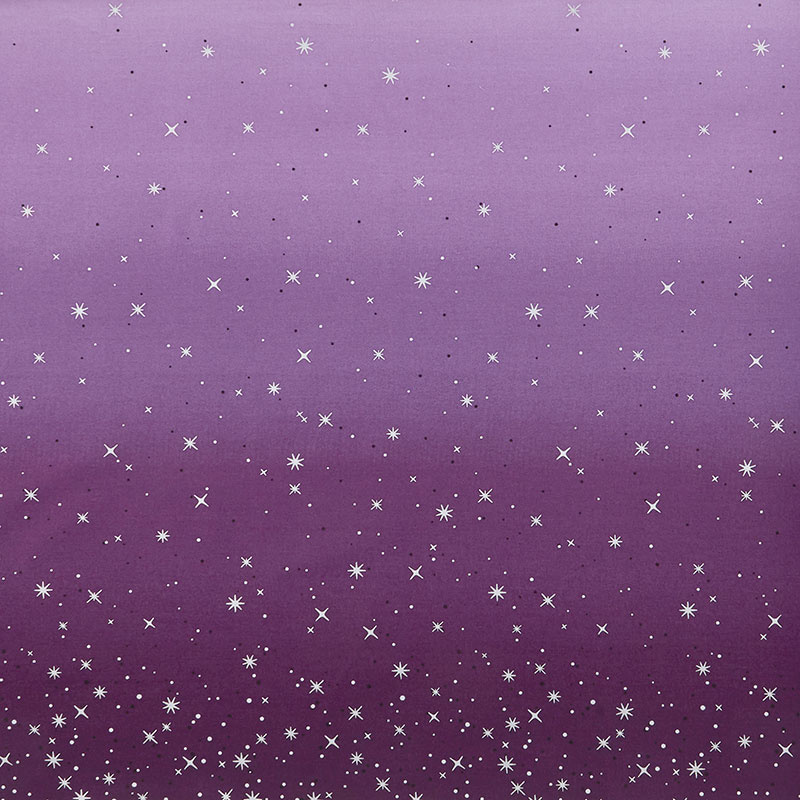
Jenny: Let’s just give love. Alright so I want to open this ombre strip set right here and talk a little bit about the ombre. When you have an ombre fabric it means that it just naturally fades from dark to light. So when you look at one of these strips right here you’re going to see it goes from dark and it just slides into the light and then all the way back to the dark. And this is what, you know, the little stars on it are what gives it the fairy dust feel and it’s just beautiful. I love working with ombre because you can use one strip and you think you have two or three different fabrics.
Natalie: It’s very interesting to see what happens when you use the darker end or the lighter end and mix them up.
Jenny: It totally is. Now on this quilt, one thing I want to point out is no matter where you are it’s important to have good contrast. So if you’re sewing your strip to a white strip you want to use the darker part of the strip, you know. And so just make sure that there’s contrast involved.
Natalie: And on this one because you have different background colors you actually want your really dark ones to be with the black and then the lighter ones with the white just because the lighter is going to give it, it will pop out easier. And if you put the lighter ones with the dark colors then sometimes they kind of blend together.
Jenny: Absolutely, absolutely.
Natalie: It gets a little bit harder to see that bold contrast.
Jenny: There was actually one where when we were making it and we were like, hmm that doesn’t show up very well.
Natalie: Ya and especially the lines on the E, it gets a little bit fuzzy down here if you use something too dark, then you can’t tell that there’s a differentiation here.
Jenny: Right. That the E goes in and out.
Natalie: Ya.
Jenny: Alright so let’s talk about how you make this because this quilt, again, we’re sewing strips together so it’s super easy to make.
Natalie: It really is.
Jenny: But you really do have to follow the pattern and follow along.
Natalie: Yep, you’ve got to be a little bit organized. I would suggest either numbered pins or post it notes that have, they have all the quadrants in this quilt are alphabetized so ABCEFG. And you can write that on a little sticky note or.
Jenny: And you can see we’ve got that right here. This is unit one or unit A. Unit A. And it will tell in here you exactly, you know, it’s going to say that you need to cut this, you know, so wide, however wide. How wide is this? Let me see. This is one, two, three, four, five, six, seven, eight, 9 ½ inches wide. And so I would probably sew, I would sew my white and my blue together and my white and my purple together. And then cut them up.
Natalie: Well they have, so this actually comes together in strip sets. So you do a strip set of the white and blue. And then you do a strip set of the purple and white or these two actually. And then you’re going to sub cut into the sections.
Jenny: 9 ½ inch sections.
Natalie: What you need and you sew that strip together. So it’s a lot of long strip sewing and then you cut them into the widths that you need and put them back together to create that quadrant that you’re looking for.
Jenny: Ya so that makes unit one right there.
Natalie: And it’s super well detailed in the pattern. Like they give you step by step directions.
Jenny: This piece right here is unit A. So on the pattern just to give you some helpful tips because it’s a three color pattern wherever it said, you know, color 2, I wrote white. You know so that I would remember wherever it said.
Natalie: Ya it’s good, it’s like you’re creating a key or a road map with your pattern. So you want to go through ahead of time, right?
Jenny: Absolutely. And so because on here, you know, there was only three colors on that one, so wherever there was where the third color came in I put print.
Natalie: It’s, yes it’s actually color 1, fabric 1 is our jelly roll.
Jenny: Ya and I put print. And so you can see we have little writing on this pattern here and it was so that we would remember, you know, which one was white, which one’s black, which one is print.
Natalie: And it’s totally ok to write on your patterns. Write notes. Write helpful hints. Do whatever you want, it’s your pattern.
Jenny: Ya. So as you go along, I actually wasn’t even sure how to teach this because it’s such simple sewing.
Natalie: It is.
Jenny: But it’s units that go together. So do we want to try, shall we try and put some of these units together?
Natalie: Yep. Ya we pre made all of the pieces.
Jenny: We did.
Natalie: And ya we can build the whole thing so
Jenny: And in our studio, you may not know this but we have a little design wall over here so we kind of switched our camera so we can use it. So Natalie
Natalie: I’m going to flip to the assembly section.
Jenny: Ok
Natalie: So what we want first, yep we need A
Jenny: I have unit A
Natalie: Ok then we’re going to look for Unit H. And the reason that they’re kind of out of order is because you make them in alphabetical order and then when you’re assembling each letter you’re going to take different parts and put those together. So we’re going to build the L. And so we need H which is a black background.
Jenny: Ok.
Natalie: And then we need B and I. And the assembly tells you exactly what to do, it’s super easy.
Jenny: So does it go right next to it?
Natalie: Yep, that’s the, this space right here in the middle of the O. Or sorry, the L. And now we need the little B piece that goes at the bottom. Makes the bottom of the L.
Jenny: Alright, I’ve got, F, G, here’s B.
Natalie: There it is. And then we’re looking for the I. So then the I goes right on the end in that little corner and you put that together and you’ve got your L. And it’s just that simple. And so you will create the L, the O, the V and the E. And then there’s a few little sections like this section right here is the L section. And then you also create your top and bottom and your sides. They’re kind of borders but not really. And so like this whole section right here is one piece that you create for the top. And then you’ve got these sides and the bottom as well. So those go together separate from the letters.
Jenny: Well actually this is a strip set and then these are big squares that you’re going to cut and sew it together to make one big tall piece up there.
Natalie: Yes that goes across the whole top of the quilt after you’re done putting all your letters together individually and then sewing them together.
Jenny: So this is so cute, we’ve got the L.
Natalie: Ya it worked out so great, I love it. Do you want to do one more letter?
Jenny: Yes, yes. Let’s do it.
Natalie: Alright. Let’s build the O. So we need a unit D for the top and that starts with a white strip at the top.
Jenny: I have a D right here. Now there are three D’s in this pile. Are they all for this?
Natalie: No, so one of the D strip sets goes at the bottom of the V.
Jenny: Oh ok.
Natalie: Ya. Well that one goes, first let’s do the F pieces.
Jenny: Oh Ok
Natalie: So these go two on the ends and then we’ll put a unit J right in the middle.
Jenny: Alright so I’m, keep these.
Natalie: J for Jenny
Jenny: J for Jenny. Keep these lined up here. It starts and ends with a white.
Natalie: There we go.
Jenny: And put this in the middle.
Natalie: And so like, so for this one I would probably sew these two to the center piece and then sew them together in one, two, three and you’ve got the whole L built.
Jenny: Sure
Natalie: And this one goes color strip up.
Jenny: So color strip up?
Natalie: Yep so you keep with your white, print, white, print.
Jenny: And there’s your O
Natalie: Ya. Perfect.
Jenny: It’s so cute. Now on this one right here we have the L and we have the O. And you can see right here in between the two letters we have this triple strip set right here. And so what I did on this one just to make it a little easier was I just took my whole strips and sewed all three of these together and then cut them down, because rather than cutting them down ahead of time because I don’t know. I just felt like it was easier to just sew them together and then cut them to match this with this big piece out here.
Natalie: Well and sometimes with big pieces when you combine a big piece with a bunch of smaller pieces you, with your seam allowance differences you might just need a little bit of extra space to trim.
Jenny: I always need grace with my sewing. So we’ve got a strip set up here on the top, the strip set in the middle and one on the bottom. And I did those all the same way.
Natalie: The other thing that I think is really cool and you can’t see this probably where you’re at but up close you can tell there’s a little seam at each of these white strip sets. So this is a whole separate set but then when you put it together it looks like it runs in and makes it look so complex and beautiful.
Jenny: And the seams disappear when you have color on color.
Natalie: Ya. But as you’re putting it together those are the places to watch. You can line up all your strips and they all run horizontally so it’s super easy.
Jenny: And it’s super easy to make. It’s just strip sets and putting together.
Natalie: And it looks so great. I just love it.
Jenny: And it’s such a great, modern thing. And because of our current campaign that’s called Give Love, we just loved this. It’s just ideal.
Natalie: I love this.
Jenny: It’s just ideal for that and we loved it. So Allie we just want to thank you for creating this quilt and letting us show it on YouTube and do a tutorial on it. It makes a quilt that is 64 by 78. So it’s a pretty good size quilt.
Natalie: Ya. It’s great for a wall or your couch or your lap or anything.
Jenny: All of you. You’ll have love all over you. It’s just wonderful. So we hope you enjoyed this tutorial on the Through Love quilt from the MSQC.
We hope you enjoyed watching this video. If you’re not already part of the Missouri Star quilt family you can hit the subscribe button below so you won’t miss a thing. And if you click that bell it will notify you every time a new tutorial comes out. See you next Friday.


