

Make a "Ticker Tape" Quilt with Jenny Doan of Missouri Star
 Jenny Doan
- Jelly Roll
- Batik
- Twin
- Beginner
- Quilt size 68" × 77"
Jenny Doan demonstrates how to make a fabulous new quilt with skinny, pieced strips that look like old-fashioned ticker tape. She's using precut 2.5 inch strips, or jelly rolls, and her fabric is Banyan Batiks for Northcott. This quilt was inspired by an old quilt top Jenny rescued from an antique shop. It comes together quick-as-a-wink with strip sets, and it's such fun to make!
Instructor
Jenny Doan
Jenny Doan is an American quilter, author, and YouTube personality. Jenny started Missouri Star Quilt Company in 2008 and today it is the largest quilting supply vendor in the United States.
Shop this tutorial
 Ticker Tape Quilt Pattern by Missouri Star$6.95Shop →
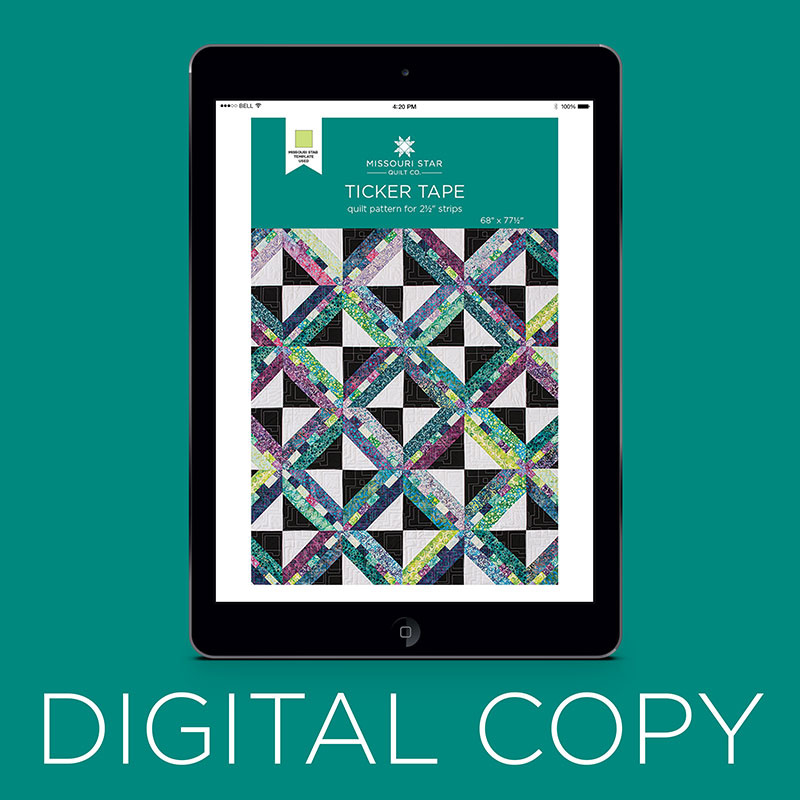 Digital Download - Ticker Tape Quilt Pattern by Missouri Star$4.95Shop →
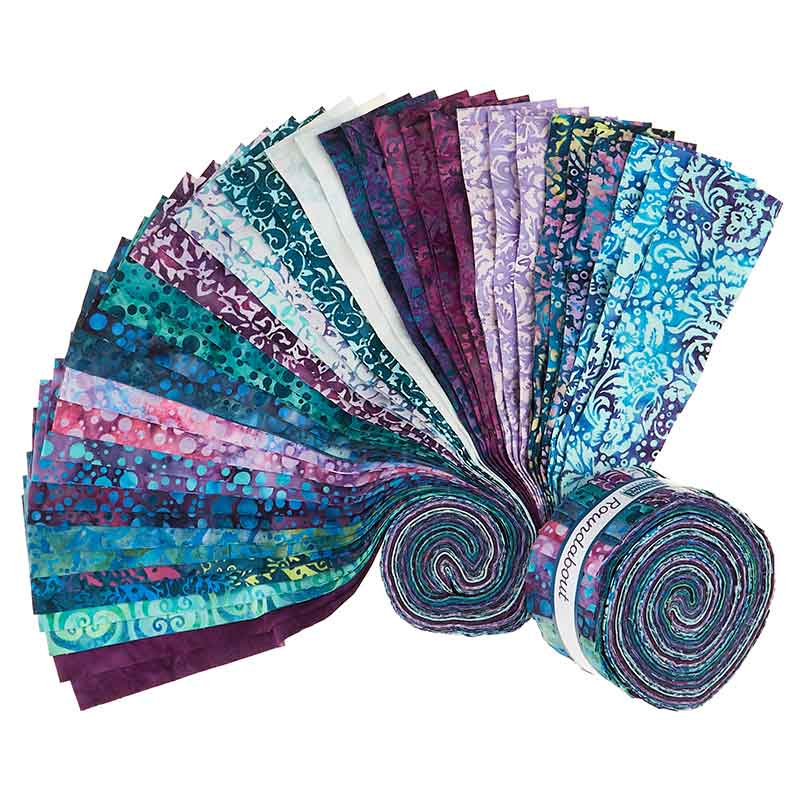 Roundabout Batiks Strips$38.95Shop →
 Kona Cotton - Black Yardage$7.28Shop →
 Kona Cotton - White Yardage$7.28Shop →
 Missouri Star 10" Square Template$16.95Shop →
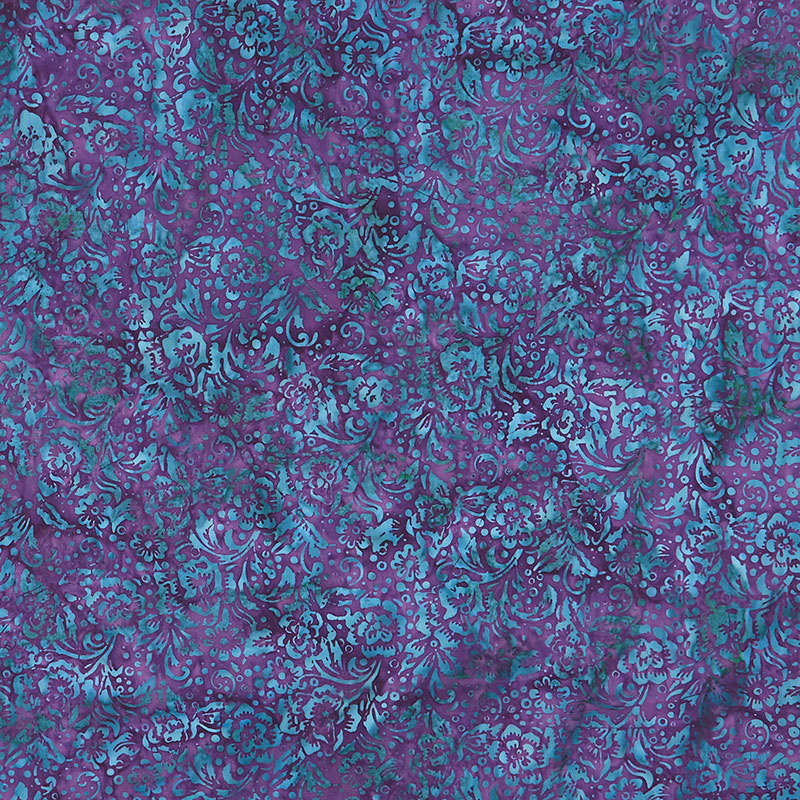 Roundabout Batiks - Floral Toss Pansy Yardage$11.96Shop →
 Roundabout Batiks - Dots Teal Yardage$11.96Shop →
Common Questions
What is covered in Make a "Ticker Tape" Quilt with Jenny Doan of Missouri Star (Video Tutorial)?
Jenny Doan demonstrates how to make a fabulous new quilt with skinny, pieced strips that look like old-fashioned ticker tape. She's using precut 2.5 inch strips, or jelly rolls, and her fabric is Banyan Batiks for Northcott. This quilt was inspired by an old quilt top Jenny re...
How long is the tutorial video?
The tutorial video is 00:12:55.
Are supplies listed for this tutorial?
Yes. The tutorial page includes the supplies and materials connected to this project.
Is a transcript available?
Yes. A written transcript is available on the tutorial page.
Video Transcript
So when I am out and about, I often go to antique stores, because I'm looking for old quilts that need rescued, but I'm also looking for ideas of things to teach you and ways to make them easier. Because my magic is the shortcut. So I found this quilt a while ago and I thought it was so fascinating with its little square and the two strips with the little pieced center in here. And so this is what gave me the inspiration to spring forward and make the ticker tape quilt. So it's a fun quilt. I'm not sure this quilt is ever going to be able to be quilted on the machine, because it just doesn't lay flat, but it is a darling quilt and a fun idea, and I think I've made it easier for you.
So to make a block, what we're going to do is we're going to select seven strips out of our strip roll and we are going to sew them together lengthwise like this. Now, whenever you're sowing strips together, it's a good idea to sew this way and then come back and sew this way. If you sew them all the same direction, left to right or right to left, it will end up with a bit of a bow. I don't know why it does that, but it does. So when I sew these, I sew one this way, like this. I'll sew these two strips on this way, and then I'll flip this over and I'll add this strip and sew the opposite direction back. And that keeps them nice and straight. Now this makes this little bitty ticker part in here.
So you are going to cut these in one and a half inch segments and you're going to do it to your whole set. So I'm just going to lay along my edge right here. I've already cleaned up the edge, so it's nice and straight. And then I'm just going to lay it on here and I'm just going to cut one and a half inches like this. So you're going to do this to your whole set of seven. So we are going to just do a few more and then I'm going to show you how to make the block. So then what we're going to do is we're going to select two strips and preferably, for me, that aren't in these seven. So I have these right here. This one I don't think is in my seven. So I'm going to take this one and I'm going to take, let's see, what's another one that will show up? I'll take this dark purplely one right here.
And what I do is I take these and I'm going to sew these little strips on here like this, and I'm going to chain piece them and just sew several onto this strip set. So I didn't start it exactly at the end. You can with a batik because the salvages don't show. But I just moved it in just a little bit out of habit I guess. And we're just going to sew a quarter of an inch down the side. I'm making all my seams lay down as I go under. And then you can add another one. And I'm going to put it down about an inch and a half from the other one just to give it lots of room and make sure this is pressed open so I'm going to lay it down nice and flat.
Whenever you're dealing with small pieces like this, it's always good to have nice, flat seams. And you can keep going and get as many on there as you want. I'm going to show you how to make a block, because this is a super easy quilt and it's just fun to do. So I'm going to chop this off here and I'm going to chop this off here and trim this part here. And then trim this little end off right here. And so now I'm ready to add my piece to the other side, and I'm going to go ahead and press these open. Again, when you're dealing with little pieces, it is easier to press, because they're so small, you're dealing with such a small area.
So we're just going to press this to the strip side because your seams are doubled up in some of these places, they will want to lay that way anyway. So we're just going to let them do what they want to do. And we're going to put this one to the dark or the strip, I guess I should say. And then we're going to add this to the other side. And I'm just going to lay this on here. And to save myself some trimming, I'm going to start right at the top. As we go along and do these things, we figure out all the little ins and out and how to make it easier for us to do. So that's why things morph as we go along. We're like, "Oh, if I do this..." And that's always a good thing. All right, now I'm going to add this one.
Lay down my little seams in there, unfold that. A fold would not be good. All righty. So now I'm just going to trim this off. Let me move this down here. And, again, you have enough room on here to add a whole nother piece. So you could do a whole nother block in there and just chain piece that as you're going along. And then we're going to press this open. And again, I'm going to press it to the strip side and look at that cute little ticker tape in there. Isn't that cute? To me, that's just what it looked like. It looked like a ticker tape.
All right, so now what I wanted to do was I wanted to attach a white triangle and a black triangle to both sides of this. And so what I did was I took my 10-inch squares and I cut them diagonally, four directions. So let me cut one here and show you how I did that. This is my 10-inch square ruler right here. And I'm going to just trim this off and get one of these. I have a bunch cut, but it's always good to see how it's done. And then what I'm going to do is I'm going to cut this diagonally this way. And I'm going to cut this diagonally this way. And this is going to give us enough black squares to do four blocks, because you need one black and one white for each block.
All right. So I'm going to grab my white here and let's go ahead and make two of these blocks since we have them ready. And what I'm going to do is I'm going to fold this in half right here, and I'm going to press a little seam so I know the middle and a little fold, so I know the middle on that. And then I'm going to attach the white square on one side and the black square on the other. So I'm going to make my little matching mark and put it right there. And I'm going to stick a pin in there, because I'm not going directly to the... Well, I am going to go direct to the sewing machine, because that's a little bit too close. I don't want it to get caught in that seam.
So once you have your centers lined up, we're just going to sew down the side like this. And I will pull out that pin and then I will iron this back. And then we will add the black one on the other side. And it looks like there's going to be a lot, lot of waste, but there isn't. So just hang in there. All right, so here's our black one. Remember, these colored ones don't have front or back. You can use either side of them. And so that makes it good. And also you'll notice I cut a 10-inch square out of yardage, but if you have layer cakes, you can just use those. They would be great for this. You just don't use that many of them. And so it was cheaper to buy yardage and cut it than it is to buy the whole layer cake. But I always have lots of layer cakes laying around. I keep them for lots of projects and so I don't mind using partial ones. And for me, it's always easier if somebody else has cut those squares.
So what we're going to do now is I've lined up my two folds and we're going to sew this black one on this slide like this, just like that. And then we're going to press this open like this. Now it is super handy again to have that nice big 10-inch ruler right here. This is what I use for layer cakes and that sort of thing, but it's super handy to have it because we are going to match it up on our black and white side pretty close. And then we're going to make sure that this corner and this corner falls into the center of our ticker tape. So it's in the center. It's like this. And then we're just going to trim this up and it's so forgiving because the trimming just cleans up all those edges. This would be a great place for a rotating mat. I made it around that corner pretty good. I'm going to line it up again in my corner, make sure that all my corners are in the middles. And just like that, look at how cute this is. So here's our block right here. Isn't that darling?
Now when we put these together, of course, you can do it by rose, but you'll notice that one side has the black and one side has the white. When I put them together, I wanted them to do this in the middle. I wanted them to have this our hourglass look in the center. And so what you're going to do is you're going to put them together in rows like this. Let me scoot these things out of the way. I get so messy. I'm such a messy sewer. Are any of you messy sewers? I am a messy sower. And so you're going to put these together like this, and I like the different ones together. So when you go to put them together, you just want to make sure that your colors lines up and your opposites line up. So I have my black and white together and I have my colors together. And then when you start adding that second row, you will turn these like this.
So just to clear this up a little bit, I'm going to go back to the board with my block and I'm going to show you that you can absolutely put this together in rows like this. It just goes up, down, up, down. But if you want to put them together in blocks, you can do that too. You'll just end up adding a half a row across the bottom, because of the number of blocks that we have. So we have 1, 2, 3, 4, 5, 6 by 1, 2, 3, 4, 5, 6, 7. We're making 42 blocks out of this. And so it makes a nice big quilt and it's just quick and easy and it's fun. Now I like to scrap them up. So when I put a block together, these were all different fabrics on most of them. Some of them I can see, like this one is the same. But I just didn't worry about it too much. And so it made it really freeing and fun and quick to do.
So I hope that you'll give the ticker tape quilt a try. And we hope you enjoyed this tutorial from the Missouri Star Quilt Company. Hi, everybody, it's Jenny from the Missouri Star quote company. We hope you enjoyed watching this video. If you aren't already part of the Missouri Star Quilt Company family, be sure to subscribe so you won't miss a thing. And if you click that bell, it'll notify you every time a new tutorial comes out. See you next Friday.


