Skip to content

Free quilting video tutorials from Missouri Star

Quilting Tutorials
Make a "Wonderful Words" Table Runner & Pillow with Misty Doan on At Home With Misty!

Make a "Wonderful Words" Table Runner & Pillow with Misty Doan on At Home With Misty!

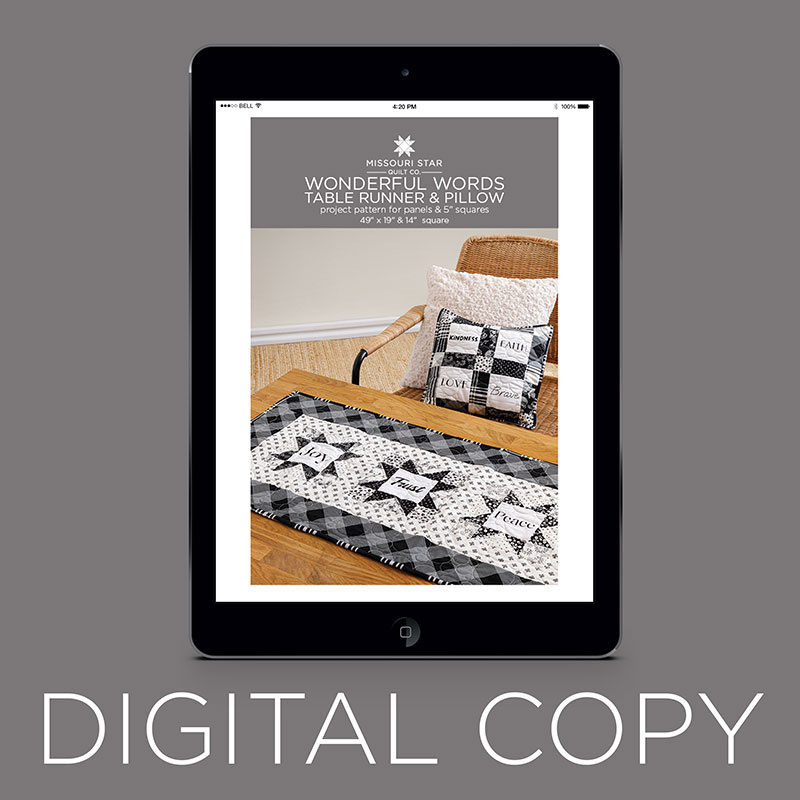
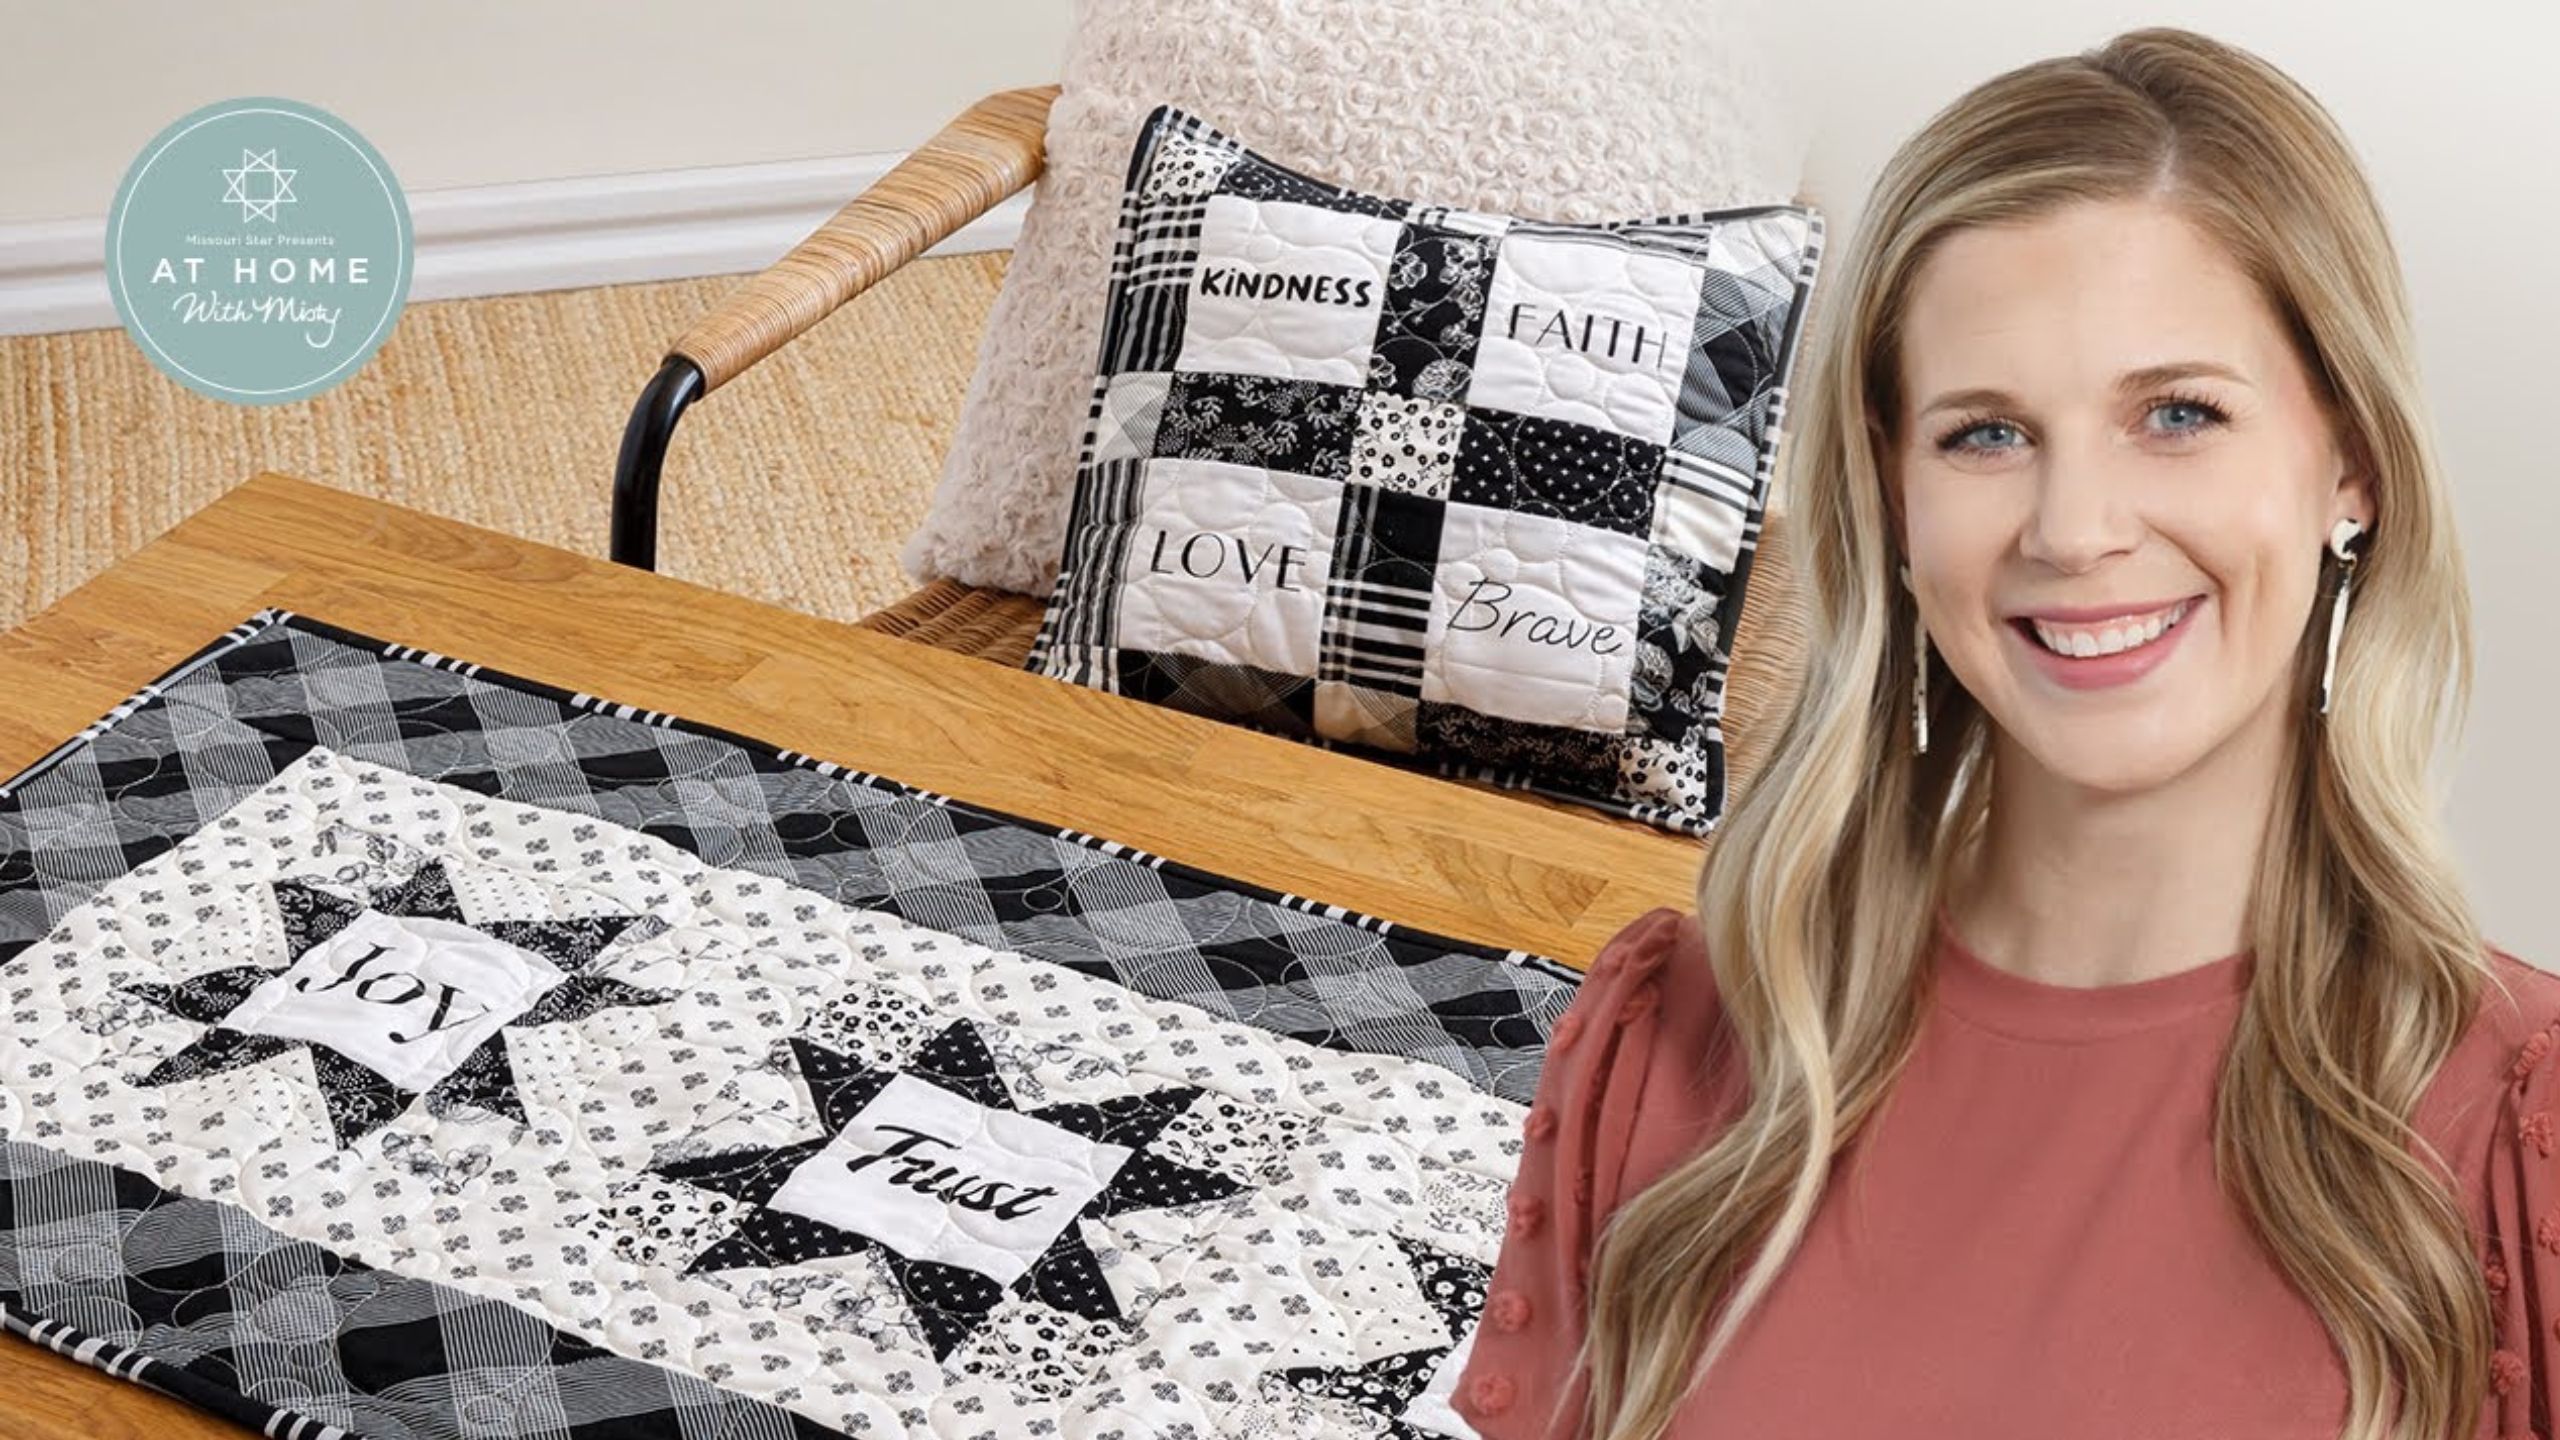
This pillow and table runner were made to inspire! Follow along with Misty as she shows you how to make the Wonderful Words Table Runner and Pillow. These projects feature fun patterned prints and kind words. This cute combo is a great way to show the values you enjoy.

Instructor

Misty Doan

Misty Doan grew up surrounded by sewing and quilting. She loves spending time sharing tutorials each week each week, and when she’s not stitching up one of her fun sewing projects for home decor, most likely you’ll find her hanging out with her husband and three awesome kids or working on a house project.

Common Questions

What is covered in Make a "Wonderful Words" Table Runner & Pillow with Misty Doan on At Home With Misty!?

This pillow and table runner were made to inspire! Follow along with Misty as she shows you how to make the Wonderful Words Table Runner and Pillow. These projects feature fun patterned prints and kind words. This cute combo is a great way to show the values you enjoy.

How long is the tutorial video?

The tutorial video is 00:21:40.

Are supplies listed for this tutorial?

Yes. The tutorial page includes the supplies and materials connected to this project.

Video Transcript

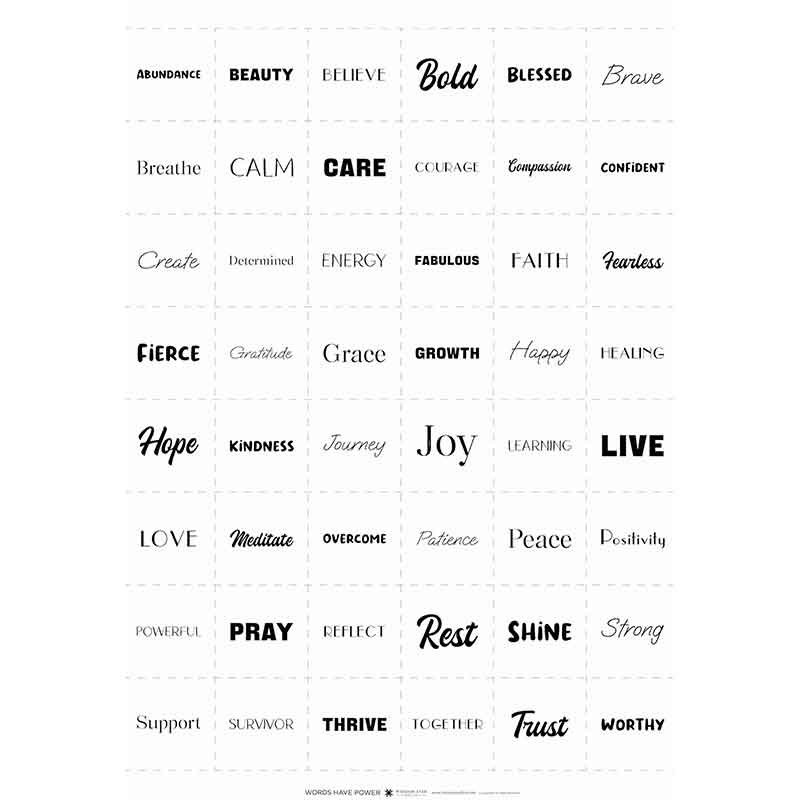
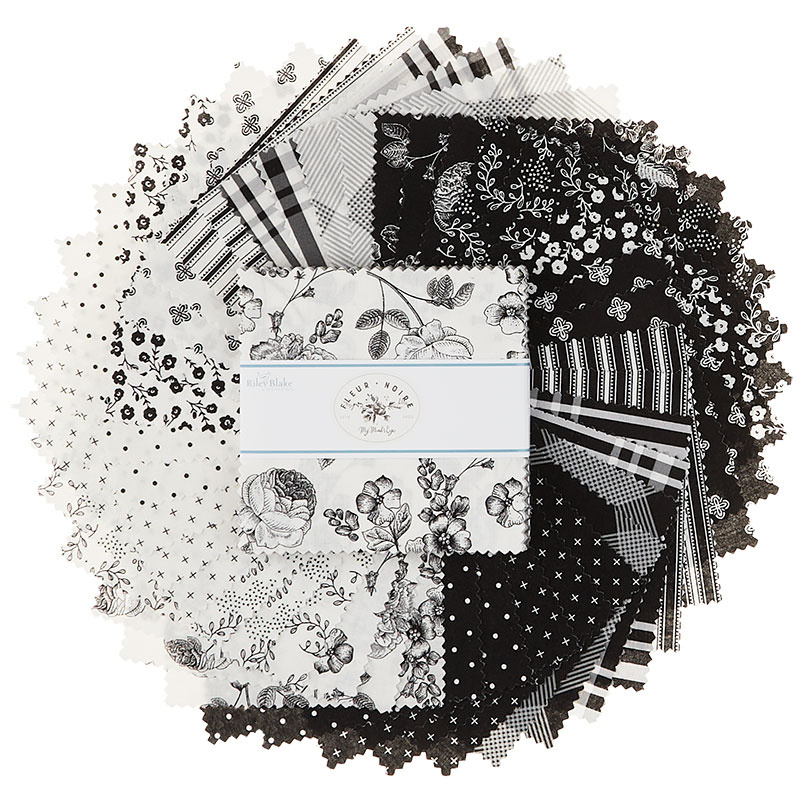
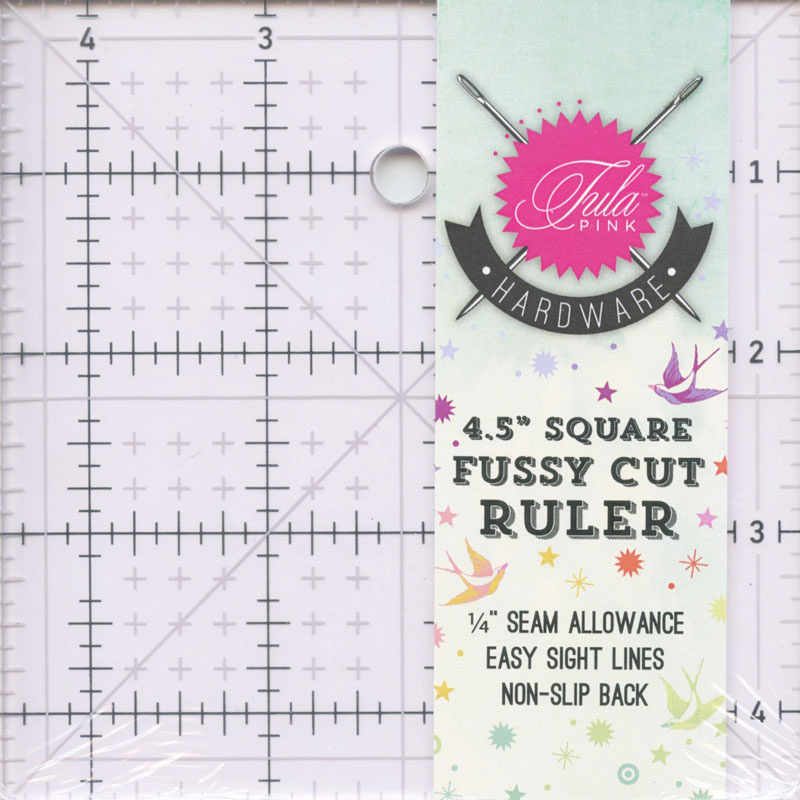
you might have seen Jenny make this beautiful quilt using her Power of Words panel that she worked to design and I wanted to create something for my home using that same panel that we could use year round because words truly do have power so let me show you what I did [Music] so like I said words truly do have power and I love to hang my favorite quotes and any type of inspirational things around the house to help us get through hard days and just stay happy and positive and so I designed this project this beautiful table runner and pillow using the Power of Words panel so let me show you how I did it to begin with you are going to need one charm pack and I used Fleur Noir by my mind's eye for Riley Blake it's a beautiful black and white line you're also going to need of course one of those Power of Words panels and then you'll need a quarter yard for your inner border and sashing a half yard for your outer border and a yard and a half I believe for your backing and I do just want to point out I made a quilt with the same collection for a triple play and I use this beautiful fabric for the backing it's this great cheater cloth and that's what I used here as well because it's just adorable so let me show you how we're going to make this to begin with I like to use this Tula pink fussy cut ruler it's a four and a half inch ruler and that is what I'm going to cut out all of my words using you could use them at five inches if you wanted but I just really like how this all worked out at four and a half inches and so you can see I've cut some of these words out already but I am going to just pick one here and show you how I did it so let's do gratitude I think that's a good one and I will grab my ruler and so you can see this works out exactly at four and a half inches and there are lines that show the center in both directions so I just kind of like to eyeball and make sure my word is centered on that four and a half inches and then I'm going to cut that out with my rotary cutter there you go there we go and so for the runner itself you're going to need four and then for the pillow you'll need four as well of course there are obviously lots of let of words on this Runner so you can keep cutting as many as you want and just make your Runner longer if you like or make a bigger pillow but I did design this so that if you only had one charm pack you could make both of these projects even if you didn't have the panel so you could supplement the square in the middle that has the words on it for just a solid charm square cut down to four and a half inches and you'll still get the finished project so keep that in mind if you have a charm pack in your stash these projects are perfect for it so let's go ahead now and make our star block that makes up our runner so to do that we are going to select from our charm pack two matching dark squares two matching light squares and one additional light Square and so the two matching light squares we're going to begin I'm going to stack those back up and first we're going to cut a half inch off of one side so that it measures four and a half by five so there's that cut and then now I'm going to turn this I'm going to cut these in half so that my rectangles will measure two and a half by four and a half there we go and so now I have four matching rectangles so I'm going to set those aside for now and then I'm going to take my dark five inch squares I'm going to line those up on my mat and I'm going to cut these in half both directions so that I have eight two and a half inch squares there we go and then those get paired up with our rectangles and then from my last light five inch square I am going to cut in half both directions as well so that I have four two and a half inch squares there we go so when I take these pieces and one of my four and a half inch letter blocks this is what I need to make one block so let me show you how we're going to do this now I'm going to grab my rectangles and my dark two and a half inch squares and we are going to make some flying geese units or Star legs in this case and so to begin I am going to lay one of my two and a half inch squares right sides together along the edge of my rectangle just like this and I do want to point out a little tip if you're someone who doesn't love working with the pinked edges on blocks I'm going to be Sewing Corner to Corner here which means this part is going to get cut off and when I press this open I'll have straight edges and so that's a quick way to get rid of those pinked edges if they bother you I know for some of us they can be a little bit of a bother and so I'm going to chain piece and just do one after the other and so all four of my rectangles the same way [Music] and I should point out if you need to you could press or draw a line but I'm just using my diagonal seam tape so that I can sew point to point here corner to corner exactly on that Center Line and the last one okay so now we can cut these apart and we'll take them back over to our cutting mat so that we can trim off our selvedge Edge so I'm just gonna take my little ruler here and I'm going to leave a quarter inch and trim this off on all four of these and when we snowball or make flying geese units this way our rectangle should stay the exact same size that it started and so now we can press this back and I'll just roll that back on all four and one more here there we go so now we have all four of those ready to go so let me show you how we are going to make sure we have our star legs so we are going to take our Square again and we are going to make sure that it goes on the opposite side right sides together and you'll notice that it's going to overlap this first triangle that we've added on the outside and that's on purpose so once we sew these together it will give us a quarter inch seam here on the end and we'll keep our points um of our little flying geese unit so now we're going to sew corner to corner this direction and create our star legs I love making these little flying geese units they're really really fun and you can do so much with them okay and the last one all right so then we'll just repeat the same thing and trim these apart trim off the Selvage and press them back let me do that leaving our quarter inch seam allowance and one more all right now we press those they look great all right so from this point if you want to double check and make sure that these still measure two and a half by four and a half you can do that the little two and a half by eight inch ruler is great for that because we can just lay this on here and I just kind of eyeball it and double check that looks great that one too I'm not looking for Perfection but it's just good to check and see if anything's really far off sometimes when you do this they can get wonky those look good all right so now we can put our block together and so I like to use my four and a half inch word that I fussy cut and I always start by putting it in the middle and then our star legs that we just made are gonna go pointing in towards the word just like so and then in our four corners we're going to put those two and a half inch light squares that we cut just like that so let's go ahead and sew this block together there's one this is kind of how I do it I just have a pile right next to my machine just sew them together in rows one after the other this one here we go and so now I don't even press yet I just fold this open and I can add the next one to it so this one's going to go here my star legs are going to go in towards the word you just always want to double check that and the last one just our little square perfect so now let's go ahead and give this a press I like to roll my little small sections the top and bottom of my star I press those seams towards the middle just like so and then I press this larger block towards the outside if you notice it's really just pressing towards the dark side so that's what I'm doing and then again this one my seams go into the middle and the reason that I take the time to do this is because it will help all of those seams Nest when I go to sew this block together so I'm just going to make sure they're going where I want and so now and you'll also notice I didn't clip my threads in between so my block is kind of stuck together if that bothers you you can just totally trim them apart it's no big deal and now we can sew This Together by just flipping it over nesting up those seams and sewing it with our quarter inch seam I'm getting a little bit of puckering here and sometimes that happens even when we check and make sure our blocks are square so I do want to point out I'm actually going to stop and flip this over because sometimes if we put that little bit of bulk on the bottom it will solve it the feed dogs will just ease in that extra fabric so I'm just going to make sure this is lined up lovely and then I can just meet up with my stitches going the other way check that that looks great and so now we can flip around and do the other side foreign there we go now we can press our block so it lays nice and flat just like so isn't that so cute I love it even if you just made one and made a little pot holder out of it honestly you could do so much with these words and these cute little star blocks so then let me show you how we finished off this Runner all I did was use these two and a half inch background strips and I just cut them to the length of our block which is eight and a half and so then I just set a block and then a background strip and a block and then a background strip and I actually started and ended with those background strips to start start the first inner border and then added an additional strip top and bottom so that's what you see with that sashing and first inner border and then for the outer border I use this fun plaid print and it is four inches and so that just how I finished up the runner it's really really quick and easy and like I said I use that cute cheater cloth on the back so let me show you how to make this little pillow because it's also quick and easy but I just it didn't add the star legs so let's put together one of these really quick so to make the pillow you're going to need to select six of your dark prints and three of your light prints I do want to point out if you're making both the pillow and the runner because I used matching prints in the runner I would make sure that you pull those out first because I just made the pillow Scrappy so let's pick out six different dark prints three four five and one more see how about this stripy one here that looks good and then three light prints we'll do this one and how about these dots and this one and so let me show you how we're going to cut these now that I've picked them and I have just some variety in the prints I'm going to stack these back up and I just like to do three or four at a time so I'm going to begin by cutting these much the same way we cut our rectangles in the runner we're going to cut a half inch off of one side there we go and then we'll cut them in half the other direction so that it measures two and a half by four and a half we'll stack those up I have some other ones already cut so I'm just going to add these to the mix I do like to put one of each in the pile just so I have some variety in the prints so there we go those are ready to go you're going to do all six of your five inch dark squares that exact same way and then from your three light squares you're just going to cut those in half both directions and I already have some of those cut as well so you're going to have four two and a half inch squares out of each one of your light squares so then now let's lay out the pillow and so you're going to take four of your words that have been trimmed at four and a half inches Square or if you wanted to just use a charm pack remember you could do that you would just trim it to four and a half inches and then we're going to lay these out so let's grab our Stacks here and start laying those out and I like to start with the dark just because I want it to be mixed up there we go foreign and I just kind of play with it as I go to make sure I'm happy with where everything ends up and I think I am that looks great and so then now in each of these empty spaces we can just go back and place one of our white prints just like so isn't that fun and so just like we did on the pillow then we're just I mean on the runner excuse me we're just going to sew those together in rows until you have this great little pillow that finishes up at about 14 inches so I put a 14 inch pillow form inside of here so for the back you're going to cut two pieces that are 14 and a half by ten and a half and then along the long Edge I just turned that under twice a half an inch and top stitched and so then we just sandwiched that together finish it off with the binding and it turned out great so I hope you guys enjoyed this project I really love how both the runner and the pillow came together and I love the panel that Jenny designed in honor of breast cancer awareness month so I hope you all have a wonderful day and I'll see you next time hey everyone it's Misty thanks for watching at home if you aren't already a part of our Missouri Star Family be sure to subscribe and hit the Bell if you want a notification every time we release a new video I'll see you next Monday on the newest episode of at home [Music]

More Charm Pack tutorials

See all