
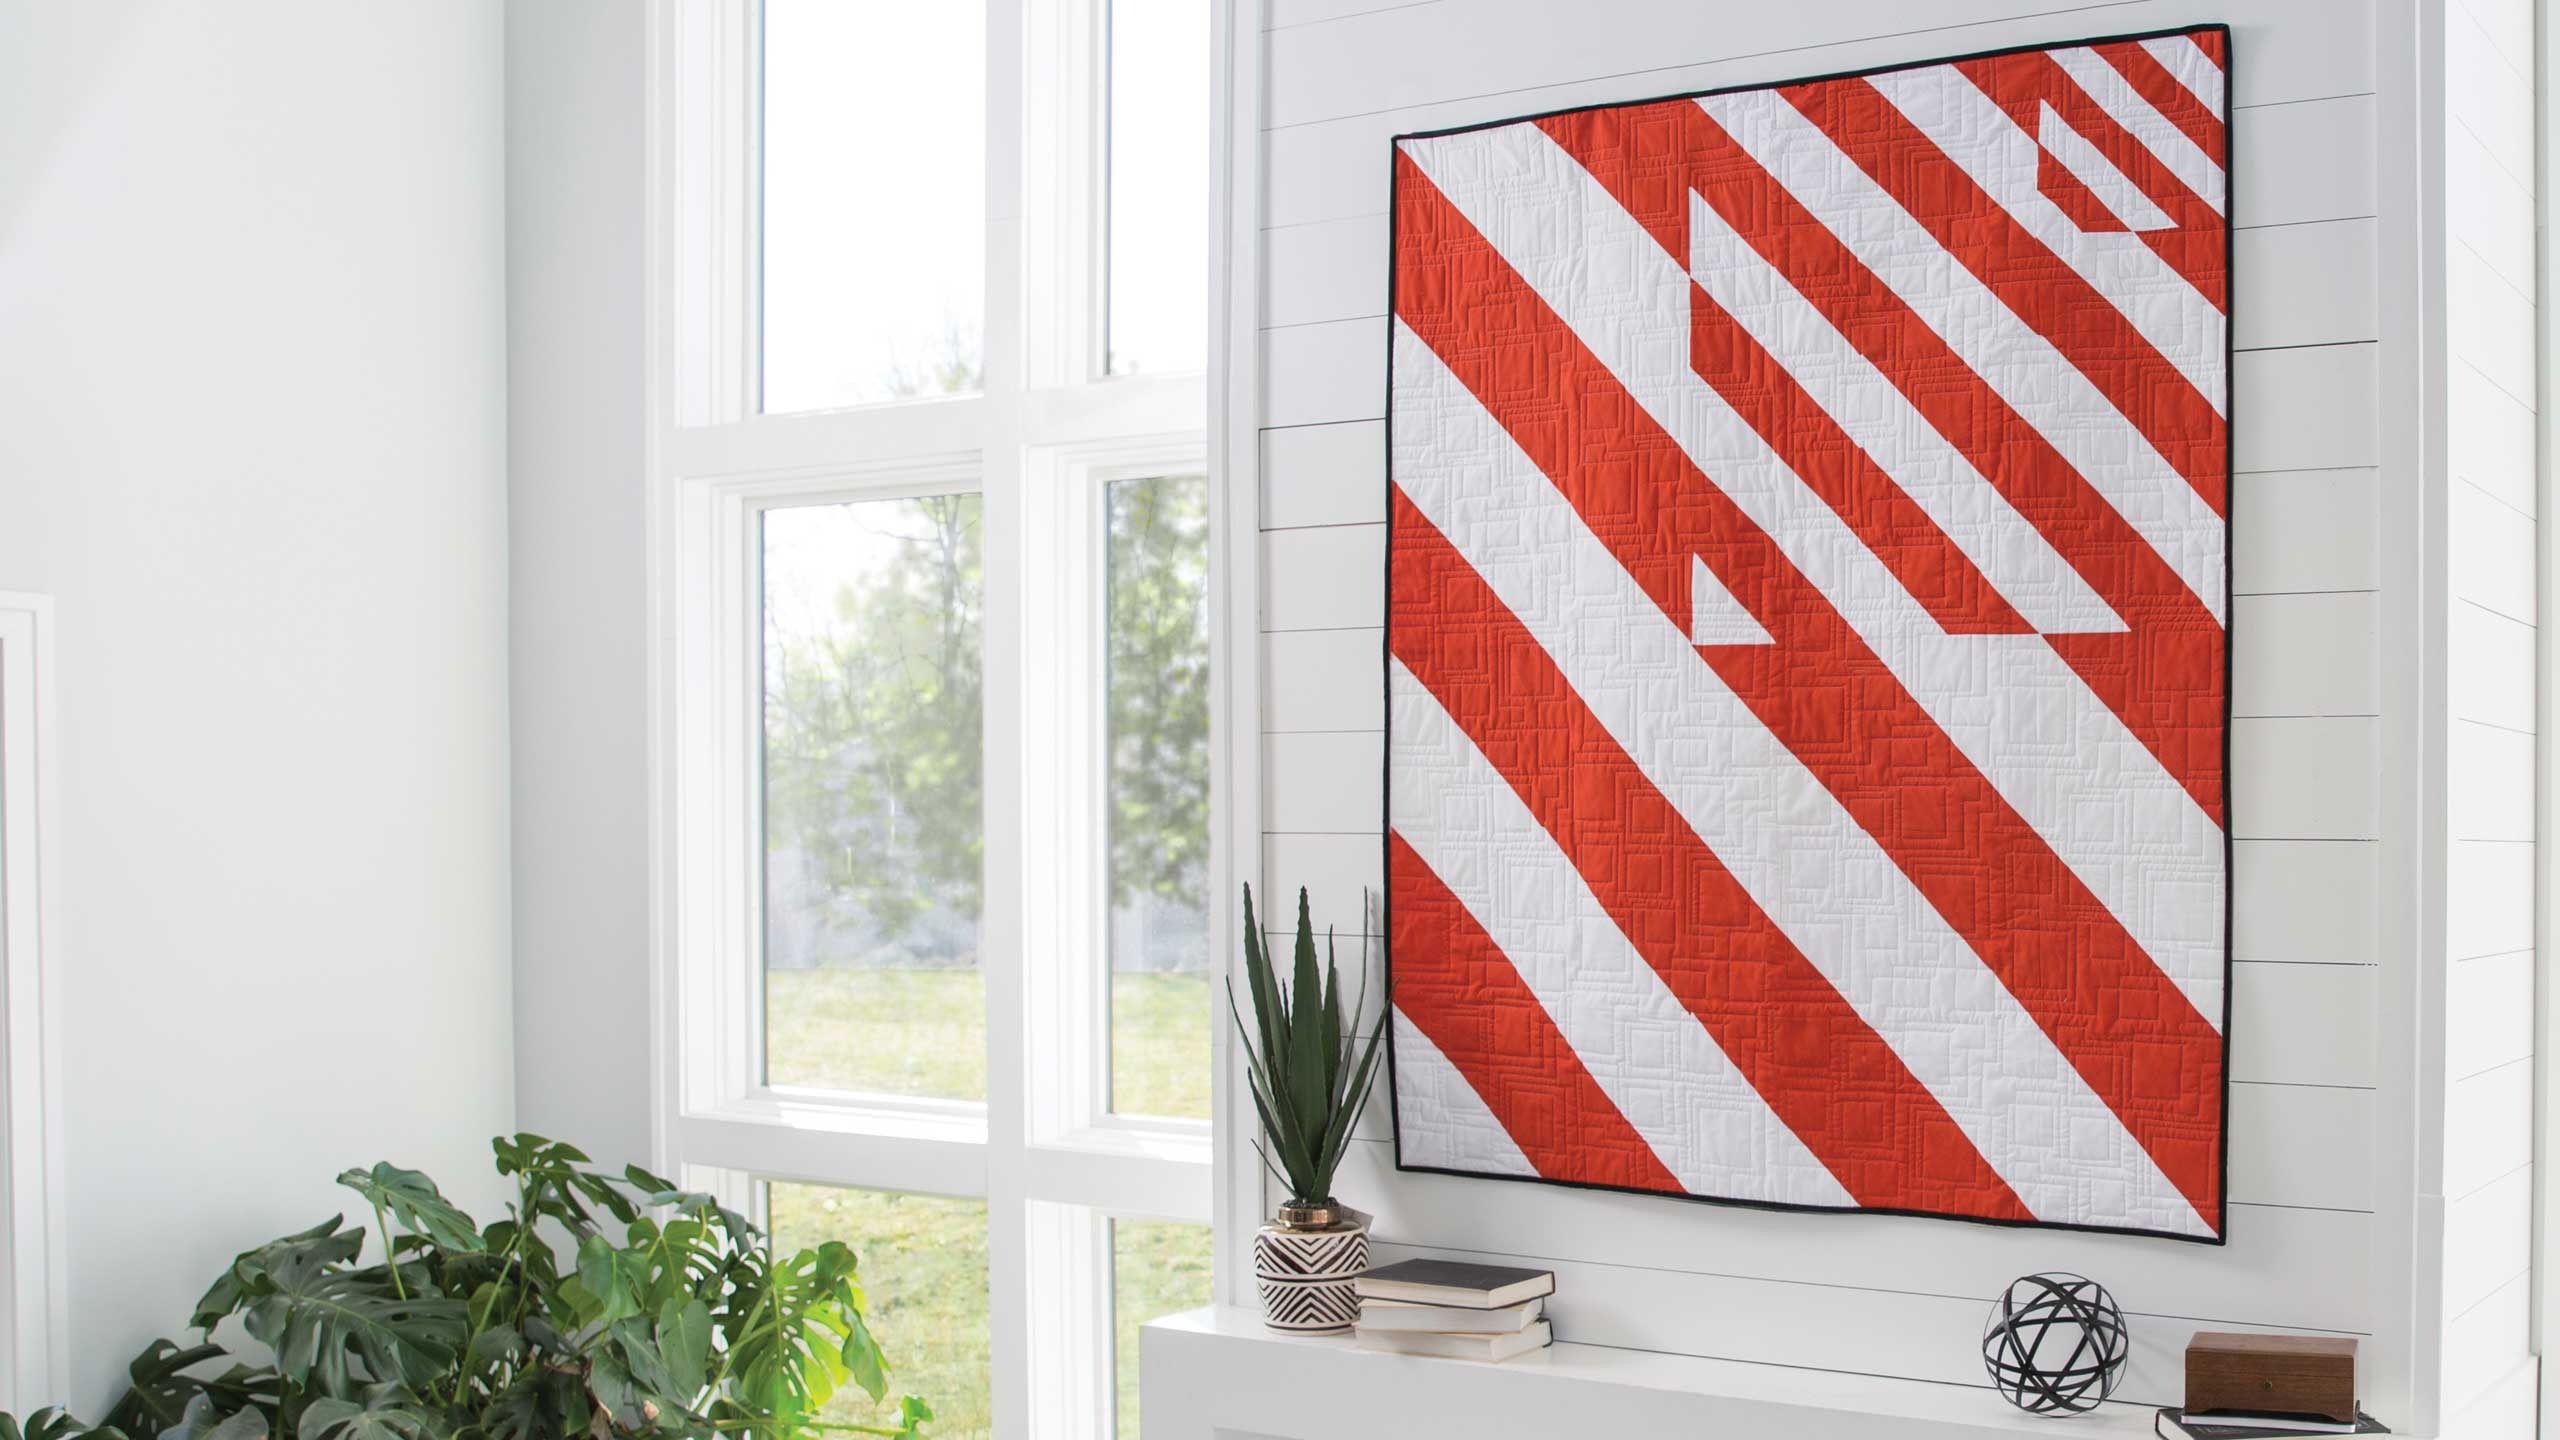
Make an "Amplified" Quilt with Jenny and Ron!
 Jenny Doan
- Modern
- Lap / Throw
- Beginner
- Quilt size 50" × 60"
Jenny and her cute husband Ron demonstrate how to make a modern half square triangle quilt using solid yardage. They used Kona Cotton - Flame Yardage by Robert Kaufman Fabrics. This quilt was designed by Ron himself, and it is featured in ModBLOCK Magazine!
Instructor
Jenny Doan
Jenny Doan is an American quilter, author, and YouTube personality. Jenny started Missouri Star Quilt Company in 2008 and today it is the largest quilting supply vendor in the United States.
Shop this tutorial
 Digital Download - Amplified Quilt Pattern by Missouri Star$4.95Shop →
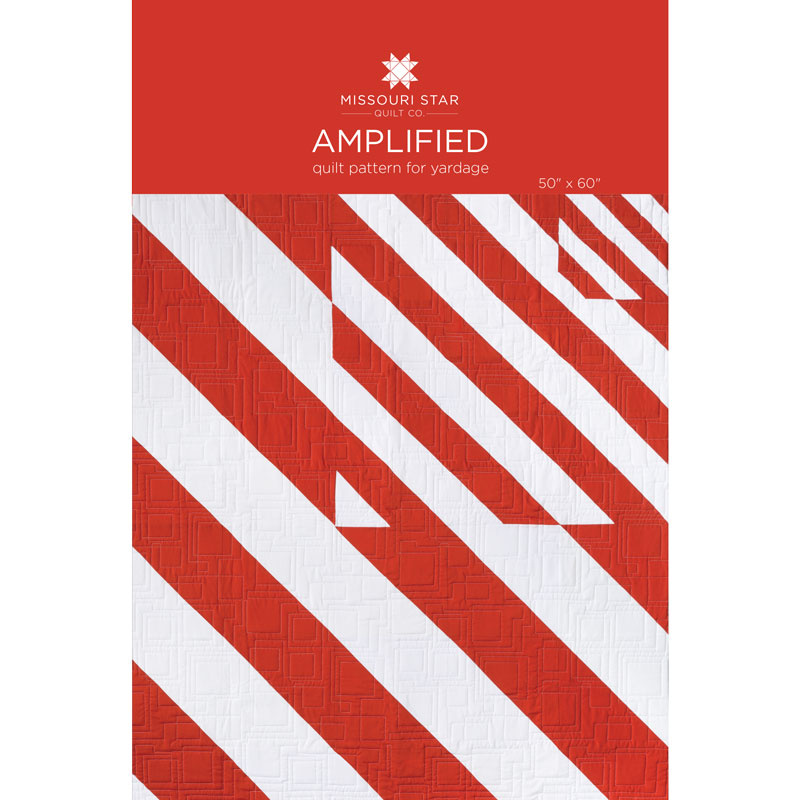 Amplified Quilt Pattern by Missouri Star$6.95Shop →
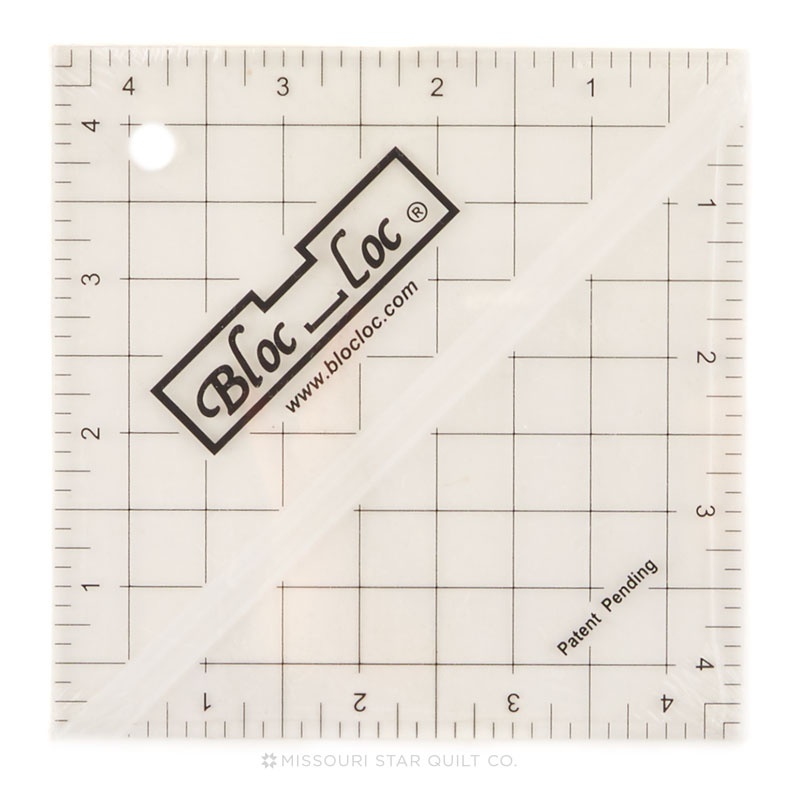 Bloc Loc 4 1/2" Square Up Ruler$25.00Shop →
 Olfa Splash Aqua 45mm Rotary Cutter$18.75Shop →
 Olfa Splash 24" x 36" Cutting Mat Navy$68.95Shop →
 Missouri Star 2.5" x 8" Ruler$10.95Shop →
 Missouri Star 5" x 15" Ruler$15.95Shop →
 Exclusive Missouri Star Jenny TG1600 ProPlus Oliso Smart Iron$199.99Shop →
 Missouri Star Wooly Betty Board - 17.5" x 17.5" Aqua Border$88.95Shop →
 Elan 8" Dressmaker Scissors$20.95Shop →
 Missouri Star Colorful Quilting Clips - Pack of 12$5.95Shop →
 Missouri Star 50 WT Cotton Thread White$6.95Shop →
Common Questions
What is covered in Make an "Amplified" Quilt with Jenny and Ron!?
Jenny and her cute husband Ron demonstrate how to make a modern half square triangle quilt using solid yardage. They used Kona Cotton - Flame Yardage by Robert Kaufman Fabrics. This quilt was designed by Ron himself, and it is featured in ModBLOCK Magazine!
How long is the tutorial video?
The tutorial video is 00:11:18.
Are supplies listed for this tutorial?
Yes. The tutorial page includes the supplies and materials connected to this project.
Is a transcript available?
Yes. A written transcript is available on the tutorial page.
Video Transcript
Jenny: Hi everybody, it’s Jenny from the MSQC. And you might notice something a little different today. Guess who’s here? You guys may know, this is my husband Ron. And every year we have a special issue of Block that comes out called Mod Block. And Ron generally wants to make a quilt from Mod Block because, you know, men think a little differently than women do especially, he thinks a little differently than I do. And so it’s always interesting to me to see what he comes up with. So his quilt for this year is this one right here. And Ron, what did you call this?
Ron: I called it Amplified
Jenny: Amplified. And because?
Ron: Well it starts small and gets bigger and bigger.
Jenny: It starts small and gets bigger. So the thing that’s cool about Block is they, the Mod Block is that they generally choose a theme. And the theme for this year’s Mod Block was scale. And so he started small, goes to medium and goes to large. And it’s all half square triangles. And he spends a lot of time with me at truck shows. And he watches my half square triangles, the things that I do at the truck shows over and over. And you might think that he’s just sitting over there not thinking about anything but he’s actually coming up with ways to do things.
Ron: You talk about moving the squares around and I was, so I’m always back there thinking what if we did this, you know, make it small and go big
Jenny: Ya
Ron: What you’re doing around the world
Jenny: Ya so we want to show you how to do this.
Jenny: So to make this quilt what you’re going to need is a yard and ¾ of a solid, a white, a background color. And a yard and ¾ of a contrasting color, a brighter color so that it shows the contrast. And Ron used a fabric call Flame. I think he chose it for the name. You may not know this but Ron used to race motorcycles so anything with flame and fast and nuts and bolts, he’s all about that. You know he just, he just likes that kind of stuff. So this fabric is called Flame and it’s by Robert Kaufman. Our backing is 3 ¼ yards and we just used a plain white you can see. But notice this quilting on here. It’s squares so it gives it that more modern look. Our binding out here is ¾ of a yard. And he wanted it real dark to frame it. And I just think it looks really cool. So this quilt is all just half square triangles
Ron: Yes it is.
Jenny: That’s all it is in three different sizes. And of course you know he’s a little more math minded than I am but he wanted to do it my easy way.
Jenny: So we started with two five inch squares. And you’re going to want to cut, you’re going to cut four five inch squares. You’re going to cut 16 six inch squares. And you’re going to cut 11 eleven inch squares. Because once we, once we figured out this and did our, you know the way we sewed on this, we had to figure out how to get the other ones to fit. And we’ll show you how to do that. So we started with two five inch squares, a solid and a color. And then we wanted to cut them diagonally both directions. So we’re just going to line up our ruler diagonally corner to corner. And we’re going to cut both directions and, just like that. And then Ron I’m just, if you’ll just iron those open.
Ron: You bet
Jenny: You know it’s interesting in the quilt world so many of our husbands help us with the ironing and the cutting and things like that. And Ron and I work very well together. Oftentimes he’ll be my ironer and cutter. And for this it was the same. I was kind of the sewer and he did, he did the math and the ironing and. And he’s like ok, I need you to sew this, you know.
Ron: Ya
Jenny: So on these little squares that we cut from the five inch. They have to be squared to three inches. So I’m just going to use this little ruler right here and square these to three inches while he’s cutting.
Ron: Ironing
Jenny: I mean ironing. He’s ironing.
Ron: I don’t cut too much.
Jenny: Oh you’re a good cutter. Alright, so when you square you’re just going to keep your, the block lock ruler, mine’s on the, I match it up to the three line. Our little center piece here is on here, right on that seam. And it’s just, it’s just really tiny little bits. Look how small that is. But you still want to, you know, when you’re putting a block together with half square triangles like this you really want it to match. And the key to this is making sure that your other blocks, you know, fit together. So what we did was once we got these all squared, we sewed two together and measured them to see what size we needed next. And so I’m going to finish squaring these up and we’ll be right back.
Jenny: So now we’ve got all of our half square triangles trimmed up and we’re ready to start laying them out and setting them together. Now this is the little corner block that we’re looking for right here. And this is this block up here in this corner. And so what we’re going to do is I”m going to sew two of these together and it should measure, it should measure the size for the next block, correct?
Ron: Right.
Jenny: Alright. So I’m going to sew these together this way. So what we’re going to do is we’re going to put them together so they’re ready to go, just like that. Is that right?
Ron: That’s right.
Jenny: So I”m so angely challenged and there was so many times when he would just come in and go, Oh that’s off, that’s off. Alright so again this is all a quarter of an inch. Alright you want to press that?
Ron: You bet. It’s my job.
Jenny: There we go. Alright so we’re going to measure this and this comes to 5 ½. Now the next two sets of half square triangles to get the size we wanted we did them, we made them a little differently. So what we did was we took our squares and so, when you need a 5 ½ inch, when you have a 5 ½ inch measurement and you want to come, or you want it to match up with that then we have to add a half an inch on there. So we’re starting with a six inch square for the next block. And what we’re going to do with that is we’re going to sew or draw the line side to side down the middle just like this. Maybe they can see it better on this side. So we’re going to draw the line side to side, six inch square, sew on either side. And that’s going to give us these 5 ½ inch half square triangles
Ron: Yes
Jenny: Ok
Ron: It has to be squared up to five inches.
Jenny: We’ve been married so long, I’m like looking at him to finish my sentence
Ron: Just like the trunk shows
Jenny: There you go. Ya you weren’t often in front of the camera.
Ron: Ya this is an unusual place for me to be. I’m normally holding or behind them.
Jenny: He’s hiding behind there.
Ron: Very uncomfortable out in front of the quilt.
Jenny: Oh you’re doing fine, you’re doing fine. Alright so then when we sew these together it’s going to add up to 10 ½ and so for our big square we’re going to do it the same way. We’re going to take an 11 inch square. And we’re going to draw the line corner to corner, sew on either side a quarter of an inch and it’s going to get to this size. So you’re going to need again 11 eleven inchers. And you’re going to need 16 six inchers and four five inchers.
Ron: Well yes, that surprised me because I thought I would need more of the small but doing four
Jenny: Well you get twice as many the way I do it and so, so that’s just how that goes. Alright. So then we sew them together. All of the squares pretty much work the same don’t they?
Ron: Yes.
Jenny: Alright so you’re going to have to lay these out because it doesn’t make a lot of sense in my brain. So let’s, let’s put this together.
Ron: Let’s put it out, try to keep my angles going together the same. Then we go like this. I would just do one row at a time going out. Am I angley challenged like you?
Jenny: No you’re not.
Ron: Now this is going
Jenny: No that’s right, that’s right. Is it? Doesn’t this go? This is the blind leading the blind.
Ron: There we go, that’s it
Jenny: And one more. So the way I always look is it always has these kind of connecting things like this. And so then how many of these rows do you put around?
Ron: I had four of the small and then I would go four of the mediums. I only went three of the large because it was getting too big.
Jenny: So originally Ron had this quilt and he is, it’s interesting to watch how other people quilt because all of us are, you know, there’s as many different quilters as there are different quilters, different people, you know. And we all do things differently. So Ron actually sits with graph paper and colors in squares and really lines it up. And so his original quilt was quite large and as we got it on the design wall, it was like a runway though. It was like skinny and really long.
Ron: It was a king size
Jenny: Well for one person, you know. And so we kind of shortened it up into one segment because he had this going from small to medium to large to medium to small. And so it was real interesting how it came out. But it ended up looking, looking a lot more better like, like this. More better, that was terrible English. A lot better, you know, just where we capitalized on that corner.
Ron: Yes.
Jenny: So then once you get, I’m going to try and kind of push these up a little bit and then move these up. So then show how the big squares fill in.
Ron: Ok so if this was three or four of them then this would come up with the, orange would be the, it would just keep going just the same pattern. Have some?
Jenny: Same way. Oh I do have some more over here.
Ron: So you have some more big ones that go this way
Jenny: And then this one goes, oop this way, right?
Ron: Ya well it has a little , you notice it has a little transition change right there and then it goes into it and you’ll come up with a white out there
Jenny: Yep, ya this is actually a really cool transition right here I think.
Ron: You have white points all the way down
Jenny: Oh that’s very cool
Ron: That’s how it ends up as you get going.
Jenny: That’s very cool. So two different ways of making half square triangles. The smallest one we sew around and cut both directions. The next two we, whatever our square measures we add a half an inch on that and just drew the line and sewed on either side.
Ron: Yes.
Jenny: And so it just comes together really cool and makes a really modern fun quilt. It’s just fun to see what other people come up with. So anything else you want to add, Ron?
Ron: Just that I’m very uncomfortable out front here that’s all.
Jenny: Alright well we hope you enjoyed this tutorial on the Amplified Quilt.
Ron: Yes.
Jenny: By Ron, from the MSQC.


