Jenny Doan demonstrates how to quickly and easily make a stunning Fence Rail Diamond Quilt using jelly rolls (2.5" x 44" strips of quilting fabric).. Harmony Jelly Roll by Kanvas Studios for Benartex. Solid Jelly Rolls. Harmony Yardage and Precuts. Jelly Rolls - The best selection of 2.5" strip rolls on the web!. Notions - Rotary cutters, tools, mats, and everything else you'll need!
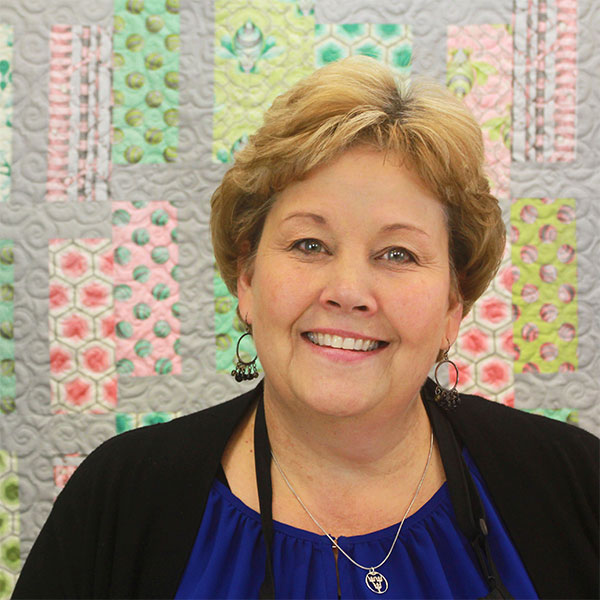
Jenny Doan is an American quilter, author, and YouTube personality. Jenny started Missouri Star Quilt Company in 2008 and today it is the largest quilting supply vendor in the United States.
Jenny Doan demonstrates how to quickly and easily make a stunning Fence Rail Diamond Quilt using jelly rolls (2.5" x 44" strips of quilting fabric).. Harmony Jelly Roll by Kanvas Studios for Benartex. Solid Jelly Rolls. Harmony Yardage and Precuts. Jelly Rolls - The best selec...
How long is the tutorial video?
The tutorial video is 00:08:50.
Are supplies listed for this tutorial?
Yes. The tutorial page includes the supplies and materials connected to this project.
Video Transcript
[Music] Hi, I'm Jenny from the Missouri Star Quilt Company. This quilt behind me is a fence rail block. It's a really traditional old block and I happen to love it. It's quick and easy and a gratifying quilt, but I want you to take a look here. Here's your fence rail block and in the corner we have diamonds appearing. We love diamonds. This quilt I made out of scraps of boutique that I have and uh I love the way it came together and I've been waiting for a line to come in that I really loved so that I could show you how to make this quilt. Well, take a look at this. For those of you who know me, this is Harmony from Bennerex. You know, I love blue and white and I just thought this blue and white quilt with white diamonds is going to be amazing. So, let me show you how easy this is. So, to make this quilt, what you're going to need is a jelly roll. And this jelly roll has about 40 strips in it. And it's going to make probably about a 50x60 in quilt when when you're when all is said and done. And then you're going to need five strips of a solid, whatever color you want to choose for your diamonds. And those will be subcut into 2 and 1/2 in squares. These are 2 and 1/2 in squares right here. So, you know, you can take five strips. And a lot of times I have a white jelly roll that I use for all kinds of things. So this just takes five strips. And you can take that out of there or you can cut it out of yardage. So to start, we're going to undo our jelly roll. And I've got some pieces over here. And I'm going to pick pieces that have a lot of contrast. And I'm going to sew two of these together. So I'm going to pick one that's a little lighter and one that's a little darker. And I'm going to put them right sides together just like this. And I'm going to sew them and open them up. And I'm gonna add one more to it. H. So, so we have three strips sewn together just like this. So, I'll sew down one side and open it up and attach it to the other side and sew right up the other. So, then you get a piece that looks like this. So, now I have my three strips sewn together right here. And now we're going to go over and press them. And I want to show you how I do that because because this is a fence rail, it doesn't really matter which way the seams go. And this just makes it a lot easier. So over here, let me move these over here. So over here at the ironing board, what I'm going to do is I'm going to lay my strip face up. And then I'm just going to take my iron and I'm just going to kind of weave back and forth like this across the top. What I'm trying to do is make sure that these are stretched out just as wide as they can be. And I'm not worrying about where the seams are on the back at this point. I'm just going to open this up like this and press along here. Just like that. Then I'm going to flip it over. And now I'm going to worry about these seams. And mostly they're laid down. So that now I can just roll my iron over them and make sure that they're pressed out. But I won't have any folds or tucks on the other side. So there we go. So then when we finish with this, what we're going to do again is we're going to measure how tall it is. Now, this strip is going to measure about 6 and 1/2, which means we want blocks. So, we're going to cut them a about 6 and 1/2 in square. So, let's go ahead and cut one of those. I'm cutting off our salvages right here because we don't want those in our quilt. And then we'll come over here 6 in. 1 2 3 4 5 six and a half. And then we're going to trim that off. So you can you're going to do this to your whole jelly roll. You're going to put them in uh sets of three strip sets and then you're going to cut them up into blocks. And you'll have a stack of blocks like this. Now to make the diamond part, what we're going to do, let me move these over here. Is we're going to take our square and I think I'll let me use this one. We're going to take our square here and I am going to take my 2 and 1/2 in square which I've already subcut out of my five strips of solid and I am going to put it in this corner and sew diagonally corner to corner. Now this is a key thing with this quilt. What you want to remember is that this little white square is going to go in the bottom right hand side of every square. So we're, you know, we're looking at the right hand side of our square, the very bottom. So every one you attach is going to be in that corner. Every time you attach a square, it's going to be in that corner. So you're looking for the same corner. Your stripes are going to be horizontal and your little square is going to go right in the corner there. So let's go sew one of those together on the sewing machine. And again, you can press this in half so you have a line to sew on or you can just eyeball it and go diagonally from corner to corner. So, let's come over here to the sewing machine. And then I'm just going to go ahead and sew this one on. There we go. All right. So, we have our little corner on here now. And we're going to trim that off. And we want to leave about a quarter of an inch. So we just trim off that corner like this. The quarter of an inch is on the outside of the seam. So you're cutting off the part farthest away from the block. And it should look like this. And then we're going to iron that open. Just like that. All right. Now I have a few more of those done over here that I've already sewn up. Let me go ahead and trim those off so I can show you how this block goes together. This is really fun. And and I just love how how it it uh it it does all the work for you. It does it the work by itself. All right, let me go ahead and iron this. There we go. Okay. So now when we go to sew these little blocks together, you're going to again keep your solids to your solids. So you're going to match up your solids like this. Now when you do this now, see this? Here's here's your squares all at the bottom. And when we put these together so that they diamond, look at this. This block automatically fence rails itself. You don't have to turn it. It just automatically does it. So then we're going to add another diamond in here. again, automatically fence rails. And this one over here does the same thing. So, this is your block. This is the block you're shooting for right here that has your four squares in it. It has automatically fence railed itself. So, I have one here that's sewn together. Let me move these out of the way. So, there, this one is sewn together. And when you put them together like this, it just makes a gorgeous, gorgeous quilt with all these blues and whites. There you go. Isn't that a pretty little thing when it's put together? This is going to make a beautiful quilt. But wait, there's more. When I was looking at these blocks, I realized that if I snowballed these corners of the individual blocks, snowballed every corner where I put them together, another diamond is going to appear. And so I thought I would try that and I thought I would show you. It makes a gorgeous little quilt as well. Here's this quilt I did with it has smaller diamonds in the corners here. Let me hoist it up here for you. This is made from Jan Paddock's farmers market line. It's a great line. Lot of fun colors. And it's fun to see the different way things look with the three different types of fabric. But you can see on this one, here's your block. And you can see I just snowed the corners. Now on this one, I used inch and a half squares for the snowballs. And so it made little tiny diamonds versus the same big diamond that's in the middle. But when all these squares come together, you get the big diamonds and the little diamonds. And so we've got fence rail diamonds. Just makes a beautiful quilt. And I hope you enjoy this tutorial from the Missouri Star Quilt Company.