
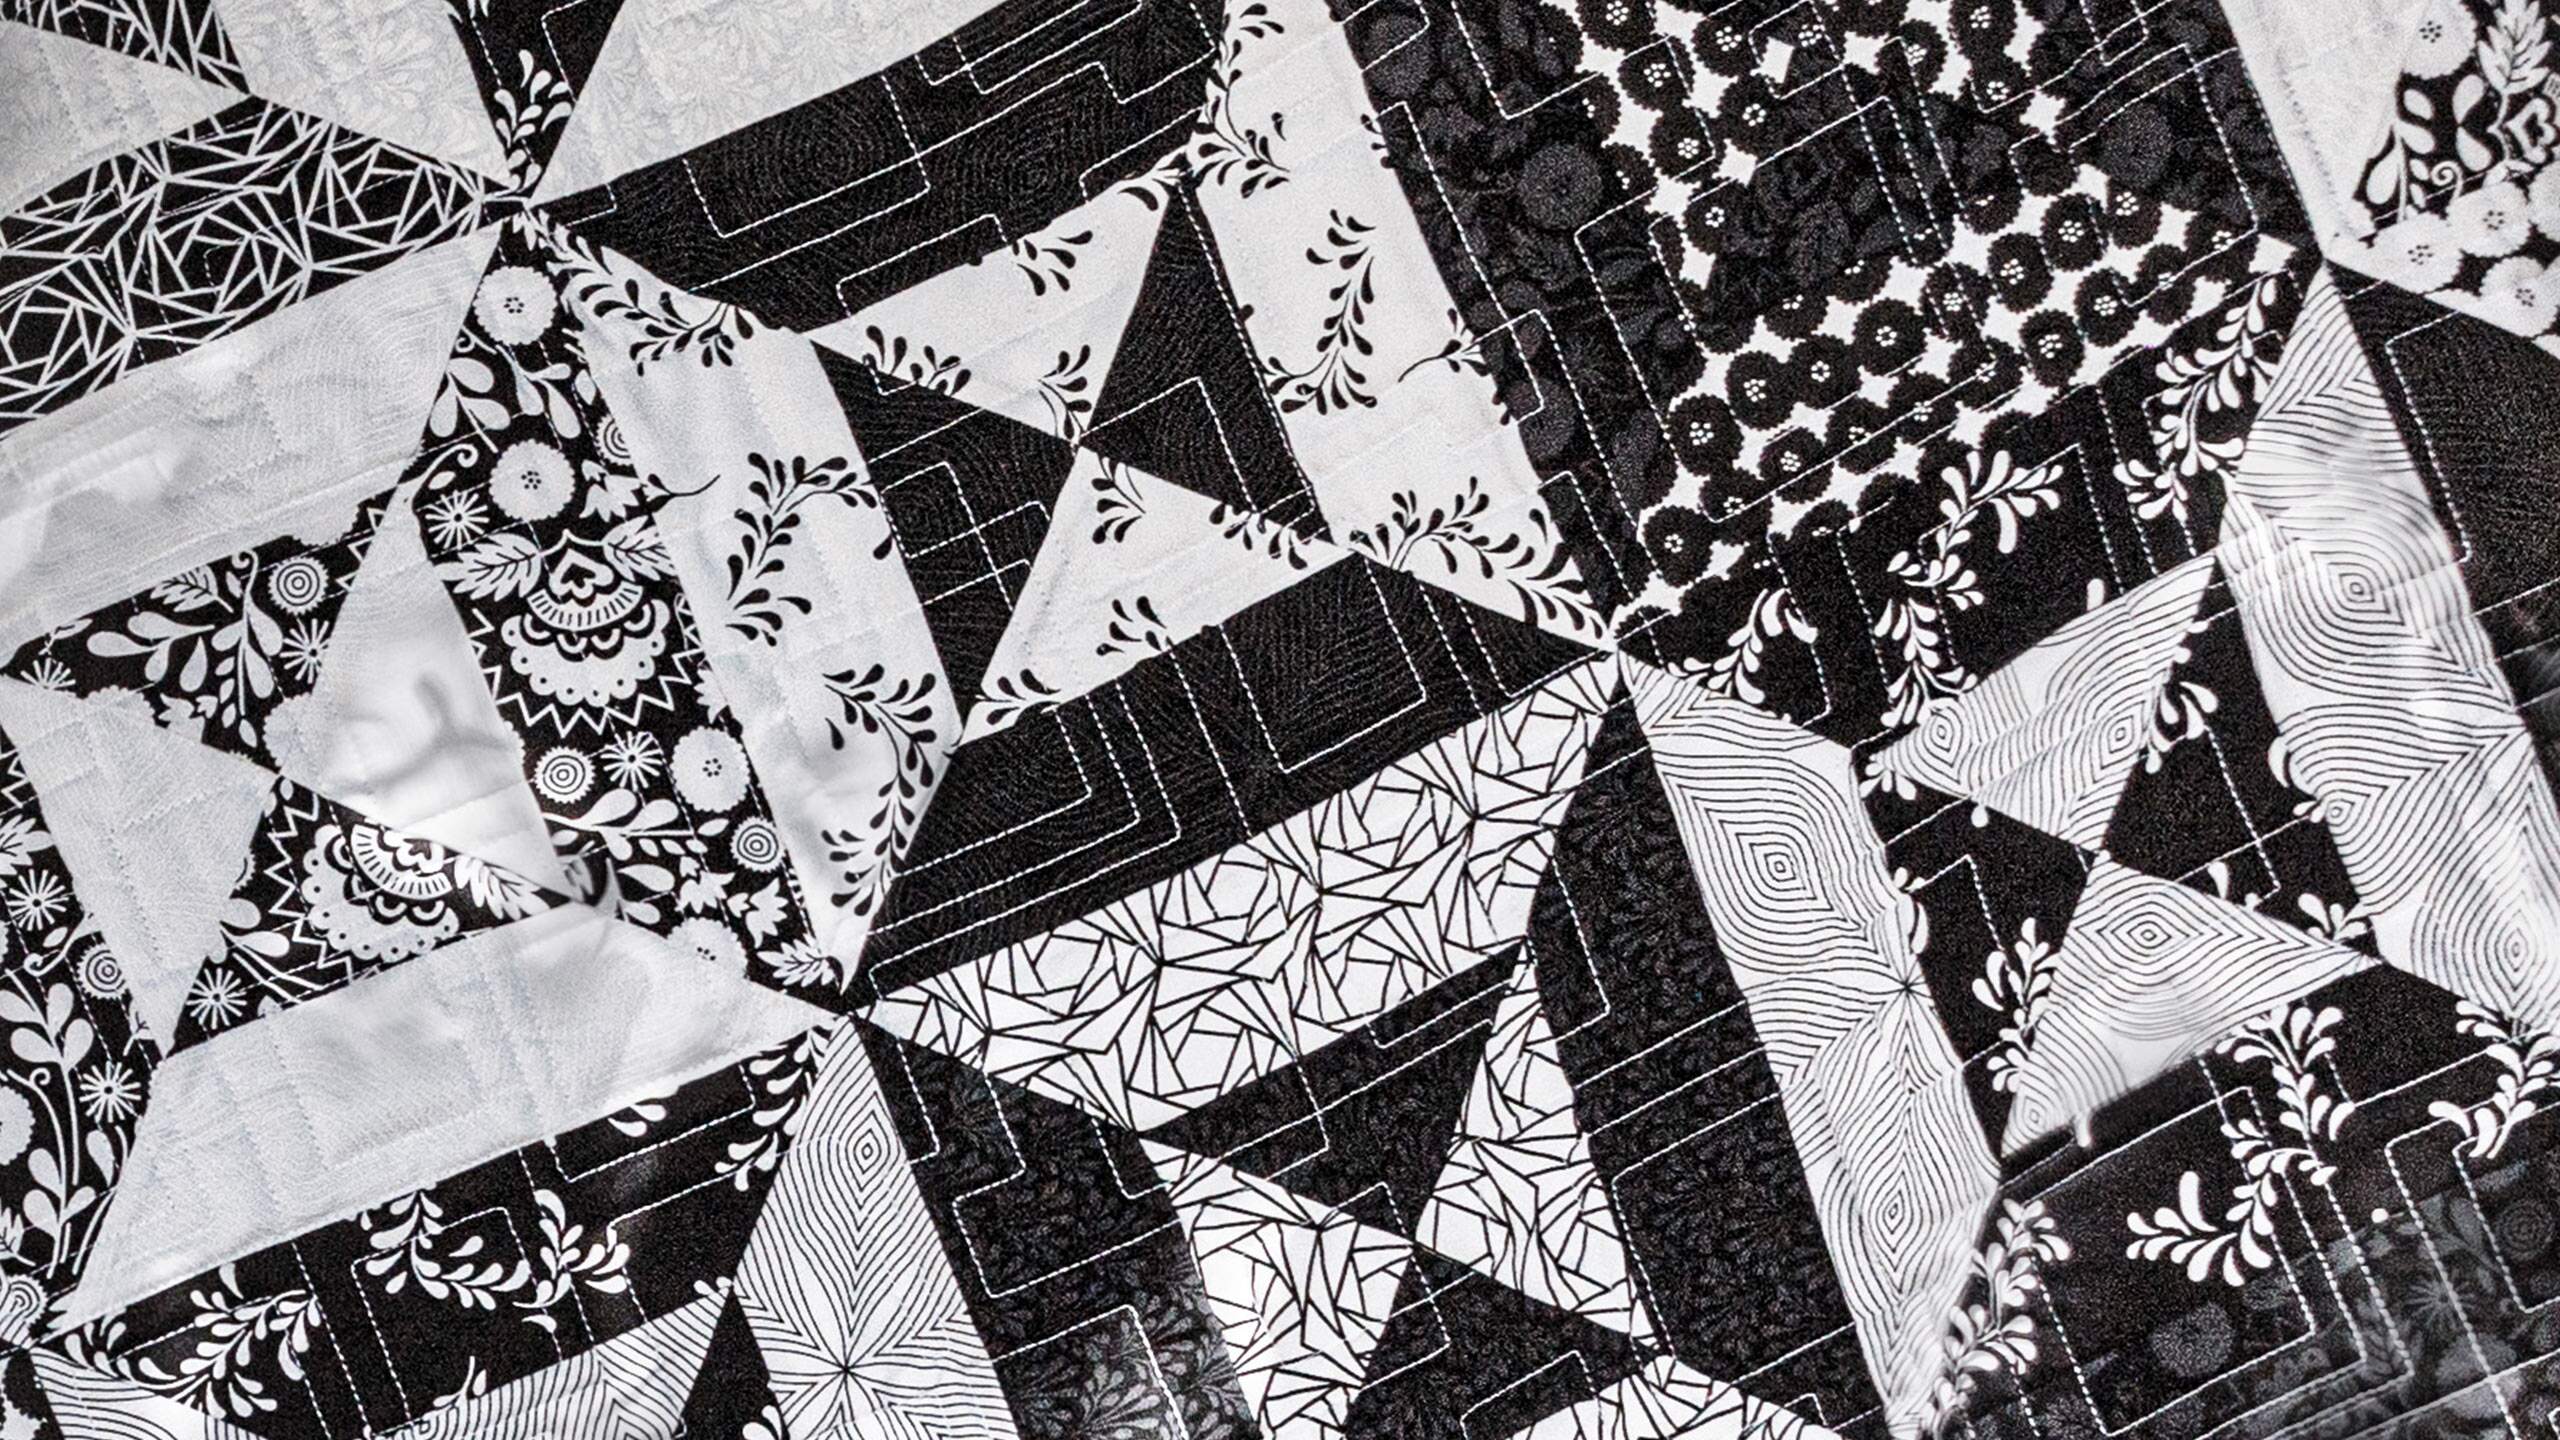
Make an "Easy Strip Hourglass" Quilt with Jenny Doan of Missouri Star
 Jenny Doan
- Jelly Roll
- Modern
- Lap / Throw
- Beginner
- Quilt size 59" × 59"
Jenny Doan demonstrates how to make sweet little hourglass blocks using 2.5 inch strips of precut fabric. For this project, she chose the dramatic black and white Jardin Noir collection by Robert Kaufman. She starts with easy strip sets that are sliced up with the Clearly Perfect Slotted Trimmer A. When she sews those pieces into a block, a beautiful stripy hourglass appears!
Instructor
Jenny Doan
Jenny Doan is an American quilter, author, and YouTube personality. Jenny started Missouri Star Quilt Company in 2008 and today it is the largest quilting supply vendor in the United States.
Shop this tutorial
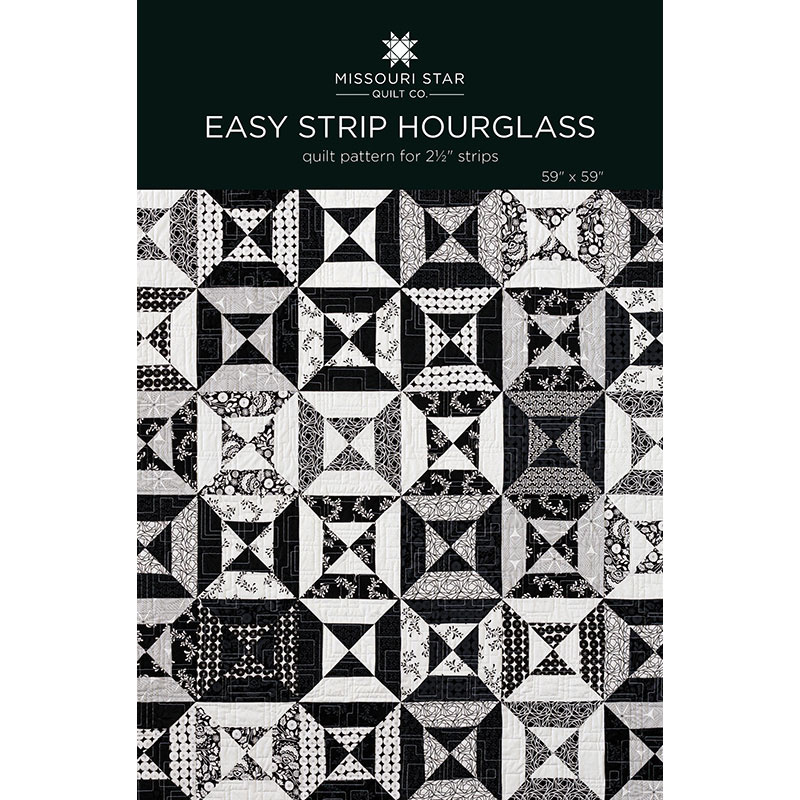 Easy Strip Hourglass Quilt Pattern by Missouri Star$5.95Shop →
 Digital Download - Easy Strip Hourglass Quilt Pattern by Missouri Star$4.95Shop →
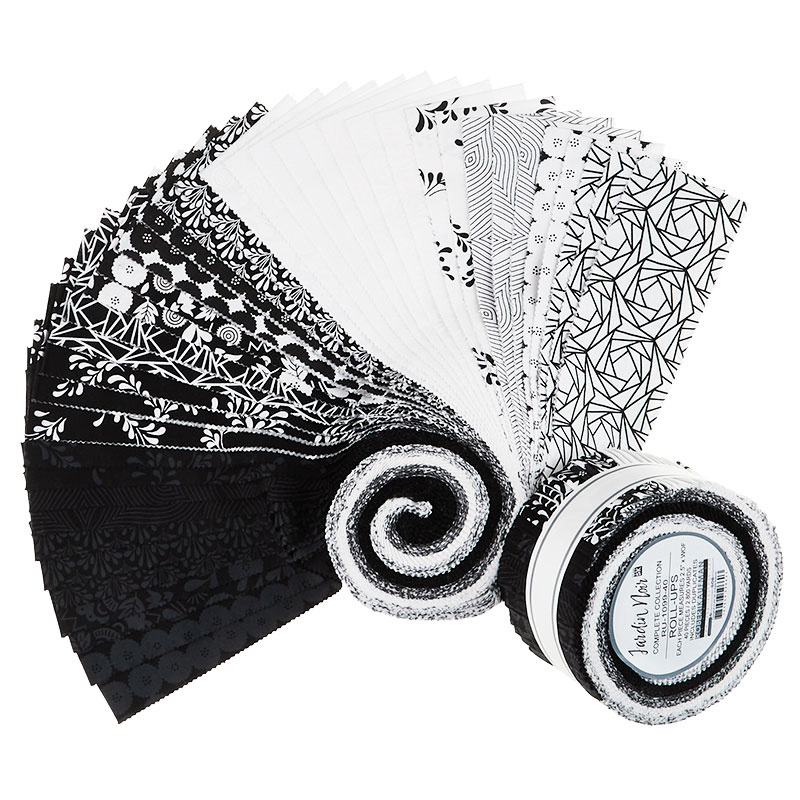 Jardin Noir Roll Up$37.95Shop →
 Clearly Perfect Slotted Trimmers$31.95Shop →
 Jardin Noir - Plants Black Yardage$11.24Shop →
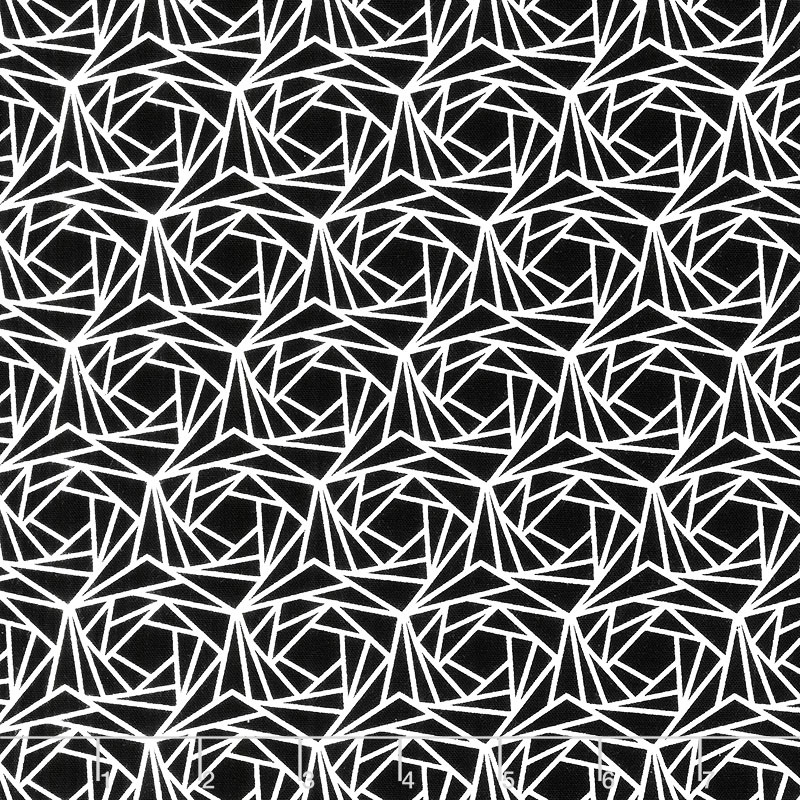 Jardin Noir - Geometric Jet Yardage$11.24Shop →
Common Questions
What is covered in Make an "Easy Strip Hourglass" Quilt with Jenny Doan of Missouri Star?
Jenny Doan demonstrates how to make sweet little hourglass blocks using 2.5 inch strips of precut fabric. For this project, she chose the dramatic black and white Jardin Noir collection by Robert Kaufman. She starts with easy strip sets that are sliced up with the Clearly Perf...
How long is the tutorial video?
The tutorial video is 00:08:10.
Are supplies listed for this tutorial?
Yes. The tutorial page includes the supplies and materials connected to this project.
Is a transcript available?
Yes. A written transcript is available on the tutorial page.
Video Transcript
So, let me show you how to make this. So, this is the block you're going for right here. And we are actually going to get two of these blocks out of each strip set. So, you're going to choose 18 of these strips and we're just going to pull them apart here and we're going to choose a light and a dark. So, let me see if I've got a good... Oh, this will be fun. All right. So, we're going to take two of these strips. And I've got this black one and this one that's mostly white, and we are going to sew those together quarter inch just right down the side. So, here we go. I'm going to line mine up and then I'm just going to let it sew until I get to that point, and then we'll line up again. So, if you line it up way out here like this, then you can sew for a while before you have to reline it up. All right. Now, we're going to press these open.
So, I'm just going to lay my dark on top and I'm just going to roll it back. That will keep that dark seam hidden on the dark fabric like that. Press it back, so that you don't have any pleats or folds. This thing just wants to fold up on me. There we go. Okay. So, once you get your strip all pressed, then we're going to cut it, and I like to use the Clearly Perfect Slotted Trimmer A. And I'm going to put my sewing line on their sewing line down here, so the edge of my strip is on their sewing line. And I'm going to watch this corner over here to make sure it doesn't get too much in the salvage, because we can hide that in a quarter inch seam and we want to get as much as we can out of these. So, now what we're going to do is we're just going to cut like this and like this. And then I'm going to move this over and I'm going to flip my ruler and do the same thing on the other side.
And we're just going to go down the whole strip like this. And so, we'll do that and then we'll do this. I'm not sure why, but sometimes it gets a little wonky for me, maybe one side won't be exactly right. And just go ahead and recut it if you do that. You're going to get eight cuts out of these, which means you're going to get two blocks out of one strip set. And we're doing 18 strip sets for this quilt right here. Oops. So, the bottom sewing line of this and your top up here should peak just over the top. And you'll just keep cutting the whole strip set. And I'm just going to stop because I have enough to make a block and that's what I want to show you. So, because we're cutting from the top and bottom, these are going to make two different blocks. And so, what we're going to do is we're going to put two from the top and two from the bottom in the same one, so we've got two where the black comes in and two where the white comes in.
That might have been a little confusing. This one right here, when we cut this one, then this white block is at the top. When we flip this around and cut the other side, then this black block is at the top. And so, we're going to use both of those to make this little block right here. And then it makes this double hour glass right here. So, this is one hour glass and this is the double hour glass out here. And it's just so easy. All we did was so two strips together. So, what we're going to do now is we're going to sew these together and I'm going to line up the sides. And what you want to make sure kind of matches here is these two little seams here in the middle right here. It might be hard to see on the black, but see how those seams come together. You kind of want to make those match up pretty nice.
And especially now on this fabric, it really won't show much because it's all black and white and they're busy designs. But if you were doing this on a solid or something like that, it would matter that those little edges matched up. All right. And then we're going to take this one and sew this one. Now, the benefit of this is that I think you're going to have a little bit of give. If your seams aren't exact, you have a little bit of give in there. These two happen to line up very nicely, for which I am very grateful for. And then we're going to open this up. We're going to make sure these are still laying the right way. And if I had sewn these together wrong, what I would've done was I would've left these sewn and grabbed two more and put them together the right way.
So, if you get them up and these two are on the same side, don't stress over that, just put it aside and sew two more to it. I don't want you to worry. I don't want you to feel like this is stress. This is a fun little quilt. This would make a great fast... Any quilt that you needed fast for anything, this would be a great quilt for that. All right. So, just like that, our block is done. And I'm going to press it open. Oh, it looks so nice. It's very crisp. I do love black and white, I have to admit. So, there's our little block. Now, let me show you how this works in the quilt. So, what I did was I tried to alternate my whites, so this white is up and then it's over, then it's up, then it's over, then it's up, then it's over, just like that. So, we put 1, 2, 3, 4, 5, 6 by 1, 2, 3, 4, 5, 6, so 36 blocks.
And then we have this nice big six inch border out here. And then the backing on here, isn't that beautiful? This is really a fun black. This is one of those that, where if you made a quilting mistake, you would never find it, so it's perfect for that. We use the backing material as the binding as well, just to give it a little extra pop. And so, this also, I want to point out the quilting pattern on this. The quilting pattern is square meander. And I just love how it looks on here. It's a very modern pattern, very fun. And it makes a quilt that is 59 by 59. So, it's just a great size, good picnic blanket, really quick and easy. And if you want to make it bigger, you just need to buy another pack of strips and it doubles in size.
So anyway, I hope you enjoyed this tutorial on the easy strip hourglass from the Missouri Star Quilt Company. Hi everybody. It's Jenny from the Missouri Star Quilt Company. We hope you enjoyed watching this video. If you aren't already part of the Missouri Star Quilt Company family, be sure to subscribe, so you won't miss a thing. And if you click that bell, it'll notify you every time a new tutorial comes out. See you next Friday.


