

Make an "Iron-on Fabric Quilt Block" with Misty Doan on At Home With Misty
Misty will show you how style is zippity-do-dah-done in a flash! Join in as Misty makes the easy Missouri Star Zipper Pouch using the brand-new Missouri star Iron-on Patchwork Quilt Blocks. These cute patches are the perfect way to add pizzaz to backpacks, purses, jeans, jackets, and so much more! The iron-ons give this zipper pouch just the right amount of flair. Make it to show off at your next sewing retreat or gift it to a quilter friend!

Instructor
Misty Doan
Misty Doan grew up surrounded by sewing and quilting. She loves spending time sharing tutorials each week each week, and when she’s not stitching up one of her fun sewing projects for home decor, most likely you’ll find her hanging out with her husband and three awesome kids or working on a house project.
Shop this tutorial
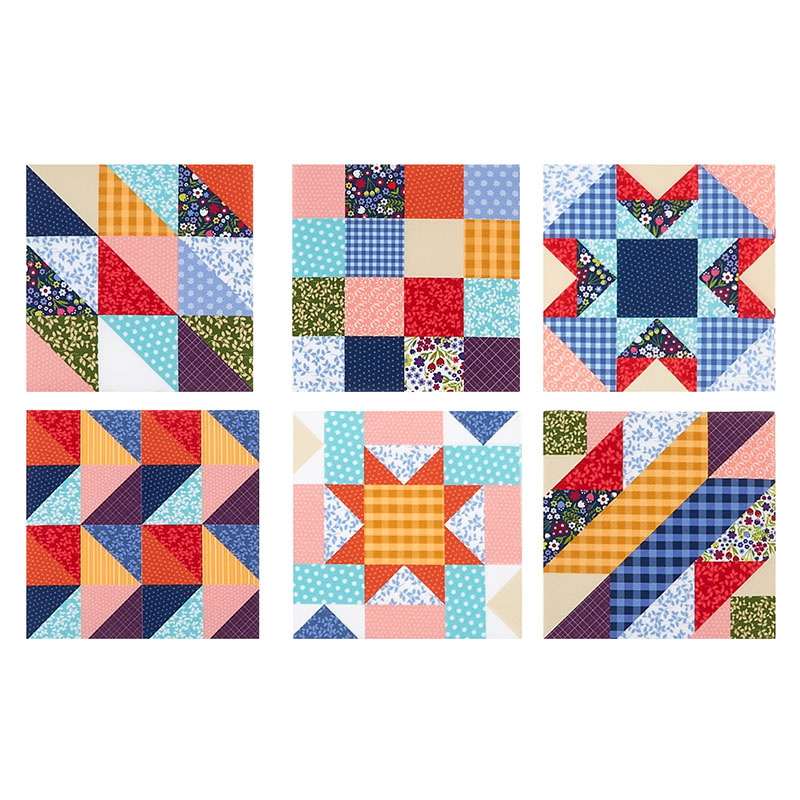 Missouri Star Iron-on Patchwork Quilt Blocks - 5" x 5" Cottagecore 20pk$14.95Shop →
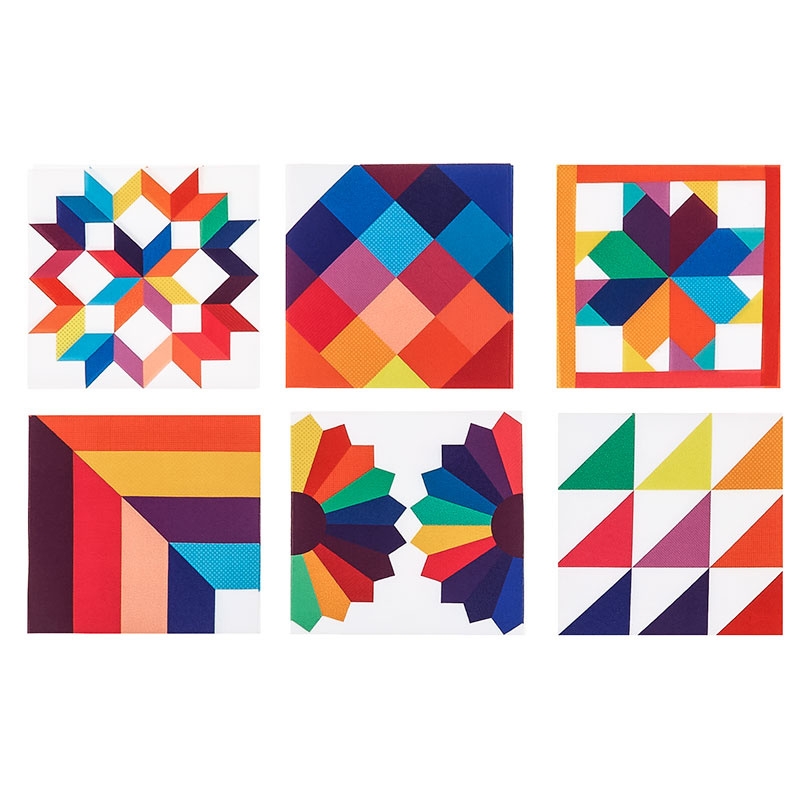 Missouri Star Iron-on Patchwork Quilt Blocks - 5" x 5" Bright 20pk$14.95Shop →
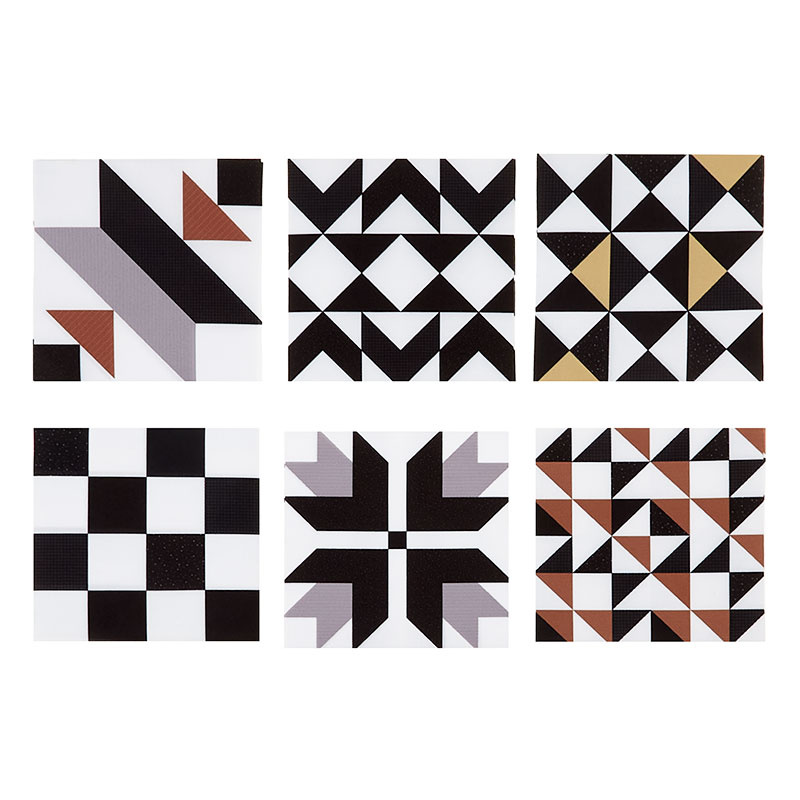 Missouri Star Iron-on Patchwork Quilt Blocks - 5" x 5" Neutral 20pk$14.95Shop →
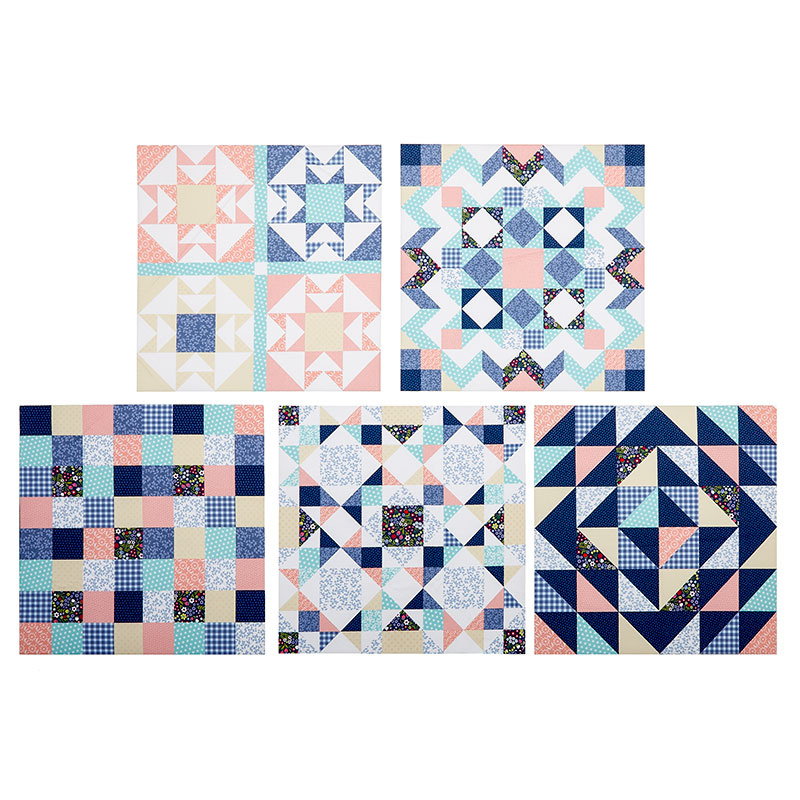 Missouri Star Iron-on Patchwork Quilt Blocks - 10" x 10" Cottagecore 5pk$14.95Shop →
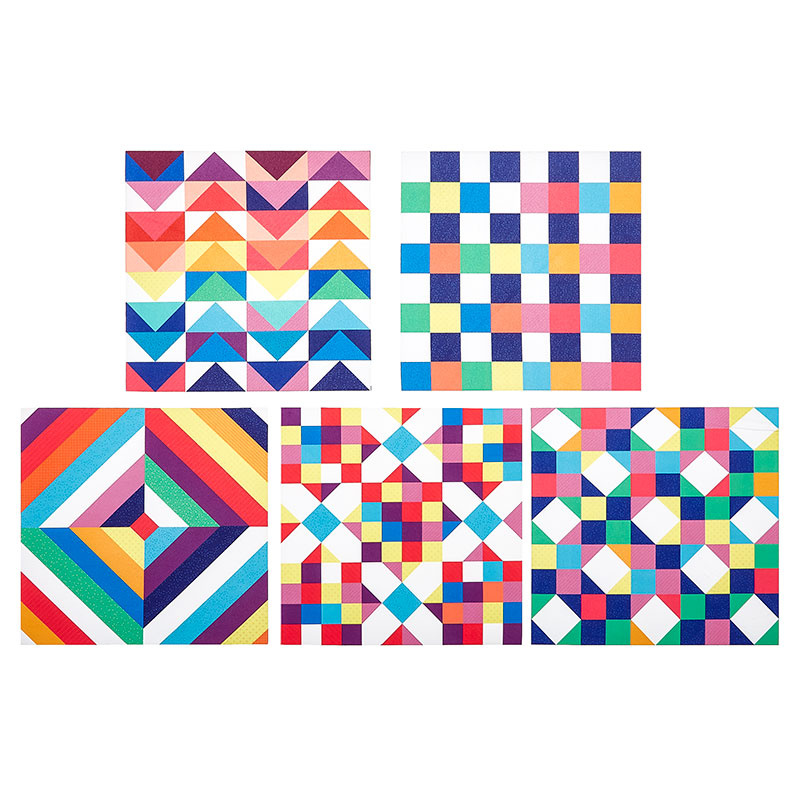 Missouri Star Iron-on Patchwork Quilt Blocks - 10" x 10" Bright 5pk$14.95Shop →
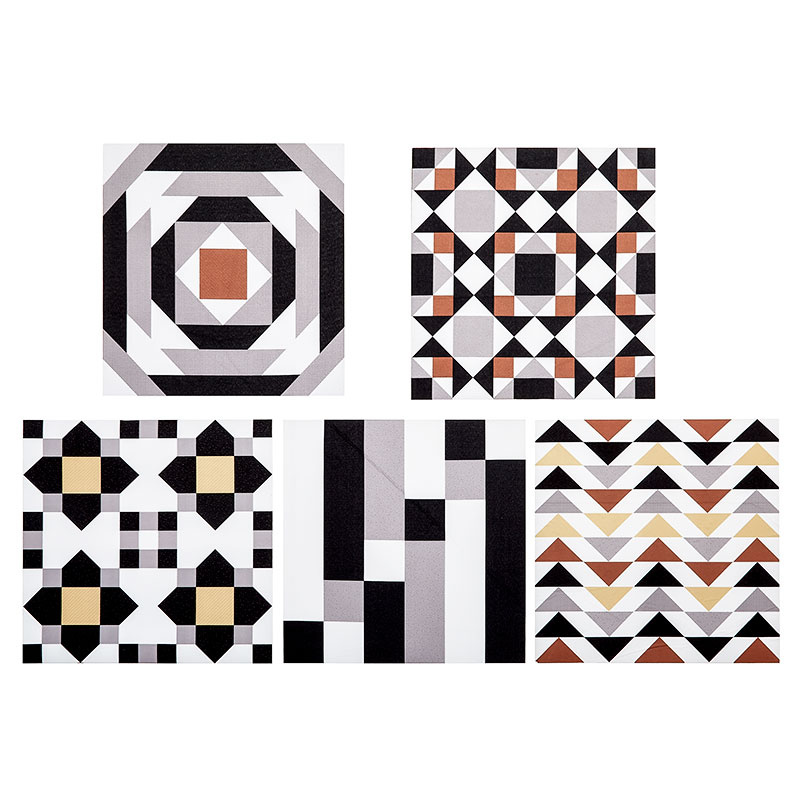 Missouri Star Iron-on Patchwork Quilt Blocks - 10" x 10" Neutral 5pk$14.95Shop →
 Olfa Splash Aqua 45mm Rotary Cutter$18.75Shop →
 Missouri Star 5" x 15" Ruler$15.95Shop →
 Missouri Star 2.5" x 8" Ruler$10.95Shop →
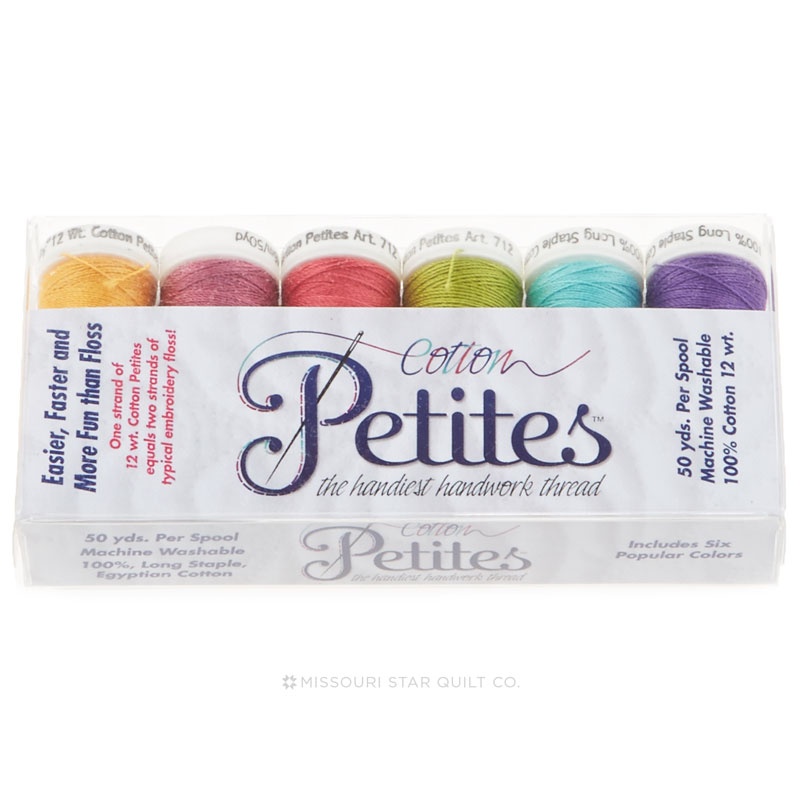 Cotton Petites 12 WT Sample Brights$10.45Shop →
 Exclusive Missouri Star Jenny TG1600 ProPlus Oliso Smart Iron$199.99Shop →
 Missouri Star Wooly Betty Board - 17.25" x 25.5" Orange Border$98.95Shop →
 Baby Lock Accomplish - 1500 SPM Straight Stitch Machine$999.00Shop →
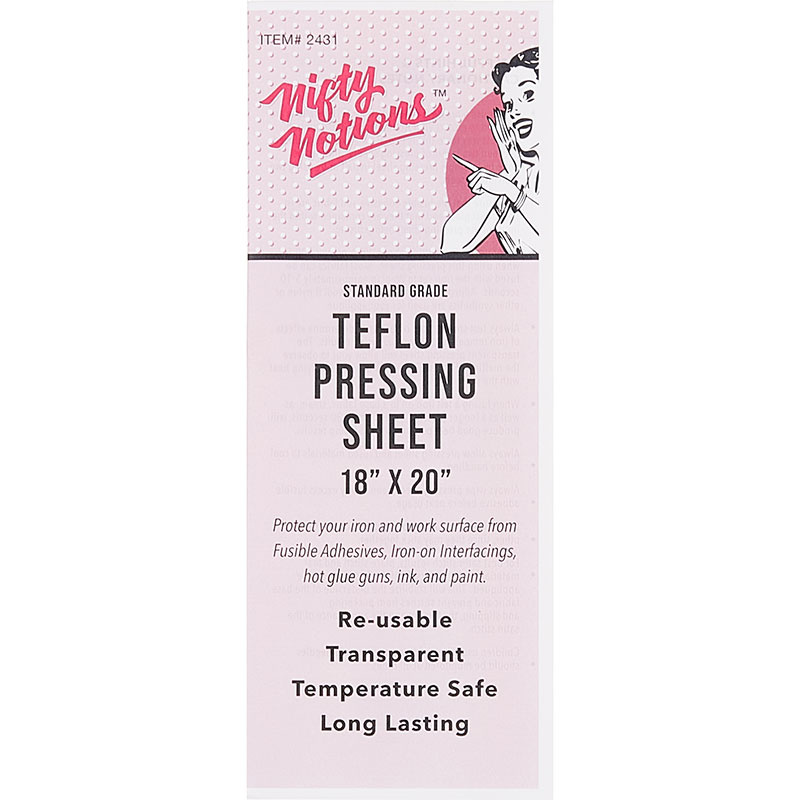 Teflon Pressing Sheet$8.75Shop →
 Elan 8" Dressmaker Scissors$20.95Shop →
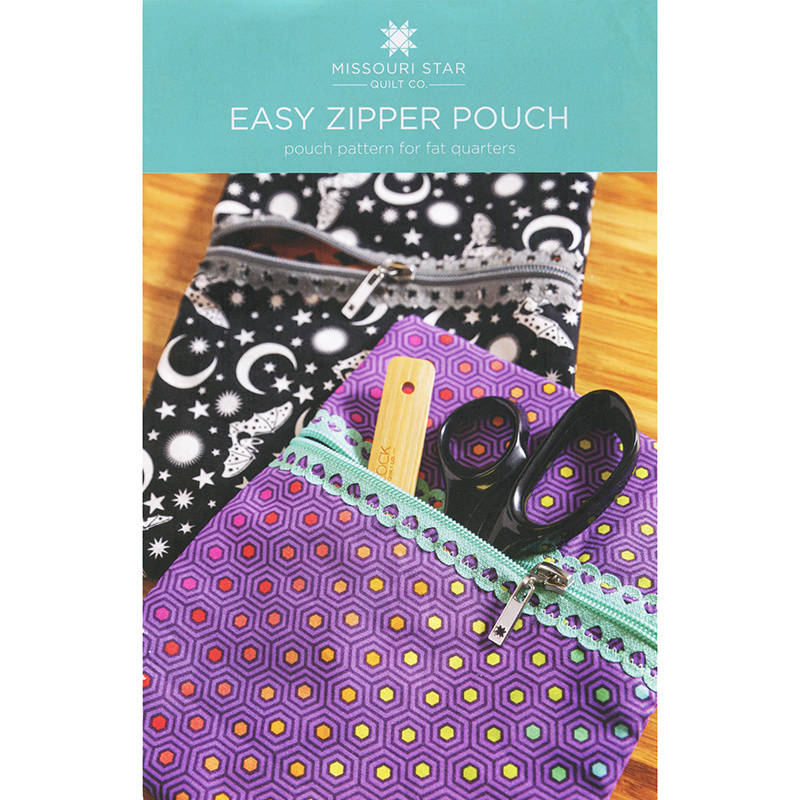 Easy Zipper Pouch Pattern by Missouri Star$6.95Shop →
Common Questions
What is covered in Make an "Iron-on Fabric Quilt Block" with Misty Doan on At Home With Misty (Video Tutorial)?
Misty will show you how style is zippity-do-dah-done in a flash! Join in as Misty makes the easy Missouri Star Zipper Pouch using the brand-new Missouri star Iron-on Patchwork Quilt Blocks. These cute patches are the perfect way to add pizzaz to backpacks, purses, jeans, jacke...
How long is the tutorial video?
The tutorial video is 00:13:19.
Is a transcript available?
Yes. A written transcript is available on the tutorial page.
Video Transcript
Quilting is showing up everywhere which as quilters we love. But like I said, you don't always want to sew all of your squares together and then cut it up to put it on jeans or jackets or things like that. So here at Missouri Star we thought why not come up with some iron-on patchwork to make it a little bit easier? You can still get that quilted look without having to work quite so hard. So we designed three different color ways of these iron-on patches. You can see here is the neutral pack and I actually have these on my jeans that I'm wearing today. Then we also have a brights pack which is super fun and a cottage florals and these are all really cute. Every single one of the packs comes with 20 of the pre-fused 5 inch squares and they are all different. So they're super unique and you just can open it up and play with it. They also come in 10 inch packs, so if you want to put a big square on the back of a jacket or on the side of a tote bag you can totally do that.
One of the things I love about this is that you don't have to keep them in those five inch squares. You can cut it up and really play. So let's dive into some of that, because I want to show you just how simple this is to do. So for today I think I'm going to use this cute little
zipper bag. You've seen us make zipper bags here at Missouri Star, so go back and watch the tutorial if you want to see how we made this.
I am going to use our brights pack - it's so fun! It's got this adorable carpenter star, just lots
of fun patterns in here to play with. So let's come over here to the cutting board and start playing got a few different tote bags. I think I'm gonna start with this one. So to begin, I love this dresden block that we have in our pack, so I'm gonna grab some scissors and I'm actually just going to cut this out right along the edge of our dresden. And I just want you guys to see that this is really just all about your own creativity. There's no limits to what you can do with this. Wait until you see all the fun things that we have put these on!
Sometimes you just want to be able to play. So we'll just take our time cut this out and there we go. So before I ever iron anything down, I just kind of lay it out and start playing. So there's one little piece. Let's look farther in our pack and see what else I want to add. This is a fun one! These cute half square triangles. I'll use a few of those and this one's fun too. Let's see. So I think I'll use my ruler and my rotary cutter and cut out a few of these half square triangles. I think I'll do these ones here.
So I can just line my ruler up on the edge and cut that apart. I think I'm going to leave these four together. There we go. So now I can kind of sandwich it in here just to get some variety.
Then let's see. We probably need to add one of these beautiful stars don't you think? Maybe I'll save that one for the back. But it really is just taking your time and playing and seeing which ones you want to put together.
I'm going to cut out the middle of this and just do a four patch as well. But you can see that there's really a lot of freedom to just cut these apart and play, and I want to encourage you guys to do that. I think you'll be surprised how much fun you have once you start working with them.
There we go. I've got a few patches. I think that's a fun little addition. All right, we'll take this over to the pressing mat now. One thing I do want to point out if you have a pressing cloth or one of those silicone or teflon sheets, is to put over this to protect your iron. This has some pretty heavy duty adhesive so that it will be more of a permanent adhesion. So if you want to protect your iron, be sure to use that. I'm just going to be really careful because I want you guys to be able to see this whole process, but I do recommend that if you're doing this
at home.
So now let's just kind of play with these a little bit more to make sure we like how they're lining up. I just really want it to look scrappy like I sewed random patches on this tote bag. So now I'm just going to press and lift. You can see how well they fuse. There we go, they are all stuck down. Isn't that so cute? I think it just turns out so fun. It adds that little bit of
homemade feel without a lot of work.
So you can see we have used these on so many different materials. Here I have them on some denim. We've added a patch below the knee, up here by the pocket. Here I have a jacket where we put it on the back and down the sleeve. I've got a fabric covered journal, a
pillow behind me, the options are just really endless.
I also want to point out one of my favorite things that we did; we added them to these shoes. Are these not the cutest things you've ever seen? It's all just done the same way. When we were doing the shoes, we used one of the little minI project irons so that we
could really get in there and make sure that they were adhered well which was great. But some of the magic about these particular projects is the decorative stitching that you can add after the fact.
So I want to point out in these jeans right here. You can see we just did a straight running stitch. You can either use embroidery floss or some 12 weight thread is great. It's basically the same look as embroidery floss. And so we just did a running stitch here to kind of tack that down. We just did kind of a whip stitch across this edge here. You could also sew these
with a machine especially like on the tote bag that I just made. We could open that up oops there it is I lost it under here. We could open this up and I'll just take this table off of my machine for now. And I can just do some simple straight stitching to just kind of hold this in place. If you wanted to do this before you made the tote bag, that would probably make your life a little easier. But either way it's totally doable.
I'm just going to do a line of stitching just to tack this down. The thing that's so fun is it's really just super forgiving and I don't think you can go wrong. Whatever you do, it's gonna look great! I know it's probably hard for you to see with that fabric bunched up. Let me try
and move that out of the way. We'll make this turn here. You can see this is where it overlaps. I'm getting to the place where we're intersecting with the other patch. We've
got two patches coming together. I'm just going to sew right over it and I'll show you at the end what I mean. And then come straight across here, there we go.
So what I was talking about. You can see here I just went around the edge of that little square and I went ahead and just went straight over the top of this dresden. You could come back and not do that. You could stop at the end and follow the edge of the dresden
around if you wanted to. It's really whatever you prefer.
But I wanted to come back and show you just a little bit of hand stitching. So I've taken some of that 12 weight thread and an embroidery needle and I'm just going to do a running stitch around the edge of this dresden. So I'm going to start down here, at this point. I'm just going to have my knot inside of the tote bag. And I've got this fun kind of teal that'll contrast really well with the block. I'm just going to do a couple stitches per side here. I'm just going to go in. It's always hard to show you guys some hand stitching, but and pop back out.
Just a little bit down from there and then pop back in towards that point. I am not looking for perfection here. I want this to look handmade. And then I'll come back and go down that
other side. There we go. Now that we get away from that edge it gets a little bit easier too. I'm just going to take a few more stitches and then I'll show you this when it's all done.
So as you can see I took the time and I finished those cute little hand stitches. It's just a running stitch, nothing crazy, but I do want to point out we have this great book. It's called Joyful Stitch Combinations and it has loads of embroidery ideas that would all look great on projects like this. So let's just do a quick look at all of these options. Again, remember
there are three colorways I showed you using the brights here on the denim. You can see our cottage which is some fun florals mixed with our neutrals. So the black and white are from the neutral pack. The cute kind of pastel colors are from the cottage pack and so
this is what the cottage pack looks like. There's so many great ones and every single one of these packs has six unique patches and there are 20 total in each pack.
So then this is the neutral pack. So my jeans actually that I'm wearing, I use the neutral pack. You can see I've got some patches down by my knees and on the pockets and on the back. It's just really fun! I had so much fun playing with these and putting it together.
So I also want to point out this little pillow. This was just a pillow that we had. It's actually like a velvet material and we just ironed the patches right to it. Now you have this great kind of patchwork throw pillow. Again the decorative stitches once you add that would be so fun to do. Like a pop color. I just think it's amazing what all you can do with these products and
my next step for sure is making a pair of these shoes in my size because they're just the cutest thing.
So I hope you guys enjoyed these iron on patchwork quilt blocks. I hope it gave you a little
bit of inspiration and ideas for how to play and make some fun things for you to wear this year. I will see you next time here on At Home with Misty.


