Skip to content

Free quilting video tutorials from Missouri Star

Quilting Tutorials
Make "Mountain Thread Baskets" with Misty Doan on At Home With Misty

Make "Mountain Thread Baskets" with Misty Doan on At Home With Misty

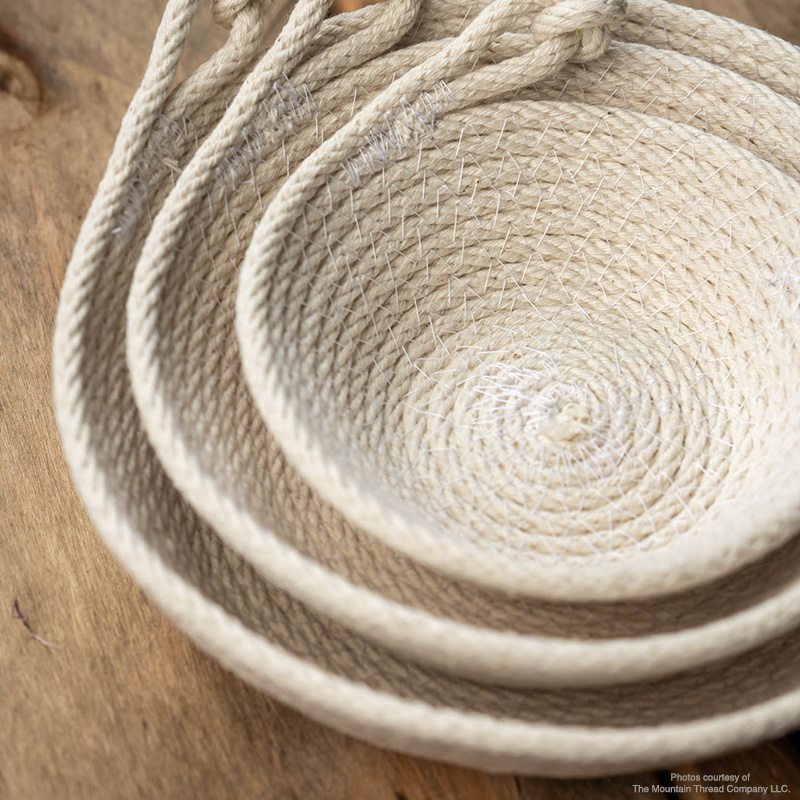
Looking to learn a new craft in 2023? Misty has just the project for you! This trio of nesting rope bowls make the perfect organizers for jewelry, keys, spare change, and trinkets. Sewn from cotton braid rope, these shallow baskets kits from The Mountain Thread Company are the perfect project for bowl beginners. You'll be amazed at what your sewing machine can do!

Instructor

Misty Doan

Misty Doan grew up surrounded by sewing and quilting. She loves spending time sharing tutorials each week each week, and when she’s not stitching up one of her fun sewing projects for home decor, most likely you’ll find her hanging out with her husband and three awesome kids or working on a house project.

Common Questions

What is covered in Make "Mountain Thread Baskets" with Misty Doan on At Home With Misty (Video Tutorial)?

Looking to learn a new craft in 2023? Misty has just the project for you! This trio of nesting rope bowls make the perfect organizers for jewelry, keys, spare change, and trinkets. Sewn from cotton braid rope, these shallow baskets kits from The Mountain Thread Company are the...

How long is the tutorial video?

The tutorial video is 00:11:59.

Video Transcript

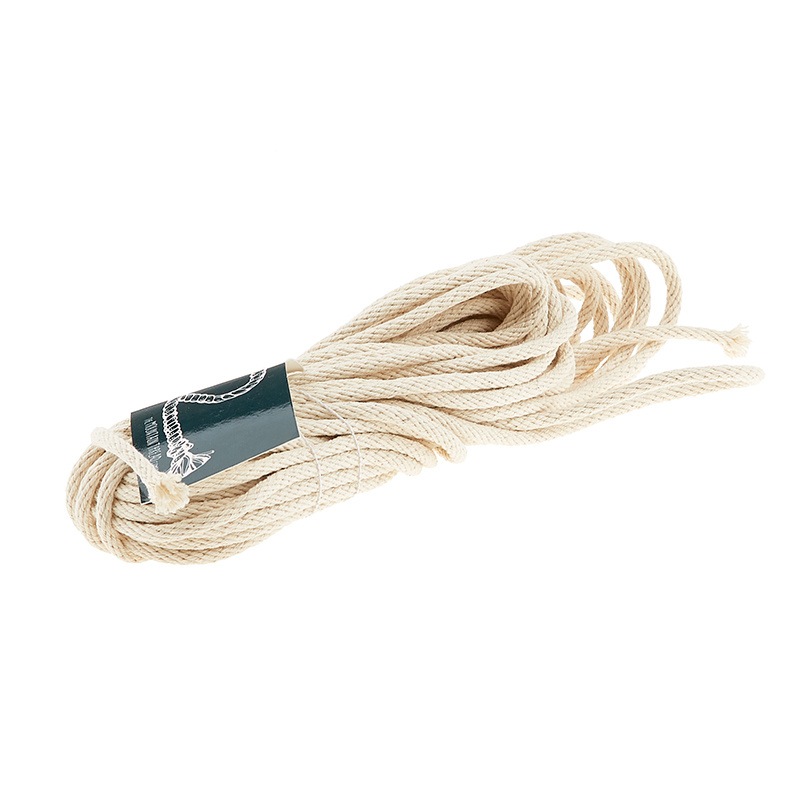
on today's show we're going to make these great little nesting rope bowls and it's really quick and easy [Music] so like I said today we're making these great little nesting bowls from Mountain thread company they come in this kit just like you see here and inside you will find 15 yards of the rope that you need to make this as well as a heavy duty sewing machine needle so you're going to want to swap this out and put it on your machine I've already done that and have that ready to go and then the length of rope that you need as well as all of the instructions are available on the inside when you open it up and it gives you all of the little diagrams and details on how to go about making this project it's really really fast but basically the three sizes that you're looking for are um your small medium and large the small you need three yards of your rope the medium which is what we're going to make today you need five yards and the large you need seven yards and I also opted to use some contrasting thread just to make it kind of fun and pop and I thought it would look good on set once I finished these up and so I've used this kind of gray green color it's called Old Sage as well as this blue which is called Rock blue and then the one I'm making today is mauve so let's go ahead and dive right into this so you can see here I have taken my length of rope and I've just started coiling it around itself you want to go about three or four times and I just put a little pin off to the side and so now that I have this all pinned together we are going to zigzag Stitch the entire time on our machine and I currently have this set to a two Stitch length and a seven on the width and so we are going to sew kind of a plus sign and so I'm going to sew right on the other side of my needle or my pen I should say so that it's not in the way when I'm stitching but it still holds this in place and makes it easier for me to stitch over this and so I'm just going to do this first zigzag straight across here so let me just set this under my machine and we are just going to zigzag across there we go pull this out of here and I can trim that thread and this side as well and so now that I have that first line of stitching in place I'm going to go ahead and pull out my pin because it's already secured and I'm going to make a plus sign so my next line of stitching I'm going to go perpendicular to that first one there we go trim that as well and so let me show you here oops it's out from under the machine how this is looking so you can see we just have a row of the zigzags going each way and so now that we've done that we've made this plus we're going to go back and add an X going in the opposite directions just so this base and our start is really nice and secure so I'm going to go ahead and do that we are going to go right this way we just want to trim off those threads as you go otherwise they can get a little unruly and then now we'll pull this back around and we'll do our last line of stitching to get this started all right there we go so now our base is all secured trimmed off my thread and now we are ready to start spooling this around before we do this in the pattern they recommend that you change your Stitch length up to a four so I'm moving it from a two to a four and I'm leaving the width at seven and so then now I'm going to set this right here I'm going to lift my needle and they do recommend that you just check as you get started that when you have your Zig and your zag that it's going to catch both sides of the Rope so as these are coiling together one side is going to be on the inner one and one will be on the outer one and we'll get a close-up of that for you to see but let's go ahead and get started we go and we're just going to take our time and slowly pivot especially once you begin here and it's smaller around you just have to kind of go very slowly foreign so I'm just going to continue working around and as this gets a little bit larger it gets easier to make sure that you're catching both sides of the Rope and so I'm just going to keep pivoting and for this medium bowl that I'm working on it recommends a four inch base and so I'm just going to keep circling around now until I have this about four inches wide and then I'll meet you back here okay so now that we have our flat base about four inches apart or across I should say now we're going to start adding the curve to our basket and all you need to do for that is put your hand underneath the flat part that we have and we're just going to use this little bit of lift to add the angle that we need and then we're going to continue in the exact same way so I'm just going to use my hand here to guide and keep stitching with my zigzag just take your time if you need to stop and reposition just keep your needle down there we go and I'm just going to keep doing this until I have about six inches left and then I'll meet you back here and show you how to finish this off all right we are coming up on just about six inches or a little bit more left here and so now typically you would want to do all of the next steps that I'm going to show you under the machine but I want to make sure you guys can see so I'm going to backstitch here a few stitches and I actually am going to take this out from under the machine to show you so just keep in mind this is not the normal procedure you would do this under the machine and so now we're going to tie a little knot in the end of our rope just like so and then I'm going to Loop this back but I've got a little bit too much of a tail so I just want to have a tiny bit of tail that I can tuck under just like so and so I want to leave this cute little handle that you can see and now we're just going to finish off zigzagging and we're going to tuck this all under the machine and secure this and then when I get to the end here I'm actually going to narrow my Stitch length again and really zigzag over that to hold it in place so let's go ahead and put this back under the machine and do that and because I'm starting over I am going to backstitch at my start again just because I don't want that thread to come undone so we'll do a few stitches forward and then we'll backstitch again and then now we can get this ready and finish it off I'm just going to make sure this is all tucked neatly in here make sure my rope is under the machine the presser foot I'm all right and now I'm in a back stitch okay now I can trim that I have one little part here where I feel like I need to add one more row of stitches just because I didn't fully catch it so I'm going to come back and add just a little bit of stitches to hold that in place but you can see how quickly this bowl comes together so let's go ahead and just finish this off just to secure the top here we go back stitching of course there we go so now I can trim off my thread and my little medium Bowl is all done isn't that so cute you can see how these three sizes Nest together so quickly and easy remember this is three yards five yards and seven yards I did want to point out that on this one I followed the directions for the Stitch length exactly and so you'll notice it's a bit of a looser zigzag but I tested and did a tighter zigzag on these which just gives you a little bit more color from that accent thread that you're using and so you can achieve those different looks based on your Stitch length and the color of thread that you choose there's also some great tips in the pattern for wrapping fabric scraps around it to add some just fun and Pizzazz to the project so I think you guys will really enjoy this and I hope you have fun making these for gifts or for yourself and I'll see you next time on at home hey everyone it's Misty thanks for watching at home if you aren't already a part of our Missouri Star Family be sure to subscribe and hit the Bell if you want a notification every time we release a new video I'll see you next Monday on the newest episode of at home

More Totes, Bag, Purses tutorials

See all