
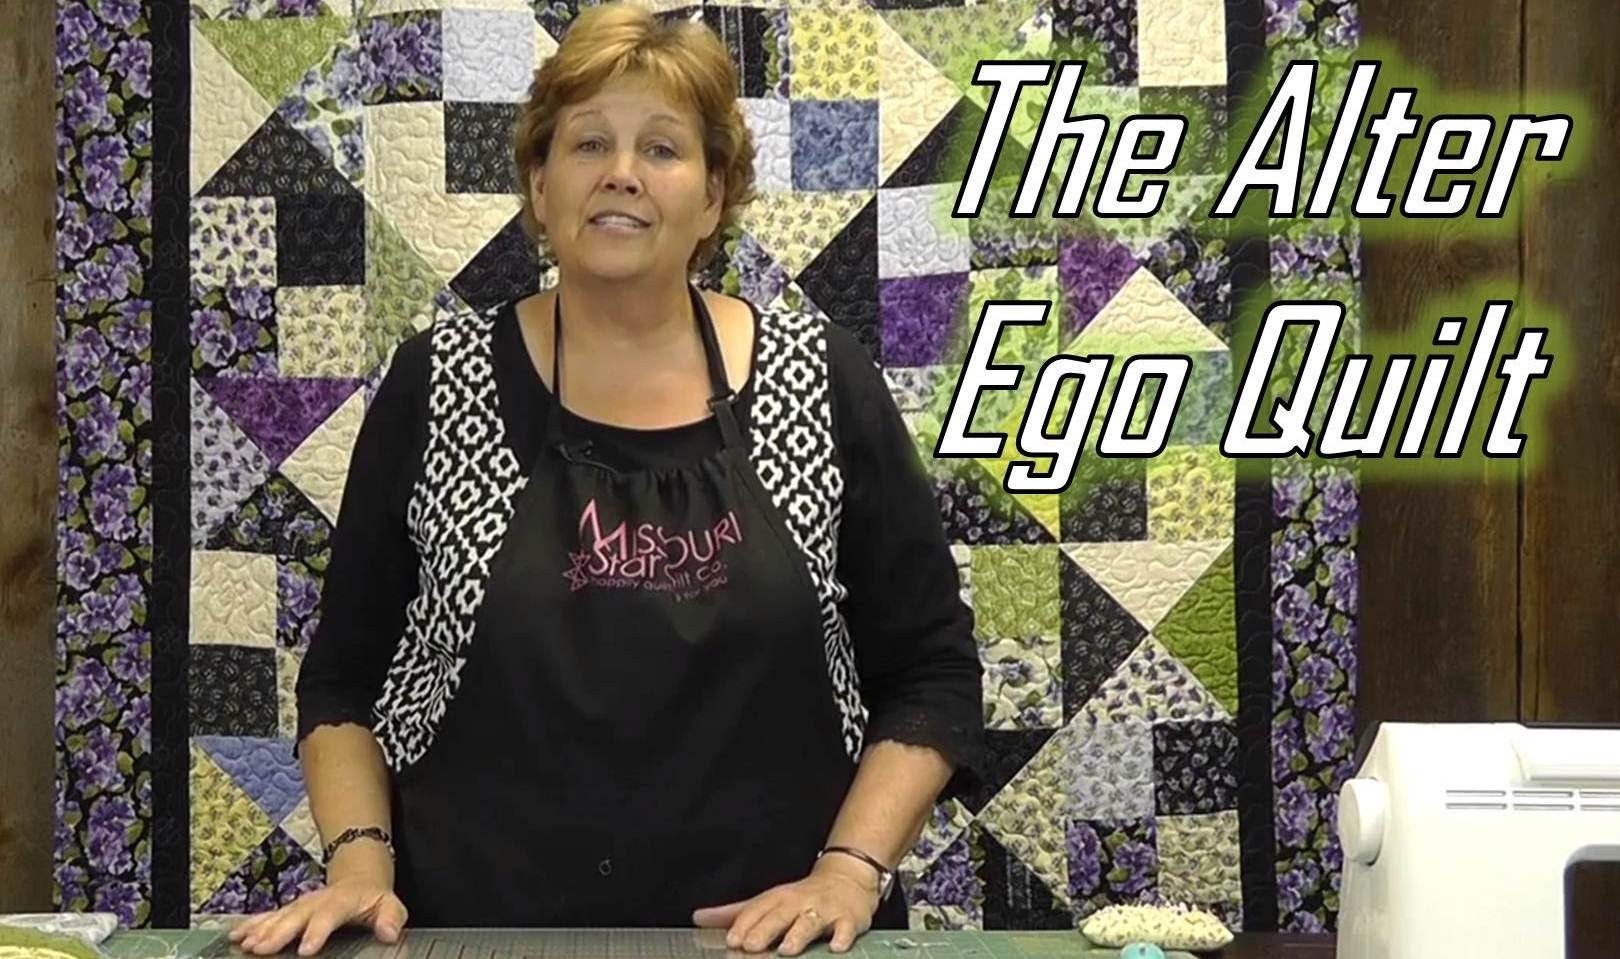
Make the Alter Ego Quilt
Jenny Doan shows us how to make what we call the "Alter Ego" quilt using Layer Cakes (10" precut fabric squares). It's a mix of two blocks - the Hour Glass Block and the Scrappy Four Patch. Lovely by Debbie Beaves (the fabric featured in this tutorial) - while quantities last!. Scrappy 4 Patch Tutorial. The Hour Glass Tutorial.

Instructor
Jenny Doan
Jenny Doan is an American quilter, author, and YouTube personality. Jenny started Missouri Star Quilt Company in 2008 and today it is the largest quilting supply vendor in the United States.
Shop this tutorial



Common Questions
What is covered in Make the Alter Ego Quilt?
Jenny Doan shows us how to make what we call the "Alter Ego" quilt using Layer Cakes (10" precut fabric squares). It's a mix of two blocks - the Hour Glass Block and the Scrappy Four Patch. Lovely by Debbie Beaves (the fabric featured in this tutorial) - while quantities last!...
How long is the tutorial video?
The tutorial video is 00:09:14.
Are supplies listed for this tutorial?
Yes. The tutorial page includes the supplies and materials connected to this project.
Is a transcript available?
Yes. A written transcript is available on the tutorial page.
Video Transcript
So to make a four patch block there are loads of ways to do it. We have one way that’s my favorite called the Scrappy Four Patch. And you can click on that link in the description. We’ll have a link to that where you can go and watch that. But you can also just simply cut out four squares which is what we’re going to do today. So we took, took our layer cake square and we cut it into four equal pieces. So they’re now four 5-inch blocks. And we’re going to lay four of these together. And we’ve got lights and darks here. And we’ll go ahead and mix those up. I’ll put this guy over here. So you can see we have good contrast between lights and darks. We’re going to put these right sides together and sew a quarter of an inch seam here. And we’ll go ahead and put this together and keep sewing down there. This is called chain piecing when you go from piece to piece. So let’s do that.
So that’s our first one and we’re just going to go ahead and chain piece this one. And chain piecing just means you go from block to block. So then what we’re going to do is cut these apart. Come over here to the iron and press them open. We’re going to lay our dark side to the top, set our seam, fold our square back like that. Dark to the top, set our seam, and fold it back. And then we’re going to turn these right here so that they go back to light and dark. And then we’re going to fold them right sides together like this and just nest those seams. When you iron your seams to the dark side and I try to iron to the dark side as often as I can. I know that sounds kind of funny. Go to the dark side. It makes your seam lay really nice, nest really nice and lay really nice together without the bulk. So what we’re going to do now is we’re just going to sew this quarter of an inch all the way down. Make sure our seam is nice and nested. As I come close to that seam, I’ll feel for it with my fingers. If you don’t like to do that, you can always stick a pin in there. And then we’ll just finish this up. And that’s as quick as a four patch is. Now let’s press this open. And we have a nice four patch. And you can see that center is really clean. They match up really nicely. And that’s our four patches. So that’s one half of our quilt is that block right there.
So now we just need to make the hourglass block. So this is it right here. There’s lots of ways to do it. You can actually just take your layer cake and cut it diagonally in both directions and sew all those little triangles together. But an easier way is to use two layer cakes squares. And we’re going to fold one in half like this and we’re going to iron a press line. And we’re going to put it down on top of another layer cake square, just like that. Line them all up real good. And then where this ironed line is we’re going to put our, our presser foot right along the edge of that. So we’re going to sew a quarter of an inch on either side of that line. And what I do when I do that is I come over here to the sewing machine and I just set my presser foot down on the fold. And then I come along, just sew along, using that fold as my guide. And then when I get to the end here, I just sew off and I turn it around and go down the other side. Again, line my presser foot up right on that fold. And just go right down. Now this is going to give me two blocks that are identical. I’m going to cut this in half now. So you can do this with a scissor and, but I’m going to use my ruler. And I’m just going to lay it right along that stitch line and cut on the fold. And then we’ll go to the ironing board and, let me get that little piece right there. And iron these open. Again, I keep my dark to the top and just roll it back. Let me see if I can get that. There we go. Just press that open. So you’re going to have two blocks like this that are identical. But I like to mix them up. So I’m going to make another set of these so I have one here that’s already done. And I made it just the same as I did this one. Only now I’m going to put this, lay this together this way and I’m going to sew across my seam line right here. So to make that easier I’m going to iron a fold line right here across the seam line. So you fold that seam line in half. See how I’ve done that right there. Folded that in half. And then when I opened that up, I make sure that I have dark on this side and my other dark on that side. And then we’re going to do the same thing.
And then we’re going to go over here and we’re going to put our presser foot on either side of that fold line. And you can feel as you go along, when you get to that center seam and make sure that your seams are just lined up so nice. Ok, now let’s come back over here and cut these apart. There we go. And now we have awesome little hourglass, let me cut these threads off. Let me iron this open for you so you can see it better. With four different colors in it. So take a look at that. And then you just get to put it together. So let me show you how I just lay this out.
You can make this, obviously, as big as you want it. As small as you want it. And what I did was I laid out a row of, I put my four patch and then I put my hourglass. And then I put a four patch and an hourglass. And when you start the next row, you’re going to start it with your hourglass, right here. And then your four patch. One of the things you want to make sure of when you’re getting ready to put your blocks together is that they’re all the same size. These should come out the same size. But if they happen to be a little off, you’ll want to square them up so that they’re identical in size. And you want to square them to the smallest block. So if this smallest block here is nine inches, you’ll want to make sure that all of your blocks are nine inches.
I’m going to go ahead and show you how to square up a block really easy. I love these rulers right here that have these lines on it. It makes it really easy to see. And so what I do is I find the line that has the measurement I want it to end up. So right here, this is my nine inch line, right here. My four and a half inch line comes right where the juncture comes together in the middle so I know I’m in the ballpark. And look at that, I just barely have any to square up. So I’m just going to go ahead and cut those little dog ears off there and trim this tiny little edge up. What that does, when you square up your blocks though, is it just makes them go together so nicely. You know they just lay right together because they’re just exact. So then when you go to put them together you know they’ll just fit right together.
So on this quilt, remember, I used one layer cake so I have six blocks across and seven blocks down. Makes, you know, a good lap-sized quilt and it’s just beautiful and easy and quick. And we hope you enjoyed this tutorial from the MSQC.


