
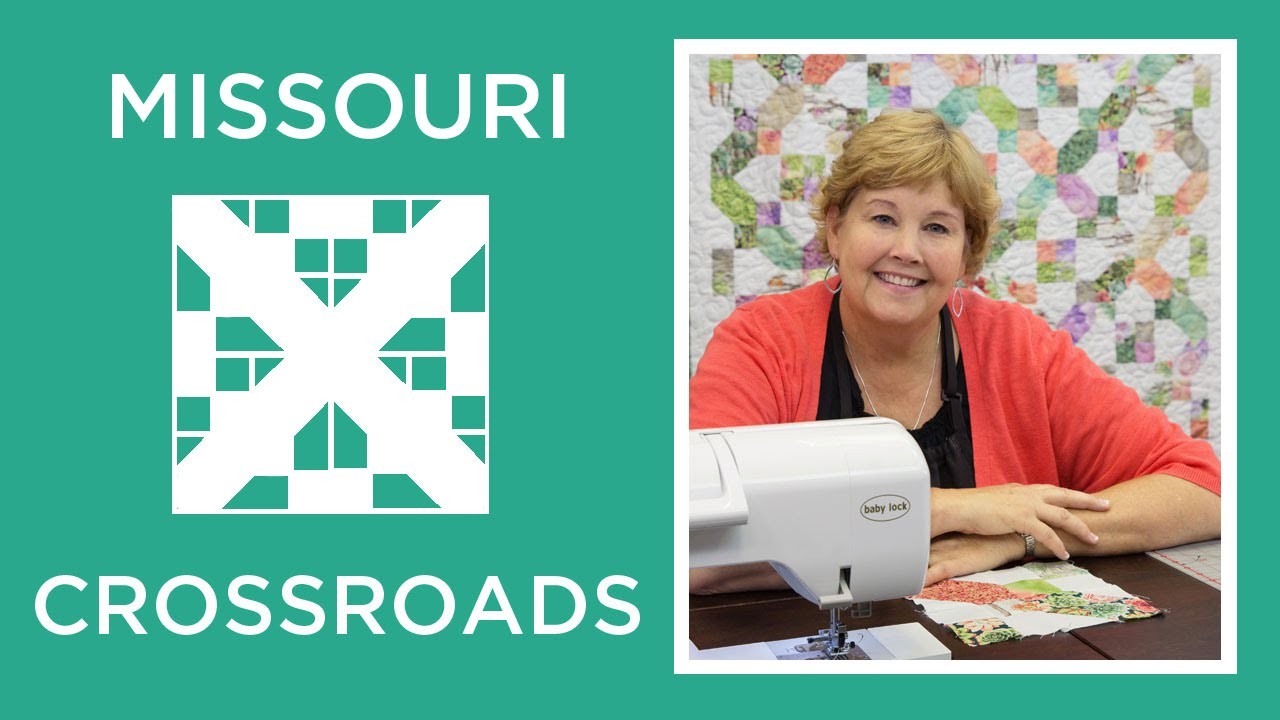
Missouri Crossroads Quilt
Jenny demonstrates how to make the beautiful Missouri Crossroads quilt using the Moda All-Stars Scraps Made SimpleBook by Lissa Alexander for Martingale, background fabric, and 5 inch squares of pre cut fabric (charm packs). We used Oasis Metallic Charm Pack by Flaurie and Finch for RJR Fabrics.

Instructor
Jenny Doan
Jenny Doan is an American quilter, author, and YouTube personality. Jenny started Missouri Star Quilt Company in 2008 and today it is the largest quilting supply vendor in the United States.


Common Questions
What is covered in Missouri Crossroads Quilt?
Jenny demonstrates how to make the beautiful Missouri Crossroads quilt using the Moda All-Stars Scraps Made SimpleBook by Lissa Alexander for Martingale, background fabric, and 5 inch squares of pre cut fabric (charm packs). We used Oasis Metallic Charm Pack by Flaurie and Fin...
How long is the tutorial video?
The tutorial video is 00:11:20.
Are supplies listed for this tutorial?
Yes. The tutorial page includes the supplies and materials connected to this project.
Is a transcript available?
Yes. A written transcript is available on the tutorial page.
Video Transcript
So when you’re ready to make this block it consists of two different blocks. So we’re going to make a four patch and our X block. And it just goes together really quickly. So the first thing we’re going to make is our four patch. What we’re going to do to make our four patch, and there’s lots of ways to make them, but I’m going to take four of the five inch squares right here. And I’m going to pile them up because I want my block to be scrappy so. And I think four really is about our limit. That’s about how, how high we want to go. We’re going to lay our little ruler along the side like this and we’re going to go ahead and cut this. Then I’m going to flip it. And again just lay my ruler along the edge and cut again. This is a little 2 ½ inch ruler so it works, it’s really handy for that. Now you’re going to need two of these squares for every block you make and, and you’re going to need two background squares. We got our background squares by just taking our strip right here. And I like to leave them folded in half because you get four every cut. And you go ahead and trim these down. So we’re going to cut our selvedge. And then we’re just going to come along here and cut our background squares. And it’s easy because we can just lay our ruler right along that edge and cut, cut, cut. Alright so once we get a stack of those going then we’re ready to put our four patches together.
So we’re going to put, we’re going to take our colors and we’re going to put a color and a solid and then a solid and a color, just like this. And that’s going to make our four patch. So we’re going to go to the sewing machine. I’m going to lay these right sides together. And we’re going to sew these down. And we’ll attach, put, sew a quarter of an inch right down here. And then we’ll sew them across this way. So let’s go to the sewing machine and do that. And here we go. Make sure we’re all set up and going. And honestly when you get ready to do your four patches if you just have them all stacked like this, they will just fly together. Alright so now we have our two pieces. And what I’m going to do is nest my seams but I’m not, I’m just going to kind of finger press them at this point because I want to get, you know I want to get a bunch done. And you know you don’t need to get up for everything because we’ll go iron them all when they’re together. But by finger pressing we’re able to just lay them down like this and then we make sure that our seams are nested. We’re going to start this edge like this. And we’re going to come a quarter of an inch right across the top. Now you can pin that little section where they come together if you want. I just like to feel them and make sure they’re nested together. And then it makes a nice little seam and we’ll see how we did right now. Ta Dah! Hey that looks pretty good. Let’s go iron that down. Alright so now I’m just going to kind of set my seams and roll it back. Alright.
Now because we, we, we took a five inch square and we cut it that means we have to sew two seams so now it’s a 4 ½ inch four patch. Which means when we’re ready to do our five inch square over here we’re going to have to cut that down. So we’re going to cut this down to 4 ½ . And we’re just going to take our little half inch on the edge of our ruler and cut two sides so that it becomes 4 ½ . So we’re taking a five inch square and we’re cutting a half an inch off of two sides. And just like that this should be the same size as this and it is. And that’s what you want when you’re putting a block together you want them to be the same size.
So then we’re going to take a few more of our 2 ½ inch squares. We can press, finger press the little line to give us a sew line. And we are going to put one on each side like this, opposites of each other. Alright so we’ll go to the sewing machine and we will sew those down as well. Now you’re going to need two four patches for each block and two of these little X blocks. And I know they don’t look like X’s right now but I call them X’s because they’re part of a bigger block that makes an X. So basically it’s a, we’re just snowballing two corners of them. We’re sewing on our diagonal line that we’ve finger pressed or drawn. Just like that. And we’re going to trim off these edges. Alright. So now I’m going to lay my little ruler on here, come out about a quarter of an inch and cut off on each side, like this. Make sure you cut the right side. It would be dreadful if you didn’t. You’d lose your, you’d lose your little square that’s for sure. Alright so then what we’re going to do is we’re going to go ahead and press these back. And the seam now is on the light side but you know that’s just is what it is.
Alright so now what we’re going to do is we’re going to put this block together and we’re going to do a four patch and an X block. The X’s you can see in this block right here. Your X block is going to go the same direction. And honestly when I make a quilt like this what I’m going to do is I finish a block and then I keep it right there so I can look at it. Because if you turn any of these squares you get a whole different pattern and a whole different design, which is fun also. Don’t forget to play with that. But this is kind of fun. So this one we have our color coming in and our two X blocks and then again our color coming in. And we’re going to turn that that way so that it has some, some contrast. So this is our block right here. We’re going to take these put them right sides together. Head over to the sewing machine and sew those down.
Alright, I want to make sure these have lined up right here along this edge . I’ve got my quarter of an inch going. We’re not really matching anything on this so we can really just kind of sail down the side. Ok once you get your two pieces together like this, again line them up to make sure that they still go. And ours are good. We’re going to cross them over and we’re going to sew them down. Now you might have noticed that I didn’t press on that. Sometimes I get in a little hurry and I just want to see what something is going to look like. It’s always a good idea to press. But on this block I pressed every single thing else and I think that as long as I’m careful, it will lay down nice and easy just like we like it. So now I’m going to head over to the iron now and press it. So here we go. Alright and that looks great. Now I’ve pressed from the top. Make sure there’s not pleats. I’m going to flip it over and make sure my, my seams go the way I want them to. I kind of like to do that because it can change the size of your block if you have pleats and things like that. Like right here’s a little tiny bit of a pleat so I’m going to make sure that’s pulled nice and open. Give that a shot of steam. And here’s our block. And then we get to assemble our quilt.
So I have some blocks done over here. Let me move this out of the way. I have some blocks done. And this is fun to put together. So the way it’s going to go, you’re going to kind of zig zag it. So you’re going to have your X block coming down, the X blocks are going to meet and go up. And then they’re going to come down so it’s going to kind of chevron like that. Your next blocks are going to go together just the opposite way. So you want these to all come together four like this. And you’ve got your, I always tend to look at these blocks and this makes because that’s you know where my eye is drawn. But this makes several patterns. So let’s look at the quilt behind us and make sure that we understand what’s going on. So this block right here, the block we’re talking about. And this block starts in the up, goes down, up, down, up, down. And we have one, two, three, four, five, six across, seven down. Now you can see the different things. See how it squares up like this. If you start it with this block going in, see now ours is turned going out. We need to turn those so that it makes three blocks across so that it makes those three squares. These are the three squares that I’m talking about right here. Where are four patches are in the middle right there. But it just makes a really fun design. And just by turning it you really can get a whole different look. So ours is going this way. We’re going to flip these around to make sure that this all goes together how we want it to so you can see it and make it yourself. Because this is a fun, fun quilt.
Alright so that’s it. You’re going to add a little 2 ½ inch border and again your six inch border goes on the outside. So I really enjoyed making this quilt. It’s fun to see it in two different fabrics. So have fun making this. The pattern can be found in our Scraps Made Simple. And we hope you enjoyed this tutorial on the Missouri Crossroads quilt from the MSQC.


