Moda Candies ZigZag Runner
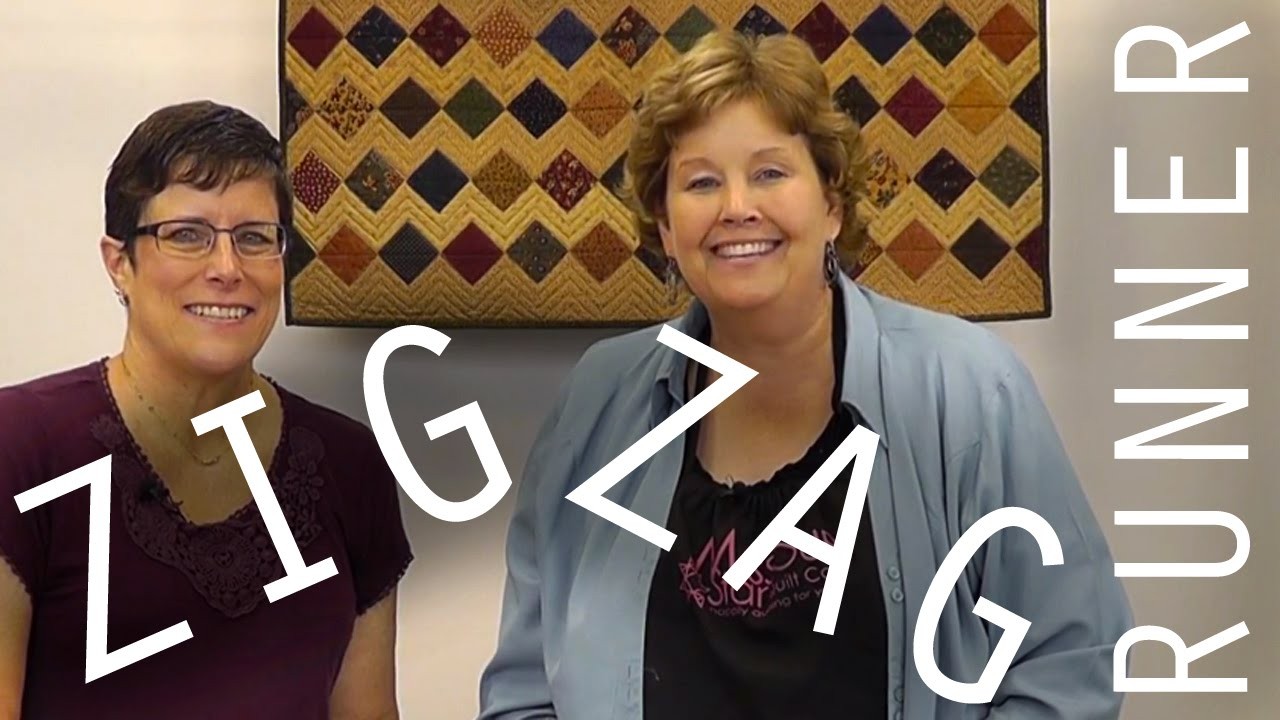
Jenny Doan and Lynne Hagmeier from Kansas Troubles show us how to make an adorable table runner using Moda Candies (or mini-charms: 2 1/2 inch squares of precut fabric).

Instructor
Jenny Doan
Jenny Doan is an American quilter, author, and YouTube personality. Jenny started Missouri Star Quilt Company in 2008 and today it is the largest quilting supply vendor in the United States.
Common Questions
What is covered in Moda Candies ZigZag Runner?
Jenny Doan and Lynne Hagmeier from Kansas Troubles show us how to make an adorable table runner using Moda Candies (or mini-charms: 2 1/2 inch squares of precut fabric).
How long is the tutorial video?
The tutorial video is 00:13:21.
Are supplies listed for this tutorial?
Yes. The tutorial page includes the supplies and materials connected to this project.
Video Transcript
Jenny: Hi I’m Jenny with the Missouri Star Quilt Company and I’m here today with Lynne Hagmeier and take a look at this darling quilt that’s behind us. This is a little table top topper and it’s just so cute, I love how she thinks. You know she makes things that make it look like you work really hard, but they’re really quick and easy, which is what we like. Jenny: How are you today? Lynne: I’m doing great, how are you? Jenny: Oh that’s wonderful. So what do we need to make this little, little table runner behind us? Lynne: You have a couple of options for backgrounds. On that one I used four different prints, but you could use three different prints. You could use all the same ten if you wanted to, but you can alternate different tans in the backgrounds, because really we’re just picking a theme with your mini charm pack and then picking some tonals and small prints to go behind them to accent. Jenny: So these are the mini charm packs right here that she’s talking about. Lynne: Moda candies is what they call them. Jenny: Yes, they call them Moda candies, and they’re, and they’re, they’re just darling, and a lot of people buy these and they don’t really know what to do with them. So this a great project for that. You’re going to, they’re 2 ½ inch squares and so they’re just, just really really a cute project. Jenny: So basically what we’re going to do is we are going to cut five strips of fabric the width of the fabric. Lynne: Right Jenny: Is that correct? Selvedge to selvedge so we got a five inch strip cut right here and you’re going to cut five of these. Lynne: Five- five in strips Jenny: And I love actually how you’ve alternated your backgrounds. I think that looks really cool. So we have four of them that are sewn together right here and the fabric we’ve used makes it really easy for you to see where we’re going with on this. And I’m going to take my last five inch strip and I’m just going to put them right sides together and sew a quarter of an inch all the way down and then we’re just going to press that open. So I’m going to go to the sewing machine and do that. Woops here we go. Almost lost a knee on that one. Haha. Lynne: One of the things that I like to do with precuts is find the simplest thing for each shape or size and these mini charms just scream to me, leave me as I am, don’t chop me up, just lay me out in rows so I can show how pretty I am. And it just works out great. Jenny: So they like actually speak to you then? Lynne: They do. Jenny: Haha, that’s awesome. Lynne: I’m usually asleep when it happens so I can’t prove it. Hahaha. Jenny: Isn’t that amazing how much, how much information you get when you’re asleep. Lynne: I know, I’m glad I’m not the only one. Jenny: Oh my gosh, I, I use to wake Ron up and ask him about stuff and finally he got me a journal and he said, “Write it down, I’ll talk to you in the morning.” And I think that saved our marriage, haha. Lynne: No doubt, no doubt. Jenny: He gets a full night’s sleep now, hahaha Lynne: hahaha Jenny: I never do, haha. Lynne: There’s so many things once your brain relaxes… Jenny: I think that’s true. Lynne: and starts to wander that it, it is inspirational to start thinking about. Jenny: Alright, I’m almost done, almost done. Lynne: That’s the hardest part is sewing five strips together. So really, how difficult could it be. I like to sew my strips together in opposite directions. Jenny: Yeah, keeps it from bowing. Lynne: It does, that way you don’t have that… Jenny: Iron that one over. Lynne: …curved runner Jenny: Yes I agree, so if I we’re sewing these together, I would sew these two this way and then I would come back and sew it this way and that would keep it from bowing. You know, because sometimes when you sew strips all the same directions, and I don’t know why this happens, but it does. You get this little curve, like that and we don’t want that with this runner. Lynne: If on a long strip like this, if you have a walking foot or an even feed foot on your machine that actually helps keeps it from doing that… Jenny: Does it? Lynne: …and keeps it from moving. Jenny: I get a lot of questions about using my walking foot an I always tell them that I would use it if I could remember where I put it. Lynne: Hahaha Jenny: Hahaha, I don’t, I don’t always remember where I put that walking foot, hahaha. Lynne: Mines built in, thank goodness. Jenny: There you go, haha Lynne: Haha, ok Jenny: Alright so let me move this over here. So we’ve got our five strips sewn together. Lynne: Yep, we’re going to go Christmas, little bit of Christmas, kind of Christmas Unchristmas. Jenny: And then you’ve got this whole big stack of. Lynne: I’ll give you some. Jenny: Ok Lynne: We would want to trim the ends off, this ends up… Jenny: Alright, let’s do that then Lynne: …we have forty five inches here, but we’re going to want to trim it to about forty two and a half. So depending on how even your ends are, just even up both ends and your good. Jenny: So when I, when I want to trim something in half, I like to fold it in half to, you know. Lynne: Line up your sides. Jenny: Line up my stuff so I don’t have Lynne: He’s got the ruler, hahaha Jenny: Oh here we go, thank you. Here comes my ruler. There we go. So when I go to cut this, what I’m going to want to do is I’m going to want to fold it in half so that it, I have less, less chance of error. And then I can just go along here and cut that off so it’s all even. And then I’ll just do the same thing to the other side. Make sure my, I’m you know, laying nice and straight. I like to line it up on the mat, which just helps me keep it straight again. Then I bring my ruler over to where there are no dots. The little dots I’m talking about are the ones right along the selvedge and they use those to hold the material onto bolts when they’re printing it. Jenny: So now we have a nice trimmed piece of fabric and what are we going to do now? Lynne: Because our rows are alternating, are staggered, so that we get this zigzag effect inbetween, half of the rows are going to start with half a mini and half of them are going to start the mini charm a quarter of an inch from the edge. So starting from one end… Jenny: Very cool. Lynne: …we’re going to start and you can use your quarter of an inch ruler, or just eyeball it, because that’s really honestly close enough. Jenny: Well, and you have these points to help you too. Lynne: Yes. Jenny: You make sure those are lined up. Lynne: But we’re going to put even these points on the halves, a quarter of an inch. Jenny: Ok, perfect. Lynne: And you can use either pins or your lapel glue which ever you prefer to use. Jenny: Now, if I were to, like glue a whole strip, would it stay on to sew? Lynne: I don’t know. Jenny: I’m not sure either, haha Lynne: haha Jenny: I usually do a few at a time. Lynne: Yeah. This, this really is best to do one row at a time. I’m going to show you how to do a few. Jenny: Here’s another question then, and maybe, and maybe you have this all worked out, but if I were to sit at the sewing machine could I just add one of these on next and like stitch the middle or is that no what you want to do? Lynne: This has to be a certain length. Jenny: Ok Lynne: It tells you in the book what the length is. Jenny: Ok Lynne: So that when these are on the diagonal, point to point, it comes out even. Jenny: Oh ok. Lynne: So, I know that we just folded it and cut it, but there really is a length that it needs to be. Jenny: Oh ok. Lynne: So Jenny: I see. Lynne: Once you have the length you need, then you could just lay out your row end to end and, you know again, I would find the center point, fold it, put a mini charm on each end, one in the middle, and then kind of fill in in-between, and you scooch them together, scooch them apart… Jenny: Right Lynne: …as need to make it fit. But there is an actual math thing, haha. Jenny: So, so basically when you put these on, you’re going to sew and eighth of an inch… Lynne: Right Jenny: … all the around the outside edge. Lynne: And if you have your entire row on, you can start on one side and zigzag down on one side… Jenny: Oh very cool. Lynne: … so you don’t have to turn… Jenny: Yeah Lynne: … and come back and zigzag back on this, and just sew straight across when you… Jenny: Right Lynne: … go to the next one. Jenny: Very good. Lynne: The other option if you really want to, you could just use a, a very long basting stitch and go down the middle to make sure they’re all sitting there straight. I don’t usually bother with that step, but if, if you’re not comfortable with the layered patchwork, it would eliminate pins. You wouldn’t have to pin and you can hold it down and just baste through the middle and that would really secure them. Jenny: So actually if you just pinned these or basted these, you could just, you know, sew up and down along one side and back down the other and you could do like a row at a time. Lynne: Exactly Jenny: Awesome. Lynne: You just need to make sure that every other row starts either a quarter of an inch from the edge or a half block in the next row… Jenny: Ok Lynne: … to get the zigzag. Jenny: Very cool. Lynne: But there is no reason you can’t do one row at a time… Jenny: And I, haha… Lynne: four rows. It’s about a two hour project. Jenny: I love that and I can hardly wait to do this, I would, you know I’m thinking this would be so cute in Halloween fabric… Lynne: Oh… Jenny: … I mean it would just make a really fast quilt. Lynne: Oh, you could make one for every season, because it’s so simple. Jenny: Yeah, it’s so simiple. So what we’re going to do on these is we’re going to stitch right around the outside edge an eighth of an inch and let’s go ahead and do that. I actually have a lapel stick here. So I can, I can actually glue these on. And I’m just going to do a couple, cause I know, haha, I know they’ll stick, hahaha. But I want to show you how this is done, because this is, this is just genius. I love the layering patchwork on top. I like that idea a lot. Because they’re all pinked, they’re not going to fray. Lynne: The edges will curl up a little bit if you stitch an eighth of an inch from the inside of the pinked edge. Jenny: Which it just gives it a more homey look. Lynne: It does, I, I love the primitive look and it just adds some texture and you can wash it over and over. Especially with something I’m going to put on the table I want it to be fast and easy, because it could get ruined. Jenny: Sure. Lynne: I mean… Jenny: We have grandchildren. Lynne: Grandchildren, we have husbands, hahaha Jenny: Hahaha, we are sloppy, haha. Lynne: Hahaha Jenny: Let’s face it… Lynne: Exactly. Jenny: We are not perfect. Lynne: Exactly. And just fyi, never put polyester batting in a table runner that you plan to set a hot dish on. Jenny: Oh yeah, it’ll just melt. Lynne: Hahaha, it totally Jenny: It just melts, yep. Lynne: Yep, made for an interesting Christmas. Jenny: We like our cotton batting for this. Lynne: Yes. Jenny: So what we’re going to do is I’m going to take this over to the sewing machine and I’m going to sew an eighth of an inch, just along this edge right here. Lynne: Continuously from one to the next. Jenny: And come back and come around the other side. Now you would do the whole long thing. Lynne: Right. Jenny: Well, I guess as far as you wanted to go. Lynne: Well yeah, whatever you’re comfortable with. Jenny: Yeah. Lynne: Yeah definitely. Jenny: Alright so let me do that and I’m just using the edge of my foot as a guide here, I’m getting to here, I’m going to pivot. This is so cool. Lynne: A little bit wider stitch is always better than too narrow. So that you don’t accidently run off the edge, but it’s easy to fix. If it does pull up, you just go back and stitch right over it. Jenny: Right, it’s just, and it’s just like one little stitch. Lynne: Correct. Jenny: That’s awesome. Lynne: If you have a quarter inch foot, most of them have a little notch half way so you actually do have an eight inch marking… Jenny: Yes. Lynne: … on your foot or you can move your needle over if you have your zigzag plate on and find your perfect eighth inch that way. All of our seams however were done with a normal quarter inch foot, seam allowance. Jenny: Verses abnormal foot. Lynne: Well, no, quarter seam allowance. Jenny: Hahaha quarter inch, ok, haha. Now we sew the rows together with the quarter inch and then finish our stuff up. Alright, I’m down here at the bottom. This is a big moment. We’re going to whip this whole around. Lynne: Isn’t it a whole lot easier than having to go around each square? Jenny: It’s that, that was genius in and of itself, just having to go halves. Cause I probably would have gone around each square, cut the thread, gone on to the next square and this makes, this is so much smarter. Lynne: I think it’s all about finding the easiest, simplest way to make life… Jenny: Well, you know sometimes, you want, you want to spend a lot of time doing something, and sometimes you just need a pretty table fast, you know, or something quick. Lynne: And it really does make an adorable gift for whatever occasion. Jenny: I think, I think it would make an awesome quilt honestly, if you did the whole, a whole big thing. Whoops I forgot to put my needle down. Lynne: You do that and send it to me, that’d be great. Jenny: Hahah ok, hahaha ok. Jenny: So that was just really quick and easy, basically what you’re going to do is you’re going to put your squares on all of these seams. You’re going to put them on diagonally and you’re just going to sew them down the top and you’re going to have done it. How long do you think this takes? Lynne: It’s about a two and half hour project. Jenny: Haha that is awesome, two and half hours and you’ve got this quilt all finished. For the whole pattern you can find it here in, “Layers of Love.” We love this book, it’s just, it’s great, full of great ideas Lynne: Thank you. Jenny: Probably what, about twenty… Lynne: About twenty ideas, ten unique projects, about twenty different ideas. Jenny: That is so cool. Well Lynne, thank you for joining us today we loved having you. Lynne: Oh it’s been great fun. Jenny: Haha it has been fun. So we hope you enjoyed this tutorial on the “Zigzag Runner,” from the Missouri Star Quilt Company.