It's fun, it's creative…it's crazy! Sew along with Natalie as she walks you through this exciting new Crazy Quilt tutorial using "Our History in Stitches: A Crazy Quilt Embroidery & Template Set" from Missouri Star. A crazy quilt isn't about doing things a particular way—if you're stuck in the rut of precise piecing and quilting "shoulds," this freeform process will help you shake it off and try something brand new!
Natalie is the host of Quilting 101, Embroidery 101 and the Creative Strategist and Editor of Block Magazine at Missouri Star Quilt Company. She was taught how to sew by her mom, of course, and began quilting when she grew up.
What is covered in Our History in Stitches - A Crazy Quilt?
It's fun, it's creative…it's crazy! Sew along with Natalie as she walks you through this exciting new Crazy Quilt tutorial using "Our History in Stitches: A Crazy Quilt Embroidery & Template Set" from Missouri Star. A crazy quilt isn't about doing things a particular way—if yo...
How long is the tutorial video?
The tutorial video is 00:35:41.
Are supplies listed for this tutorial?
Yes. The tutorial page includes the supplies and materials connected to this project.
Video Transcript
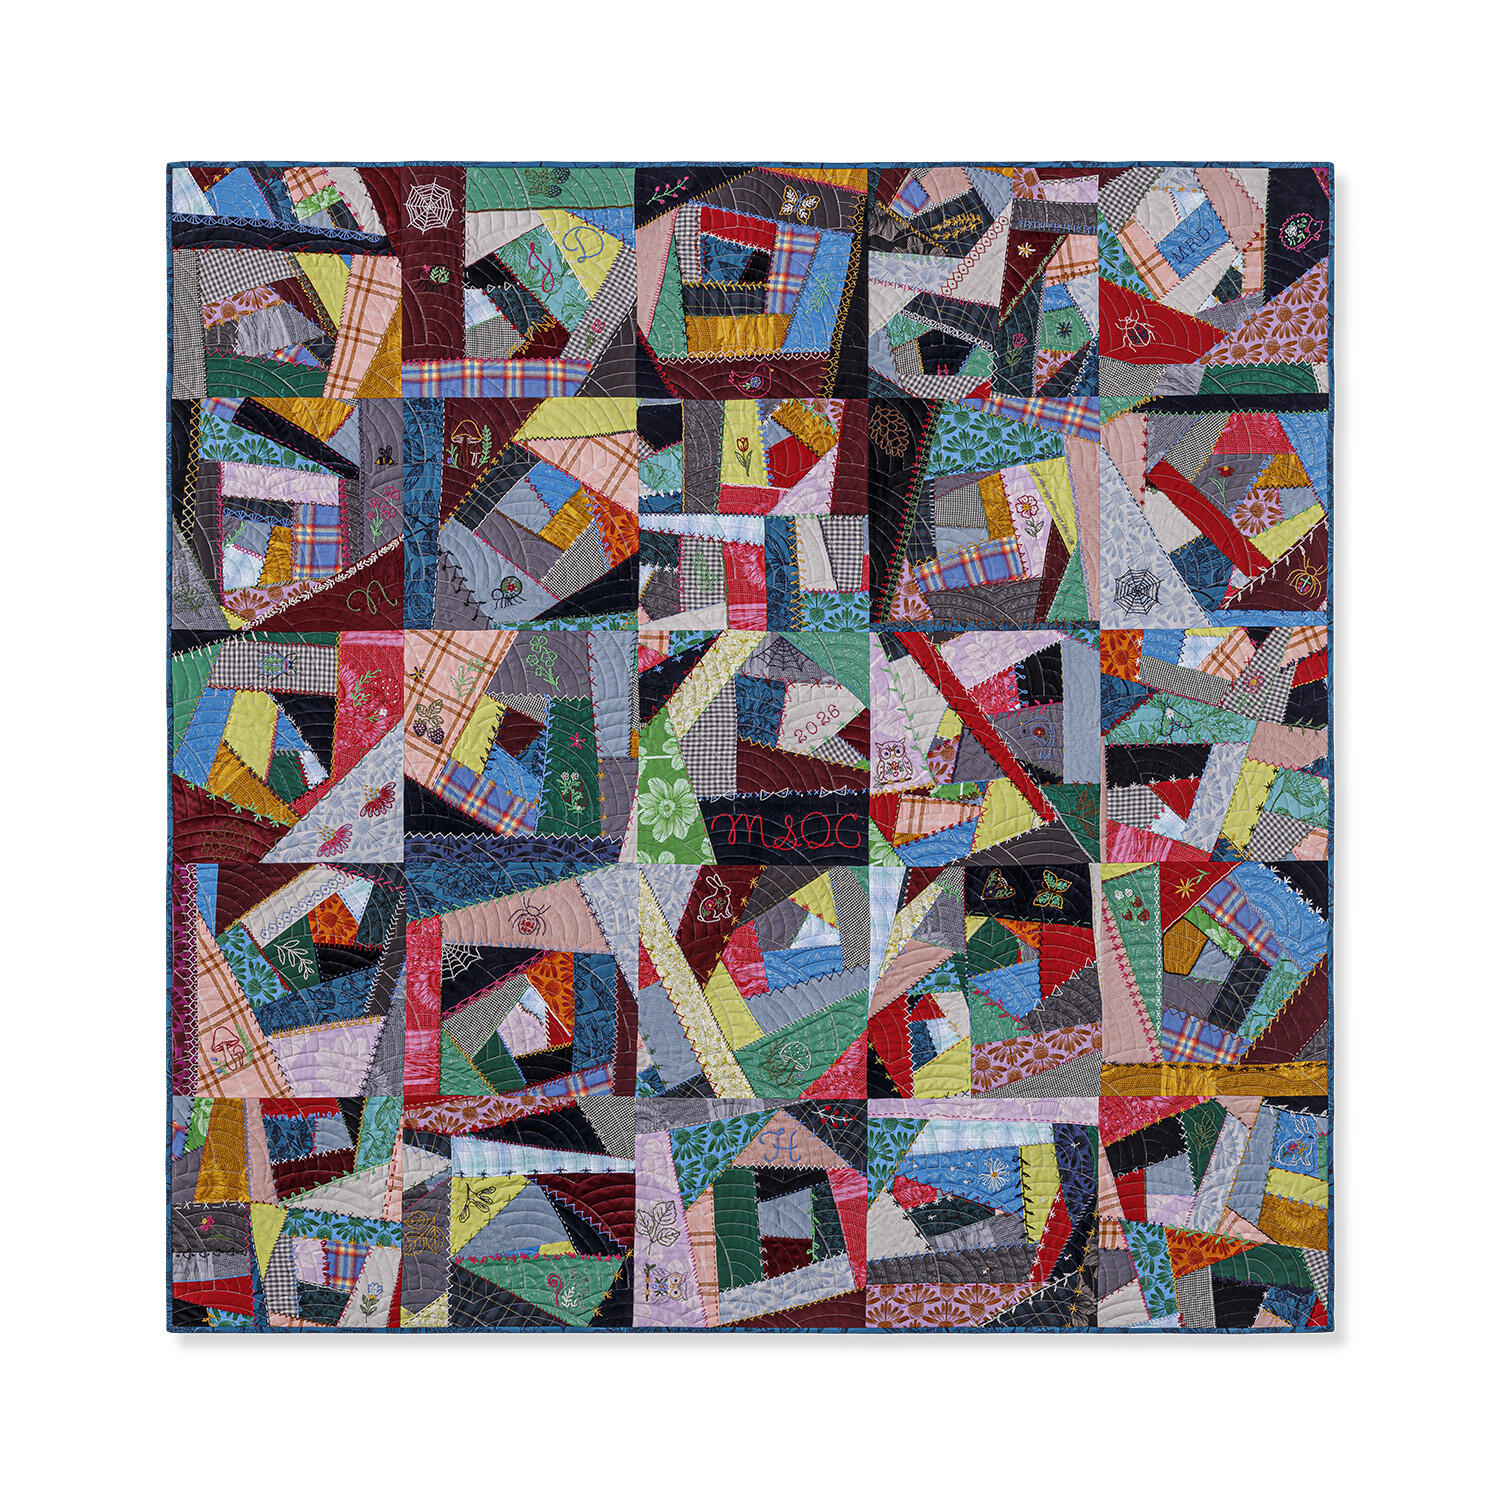
Hi everybody. I'm Natalie with Missouri Star Quilt Company and I have the most exciting project of the year. Behind me today is my very first crazy quilt and I absolutely love it. I had so much fun adding all the embroidery and picking out all the different fabrics. I've always loved and admired these quilts in people's collections and in museums and antique stores. And now we can all make our own and it's going to be great. So, let's get started. Okay. So, to make this quilt, you're going to need approximately 3 to five yards of stash fabric. And you when you make a crazy quilt, you want to incorporate all those different types of substrates. So, like corduroys and linens and velvetines. And so, I was thinking about all of these different types of fabrics that I would want to include. And it got a little bit overwhelming. So, I thought, what if we put together a kit that you could just buy that had a bunch of different things? And I think of it like a seed starter. So, we've come together and made this crazy quilt fabric stash kit that you can order. And it comes with all kinds of like beautiful homespun fabrics in different prints. We've got linens and corduroys in different colors. We have beautiful velvets. We have some fabric that's got shimmer. And you'll notice in the quilt I used some of the shimmer side and then some of the flat side if you wanted to just flip it over. It gives you a lot of variety in your quilt. We've got some like kind of like shings fabrics. And then we have a wide variety of anamaria indelible that provides some of those beautiful prints and florals. So if you have your own fabrics from home that you want to work with, that's awesome. And I highly suggest like one of the things that I feel is inspiring and fun about this project is the idea of getting together with friends and maybe doing some of these blocks as a group. You know, share fabric with each other. Grab fabric from your your bins of saved kids clothes or you know a loved ones shirts or sweaters, things that you want to incorporate that really make it your own and bring it home and like build that sentimental value that a crazy quilt really has. So, the other thing that you're going to need in order to make the quilt is your embroidery supplies because there's a lot of fun embroidery on here. And if you don't want to hand embroider, you can also use like fancy stitches on your machine. But if you do want to hand embroider, we've come together, we've put together this beautiful kit here. And I'm going to scoot this out of the way because this kit has our pattern which walks you through step by step kind of how to build your blocks. and we'll go through that in a minute. It also includes this lovely set of supplies and we've designed a beautiful siss scissor, a needle minder that's magnetic so you can kind of stick it to your project and keep track of your needles. Two good embroidery needles and a needle threader. We've included a wide variety of floss colors in pearl cotton which is so easy to use. And then also we've got a little embroidery hoop which I'll show you how to use, but I also like to I like to embroider my crazy quilts without an embroidery hoop. It kind of gives me like a little bit more flexibility. So this is just gives you options. Um then we also have this really cute little notebook that that can help you tell the story of your quilt. So you can write down and save some of your fabric. So, like like if this, for example, was a a holiday pajama pants that you've made for your kids for years and you wanted to incorporate it into your quilt, you could write down some of the details about where the fabrics in your quilt come from. And I feel like this makes it even more of an heirloom. So, that's kind of fun. Then, we've got our peel and stitch booklet, which walks you through some of the embroidery stitches. It gives you like this really beautiful stitch guide of a lot of the stitches that are going to be used in this quilt and then also pages of peel and stitch that you can cut and run along those seam lines and just stitch along the pattern. It makes it so easy, so beginner friendly. We also include a full alphabet because I I love adding initials of like people that worked on the quilt with us or um you know our loved ones and and also like dates. We have some numbers. We've got some beautiful designs like the little berries remind me of my grandma or you know the cute little flowers. The then there's really traditional things that you'll see in lots of crazy quilts like throughout history. They often have a spider or a spiderweb and some pieces, you know, bits and pieces from nature, leaves and vines, kind of whatever whatever people wanted to stitch on those quilts, they put on them at the time. The other thing that we've got in here for you is like a starter for the middle. And there's three different shapes that you can use. Whoops, sorry about that. And then also our template, which is a 12 and 1/2 in square, and then there's a 6 and 1/2 in the middle. And the reason for that is because as you're going along and building out these little crazy quilt squares, you might want to work with smaller pieces or you might want to work with bigger pieces. And you can end up with 6 and 1/2 for the math. You might want four 6 and 1/2 in squares to create your 12 1/2 in square or a 6 1/2 x 12 1/2 in rectangle. You can combine them in sets of three, sets of four. There's a lot of variety and options in this whole process. So, now that we've walked through all the supplies that you might need, um, let's go ahead and start making one of our blocks. All right. So, we are looking to build some really beautiful blocks that are slightly larger than 12 1/2 in. And they're going to end up looking a little something like this or possibly a little bit smaller, something like this one. So, what we're going to do to get started is we're going to decide which one of these shapes we want to work with. and we'll cut this out of um all kinds of different fabrics. So, I think today I'm going to go ahead and start with this one. It's cute. I'm going to just lay down my little crazy quilt polygon and cut around the outside edges. And this is just going to give me a place to a place to start and a shape that's going to help give me those really fun different angles that I like to see in a crazy quilt. And we'll we will keep all of these scraps as we build our quilt because you're going to use some of the pieces throughout the whole thing. And I've got like a big a big pile here of stuff that I've been working with as I made this quilt. So, I'm going to bring that up so that I can pull from my pile. And I think I'm going to go ahead and add this piece. And we're just going to start stitching all the way around with different colors and sizes. And we'll trim as we go. So, it's very improv. You don't have to, you know, have things a certain size. I'm going to cut that down a little bit. And I'm just going to lay things um right sides together. And we're going to stitch a/ quart of an inch. But it doesn't really matter if your stitches are perfect or your seam allowances are consistent. This is completely loose and free and fun. All right, so I've laid my two fabrics right sides together and I'm just going to stitch down one side. And then you'll see I've made that first seam. So what I'm going to do is bring it over to my iron. This is one of those projects where you'll want to do a bunch of your centers at the same time and then trim them and add a next piece at, you know, kind of kind of assembly line or you can do it however you want really. But then what I'm going to do is I'm going to say, you know, where is where does my next stitch want to go? So if I'm going to add a piece to this side, I want to um trim off the fabric so that I have a good place to put another seam. So, I'm just going to trim this. And then I'm going to add this piece of plaid here. So, that lines up like that. And it doesn't have to be perfect, right? If it doesn't work, I would just cut it so that it was straight so that I could line it up. So, this happens to fit pretty well. I'm going to go ahead and add this on here. And for me, there's no real rhyme or reason. I just tried to use the fabrics that I felt looked good next to each other. And uh it's so it's so freeing because you don't have any real rules. It's do whatever you want kind of a thing. So you set the seam, press it back, and then I'm going to go ahead and say, you know what? I don't want too much here. So now I get to be super creative and decide, do I want this to be at an angle so that I have an, you know, a piece that sort of sticks out triangular? Do I want it to be long and narrow so that I could, you know, maybe I want to write words on it. You get to decide how big these pieces are as you go along. So I'm going to trim it. I like to put a little bit of an angle on it. I'll cut that off. And then my next seam is going to go on this side. So I'm going to straighten this edge. And I'm going to add my next piece of fabric. And I'm going to pick something maybe something light and shiny. I don't know. We'll see. How about this one? That looks good. So, that'll fit there. And as you're working with the bigger pieces, you can cut them down as you go. And we'll do that in just a sec. So, I'm going to add this piece. All right, I will set my seam and press it back. Now, I've come almost all the way around here. I've got one more or two more sides to do. So, I've trimmed that. But now I think I want to go with maybe one of my velvets. So I'm going to pull this piece. I love this navy. It's so beautiful. And because I'm just doing a little short side, I'm just going to cut a little strip off. It doesn't have to be any specific size, but I want a lot so that I can put a pretty pattern on it. So I'm going to cut kind of a big chunk. And that'll make it um a little bit more manageable. And you'll notice that as you go through this, your your fabric will get a little bit smaller. You'll cut it to the sizes that you want to use, but you get to decide. So now I'm going to line this up here and stitch right along that edge. Right sides together, quarter inch seams. Oh, I got to keep going. There we go. All righty. So, now I'm going to set this seam and press it back. And then this is my last my last seam to border my entire polygon here. So, I'm going to go ahead and just trim that straight so I have a nice nice straight edge. Oops. And then I'm going to add another piece of fabric. I think I'll go with this one. This is a fun color. And I'm going to be just making a cut. I'm not worried if it's straight or whatever. Just as long as it helps to build this this block. And we're just going to continue now to go around and around adding pieces to whatever side we want. and creating the block. Um, you want to just make it big enough that it's the size that you feel comfortable using as you build out your quilt. Okay. So, now you have something that looks a little bit like this. and you get to decide where do you want to add your fabric next. I think what I'd like to do is put something over here. I like to remember to try and cross the seams because that makes it look um a little bit less like a striped build, but that's really just a preference. You can add them wherever you want. So, I'm going to go ahead and and cut this. And what I am doing is I'm thinking about how I want these pieces to look. And I I do like odd angles in a crazy quilt. So, instead of going straight along that side, I'm going to angle my ruler so that I get a narrow end here and a wider end up there. And it just sort of builds out as it goes. I'm going to save this because I can use that in a different piece. And then I'm also going to go ahead and cut this piece that that direction looks good. So now I can add something to either of these sides, whichever fabric I want to put next. And I think I'll go with this pink one. I've always loved um Anna Maria her prints and this is just one of her. Indelible is one of those um true colors lines and I just love how they how they look. All right, I'm going to add that. I think I'll switch it around and stitch that on there. And I'm going to continue adding these until it gets a little bit bigger. And I'll meet you back here. All right. So, as this piece starts to get a little bit larger, I wanted to talk just a little bit about how I continue to trim it down. Um, also on pressing, if you uh if you're worried about bulk, you could press your seams open. I pressed all of mine back, so I just roll the fabric back and press it. And I didn't have any problem with the embroidery, but um you know, that's a that is entirely a personal decision. So you can press however you like. Just go ahead and press as you go. Keep your blocks nice and flat and try to reduce bulk while you where you can. So one of the things that I've been doing as I go along instead of trying to keep these straight like log cabin style, I am consciously trying to put angles on this quilt because I like the way it looks. So, as I look at, you know, trimming this down so that I can have my next piece come on the side here, I'm going to just make it as as angled as I want it to be. You know, whatever I think looks good. And you can do whatever you think looks good, but try to keep aware of um you know, trying not to make things too squared at first. So, I'm purposefully because this one goes this way, I'm going to kind of angle it off this direction. so that I get a piece that looks really interesting. And these pieces are kind of wide. So, I'm going to come through here and just cut this down because I don't want it to be so big. What I do want to be conscious of is thinking about as I build this, where might I want to put a fun design? Might I might I want to put like some vines here or, you know, maybe the date that I make the quilt here, something like that. Then I do want to keep those pieces larger. So, um, so you know, being conscious of that as you go along is good to think about. You want you kind of want to you're freehanding the whole thing and being very creative, but also thinking a little bit in the future about where you would want to put some of these patterns and designs. So, because this angle goes this way, I'm tilting it out that way and kind of creating like a an off triangular shape. Um, and then I'm going to make this one a little bit smaller because I love the corduroy, but um, I don't need as much of it as I have. So, I'm going to cut that down and then save this for a different section on the quilt. And you can see we're getting pretty close now to our 12 and 1/2 in square. And really what we want because we're going to be embroidering and potentially rinsing these out and it gets really wrinkly, I want to give myself enough extra room. So, we're not cutting this right to the 12 and 1/2 yet. we're going to embroider first. Then we're going to press it and we'll we'll cut them for um their final square up when we're getting ready to assemble the quilt after we've done the other things to this block. So, I've got to I've got to add some here and here and then I will be ready to start my embroidery. So, I'm going to keep on working on that. All righty. So, I've got quite a few um strips on my square. It's coming together. It's starting to look really good. And as I go along, I'm just going to use my template to kind of give me an idea of where I need to add more fabric. And so if I line this up, it looks like I'm still a little bit short on this side. Or if I wanted to, I could cut several pieces using my smaller template and then sew them together. So I could cut this piece or I could just kind of zero in on this section or that section. And it really depends like how I want to use my fabric and what kinds of pieces I want to work with. Um, I'm going to go ahead and add a piece to this side so that we can use the larger square. But, you know, just just think about that as you go along. You can build some really large pieces and then subcut them down pretty quickly using your templates. So, you get to decide where you want to fussy cut things if that's what you have in mind. If you want to stick to your middles or you want, you know, things that are striped and angled, you really can change the way the blocks look by how you cut those squares out as you go. So, I'm going to add one more piece to this side. I'm thinking something maybe this pretty red linen would be good. And then we will be ready to cut it out and set it into a pile to get it ready for embroidery. So, I tried to make a bunch of my blocks. Um, I did all of the scrap making and assembly before I started my embroidery. But one of the thoughts that I had as I was working on this quilt that I feel is really exciting and interesting is that I have a lot of things um that I've saved, things from my mom and my grandma's or things that I found at estate sales that have sentimental value but not necessarily are usable anymore. So, when I was little, my grandma embroidered the edge of a white pillowcase. And the embroidery is absolutely beautiful, but the pillowcase itself isn't really something that I want to use on my bed anymore. And I thought it would be really cool if I could put that embroidery into my crazy quilt and build the block around it. And then I thought about all of the applications. You know, we have lace tablecloths that have gotten ripped and you know, napkins, cloth napkins or aprons, things like that that you have from your history that you can then incorporate into these beautiful crazy quilts that we put together. And it's such an heirloom and a good way to honor those items that our ancestors or friends or whoever have put their their time and energy into their creative effort that we can then incorporate into our lives and our creativity as well. And then whether it becomes something you hang on the wall or something you snuggle up with while you watch TV every night, like it's just such a beautiful thing. So for me that was really really mind um expanding and and it really inspired me a lot. So I have big plans for all of my fun little linens that I've got at home. All right, I'm going to add this piece and then I think we can go ahead and cut around our template and start the embroidery. Okay. All righty. So, like I mentioned earlier, even though this is bigger than our template, we're not going to cut it to the exact square. What I'm going to do is figure how I want it to look. And then I'm going to cut I'm going to give myself a good inchish around the square so that I have room for it to shrink a little bit and stretch and wrinkle and still be able to get my full finished um block out of it because things stretch and move and wiggle and shrink as we wet them down after taking off the peel and stitch or you know we're fiddling around with our embroidery. So, I'm cutting around the square, using it as like a guideline so that I can work with it. So, you can see that it's bigger than my square. And I'm not worried about this because I can I will trim that off when I cut the final square. So, now we're ready for adding our embroidery or embellishment to it. So, I'm going to clear the table a little bit and I'm going to grab my embroidery supplies and my peel and stitch and we'll start talking about that. All right. So, I've got my embroidery supplies. I've got all of my floss colors and my little needle kit. Um, what I'm going to do now is start deciding what patterns I want to put on my block. So, I'm going to open up my peel and stitch booklet because this is just the fun part, making it pretty. And I am going to cut out the pieces that I want to use. So, I think I will cut some slices from this one. I'm going to set this aside so I don't accidentally cut through it. And you'll notice I've just got this one piece here. You can pull them out of the book if you want to, but I'm just going to slice it with my rotary cutter. And um and I've used, you know, my scissors or whatever for this. So, I'm cutting them into strips because that way I can put them anywhere on the seams. I'm wanting to cover my seams. And then I'm also going to choose a few things to put in some of these larger spaces. So, I might go ahead and put my initial. And I'm going to just cut around that. I think I'll put that maybe right here. Yeah, that fits nicely there. And then I think I'm going to find Oh, back here there's some really pretty. Maybe I will do a spiderweb. So, I'm going to Oh, I'm going to use my scissors because that's a little bit close to the close to the corner for me. So, I'm going to cut that out. And we also have these these available if you wanted to cut or print more at home. We have some digital downloads that you'll receive as part of your um product. So, you'll be able to print more on your own packs of stick and stitch if you want to. The other thing that's cool is you can you can actually buy the stick and stitch just plain and draw whatever you want on it. You can put all the designs that you have in mind straight onto your quilt. If you have a a child that loves bears or basketballs, I mean, you can put whatever you want on your quilt to give you memories of the people that you love. So, that's kind of fun, too. All right. So, now what you're going to do is you're just going to peel that off. And it's adhesive on on this one side. And then you're going to stick that right where you want it to be. So, I'm putting my little spiderweb right there. I'm going to peel this off. I'll put this move this out of the way for now cuz I'm going to do just a little bit at a time. I don't stick everything on at once. I kind of do a couple things so that I can sit and stitch like during a movie or something. Sometimes I listen to an audiobook um or maybe you're watching soccer practice. Who knows? So, I'll do a few and then I'll come back and add some more later. And then these little the line work is so pretty and fun to add. And I kind of like to I like to mix it up so that there's not too many things um like the not the same pattern right side by side. And then what I'll do is I'll go along here and I'll say, you know what, I've got this seam that I want to cut cover up and I'm just going to trim it right here where it makes sense. And so now I've got these three things ready to go. This one I'm going to save for later. Put it on somewhere some other area. And then we'll add I like these little these little leaves are pretty. So I think I'll put them right over here. And I'm going to cut in between these two so that I can use the other piece on a different part of my quilt. It typically works out pretty good because this will look perfect like right here. You know, maybe I just want these three. So, you can also use them not necessarily just on the seams, but you could put this right down the middle here and just have a cute little leafy vine there. Wherever you want to put all of these elements is really fun to build out. It was really creative for me. Almost like building a collage of things that you love. So, I'm going to stick that right there. Okay. So, our next step is going to be choosing our thread color, threading our needle, and then you get to decide what kinds of stitches you use. I think I'm going to put a nice maybe that gold thread will look really good cuz you I want mine to stand out. Although, it is also really cool to put little like secret things on the quilt. If you do the same thread color as the fabric that you've got, you might be able to kind of hide like a little secret message. So, that's kind of fun, too, to think about. All right, I'm going to pull off. Typically, you want like the length of your arm and not really much longer. Otherwise, it'll get too it'll knot up really easily. I'm going to go ahead and clean up this edge. If you thread your needle in the direction that it comes off the spool, it's less likely to knot and twist. Um, and that went through really easily for me, but if I had any trouble, I would use my needle threader. I'm going to put a little knot in it. And then I'm just going to come up from the back and watching the top go right across here. And this is very, very easy to stitch through, but I'm following my line. So I'm going to go over here to the end. And then I'm going to come back through and come up on a different line so that all I'm doing here is covering up and tracing with my stitches the lines on the peel and stitch. And it just comes together so easily. It's very meditative and relaxing this little slow stitching process. All right, I'm going to add these stitches and then we can talk. So there's just so you don't feel like you're, you know, put out out into the wind there. I have um stitches available on MSQC's YouTube in Embroidery 101 for every single stitch that you might need. Um so there are there are instructions written and pictures in the booklet, but we also have videos where we walk you through every single stitch, one stitch at a time, and you will be able to pause and learn and go along really slowly with those videos if you'd like to. But um what I'm going to do is go ahead and finish up some of the stitching and then we'll come back for some um soaking off the peel and stitch because that part can be a little bit tricky. So I'd like to walk you through that as well. So hang on just a sec. We'll come right back to it. All right. So I've got this block that I've been working on for a little while and it has all of its embroidery on it that I'm going to put on for now. So what we're going to do is um dip it in the water and dissolve that peel and stitch. And I just wanted to show you how this works. So, typically I will just put it in my sink and rinse it off, but for for this purpose, I don't have a sink here. So, we're going to just put it in the water. And you'll notice that it turns clear right away, but then you can see that there's just a little bit of like a film on it, but it really does disappear quite quickly. So, what I do is I let it I feel it until it doesn't feel kind of like like it doesn't have any um sort of like a a film on it. And you can tell, but then it's all rinsed. The peel and stitch is gone. And now it's ready for me to go ahead and ring out the the excess water and let it dry. It's a little bit messy. But what I'm going to do now is just I'm just going to hang these or lay them out to dry. I'll put them on a clothesline, you know, and just let that dry for a little while. Once it's dry, then I'm going to press it and I'm going to do the final square up. So, let me wait for this to dry and then I'll come right back to you and we will finish up our block for the quilt. All right, we're back and I've got a block that is pretty much all the way dry. It's got a little bit out of out of shape. It's kind of wrinkly and frayed looking, but what I'm going to do now is press it and then I'm going to do my final square up with my template. All right. And you can press from the back or the front. Um, I have not noticed as I've gone along and done this, I haven't noticed my um my my different types of fabrics being altered or injured by the heat of the iron. But if you're worried about it with your velvetines, you might want to lower your iron or use one of those um pressing cloths. You could just use a piece of muslin or uh you can buy a specific pressing cloth for pressing fabrics, but also turn it down to um something that's more set for synthetic fibers. that will prevent you from like burning the velvet. Although, I've noticed if I press from the back, it's no problem. My velvets and my corduroys and my linens, they all press out nice and neat. And then because I square all my blocks to the same size at the end, they go together beautifully. There we go. So, this is ready. And I'm going to square it up with my little 6 and 1/2 inch square. So, oop, it's steamy from that iron. Okay, I'm going to line it up here. And we've got these great lines on here that will show you like where your direct middle is if you want to fussy cut something and um or if you want to line up your lines in any way. I'm going to slide this down so I get more of my cute little squirrel. And then I'm just going to trim around it. And I'm not worried about trimming off these pieces because I can add them to another block. And now, as you're going along, you will want to put together um four 6 and 1/2 in squares to make your 12 and 1/2 or two 6 and 1/2 and a rectangle. You know, you can build these out however you like, whatever works best for you. But that is my finished 6 and 1/2 in square block. I've got a 12 and 1/2 here that I've already pre- rinsed and trimmed. And I'll just look and see if I need to clean that up a little bit. And that looks really good. So now taking this over to the quilt. We've got six one, two, three, four, five blocks across by five blocks down. I've quilted it with Baptist fan, which it just blends in nicely to the background. And I kind of wanted something that was very traditional. Um, and Baptist Fan is one of those really good traditional uh, quilting patterns. So, you could even add more embroidery stitches along these seam lines once you put your blocks together if you wanted those lines to disappear. Um, also I want to point out right here we've got one of these blocks that is made up of two 6 1/2 x 12 1/2 in rectangles. And you can see that because I've altered the stitching, used different ones, like they look like different blocks, but that's how these two came together. So, a lot of them are just full 12 and 1 halfs, but if you end up with smaller pieces that you want to join together, you can see that it looks great in the quilt. And that's what we've got. Like, we've got lines on the rulers so that you can line things up and cut out different shapes and sizes as you go. Um, so this quilt is just it's a great size for hanging on the wall. It's 60x 60. For your backing, you if you use a 108, you'll need 2 yards. And if you're using um a 45, three and seven8 will be plenty. Um we've used this really lovely wide back from Ana Maria. It's uh just beautiful and goes really well with the line. And I machine quilted with Baptist Fan, which I think is lovely. You can see that really well here on the back. And that's about it. I didn't add a border because I just really wanted the quilt to stand out and be just beautiful. I added a date here, 2026 and MSQC. All little nods. There's there's just really fun things that are hidden in this quilt that um we've got JD up here for Jenny Don. So, all kinds of fun things. And I hope you enjoyed this tutorial. I hope it inspires your creativity and gives you something fun to do when you get together with your quilting buddies. And uh I hope you enjoyed this tutorial on our history and stitches, the crazy quilt from Missouri Star Quilt Company. Have a great day. Hi everybody. I hope you enjoyed today's video. We're trying super hard to get to a million subscribers. So, if you enjoyed it and you want to see more, just hit subscribe and share with your friends and encourage them to do the same. And I will see you next Friday with a brand new tutorial.


 Natalie Doan
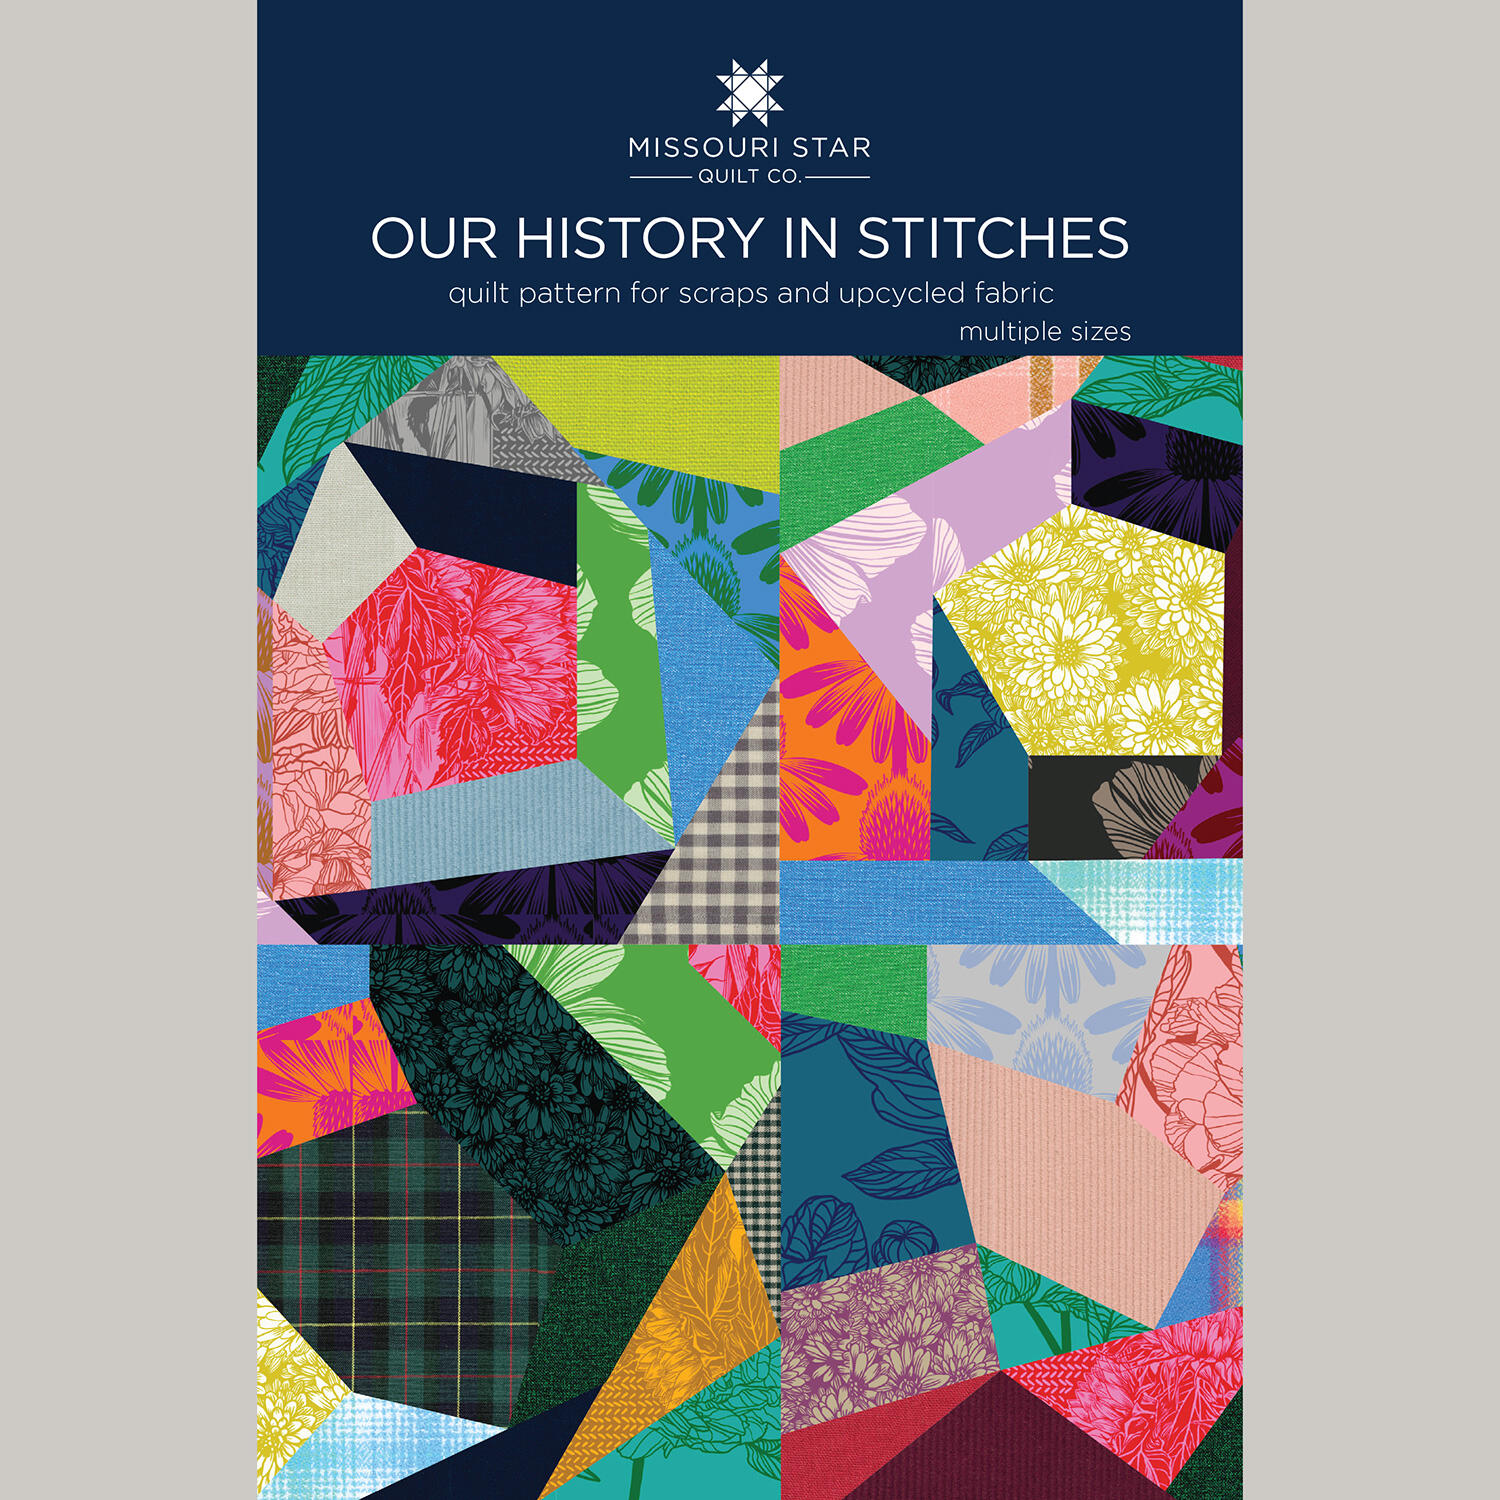 Our History in Stitches Quilt Pattern by Missouri Star$8.50Shop →
 Digital Download - Our History in Stitches Quilt Pattern by Missouri Star$6.95Shop →
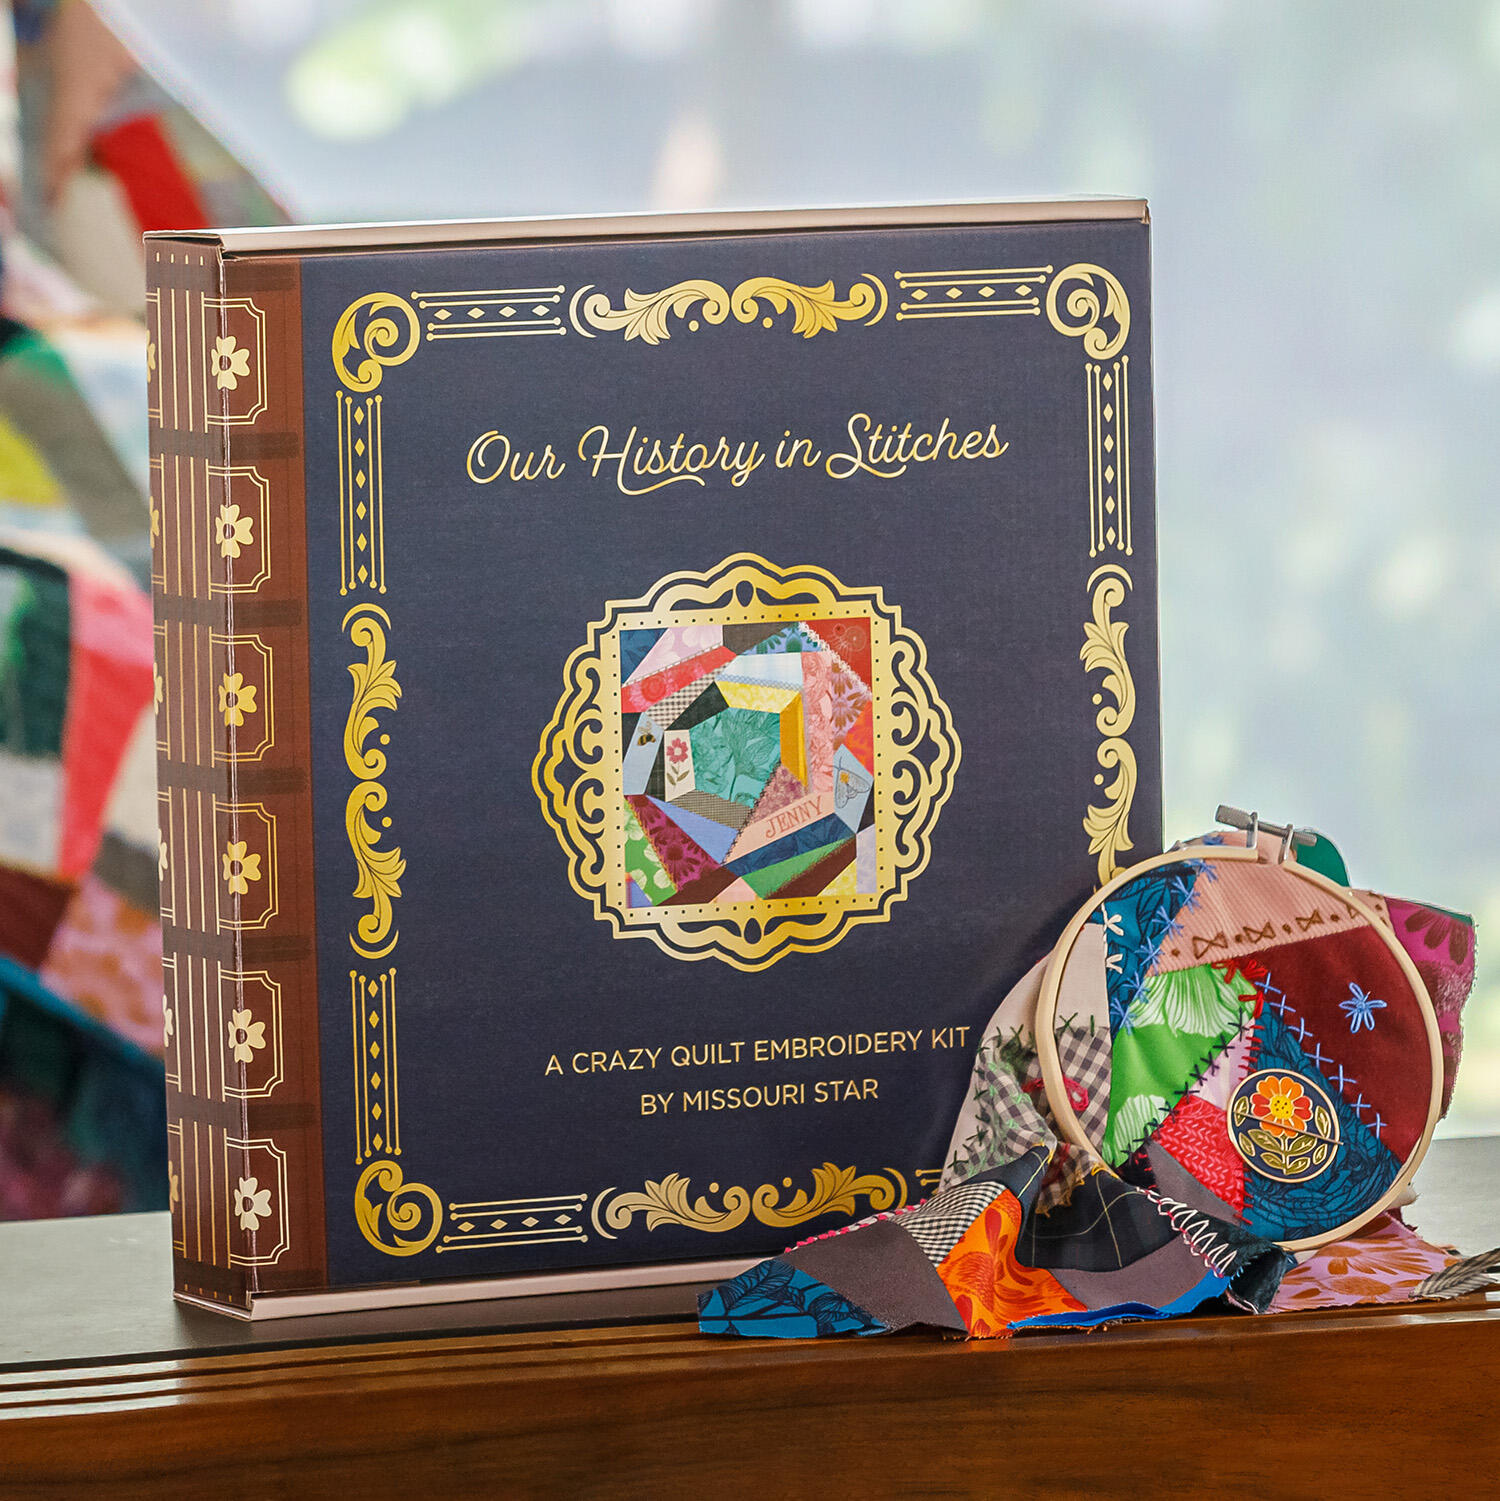 Our History in Stitches: A Crazy Quilt Embroidery Kit by Missouri Star$64.95Shop →
 Our History in Stitches: Crazy Quilt Fabric Stash - Fabric Kit by Missouri Star$144.95Shop →
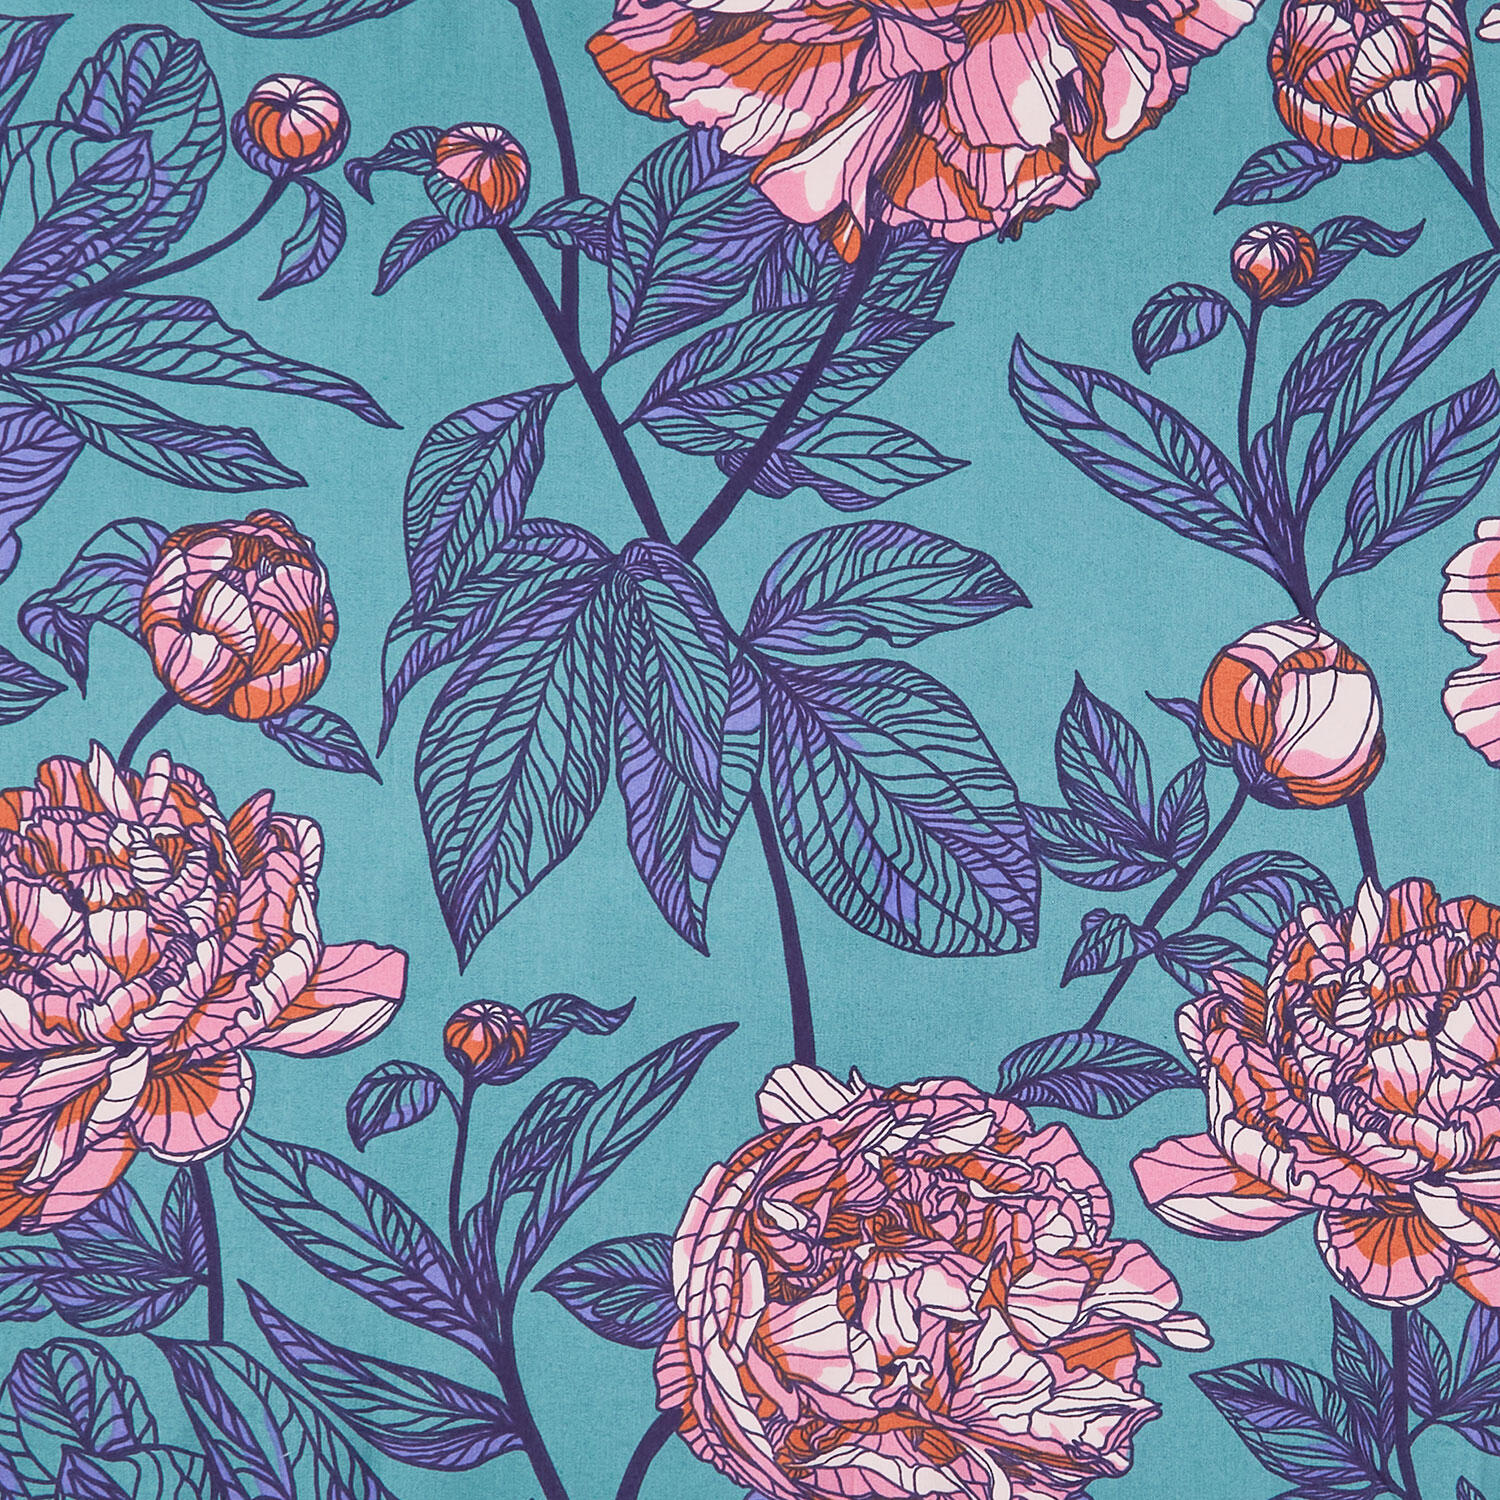 Indelible - Peony Jade 108" Wide Backing$21.08Shop →
 Missouri Star Quilter’s Best Blend Twin Batting$26.95Shop →
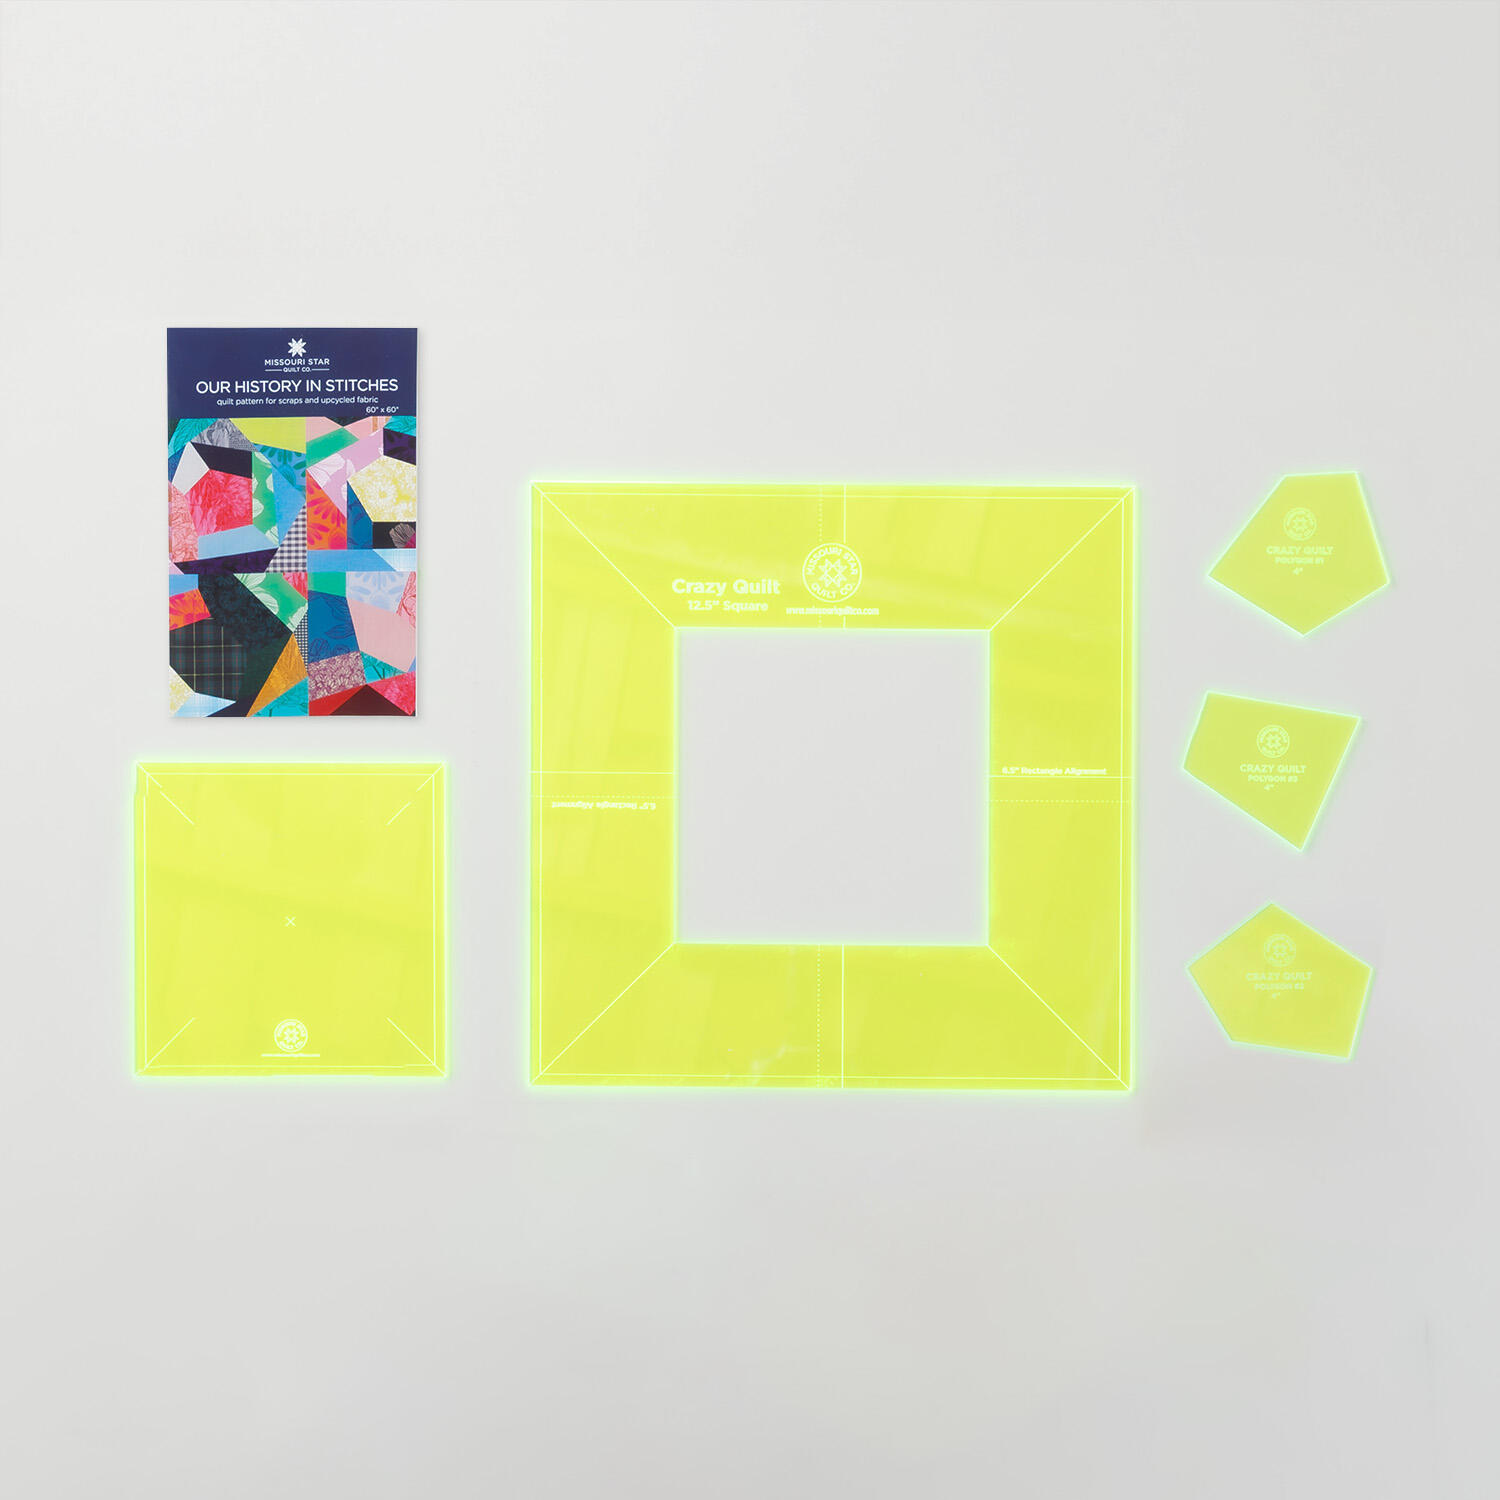 Our History in Stitches: A Crazy Quilt Pattern and Template SetShop →
 Missouri Star 5" x 15" Ruler$19.95Shop →
 Bernette 77 Sewing and Quilting Machine$1699.00Shop →
 Missouri Star 50 WT Cotton Thread White$7.95Shop →
 Missouri Star 45mm Rotary Cutter - Olga$19.95Shop →
 Missouri Star + Oliso TG1600 ProPlus Iron$209.95Shop →
 Missouri Star Wooly Betty Board - 17.25" x 25.5" Orange Border$99.95Shop →