Skip to content

Free quilting video tutorials from Missouri Star

Quilting Tutorials
Palette Pop English Paper Piecing Kit

Palette Pop English Paper Piecing Kit

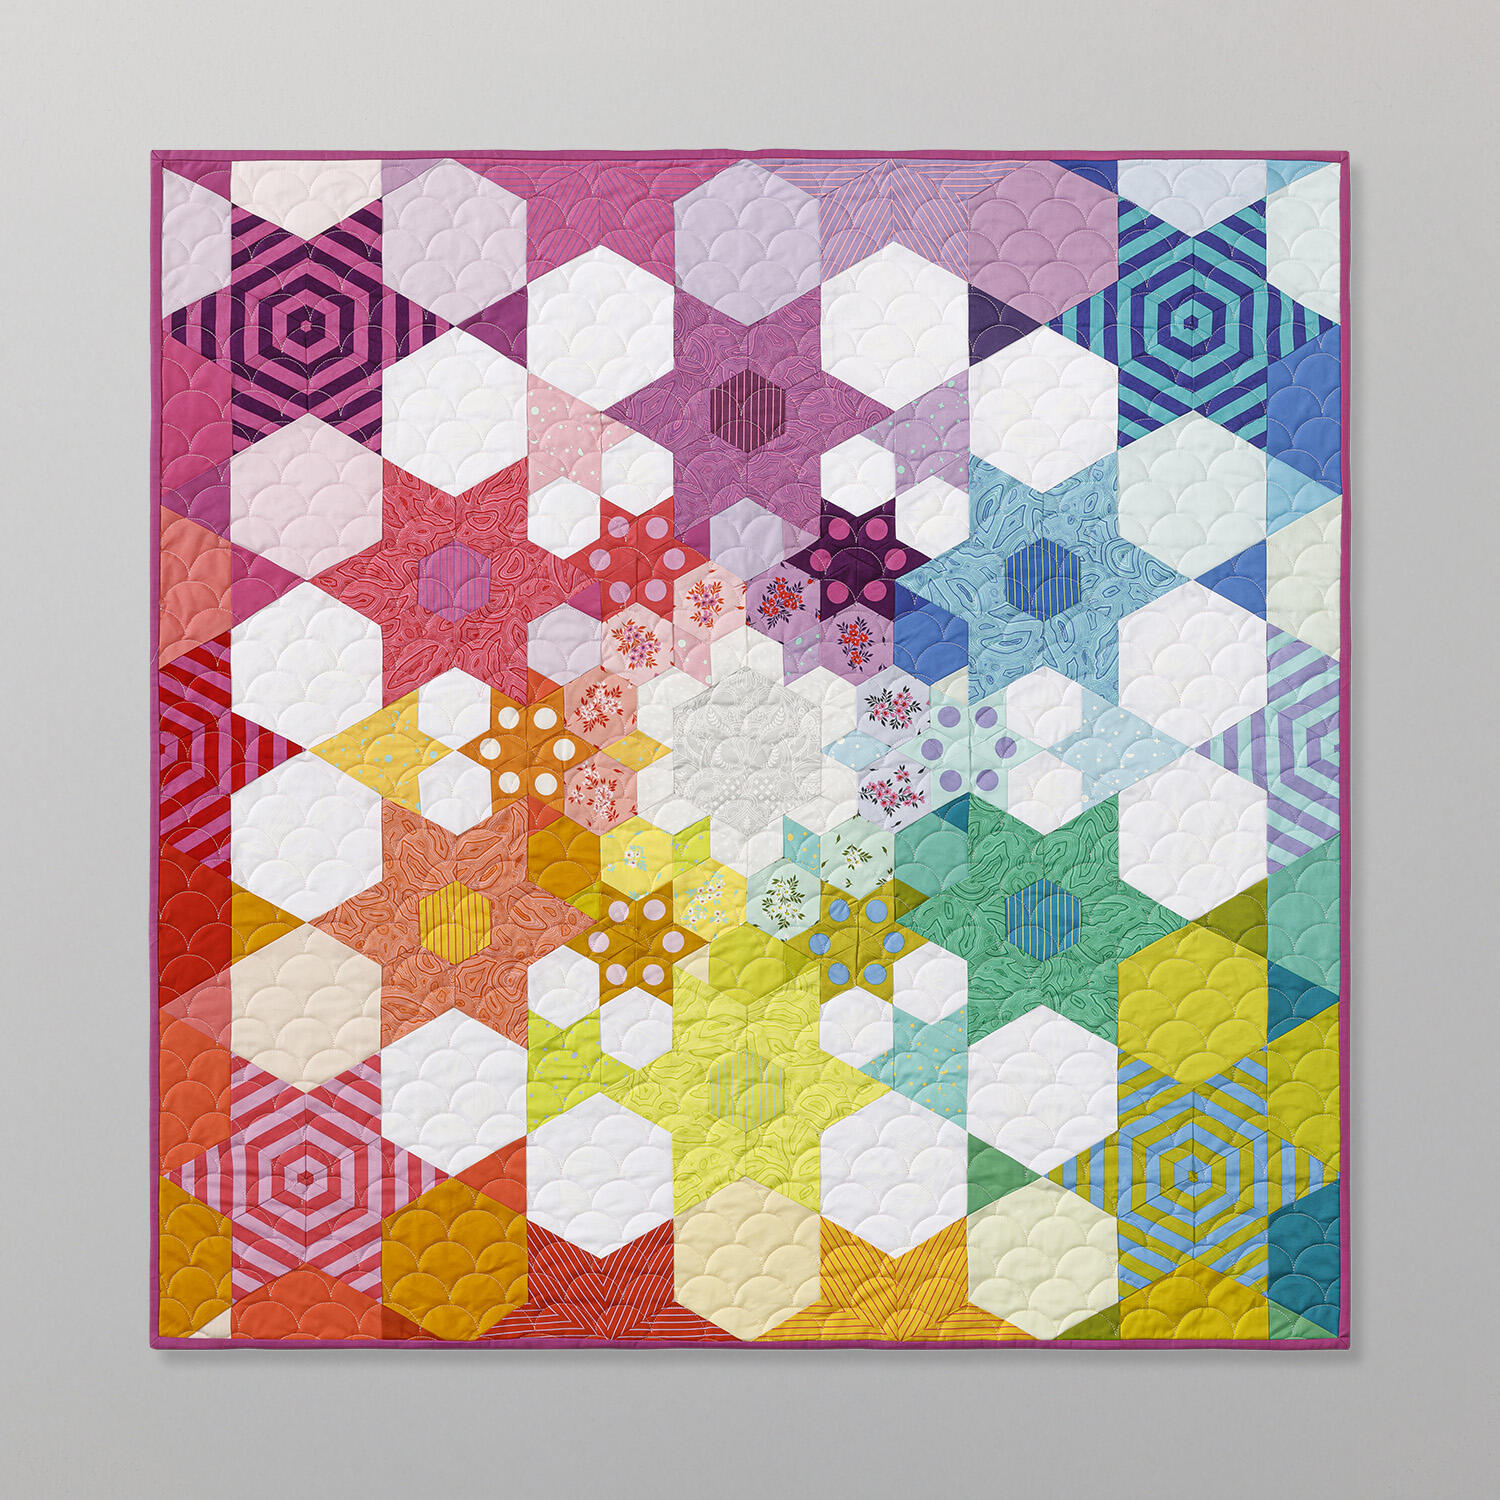
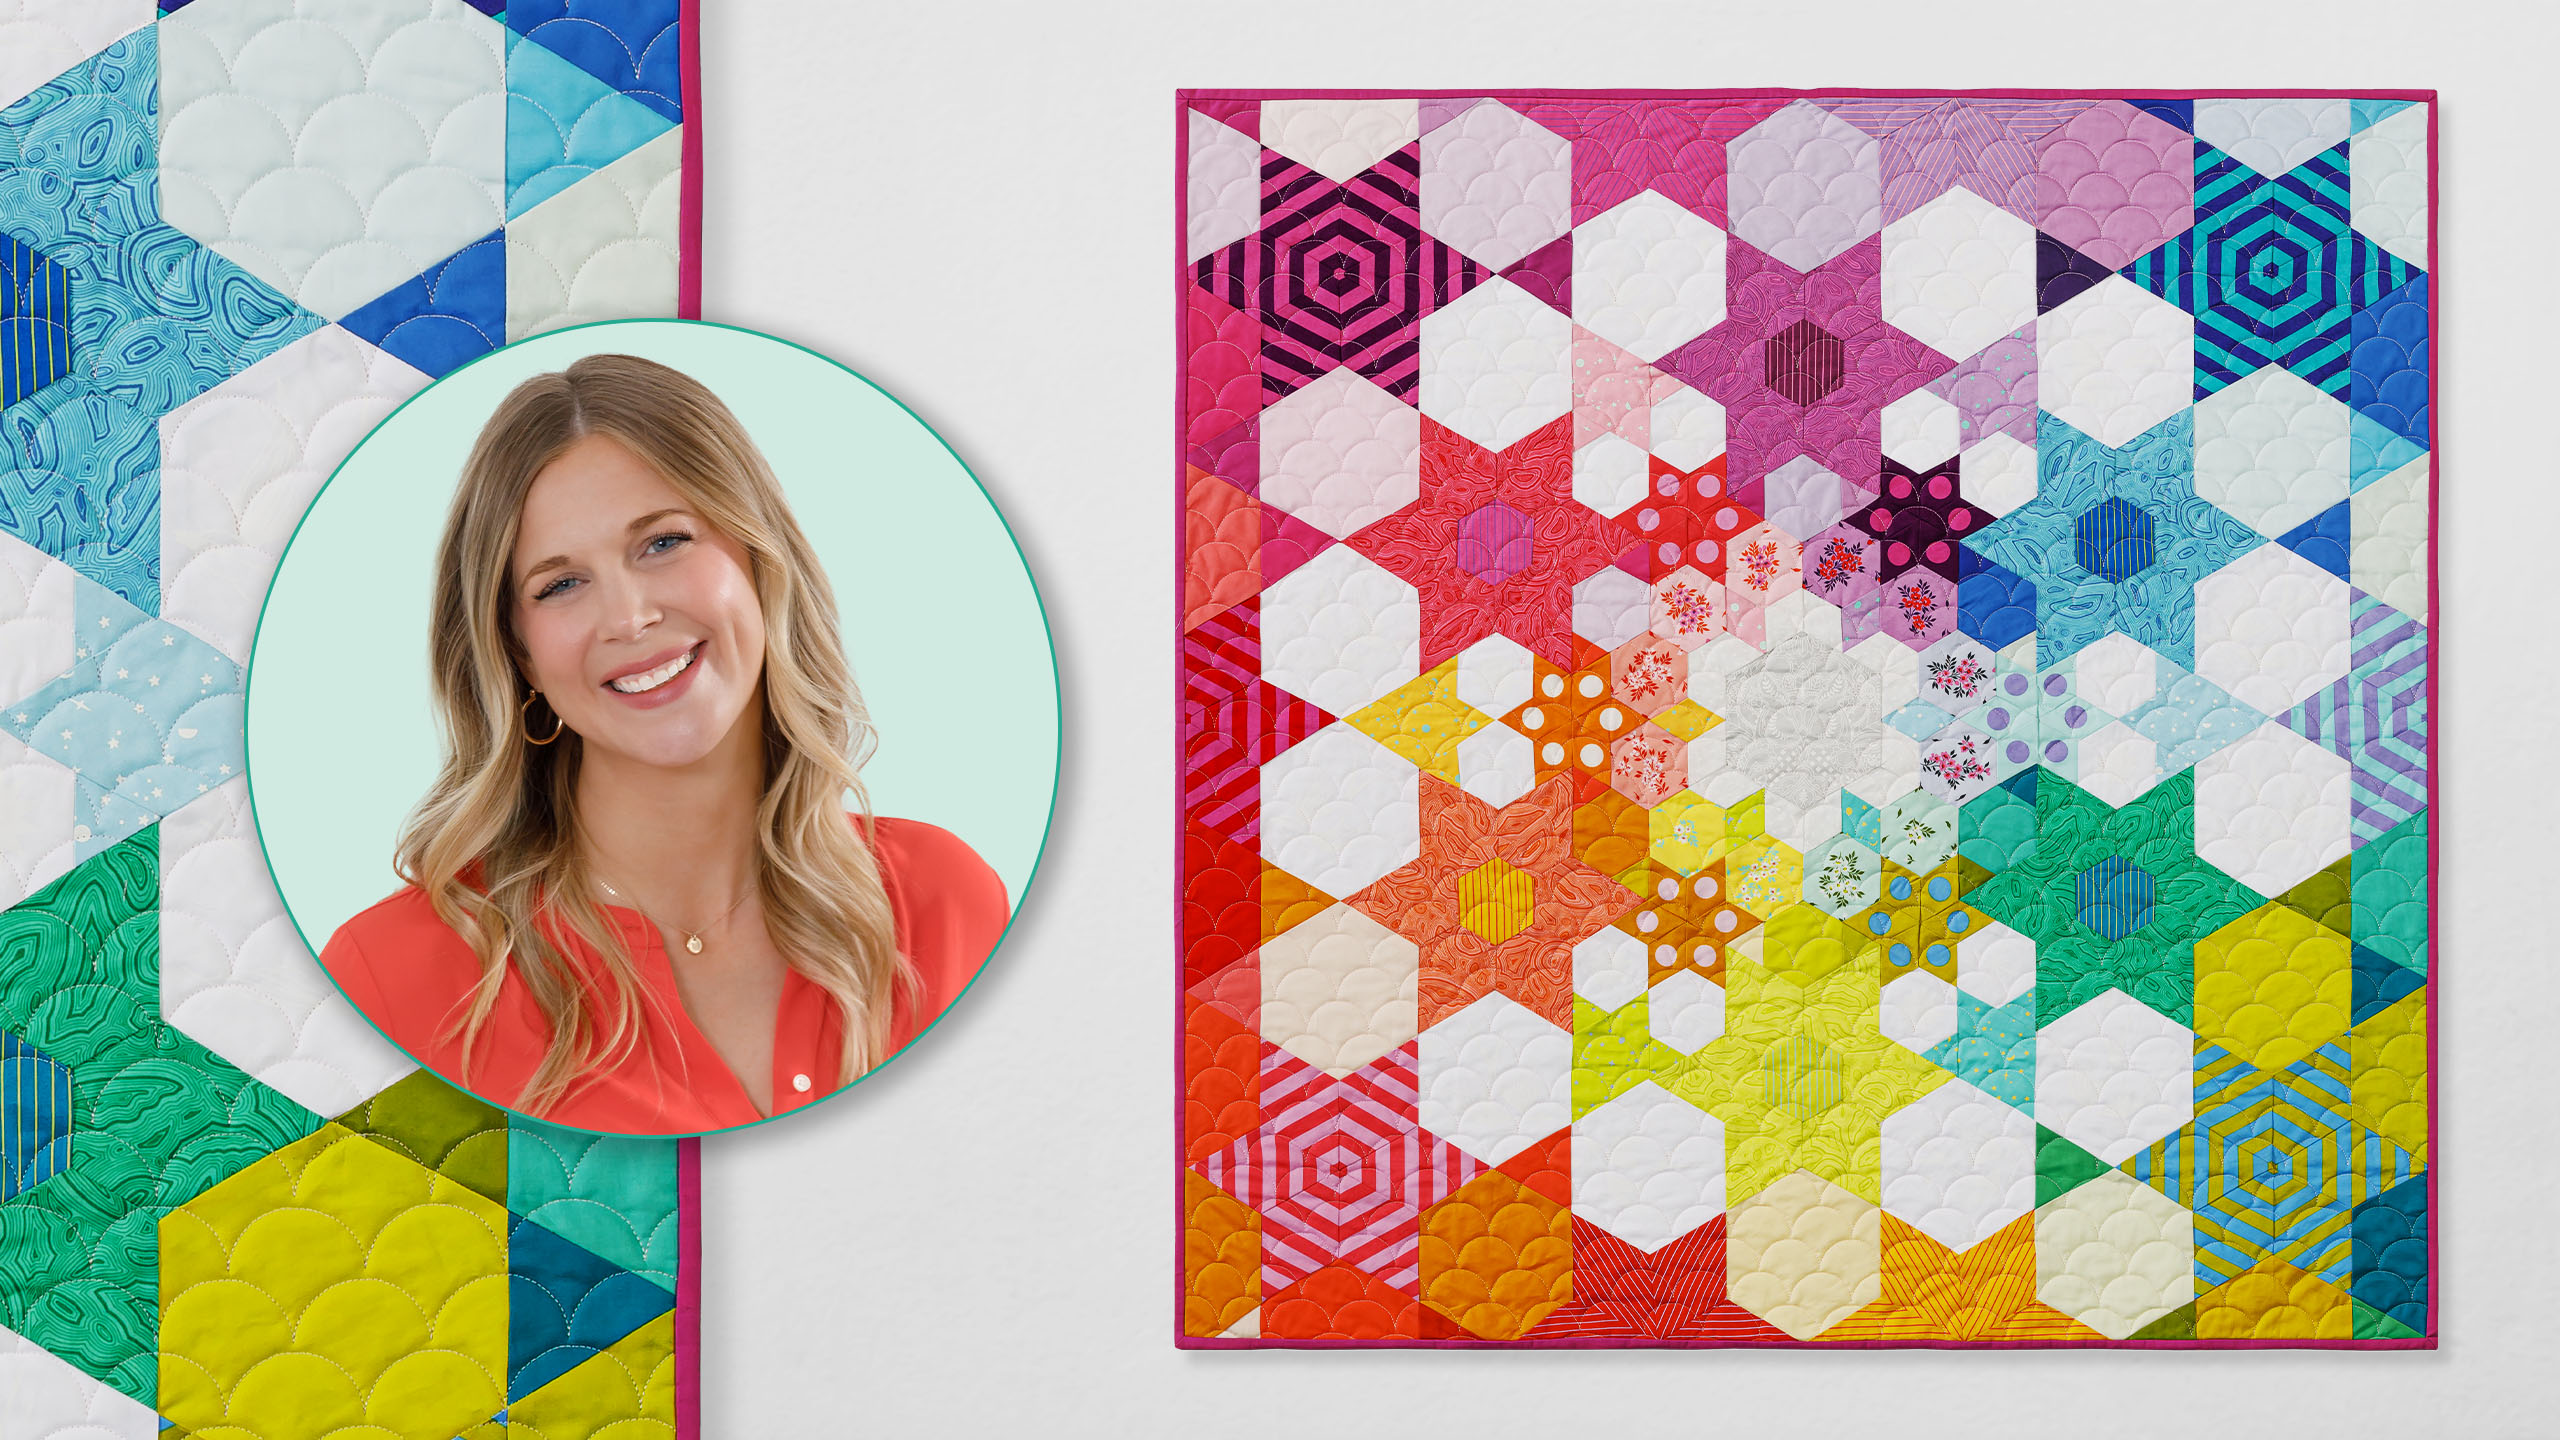
Join Misty in Episode 1 of the Palette Pop EPP Quilt tutorial to learn how to begin making an eye-popping English paper pieced quilt. This gorgeous quilt features hexagons, stars, and flowers made with vibrant Tula Pink fabrics that give the quilt a real WOW factor! And the MSQC English paper piecing templates make it fun and easy to do. Follow Misty through all the Palette Pop EPP Quilt tutorials as she walks you through the quilt-making process from start to finish!

Instructor

Misty Doan

Misty Doan grew up surrounded by sewing and quilting. She loves spending time sharing tutorials each week each week, and when she’s not stitching up one of her fun sewing projects for home decor, most likely you’ll find her hanging out with her husband and three awesome kids or working on a house project.

Common Questions

What is covered in Palette Pop English Paper Piecing Kit?

Join Misty in Episode 1 of the Palette Pop EPP Quilt tutorial to learn how to begin making an eye-popping English paper pieced quilt. This gorgeous quilt features hexagons, stars, and flowers made with vibrant Tula Pink fabrics that give the quilt a real WOW factor! And the MS...

How long is the tutorial video?

The tutorial video is 00:17:57.

Are supplies listed for this tutorial?

Yes. The tutorial page includes the supplies and materials connected to this project.

Video Transcript

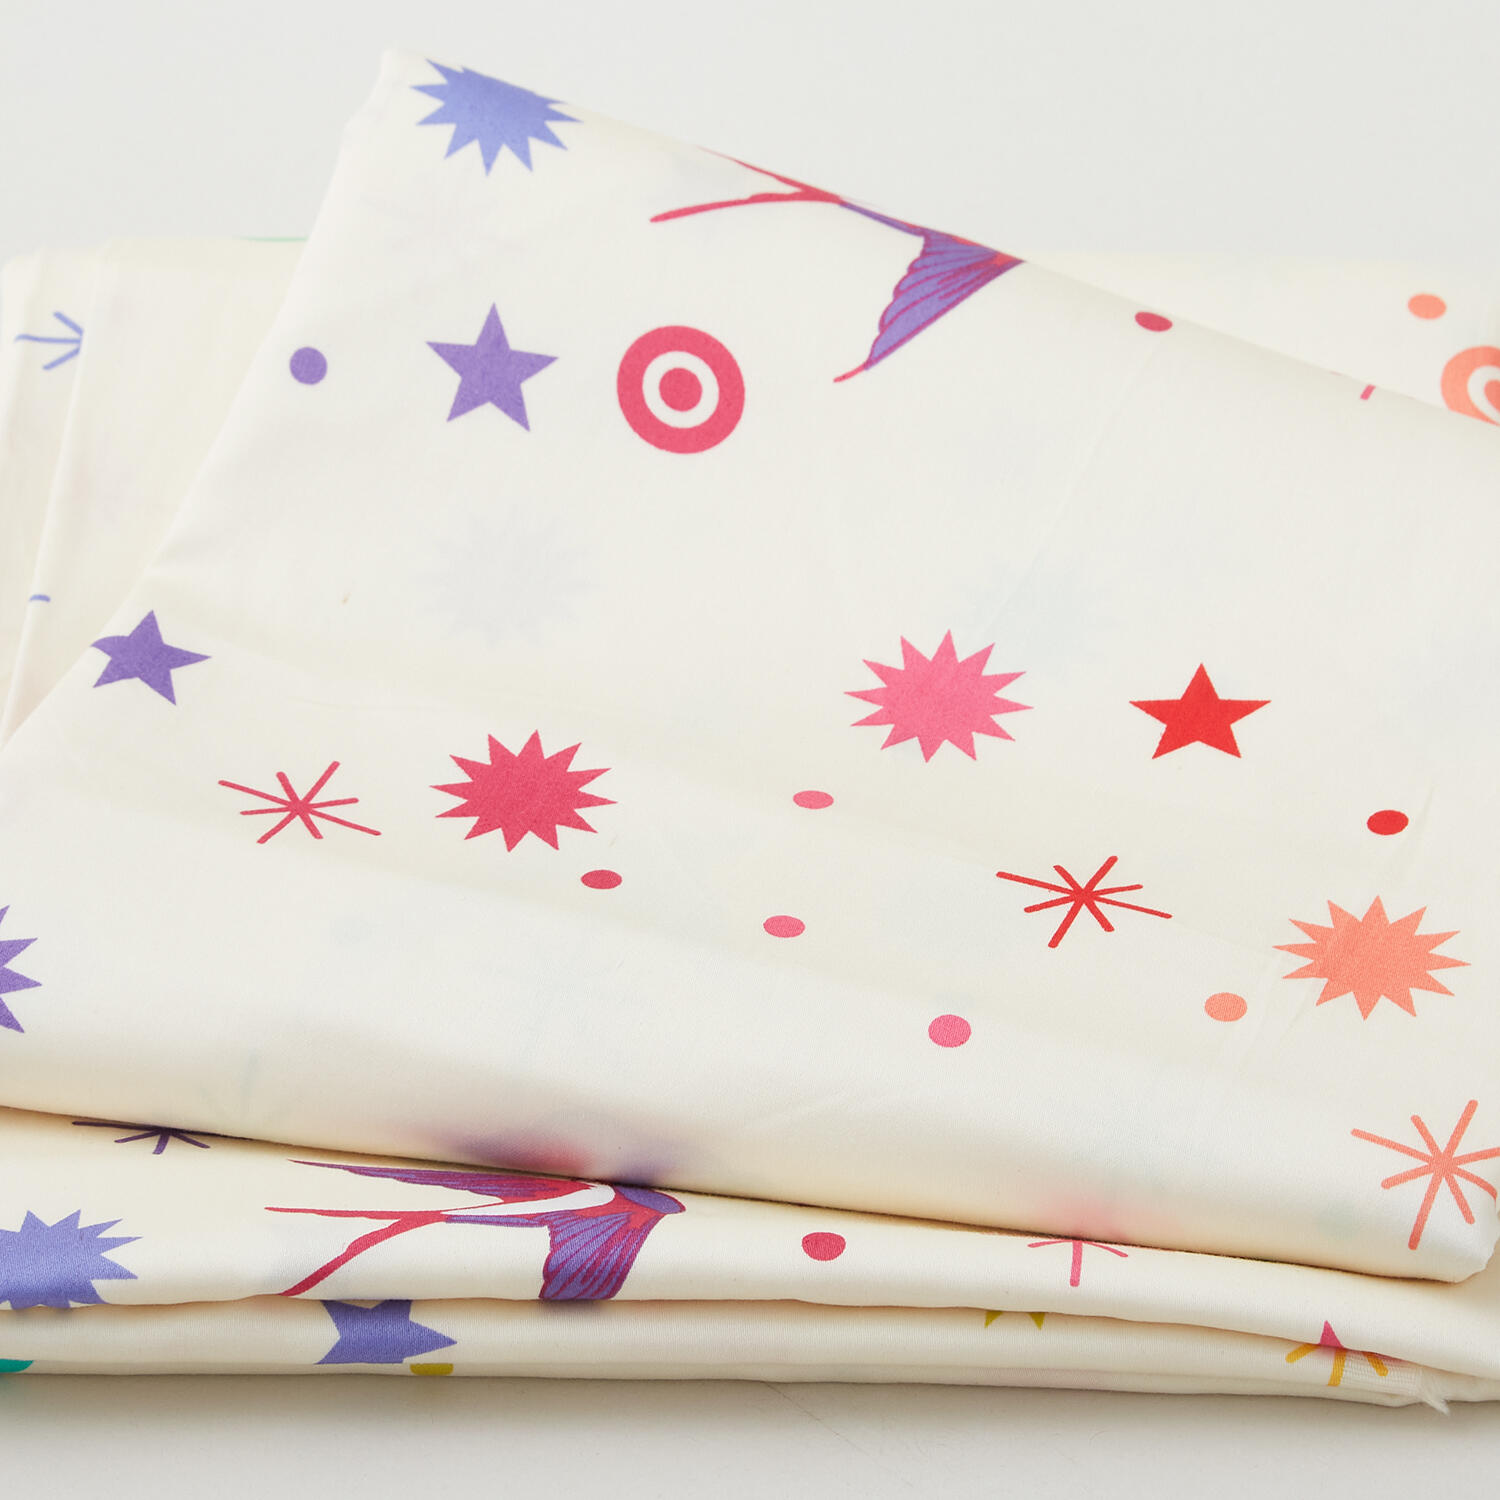
hey everyone it is Misty and I'm super excited about my project that I'm sharing with you today on at home We're going to make this beautiful pallet pop wall hanging that you see behind me It comes in a kit with everything you need to tackle this English paper piecing masterpiece So let me walk you through it So like I said we're going to make this beautiful English paper pieced project together It comes in a kit that has virtually every single thing you need to make it start to finish And I'm going to walk you through this in a short series beginning today We're going to open this up and I'll show you what's inside So when you crack this open you will find the pattern of course right on top And you're also going to find a very in-depth fabric key And this fabric key is going to be your best friend throughout this this project So keep it safe and keep it handy because you will refer to it a lot So let's go ahead and open this up and talk a little bit about this before we dive into the rest So you will see here every single fabric that is in the kit is listed and labeled with what it will be referred to in the pattern So fabric A through there's a lot all the way through BS And so front and back of this key has lots of details for you It also has a small full color swatch of the fabric that you can refer to when you're looking at the actual fabrics themselves what it's called the size that it comes in the kit and then a list of the cuts that you'll be making from each fabric as well as the zone that you will sort them into So you can see why this is going to be so handy for you to refer to The other thing that you want to keep in mind is the fabrics are actually packaged in order of this key So you don't want to disrupt them and just take them all out and mix them all up You want to keep them as they are here So when we pick this first pack up this is going to be fabric group one It's together in a bag which means this is fabric A through N all in here This one is fabric group two which means fabric O through A W So a whole bunch of prints in here And then our last fabric group three takes us all the way through the end and is there And so just keep those straight If it's helpful to grab a Sharpie or something and write the zones or the groups excuse me on the outside of the bag as you're working your way through that might be good too just in case you get them off So I'm going to go ahead and do that So this is group one This one was group two And this one is group three Now we don't have to worry about any confusion later and labeling is really going to be your friend as you make your way through this project So just plan on that So continuing down in our box we are going to have some smaller plastic bags And this will be once we start cutting and gluing our shapes We'll sort these into the different zones of the project And you'll see more about that later But just know these are going to be handy for you You're also going to have two glue sticks included in the kit so you'll have plenty to get you from start to finish You will see our papers So here are all of the varieties We have one two three four five six and seven And there are hundred of every single one of these papers included in the pack which is well more than you need of any one shape So you'll be able to continue playing with these you know in the future which is great The other thing that I'm super excited about on this project is it includes our fussy cutting English paper piecing templates And so truly whether you're fussy cutting or not this is just going to make cutting out the fabric for your shapes so much easier So there's a corresponding template for every single one of these papers And just like all of our other um templates here at Missouri Star we can just peel the backing off Let me get a pen to score this It makes it easier There we go And then they are completely clear easy to see through and every single one of these is ready to go And so here is everything that's inside of our kit I'm going to organize all this We're going to start with group one and talk about fussy cutting All right So we're going to begin with group one and we're going to open up our pattern And there's an entire section that's going to walk us through the fabrics that are fussy cut And so you really want to refer to this because it's going to tell you how to orient these templates so that all of your fussy cuts will be turned the right way in the finished project So let's go ahead and begin by opening up our group one fabric stack And we're going to begin with our very first fabric which is this fabric A It's this beautiful owl print And so I'm going to open this up here and find my owl And in the pattern it shows me that I want the owl centered And so I'm using the guidelines and I'm putting that center line right where the little beak of the owl meets and I want it to be running point to point this way so that the owl is upright in this direction not like you know with a flat side up because if you'll notice in the finished project we have the point of our hexagon going upright So this is what I'm looking for And you can see here you have a very generous amount In case you make a mistake you'll be able to recut this You've got a whole fat quarter of this print And this is the only cut you need to make out of it So just don't stress So I'm going to use my little rotary cutter now and I am going to cut out my shape One more Oops There we go Make sure I got all my pieces loose And I did Lovely And so now we have that first cut done I can save this fabric for another project And we are going to glue this onto our shape And so I'm just going to place my paper on the back side and use my glue stick and work my way all the way around and our final little piece here All right And so now I'm going to go ahead and use my marker or my pen and I'm going to label the back of this paper just to keep everything straight And so I will put fabric A on the back of this And then I have one of those smaller Ziploc bags And I will label this with zone one And I'm going to put this shape in here so that when we come back to assemble this later it'll be all set and ready to go And so then now if I read in the pattern I need to skip ahead to fabrics I threw in for the rest of this fussy cutting And it looks like it starts with this beautiful floral So the rest of these will not be fussy cut They'll just be cut out of whatever shapes are listed on the fabric key And so with these I'm going to use the smaller hexagon And all we need to make sure of is that every hexagon has at least one bloom in the middle And so I need to get it looks like two hexagons out of every single one of these prints I'm just going to cut one here to show you And so let's make sure we have a bloom Let me check the orientation It looks like it's just flat across So I'm going to use those guidelines center up my bloom just like so And then we will cut out our shape just like before So I'll go ahead and get both of these cut and based onto the papers And then I will meet you back here Okay so we have fussy cut and basted these onto their paper shapes I went ahead and labeled them with fabric eye And remember you're going to do that exact same thing centering up your blooms for every single one of these floral fabrics and label it in the exact same way All of these go into that zone one bag Once you have done all of the fussy cutting um I would go ahead and finish any of the cutting from zone one before I moved on and just work on one group of fabric at a time And so that's where you're going to refer back to the fabric key and it's going to take you through every single fabric So remember we did fabric A and then we jumped down to I for the fussy cutting So you have this group here in the middle that you haven't done any cutting yet So we'll just refer to the cut list and make our way through the rest of these prints here and make the cuts that are uh you know recommended here and sort them into the zones And so you'll notice all the fabric in group one is either in zone one or zone two So just go ahead and tackle all of that first before you move on to fabric group two And so once you have all of that done um I will meet you back here for fabric group two and I'll talk through that round of fussy cutting So now we've moved on to fabric group two And remember we're just talking about fussy cutting right now but you're going to cut all of these fabrics according to this diagram So let's open this up And the first few fabrics I think it's the first six yes are going to need to be fussy cut And those are those these adorable dots So I have them pulled off here And they're just these beautiful brights And really all you're going to be doing with these is you're going to use your small diamond template And we are going to center up a dot right on our template using those guidelines And you're going to to cut six of each of these diamonds in this exact same way from each of your prints And then every single one of those is going to be sorted in your bag for zone 2 And so let's see what that looks like after they're cut and basted They're going to look just like this You can see here's my first print I've gone ahead and cut and basted them And I do want to point out when you use these diamonds you have this little overhang here And that's completely normal And so I went ahead and labeled them on the back with fabric O And then I can tuck each of these once they're finished into the bag for zone two Remember organization is your best friend You'll be so glad you took the time to label and sort this as you go because it will make the stitching so much more enjoyable once you get to that point And so now that we have the dots all fussy cut we're going to go ahead and we are going to skip ahead to these little stripes which are in the back here And you'll see I have different size cuts depending on what I need We're going to use these larger stripes that you see here and our larger diamond template to do a little bit of fussy cutting And all we're looking for here when we open this up is to make sure that this stripe is going to run vertically down the center of this diamond And so I'm just going to line one of these purple lines right up with my middle line to ensure that it's going to finish just like this And so that's what we're looking for Basting is in the same way Labeling's done in the same way And then we're going to sort according to our fabric key And so now we're going to move on to fabric group three to finish up the last of our fussy cutting All right we have made it into our final group of fabric group three And so I'm going to go ahead and slide this out of the bag And at the top you'll notice this beautiful tone on tone with those uh classic Tula sparrows And so it might be really difficult for you to see because it really is a true white-on-white print Um so let's go ahead and take a look at the quilt behind me because I just want to point out a few specifics on how these are going to be fussy cut But also I want to remind you that this in particular is probably the most forgiving fussy cutting you're going to do in this entire project And so my philosophy is if there's a bird in the hexagon you've done it right because birds can fly every direction So let's go ahead and take this to the quilt the finished project and look at this So if you see right here here's our little hexagons that set in here And these swallows actually go opposite directions So this little guy is pointing out and this one is pointing in But I just think it's super important to remember that these are a tone on tone And so as long as you have a bird flying in the middle of your hexagon it's going to be okay If you want to be extra particular just follow the diagram in the pattern It shows you exactly how many to turn and cut each direction to match exactly like you see here Even sitting right here it's hard for me to see this tone on tone So I think it's a great opportunity for us to just kind of let it go and just make sure that we have a bird centered in our hexagon And birds can fly every direction And so we don't need to fuss too much about it The other thing we're going to do is we will use the small hexagon to cut out some little starbursts that are on this same print And that's also included in your cutting instructions as well And so now let's move on to the last of our stripes that we'll be fussy cutting We have a few more of the skinny stripes that will be cut in the same way that we saw before where we are lining up that straight line And then also using our hexagons to cut those And then we are going to cut this larger stripe with our diamond as well And so in order to do that let's turn to this page of our pattern And so the only difference here is we want the wide stripes to be running horizontally And we're going to center this Move this over Make sure you guys can see So then we're actually just going to center this right on the edge between the light and dark of the stripe So that we know that our stripes are going to be running directly across this template And so we will cut each of these out and label them So I have some of them done here and I put them in my zone 3 bag So let me show you what those look like all done They look just like this And so you can see um exactly how they turn out And so just continue get everything cut out basted and labeled And remember to just take your time We're not in a hurry That's the beauty of English paper piecing Um it reminds us to slow down and enjoy the process And so just start with fabric group one begin your cutting and keep everything organized It might take you a little while but that's okay Once you have it all ready I'll meet you back here for the next episode where we will start stitching zone one So here's a little life hack If you've ever tried to sew a quilt with friends on a sewing machine it doesn't work But it totally works for English paper piecing because it's all just based and glued to those shapes So bring your friends and have them help you Hey everyone thank you so much for watching at home We're so excited to be almost a million quilters strong here at Missouri Star And so if you haven't already joined our family be sure to subscribe and hit that notification bell so you can be notified of all of our future tutorials And we'll see you soon

More Wall Hanging tutorials

See all