Skip to content

Free quilting video tutorials from Missouri Star

Quilting Tutorials
Palette Pop Episode 2: Machine Piecing

Palette Pop Episode 2: Machine Piecing

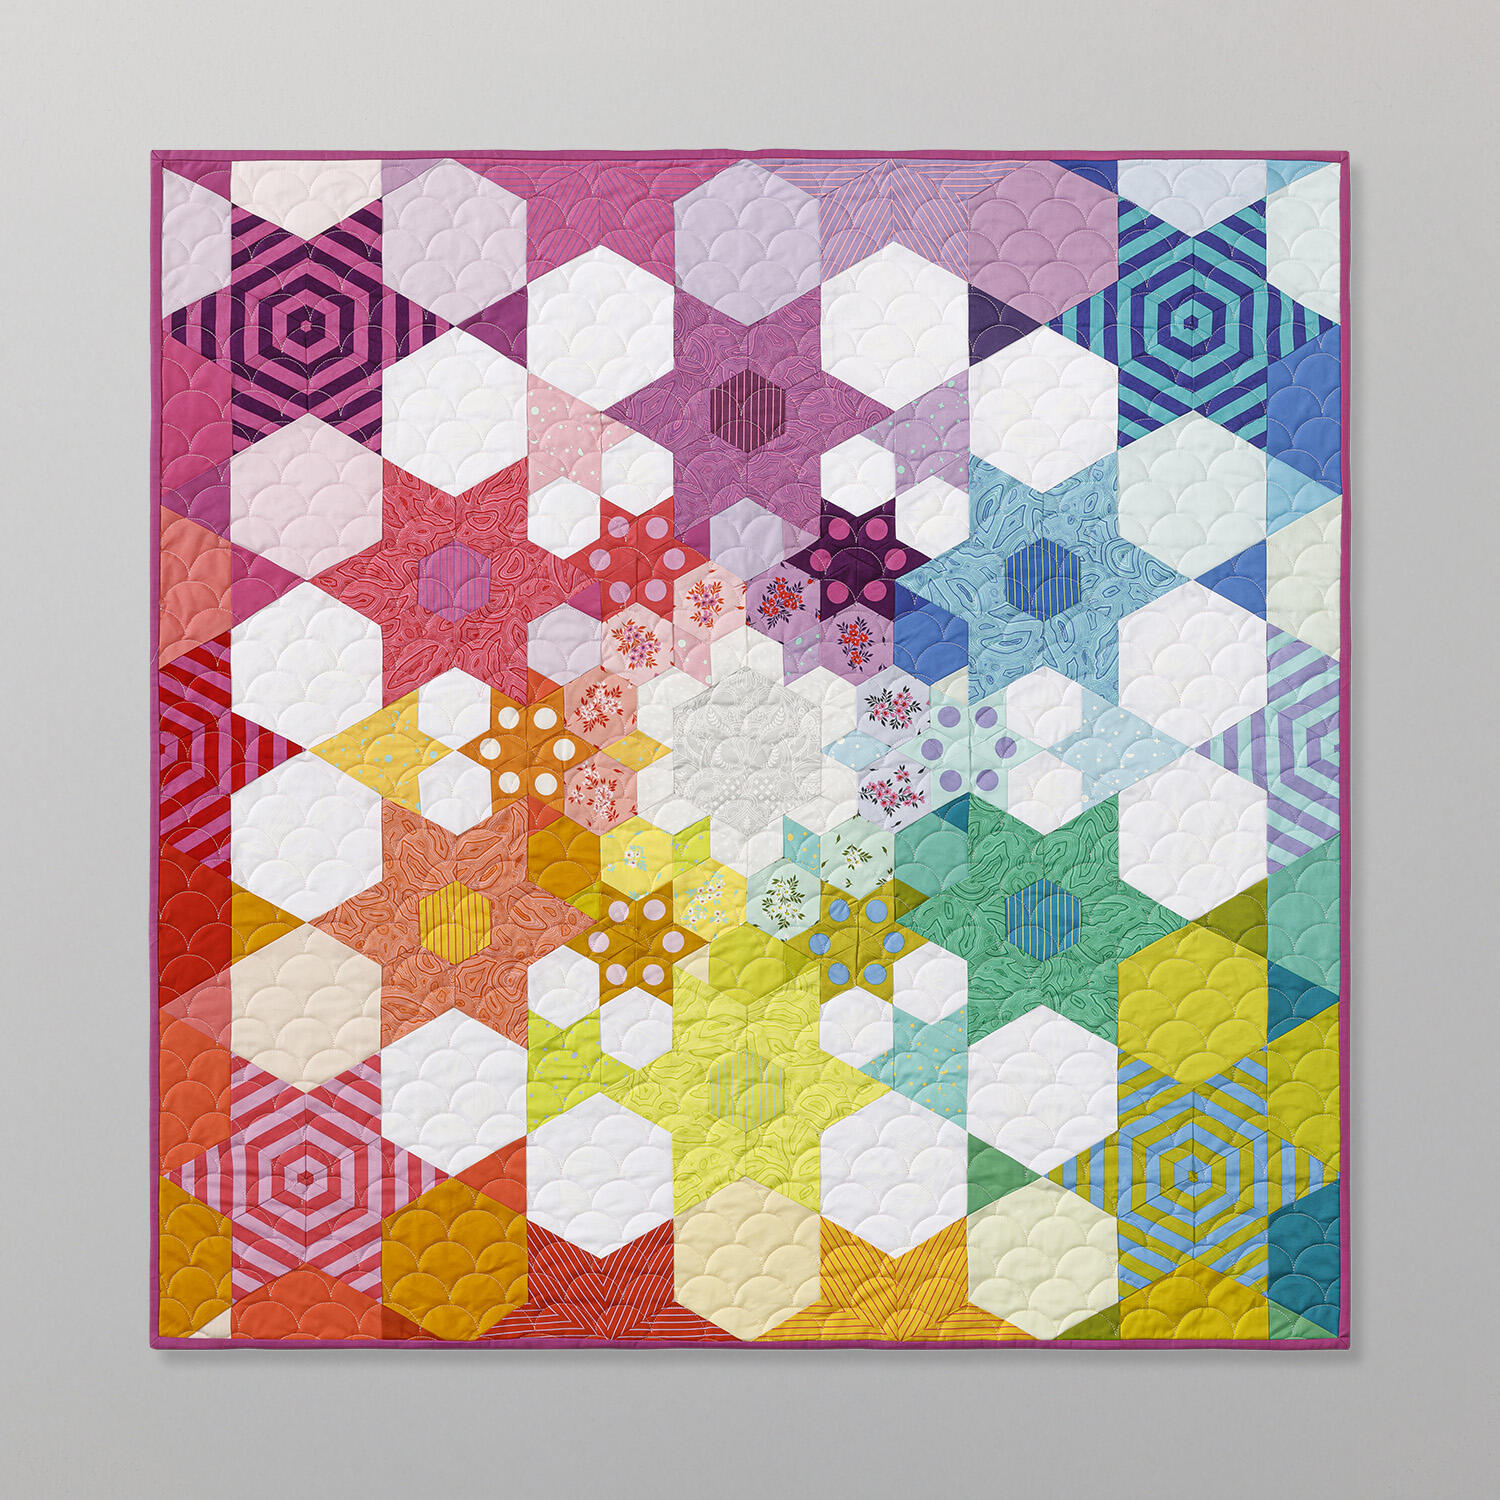
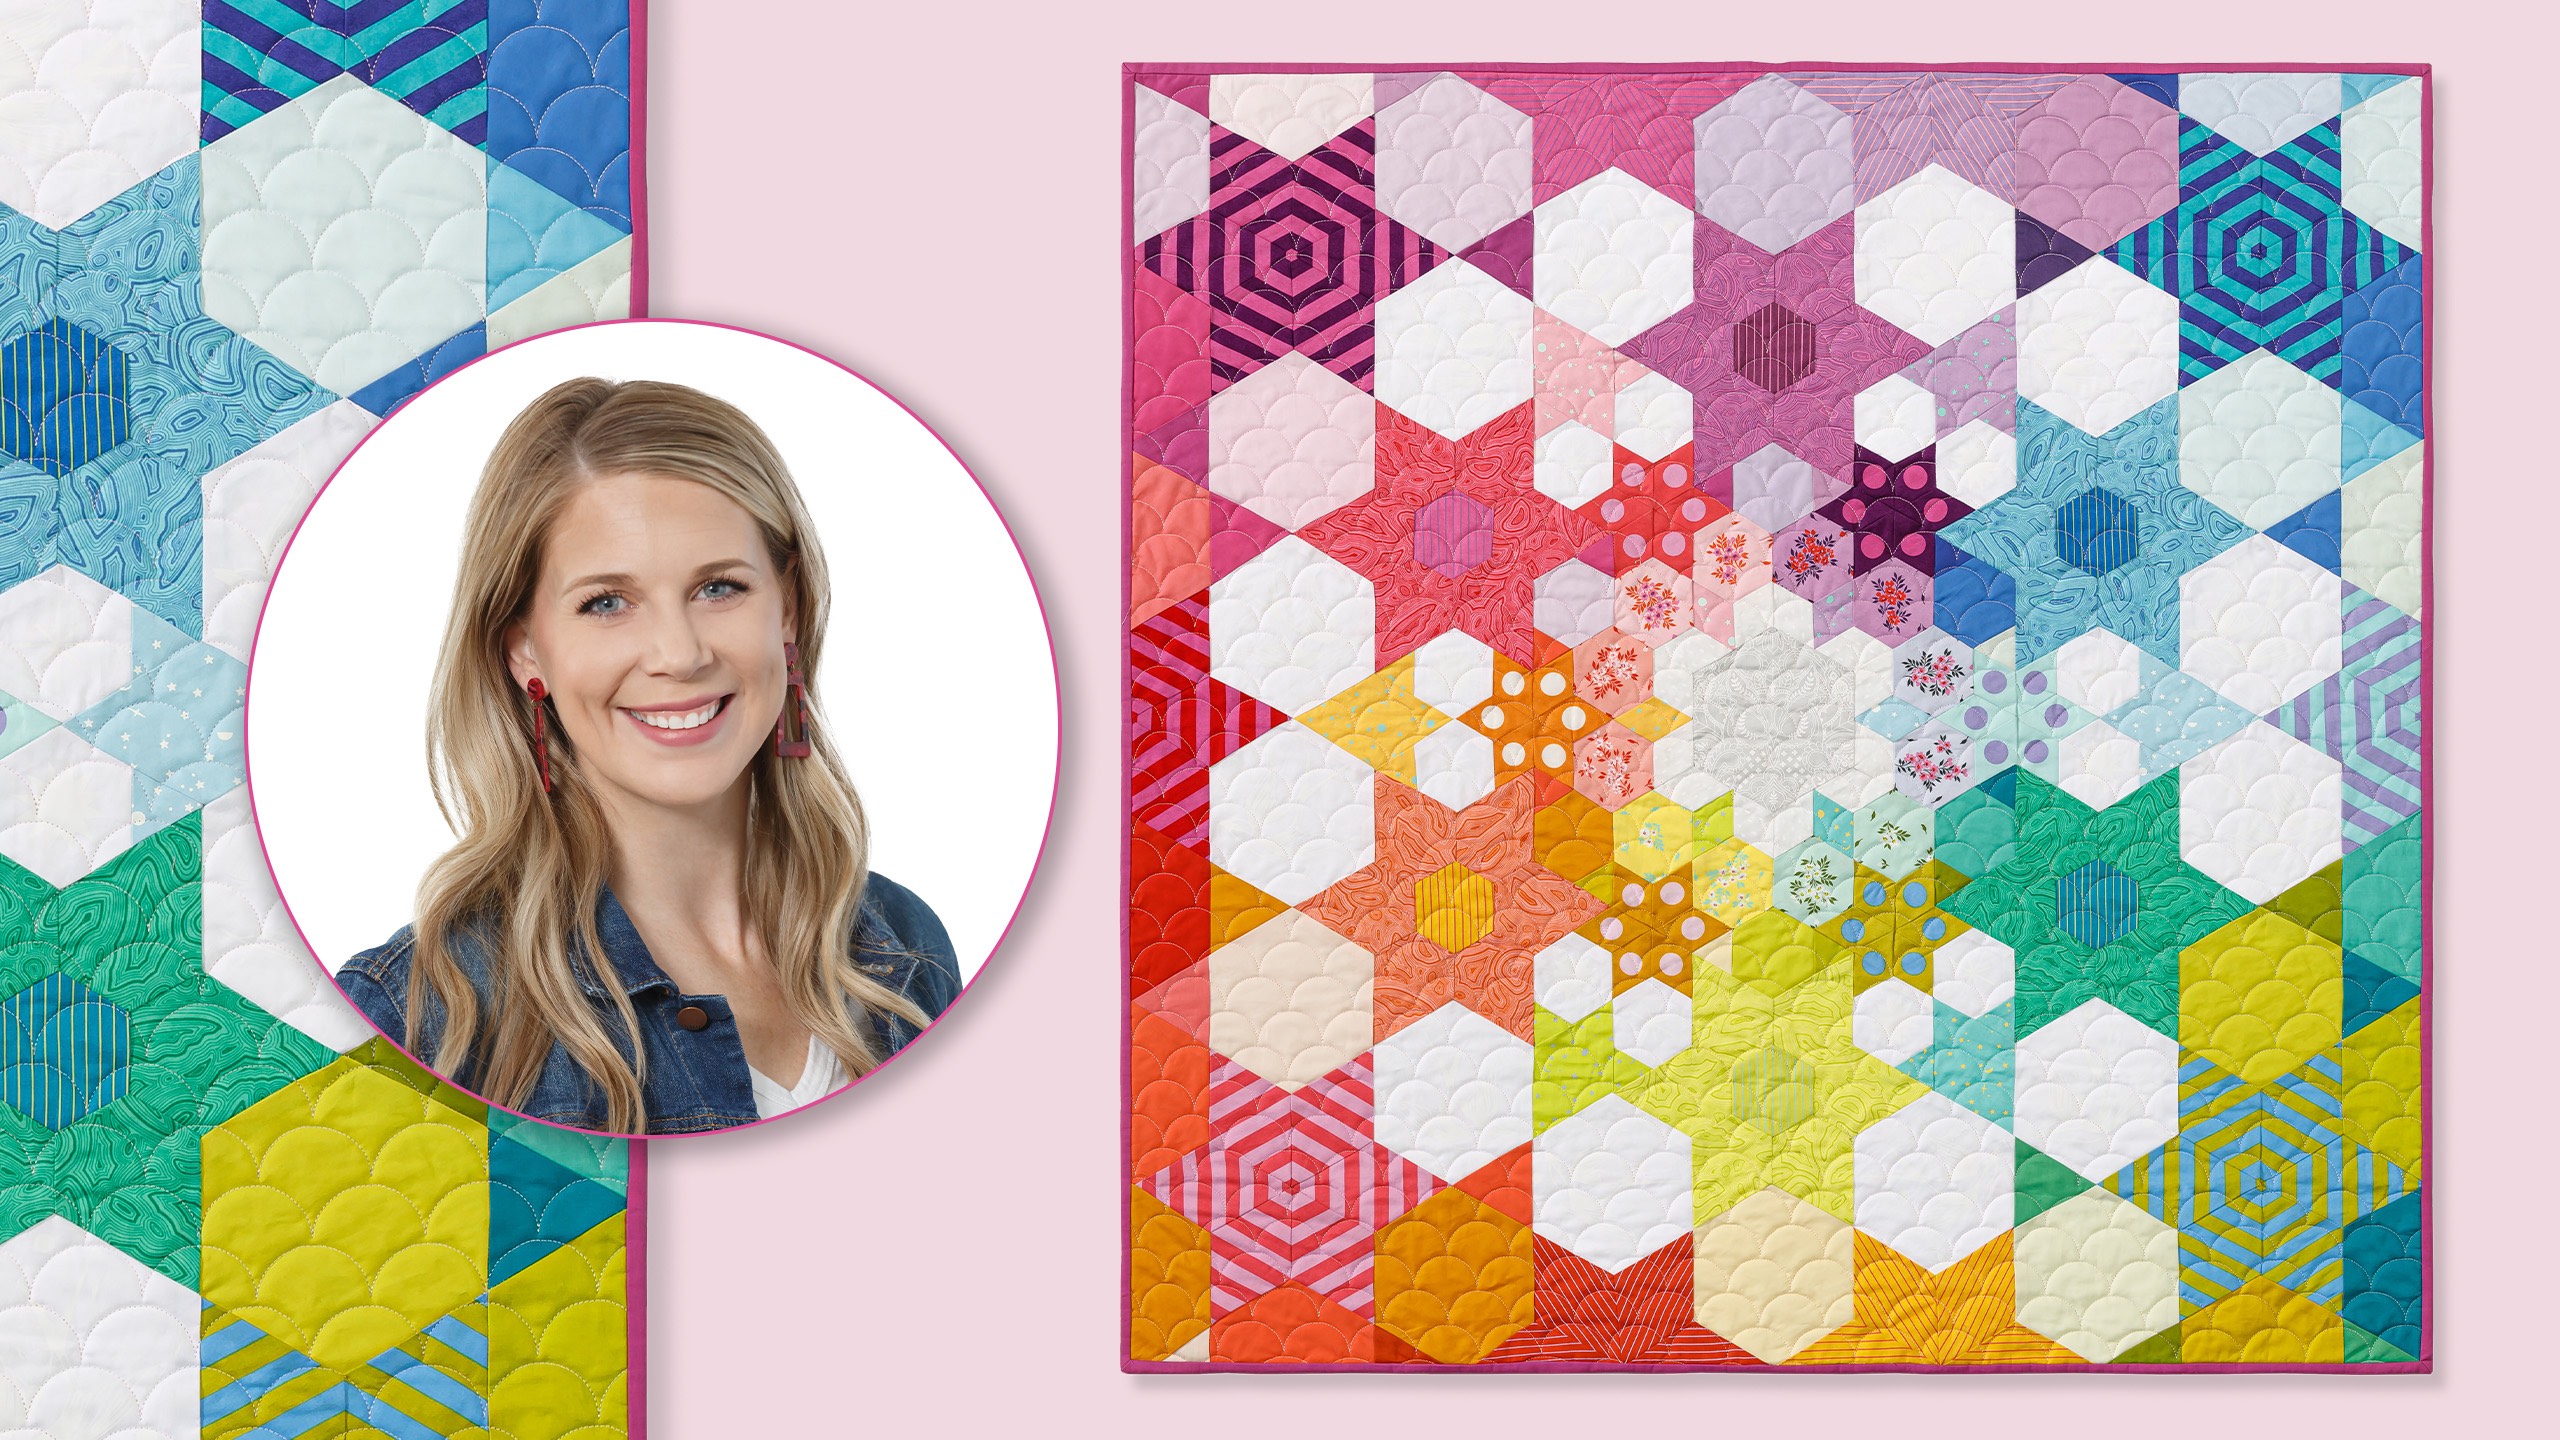
Join Misty in Episode 2 of the Palette Pop EPP Quilt tutorial to learn how to machine piece an eye-popping English paper pieced quilt. This gorgeous quilt features hexagons, stars, and flowers made with vibrant Tula Pink fabrics that give the quilt a real WOW factor! And the MSQC English paper piecing templates make it fun and easy to do. Follow Misty through all the Palette Pop EPP Quilt tutorials as she walks you through the quilt-making process from start to finish!

Instructor

Misty Doan

Misty Doan grew up surrounded by sewing and quilting. She loves spending time sharing tutorials each week each week, and when she’s not stitching up one of her fun sewing projects for home decor, most likely you’ll find her hanging out with her husband and three awesome kids or working on a house project.

Common Questions

What is covered in Palette Pop Episode 2: Machine Piecing?

Join Misty in Episode 2 of the Palette Pop EPP Quilt tutorial to learn how to machine piece an eye-popping English paper pieced quilt. This gorgeous quilt features hexagons, stars, and flowers made with vibrant Tula Pink fabrics that give the quilt a real WOW factor! And the M...

How long is the tutorial video?

The tutorial video is 00:10:02.

Are supplies listed for this tutorial?

Yes. The tutorial page includes the supplies and materials connected to this project.

Video Transcript

hey everyone it is Misty and I have a really fun tip to share with you guys today These are our English paper piecing fussy cut templates but we've designed them to make it so you can actually sew these shapes on the machine Let me show you how to do it So first of all I really want to encourage you if you haven't watched some of these English paper piecing projects I've got two out One is a great beginner project and the second is the start of this pallet pop wall hanging which has been so much fun And I love English paper piecing because it's great to slow down enjoy some hand stitching while you're traveling sitting in the car watching TV But if you know hand stitching is not for you at this time in your life we have these great templates that can make this possible for you to achieve beautiful designs like this on your machine by using Y seams So I'm going to show you how to do it using this diamond template I have some of my shapes already cut out of my fabric And so I'm going to take this one here and um whatever marking tool you would like I just have one that will wash away And so I'm just going to lay this right on top of the reverse side of my fabric And I'm going to begin by marking these points this little circle dots that are cut all the way through And so those are going to reference where I'm going to start and stop my stitching So that's where I'm going to place my needle But just to make it even easier on myself I am going to go ahead and mark all of the stitch lines to make it a little bit simpler And so I'm going to line the solid line up with the edge of my fabric and just mark from point to point now And then I can spin this and mark all four sides Just like so And one more And so no matter what your shape is you'll use this exact same technique to mark your points and then draw your stitch lines And so you can see you know here's the markings on the diamond the large hexi this petal template It's all the exact same idea but I'm just going to demo on these diamonds here And we're going to stitch these together into a star And so I'm going to place two of these right sides together One thing I do want to note is with English paper piecing we use a little bit larger seam allowance This is 3/8 instead of our standard 1/ quarter inch when we're piecing by machine So you are going to want to adjust that under the needle So to begin with I'm going to take this to the machine and I'm going to place my needle right at this first line So let's go ahead and do that So I am going to lower my presser foot and make sure that I'm right in the center there And then I can lower my needle down right at that starting point And then I'm going to stitch straight down this marked line and make sure I stop And I'll back stitch at the start and the stop here to really lock these threads in place And I just do not want to sew past that So I'm going to slow down as I approach One more stitch And then I will back stitch and trim my thread And it is helpful if you have an ironing board right next to you I'm just going to go ahead and roll this back now And then just roll it back gently There we go And so now we can bring our next shape in I am going to just make sure that my stripes are matching up And I'll line this up on top of here And so same idea I'm actually going to put it on this side so that my seam is out of the way So I will start here and stop here at the back and then press this open So again we're going to start right at that mark Make sure my needle is exactly on that point And then slow down as I approach this other side and back stitch There we go Beautiful So now I'll press that back as well set the seam so it relaxes and lays nice and flat You can see how beautifully this is coming together So to finish out this star I will just continue in this same way I'm going to assemble another half and then I'd place the two halves together to sew straight across here So I'm going to go ahead and take care of that and I'll meet you back here when I have the other half done So I have my other half done So let's go ahead and join our star together to complete it So we'll just lay this in half But even when you sew it together you want to make sure that you're starting and stopping at those points that you've marked because we're going to still have those Y seams that we'll continue joining on later with other shapes So let's go ahead and do that And this is nice and easy One long straight seam Just remembering to back stitch at the start and the stop There we go So I've lined those up And then I'm just going to make sure I have everything situated just so that I can just cruise down Slow down as I approach that other side One more stitch and then a back stitch Perfect All right So let's press that Set the seam Roll it back And I have heard from some people that if you're doing a lot of this a large project sometimes it's better to just finger press and wait until you get farther on because you can distort it if you're not careful when you're pressing So just keep that in mind And so here is our little star It looks pretty good And so now let's go ahead and add a hexagon to one of these star legs And so this little guy is actually going to fit in just like so on this end And so I've gone ahead and marked this in red So you can see here's my starting place And I'm going to stop when I get here And then we're gonna actually pivot and continue adding this hexagon to this corner here So let's go ahead and take this to the machine All right So I did that first line of stitches You can see here I went from the start to the stop And now we're going to pivot this and we're going to sew down this edge And so this part can get a little bit tricky but that's why it's so important to make sure that you don't catch any extra fabric under here And we can just pivot this and it will line up straight down this edge And so now we're going to go ahead and sew from point to point again And we'll have set in this cute little hexagon All right So if it feels a little bit awkward it takes some practice just like everything else when we're learning a new skill So be easy on yourself and don't be afraid to pin if you need to Um I have done a few of these And so you just kind of make the fabric go where you want to but do whatever makes this easiest for you And so now that I have this lined up along this edge just like before I can carefully place my needle right at the start put my needle down And I will take a few stitches there and then back stitch There we go To that beginning And then I'm going to make sure everything's lined up again now that I have that anchored in place And I'm just going to stitch to this point and not go past And then again there we go And there you can see we've set in that hexagon with no issues at all And every single one of these shapes works in this exact same way So don't let hand stitching stop you from trying a beautiful pattern like this You can totally do it Uh just give it a try and I can't wait to see what you make Hey everyone thank you so much for watching at home We're so excited to be almost a million quilters strong here at Missouri Star And so if you haven't already joined our family be sure to subscribe and hit that notification bell so you can be notified of all of our future tutorials And we'll see you soon

More Wall Hanging tutorials

See all