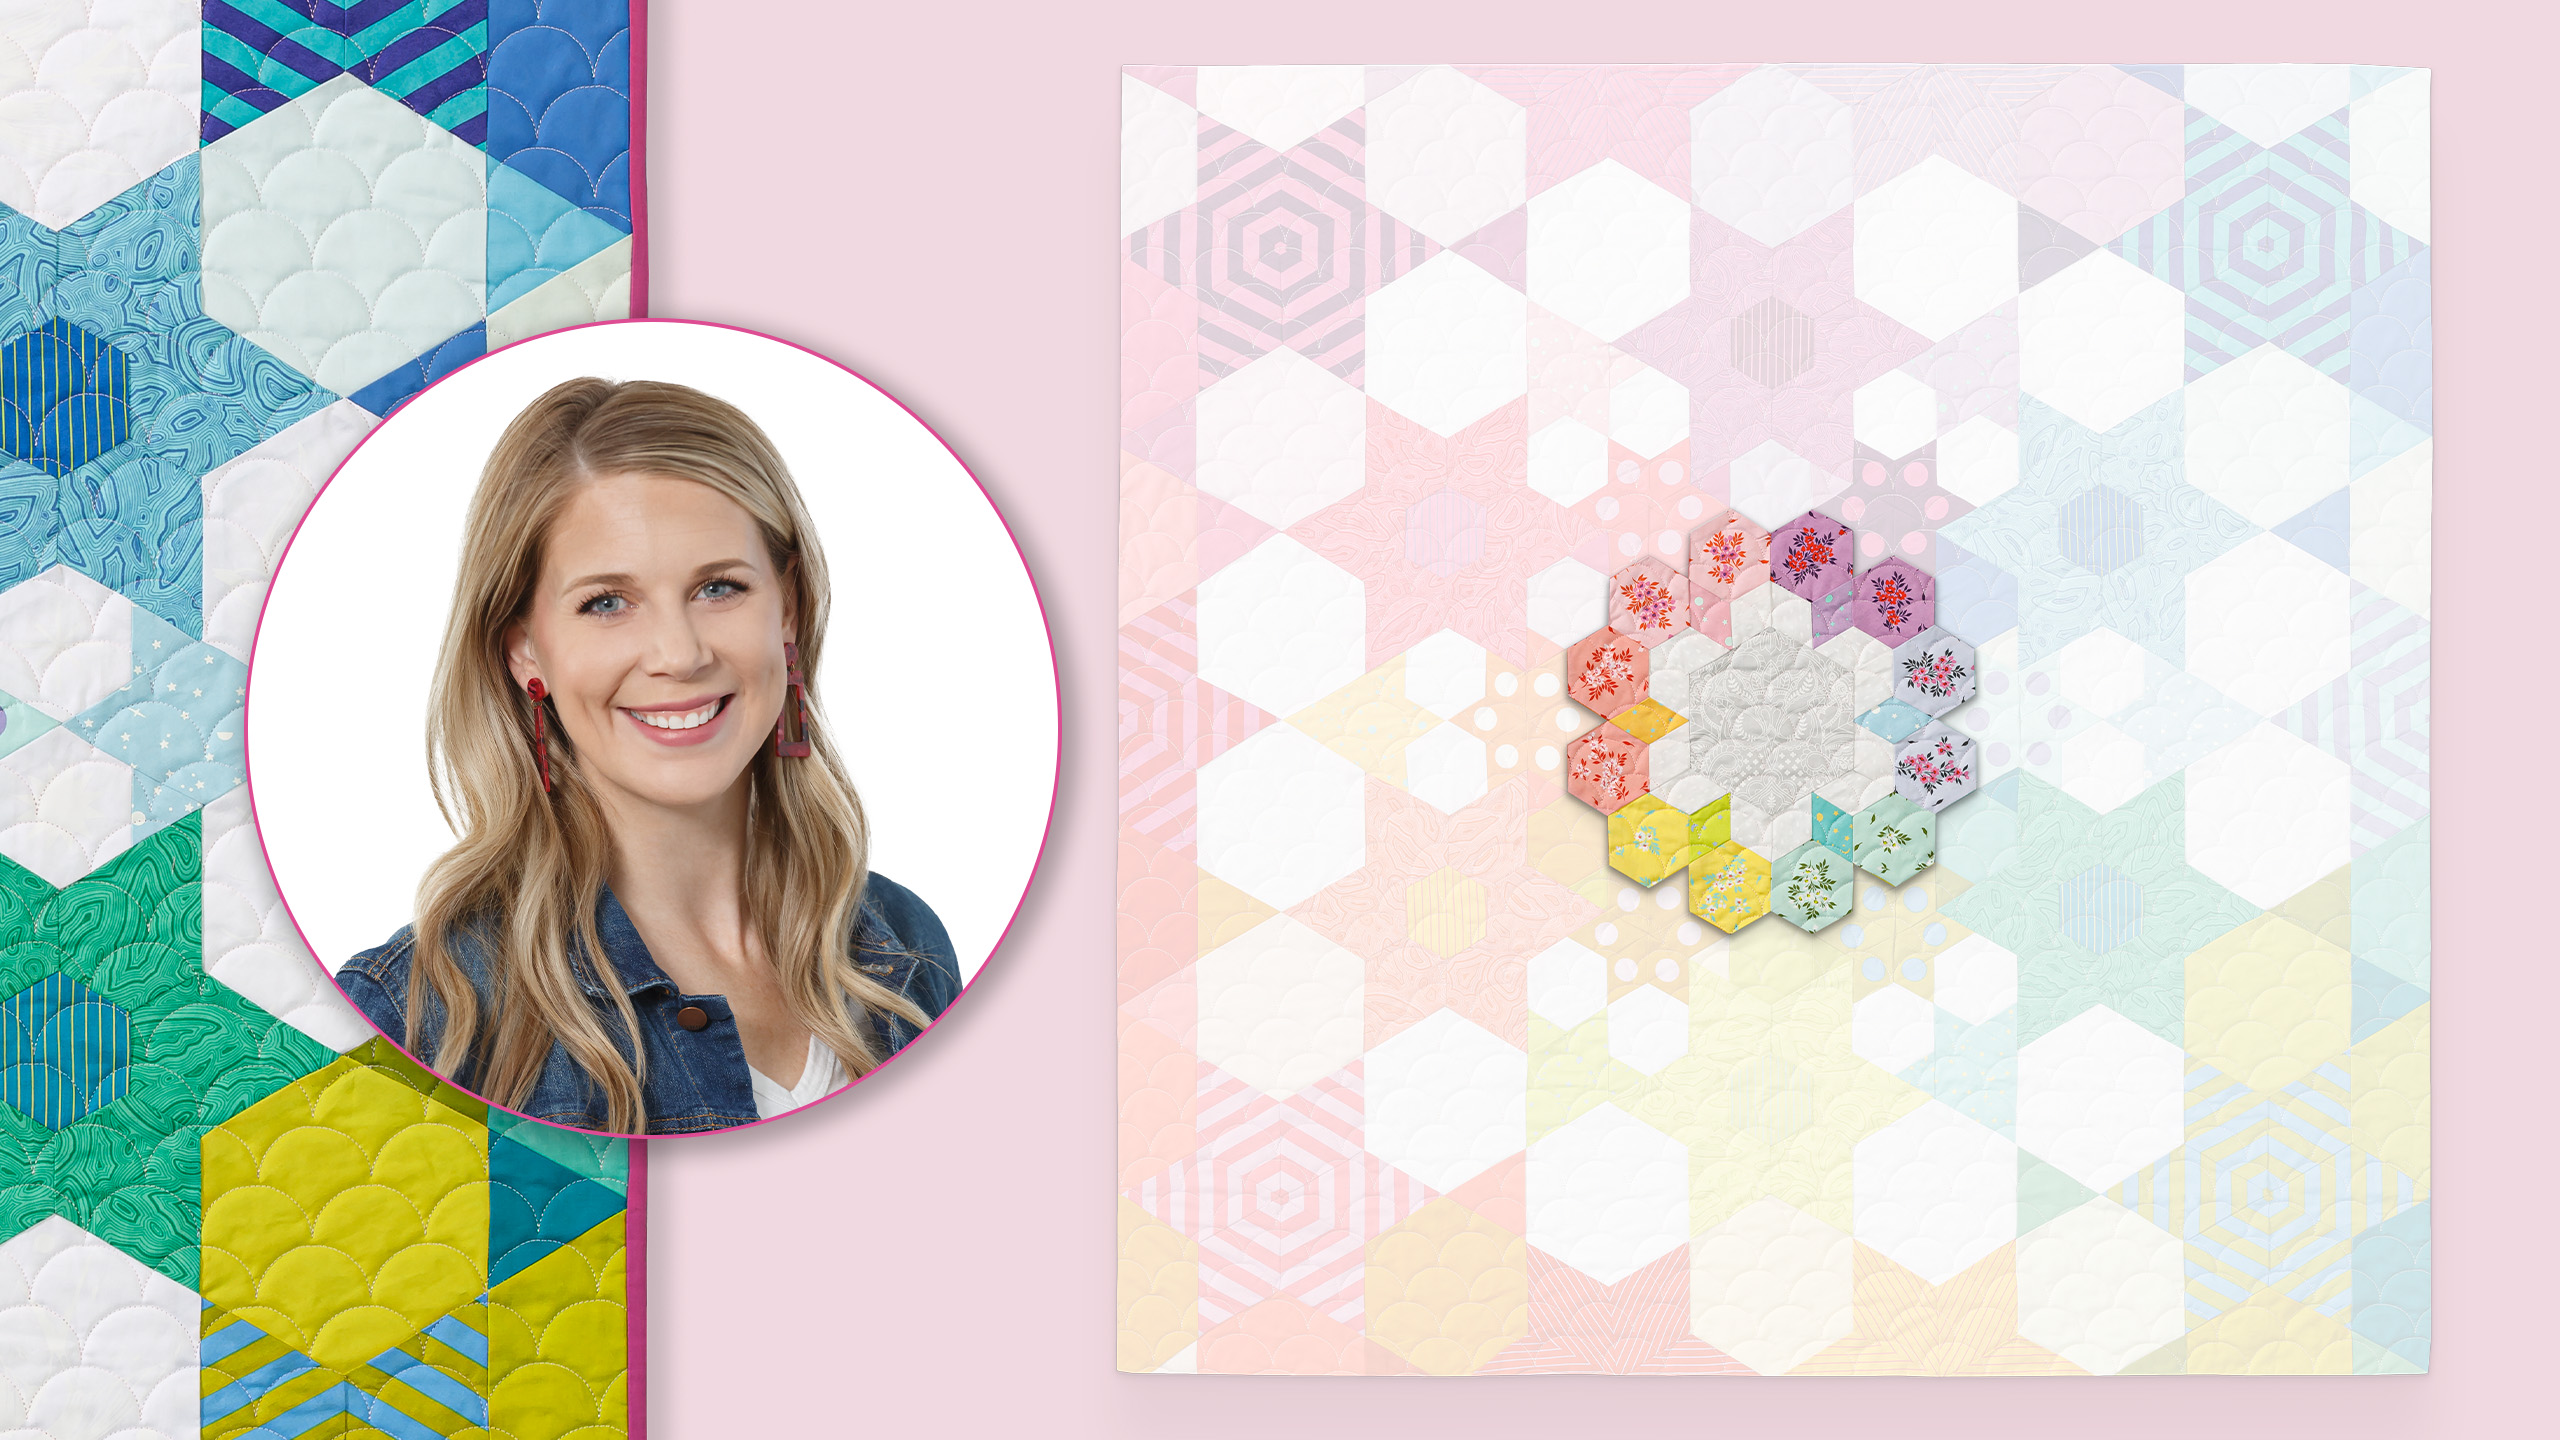
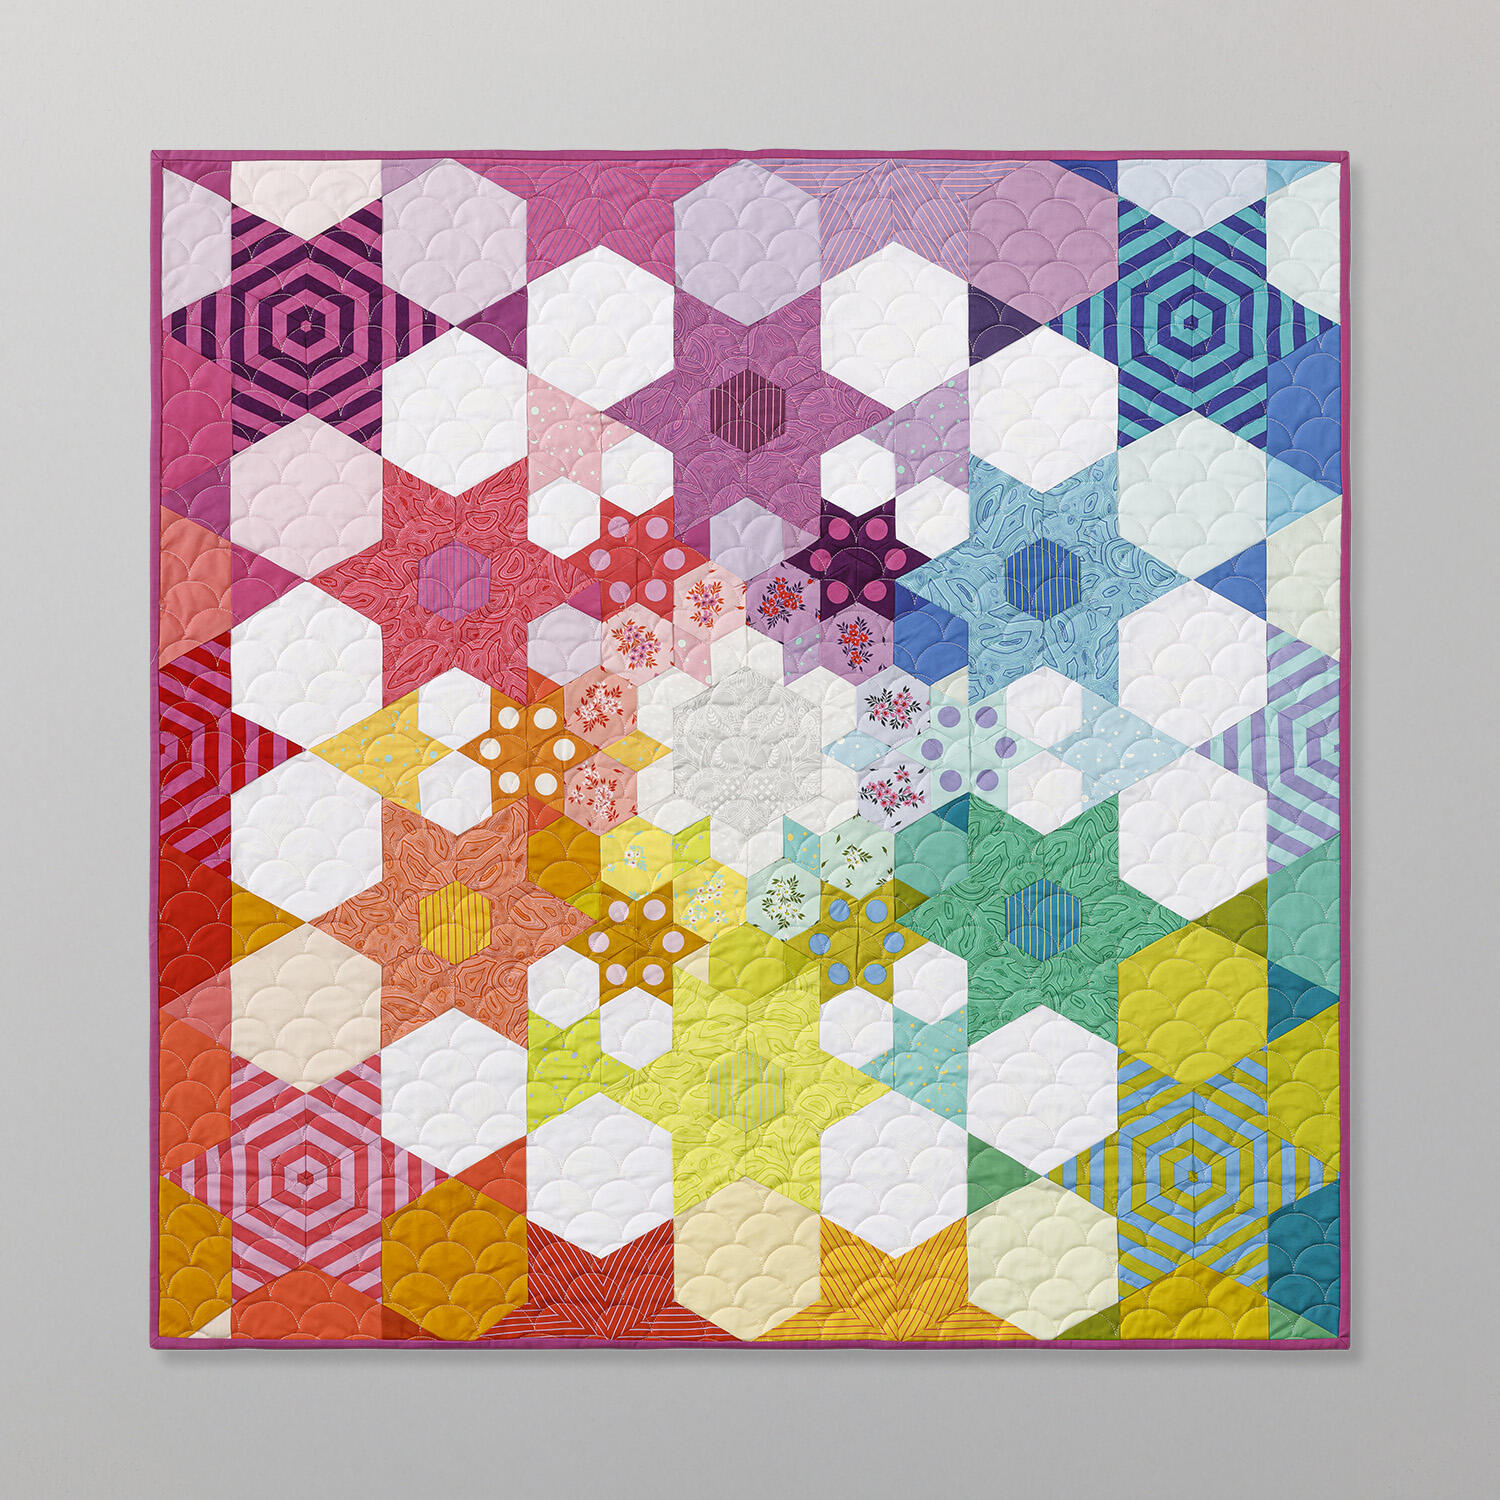
Join Misty in Episode 3 of the Palette Pop EPP Quilt tutorial to learn how to piece the center of an eye-popping English paper pieced quilt. This gorgeous quilt features hexagons, stars, and flowers made with vibrant Tula Pink fabrics that give the quilt a real WOW factor! And the MSQC English paper piecing templates make it fun and easy to do. Follow Misty through all the Palette Pop EPP Quilt tutorials as she walks you through the quilt-making process from start to finish!
Misty Doan grew up surrounded by sewing and quilting. She loves spending time sharing tutorials each week each week, and when she’s not stitching up one of her fun sewing projects for home decor, most likely you’ll find her hanging out with her husband and three awesome kids or working on a house project.
What is covered in Palette Pop Episode 3: Piecing the Center?
Join Misty in Episode 3 of the Palette Pop EPP Quilt tutorial to learn how to piece the center of an eye-popping English paper pieced quilt. This gorgeous quilt features hexagons, stars, and flowers made with vibrant Tula Pink fabrics that give the quilt a real WOW factor! And...
How long is the tutorial video?
The tutorial video is 00:09:21.
Are supplies listed for this tutorial?
Yes. The tutorial page includes the supplies and materials connected to this project.
Video Transcript
Hi everyone. Welcome back to episode two of our Pallet Pop English paper piecing series where we're walking step by step through this beautiful wall hanging. You should have all of your shapes basted and organized into their sections. And today we are going to stitch zone one, which is this whole middle that you see here. [Music] [Music] So, I have grabbed my zone one bag of all of my basted and labeled shapes and I have those ready to go. And something that's important to keep in mind when you're working on this project is the entire thing kind of ombres around the center. And so once you've figured out one color, typically you're going to repeat that exact same process in each of those different shades. And so I have the shapes for the pink portion of this center. And once I show you how to do this, you're just going to repeat it with every single color. So I have those laid out. And of course my middle here. Everything's labeled to keep it all straight. And I also have a needle threaded with just some silver thread. If you like to change your thread color, feel free. But I found if I just use, you know, a very, very light silver gray, it will just blend with everything and you don't really see those stitches. So, let me show you here how to knot this really quick or how I like to knot it. There's lots of ways to knot your thread, but I am just going to lay this thread across my pointer finger. So, we're going to cross it so it makes an X. And then I'm going to place my finger and I'm going to roll those threads between my thumb and my pointer finger. And then I'm just going to slide that down. Then I've got this great little knot at the end of my thread and I'm ready to go. So, now that I have that all set, I can set it aside. And now, let's talk about how these shapes are going to come together. So, we have our little hexagons with our flowers. And then we have these three diamonds and our large owl hexagon for the center. So, up first, we're going to join our three diamonds. And that's going to go our white, pink, white. And so how I like to do that is I'll start by stitching here going down and then pivoting back up at the top. And that's just going to minimize the number of times I need to knot or I'm sorry, not trim and renot my thread. And so I'm going to begin by folding these back just like so. And I am going to place my needle right through the edge. If you have never done English paper piecing before, you just want to catch that tiny little fold of fabric that's right on the edge of those papers. You don't want to go through the papers themselves. And so, we're going to take that first stitch. And I like to do a couple of stitches right there to lock it in place. So, now that I've done those lock stitches there at the beginning of this seam, I'm just going to continue with a whip stitch down the side of this shape. until I get to the other end. I like to keep my stitches fairly close together. But this is a perfect time to turn on a favorite show, listen to an audio book or some great music and just enjoy the nice relaxing process of working on your English paper piecing. And remember, once you have all of these shapes basted and ready to go, they're wonderful to take with you on trips if you're riding along in the car. And you'll be really surprised at how quickly they start to take shape. So, one thing you might notice is these little tails here at the end as as I'm approaching it. I just kind of hold them out of the way for now. As long as I'm stitching the correct layers of my fabric, all of that's going to be hidden behind in the seams and so you don't have to worry about it. So, I'm just going to stitch there. And just like we did that lock stitch at the beginning, I'm going to go ahead and make sure I'm securing that point really, really well. And then I'm not going to trim my thread. I'm going to leave that just like so. Then I can open this up. You can see how great that's looking. Easy peasy. And then we're going to add this other diamond on the opposite side. So, I don't even have to trim my thread at all. I can just pick my needle back up and come down this other side again. Doing that lock stitch right at the beginning to get things started. And then just stitching away. So, I'll keep finishing this up and then I'll come back here to show you how to add the [Music] hexagons. All right. So, I am at the end of this run and so I am to a place where I'm going to go ahead and knot this off. So, I'm going to take one more stitch here through both of those layers. And then I'm going to pull this up, leaving just a little loop here that I can slide my needle through and tugging that knot in place. And I always double knot it because we just don't want to run the risk of all of our hard work coming out. And then I can grab my little scissors, trim this, and then I always immediately knot it again. So, I'm just ready to be stitching. So, same thing, just crossing that over, rolling it between my fingers, and sliding it down. So, my knots's ready to go. And so, now here's our little diamonds all stitched together. And so, now we can add our first hexagon. We have one that's going to come in here and another that's going to come in here. And this is another thing that you can can do in a continuous line of stitching. So, we'll start at one end and make our way all the way down adding both of those hexagons. So, let's go ahead and do that. So, I'm going to fold this over here to do this little row first again. Just fold that little tail out of the way. Doing a lock stitch and making our way [Music] down. Okay, so we've stitched this first little run of our hexagon. And so now you can fold this back and see that's where we need to go. And once you have some papers in here, just remember you can fold those right through the middle. You just want to make this go wherever you need it to go. And so now I'm going to line up these two edges and just continue my stitching. And it's really as simple as that. And so just take your time, enjoy the process, and I'll meet you back here when I have this whole little segment all stitched. [Music] [Music] [Music] All right, I have my little pink section all stitched together here. And here is our middle with our owl. And this piece is just going to set in right here. But I do want to show you once you've made this little section, every other color is stitched exactly the same way. So I have a lot of this done ahead of time for you. And so you can see it's the exact same shape. Here's our purple, blue, green, yellow, orange. And this, of course, is where the pink one that we made is going to fit in. And remember, you can fold this exactly how you need it to be. We'll stitch down this side and then maneuver this to attach the middle. Don't be afraid to bend the papers because when we get all of this done, as we make our way out, we can actually remove the ones in the middle. That will make it easier to manage as we continue to add more and more shapes. So, I am going to fit this one in here, and I'll go ahead and finish this entire zone one. and I'll see you next time as we stitch zone two. Hey everyone, thank you so much for watching at home. We're so excited to be almost a million quilters strong here at Missouri Star. And so if you haven't already joined our family, be sure to subscribe and hit that notification bell so you can be notified of all of our future tutorials. And we'll see you soon. [Music]


 Missouri Star Palette Pop - English Paper Piecing Kit$199.95Shop →
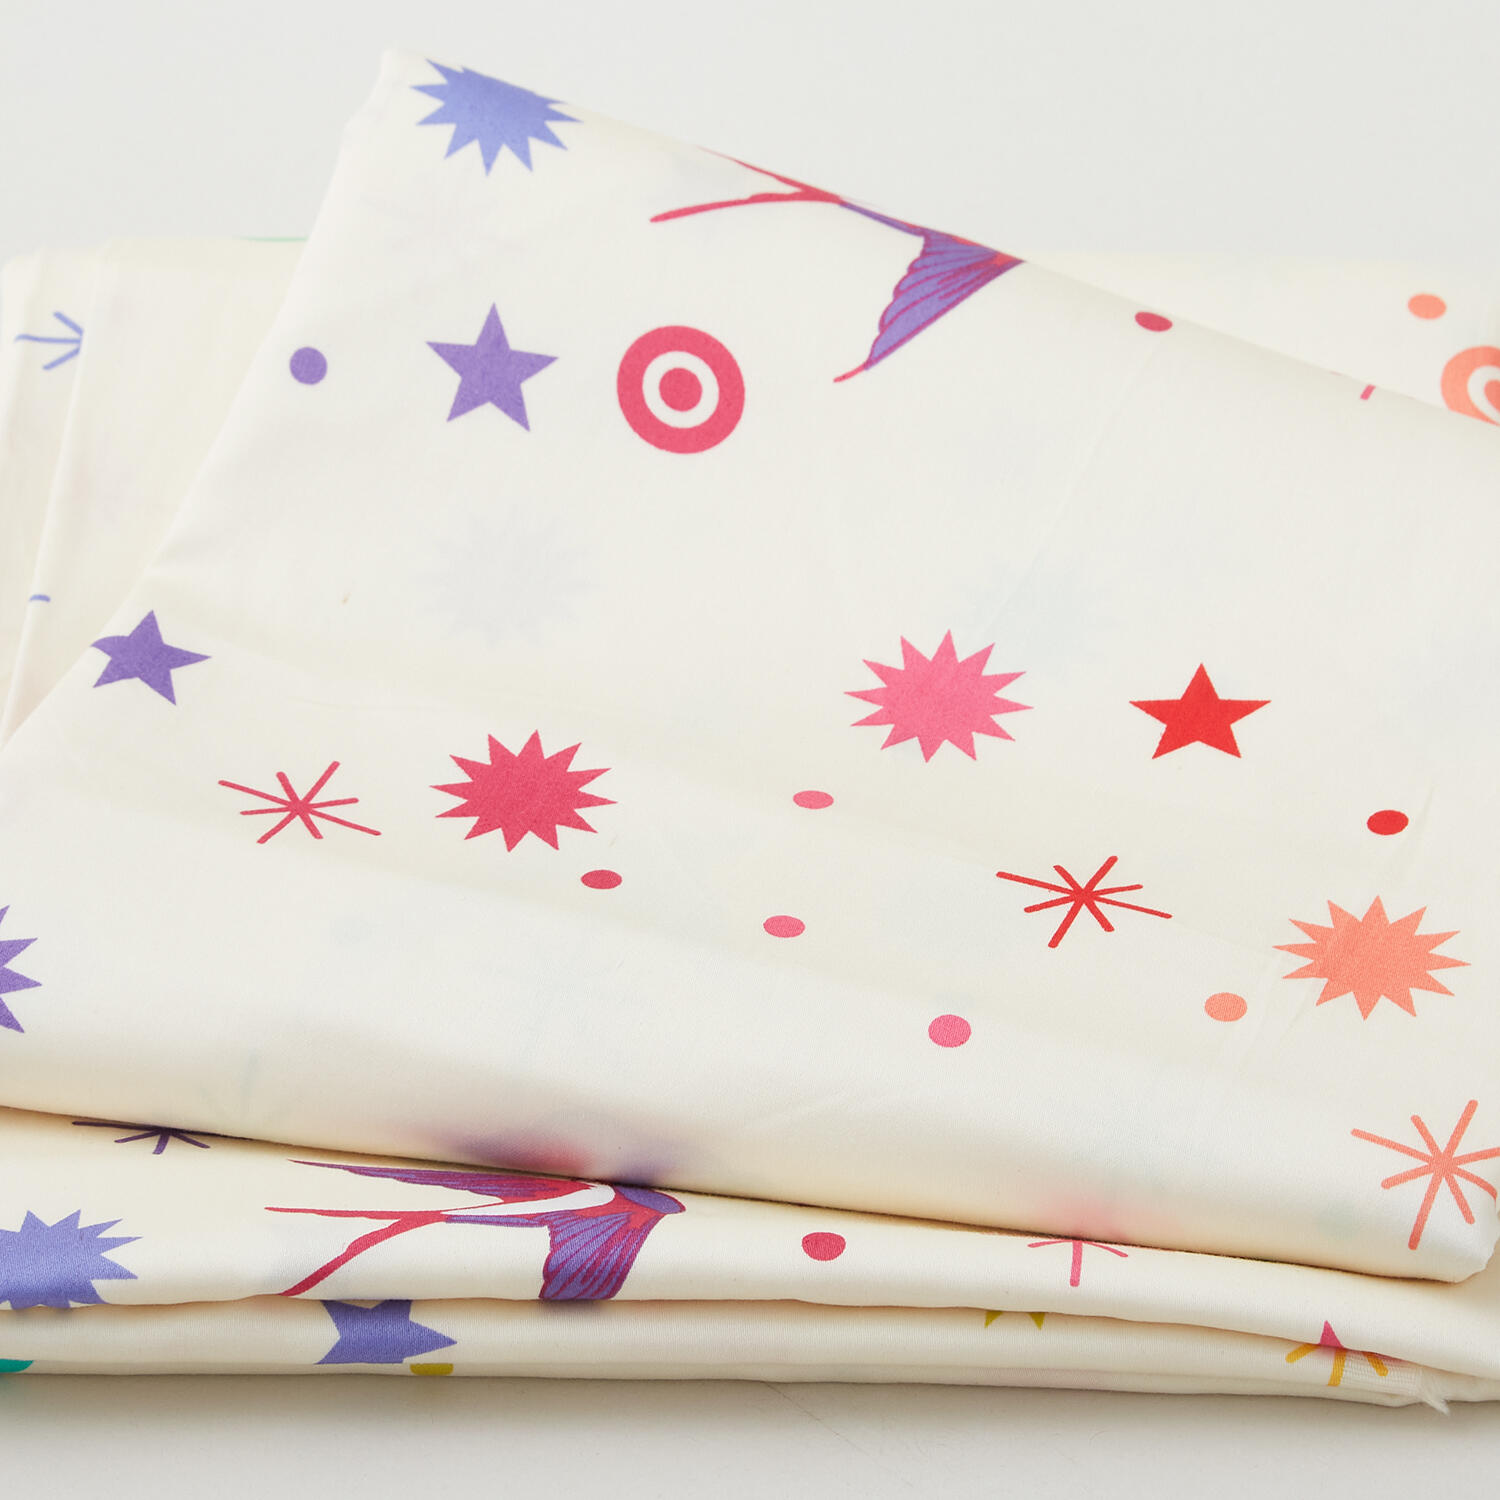 Tula Pink's True Colors - Fairy Dust XL Cotton Candy 108" Wide - 1 1/2 Yd Cut$35.95Shop →
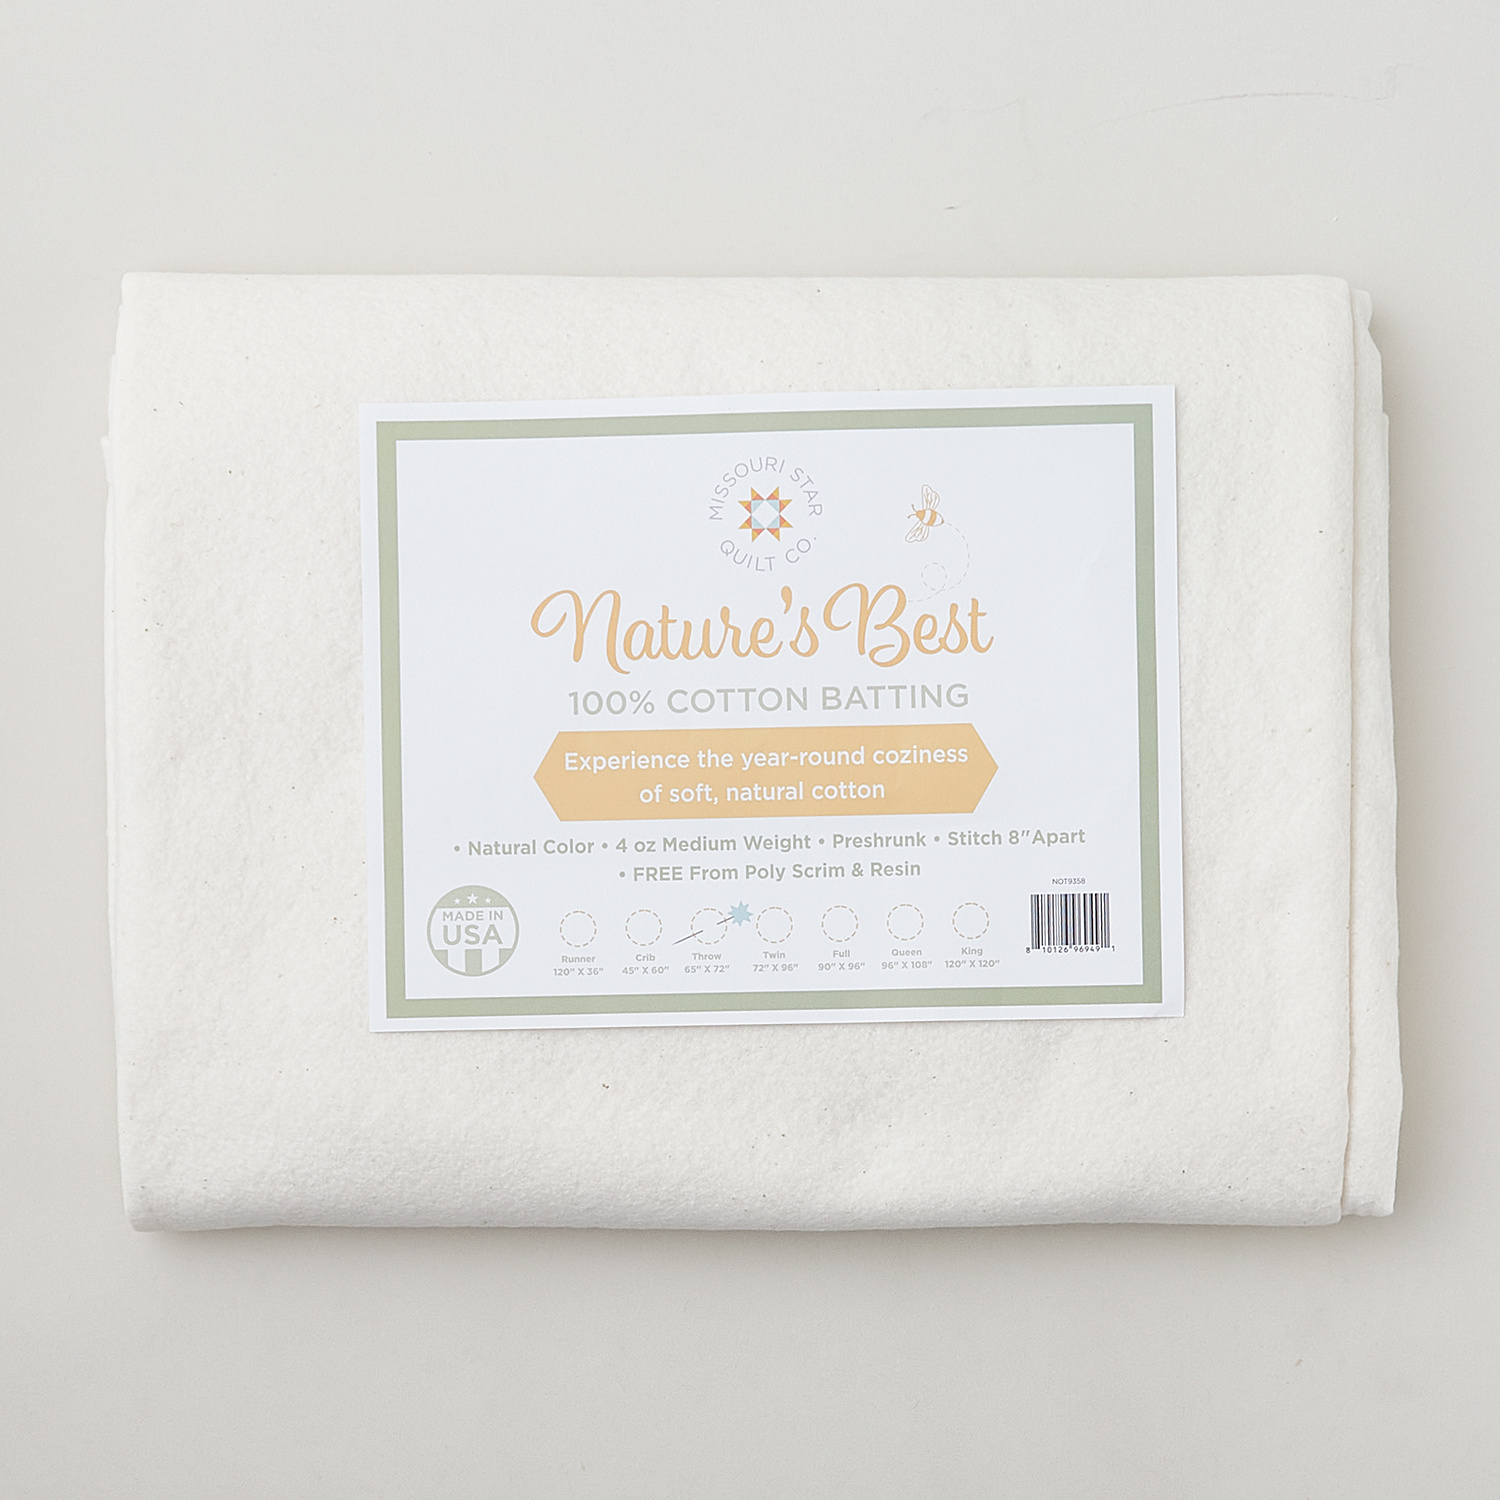 Missouri Star Nature's Best 100% Cotton Throw Batting - Natural$19.95Shop →
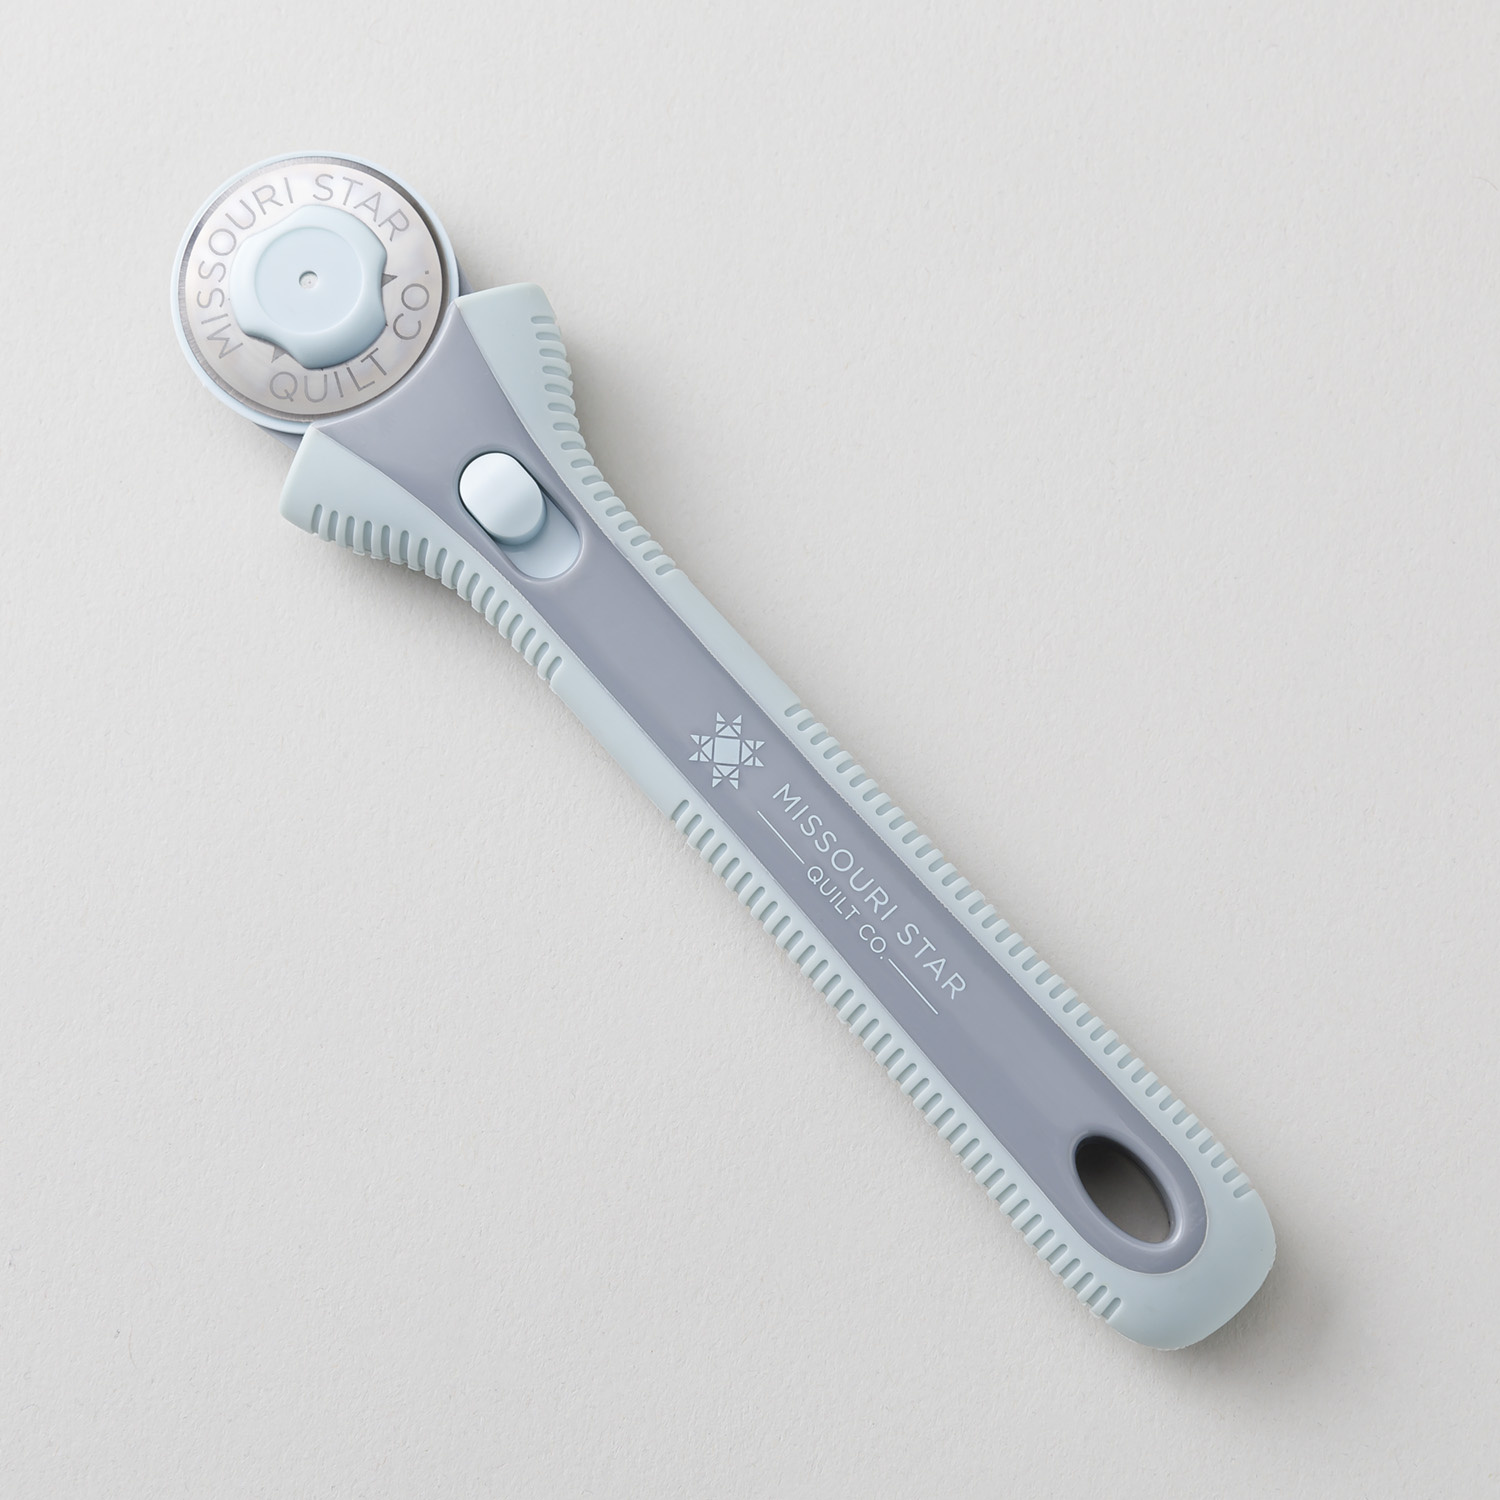 Missouri Star 28mm Rotary Cutter - Klara$16.95Shop →
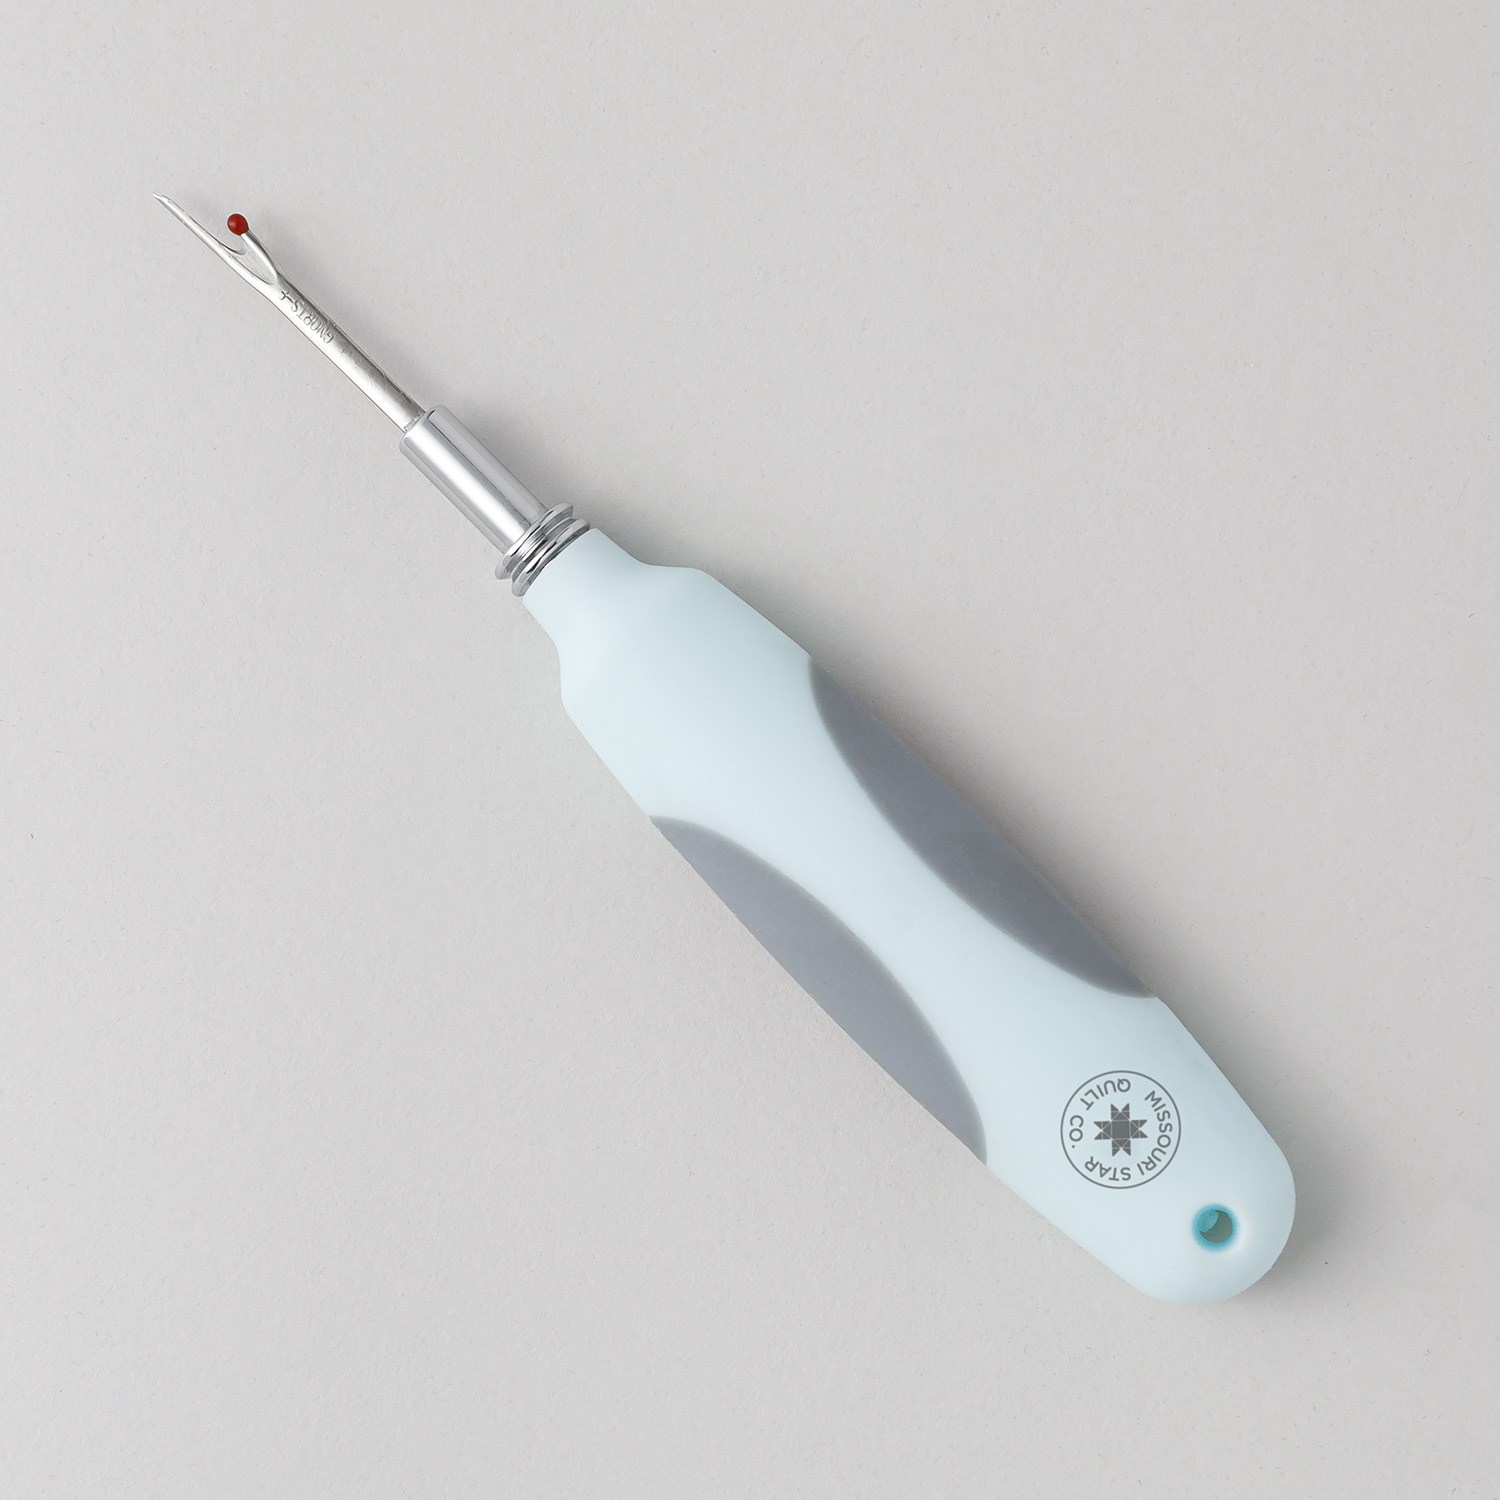 Missouri Star Seam Ripper - Frida$9.95Shop →
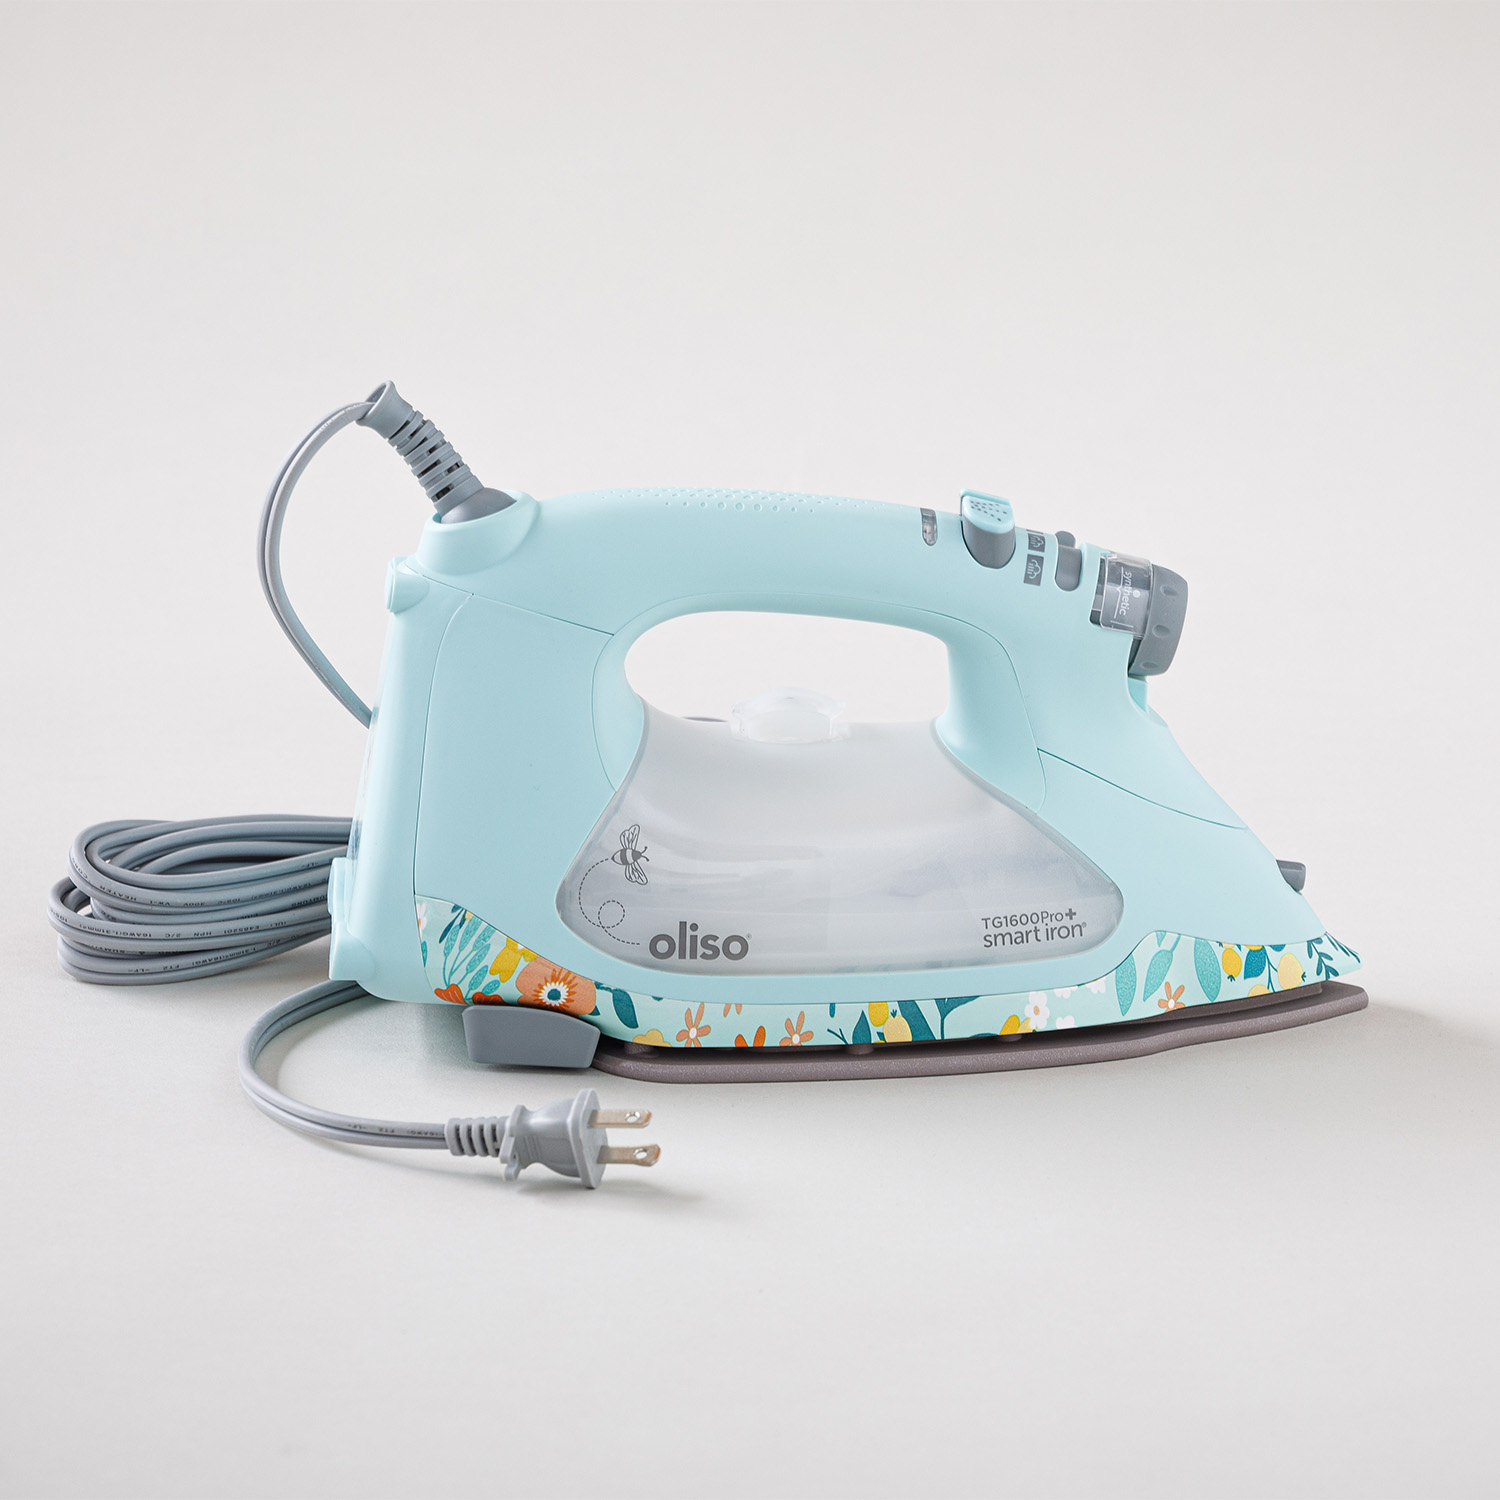 Missouri Star + Oliso TG1600 ProPlus Iron$209.95Shop →
 Missouri Star 8" Everyday Scissors - Amelia$19.95Shop →
 Missouri Star 50 WT Cotton Thread White$7.95Shop →
 Bernette 77 Sewing and Quilting Machine$1549.00Shop →