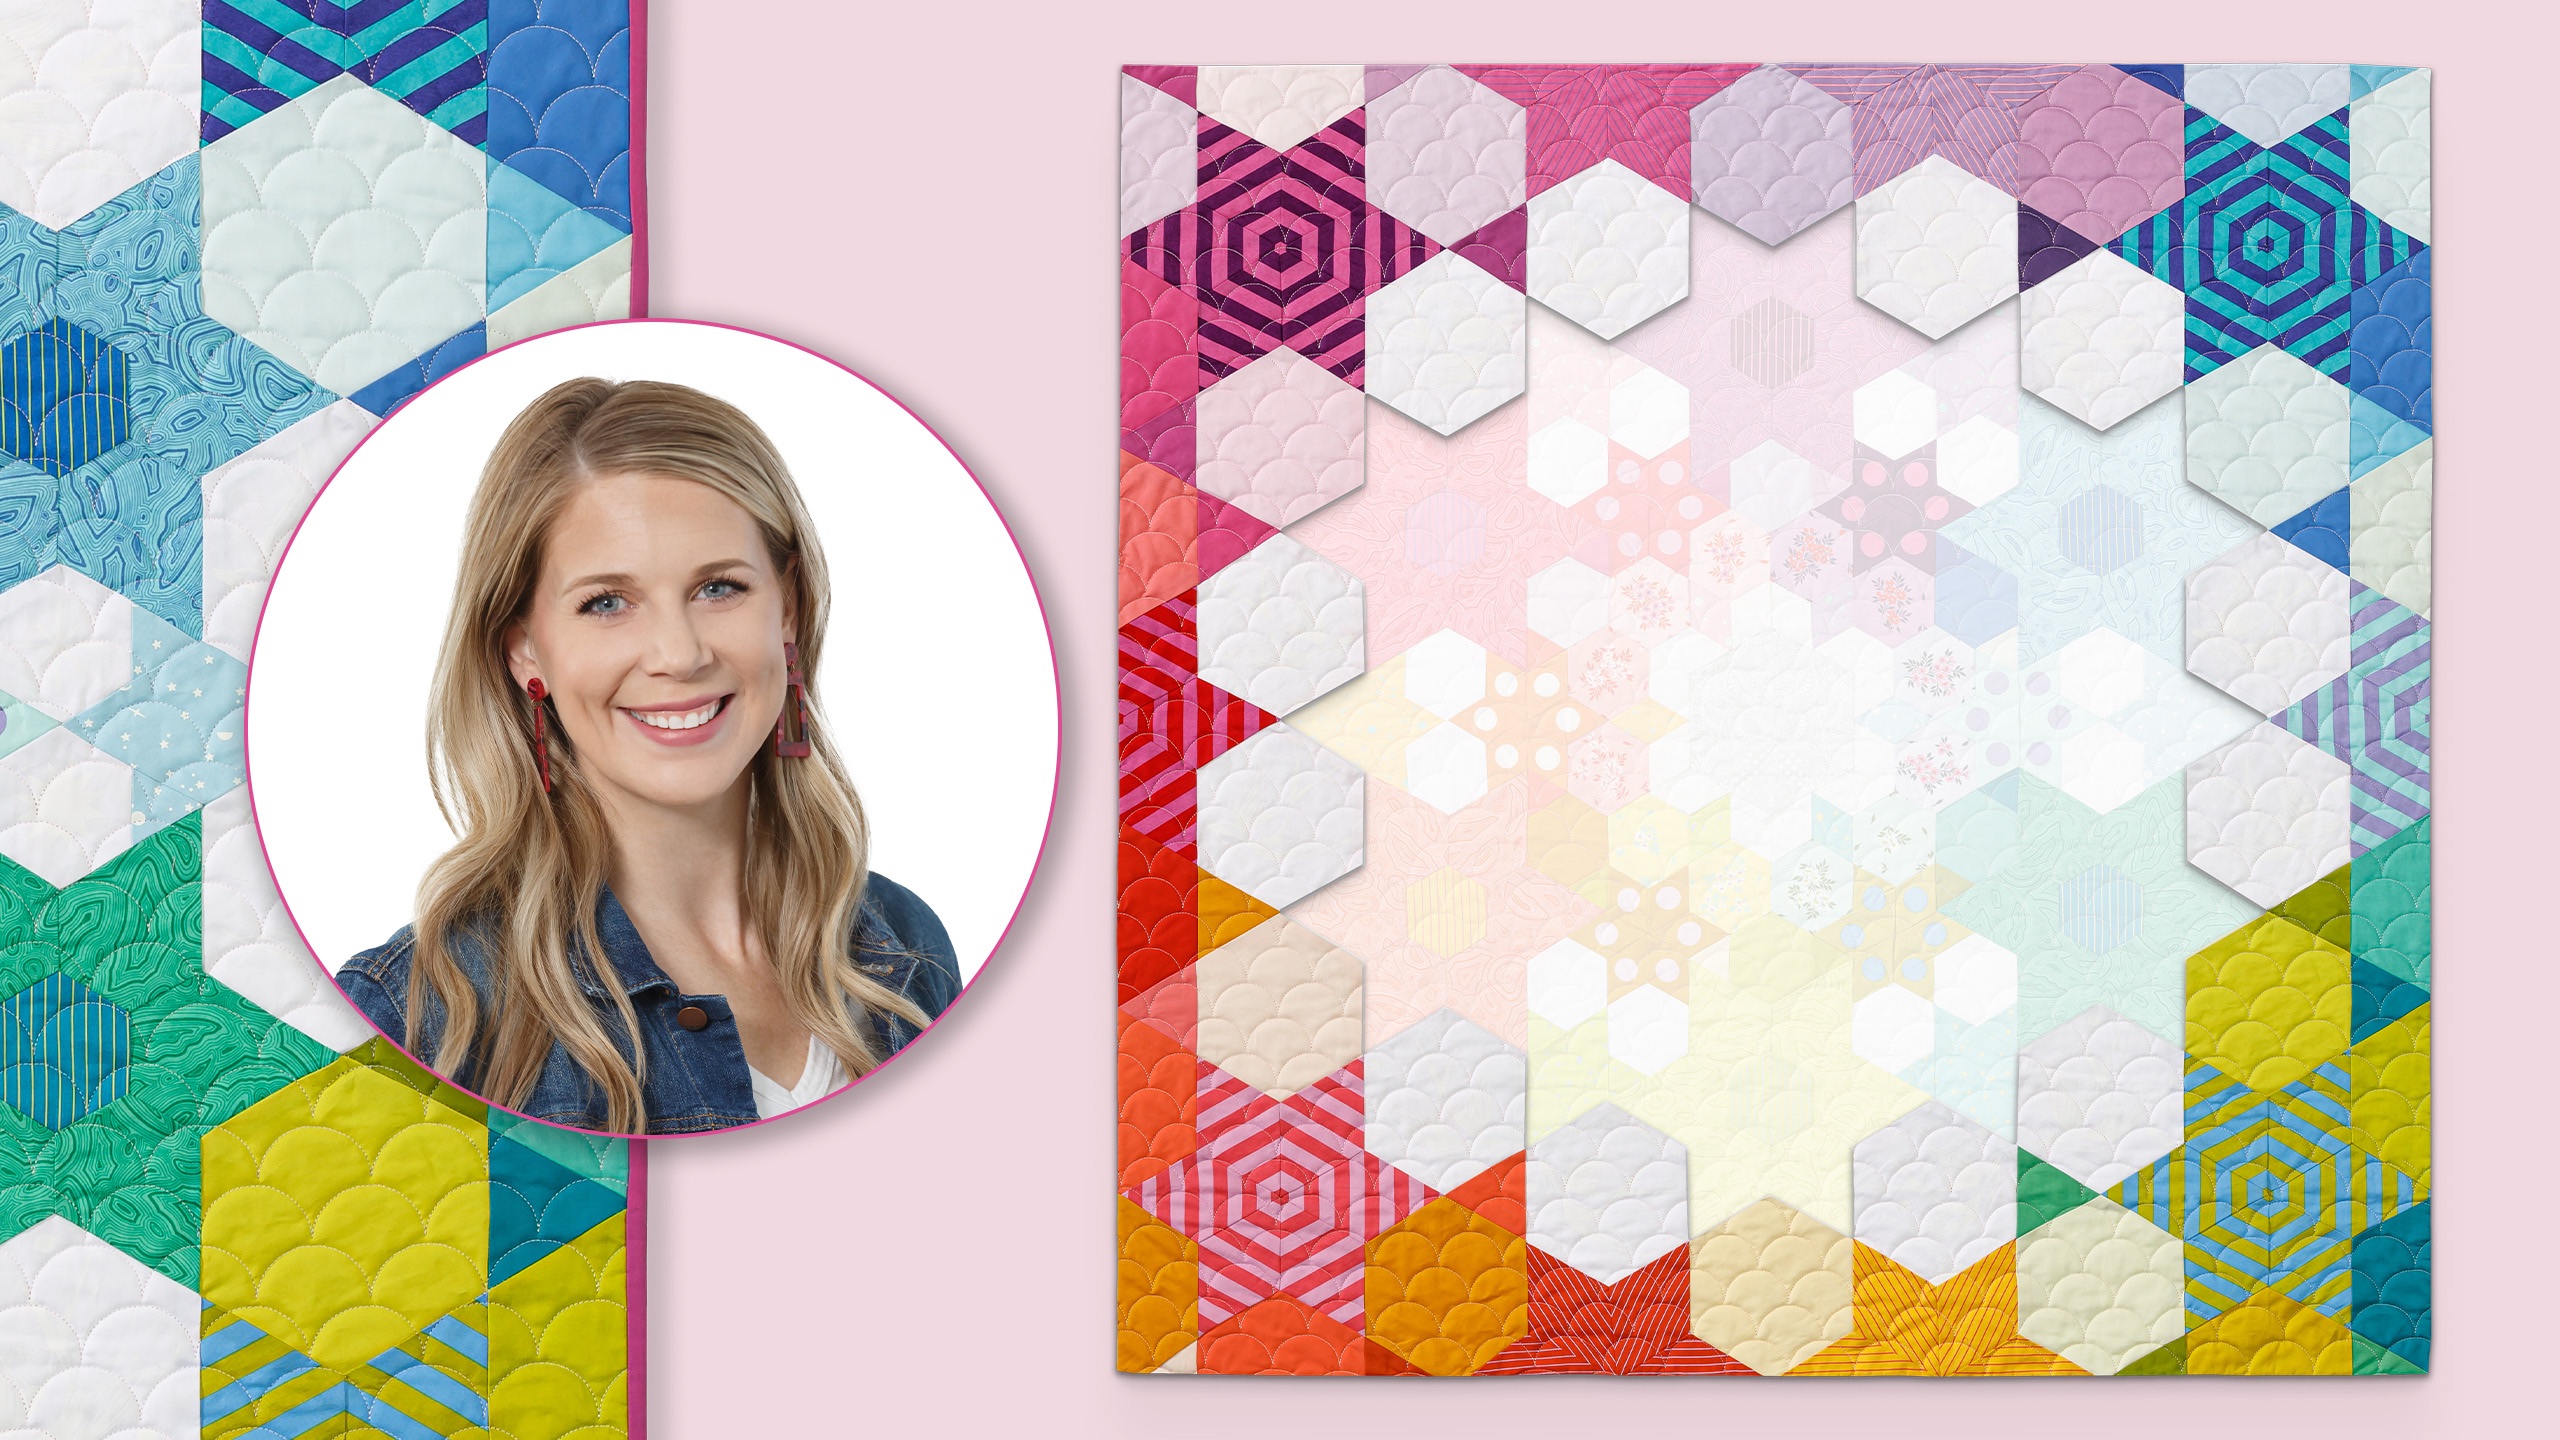
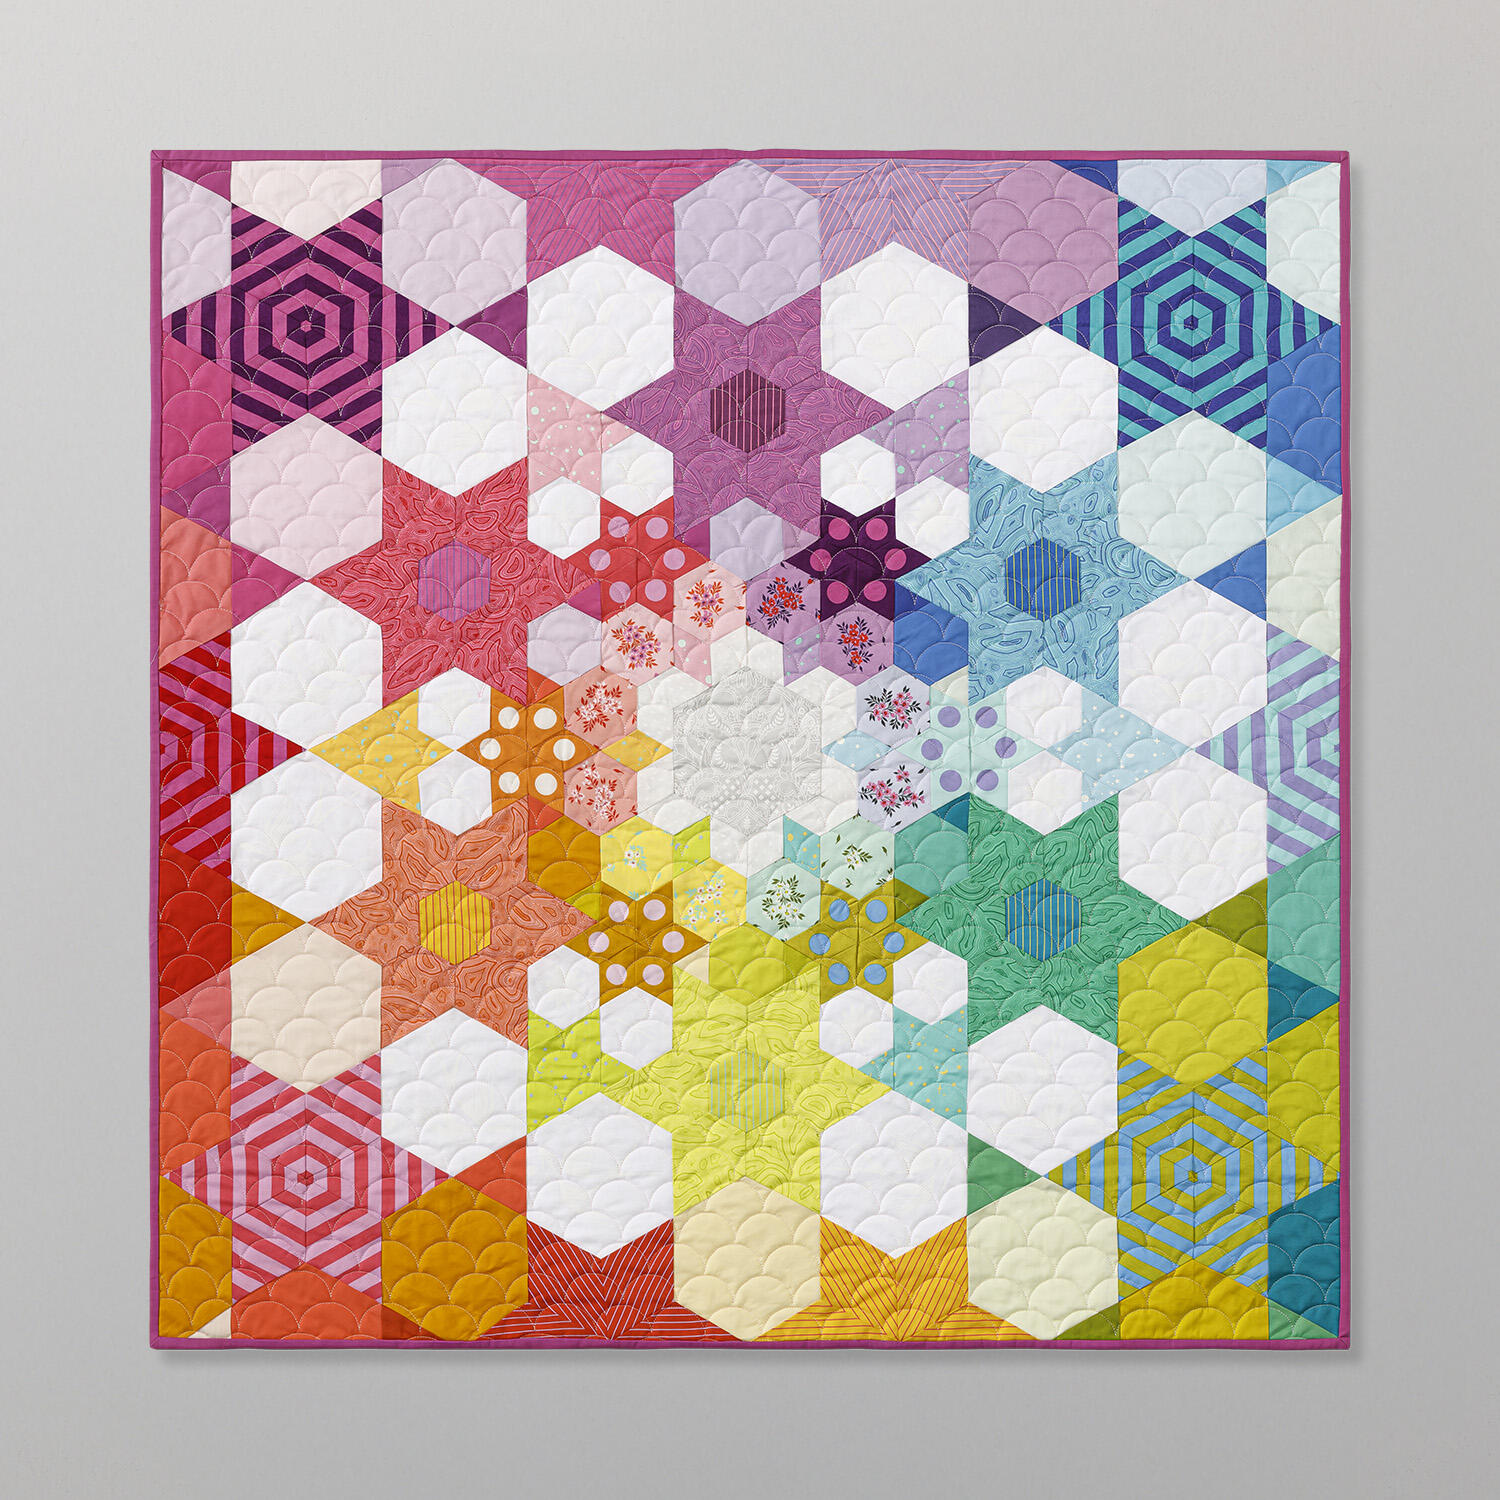
Join Misty in Episode 5 of the Palette Pop EPP Quilt tutorial to learn how to piece the corners and finish this eye-popping English paper pieced quilt. This gorgeous quilt features hexagons, stars, and flowers made with vibrant Tula Pink fabrics that give the quilt a real WOW factor! And the MSQC English paper piecing templates make it fun and easy to do. Follow Misty through all the Palette Pop EPP Quilt tutorials as she walks you through the quilt-making process from start to finish!
Misty Doan grew up surrounded by sewing and quilting. She loves spending time sharing tutorials each week each week, and when she’s not stitching up one of her fun sewing projects for home decor, most likely you’ll find her hanging out with her husband and three awesome kids or working on a house project.
What is covered in Palette Pop Episode 5: Piecing the Corners and Finishing an EPP Quilt?
Join Misty in Episode 5 of the Palette Pop EPP Quilt tutorial to learn how to piece the corners and finish this eye-popping English paper pieced quilt. This gorgeous quilt features hexagons, stars, and flowers made with vibrant Tula Pink fabrics that give the quilt a real WOW...
How long is the tutorial video?
The tutorial video is 00:09:14.
Are supplies listed for this tutorial?
Yes. The tutorial page includes the supplies and materials connected to this project.
Video Transcript
Hey everyone, it is Misty and we are here for our final installment of our pallet pop English paper piecing series. I'm going to talk you through finishing this up and everything you need to do to quilt [Music] [Music] it. Welcome back to Pallet Pop. We have finished zones one and two and now we're going to work on zones 3 through six. I know that sounds like a lot for one video, but those are the four outside corners, and they're very, very similar. So, I'm going to walk you through that today. So, go ahead and grab those zones. Remember, you should have them all cut and basted and ready to go. And we will begin with zone three. And I have those pieces laid out over here beside me. Um, and so this is what we've completed so far. I'm going to go ahead and set this out of the way for now. All right. So, we're going to begin with zone three, which is made up of all of these kind of pinks and purple shades. And I'm going to walk you through zones three through six because they're essentially made up of the same shapes and the same techniques. But let's go ahead and turn to our pattern here and begin our layout. And so, I love that there's these great colorful guides that walk you through the layout. And so to start with, remember we made some of these diamonds in our previous shapes or I'm sorry, zones and put them into stars. And so I find it easiest to go ahead and assemble the the large stripe star and then this partial star. So that's your first step when you get to zone 3 is go ahead and stitch these together. And if you need a refresher, go back and refer to those previous episodes. And so I have these all set and ready to go. And so I like to begin with the star. It just is a nice place for my eye to rest. And in addition to those, we also have some various triangles that we have basted and a variety of the large hexagons. And that's the shapes that we'll need for this project. And so let's go ahead and start laying this out. I'm just going to refer to the diagram. And you'll notice in the diagram that each of the shapes are labeled with those uh fabric identifiers from our fabric guide at the beginning. That's why it's so important to mark on the back of your papers so that you can keep them straight when you get to this point. And so now, let's go ahead and start laying it out. I'm going to just slide this down a little bit. And then we are going to begin with our shapes here. And so let's see. This color is going to set in right here. This is BJ. And then I have BK. I'm not sure yet. I'm gonna work on this top corner. So U goes like so. And then I have another U that goes in over here. And then V, which means this it is BK and it goes right here. And then now we're going to use our little sparrows. And so it looks like this one is going to go right there. And now I can set these aside for a second. And we're going to bounce over to the triangles. So up first, this is going to go in right here. And I am just going to keep working. This is a K next. And one down here. And then this guy goes in here. And so now I can set this striped partial star in at the top. Just slide this down. Make sure you guys can see it. And then my other sparrow can set in here. I think that needs to spin once more. There we go. And then we just have this down here and this last triangle. So that is how this zone three lays out. So then I would just stitch this in kind of rows this way. So, I'd start by folding this over and attaching it and then making my way across, probably adding this hexagon next and then this triangle. And then I would have this section and then begin by stitching these. And then you'll just sew them together in rows. And by doing that, it allows you to have these long continuous stretches where you don't have to tie off and knot your thread. And it makes it very efficient. And so, let's go ahead. I have some of these stitched together. Here's this one. And you can see how nicely that stitches up. And so let's go ahead now and talk about how this fits into the quilt. And I'll do that by setting it on the quilt behind me. And so we have this here. And so you can see that this is going to set in right here. And you'll notice that this hangs over what is eventually the finished edge of this quilt. And that's okay. We want this kind of uneven edge. That's part of the process of EP. And so, we're just going to stitch our whole top together and quilt it. And once that's all done, then we'll take care of the trimming. But I'm getting ahead of myself. So, now let's go ahead and talk about the other quadrant. So, like I said, this is three. And then we're going to make our way around the quilt going counterclockwise. And so, three is at the top. Then we'll go to four, five, and six. And let me show you what each of those looks like. I'll be back here in just a second. All right. So, I went ahead and pinned zone three to the finished quilt behind me so you can see how it fits in. And then I have the other zones ready to go. One thing you'll notice is zone 4 has extra shapes as well. So, the same same shapes that we used before, but just more of them to complete our way around. And so once you, you know, finish these, you'll notice that three and five are actually the same and four and six are the same. And so let's just go ahead and continue fitting these in. So I'm going to grab a few pins here. And so then this one is going to set in here. Remember, we're going counterclockwise. just like so. And you're just going to add one of these quadrants at a time. The other thing that you want to keep in mind is you can remove the papers from the center sections. And that makes it much easier to handle these large sections when you're attaching them to one another. So then this one's going to fit in here. and up here. And our final section here from zone six, it's going to go in this top corner. We go. Oh, there we go. So, now you can see how your finished English paper piecing top is going to look. This is exactly how it looks when you have it all finished. And so the next step is quilting. And so before you trim it or do anything at all, you're going to want to go ahead and quilt this however you would like, either by hand, by your machine, or send it off to the long armor. And then we can come back here and I'll talk about the finished quilt itself. All right. So now you have quilted this. Remember, you've taken all the papers out before you send it to be quilted or quilted it yourself. And then all you have to do is trim it and bind it. And so what you're looking for is this straight line that lines up with the edge of these stars and the points of these. And then same across the top. And so you're just going to trim it according to the directions in the pattern. And then bind it as you would any normal quilt. And look at this beauty. You should be so proud of yourself. You have done your first English paper piecing showstopper. So, I hope you guys really enjoyed this pallet pop project. I can't wait to see all the versions that you make and I'll see you next time. Hey everyone, thank you so much for watching at home. We're so excited to be almost a million quilters strong here at Missouri Star. And so, if you haven't already joined our family, be sure to subscribe and hit that notification bell so you can be notified of all of our future tutorials. And we'll see you soon. [Music]

 Misty Doan
 Missouri Star Palette Pop - English Paper Piecing Kit$199.95Shop →
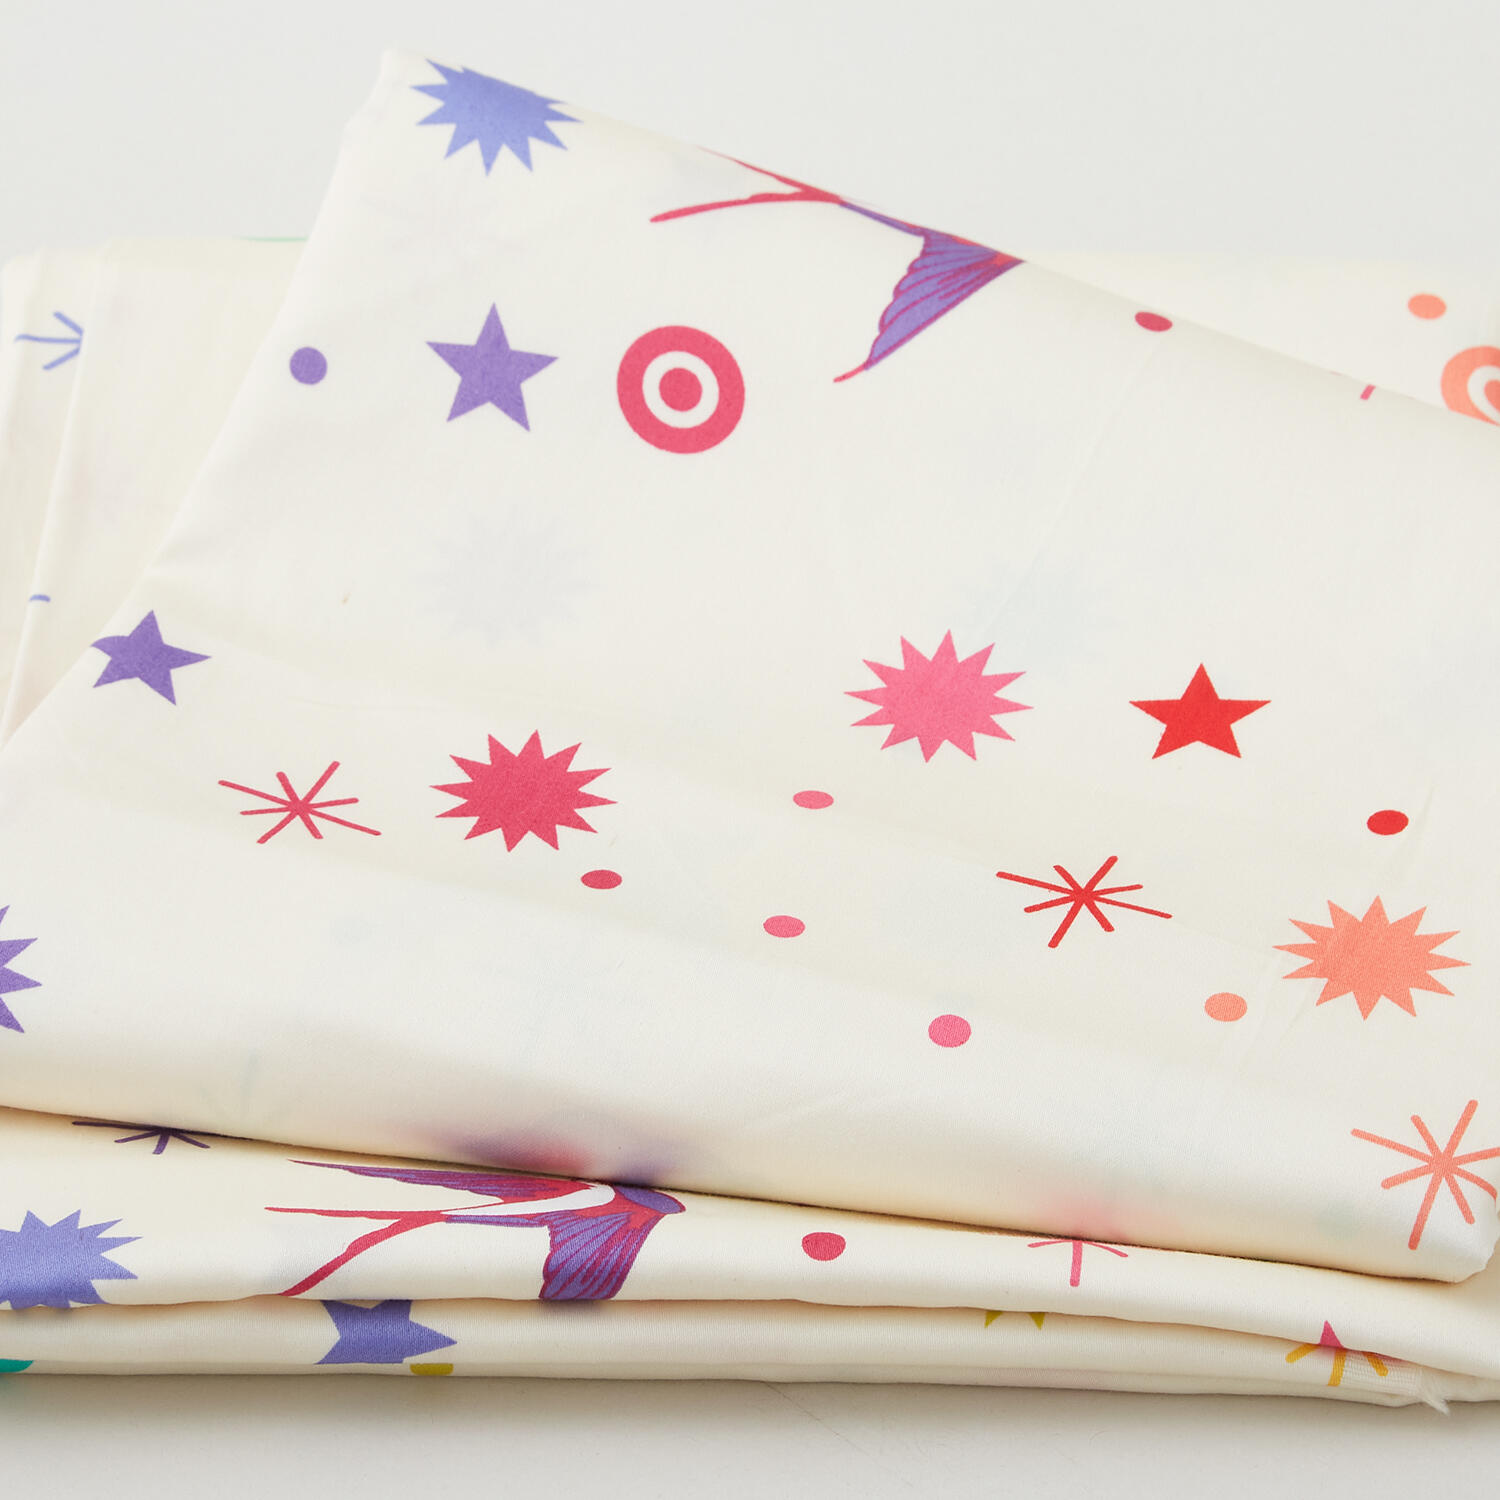 Tula Pink's True Colors - Fairy Dust XL Cotton Candy 108" Wide - 1 1/2 Yd Cut$35.95Shop →
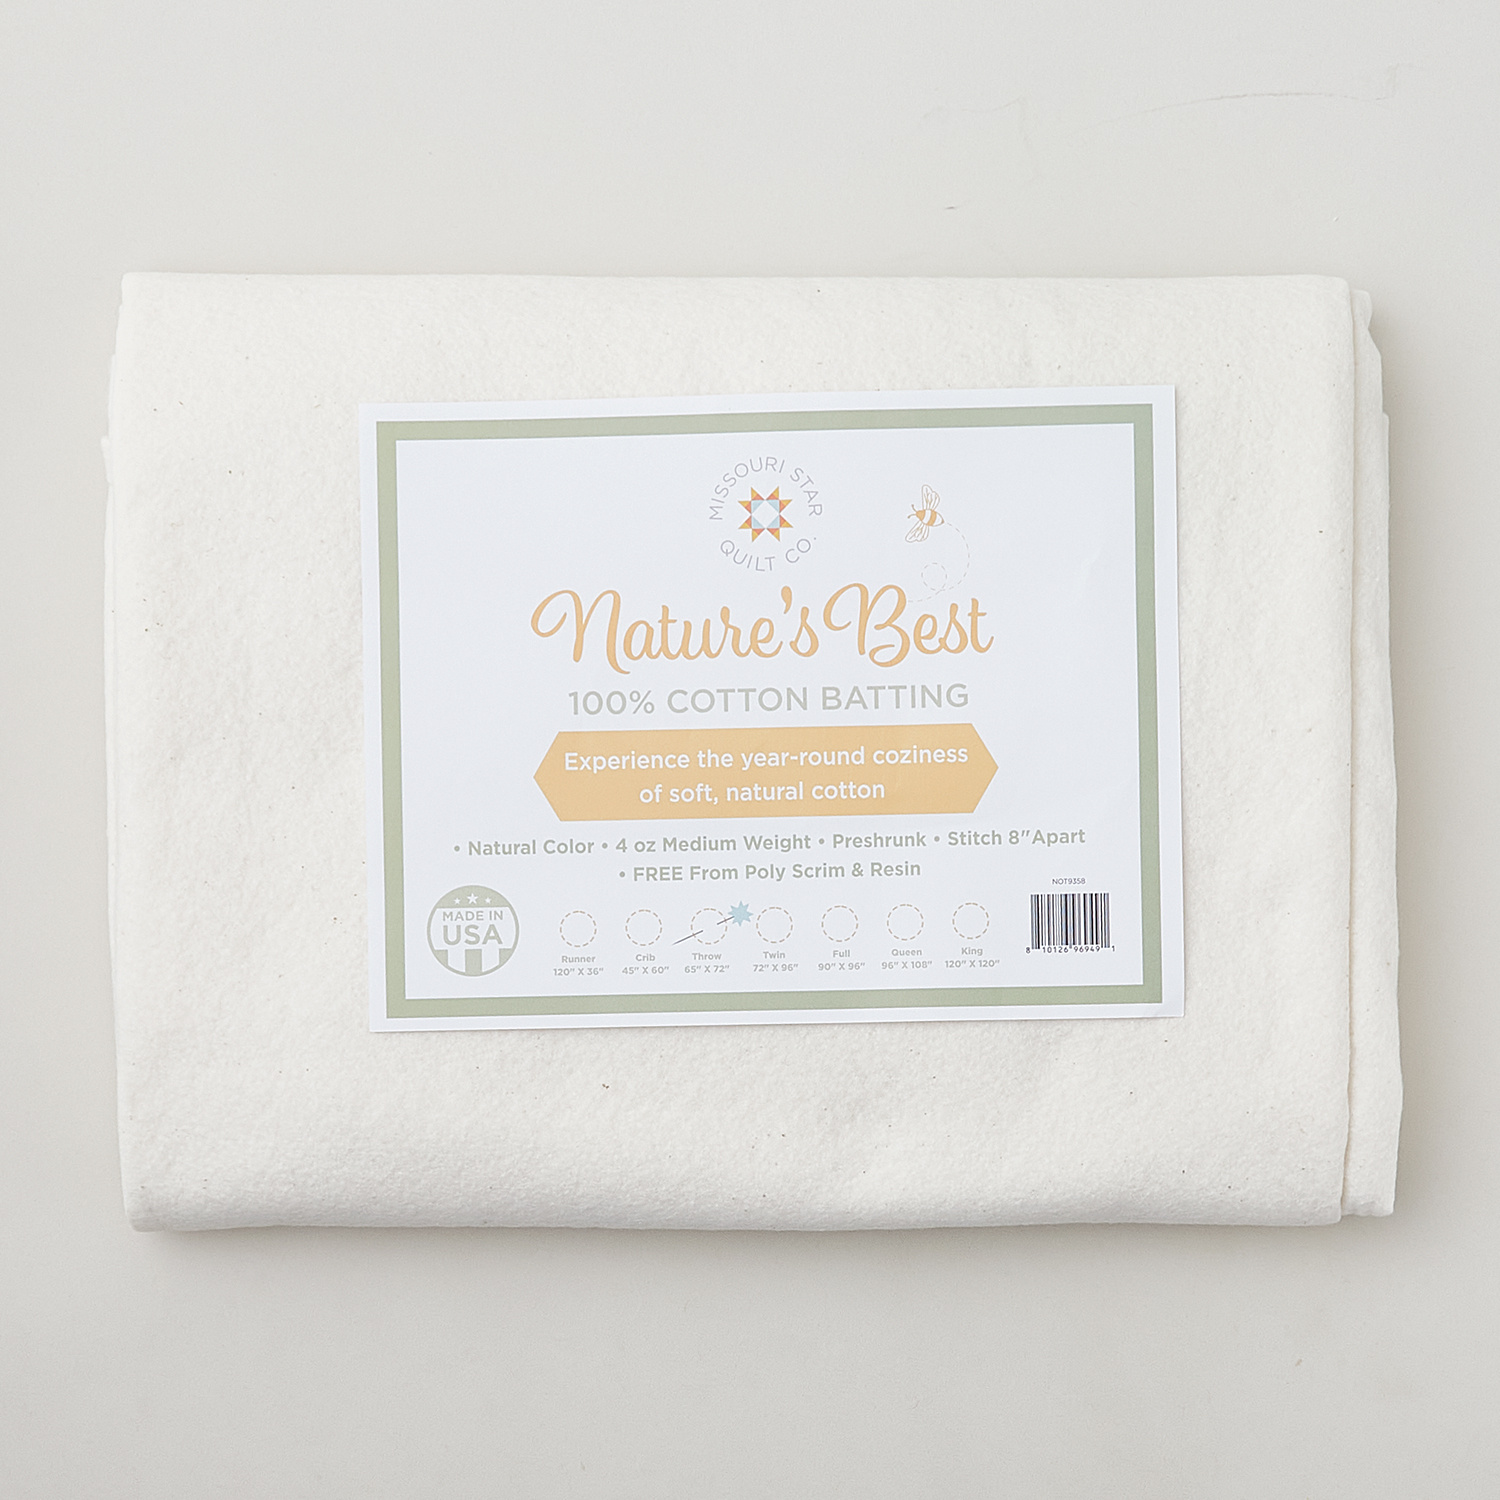 Missouri Star Nature's Best 100% Cotton Throw Batting - Natural$19.95Shop →
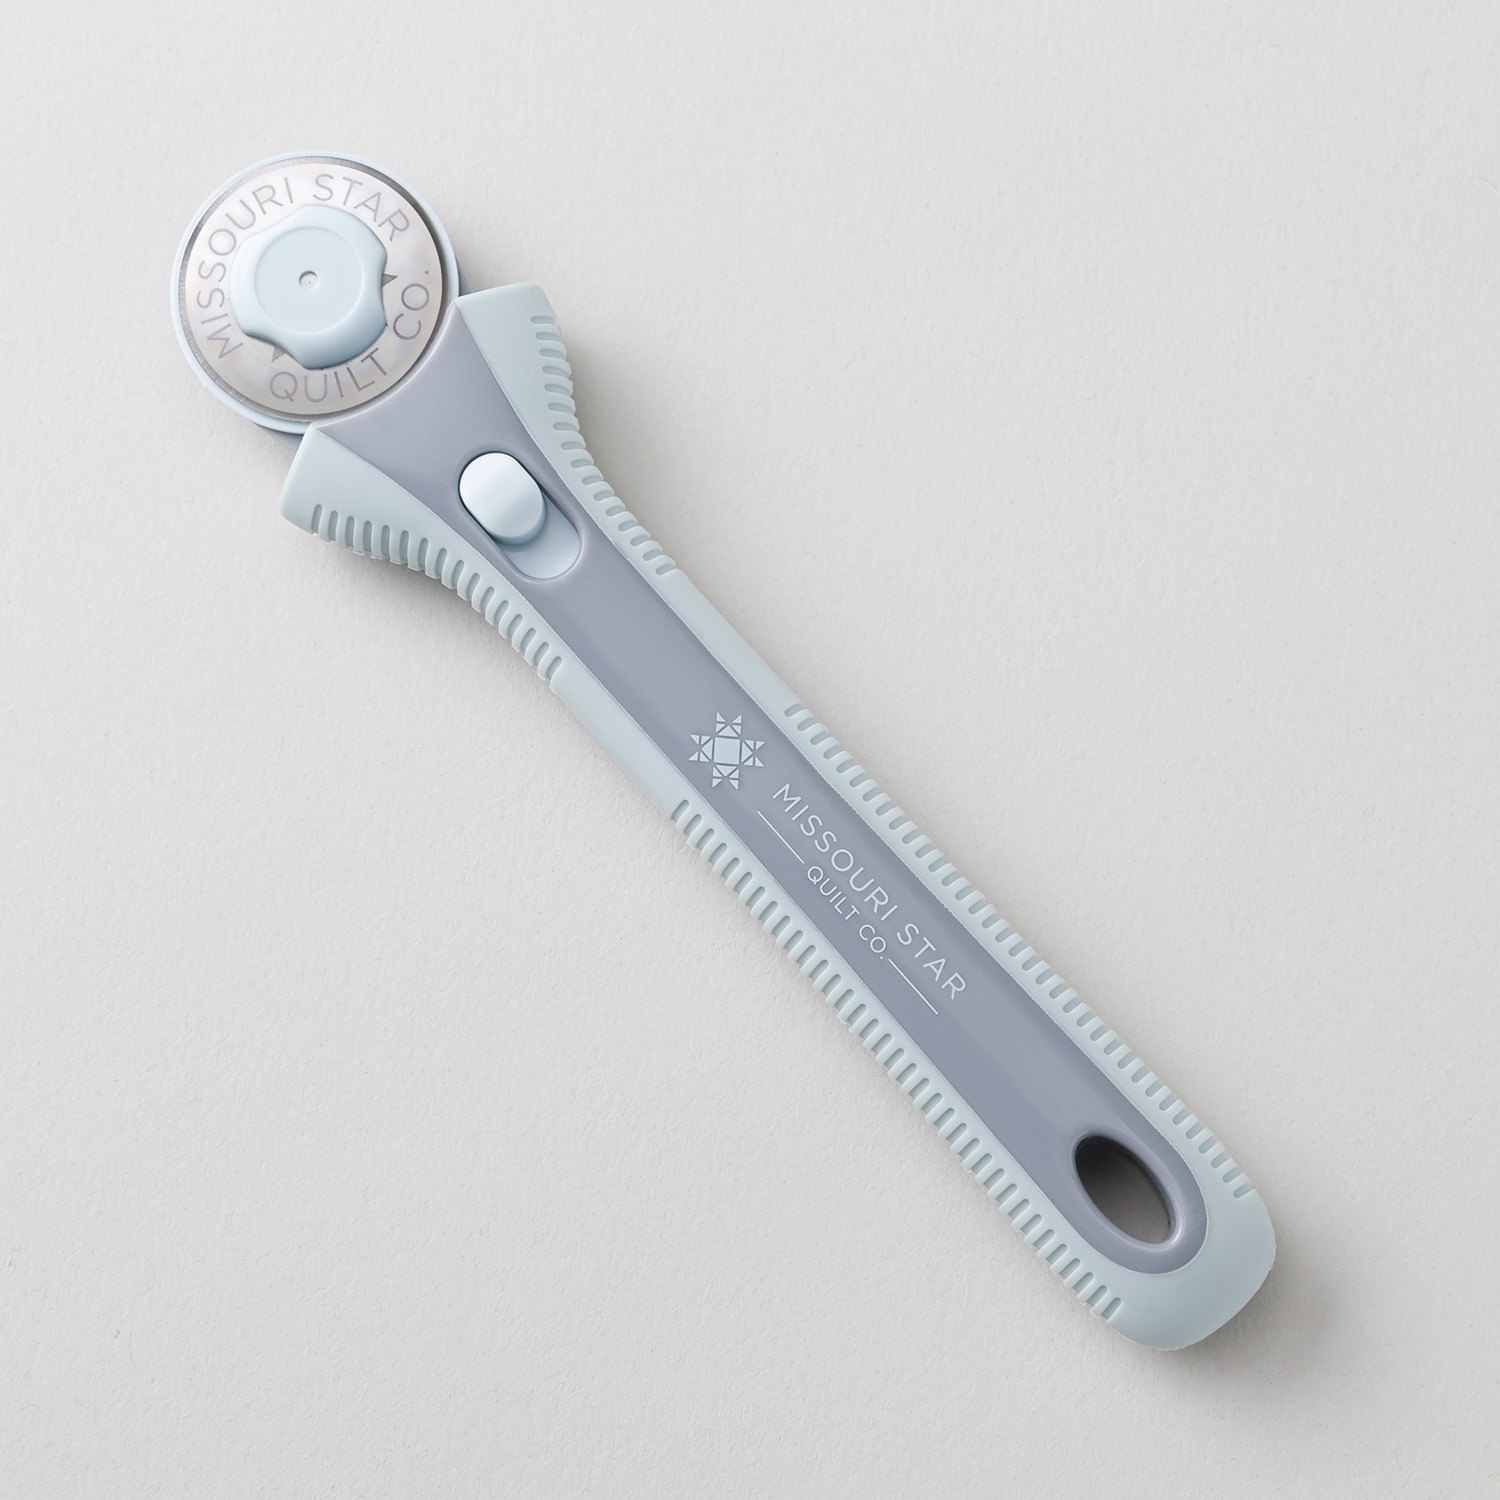 Missouri Star 28mm Rotary Cutter - Klara$16.95Shop →
 Missouri Star Seam Ripper - Frida$9.95Shop →
 Missouri Star + Oliso TG1600 ProPlus Iron$209.95Shop →
 Missouri Star 8" Everyday Scissors - Amelia$19.95Shop →
 Missouri Star 50 WT Cotton Thread White$7.95Shop →
 Bernette 77 Sewing and Quilting Machine$1549.00Shop →