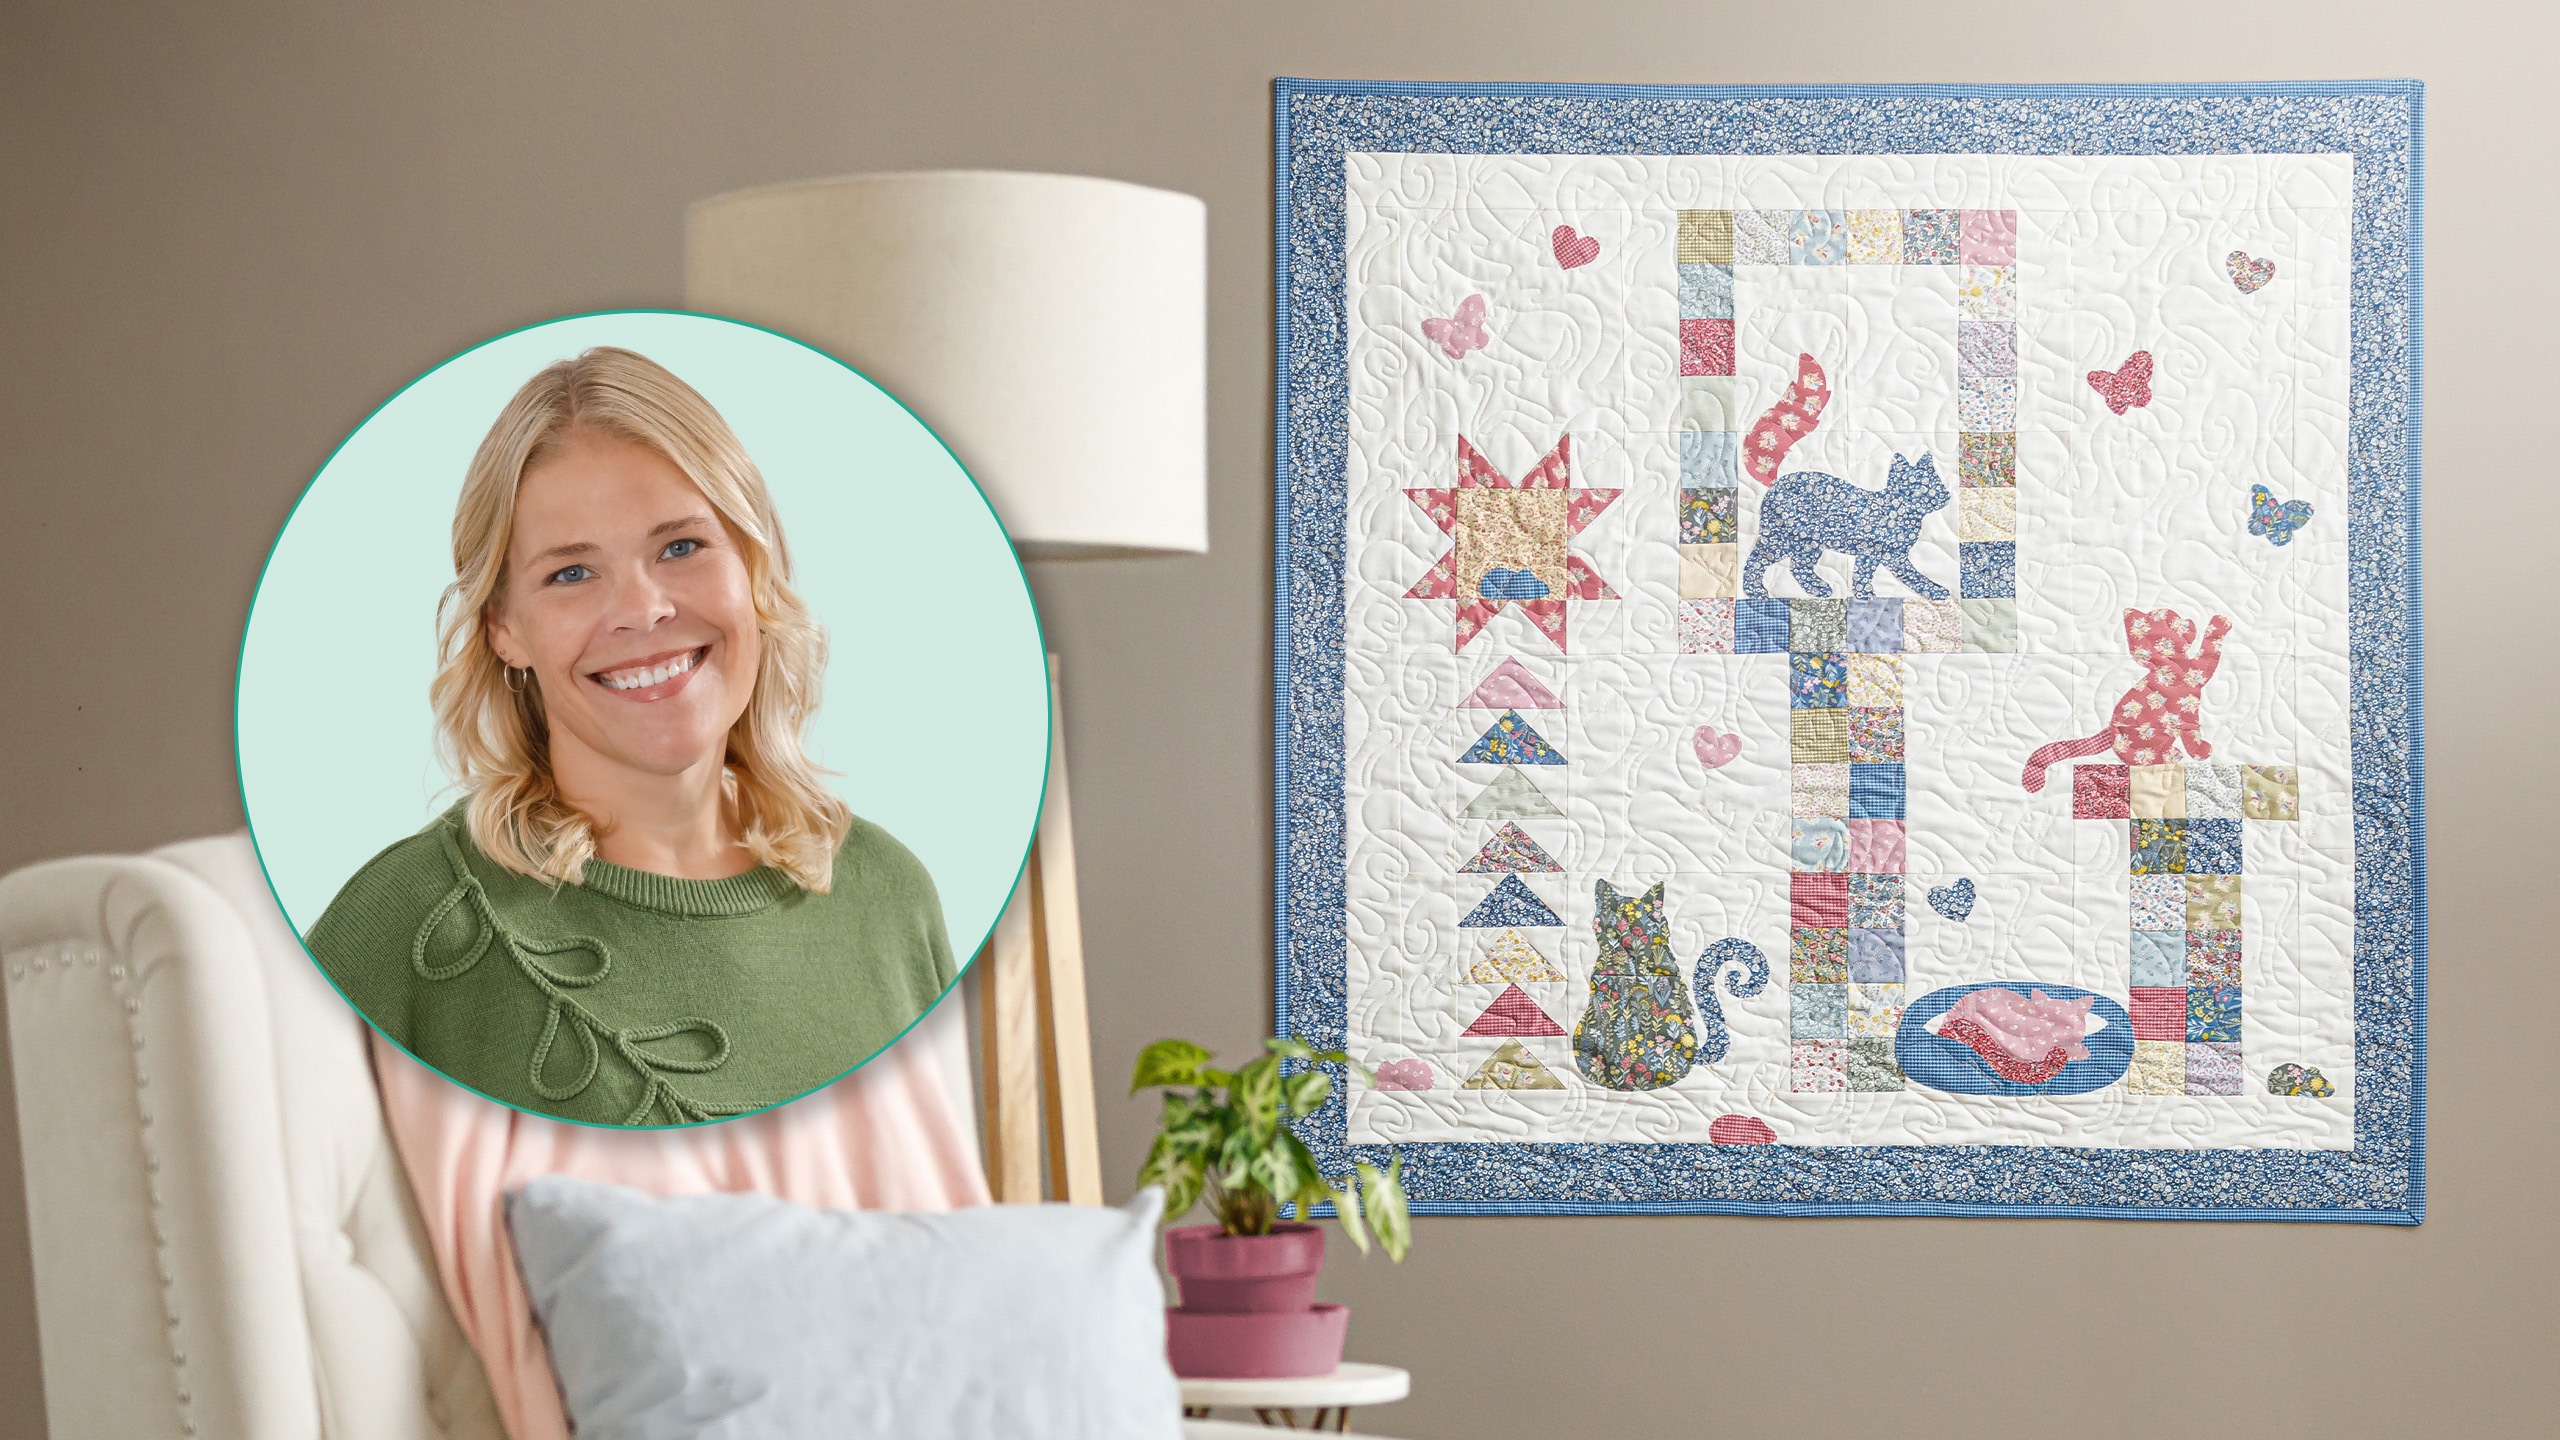
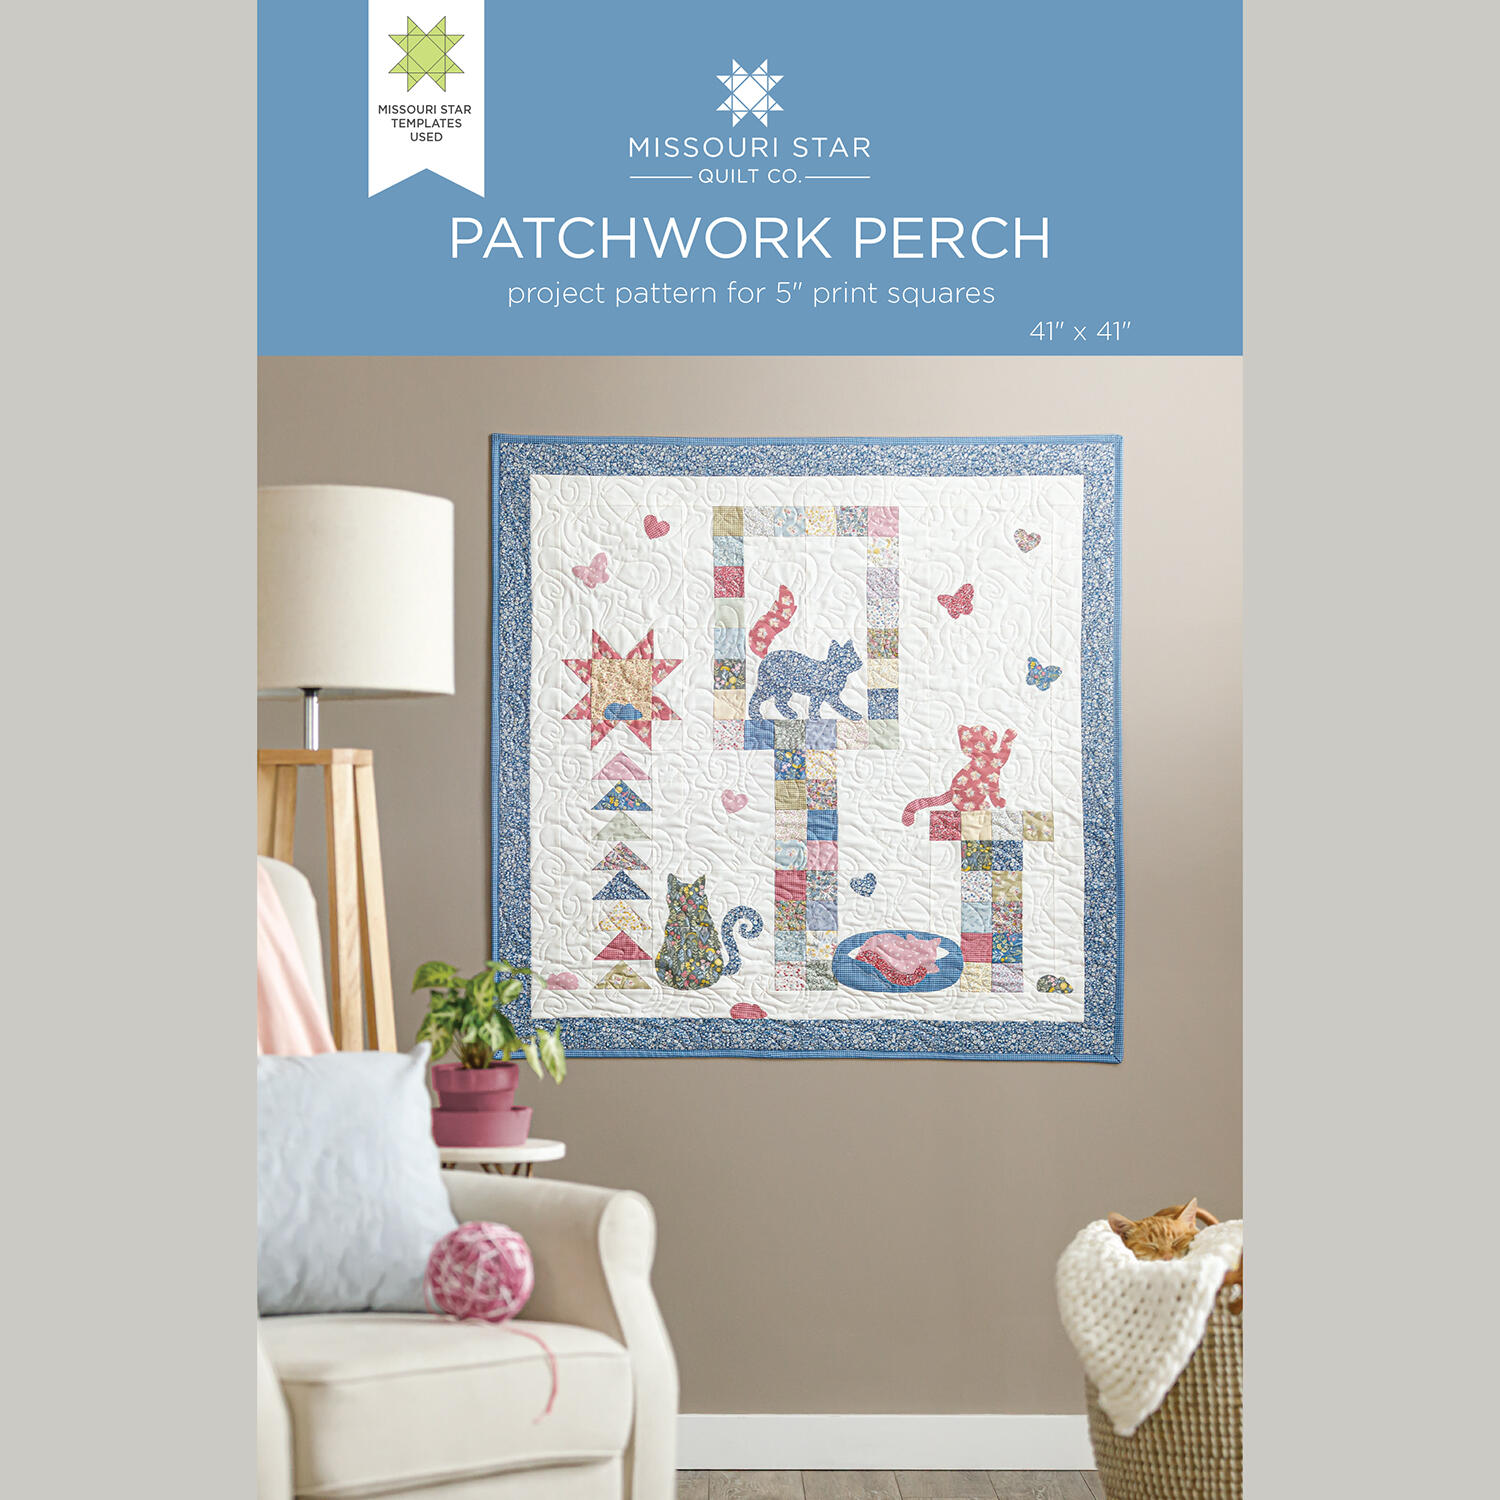
Cat lovers, this one's for you! Patchwork Perch is a playful wall-size quilt featuring sleepy kitties, mischievous mice, butterflies, and hearts—all appliquéd on a charming patchwork background. Made with Petit Fleur fabrics from Andover (Makower UK), the design comes to life with delicate florals and solids that complement each other beautifully. It's precut-friendly and uses the Purrfectly Yours Template Builder Set to make fusible appliqué a breeze.
Natalie is the host of Quilting 101, Embroidery 101 and the Creative Strategist and Editor of Block Magazine at Missouri Star Quilt Company. She was taught how to sew by her mom, of course, and began quilting when she grew up.
Cat lovers, this one's for you! Patchwork Perch is a playful wall-size quilt featuring sleepy kitties, mischievous mice, butterflies, and hearts—all appliquéd on a charming patchwork background. Made with Petit Fleur fabrics from Andover (Makower UK), the design comes to life...
How long is the tutorial video?
The tutorial video is 00:26:04.
Are supplies listed for this tutorial?
Yes. The tutorial page includes the supplies and materials connected to this project.
Video Transcript
Hi everybody. I'm Natalie with Missouri Star Quilt Company and today I have a fun project for you. We're going to take some perfectly adorable cat templates and make this cute wall hanging. I'm calling it Patchwork Perch and I'm excited to show you how it's done. All right, so this is my quilt today. I am calling it Patchwork Perch. I love cats and kittens. I think they're so fun and cuddly. and we have this really cute little template set. So, I thought, you know, what would be more fun than a a cat tree with all their cute little toys and beds and something that we can do to kind of commemorate our favorite pets. And, uh, it just came together really quick and easy, and it is very customizable. You can use those pieces to make your cat tree however you want, however big you want, whatever shapes and sizes. Um, and I think you'll enjoy putting it together with me. So, let me get started and show you how it's done. So, to make this quilt, you are going to need one package of 5-in print squares, and I have used Petite Flure by Macau UK. You'll need some background fabric, and for that, I just used a Kona Snow. Um, about a yard and a quarter of background fabric, and that includes your inner border. You'll need some outer border fabric, about a half a yard, and your backing. Because this is just a wall hanging quilt, you'll only need 2 and 3/4 yards or 1 and 38 if you use a 108, which really would be more than you need because this quilt is only 41x 41. It's a great size for, you know, commemorating and hanging up in your in your house. It's really cute. Some other things that you might want, we have the perfectly yours template builder set with all the cute little shapes of the different cats and kittens. Um, and you'll need some fusible. We have used about two yards of our Missouri Star so light fusible and then of course your other fun tools, cute labels if you want them. And now we're ready to get started. All right, so the quilt the quilt is built out of 8 and 1/2 in square blocks. And the one that we're going to start with is our sawtooth star. I'm a little bit of a quilter as you may know and I think it's super fun to add a little bit of whimsy. It kind of made up in my mind like a little scratching post for our cute little kittens. So the sawtooth star is made up with a four and a half inch square in the middle and then four little flying geese blocks. So what you'll do is you'll select one block for your center and you're going to use your ruler to cut that down to 4 and 1/2 in square. So that is the first part. Very easy. We'll get that cut and set aside. And then we're going to make flying geese um flying geese legs. And those are made up using 2 and 1/2 inch by 4 and 1/2 inch strips cut from our background. So your background will be cut into different strip sizes. We've got two and a half, four and a half, I think 6 and 1/2, and 8 and 1/2. And those are all listed out in your pattern. So we'll take four of these strips. And then we're going to take one of our squares, lay that right sides together. We can draw the line or you can press the line or use your seam tape, but we're going to sew uh diagonally. So, let's start with this one real quick here. All right. So, this is just something I I eyeball it because I do it all the time. Corner to corner. Then, we'll just trim this off with our little ruler. We'll set this seam. Flip it back. And then we're going to do the same thing on the other side. We want that pressed back so that that seam stays within the next seam that crosses over and creates that beautiful point. All right. So again, I'm going to sew from corner to corner to create my other star leg. And I like to start from the edge that doesn't have the fold and the other fabric in it. It's just a little bit less to get started and tends to not hung up get hung up on your presser feet. So, all right. So, now we're going to trim this side. Do the same thing. We'll trim, we'll press, and we'll flip. Alrighty. Now, you can see a little bit here that this kind of came out a bit funky, which is fine. I'm just going to line up my 2 and 1/2 by 4 and 1/2. Make sure it's all squared. And I've got just a tiny bit there. So, I'm going to trim that off. It'll just make assembly easier for me. It's not like you're not squaring it up necessarily, but you're keeping it within the sizes that you need. So, we've got 4 and 1/2 in the middle, 2 and 1/2 by 4 and 1/2 on our four star legs, and then 2 and 1/2 in squares in our corners. And so, we can lay this out because the rest of it, once we've got our legs pieced, the rest is just easy peasy and comes together so quick and so cute. And you only have to make one. And then we're ready to go. All right. And so because we have quite a few little blocks to go through, I'm not going to stitch this together today, but it will look like that. And you'll you'll do your normal chain piecing. Just put these two, these two, these two. Then you'll add these ones. And then you'll sew these two seams together to create your block. Just a simple nine patch construction. And that's it. Super fun. All right, let's work on the post for our sawtooth star scratching post. that is going to be made using two of these cute little flying geese blocks. So again, we're making the same same component that we just made for our star legs, but we've reversed our prints in our backgrounds. So super simple. We'll walk through it one more time just because it's reversed. And um I'll show you how I use how I cut that charm square to get all of these little pieces, but it goes right here in the quilt. You can see that. And we've just got two stacked up little eight and 1/2 in squares. It's super super fun and cute. I just love how this quilt came together. I feel like it's a very creative. It's a great base quilt for putting then whatever else you want on it to make it your own unique thing. All right, so for these ones, what you're going to do is grab it. Grab some more of your squares. These don't have to match. They can be all different. We're going to cut it down. I'm going to use this one cuz it's easier. So, first thing you're going to do is cut them into two 2 and 1/2 x 5 in rectangles. That's just easier for my brain. And then I'm going to stack them up because then I just cut once. And we are going to cut these to 4 and 1/2 wide. The nice thing about this math is once you understand the the 4 and 1/2, 2 and 1/2, 6 and 1/2, 8 and 1/2, they all work together, then you can really mix and match all your sizes and create all kinds of different blocks. All right, so we've got our 4 and 1/2 inch rectangles to make our flying geese. And we are going to do that same thing where we're going to take our background squares that are two and a half. We can draw the line. I'll draw one just for just for the sake of it. And you're going to sew right on that line from corner to corner. You can also chain piece a bunch of these. If you've got eight of your squares all put together, you can do all the same side um in a row and then trim them, press them, flip them all, and do the other side. Uh that will help with like a little bit of efficiency. All right. We just want to make sure that our our seam is going up to the middle to create that beautiful point. We'll do this one. And then we will trim and press. I'm going to do one more line because I'd kind of like to show you something that is a little bit detailed if you don't mind. Have a thing in my head. Okay. So, I know that sometimes we can get a little bit off on these. Um, and one of the things that I wanted to tell you is if you're sewing on the line and it gets on the inside part, your square might not be 4 and 1/2 in square when you flip it back. But if you sew on the inside part of this line, just barely on the other side instead of on top of it, that will give you enough of enough fabric. Just enough. It's like a hair's width or a seam, a thread's width is what mom explained it to me as. then you will have enough to either completely cover that and keep the 4 and 1/2 in um shape or you can square it to the size you need. And so that is that's just something that you can keep in mind as you're stitching to keep it on the inside of that line. So hopefully this helps a little bit. All right, I'm going to go ahead and trim this, leaving a little quarter inch seam allowance. And then we will set our seam and press it back. I'll give it a little check with my ruler. So you can see that I've got just a tiny bit of extra right here. It's totally fine. And a tiny bit right there. We're all good. And then these just line up. We do four in a row. And you can put them in whatever order makes you happy. So we'll do these ones like this. And then our side pieces are 2 and 1/2 by 8 and 1/2. and they will fill out our sides. So, as you take these seams, it's going to shrink and be that size. So, now all you're going to do is stitch these blocks together. And I would join these two and two and then the four. And then you're going to sew your side seams. And you are going to have an 8 and 1/2 in block that looks just like this. You'll make two for that cute little scratching post. And we're going to move on to another part of our cat tree. So, let's see. I think we should build the the platform next on the other side. So, that one is made up of these two blocks right here. You'll see this one's here and then this one is the bottom. This makes our little short our short tower. So, we'll do them together because basically they're they're very similar. So, again, we're just cutting our charm squares into 2 and 1/2 in squares. And so, for this one, we'll we'll just do one at a time. I mean, kind of. They go together. All right. But what we're going to do is just lay out our squares in a very, you know, fun little patchwork pattern, however you want to put them together. And we're building an 8 and 1/2 in square. So, you need all the pieces to create the whole um the whole shape and the whole size. So, you'll start, you have little a little indent there because this creates your platform. And then we've got our two in the middle that creates our post. So, we need a background square up here. And I've got one there. So, this makes our little bottom half. And then this top half is going to be a 4 and 1/2 by 8 and 1/2 in rectangle. And I've got one of those here. So, then all you're going to do to create this block is stitch together your little patchwork pieces and add your background. And you will have a cute little platform top that looks just like this. You'll make one and set that aside. And so then we're going to go into our post for that, which is very similar. It is again made using two strips of 2 and 1/2 in squares. And again, you're just going to mix and match. You use your whole charm pack and scrap it up however you want it to be. And lay them out in a way that just makes you happy. I feel like this would look so cute in so many different different fabric lines, things that go with your house or your sewing room or your cat's personalities. Like just fun fun creative opportunity here. So again, you're going to sew these two together. And then you'll notice there's a 2 and 1/2 in by 8 and 1/2 in strip on both sides of this block. And that makes up your post. I've got a couple of those up here. So, we're going to stitch one to the top and one to the bottom. Or if you have it all turned, it's side to side. See how that goes? And yeah, you can So, you can stitch these in strip sets and sew them together and then join the two halves or you can do the middle and then join your sides, whichever makes sense to your brain. So, you'll just make one of those. And now we're ready to move on to the middle post. The middle post is slightly different because I wanted it to be centered. So what I did for that one, the post itself is made up. All four blocks are just like this one. So you have your four patchwork squares and then you have a 6 and 1/2 by 8 and 1/2 in background. And you'll notice that you do, you know, two here and then you just flip this block and you have two more on this side. And that's what puts it in the center of the quilt. And then we'll talk about these in a minute because these two are the same and these two are the same. So you're going to make four of this block and it's super simple. Again, it's a 6 and 1/2 by 8 and 1/2 in background rectangle. And whichever pieces on the side that you want to scrap up and you know put together to make you happy, it's just that simple. So you'll make four of those. Now our next block, you're going to make two and they are just opposites. So they create the bottoms and the top. You'll just flip them for the top and swap them. So like I said, you have two that are identical in in diagonals. I'll show you again how these go. This one goes up here and also down here. And then this one, our our left top goes up there and then bottom right. So now, now that we've got this whole thing, we are going to add three background squares. These are just 8 and 1/2 in blank squares that fill out that negative space where your wall is. And then once you get it all stitched together, I added a 2 and 1/2 in inner border and a 3in outer border. And I just thought it was nice to frame it up in that way. And now we get to talk about our applique. So we have these really cute, really cute cat templates. And if you want your applique to be made completely seamless, you might want to grab some bigger pieces of fabric to make some of these cute cats. I had some that like this one is the same as my border fabric. So, he was a little bit bigger. But this one I just pieced I put together two pieces of charm two charm squares to make a nice big kitten. And uh you know, you don't see the seams. So, I feel like it gives you a lot of a lot of room to play. It also might be fun to do crumb piecing or you know little patchwork kittens I think would be super cute. So take that to whatever creative place you want to go with it. You could use felt or linen or corduroys or whatever fun things. Maybe some cuddle would be cute in a cat cuz that stuff goes on so nice and oh my gosh it would be so fun. So I feel like the opportunities for creativ creative play or creativity are just endless. But we're just going to walk through one. We have so many fun things. I did want to show you. We have some of these cats that have like a fuzzy side and a smooth side. So, what you can do with that is you can decide like is your cat fluffy and long-haired or is your cat a short-haired cat. So, you could fold your fabric in half and then cut both both sides with the fluffy side or the smooth side. So, that is an option. There's one here. Um, if you look closely at my quilt, you'll see that I I gave this cat a smooth side and a fluffy side because I just thought it was cute. And maybe it's just like turned a little bit, so you can't really see the fluffy. It's just a little bit of an angle. So, be as creative as you want to be. Um, you'll want to peel the backing off so you can see through them. Although, you don't have to. It's totally up to you. But I'm gonna go ahead and stitch together a couple of these little charm squares so you can see how I did that. I lined them up because they are directional and that's okay. It's also okay if you don't worry about directionality. I typically don't. That's just an opinion thing though. And so because they're because they're cats, I just thought it would be fun to and it's easy. It's a short seam. No stress. It's not like lining up a backing. That's harder. All right. So, what we'll do is we will cut a bit. Now that we've got this pressed, we're going to cut a bit of our um fusible web or uh soite adhesive. And I typically will cut it down just a little bit smaller than the piece that I'm working with because I don't want it to hang over the edges. So, I'm going to cut this to 9 in. And I've got it a little bit smaller than 4 and 1/2, which is fine. I don't need that much to make this kitten. So, then that is going to set right on there. And press it. So, also, I don't, you know, if you haven't worked with ironon adhesive, it has a bumpy side that's kind of rough. And then the smooth side is the paper. This is the side that you want facing your iron because the bumpy side is where the glue is. So, you put the glue side to the fabric and you want the wrong sides up um because these are going to also going to be printed in reverse. So, that is something else that you'll want to consider as you do these kittens or cats because they do face a direction based on how you cut them out. So, this kitten, if I if I cut it out this way, when I flip it, she's going to be facing that direction. So, you just have to decide which way you want your cats to face. And you can flip them so that you have multiples. You can turn them and twist them. You can decide where that seam ends up, if it's on the face or the body, whatever, whatever floats your boat. So, then we're just going to trace around this little guy here. It's I think using the using applique as a creative tool is just really fun. It's an opportunity to be creative and it takes me back to like you know art class at in school and all those times when you just art is one of those things for me that takes away a lot of the pressures of like daily life and gives us a chance to just play. So, I'm going to pick one of these other fun little tail. All the tails are so cute because they're like inside the cat's bodies. They're just built in. And you can pick whichever tail you want for the cat that you've got. I think this one will be cute. So, I'm just going to trace that on there. And then we'll cut it out. And typically I like to kind of rough cut them apart before I start um really cutting on the lines. But so you get these all cut out. Just takes a second. I did mix and match some of my tails on this quilt because I thought it was cute for them to have like like different colors and shapes and sizes. And you can put, you know, I also thought, okay, so sometimes I I get a little bit off track, but I also thought it would be really fun to do some embroidery on this quilt and add whiskers and tails and cute little pink noses and eyes and, you know, strings that show like toys. You could even kind of 3D it where you added like a little pom pom or, you know, something that is very much yours and your little cat's fun things that they like. I think you could just embellish it in so many fun ways. It makes me think of some of the some of the cute little things that I've seen on Pinterest or wherever online where, you know, they'll make these whole little homes for their pets and there's like a little couch and a bed and you could put this little wall hanging in your cat's room. I don't know. Sometimes we do fun crazy things for our pets and I am here for it. I think it's great. Super fun. Alrighty. Just cutting out the feet here. You will want your whole top to be put together before you start putting all of your applique on because some of these applique pieces, they're going to cross seams and they're going to cover um they're going to cover some of your patchwork that you've sewn. It's just just depends where you place them. So, put that whole quilt top together and then you can just place these wherever wherever you like. We have a little kitten sleeping, snoozing in a bed down here. We have this cute little guy kind of looking out the window. This one's probably getting ready to jump and try and catch a butterfly. I don't know. They just they just go wherever you want. We have cute little mice kind of scurrying around. And I like to think these are just these are just their toys and just fun things. And then, you know, I I did my applique with the um monofill, the the invisible thread, but you can use fab thread that matches your colors or you could do embroidery stitches that kind of add to it. I thought it would be fun to do little trailing squiggly lines from the butterflies and little lines around the hearts. You could embroider your cat's names or put little little decorative collars on them. Anything you want really. The options are endless. Um Oh, I almost forgot. So, yeah, to get these ironed down. I got a little off track. I'm kind of off track today. You can either peel up the corner or you can do a little trick that I like I like to do like um a pin or a scissor where you just score it and it tears through the paper backing, but it doesn't tear through the fabric. You just gently score that and then peel it apart and it gives you a little opening. I have never cut through my fabric doing this, so just be gentle. And then you're going to place them on your on your applique like on your blocks which will hopefully already be sewn into a quilt top. Right? And what I did for that, I peel the backing off after I get everything pinned down and then I pin it and take it to my machine or take it to the iron and press them. So that is how that goes. Let's see if I can get this off the edge. Some people are really good at this. I just have I struggle with getting it from the edge every time. It's hard. It never folds back for me. Mom can do it in like two seconds flat. I always have to score my my so adhesive. It just for some reason my fingers don't don't want to peel up that corner. All right. I think I'm going to iron this one onto our little Well, nope. I can't do that. That's not big enough. Let's see. I'll put them on this one. just for the sake of pressing it down. So, he's going to set right there. I'm going to tuck this cute little tail in and have it sticking up this time. It's cute hanging down, too. I did it I did it that way on the on the quilt behind me, but you can make their tails go whichever direction you want. You take this over to your iron. You don't have to hit it very long because this stuff heats up really fast, but you just want to set it flat on top of it and lift straight up. And that ironon adhesive will stick really nicely. Then you'll take it over to your machine. You'll use whatever thread color you like, whatever top stitch is your favorite. Get that all stitched down and then add whatever embellishments you want. And like like you can see here, we just used machine quilting over the whole thing. We did an edgetoedge pattern. This one is so cute. It's called Whiskers and it has these cute little cats all over it. I like to use a background color um so that it blends in. It is 41 by 41. And you can see I just used this beautiful gingham backing. I think it's just super fun and hopefully it inspires you to get creative and have fun making something adorable for the little kittens in your life or your friends that love their cats. And I hope you enjoyed this tutorial on the Patchwork Perch Quilt from Missouri Star Quilt Company.

 Natalie Doan
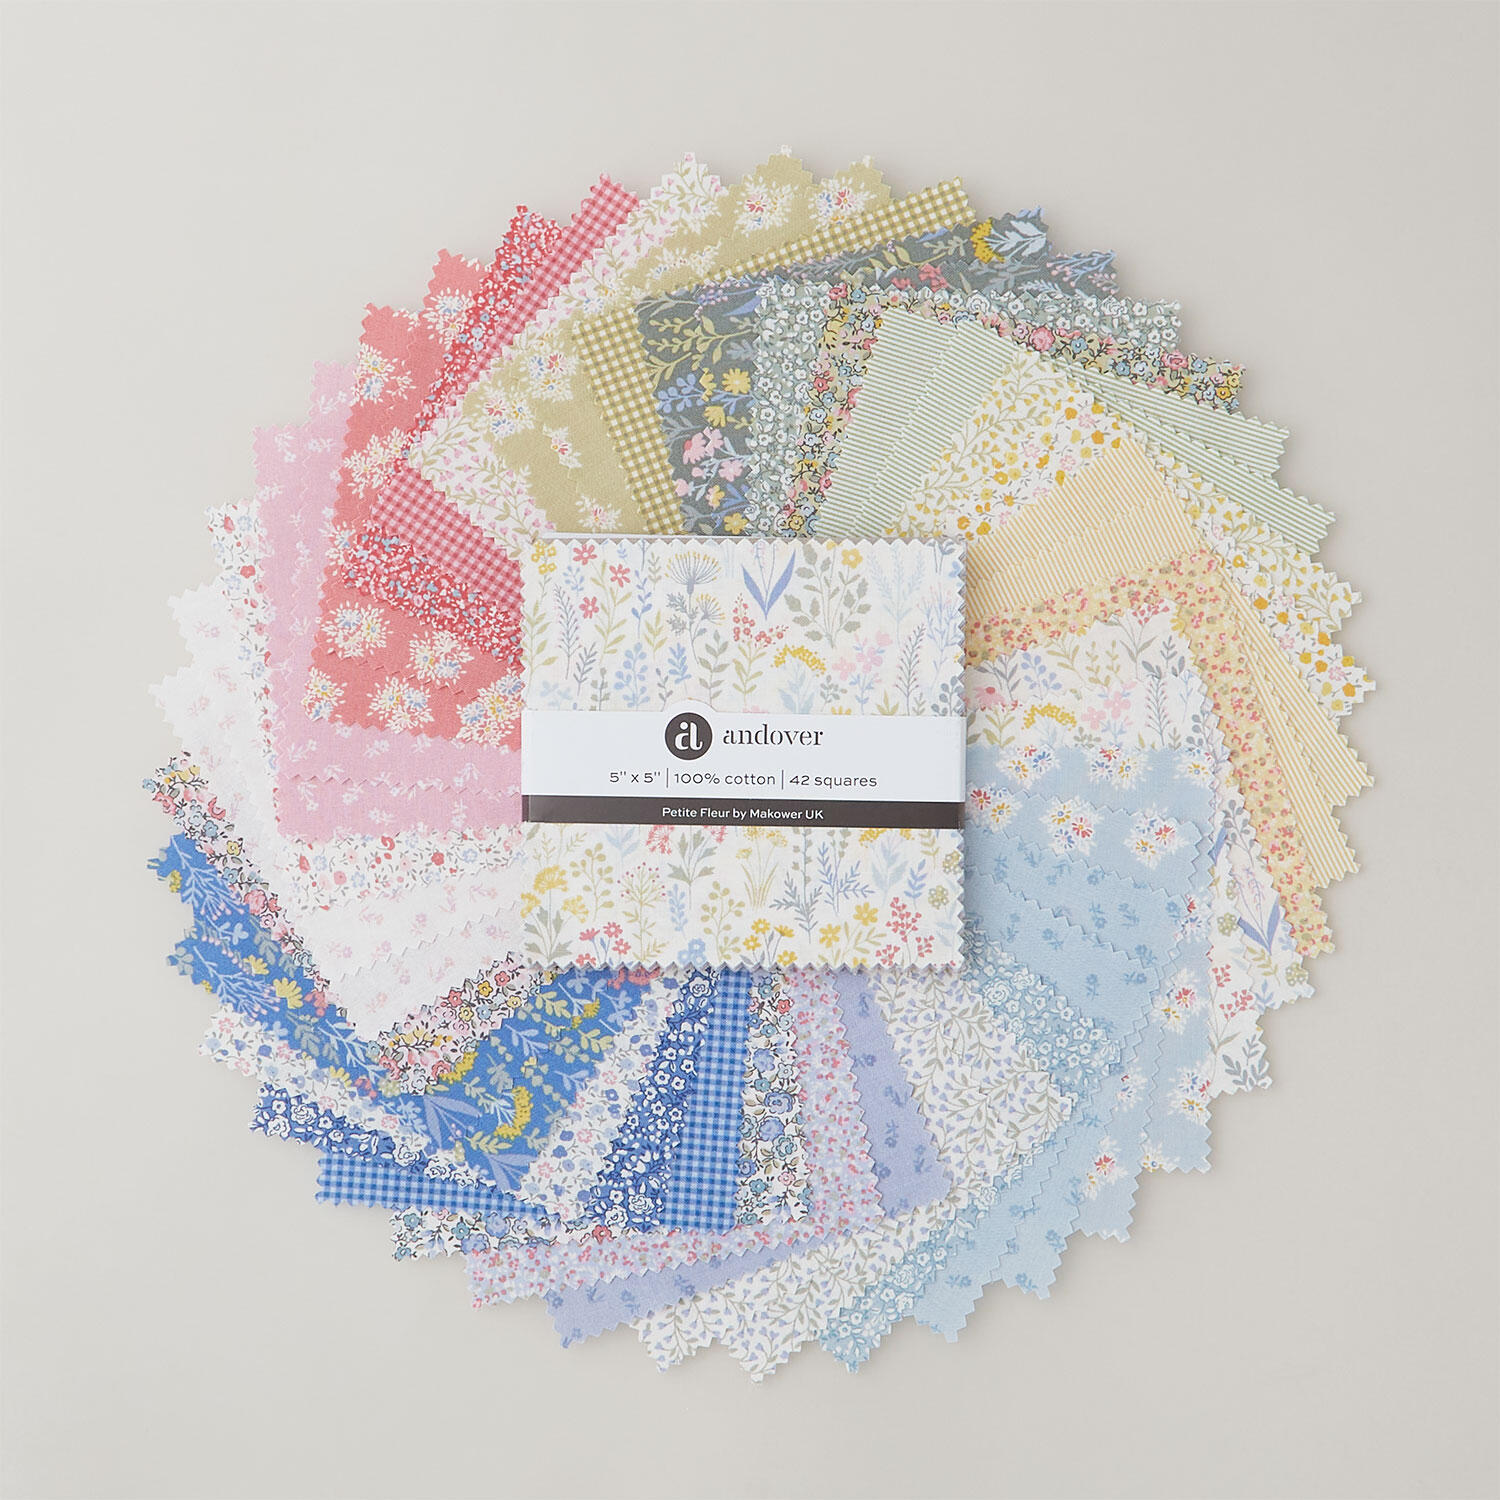 Petite Fleur Single Scoops$13.45Shop →
 Kona Cotton - Snow Yardage$7.92Shop →
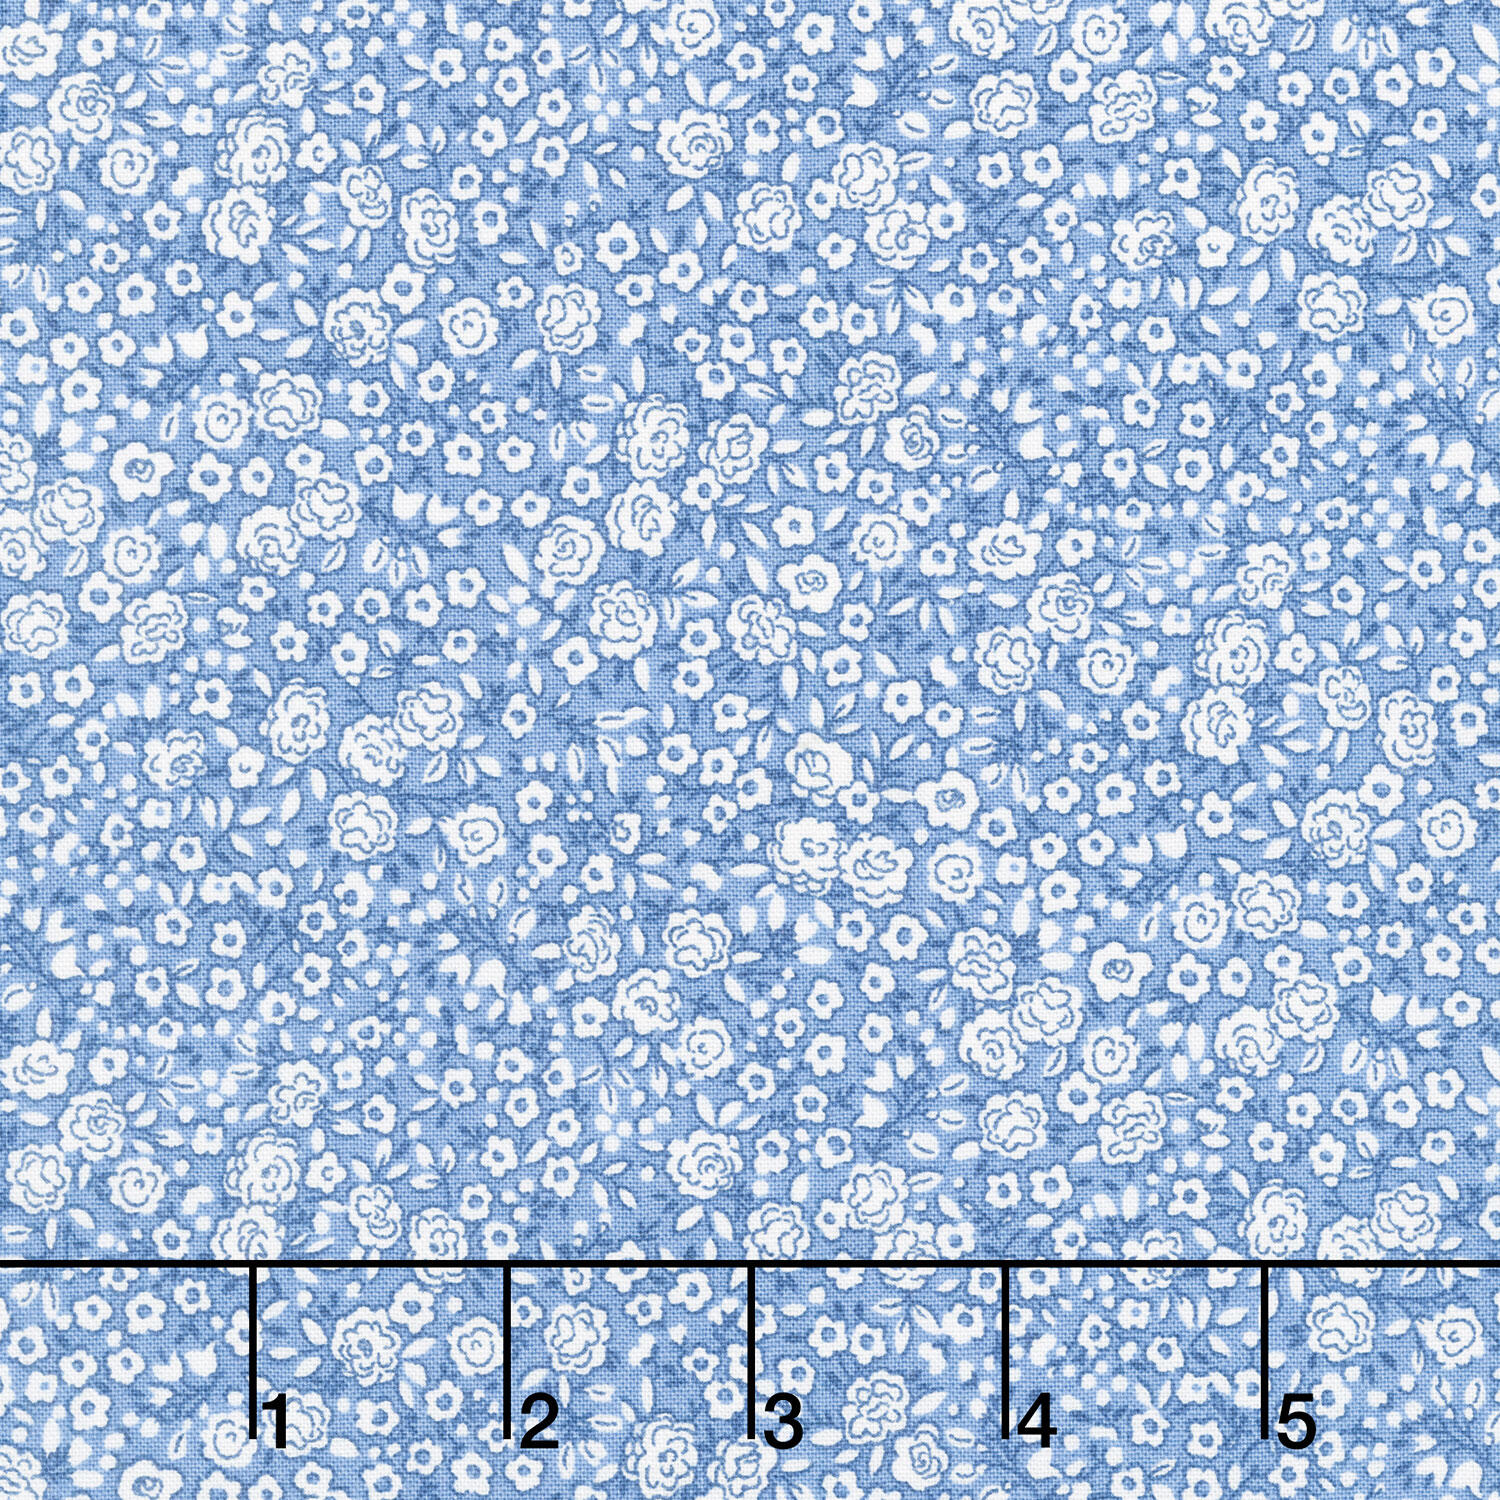 Petite Fleur - Blossom Blue Yardage$11.24Shop →
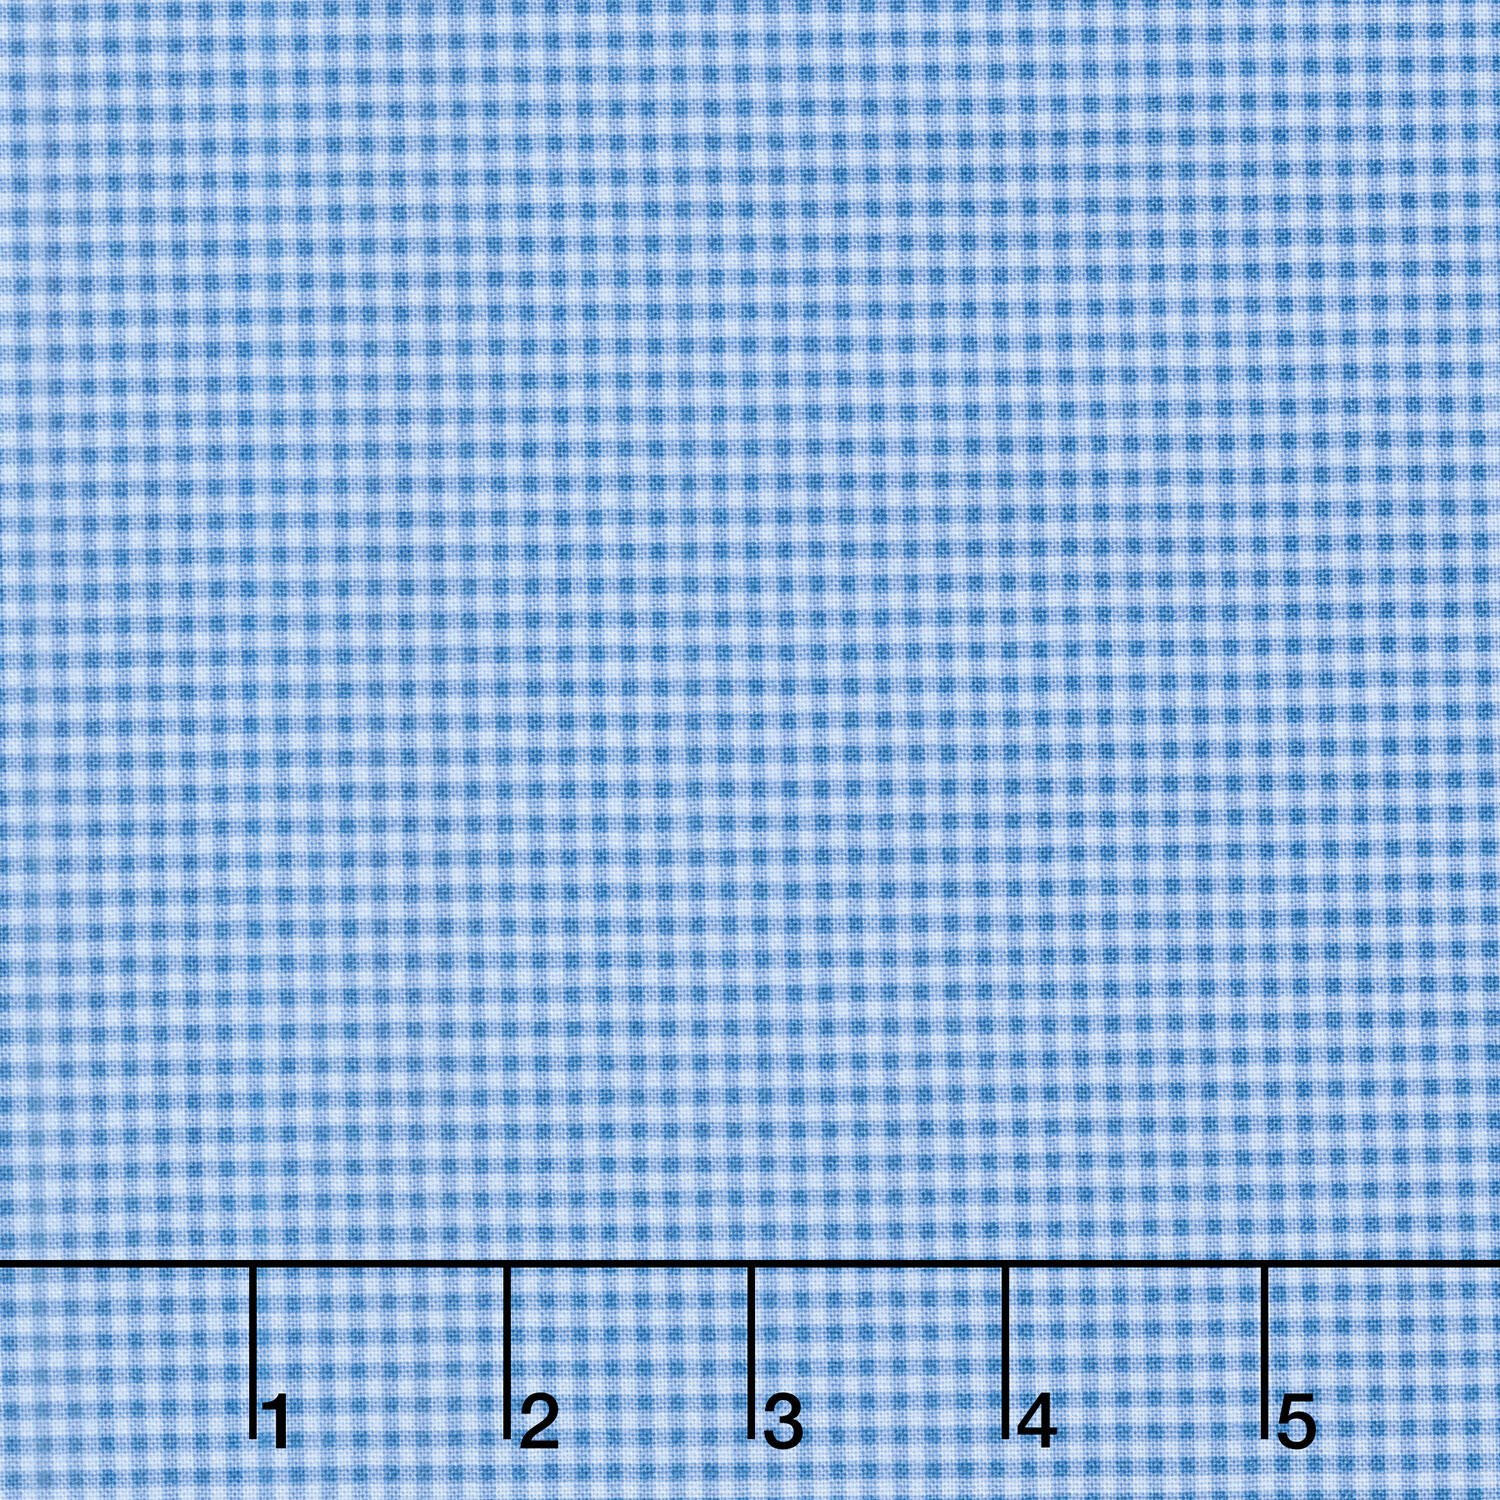 Petite Fleur - Gingham Blue Yardage$11.24Shop →
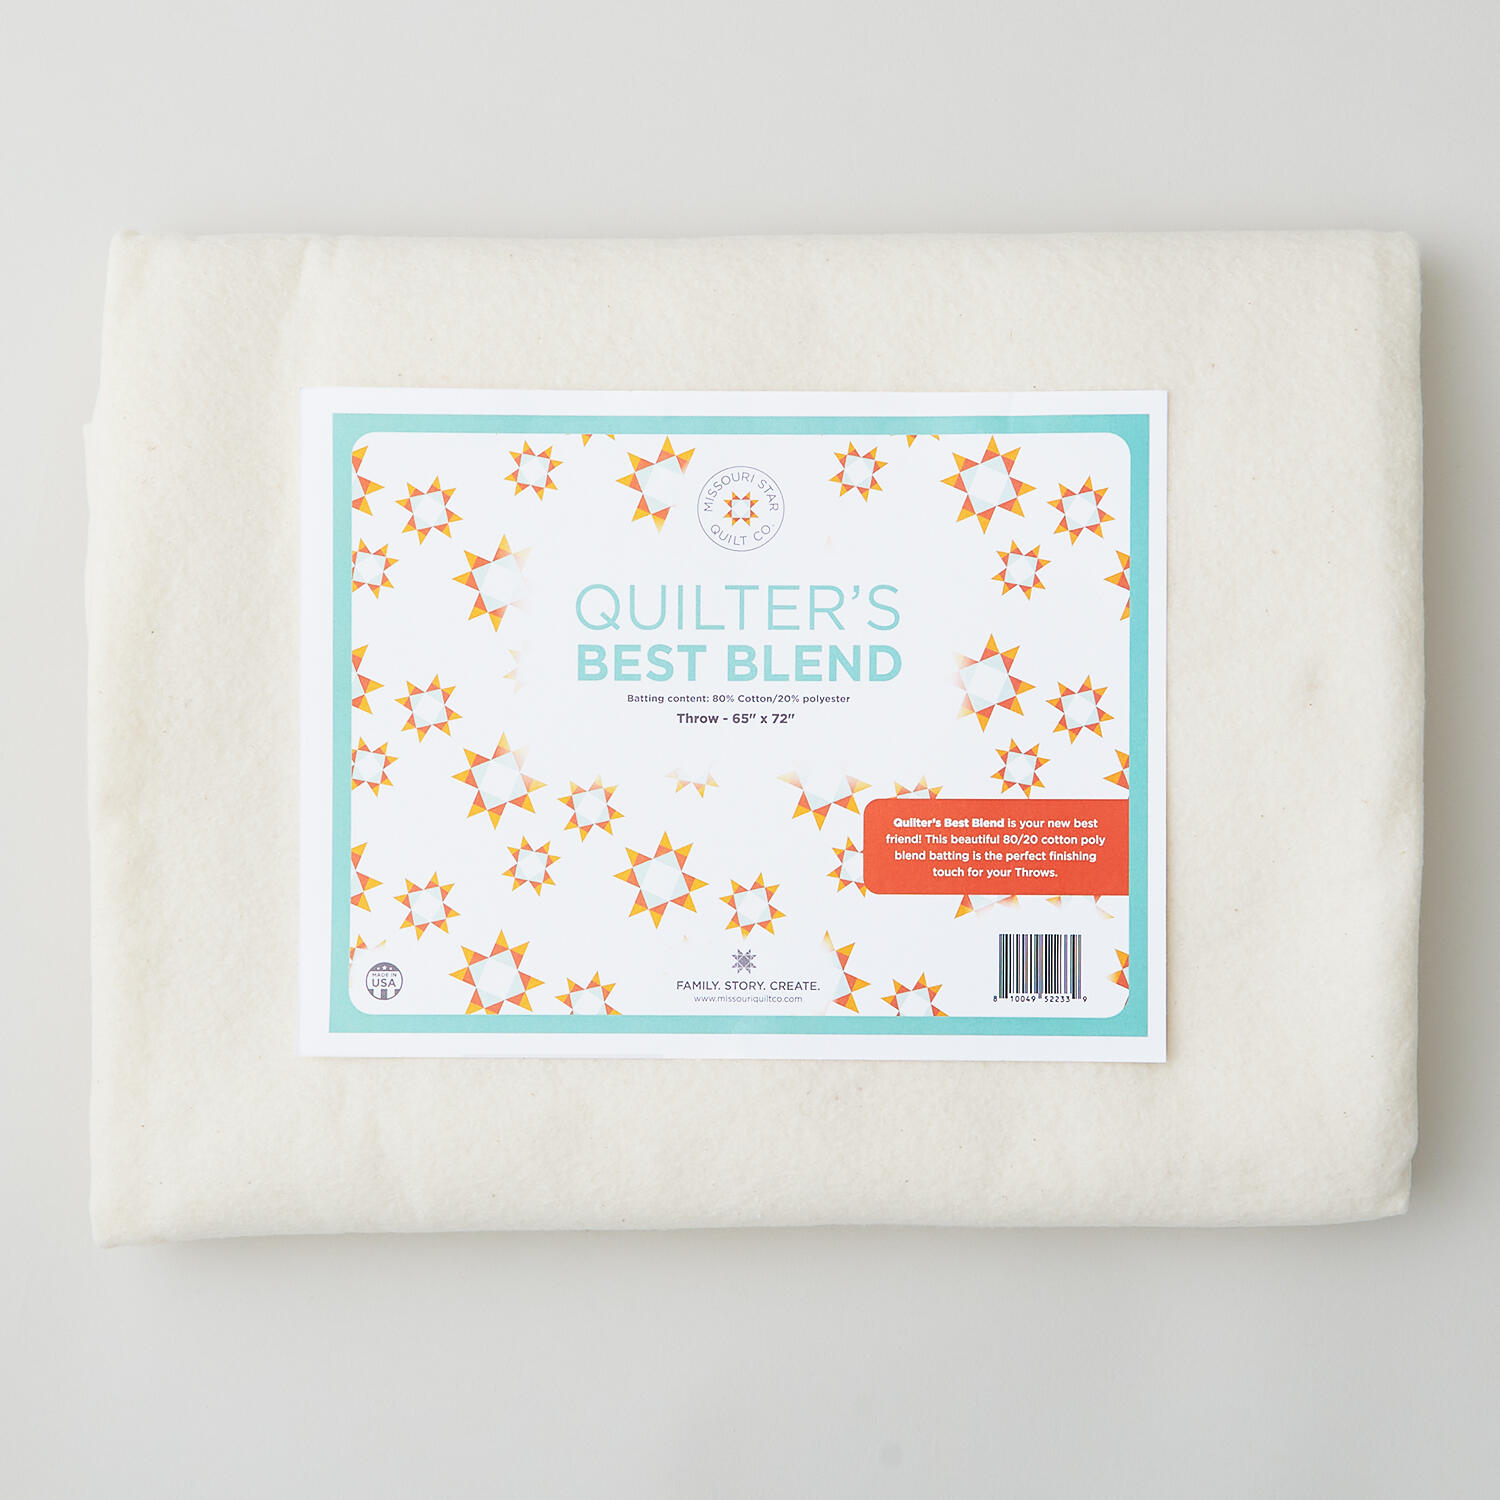 Missouri Star Quilter's Best Blend Throw Batting$21.95Shop →
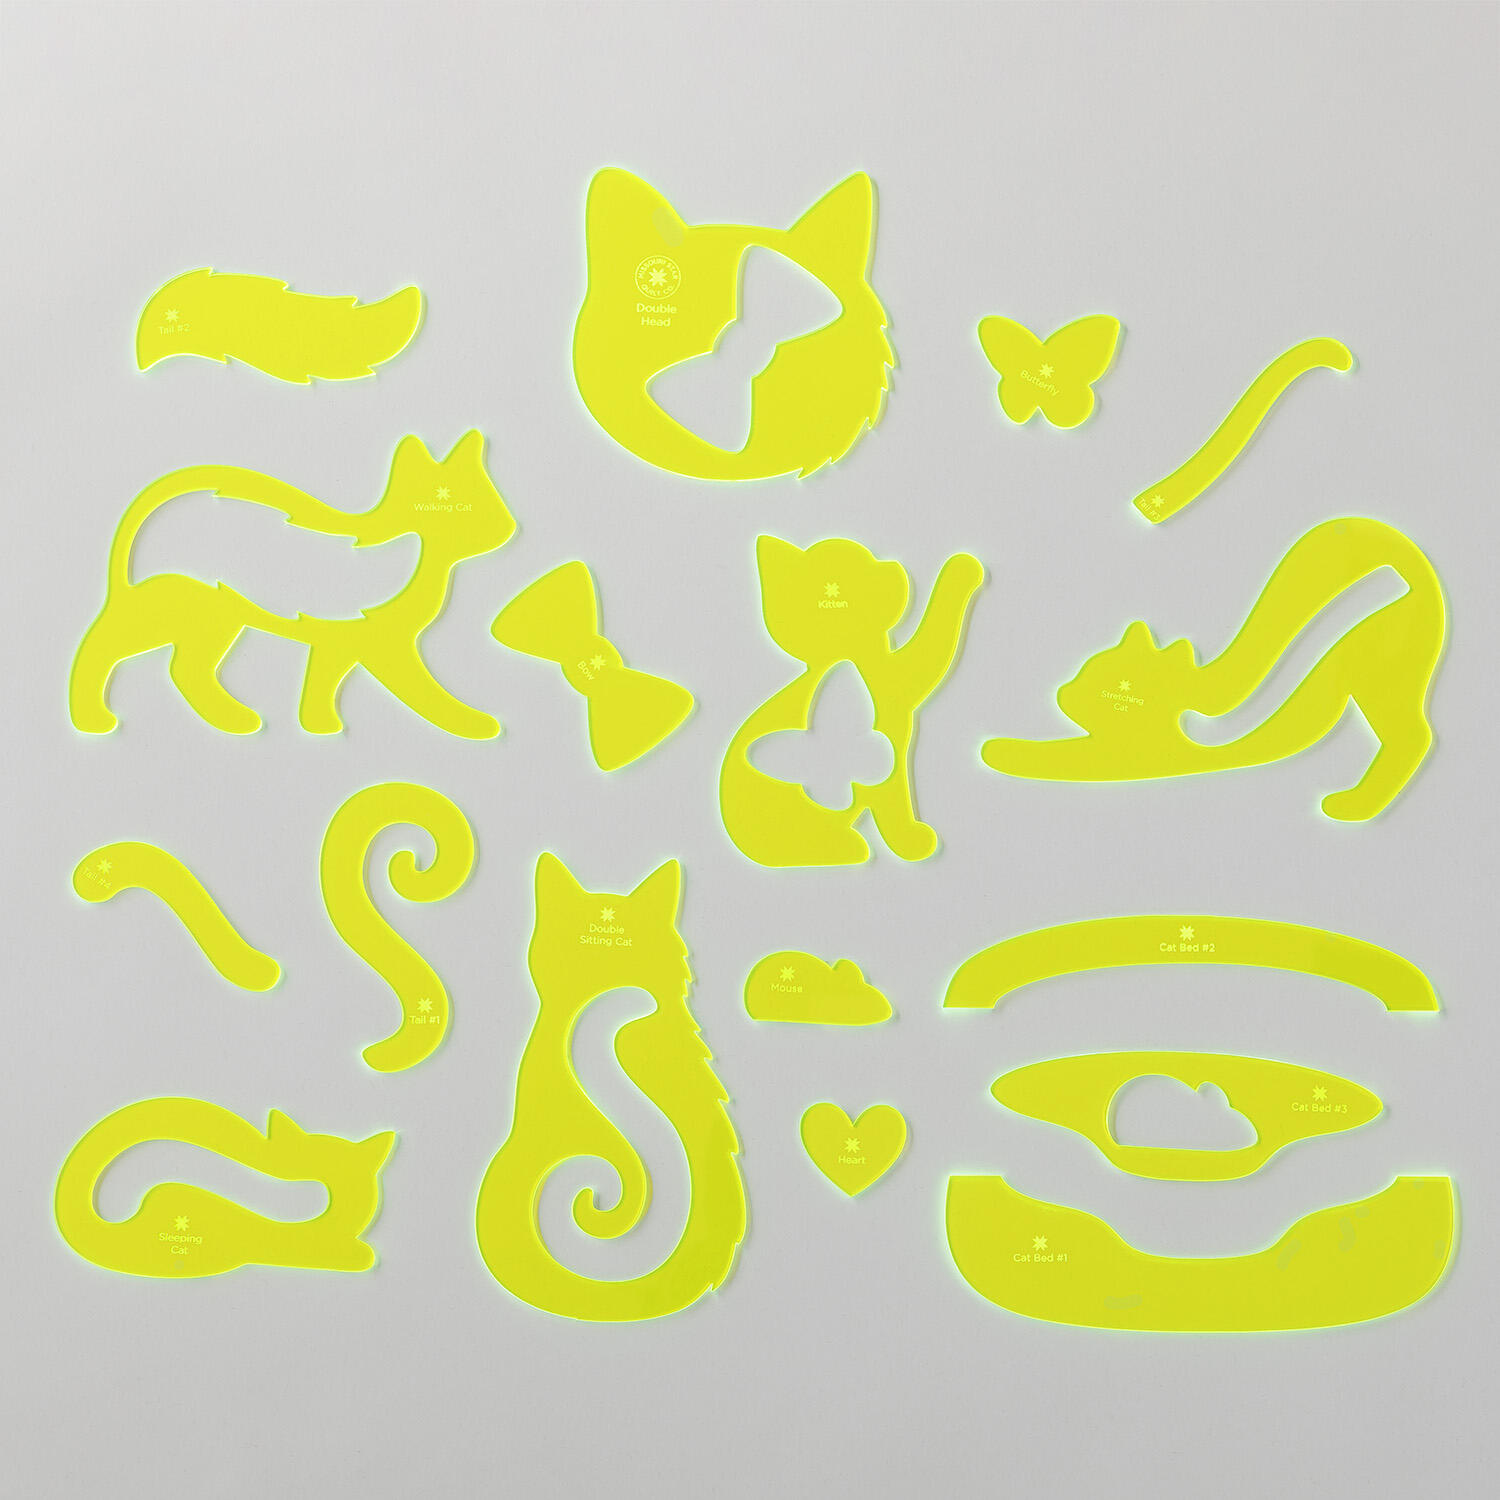 Purrfectly Yours Template Builder SetShop →
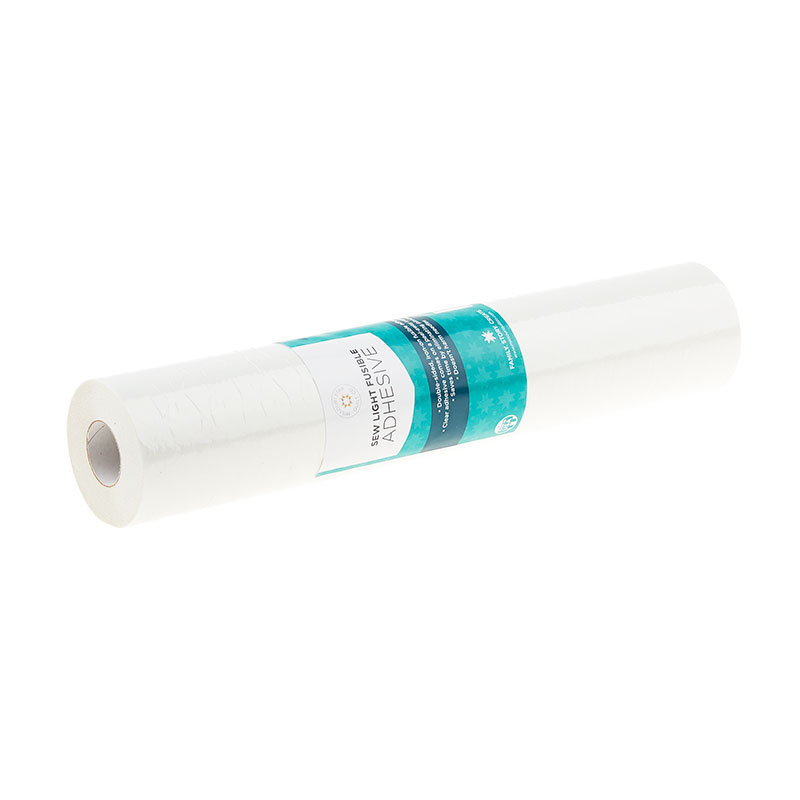 Missouri Star Sew Light Fusible Adhesive - 12" x 15 yards$28.95Shop →
 Missouri Star 2.5" x 8" Ruler$11.95Shop →
 Missouri Star 5" x 15" Ruler$19.95Shop →
 Bernette 77 Sewing and Quilting Machine$1699.00Shop →
 Missouri Star 50 WT Cotton Thread White$7.95Shop →
 Missouri Star 45mm Rotary Cutter - Olga$19.95Shop →
 Missouri Star Seam Ripper - Frida$9.95Shop →
 Missouri Star 8" Everyday Scissors - Amelia$19.95Shop →
 Missouri Star 4.5" Everyday Scissors - Elna$9.95Shop →
 Missouri Star + Oliso TG1600 ProPlus Iron$209.95Shop →
 Patchwork Perch Quilt Pattern by Missouri Star$8.50Shop →
 Digital Download - Patchwork Perch Quilt Pattern by Missouri Star$6.95Shop →


