Skip to content

Free quilting video tutorials from Missouri Star

Quilting Tutorials
Periwinkle Prism Quilt

Periwinkle Prism Quilt

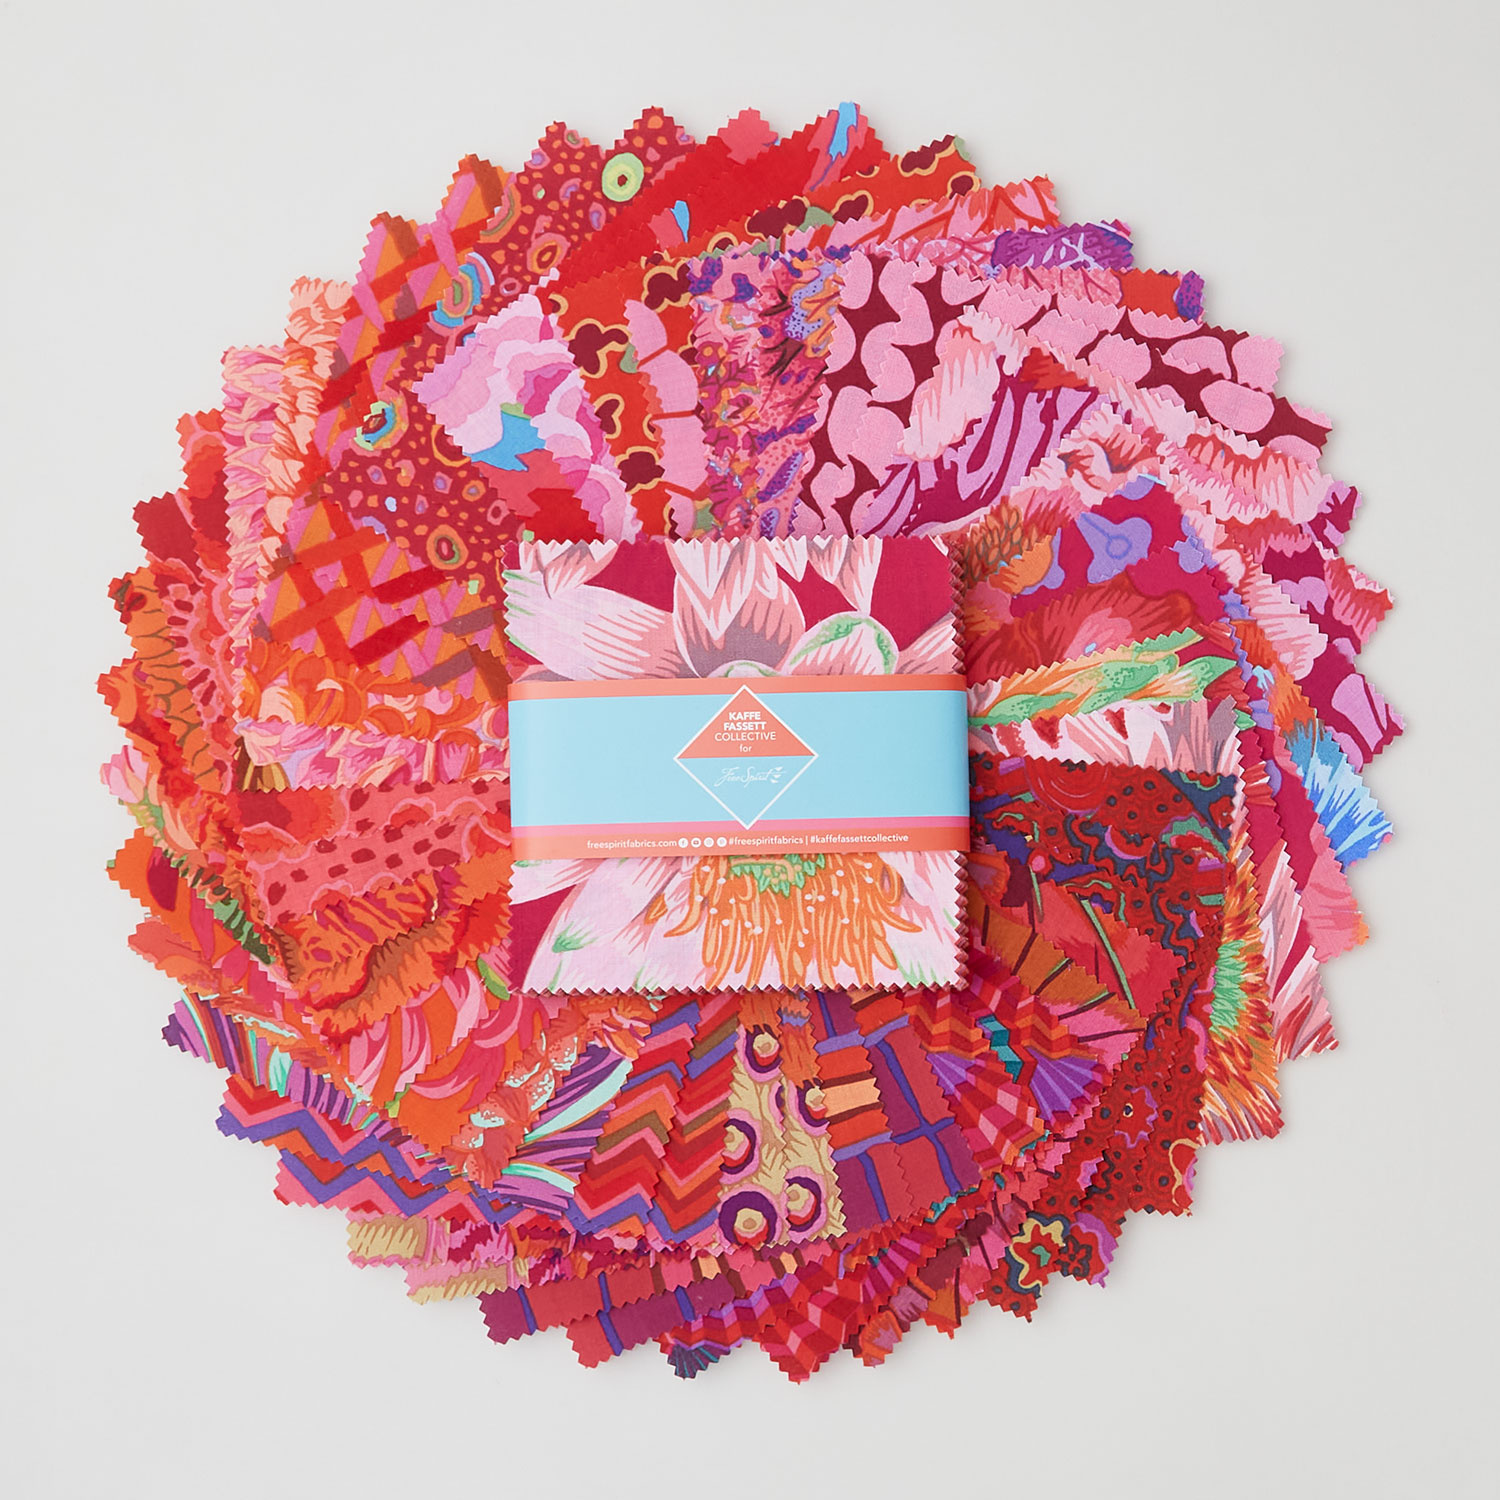
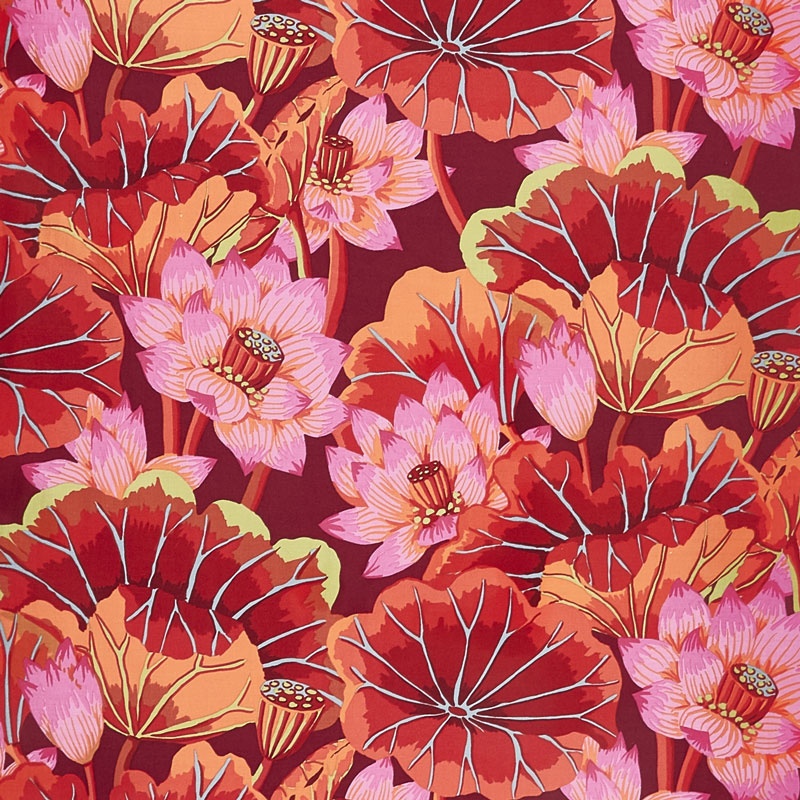
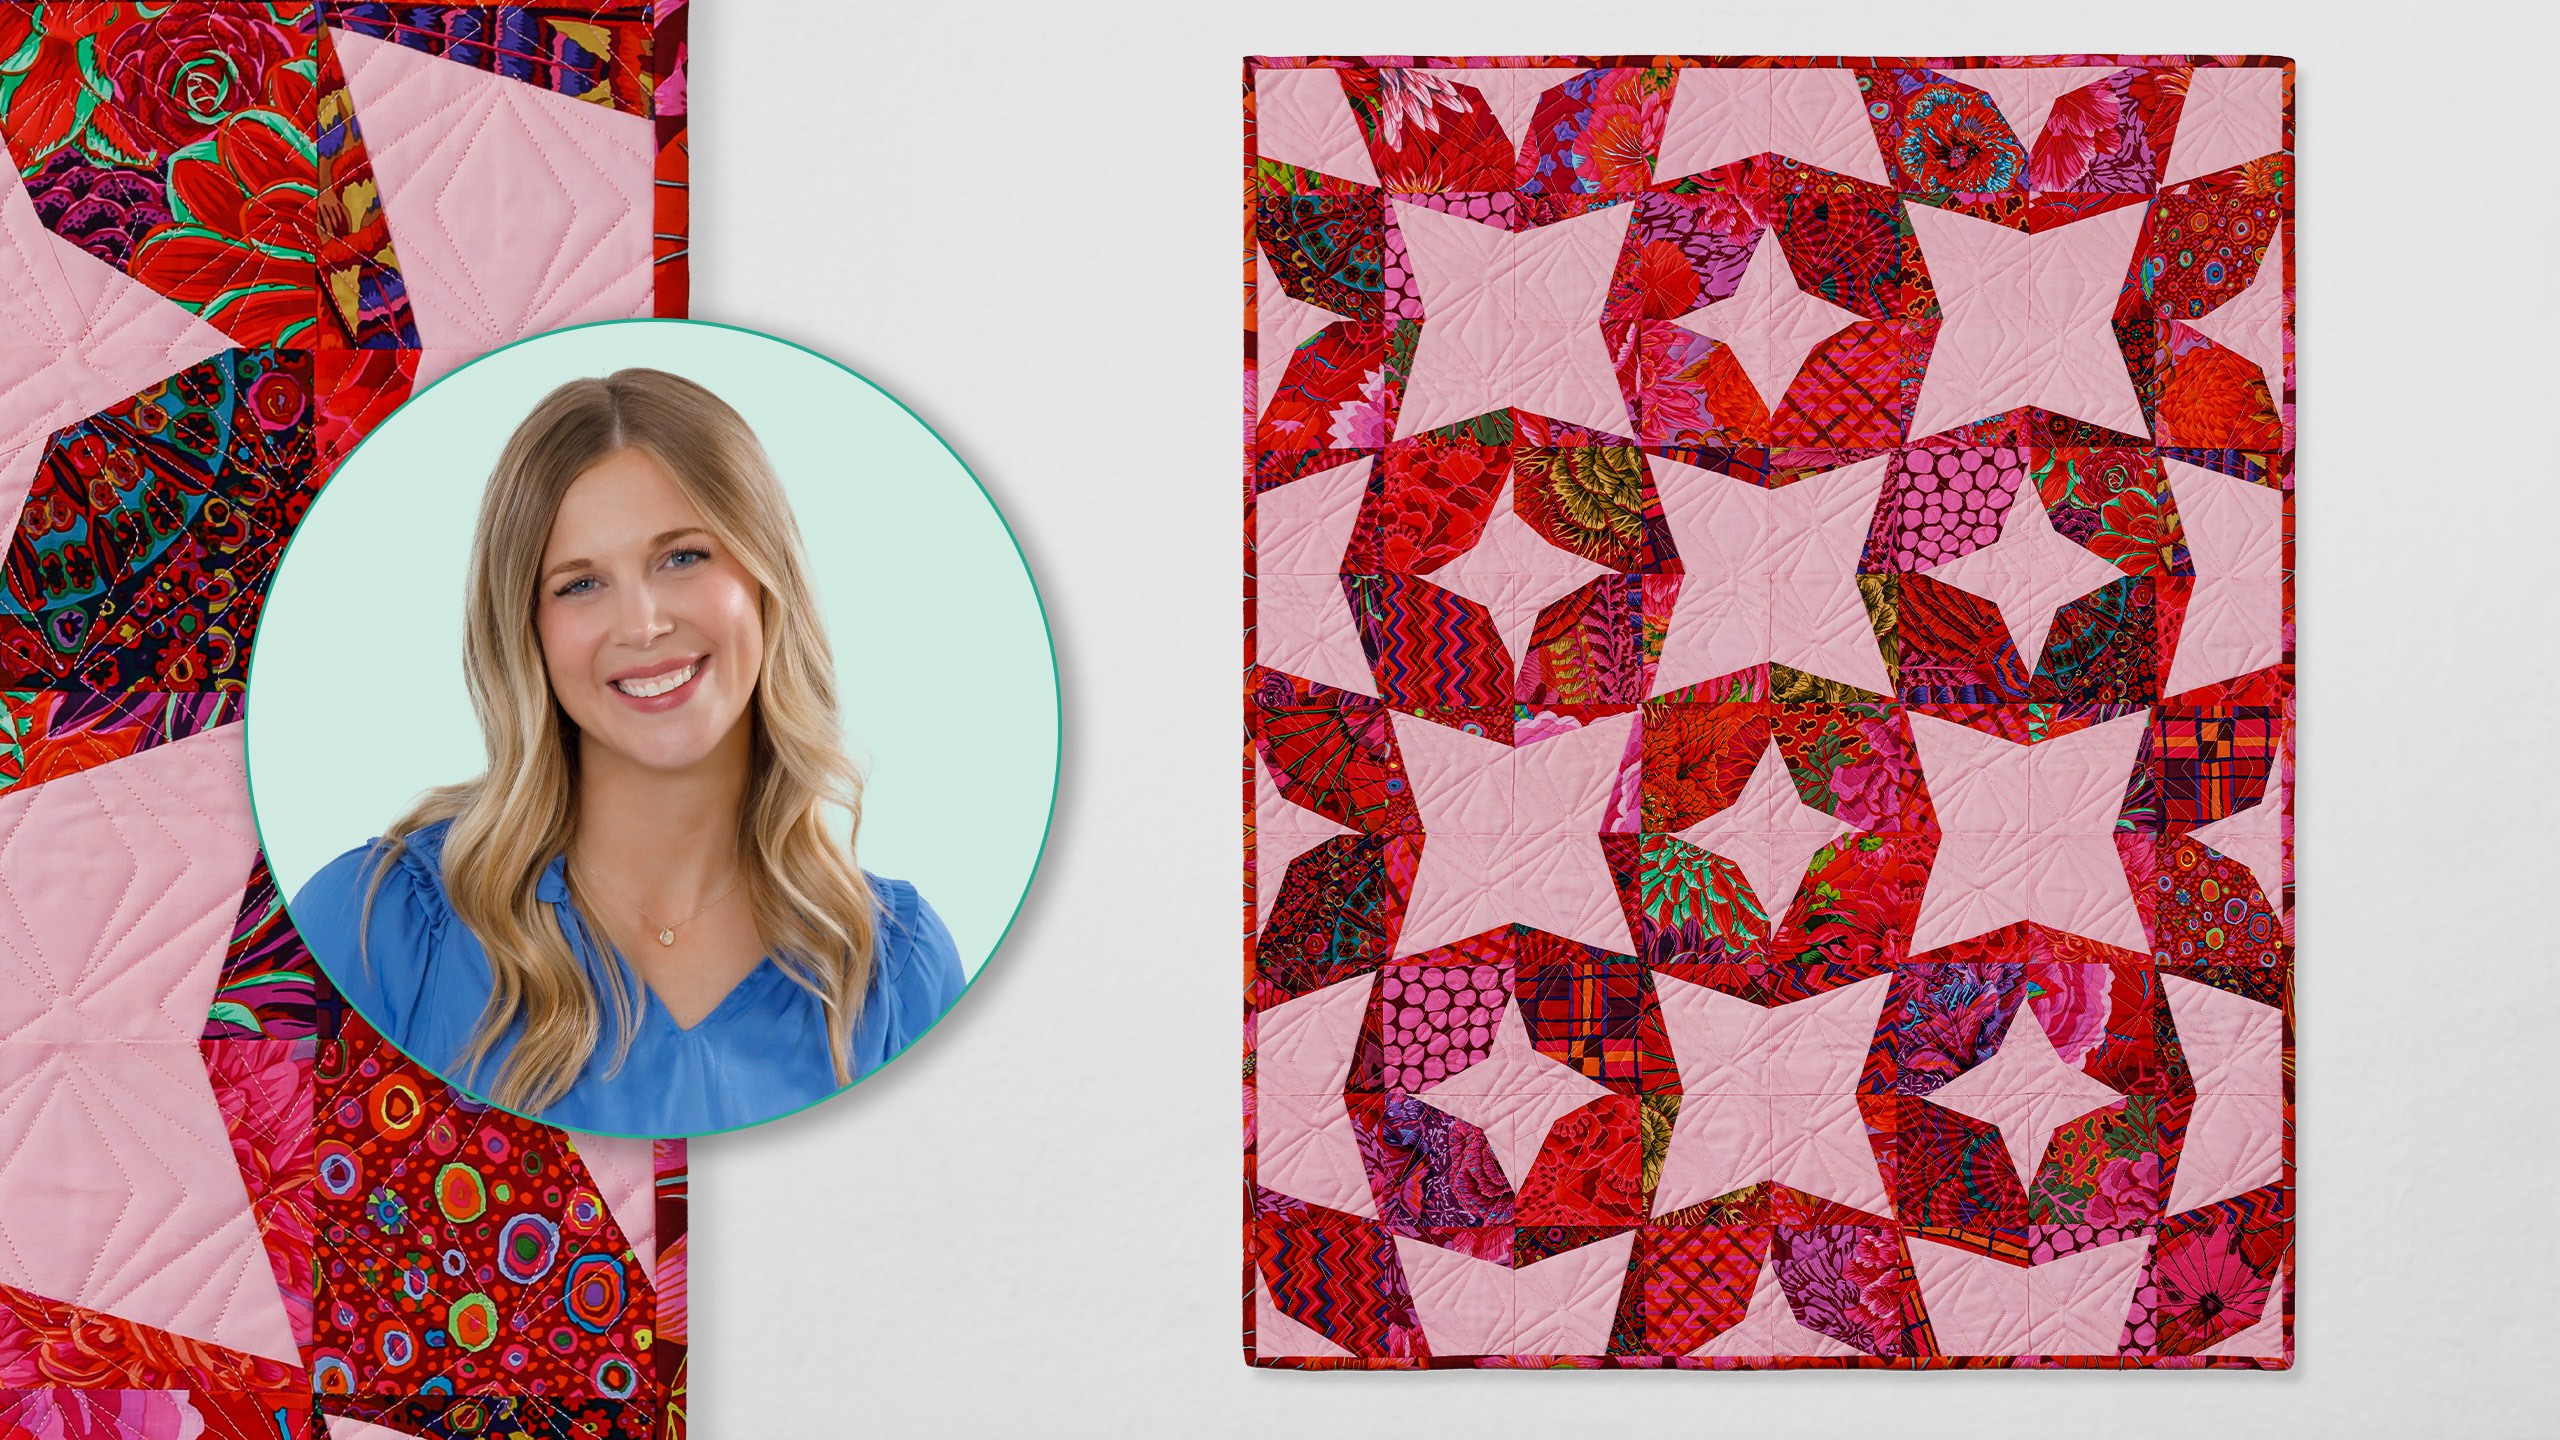
Twinkle, twinkle, periwinkle! Make an adorable quilt with periwinkles, the fun, four-pointed design that is the star of this quilt! Misty uses charm squares of Kaffe Classics in the Ruby Colorstory and pink Kona Cotton to create her quilt. Make one just like it, or choose other colors and prints to suit your style!

Instructor

Misty Doan

Misty Doan grew up surrounded by sewing and quilting. She loves spending time sharing tutorials each week each week, and when she’s not stitching up one of her fun sewing projects for home decor, most likely you’ll find her hanging out with her husband and three awesome kids or working on a house project.

Common Questions

What is covered in Periwinkle Prism Quilt?

Twinkle, twinkle, periwinkle! Make an adorable quilt with periwinkles, the fun, four-pointed design that is the star of this quilt! Misty uses charm squares of Kaffe Classics in the Ruby Colorstory and pink Kona Cotton to create her quilt. Make one just like it, or choose othe...

How long is the tutorial video?

The tutorial video is 00:10:58.

Are supplies listed for this tutorial?

Yes. The tutorial page includes the supplies and materials connected to this project.

Video Transcript

hi everyone today I'm super excited to share this adorable Periwinkle prism baby quilt with [Music] you today's project is super quick and easy and I know it's called Periwinkle prism but today we're going to stretch ourselves a little bit and we're actually going to piece this in now remember if you love fusible applique you can use our Periwinkle template and make a very similar quilt to this using the same supplies but I'm going to show you how to do it all pieced so in order to make this quilt you are going to need two packs of 5in squares and I used C Classics warm for free Spirits I also use this beautiful pink background and for that you're going to need 1 and 2/3 yards and for your backing you need 1 and 1/2 yards so let me show you how to make it so up first for each block you are going to need four of your print 5in squares and we're also going to cut um some 5 in squares from our background fabric so I have that ready to go as well and so let's begin by making this portion of our block there are two different you know I guess quarter blocks that we're making to assemble into our block so we'll start with this one which I call the little star legs which just helps me keep it straight and so we're going to grab one of our print squares and then we are going to take one of our 5-in background squares and we're going to cut this in half so that we have two 2 and 1/2 by 5 in rectangles and then what I'm going to do is I'm just going to make wonky legs coming off of one corner and so to do that I'm going to lay this like so I want to make sure I have at least a/ quar inch overlap on both ends and then we can take this to the sewing machine and I'm going to use the edge of this rectangle as my guide to sew a quinch seam all right beautiful now while I am sitting here I'm going to go ahead and press this back so we can just set this seam and roll it back there we go beautiful and now I'm going to use my original 5in Square as my cutting guide and so I'll just lay my template right along this corner here and then we can cut and cut so there is our first little wonky star leg and so now we want to go in the opposite direction of the wider side and so just the same way I'm going to overlap these making sure I have at least a/4 inch I just did these completely wonky if you're real particular and you want to make sure they all match up up you can measure down from these opposite corners and make a mark so that they'll be exact every time but I like the wonkiness so I just kind of leaned into that and so again we're going to sew our quarter inch seam beautiful all right again we'll press that back okay and then we'll use our 5 in square as our cutting guide again there's that and that and so you are going to make two little units exactly like that for each block so I have one already done and now we can move on to the next one and that is the more traditional Periwinkle shape so this is what I was talking about if you want want to applique you would just take one of your print background squares you would use our Periwinkle template cut it out of your pink and set that on top of this which totally works I decided I wanted this little bit of a challenge to piece it in place so let me show you how to do that so for that we're actually going to begin with a 5-in background Square since this is the color that our perrywinkle is going to be and then we are going to take our little ruler here and I want to me measure over an inch and a half on these two opposite Corners so I'm just using my ruler here and I'm going to make a little Mark for an inch and a half because that's where I want my fabric to come to when I add it so then we're going to take our 5 in square here and I'm going to cut this diagonally corner to corner just like so and so then next now in much the same way we did for our star legs we are going to lay this over but this time we're going to line up with the point and our Mark so that it's going to go from those two places and we're going to sew that/ quarter inch seam so let's go ahead and do that and if I was making the whole quilt I would Mark all of these and chain piece one side and then come back and do the other it makes it go really fast there we go and now we can cut this back or press this back sorry beautiful I do want to point out here because I failed to mention this because and this is really close you want more of your fabric towards the top when you're folding this over let me show you here see how I have a little bit hanging down here I probably should have shifted this up just a little bit CU you can barely see the corner of my background fabric here and if I had shifted it up you wouldn't see it at all and so I'm not worried about this because this is going to be well within my/ quarter inch seam but that's just something to watch for when you're making this block and so we're going to go ahead and trim this now just like [Music] so all right and then with our other half so we're going to set that in just like so and I just want to make sure that this little bottom corner just barely has at least that quarter inch overhang and then the majority of it is up here at the top and that's going to help make sure we're going to cover that corner when we fold it back and so then now we can take this to the sewing machine just like before and Stitch these down okay and then I'll roll that back as well all right that looks great and so now I can trim that off again beautiful now if you are going to hand quilt this or quilt it yourself or you're worried about bulk you can come back now that you've trimmed these and trim away this excess background fabric I always send mine to be long armed and it's never an issue so I leave mine in but it's totally your preference if you want to do that and so just like our other little quadrant we're going to make two of this block as well so I have the second one ready to go and now we just get to assemble our little block and so we're going to start with our star legs and they go in opposite Corners like so and then the narrow part of our Periwinkle is going to point to the center just like this and then we can fold it together like a four patch sew this together so let's go ahead and take it to the machine there's one now I can just open this up and sew My Block together I love this block it comes together so quick and I think it's a really fun fun look in the end so I am just watching to make sure I'm nesting those seams in the middle all right now we can give this a press and our block is complete so fun all right there is our cute little block and so now let's talk about the layout in this quilt because it's really just this this is all that we've made for this whole quilt and so you can see it sets in like so and then we just rotate these back and forth and when you put them together you get these beautiful kind of flower medallions I absolutely love it and so it is 1 2 3 4 of these blocks across by five down and I didn't add a border or anything I just liked it exactly as is and so that size is 36 by 45 and then we use one of these beautiful Cay florals on the back which I think is really lovely and I even quilted it with pink thread to blend in with that pink background which is you know fun to mix it up a little bit and so let's see the quilting pattern on this is called Chevron tumblers and I just really love it it kind of adds to the geometric feel of this quilt so I hope you guys enjoyed this tutorial I can't wait to see what versions you make and I'll see you next time hey everyone thank you so much for watching at home we're so excited to be almost a million Quilters strong here at Missouri Star and so if you haven't already joined our family be sure to subscribe and hit that notification Bell so you can be notified of all of our future tutorials and we'll see you soon [Music]

More Charm Pack tutorials

See all