

Pinwheels On Point with Fence Rail Quilt
 Jenny Doan
- Jelly Roll
- Traditional
- Lap / Throw
- Beginner
- Quilt size 58" × 74"
Missouri Star Quilt Co's Jenny demonstrates how to make a stunning quilt that combines the pinwheel on point and the fence rail. This stunning quilt project is sure to impress!
Instructor
Jenny Doan
Jenny Doan is an American quilter, author, and YouTube personality. Jenny started Missouri Star Quilt Company in 2008 and today it is the largest quilting supply vendor in the United States.
Shop this tutorial
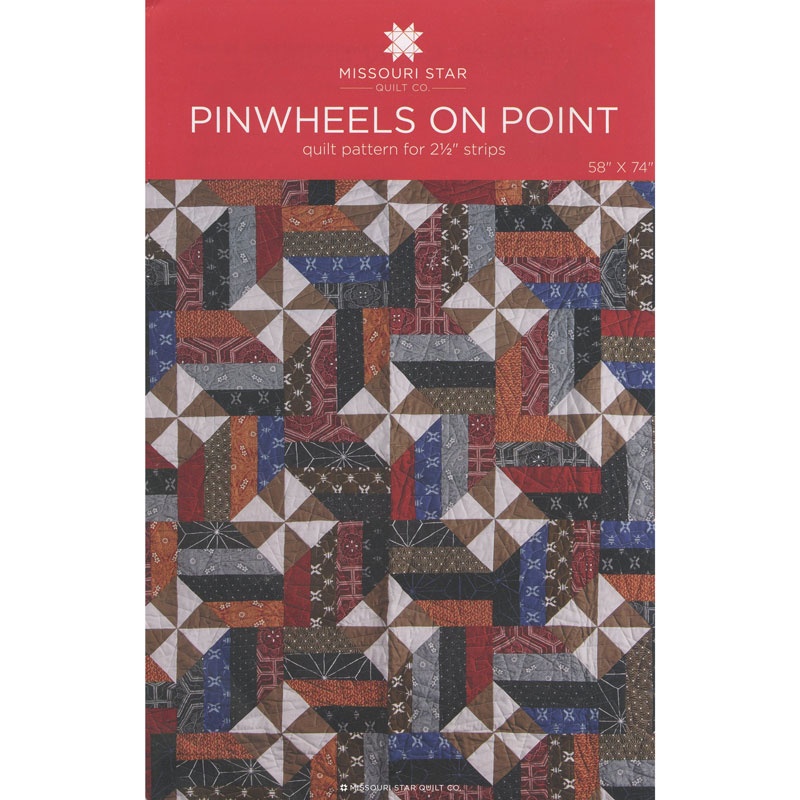 Pinwheels on Point Pattern by Missouri Star$6.95Shop →
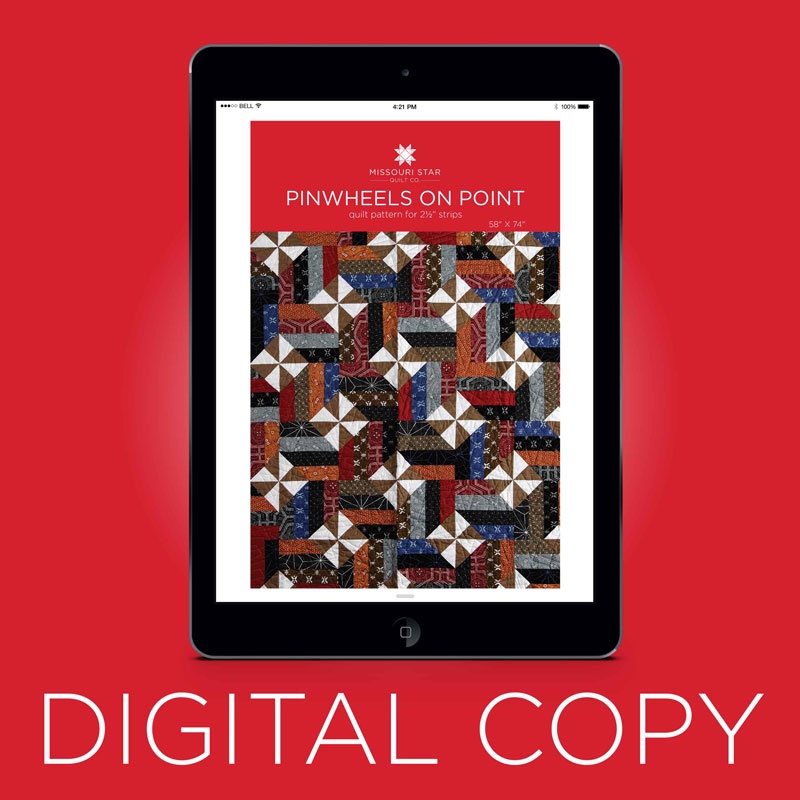 Digital Download - Pinwheels on Point Quilt Pattern by Missouri Star$4.95Shop →
 Olfa Splash Aqua 45mm Rotary Cutter$18.75Shop →
 Olfa Splash 24" x 36" Cutting Mat Navy$68.95Shop →
 Missouri Star 2.5" x 8" Ruler$10.95Shop →
 Missouri Star 5" x 15" Ruler$15.95Shop →
 Exclusive Missouri Star Jenny TG1600 ProPlus Oliso Smart Iron$199.99Shop →
Common Questions
What is covered in Pinwheels On Point with Fence Rail Quilt?
Missouri Star Quilt Co's Jenny demonstrates how to make a stunning quilt that combines the pinwheel on point and the fence rail. This stunning quilt project is sure to impress!
How long is the tutorial video?
The tutorial video is 00:20:27.
Are supplies listed for this tutorial?
Yes. The tutorial page includes the supplies and materials connected to this project.
Video Transcript
Hi I’m Jenny from the MSQC. And I have such a fun project for you today. This is one of those quilts that looks like you did a lot of work but it’s super easy. Let’s take a look at it. So here’s this quilt right here. And it is a fence rail right here you can see the fence rail with a pinwheel. And this is so easy to do. So let’s get to it. To make this quilt what you’re going to need is one packet of 2 ½ inch strips. We’ve used Land of the Free by Northcott. And this is just a really fun patriotic look. Really good. You’re also going to need a yard, let me see, a yard and ¼ of whatever you want to use for your pinwheels of both colors. So I have a yard and ¼ of the background right here. You can see that right here. And then I have a yard and a ¼ of this blue right here. And that makes the whole quilt right there. Fun, quick and easy. So the first block we need to make is the fence rail block. And so what you’re going to do is you’re going to open up your strip packet . And there are 40 strips in here. And you’re going to make ten sets of four strips in each. So you’re just going to put your strips, you’re going to take them out like this. Put four in a row, just like this. And I have two here that are already sewn together. And you’re going to make a strip set that has four pieces in it. So I’m going to go ahead and we’ll go over to the sewing machine and sew these two together and then attach it to those and that will make our whole strip set. Alright so let’s press this open. There’s a couple of things with a strip set that you want to watch out for. One is that there’s no folds on the top. So you want to make sure that your strip set is really open. You have no little folds or pleats in there because that will change the size of your block. Because what we’re looking for now, what we’re going to do is we’re going to cut these in squares and put them as blocks. Now if you want you can flip this over, make sure all your seams are going the same direction or you know however you want them. But make sure they’re nice and flat. And then we’re going to cut this into squares. So what I’ve done here is I’ve folded this in half so I can get double cuts out of each strip set like this. And I’m going to measure how tall they are. So let’s see here. This is going to be an 8 ½ inch, it’s 8 ½ inches high. So we’re going to cut over 8 ½ inches. So right here we’re just going to cut these at 8 ½. What I’m doing here right first is clean up this first edge and cut off all my selvedges like that. Oop. Just like that. And then we’re going to cut these into 8 ½. So I’m going to count, one, two, three, four, five, six, seven, eight and a half. Make sure that I have my blocks. Just like this. And again, one, two, three, four, five, six, seven, oop we don’t want that to move. If it moves you need to reline it up. So we’ve got one, two, three, four, five, six, seven, eight and a half. Be very careful. There we go. Make sure that’s nice and sliced. And then I’m going to open this up and see if we have enough for one more block. And we should. One, two, three, four, five, six, seven, eight, oh almost a half. That was almost a little miracle right there. We almost got that perfect. We have to trim off just a little bit. There we go. Ok so we got all these cut. It looks, you’re going to get five from each strip set. And to make the quilt you need 48 blocks so you’ll have a couple of extra blocks but that’s ok. So this is our one block. Now we need to make some half square triangles for the corners. And I know that doesn’t sound like what we’re going to do for the corners because basically we always kind of snowball the corner to give it the look. And that’s exactly what we’re going to do with a half square triangle which is a little bit of a trick. So that’s kind of fun. So what you’re going to do is, you’re going to need to make some half square triangles. We’re going to that with two ten inch squares. Remember you’re going to need a yard and a ¼ of your contrasting colors to make those. You’re going to put them right sides together. And we are going to draw a line, an X corner to corner on each side. And you can see that I’ve got that here. You can line up your, your ruler corner to corner. You’re going to go ahead and draw your line. I like to start from the middle and go to the edge on each side. Then we’re going to sew quarter of an inch on either side of the line. So you can see I’ve already done that on this side right here. A quarter of an inch along this line. And we’re going to go over to the sewing machine and do this other line as well. Let’s do that. So I line up the edge of my presser foot along the line this way. There we go. And I’m just going to sew down the side of the line. I let the line be my guide. And then we’re going to flip this around and sew down the other side. Normally you make a pinwheel with quarter square triangles. And the way I set this, it’s going to look like we went to all that work. But we’re just using half square triangles. And you know turning them a little something so it’s a little bit of a trick. So now we have our block sewn a quarter of an inch on either side of the line. And what we’re going to do is I’m going to line up my block here on my mat. And because they’re ten inch squares I want to cut it in half both directions. So I’m going to use my, the edge of my fabric and my mat to help me line up because I know this is, this is going to be five inches is half. And it should make, you should be able to cut right through where your X goes in the middle, your criss cross. And so I’m going to do it on both sides, horizontally and vertically. And then we’re also going to cut on the lines in between our stitch line. So on our drawn lines we’re also going to cut. This is going to give us eight half square triangles. You’re going to do this, you’re going to make, well you’re going to make a bunch of these. Let me see I have it written down over here how many you’re going to make. You’re going to make 13 of these sets. And so we’re going to take these all over to the ironing board now and we’re going to press them open. We’re pressing to the dark side which is our blue. Our seam will go to the blue just like this. Alright. So now we’re going to do something that I don’t, I don’t ordinarily do. I don’t not do it but I don’t always do it. And we’re going to square up our blocks. To do that I’m using the Block Lock ruler. And I want my blocks to be at 4 ½. One of the cool things about the Block Lock is it has this, like a little divot in here where it’s cut just a little, in a little deeper. And what that does is it locks in on the seam so that it doesn’t, it won’t move you know. It’s very very, it makes it very easy to square up a block. So it locks in on your seam and then you can just cut it, trim it up on all four sides like this. And you can turn it because it’s locked in there. And just make sure you stay lined up on your edges. Just like that. And we’ve squared up that block. To square up a block means it’s the same on all four sides. And so we need to do that to all of our blocks. So I”m just going to go ahead and do that. And this one is almost perfect. Ok, so we’ve almost got all these done. I want to show you a couple of more. The squaring up is really important. Now on this ruler if you, because the, the, the divot will lock on either side you need to make sure that it’s, see it’s hanging off here so you want to flip it around and just lock it on that, edge of that seam. This will pull back. You want to make sure this is lined up exactly here. You’re looking at a 4 ½ inch square so we’re lining up our edges, or the, the block, the actual ruler is 4 ½ so it will be, that will make it super easy. And then we just trim off your excess. It just really makes a clean block for squaring up. And one more little piece over here. Now I get to show you this magic, how this is going to work. So what we’re going to do is we’re going to take our half square triangle and we are going to fold it in half this way. Do you see what I’m doing here? So now we have the two colors here on either side. And we’re going to press those so that those stay down. We’re giving ourselves a sew line because we’re going to use the half square triangle to snowball our corners. So now we’re taking all of our half square triangles and pressing them so that your two, you can see the two sides of your colors. And it looks like a quarter square triangle. I was so hunting for an easy way to do these quarter square triangles and when I hit on this I was like, yes, yes this is another one of those cool things. So I’m pretty excited about it. Alright. So now what we’re going to do, and this is important because your squares have to end up on the same two sides of your block and they have to end up the opposite colors. So for instance, on this right here, we are going to lay this block on here like this and we’re going to lay this block on here like this. We are always going to something these two corners. If we sew one block this way and one block where it’s on the other, the opposite corners, it’s not going to work. We want, when these come together we want them to pinwheel. So they have to be, they have to be opposites like this. And they have to be on the same two corners. So this is important. Oop, I got this one, ironed this one a little bit off. Let me repress that a sec because I don’t want to sew that off. There we go. So what I like to do is I like to stack up my block or my fence rail blocks. I like to stack them up in a stack like this. And then, and, and it doesn’t really matter what colors are at the top or bottom. It matters that you put your squares on the same two sides and that they’re opposite. So you have blue, white, blue, white, just like this. I hope that’s making sense to you. So what we’re going to do on this I’m going to open this up right here and I’m going to sew it on my bottom left corner. Always. You know I mean you can choose the bottom right if you want, just make sure they’re all on the same corner is what I’m trying to say. So then I’m going to sew on this line right here. Then I’m going to come right back around half an inch over and sew it again. And then we’re going to cut in between those two. And so let’s go to the sewing machine and sew these corners on. We’re going to do a couple of them to make that, that this makes sense to you. So right now I’m lined up my corner my half square triangle on the corner. I’m sewing on the sew line on my press line right down like this. I’m going to flip this around. And I’m not going to measure, I’m just going to come over about a half an inch and sew another, another line of stitching. Now we’re also going to do that to the top. And so again I’m going to lay my corner back to make sure I’ve got my opposite corners like this. So I have blue, white, blue, white and you can see they’re opposites. So I’m going to open this up. We’re going to sew on the sew line, just like this. Line it up on the corner. Sew on the sew line. Straight across. Then we’re going to flip this around and you’re sewing a half an inch seam. It’s going to, what I kind of do is I move my presser foot so that it’s about a quarter of an inch away from the seam. And that ends up being about a half an inch. And then we sew straight down. And that gives you room to cut them apart because we don’t want to waste this little edge. So now what we’re going to do, we have these two pieces sewn like this, we are going to trim right in between these two right here. We’re going to trim in between. We’re going to set this aside. And we’ll press that open. Just like this. Let me see if I can get those open. So trim right in between those two, just like that. Set that aside and we’re going to press this open. Just like this. Alright so we’re going to want to do this to a few of our blocks. So let’s go ahead and do that. I’m going to head over to the sewing machine and do a few more so you can see how these come together. Ok so we have one more block to do here. And we’re going to make sure that these are laying the exact same way as our other blocks. They have to be exact on the right corners and going the same direction so that our pinwheels will work. Otherwise we’ll have little diamonds which might be cute but not what we’re going for on this project. So we’re going to line up our corner, sew on our press line, come in a half an inch and sew again on both sides. Both opposite sides of our block. Here’s this one. And line it up on the corner. And then we’re going to whiz it around like this, sew a half an inch. And then we’ll cut those apart. And we’re to the fun part. Well all of it’s fun. I do, I enjoy the creating process. I enjoy the, the oops process. I enjoy the trying process. I love it all. I just, there isn’t much of this I don’t love, I tell you what. And I think most of us are that way. Alright so now we have our little stack of them. You’re going to do this to all your blocks and finish them up. You’re going to need 48 blocks. And I’m going to press these back right here so they lay nice and flat. And again I can’t stress enough that they need to be going the same direction on the same corners. So here’s what I’m talking about with the same direction. Each one of your blocks should look identical to this. So you should have white, blue, white, blue always on the bottom right corner. So that’s how, that’s how they work because otherwise when you go to put these together they won’t make a pinwheel. But ours are going to make a pinwheel because we got them on the right. So. What we’re going to do is we’re going to match our pinwheels up. To do that we have to turn, turn our blocks so that the pinwheels line up. And we’re going to put the next block. And what that does when we do this is that it makes this, it makes the pinwheel look. So we’re going to turn this. And all of our blocks are now going to pinwheel together and they’re all, they’re going to line up. This one is going to go over, down, over, up. Just like that. I mean it just becomes this cool thing. And so what I did was I put my blocks together in these big blocks of four. And then I set them in here. So like this is one big block here. So it’s one, two, three, four big blocks across by one, two, three down. It makes a quilt that is 54 by 69. So it’s a kind of a fun size quilt, good size quilt. But now we have all these pieces left over right here. So you’re going to get a whole stack of these pieces left over. And they’re going to look like this when you open them up. So let me iron open some of these that we cut off. And if you want, if you want your measurements to be exact when you sew around the other side then you have to actually measure and mark. I didn’t measure and mark and so mine are all going to be about the same size which again means that we are going to need to square them up. So what I did, I used these in the border around my quilt, look. See all this, that’s all those little tiny squares. Doesn’t that look like so much work. And it’s all these little tiny squares. So what I did again was I took my little square up block and this is obviously bigger than my block. And I laid it with my blue side facing down and I came as far as I could. Flip my block around to make sure that I’m actually doing this the best measurement I can. I think I went for 3 ½ inches on each block. So what I did was I trimmed them down to 3 ½ like this. And then I’m going to flip my block around and measure 3 ½ from this side. Oops I have to flip this one around too. If it ever looks a little wonky to you just turn it around. 3 ½ and got to make sure I’m doing this right. And so, so I squared all mine up. Just like that to 3 ½. Then what I did, you’re going to have a whole stack of these, and then you’re going to have way more of these than you actually need. But what I did when I did my border was I took my little blocks. Let me see if I have some, that I’ve made sure that all the blues were on the bottom, sewed together, sewed together. Just sewed them together in a really long strip. Now when you square these they, they may be a little wonky. Like you may not have the whole blue or you’ll only, you know I mean because when you start cutting them up you’re going to end up with, you’re going to end up cutting off some of that blue. And now all mine ended up, I mean this blue piece right here is what I’m talking about. Not all of those ended up the same size. But you can’t even tell it in the border. So I just went ahead and trimmed them up to 3 ½ using my center, my center seam right there. It locked my, it locks the ruler right in place. And then because even though like this one is a little smaller than this one but you’re not going to notice when you start putting them together. So what I did was I sewed them together in long rows. As soon as I got all of my blocks together I put one little 2 ½ inch border around the outside just to frame it in. And then I put this cool, you know, pointy edge. And I got that whole border out of my leftover blocks. So I just thought that was a really fun idea. I don’t like the waste and because we were cutting so much off the blocks I decided to use that in the border. And when I got it all on there I didn’t even want to add another border. I just thought it looked perfect. And so I hope you like how that looks. It was a really really fun block. So I hope you enjoyed this tutorial on the fence rail pinwheel from the MSQC.


