
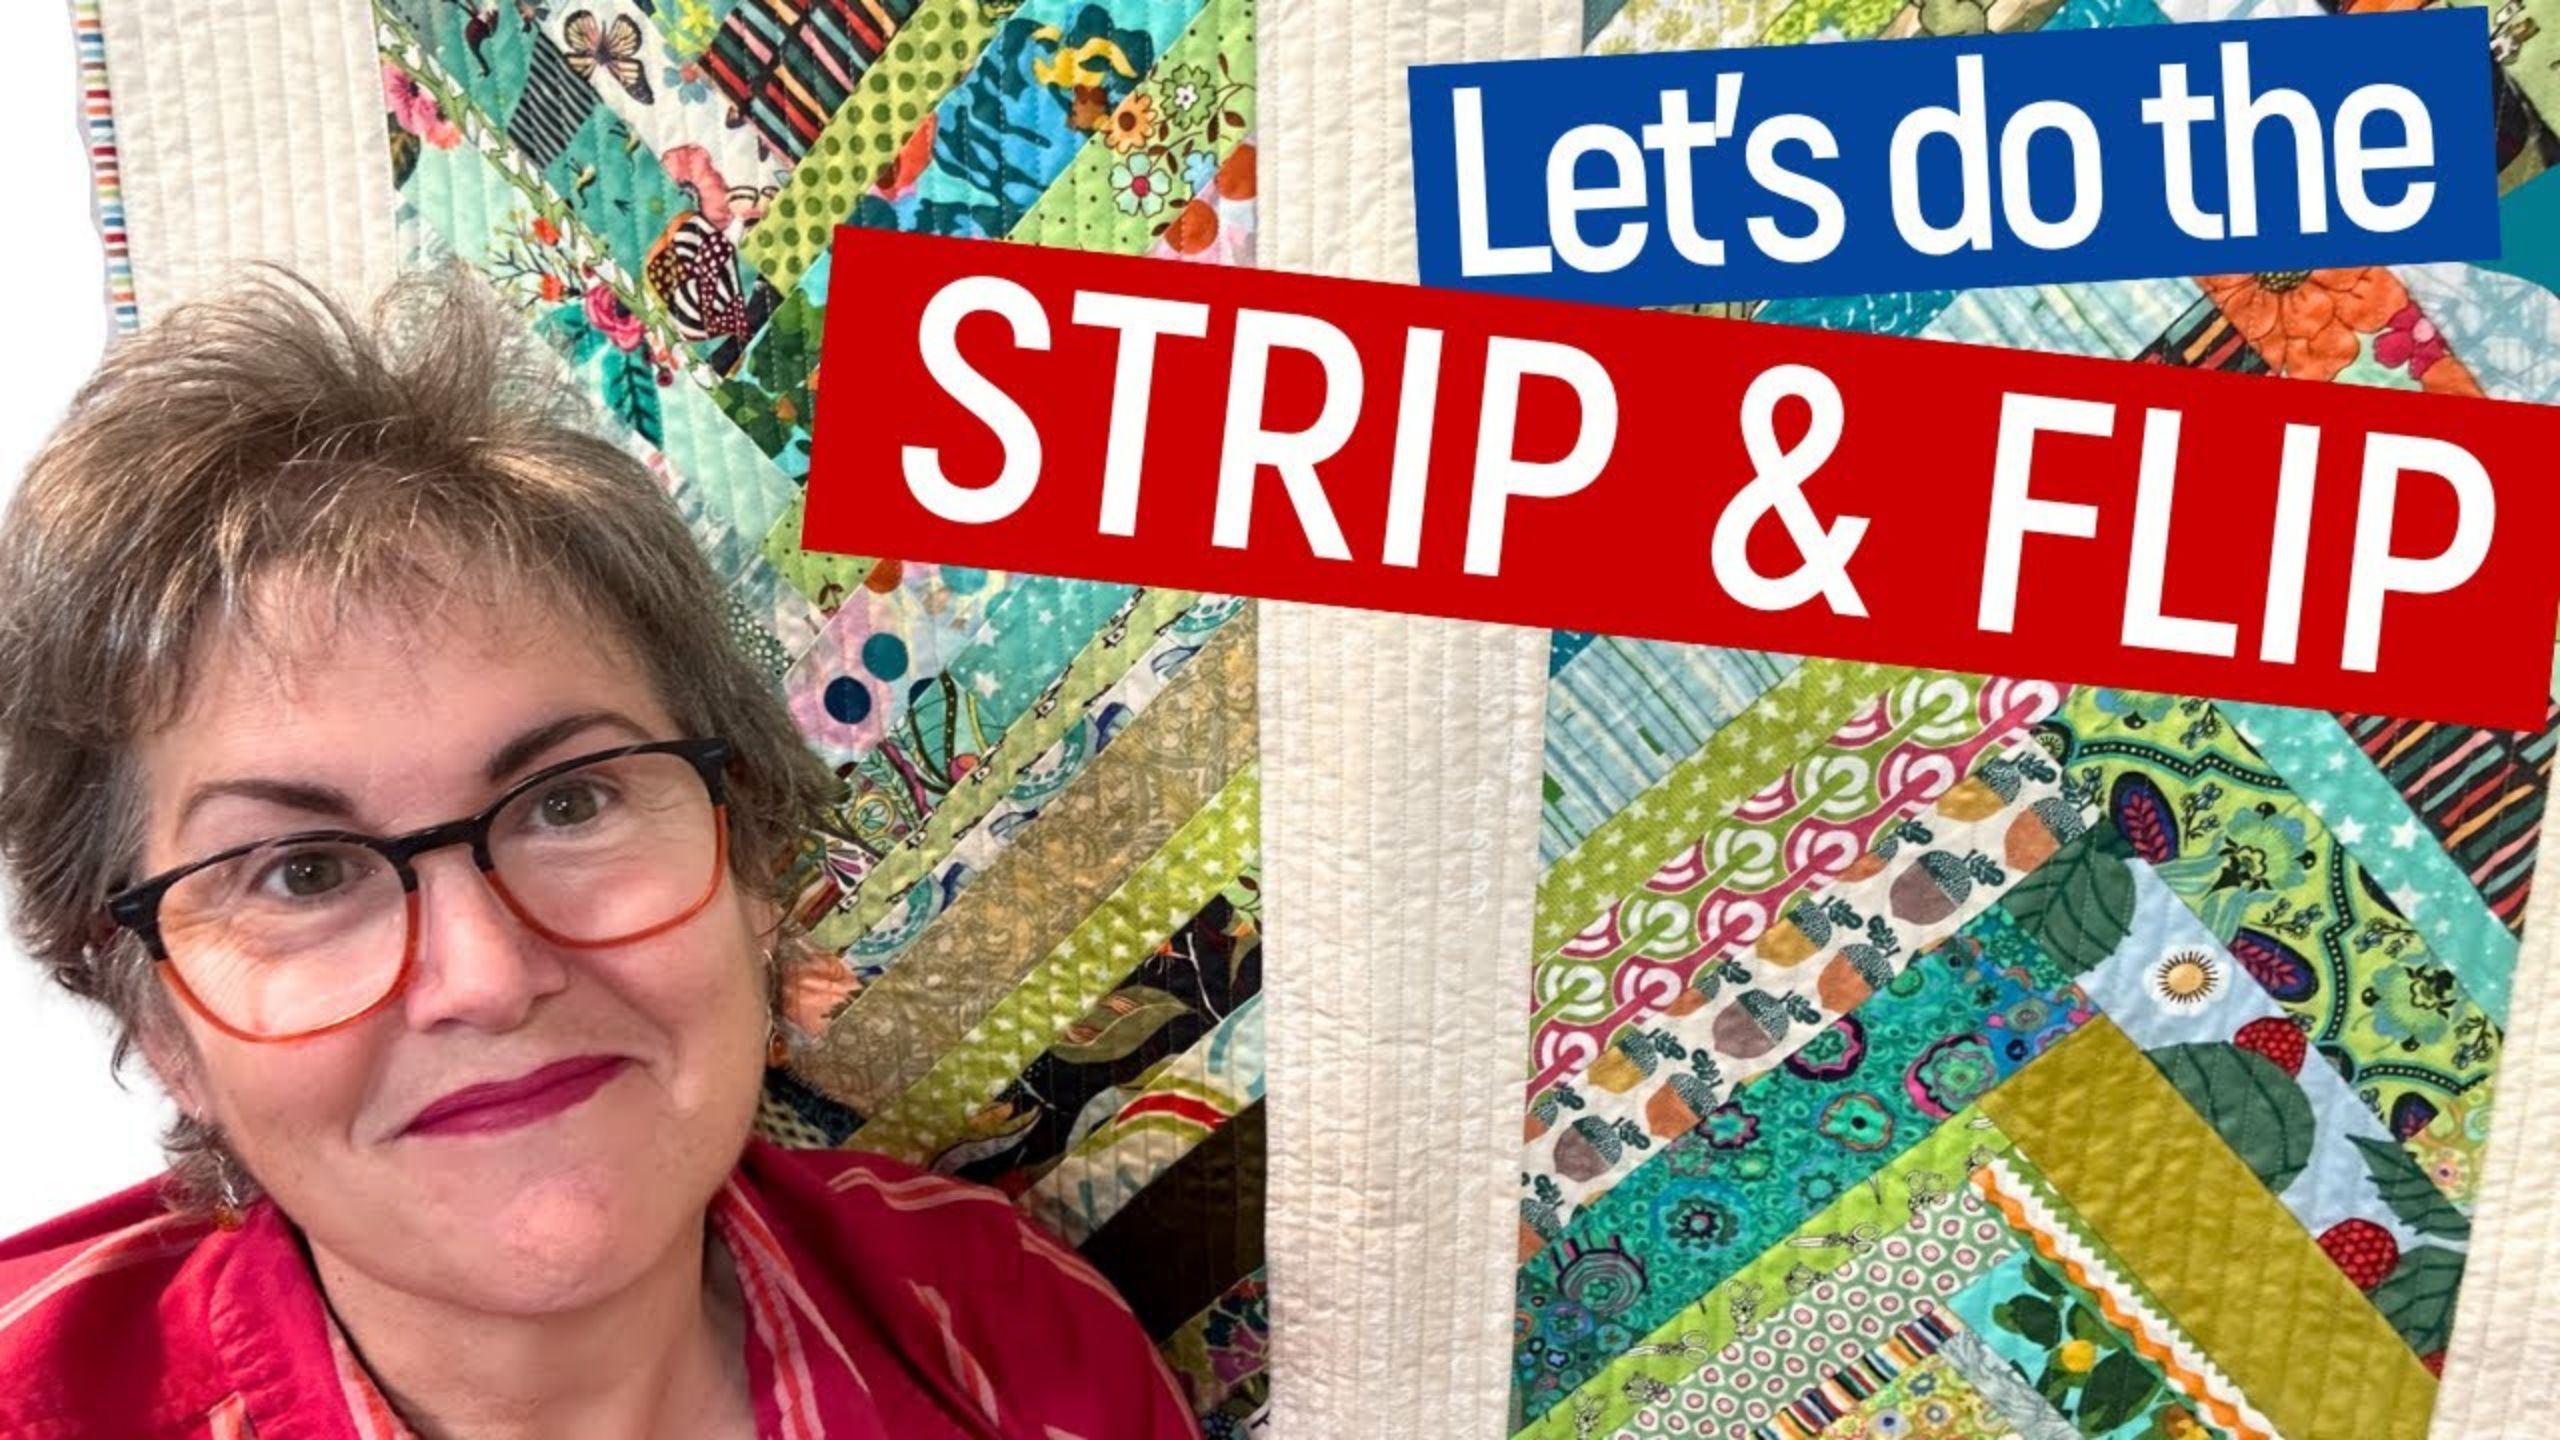
Quilt As You Go Strip and Flip - Use Your Scraps for Good part 2 with Karen Brown
 Karen Brown
- Jelly Roll
- Traditional
- Lap / Throw
- Beginner
- Quilt size 36" × 42"
Are scraps taking over your sewing room? Are you tired of man-hauling your quilt sandwich through your sewing machine? Are you looking for a fast and easy project? In this quilting tutorial, Karen Brown dives into the Quilt as you Go method to make some beautiful quilts using her scraps, all the while sharing her top tricks and tips.
Instructor
Karen Brown
Karen Brown is a quilter and crafter who loves to make things and check things off the list. She loves trying new things, finding short cuts and new ways of using old things and sharing that information with other quilters at Just Get it Done Quilts.
Shop this tutorial
 Olfa RTY-2/G 45mm HD Rotary Cutter$22.75Shop →
 Omnigrip Ruler 6" x 24"$29.95Shop →
 Missouri Star Quilter's Best Blend Throw Batting$21.95Shop →
 Omnigrid 12.5" x 12.5" Square Ruler$31.45Shop →
 Quilters Select™ Free Fuse Powder Refill$16.00Shop →
 Panasonic 360 Freestyle Cordless Ceramic Sole Plate Iron - Blue$139.95Shop →
Common Questions
What is covered in Quilt As You Go Strip and Flip - Use Your Scraps for Good part 2 with Karen Brown?
Are scraps taking over your sewing room? Are you tired of man-hauling your quilt sandwich through your sewing machine? Are you looking for a fast and easy project? In this quilting tutorial, Karen Brown dives into the Quilt as you Go method to make some beautiful quilts using...
How long is the tutorial video?
The tutorial video is 00:14:45.
Are supplies listed for this tutorial?
Yes. The tutorial page includes the supplies and materials connected to this project.
Is a transcript available?
Yes. A written transcript is available on the tutorial page.
Video Transcript
1. Try varying the thickness of your strips! They can be wider or narrower than the previous pair.
2. Piece your strip pairs if you need extra length.
3. Aim for as much contrast as possible to emphasize the plaiting in the braided strips.
4. Square up often so that your braid runs straight. Re-align and measure frequently.
5. Cut a bit bigger to give yourself a bit of wiggle room - diagonals are tricky!
6. Play with the colors - limit to a few colors, arrange in a gradient, go wild!
7. You'll be quilting each strip one one at a time, so it will be easier to guide through your machine.


