Quilted Christmas Stockings: An Easy Quilting Project with Jenny of Missouri Star Quilt Co. Jenny demonstrates how to make adorable Christmas stockings out of candies (also known as Mini Charms, 2 1/2 inch squares of pre cut fabric).
Jenny Doan is an American quilter, author, and YouTube personality. Jenny started Missouri Star Quilt Company in 2008 and today it is the largest quilting supply vendor in the United States.
What is covered in Quilted Christmas Stocking Tutorial?
Quilted Christmas Stockings: An Easy Quilting Project with Jenny of Missouri Star Quilt Co. Jenny demonstrates how to make adorable Christmas stockings out of candies (also known as Mini Charms, 2 1/2 inch squares of pre cut fabric).
How long is the tutorial video?
The tutorial video is 00:17:40.
Are supplies listed for this tutorial?
Yes. The tutorial page includes the supplies and materials connected to this project.
Video Transcript
Hi, I’m Jenny from the MSQC. I have a super fun project for you today. Take a look at these darling little Christmas stockings behind them. Christmas is coming. It’s never too early to prepare and this is so quick and easy. So to make these stockings, what you’re going to need is 1 Candy. These are those little 2 ½ inch squares. They’re so darling. And one of these makes 1 stocking. I’m actually using a Charm pack because that is equal to four Candies. And I’ve taken my charm pack and I’ve cut it into fourths. So I’m going to get four stockings out of one Charm pack. And the fabric we’re using today is called Turning Leaves by Holly Taylor from Moda. And it’s just really a fun look. Not traditional Christmas but definitely that holiday time. And it’s just so cute. You’re also going to need about a half a yard of batting. You’re going to need a half a yard of backing also. And the backing fabric is going to make the back of your stocking, the inside of your stocking when you go to quilt it, and it’s also going to make the little 4 inch cuff that goes all the way around the top. So this is just a really quick and easy project. So much fun. Let me show you how to put it together. So what you’re going to do is you’re going to lay out your little candies like this. And you’re going to make rows of them and you’re going to do four, four in each row, and you’re going to do eight rows. Now if you want a longer stocking, you can do nine or ten. I mean these stockings can be whatever size you’d like them to be. But I just did eight rows. So what I did was I laid out all my pieces like this and then I sewed them together in two, you know sets of two. So I pile them up this way and I do two, two two, two, two, and then four, four, four, four and then I put my rows together. So here I have a block, I have a row of four sewn together and I have a block, the rest of my rows are already sewn together. And I just wanted to show you how I did this. So, I’m going to take this row and put it on here. Where my little seams come together, you want to nest those. One of the things that keeps this project so straight is the fact there are so many seams so it actually helps you because you have a place to line up, every two inches you’re lining it up again. So let’s go to the sewing machine and just sew this last row on here. I think it would be really fun for your children if you let them go and pick their own little candies to make their own stocking. I think that would be a really fun idea to do with little kids. Alright, here’s our last row on here and we’re going to press that out. And then we need the toe. So this whole body of the stocking is eight rows, four in each row. But the toe, we’re going to make two rows of six, and we’re going to attach it right on the front. So I’m going to sew these two together and these two rows together. Then I’ll show you how to attach it to the stocking. So this is what I do when I just sew the two together. I just lay them right sides together and I sew down and right here, you know you’ve got your little three piece where they’re all hooked together. I’m going to take my next three piece, make sure that I don’t have anything matching, you know I don’t my, I like to put different colors together and not have them be the same. So again I take a few little anchoring stitches and I’m going to sew down and make sure my seams are nested up. The easiest way to do that is to make sure you have the seams going in opposite directions. Alright, so now our little toe is done, I’m going to press it open, just like that. And I’m going to lay it right here on the front of the stocking. And I’m going to make sure, I don’t want that green to green so I’m going to turn it like that. And then I’m just going to lay this over here and I’m going to sew it right on here and even up here, I don’t worry about this, I just sew right off this edge right here because we are going to, we’re going to trim that off later when we make our stocking. There we go. Make sure our seams line up. Alright. Now we’ve got our little toe on here. Let me clip these threads. And we’re going to press it out. And you have this cute little stocking. It’s a little square, I realize, but we’re going to round that up. So then what you want to do is you want to back your stocking on your batting and your back because we’re going to machine quilt this and it’s just going to go together so quickly. So I have a little piece of batting here. And I’m just going to take this right here and cut off a piece real quick. And you don’t have to be careful with this because we’re going to trim this several times. So the first thing you want to do is you want to get a backing piece like this that you’re going to lay down first and put the wrong side up, then you’re going to lay down your batting like this and you’re going to lay your stocking down on top of that. You want to make sure that these don’t move so you can pin it or spray baste it or whatever you’d like to do. And then we’re just going to start quilting it. So I generally before I start quilting it, I’m going to trim around this like this. And I just use my rotary cutter because I don’t, it doesn’t need to be exact. It just can be, you know, it just has to be sort of like straight. So there I did a nice little S curve right there. This is when you can have some fun with your rotary cutter on this. Because all you need to do is get it so it’s manageable. You want to get it so it’s workable and you know, you don’t have too much bulk or too much fabric. And then we’re going to start quilting it. Now to quilt this, what I do is I lay my presser foot right along the edge of the seam and then I sew down and I sew on either side of the seam going vertically and horizontally. So let me show you a little bit of what I’ve got going here. I’ve got one I’ve already started. And you can see the seam, the stitch lines on either side of the seam going vertically and going horizontally. And I’ve got a few more over here so I’m going to take you with me over to the sewing machine so you can see how easy this is. And if you’ll look at my stitches, it doesn’t have to be perfect because we’re just putting it together, nobody’s going to, you know measure if you’re exact, and we just want to hold it together. So I’m going to go over to the sewing machine and I’m going to sew on this side of this seam, come around and sew this one and we’ll be done. So this is, this is fun to me. I like doing this kind of quilting. I’m more of a piecer than a quilter, and so you know when I have to, if I have to the free motion quilting, it’s a little scary to me. But this I can even just do with my regular foot. You can use a walking foot if you want. But I’m just using my regular foot, and I’m just sewing up one side, using my presser foot as the guide. The presser foot stays right along the edge of the seam. And I just lift and come to the next seam. It doesn’t matter which way you go first. I tend to like to go up and down first and then, and then I sew it back and forth across. So you can see on the back here, this shows my quilting. And you know, I mean it just, it’s just kind of cool so this is going to become the, this part here will be the inside of the stocking. So now what we have to do is we have to add the back to it. So I have another little piece here and I’m going to lay my stocking right sides down on here. And you want to make sure there’s no wrinkles in this so I’ve got a little wrinkle here. Let me go ahead and iron this out. You, you know you want, when you put this on...when you’re sewing two things together you don’t always, you can’t see both sides so you have to make sure, you know that your sides are good and flat. And that’s one thing that you just don’t want to worry about. So I’m going to, what I’m going to do is I’m going to trim this out, just exactly the shape of my stocking. Because we want to be able to see the shape so we can sew it. Now one of the things that we want to change about this before we sew it is the shape of the toe. We want to it to be a little more round. So to do that, what you can do is you can get an object and, you know like this can right here, you could set this on here and give yourself a guide. Or you can just cut it with your scissor, either way. I’m going to scissor cut mine. Oops, excuse me! I’m going to scissor cut mine, so I’m just going to go around the edge like this and make a nice curve. If you want your stocking more curved, you know, I mean this is up to you. This is your stocking. I’m going to curve my heal a little bit. And it’s going to have much more of a look, of a stocking look. So then what I’m going to do is I’m going to put it on my backing like this. And I’m just going to sew all the way around this. So let’s go ahead and do that. I’m going to put a few pins in here so that it stays right where it is. And you can actually trim the back out if you want also. I’m just going to go ahead and sew around it and I’ll trim it when we’re done. Alright, here we go. And I hope I mentioned you put right sides together so the front of your stocking goes against the right side of the, of your backing fabric. We’re going around this curve. Around these toe curves. Up here, we’re going to make a little curve. I hope you can tell that I love this. I do love what I’m doing. I find this a lot of fun. Alright, I’m going to take these pins out and we’re going to trim this out of here. Now if there’s a place like right here where I went in a little bit, you just want to trim into that and trim it off. Because you don’t want a lot of bulk in your seam line. Just be careful not to cut your stitches. Last little bit up the home stretch right here. Now we’re ready to turn it so you can see it. We’ve got our front and our back on. One time I made stockings for all my kids and we had this awesome fireplace and we, like went across the whole side of the room. And I had everybody’s Christmas stockings on and we lit the fireplace and it blew warm air out the vents and the backs of my stockings all got pretty crispy! So that could be dangerous but you know it worked out and I was actually able to replace the backs because you know I did them this way. So, this is what your stocking looks like. And all we need is the little top piece for that. So let me show you how we’re going to do that. What we’re going to do is we’re going to measure the top of our stocking. And this one measures one, two, three, four, five, six, seven and a half. We’re going to add a half an inch for our seam allowance,so that’s eight inches and we’re going to double that because it’s going to go all the way around. So we need a piece for our back that is eight, eight inches high by 16 inches long. So let’s see how long we are here. Here we are. We’re at, so eight plus eight is 16, here’s our 16 mark right here. And we’re going to trim that off. And then what we want is we want a piece that’s eight inches high. So let me see how wide this is. One, two, three, four, five, six, seven, eight, a little bit extra, I’m going to trim that off. You could make it longer if you wanted to, I guess. And then what I’m going to do is I’m going to iron this in half, wrong sides together, just like this. You just want to make sure it’s ironed in half. You want, you want, you want it to be able to fold right down when you get done. Then we’re going open it back up, we’re going to put it right sides together like this. And we’re going to sew this back seam on here. So let’s do that. Alright, now we’ve got our back seam sewn, we’re going to fold it right back the way it goes, like this. And now we’ve made this little cuff. So then what we’re going to do is we’re going to set this down inside our stocking, like this. We want to line the back seam here with the back of the stocking. So we’re going to stick that in there, like that, tuck the whole thing inside there. So it’s going to be like this. it’s just going lay inside there so nice. And then we’re going to sew all the way around this top edge. So let’s go the sewing machine and do that. Make sure your back seam stays lined up. And make sure that your, your two pieces are also lined up. Alright, there we go. And when you’re sewing in a small curve like this you can just sew a little bit and then you pull your stocking around to the front. And you sew a little bit and then you have to just kind of rotate that around. There we go. Alright, now we just have to flip out our cuff and because we did this on the inside right here, we’re just pulling it out like that and we’re just folding it down over the top, like this. It hides all those seams. And you...let me get that thread off of there. And you have this darling Christmas stocking. So isn’t this cute? Look at this darling Christmas stocking! And so quick. So if you find yourself needing Christmas stockings this year, this is an awesome, easy project for you. So we hope you enjoyed this tutorial on The Christmas Stocking from the MSQC.



 Missouri Star Quilter’s Best Blend Crib Batting$14.45Shop →
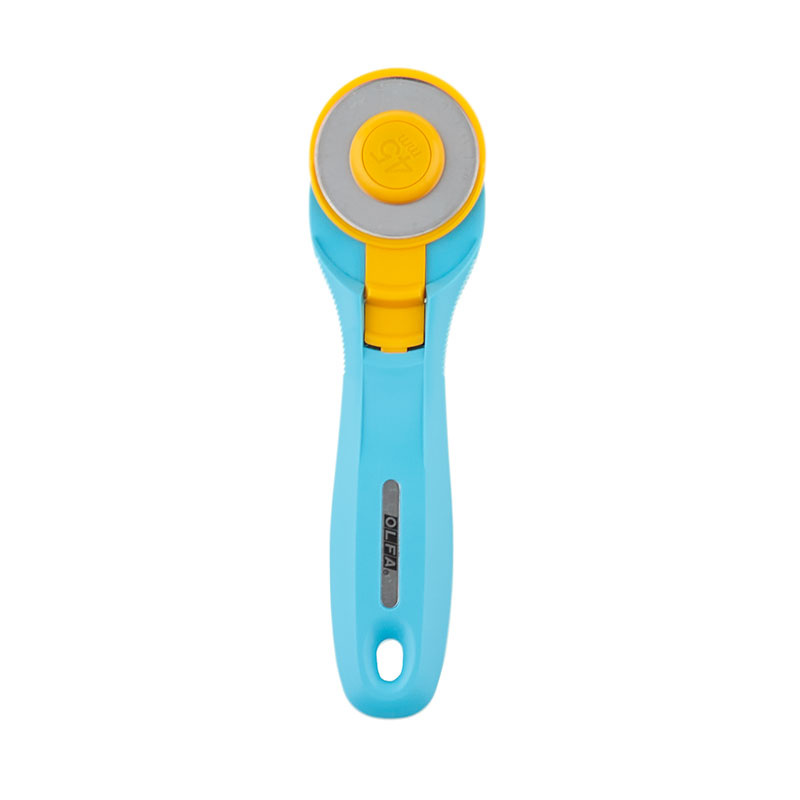 Olfa Splash Aqua 45mm Rotary Cutter$18.75Shop →
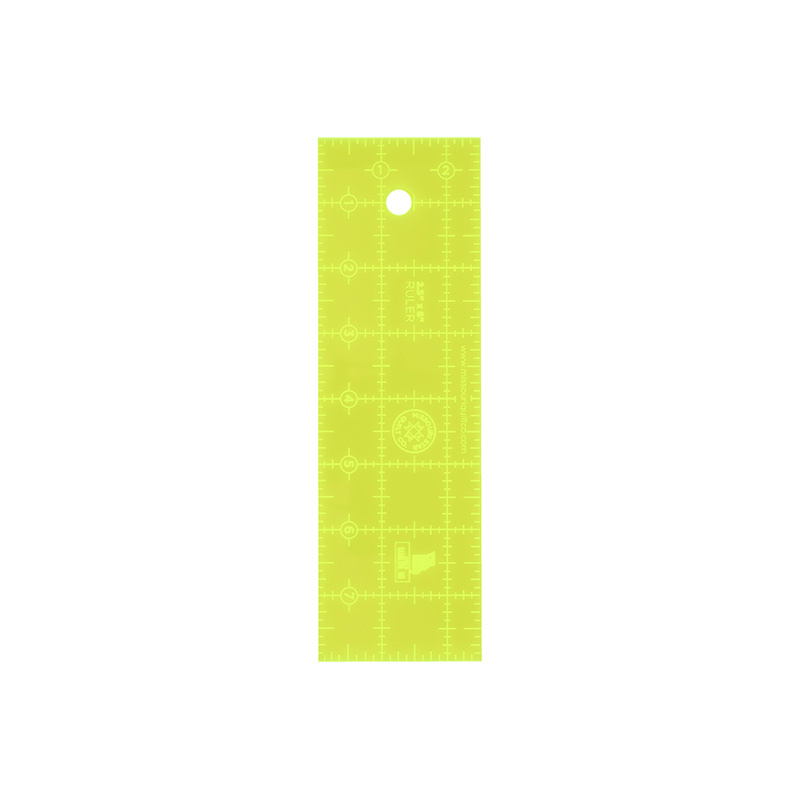 Missouri Star 2.5" x 8" Ruler$10.95Shop →
 Missouri Star 5" x 15" Ruler$15.95Shop →
 Olfa Cutting Mat - 24" X 36"$68.95Shop →
 Exclusive Missouri Star Jenny TG1600 ProPlus Oliso Smart Iron$199.99Shop →
 Missouri Star Wooly Betty Board - 17.5" x 17.5" Aqua Border$88.95Shop →
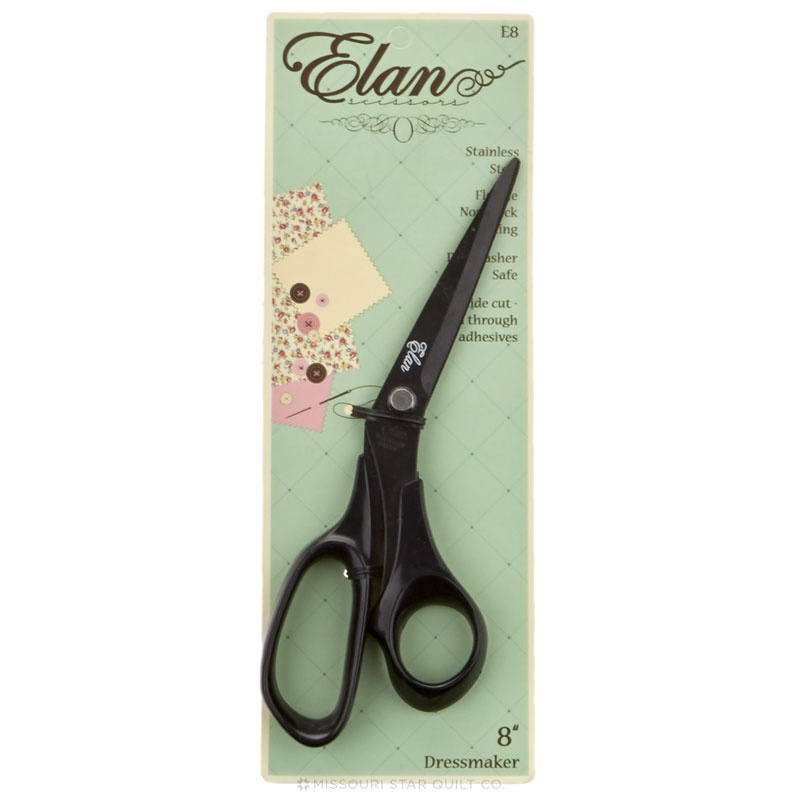 Elan 8" Dressmaker Scissors$20.95Shop →