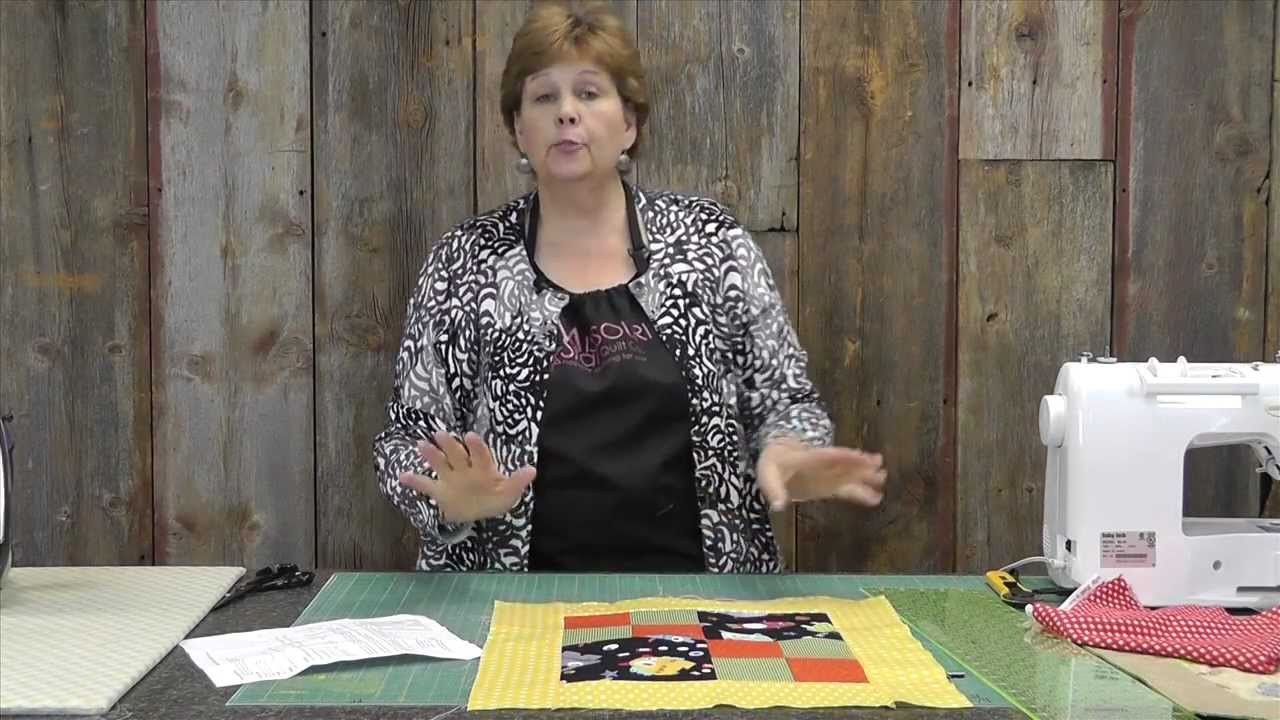
Jenny Doan teaches a group of children in Nebraska how to use their kit from Quilts For Kids to make a lovely little quilt for a premature baby The kit and pattern were donated by the Lincoln, Nebraska Chapter of Quilts for Kids. They have provided a PDF pattern and instructions on how to get involved with their project Quilts For Kids, By Kids.
Jenny Doan is an American quilter, author, and YouTube personality. Jenny started Missouri Star Quilt Company in 2008 and today it is the largest quilting supply vendor in the United States.
What is covered in Quilts for Kids - A Baby Quilt From the Heart?
Jenny Doan teaches a group of children in Nebraska how to use their kit from Quilts For Kids to make a lovely little quilt for a premature baby The kit and pattern were donated by the Lincoln, Nebraska Chapter of Quilts for Kids. They have provided a PDF pattern and instructio...
How long is the tutorial video?
The tutorial video is 00:12:47.
Are supplies listed for this tutorial?
Yes. The tutorial page includes the supplies and materials connected to this project.
Video Transcript
Hi I’m Jenny from the MSQC. I want to tell you about something that happens in our industry that I’ve never seen happen anywhere else. When you start quilting it’s because you want that on your bed. You want that on your wall. You want that table runner. But you want it. Well pretty soon you have all those things and you’ve filled up your house. And so you start making things for your kids. Well pretty soon you’ve filled up your kids’ house and you’re onto to your grandchildren. Pretty soon all of your grandchildren have quilts and you still can’t stop sewing. So then you start making things for Quilts of Valor and Quilts for Kids and things like that. And what once started you as kind of a self serving hobby has now turned into a service oriented hobby where you give of yourself. And it happens to almost every person I know. It isn’t long before we start giving and serving. And I love this about, about quilting and about what we do. So today we’re going to do a tutorial for Quilts for Kids by Kids. There’s a group of kids in Nebraska who want to make these Quilts for Kids kits for preemies. And so we’re going to go through that whole thing with them. This is how you’re going to get these little packages of material. They’re going to come in this little pack. And everything is going to be ready for you. And you’re going to get these directions. And we’re just going to go through this right from the start. This is the quilt that we’re making today. It’s this little four patch. And I’m going to set that over here. It’s hard to believe, isn’t it, that this will go around a baby? But some of those preemies are so tiny. And they need a tiny little blanket. And so we’re just going to open up these directions and we’re going to start right from the beginning. So when you open up your kit you’re going to want to separate your fabrics right away. That will help you keep everything straight in your head. The big piece is obviously your back. You’re going to have two squares. Those are going to be sewn next to your four patches. And you’ll put those aside. You’ll find two strips that are different colors but the same length. Those are the two that you’re going to sew together for your four patch. And you’ll also have four strips and they’ll each be, they’ll be two sets, two different lengths. And these are your borders. So we’ll set all of these aside and we’ll head over to the sewing machine. We’re going to take our two strips. Put them right sides together just like this. And then we’re going to sew a quarter of an inch seam right down the side. In quilting everything is done with a quarter of an inch. You don’t need to backstitch at the beginning because that is just, all the seams are enclosed in another seam in quilting so you don’t have to do that. So let’s just head over to the sewing machine and make that quarter inch seam. I’m just lining up my fabric with the edge of my presser foot which I know is a quarter of an inch. You may want to measure yours to make sure. And then we’re just going to sew down that side. And that’s one of the things to remember with quilting is that is you have a machine and you can sew a straight seam, you can make a quilt. Ok so we’ve finished sewing this up. Now we’re going to head over to the ironing board. And we’re going to put our darker color on the top. And we’re just going to run the iron over this seam. That sets it and makes the stitches lay nice and flat. Then we’re just going to roll this up. And we’re going to press that back like that. And that will make a nice flat piece for us to cut because now we’re going to trim him, cut our four patches out of this little strip unit that we’ve just sewn. If you are familiar with a rotary cutter you may use that. Otherwise you’ll mark them and make, you’ll mark them and you’ll cut them at 3 ½ inches. So you’ll look on your fabric here. And you’ll see that you’re going to use a quarter inch seam throughout the construction. And we’re going to press the seam to the darker side. And we’re going to cut four 3 ½ inch wide segments as shown. So what I’m going to do is I’m going to use my ruler. And I’m going to come into the 3 ½ inch. You can use your ruler or your mat to cut these. Either way will work. But we’re going to go ahead and cut this. For those of you that are right handed, you’ll come and cut from this direction. I’m left handed so I’ll go from the opposite direction. So here is two of those units. And then we’ll cut the last two. So there is three. If you’re not familiar with the rotary cutter, get familiar. It is your best friend when you’re a quilter. I love the rotary cutter. Always make sure that you close it. Now what we’re going to do is we’re going to put these together in a four patch which means you’re going to lay opposite colors on either side. And this is called a four patch. And it’s when they just go together. So we’re going to flip this over. And because we’ve ironed to the dark side, your seams will nest together. One seam will go this way, one seam will go that way. And you’ll have a nice flat junction. So we’re going to go ahead and sew these four patches. Again a quarter of an inch . Oop I started off a little fast there. I’m the pedal to the metal girl racing. And before I take that out I’m going to go ahead and do the same thing with this one. Lay it down so that you can see them together. Flip it over. And if those of you who are beginners really want to just put a pin right there to hold that. I’m not a, I just don’t use a lot of pins. I’m always in a hurry so I, but if you’re uncomfortable at all, use a pin. Pinning is so much better than picking out stitches. Let me just tell you. Ok so now we have our two squares. And I’m going to cut those apart. And then I’m going to iron them. Let’s toss these over there. Iron them open right here. And let me iron this one open too. So now we have our two four patches. And you can see how nice those middle pieces lined up. See they’re just right on. When you nest those seams together, it just makes them fit perfectly. So now what you’re going to do is this small four patch here is going to become part of a big four patch quilt. So now we’re going to lay out our big squares. They should be exactly the same size as your little four patches. And now what we’ve made is a giant four patch with our, with our little four patches. So then you’ll just do the same thing. You’ll lay this along here. You’ll sew down this seam. And the same with this one. And then you’ll come and you’ll sew this long seam across here to make one big patch. So let’s do that real quick. So I’ve sewn both of these together and now let’s press them. Ironing is a really important part because it makes those, it just makes your quilts lay so much nicer. And you want to remember to kind of press down more than push. As you, as you don’t want to stretch your fabric. So we have these two pieces together and we want to turn them so they’re opposites. And again we’re going to nest that seam in the center and sew this together. And this will be our whole middle of our quilt. Done just like that. Alright let me make sure that’s lined up. Better to be safe than pick. Alright so let’s see what we’ve got here. Here’s our whole little quilt top right here. I’ll give it a quick press. Make sure these are laying the way I want them to. I got a little ahead of myself. Ok so there’s your whole quilt top. The next thing you’re going to do is borders. And that is easy as pie. We are just going to put your two short ones on first like this and trim the edges. They give you a little bit of leeway. And then you’ll put your two long borders on like this. And your whole quilt top is done. So now I’ve got this quilt all sewn together and trimmed. And it’s time to put the back on. For these little preemie quilts we don’t need batting. We just need the back. So what I’m going to do is I’m going to lay out this back piece like this. And I’m going to put this quilt piece on top. And then I’m going to pin it so it stays in one place. All the way around the edges of this because what you’re going to do now is you’re going to do a quarter of an inch seam all the way around this outside. And you’re going to leave one six inch opening on one side of the quilt. And that’s so that we can turn it inside out. So let me go ahead and pin that all the way around. Get my pins here. Alright so now we’re going to go to the sewing machine and again we’re going to use our quarter inch seam and sew all the way around. So when you get to these corners I’m pretty good at guessing and you can pivot and turn. You know make sure that you’re, that you’re still keep with your quarter of an inch. You also don’t want to sew over your pins. I have a terrible habit of doing that. It’s not good. They could break and cause damage to your machine and you know perhaps an eye or something. So now we’re going to take all these pins out. And we’re going to trim this around the corners, around the edges because we want to turn it. So we’re just going to trim this off, make a nice. You only have to trim on these two sides. Oops I’m off my little mat, right there, there we go. And then we’re going to find our opening right here. And what I like to do before I do any of that is I like to trim or flatten off these corners a little bit because it will make so there’s not so much, so much fabric in the corners. Make sure you don’t cut into your seam at all. And then we’re just going to turn this right side out right here. And I kind of use my finger and push out those corners. And it all just goes into kind of a ball and then it starts appearing. And the next thing I like to do is I like to iron it so it’s nice and flat. You’ll hand sew this opening closed right here. And I like to iron that down also so that’s a seam. So now that you’ve got this all pressed and it’s nice and flat what you’re going to do is machine quilt on top. And that mostly just involves stitching in the ditch. And what stitching in the ditch means is that wherever a seam comes together, that’s your ditch line. And you’re just going to sew right along those lines. Now really when you’re machine quilting you can do anything you want on the top of here. But I like to stitch in the ditch and so I just do. I just go along with my sewing machine and do that. And that is the quilting part of this. It’s just that easy. You can do it on your home machine. So I hope this helps you out in your projects, Quilts for Kids by Kids from the MSQC.