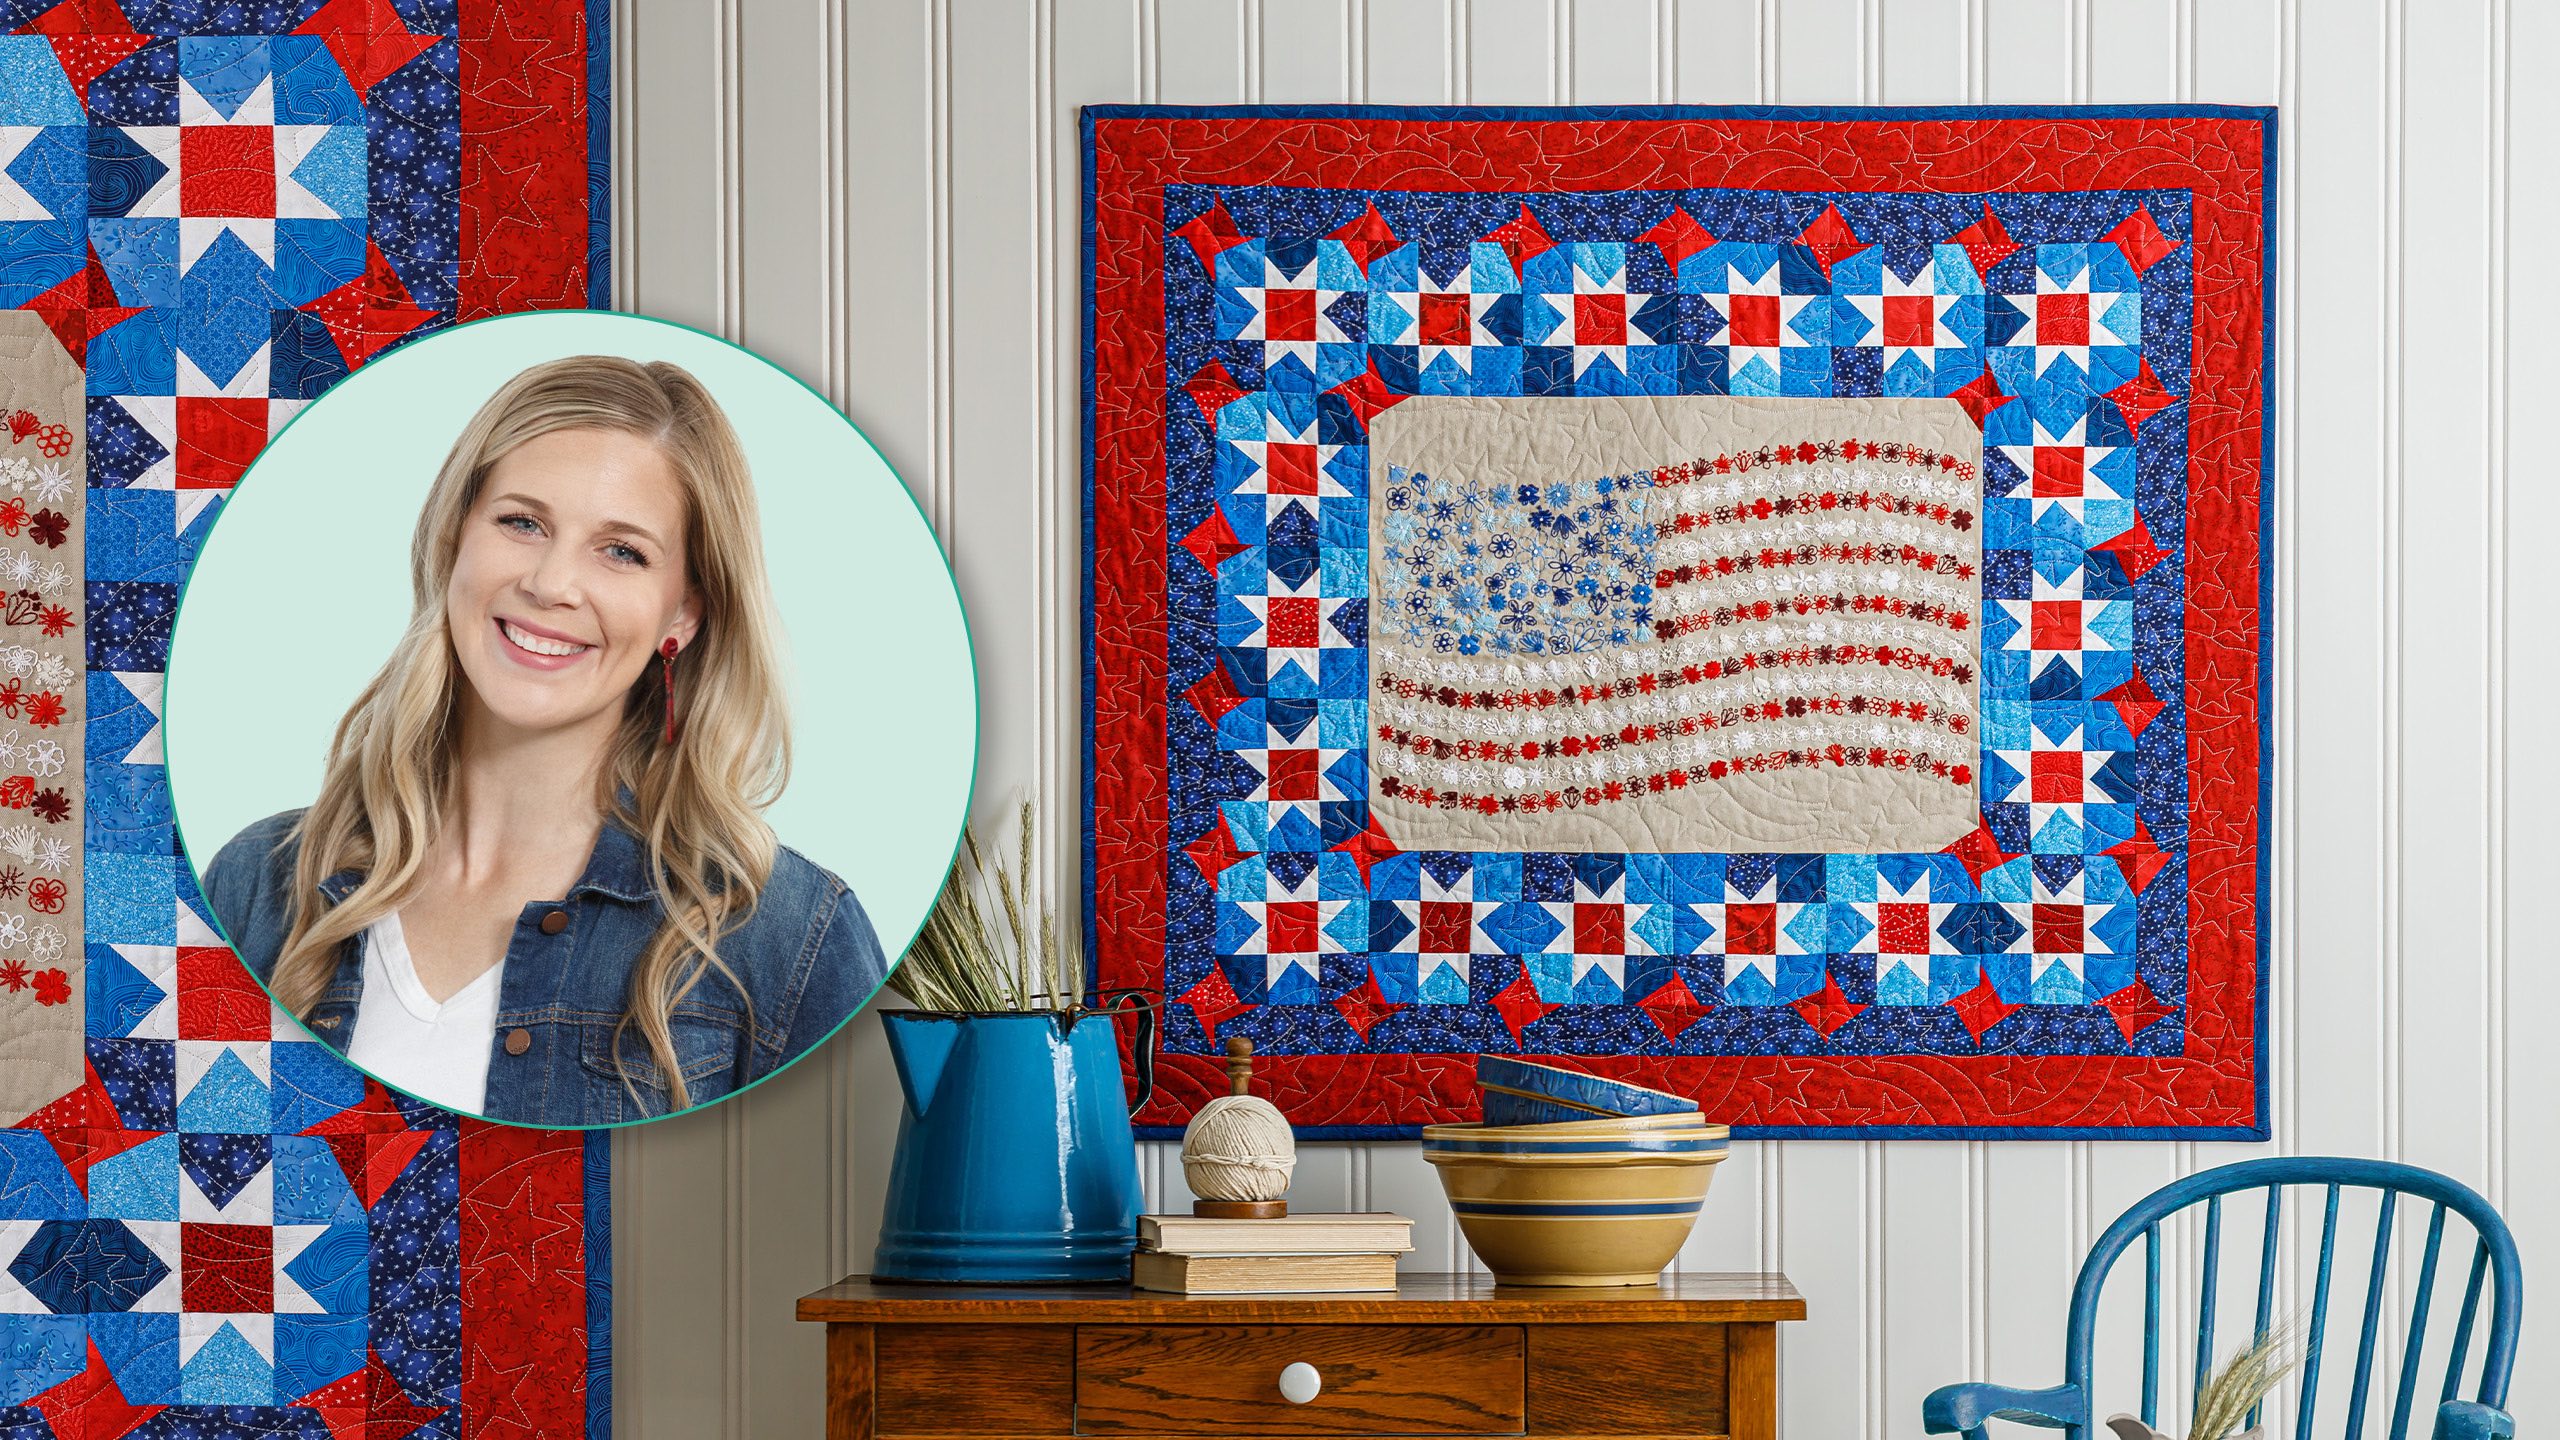
Showcase your quilting and your embroidery skills with a flag-waving, star-studded wall hanging! With the Missouri Star Red, White and Bloom embroidery kit and a Fireworks charm pack from the I've Got Hue, Babe fabric collection, you'll be on your way. This patriotic project is a great way to commemorate America's 250th birthday in 2026!
Misty Doan grew up surrounded by sewing and quilting. She loves spending time sharing tutorials each week each week, and when she’s not stitching up one of her fun sewing projects for home decor, most likely you’ll find her hanging out with her husband and three awesome kids or working on a house project.
What is covered in Red, White, & Bloom Wall Hanging?
Showcase your quilting and your embroidery skills with a flag-waving, star-studded wall hanging! With the Missouri Star Red, White and Bloom embroidery kit and a Fireworks charm pack from the I've Got Hue, Babe fabric collection, you'll be on your way. This patriotic project i...
How long is the tutorial video?
The tutorial video is 00:16:11.
Are supplies listed for this tutorial?
Yes. The tutorial page includes the supplies and materials connected to this project.
Video Transcript
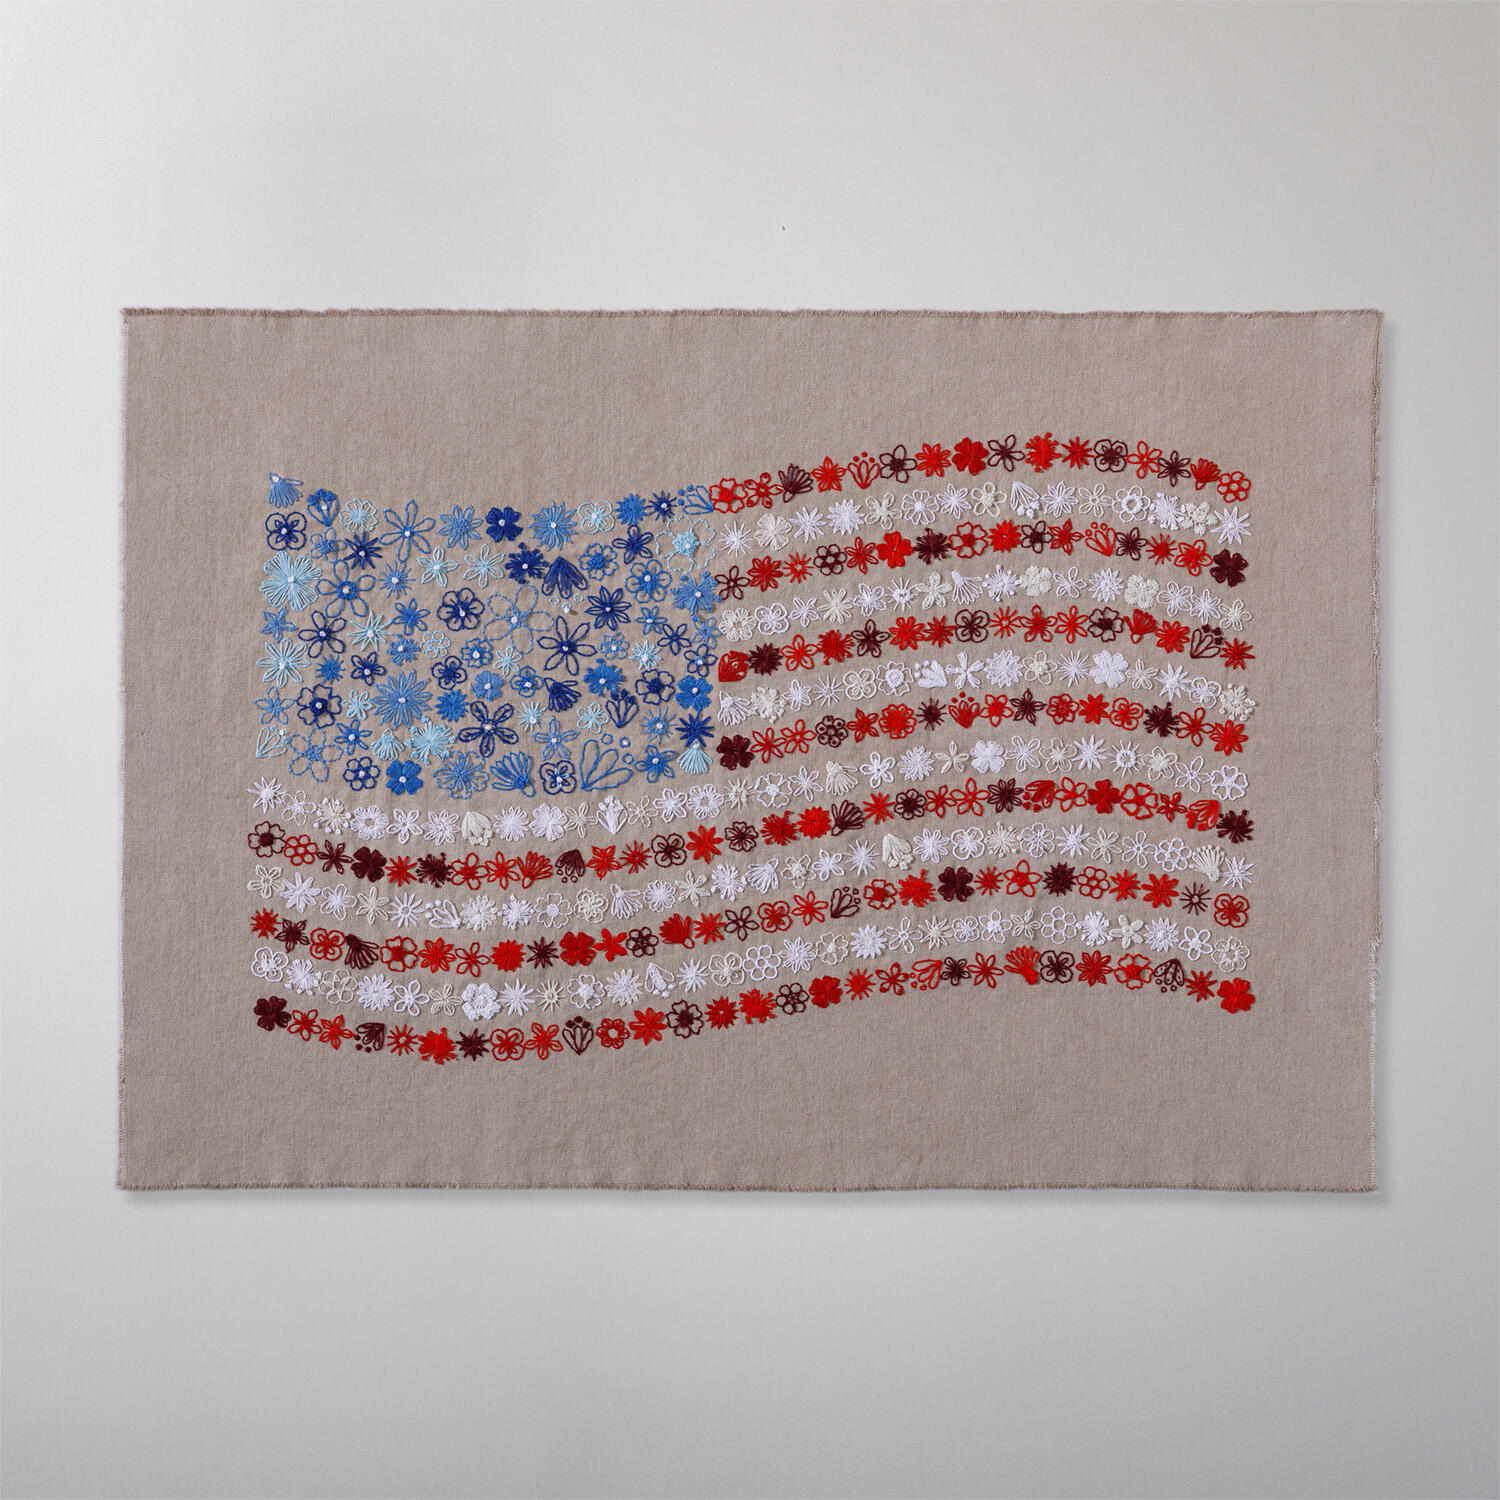
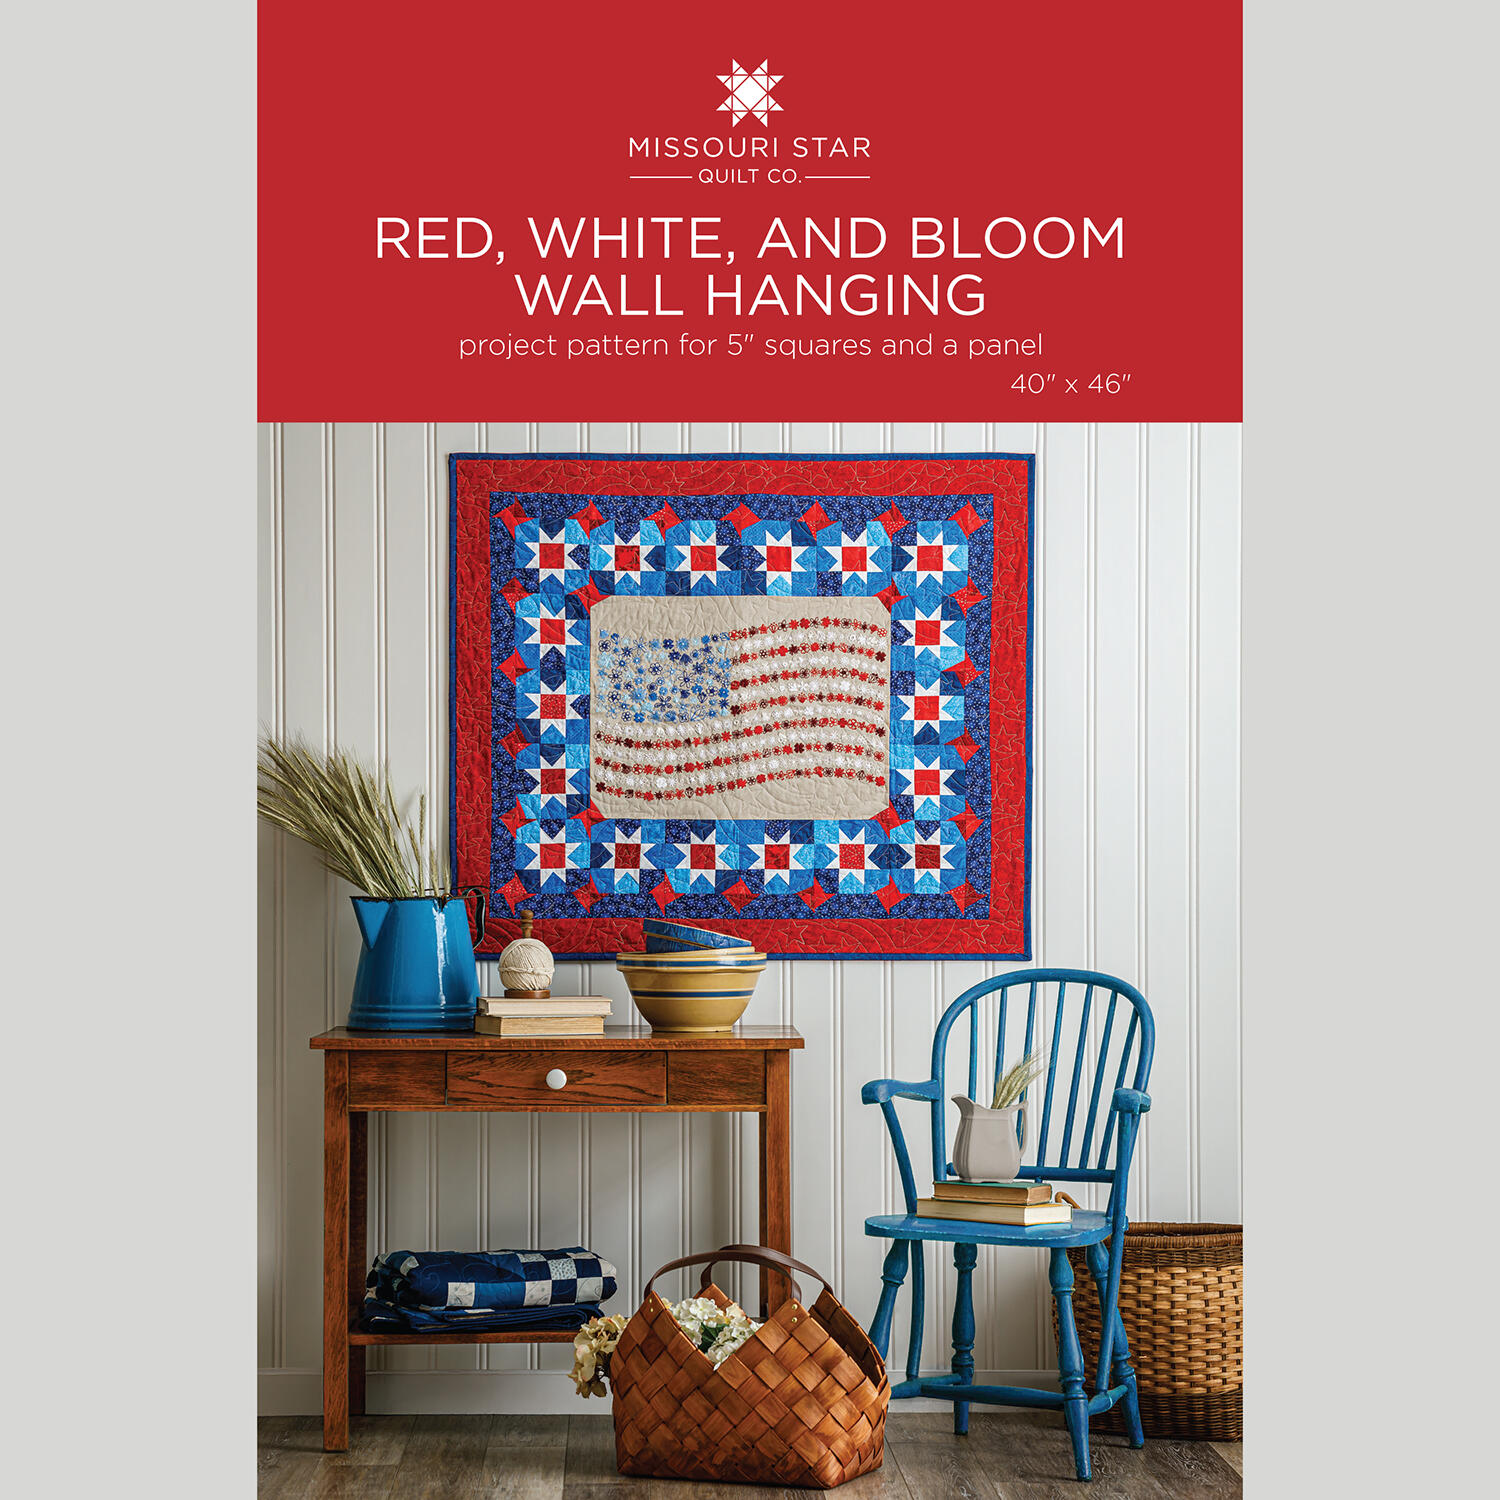
Hey everyone, welcome to At Home. I am Missy Don and I'm super excited to share today's project with you. We are going to be making this red, white, and bloom wall hanging featuring our special embroidery stitch pack. So, let me show you how to make it. To make today's project, you are going to need two packages of 5 in squares. And I use this fireworks pack um from the I've Got Hue Babe collection, which I love. That's just various fabrics. You won't necessarily get the same fabrics every time, but the color way is the same. And these are from Henry Glass. Super fun. You're also going to need, of course, your red, white, and bloom embroidered panel. Then you'll need 3/4 of a yard for your inner border, a half yard for your outer border, a half yard for your binding, and three yards of backing with a vertical seam. So, let me show you how to make this. Set this stuff aside and up. First, I want to dig into this embroidery kit a little bit and show you what all is included. So, let's go ahead and slide this out. If I can get a hold of it there. There we go. So, when you open this up, you are going to have, of course, your embroidery hoop. You've got a little keeper that has your notions and a needle minder in here. So, it's got a threader, scissors, and this adorable little flower. I love that. It also has your little instruction cards, and it says, "Stitch your way through the seasons with a floral tribute to the stars and stripe." I love that. So, the idea is that you can stitch one flower a day for 365 days to help celebrate America's 250th birthday. So, super fun. Of course, you can stitch more than one at a time if you like, but it's just a great way to celebrate. Then, you'll find the panel inside. It's on this beautiful canvas, which is super nice to stitch through. Let me see here. There we go. And it is all printed with the different colors that you'll be using. Super fun. And then, of course, you have a bundle of your different embroidery flosses as well. So, everything you need to stitch this. I would of course stitch the whole panel first before we start on the piecing, but I just wanted to walk you through this. And mine is not going to be stitched yet since we finished this one behind me. But now I'm going to clear this off and let me show you how to make the blocks. All right. So, the first thing you're going to do once you finish stitching this whole panel is you're going to trim it to 18 and 1/2 in tall by 24 and 1/2 in wide. And we are going to add our little star legs to each of the corners. And the thing that you want to be careful of is we want each of these to kind of spin around in one continuous direction. And so I'm just going to take some of my 2 and 1/2 in red squares. I just got these by cutting my 5 in squares in half both directions. And so you're going to do that to pretty much your entire pack because all of this middle is based on 2 and 1/2 in squares. So just plan on cutting your charms down. So now what I like to do when I'm working on star legs is actually cut my squares corner to corner. And I just find that this helps me manage my fabric a little bit better. And so now I'm going to lay this right sides together. And I want this star leg to be shorter on this side and pointing this direction. And so I'm just going to lay this on here and make sure. I like to kind of fold it back and test to make sure my fabric's going to cover. And that looks good. So let's take this first one over here to the sewing machine. And I've got a different fabric here ready to go. And I'm going to add this one. And then do the same thing to this last corner. So I am just going to sew a quarter inch away from the edge of that red fabric using that as my guide. There's my first one. Now I'll spin this here. And so just like before, I'm putting my right sides of the fabric towards the panel. And I want this to be narrower on the side closest to me and the long star leg to be pointing that direction. And then sewing a quarter inch seam. There we go. So you'll do that exact same thing on all four corners of your panel. And then now I'm just going to press these back. And you can see it covers the canvas nicely. I've got plenty of overhang. We'll press Oops, went the wrong way. There we go. We'll press this one as well. Beautiful. All right. And so then now I like to flip this upside down. And I'm going to use my ruler here to just trim off my excess fabric. keeping everything nice and square using my trimmed panel as the guide. So, there's that and that. And I'm not going to worry about cutting away the excess, but you are certainly welcome to if you'd like. Again, making sure all of this is nice and straight and trimming both sides. There we go. All right. And so now our little middle panel is all done. done. We've added those star legs spinning all the way around it. And so now we can move on to making the star blocks themselves. So to make our star blocks, we're going to begin with those same 2 and 1/2 in red squares as our centers. We use those for the middle of every single one. So I have quite a few of those ready to go. And those will make the middle. And then we'll move on to the star legs. So you'll notice in the quilt behind me, I did make these all scrappy. And so I just cut up my whole pack and mixed up so I had a whole variety of different prints of those 2 and 1 half inch squares and I just have them all in a stack here because I wanted it to be a a nice scrappy mix. So let's go ahead and grab one of these. And then we are going to add our star legs to this to make our star blocks. And so just like I cut my 2 and 1/2 in red squares in half, I've done the same with my white. And we are going to start by finger pressing on one side in the middle of this two and a half inch square. And that's just a reference guide for me. As I take my fabric now and lay this right sides together, I want to make sure that I'm intersecting that center line. So I always kind of lay the edge of my fabric right on that point so that I know I'm going to have an overlap. And then you can kind of just play and decide where you want your star legs to go from there. And so let's go ahead and we'll sew a quarter inch away. I'll finger press this back at the machine and we'll add the other side as well. So here is our first one. And then we'll just roll this back. You'll notice I didn't quite cover the bottom here, but that's okay. I know I'm going to catch that in my quarter inch seam. I should have checked. I'm usually really good about checking that before I stitch it, but I can make that work. And so then, just like before, I'm going to overlap that middle. Make sure I'll be able to flip this back and cover. There we go. So, let's just add our other side as well. Okay. And now we can take this over to the pressing mat. Press these star legs back. Beautiful. And then just like we did on the panel, I'm going to flip this over and use my 2 and 1/2 in square as my guide to trim off the excess. So just lay this right on there and trim away my extra fabric. Rotate. And there we go. And so you'll see what I was referring to there. I've got this little corner that I didn't quite cover, but I can catch in my quarterinch seam. So now you're going to do that four times for each of your star blocks. And so I have the rest of those ready to go. And those will just spin around our red center to create our stars. And so now we just need to finish these outside corners. So let's talk a little bit about that. Here are the three versions of the star block that we need to make. So for four of those star blocks, you are going to place a corner with a red star leg in all four corners. And so again, just like we did on our panel, we want those star legs to be spinning in the same direction. And then we have eight star blocks that have only three star legs added to the corners and six that have them just on one side. So keep that in mind when you're assembling. And let me show you now how to do those little star legs on the corner. And so we're going to grab one of our little 2 and 1/2 in squares and my red 2 and 1/2 in square that I've cut in half on the diagonal. And the one thing you want to keep in mind is that all of these corners actually need to be made the exact same way so that they can spin. So here's my little guide. And I want this to be just like that. I'll test to make sure that I can fold this back and it will cover. And then we'll use the edge and sew our quarter inch seam. So let's go ahead and take this to the machine now. Beautiful. Now I'll give this a press. All right. And just like before, we'll use our 2 and 1/2 in square as the guide to trim away our excess. And since I know I'm going to be machine quilting this, I don't typically worry about cutting off the extra. But if you are worried, you would just fold this back after you've trimmed it and use your little quarter inch seam allowance and trim that away. And that's going to get rid of some of that bulk for you. And so now, let's go ahead and finish our little star block. I'm just going to do one with two. And so this is going to go here. Actually, I'm going to spin it so my fabrics don't touch. So, that's going to go in the corner here. And this one's going to face this way. And I'm just going to finish this off by using some different fabrics here in my corners. And we are going to do this to finish out our block. And so now we're just going to sew this together like a nine patch until our star is complete. And remember those numbers I told you, four with four red corners, eight with three, and six with two. And so let's talk about how each of those fit into the quilt. So the four are the outside corners that you see here. The three meet up with each of those outside corners. So you have one here and one here, one here and one here. The same on each of those. That's where the eight comes in. And then the twos are all of your centers. So here's one there. So then there are two at the top and bottom. And that's how you assemble all of those blocks that fit around your panel. And so then now we're going to add this little outside border. And so this is done. with that border fabric. Remember, I chose this cute little star print. And we are going to just add our star legs. They're cut at 2 and 1/2 by 6 and 1/2 to match up with our finished blocks or our completed blocks, not our sewn together. And so, here is that little rectangle. And so, just like before, let's cut one of these in half. And you want to make each of these the same just like you did before. And so we're going to do one here and one here. So let's take this to the machine. There's that first one. And I'm going to spin this one a little bit. Make sure I'm gonna cover. Looks good to me. Actually think that needs to slide down a little bit. There we go. All right. Now those are sewn down. We press them back. And by paying attention to how we're placing all of these and being consistent, that's what gives us this kind of little spinning wonky star that you see in the quilt, which is what we want. And so again, we'll just use our rectangle to trim off our excess to keep everything nice and square. There we go. And then let's bring our blocks back over here. So we can see how those fit together. So here is our outside corner. Here is our three that go next to it and the two that goes next to that. And so then these are going to match up. And you can see they're starting to spin. We'll have another one that'll come in along the side and they'll just match up evenly with each of those blocks that we've made. And then all that leaves is this outside corner. And that's done by adding one star leg to a two and a half inch square. And that completes our first little inner border. So then we're going to add this outer border that's 3 and 1/2 in to frame up the whole thing. It finishes at 40x 46 in. So a great little wall hanging. I quilted the whole thing with star spangled. And I used these cute red stars as our backing. You can really see the quilting back there. I think it turned out super nice. So, I hope you guys enjoyed today's tutorial on this red, white, and bloom wall hanging and I will see you next time on At Home. Hey everyone, thank you so much for watching at home. We're so excited to be almost a million quilters strong here at Missouri Star. And so, if you haven't already joined our family, be sure to subscribe and hit that notification bell so you can be notified of all of our future tutorials. And we'll see you soon.

 Misty Doan
 Red, White & Bloom Embroidery Kit$29.95Shop →
 Red, White, and Bloom Wall Hanging Pattern by Missouri Star$8.50Shop →
 Digital Download - Red, White, and Bloom Wall Hanging Pattern by Missouri Star$6.95Shop →
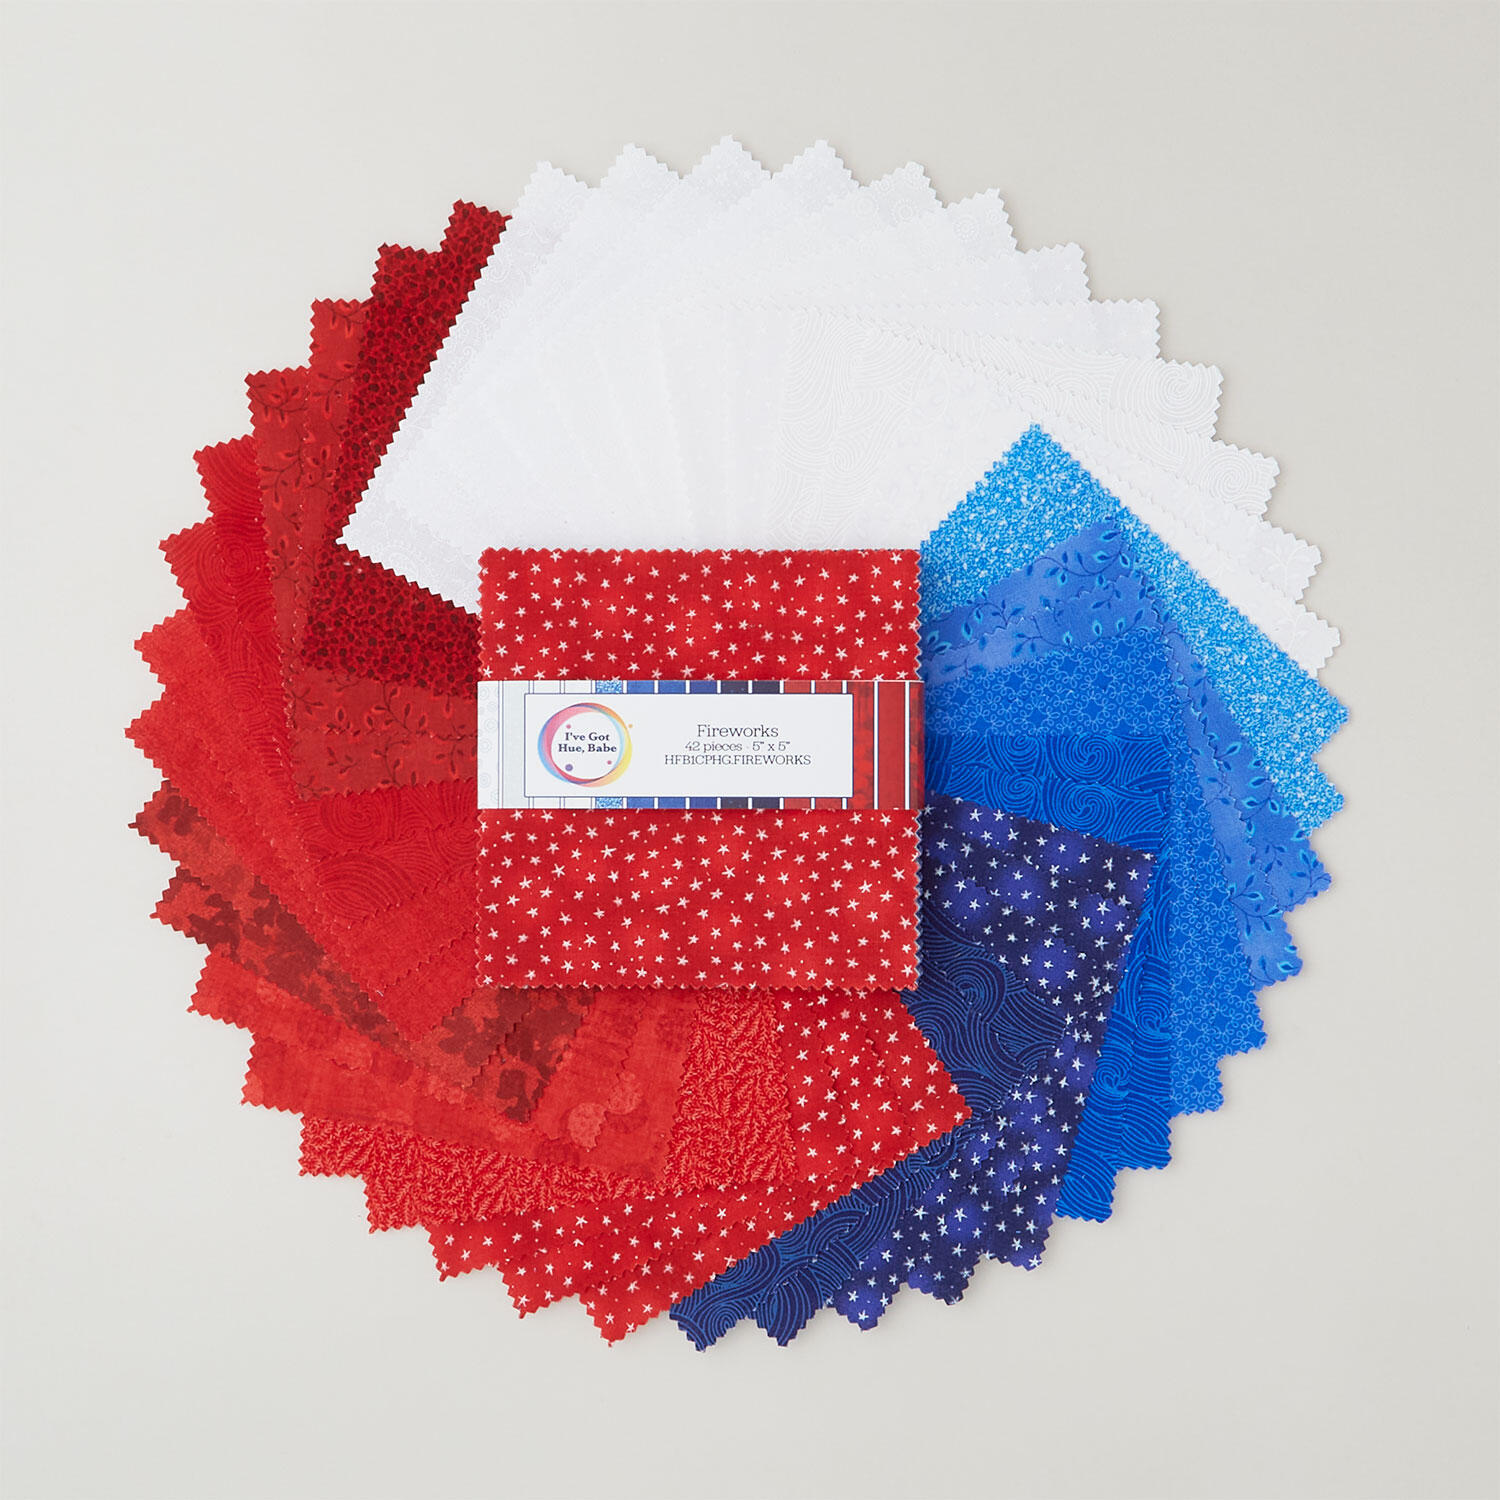 I've Got Hue, Babe Fireworks Charm Pack$12.15Shop →
 Colorworks Premium Solids - Navy Yardage$8.12Shop →
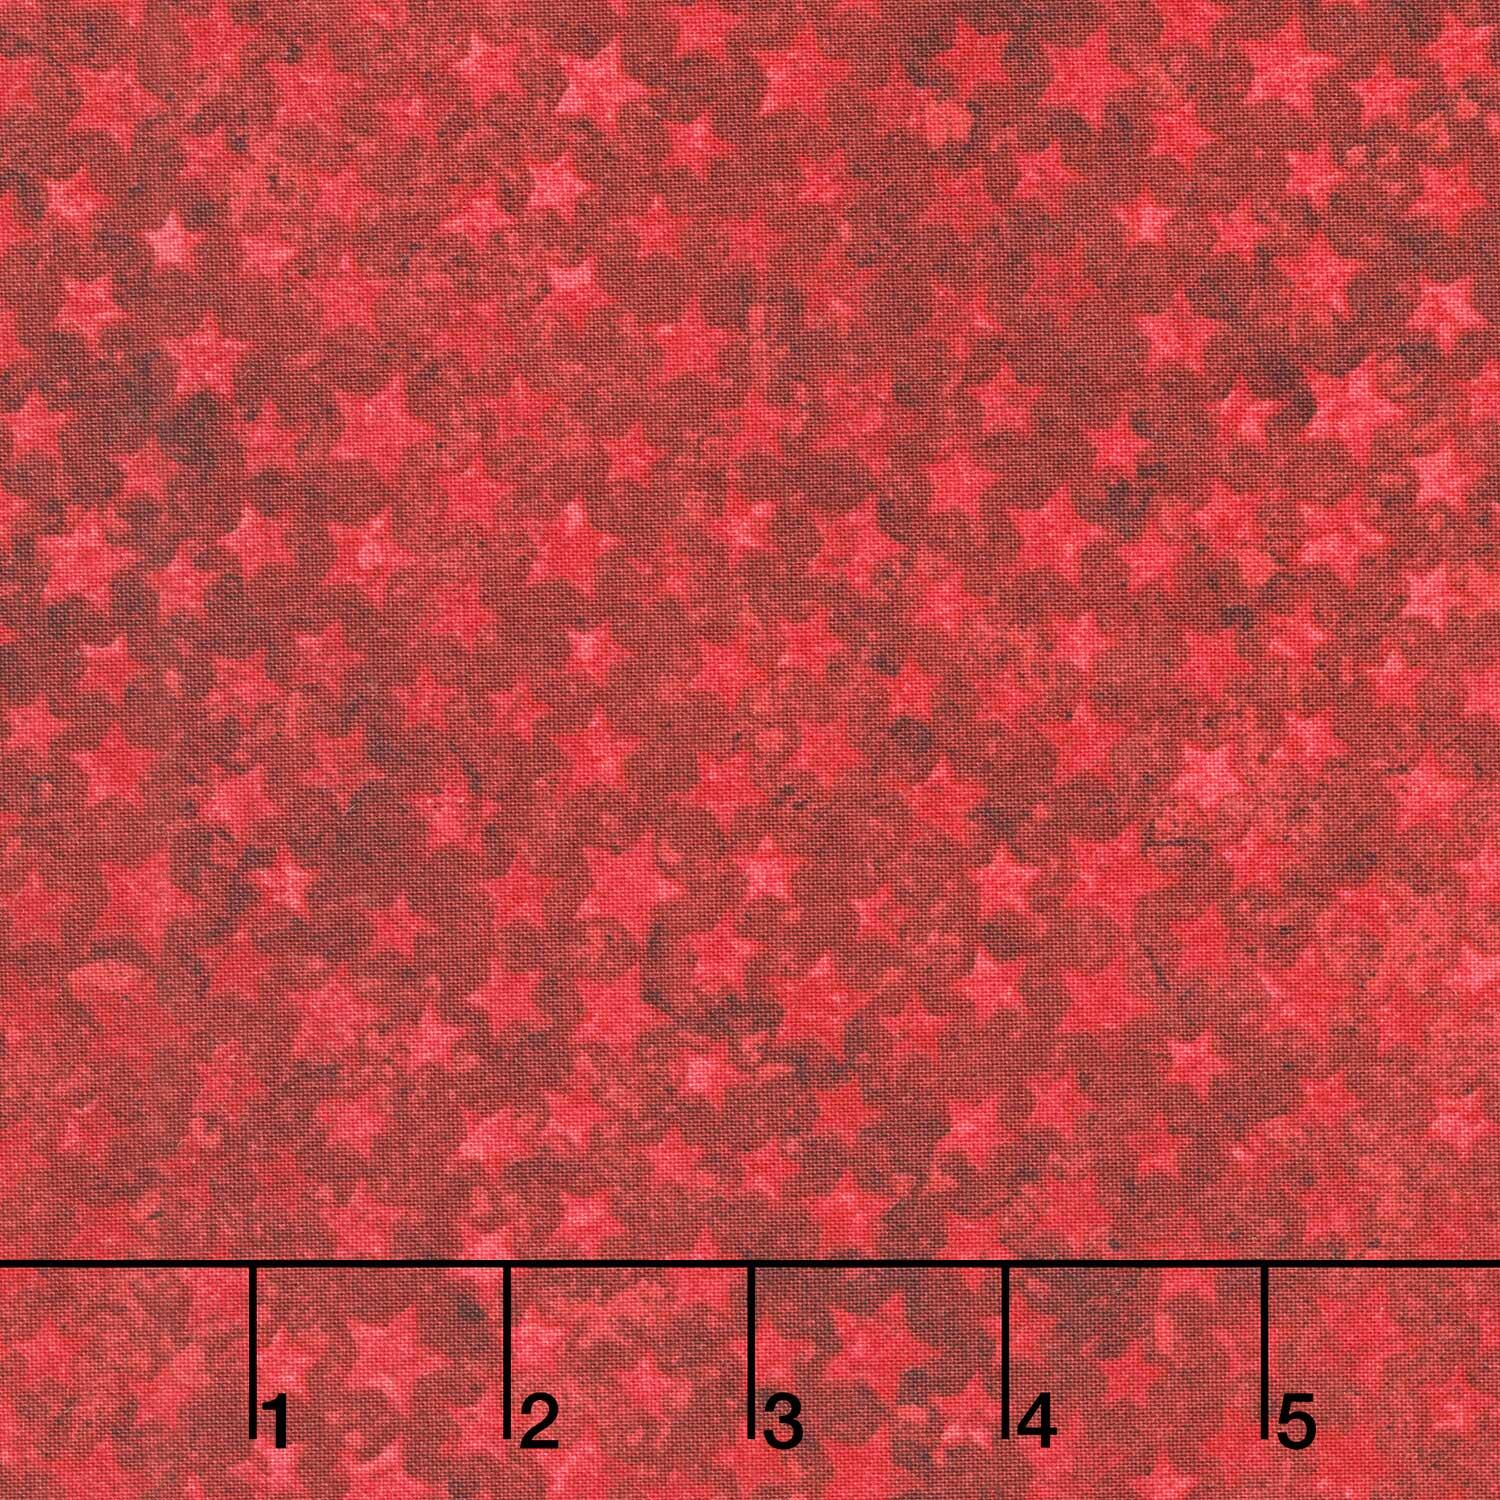 Stonehenge - Stars and Stripes Star Blender Red Yardage$12.76Shop →
 Missouri Star Quilter's Best Blend Throw Batting$21.95Shop →
 Missouri Star 5" x 15" Ruler$19.95Shop →
 Missouri Star 45mm Rotary Cutter - Olga$19.95Shop →
 Missouri Star 8" Everyday Scissors - Amelia$19.95Shop →
 Missouri Star 50 WT Cotton Thread White$7.95Shop →
 Missouri Star + Oliso TG1600 ProPlus Iron$209.95Shop →
 Missouri Star Wooly Betty Board - 17.25" x 25.5" Orange Border$99.95Shop →


