
Rocket's Red Glare
 Misty Doan
- Charm Pack
- Modern
- Quilts
- Intermediate
- Quilt size 20" × 33"
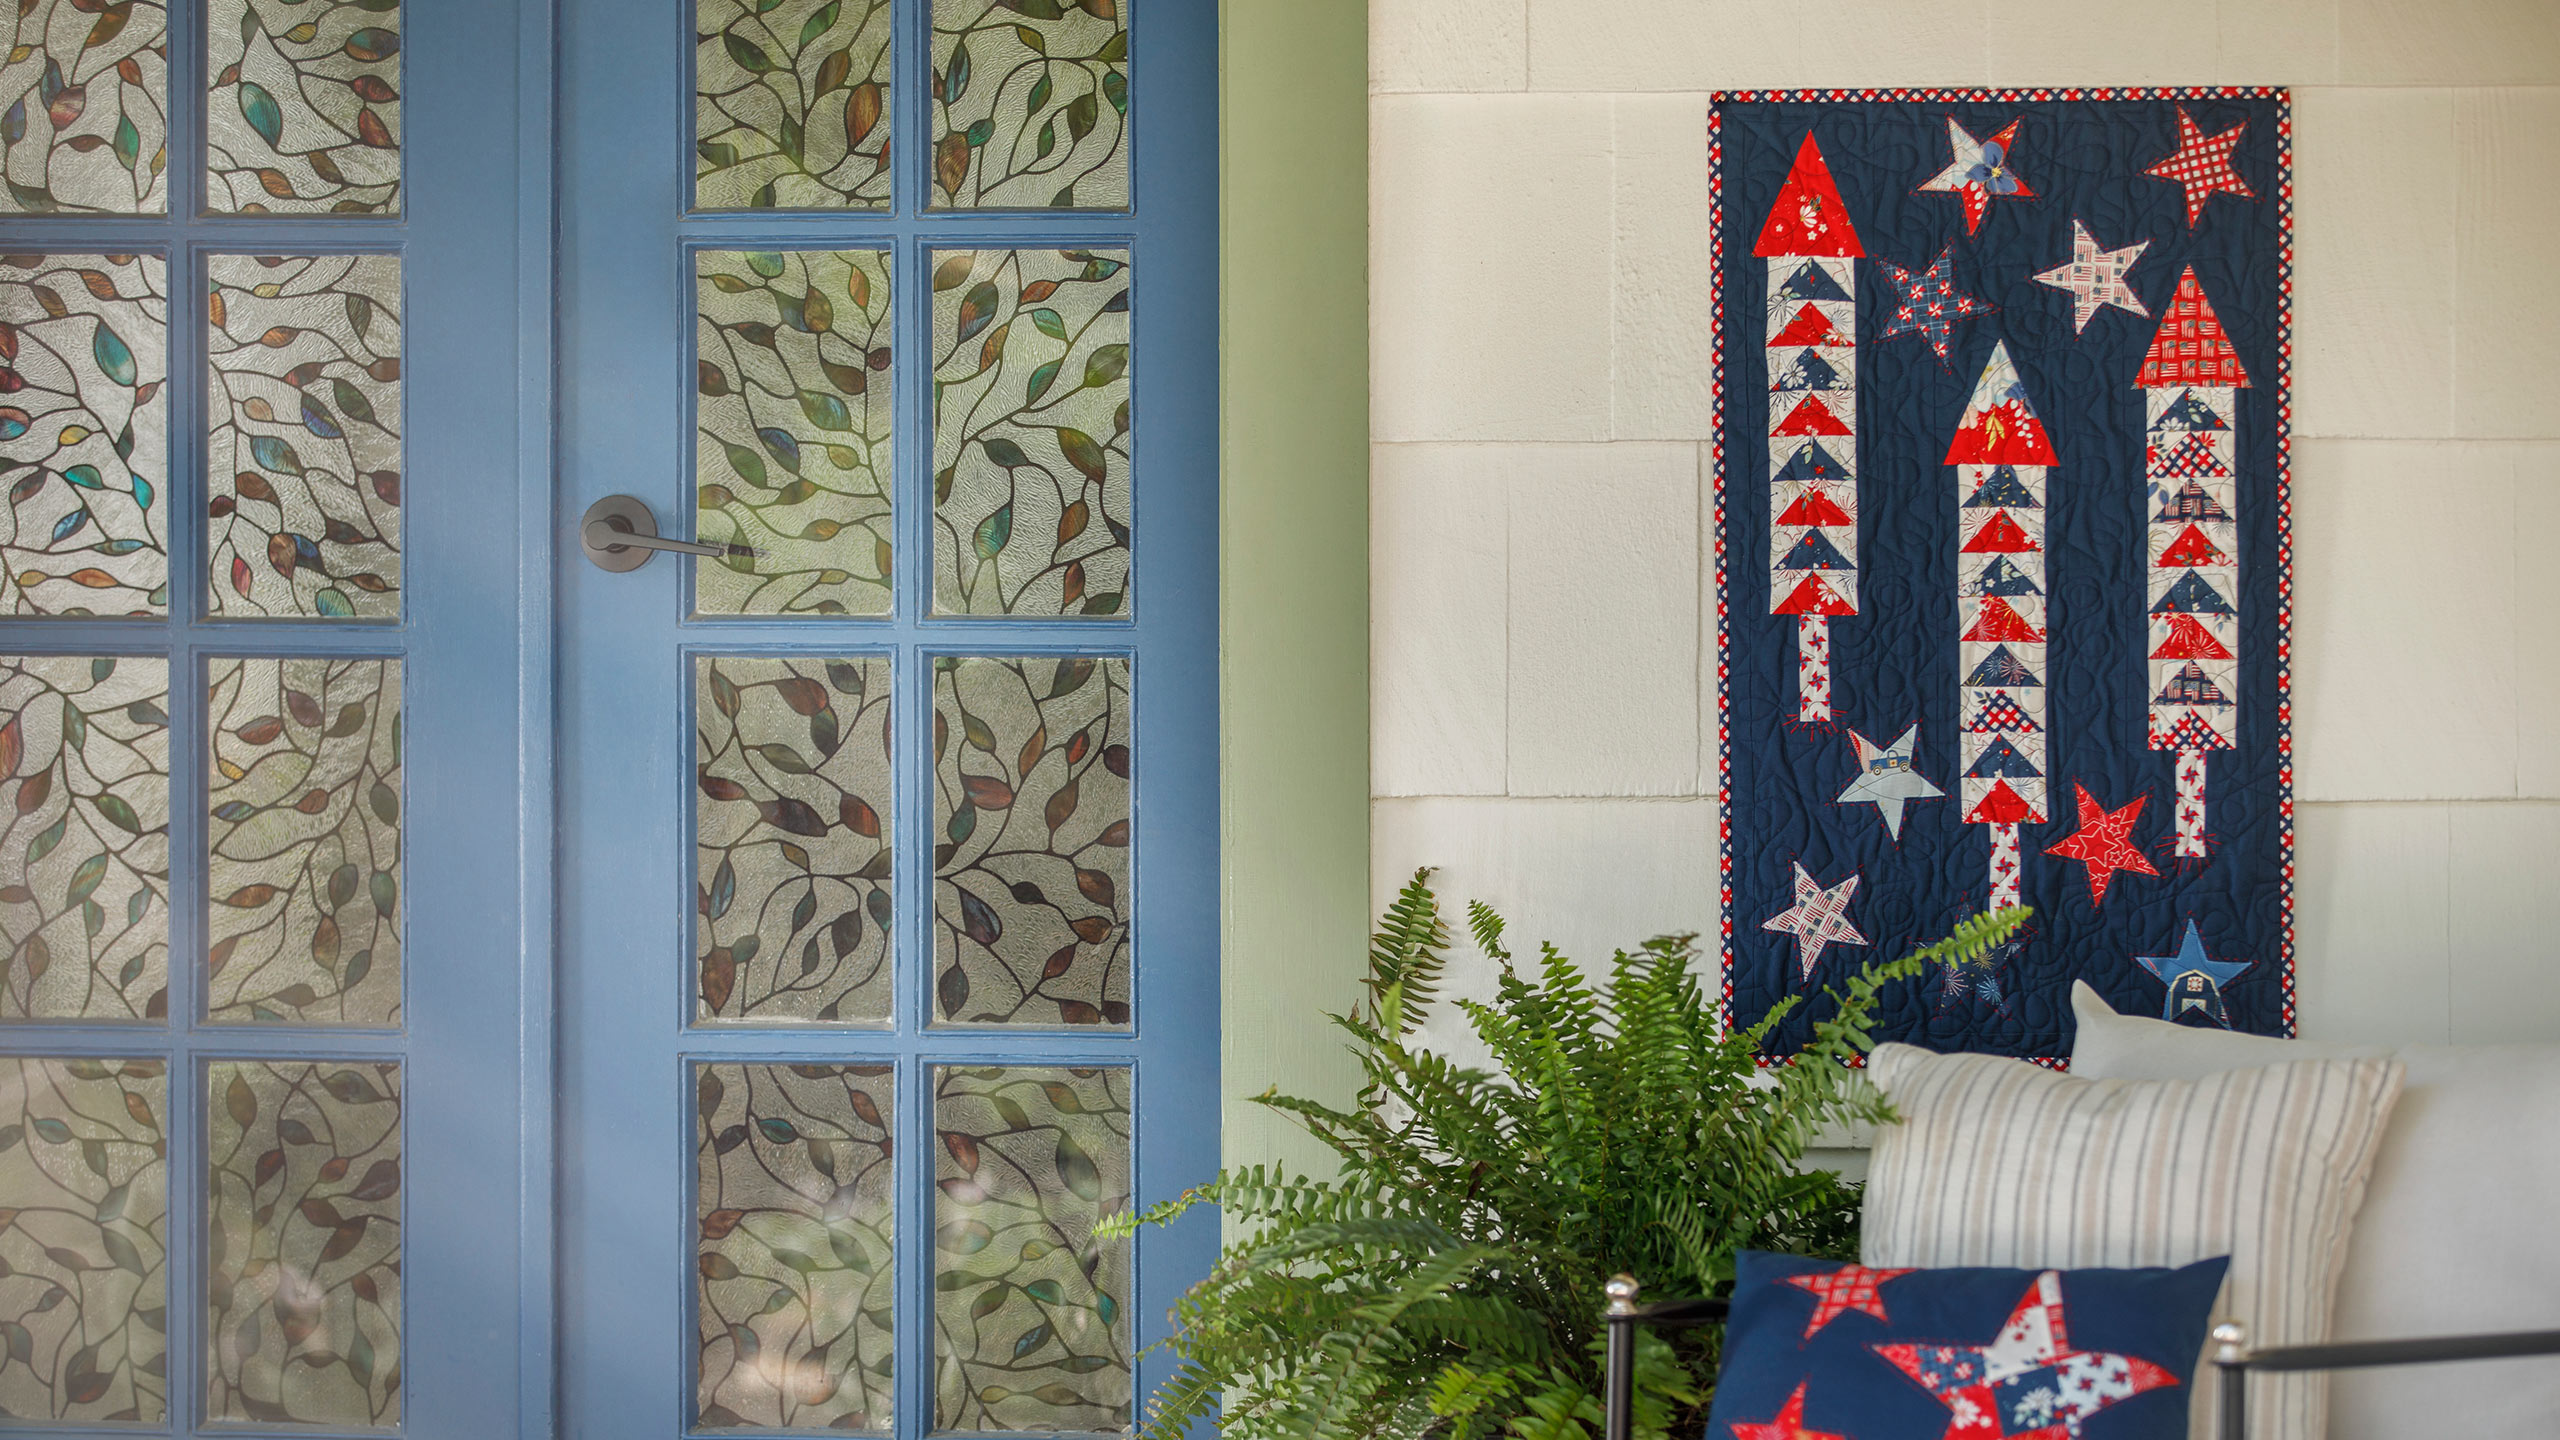
Fire up your Fourth of July decorating! Red, white, and blue rockets shooting into the night sky means it’s time for fireworks, and Misty wants to help you celebrate. Whip up this sparkling wall quilt with metallic charm squares and appliquéd stars. Then sit back and wait for the oohs and ahhs!
Instructor
Misty Doan
Misty Doan grew up surrounded by sewing and quilting. She loves spending time sharing tutorials each week each week, and when she’s not stitching up one of her fun sewing projects for home decor, most likely you’ll find her hanging out with her husband and three awesome kids or working on a house project.
Shop this tutorial
 Rocket's Red Glare Quilt Pattern by Missouri Star$8.50Shop →
 Digital Download - Rocket's Red Glare Quilt Pattern by Missouri Star$6.95Shop →
 Sweet Freedom Metallic 5" Stackers$12.45Shop →
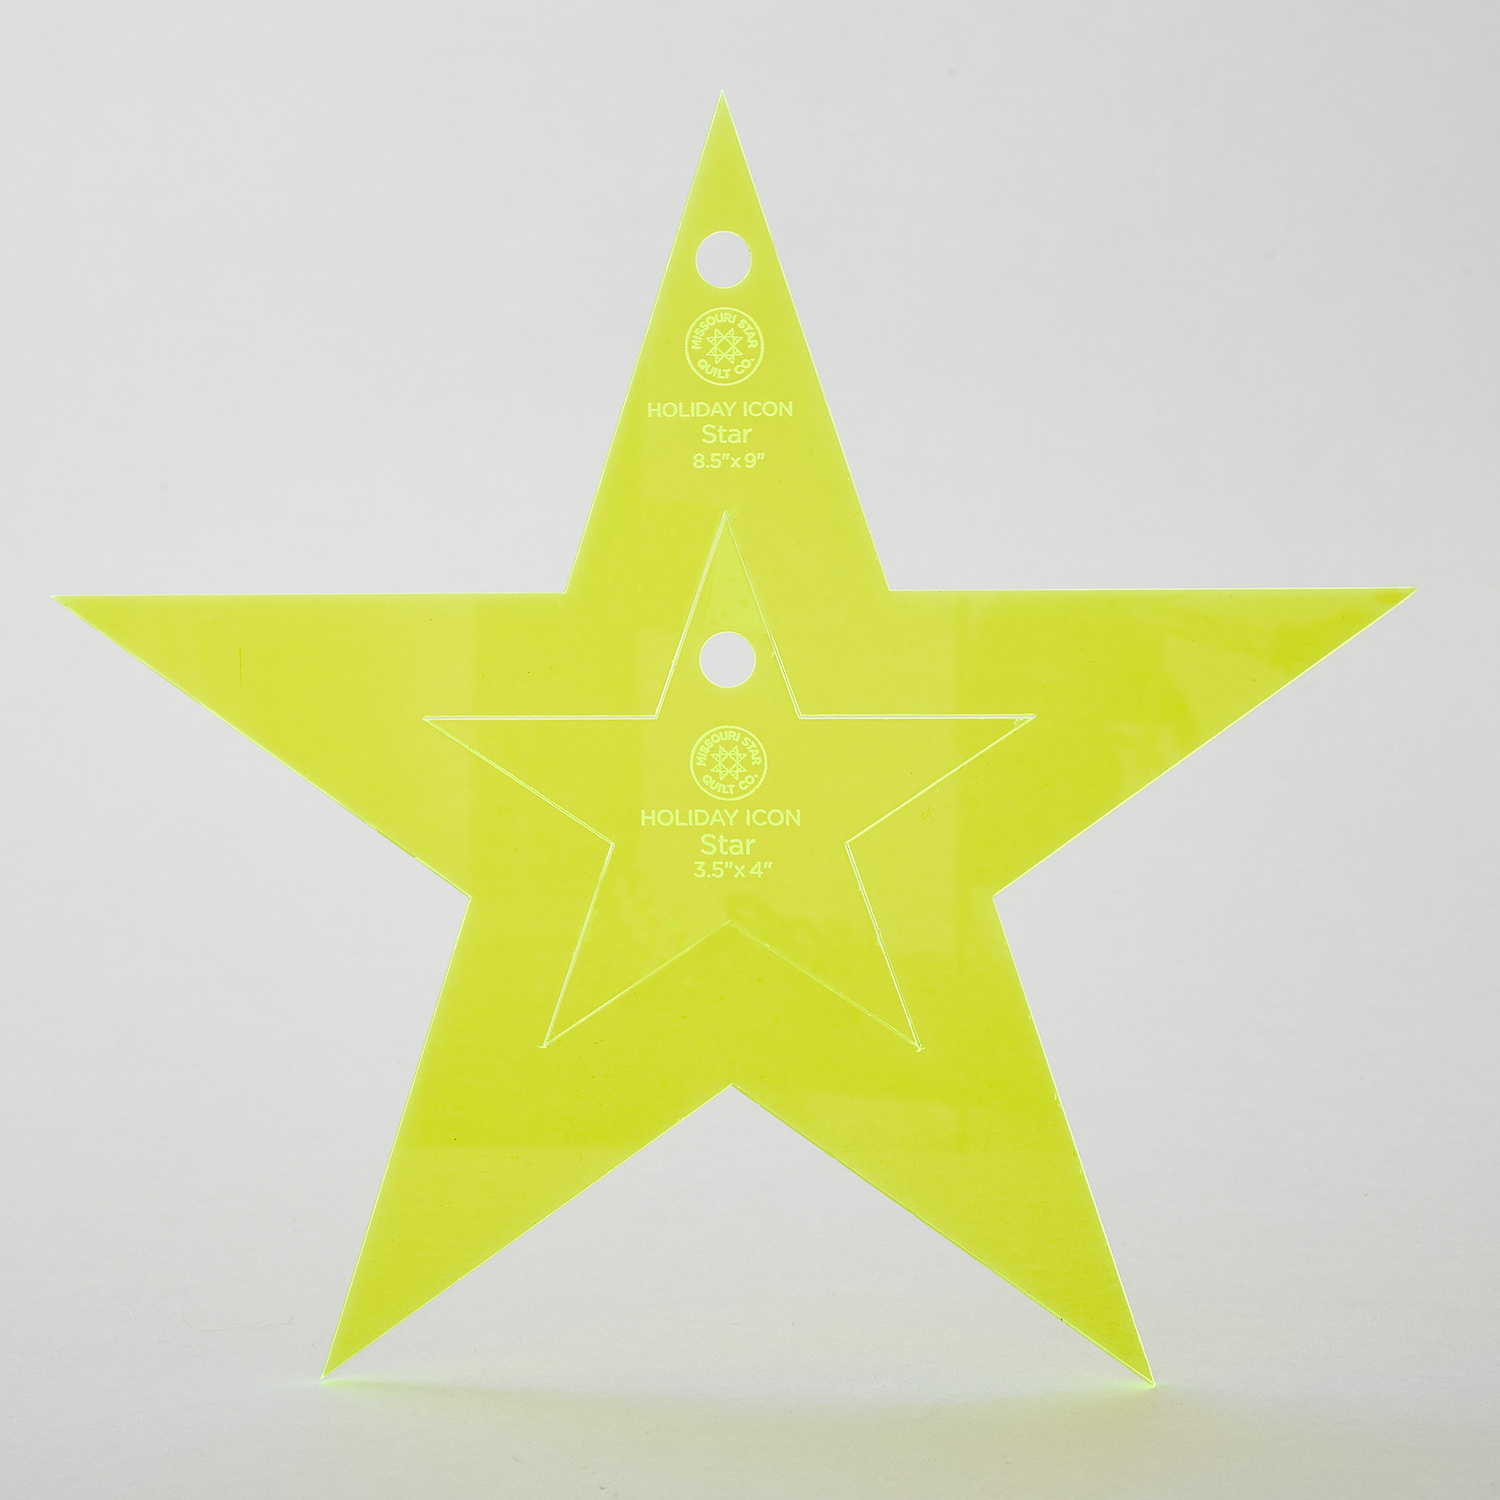 Missouri Star Nesting Star Template$12.95Shop →
 Kona Cotton - Navy Yardage$7.48Shop →
 Missouri Star Quilter's Favorite Dispenser - Pink$18.95Shop →
 Missouri Star Sew Light Fusible Adhesive - 17" x 2 yards$4.95Shop →
 Embroidery / Crewel Needles - Assorted Sizes 3/9 (16 ct)$2.95Shop →
 Sweet Freedom - Gingham Picnic Multi Yardage$11.96Shop →
 Sweet Freedom - Main Floral Oxford Sparkle Yardage$12.44Shop →
 Missouri Star Quilter’s Best Blend Crib Batting$14.95Shop →
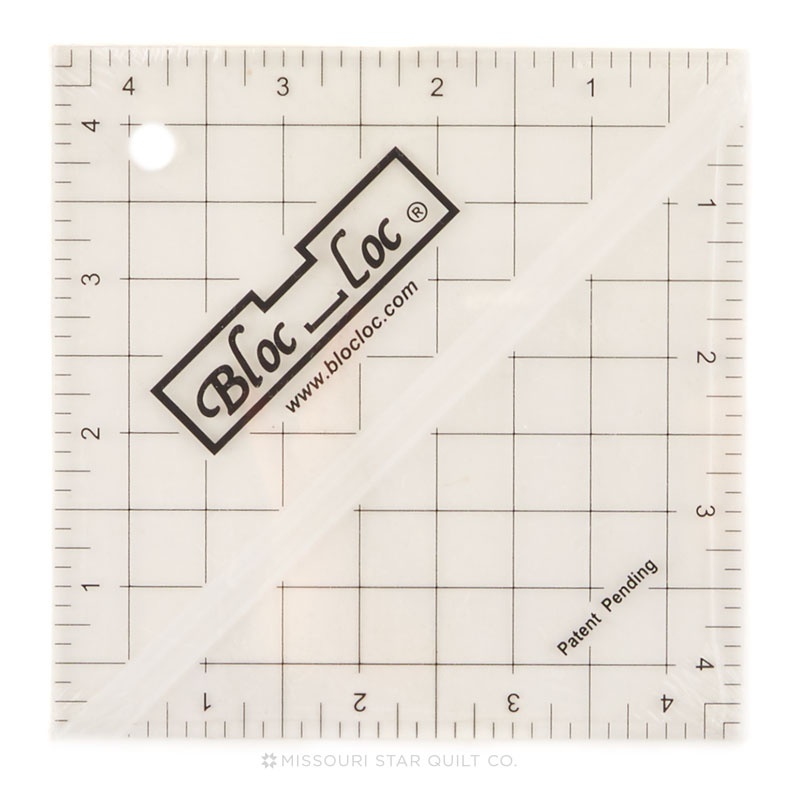 Bloc Loc 4 1/2" Square Up Ruler$25.95Shop →
 Missouri Star 2.5" x 8" Ruler$11.95Shop →
 Clearly Perfect Slotted Trimmers$31.95Shop →
 Missouri Star 45mm Rotary Cutter$19.95Shop →
 Missouri Star 8" Everyday Scissors$19.95Shop →
 Presencia Perle Cotton Thread Size 8 Cranberry$3.75Shop →
 Exclusive Missouri Star Jenny TG1600 ProPlus Oliso Smart Iron$199.99Shop →
 Missouri Star Wooly Betty Board - 17.25" x 25.5" Orange Border$99.95Shop →
 Bernette 77 Sewing and Quilting Machine$1499.00Shop →
Common Questions
What is covered in Rocket's Red Glare?
Fire up your Fourth of July decorating! Red, white, and blue rockets shooting into the night sky means it’s time for fireworks, and Misty wants to help you celebrate. Whip up this sparkling wall quilt with metallic charm squares and appliquéd stars. Then sit back and wait for...
How long is the tutorial video?
The tutorial video is 00:18:36.
Are supplies listed for this tutorial?
Yes. The tutorial page includes the supplies and materials connected to this project.
Is a transcript available?
Yes. A written transcript is available on the tutorial page.
Video Transcript
I'm calling today's project Rocket's Red Glare. It's just these three little rockets on this wall hanging. You could make this bigger if you want, but this is perfect to use your charm pack.
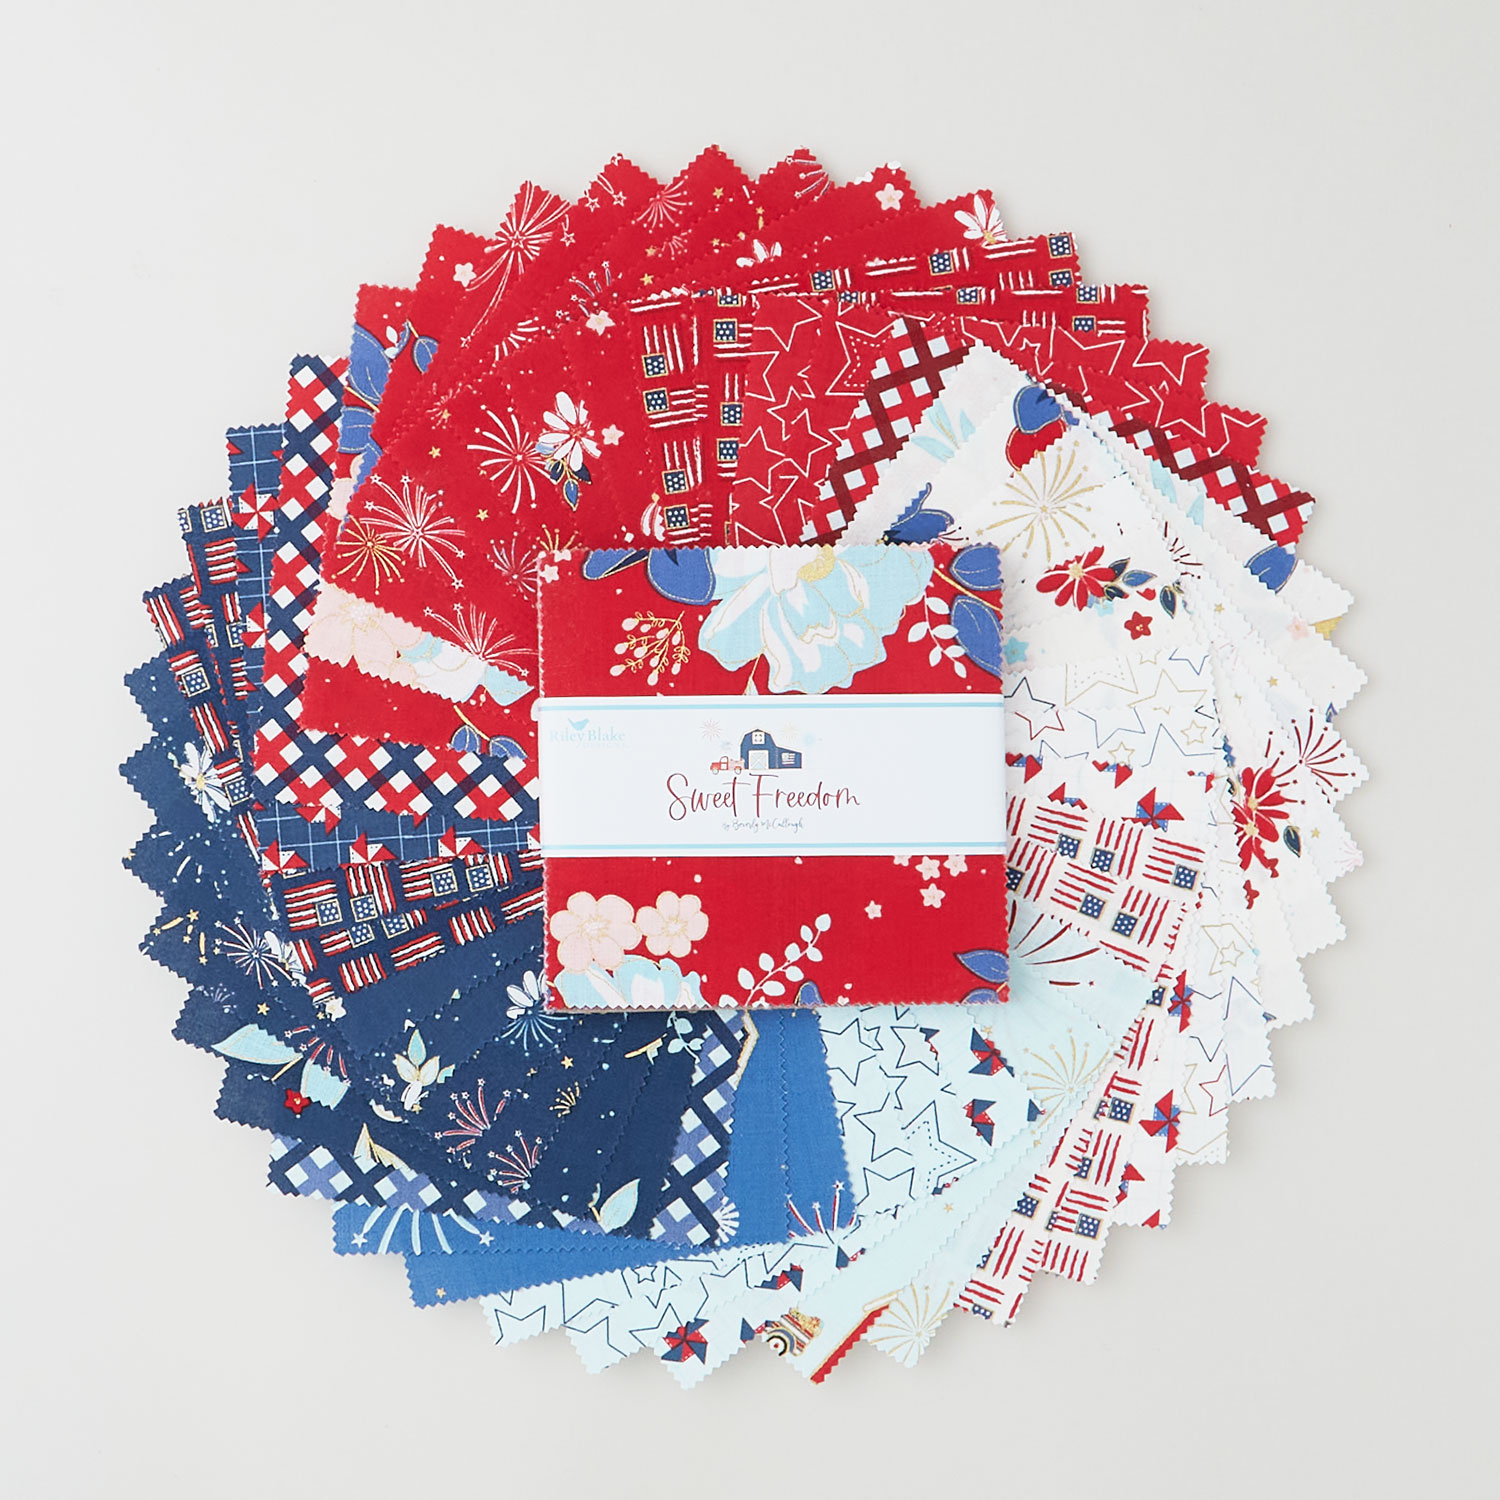
So to make this project you’re going to need one charm pack and I use Sweet Freedom by Beverly McCullough for Riley Blake Designs. It's just such an adorable line. You're also going to need some backing and binding, a yard and a quarter if you want to use the same fabric for both of those or 7/8 of a yard for your backing and 3/8 for the binding. For your background fabric you need 3/4 of a yard and that does include this little inner border that goes all the way around. If you want to add some embroidery details, you're going to want to grab some embroidery floss and of course an embroidery needle. And then optional, but makes it easier are Missouri Star Star templates and whatever your favorite squaring tool is. So let's go ahead and get started!
Let's dive into making this adorable rocket block. To begin with, we're going to start with the top. I decided to pull some of the red squares from my charm pack to use for all of the tops in this project. I just liked the contrast. So I have one right here and I'm going to go ahead and finger press this in half just along the top side. Since this is a directional print I want to make sure my little barn is upright even though I'm probably not going to see all of that. Then I'm going to take some 2 ¾ inch by 5 inch rectangles and we are going to place these and line up the bottom corner here and the opposite corner of the square or the rectangle, sorry, here. Just have those until they are exactly point to point in line with the fabric. We are going to stitch from point to point, so if it helps you to draw the line you can do that. Where did my ruler go? Here we go. So we're just going to mark our sew line here and that's exactly where I'm going to stitch. So let's go ahead and take this over to the machine and we're going to stitch right on that line.
Now I always like to kind of test and make sure when I roll, pull this back, it's going to cover the rest of my square and it is. So now we can take this
to the cutting mat and go ahead and trim off our extra fabric. So we're just going to leave our quarter inch seam allowance here and we can trim off this excess, there we go. Now we can press this back and we're going to do the same thing going the opposite direction on this side. So let's go ahead and give this a good press and then we'll mark it again. All right there's that one. So now here's our rectangle. We're going to put that just like so, matching up this bottom point and it should overlap that first seam that you took and that's going to give you your quarter inch seam for your point at the top. So again we can draw our line. If you're comfortable eyeballing this you absolutely can. Here we go and so right on that line, again take a few stitches, make sure I've got this straight, and then zoom down. Okay now we can trim this again just leaving that quarter inch seam allowance and then when we press this back. It should leave a 5 inch square. It should remain the same size that we originally started with. So if you want to measure it on your mat, you can just double check, trim up anything if you need to, but that looks great. So I'm just going to set that aside for now and we can move on to these little flying geese units for the center of our rocket.
So I'm going to grab some of my contrasting, I used any of the lights for the background part of the rocket, and then some of the reds and blues for the body. So I'm just going to pair those together. Let's go ahead and flip this to the lighter side and we're going to use the easy 8 method, which means we're going to draw an X corner to corner on our light fabric and then we're going to sew a quarter inch seam on both sides of those drawn lines. So let's take that over here, go down one side, we'll flip it around and come down the other. Then now we'll do both sides of that opposite line. Okay now we can take this to our cutting mat. I like to make sure it's square on my mat and then we're going to begin by cutting this in half both directions. And this should intersect your seams in the middle ,so you just want to watch for that. So we'll cut this way and then this way. Now that I've done those cuts, I can come back and cut on the lines that I drew to cut each of these in half and it's going to give me eight little half square triangles. Here we go! Now you can use whatever squaring method you'd like. I prefer the Bloc Loc, especially when I'm working with small pieces like this because I just find it to be a little bit more accurate. So I'm going to go ahead and take a second and square a few of these and I'll meet you back here.
So for each one of your rockets you're going to square 16 of these little half square triangles. I have a bunch of them already done, but let's go ahead and square one more. The measurement you're looking for is 2 inches. So I'm going to use this little Bloc Loc and I'm going to make sure that it's locking into my seam. And you can see there's not a lot of waste at all. They're almost already 2 inches, so I'm just going to shave a little bit off
here. Then I like to spin this and slide it down, and now my straight cuts
can match up with that 2 inch line and just trim a little bit more off. There we go. All right, so now I have a few of these ready to go and you're just going to put your darker colors together to make these flying geese. So I've got a couple done. We can just put them right sides together and sew those in half. Make sure they're lined up. I love these little flying geese. I think they're so cute. There's one. And these are fun to just chain piece one after the other because you are going to make quite a few of these for your wall hanging. All right so then we can trim those apart, give them a press. There's our little flying geese. Love that! So there are our little flying geese.
So now you're just going to take eight of these and you're going to stack them up one after the other in a row and sew those until you have a set that looks like this. So this is going to be the body of our rocket. In order to make it match up to our tops that we just made, we need to take a 1 ¼ inch strip by a by 12 ½ on both sides. So I have those cut and we're going to go ahead and sew those on. So let's take these to the machine and we'll sew one after the other.
So I'm just going to line this up here with the top of my flying geese units and zoom down the side. Once we have that first side done we can just flip it around and add the strip to the other side. Okay once we have both of those sewn down, let's go ahead and press those back so that they'll be nice and flat. Go flip that around, go the other way. All right the middle of our rocket is done.
So now we can see that it's going to match up with the top. So let's go
ahead and take this to the machine and sew those together. Take a few stitches, make sure it's all matched up, and zoom across. So we can go ahead and press this back. Just roll it back so it lays nice and flat and now the top of our rocket is all done. All we need to do is add the fuse!
So in order to do that I took one of my light 5-inch squares and I trimmed
an inch off the top so that it measured 4 by five. Then I subcut a bunch of
these 1 ¼ by 4 inch strips to make the fuse part. So out of one square you can get all of your fuses. Then we are going to sandwich that in between
a two and let me double check 2 ¼ by 4 inch background rectangle. So let's just go ahead and sew this on to finish up our fuse. There's one. I'm going to go ahead and press this back, just so it's done. Now we can add the other background rectangle, all right? Then we'll press this as well and now we can just sew it to our block. This is all going to match up and measure 5 inches. Just line that up, take a few anchoring stitches, make sure my opposite ends are in line and zoom across. Okay, there we go. Our rocket is complete!
Isn't that so fun? I think there's so many things you could do with these little rocket blocks, but let me talk about how I put it together here. As you can see they're kind of staggered. So on the first one where the rocket goes all the way to the top, I have a 5 by 11 inch piece and that gives it some height. Then on the next one you're just going to alternate between having a 5 by 7 and a 5 by 4 ¼. And so this one the smaller piece is at the bottom. Let me slide this up a little bit, so you guys can see. The taller pieces at the top, and in between you're going to put a 2 ½ inch background strip, just to give it some space, and another 2 ½ inch strip. And then of course your third rocket would come in, and so that kind of fills out the background. Then I went ahead and I added an inch and a half border all the way around just to give it some space from that edge. Then we just appliqued these stars on top. So let me show you how to do that!
Really quick, I took some of my extra 5 inch squares and I fused them to
some of our Sew Lite fusible and then I used the small star template. You can just you know kind of fussy cut or position these however you'd like and we're just going to trace our star and cut it out. So I have got these on here and you can trace it on the fabric side or the paper side. I kind of like working from the fabric side on these, just because like I said, if there's
little details you want to include you can see it this way. There we go, there's our star and now we can just cut those out with our scissors right on those lines, just like so.
There we go! So there's our star and as you can see I did like four just
randomly across the bottom, or five excuse me, across the bottom here and four at the top. You could just decide how many you like. You don't need to really worry about it. I just played with it. And if you've never used this before, it's really simple. It's got this paper backing and you just kind of crease it and peel the paper off and it leaves this shiny fusible. So you'll just place that, hit it with the iron, and then come back and top stitch it onto your fabric.
So let's come in really close because I did add some fun little embroidery details. So you can see here I just did a running stitch around my stars - I think that turned out so nice. And then we added some little bursts coming from the fuse, just as if, you know, the rocket is going off. So just some fun little details.
Once I did that I just machine quilted over the whole thing just like you normally would and bound it. I think it came out so fun! I hope you enjoyed this tutorial on Rocket's Red Glare and I'll see you next time on At Home.


