This 65" square beauty features the charming French Market collection from Maywood Studio, but it looks stunning in any fabric you choose. Nine radiant, traditionally pieced star blocks shine against crisp white sashing, while a bold floral border adds cozy, heirloom appeal. Perfect for quilters of any skill level, this scrappy-inspired design is as fun to sew as it is to admire. Follow Natalie step-by-step—you’ll fall in love with every block!
Natalie is the host of Quilting 101, Embroidery 101 and the Creative Strategist and Editor of Block Magazine at Missouri Star Quilt Company. She was taught how to sew by her mom, of course, and began quilting when she grew up.
This 65" square beauty features the charming French Market collection from Maywood Studio, but it looks stunning in any fabric you choose. Nine radiant, traditionally pieced star blocks shine against crisp white sashing, while a bold floral border adds cozy, heirloom appeal. P...
How long is the tutorial video?
The tutorial video is 00:19:33.
Are supplies listed for this tutorial?
Yes. The tutorial page includes the supplies and materials connected to this project.
Video Transcript
Hi everybody. I'm Natalie with Missouri Star Quilt Company and today I have a fun quilt to teach. It's called Rosewood Stars and it's a lot easier to make than it looks. So let's get started. So to make this quilt, you're going to need one package of 2 and 1/2 in print strips and I've used French Market by Maywood Studios. You're going to need some background fabric, 2 and 23 yards. A/4 yard of accent, a yard for your outer border. For your backing, you'll need 4 and 1 eigh yards. Or if you use a 108, you'll need two yards. So, let's get started. This is going to be really fun. All right. So, this is the block that we're going to be making today. And it's made up of two really fun units and then a block in the middle. And you'll see we've made nine of them from our little strip set. Your background also includes the fabric to make your sashing strips. So, we've done a sashing and a cornerstone, and it comes together really easily. So, one of the things we're going to do before we get started, we're going to separate some of our prints into contrasting colors to make our um our diamond star leg unit and then also our four patches. And we're going to cut some fabric from our background and our accent. So, from the accent fabric, you're going to need four and a half inch strips that are subcut down into four and a half inch squares. And so, I've got one of these ready to go for the middle of our block. And we'll we'll get that ready and set up because we're going to start building it in little pieces as we go. All right. So, from our background, we're going to cut 2 and 1/2 in strips and 4 and 1/2 in strips. And then these are going to get subcut down to make the pieces in our block. But that's what you'll need to do to be prepared. So, we're going to cut a few 2 and 1/2 by 4 and 1/2 inch strips from our background and have those ready to go and set aside. And I've got a few of them cut already. So, I'm going to add those to my little pile here. And then I've also got some 2 and 1/2 in squares. And we're going to have some of the um some of our strips are going to be cut in half so that we end up having 20 approximately. We're not measuring these because we're just going to cut the strips in half, but they should be approximately 20 in long. And that is what we're going to make our four patches out of. Okay, so we've got some of our prep ready to go here. Let's grab some of the strips from our roll. These are always so hard to open cuz they're so pretty put together. The jelly rolls are one of my favorite things to collect and keep on the shelf, which, you know, isn't necessarily its intended purpose, but it's cute. All right. So, I'm going to grab this strip and this one. These are going to make our star leg units. And then I'm going to pull, let's see, I've got this pretty floral in here somewhere. There it is. That one. And then we've got this pretty green one. And you can make all of your matches and sets ahead of time so that when you get ready to sew, everything is lined out and you can just sit and enjoy the process. All right. And then this one's going to be my little corner squares for this guy. So I've got those pulled apart. I'm going to set this aside. This one I'm going to cut down into 2 and 1/2 in strip or squares. Sorry. Getting my strips and squares mixed up today. Have these set aside and ready to go. And then these ones get cut down into the 20in lengths or essentially just cut in half. And all I'm doing is stacking them and then cutting off the fold. And that gives me the pieces that I need to make my four patch strip sets. And this is all just prep. And then we'll get into the stitching. Okay. Then these guys, these strips that make up the star leg, they're going to be cut into 6 and 1/2 in strip segments. So, I'm going to start by stacking them and just trimming off my salvage here. And then I'm going to use this ruler and go lengthwise to 6 and 1/2. And you will need four of each to make a block. So, eight strips total. But I've got some of these cut already. Actually, I have some some units already made because of the magic of YouTube. So, what we're going to be making now is this unit. And it's made up of our two 6 and 1/2 in strips. And then we're going to snowball these corners. But we have to make sure that they go in opposite directions. So, what we'll do, and the easiest thing for me to do, and I would pull out my diagram or my pattern and just lay out all of my strips, I' i'd line them up in little piles, and then I'm going to draw the line or press the line or eyeball it or use your diagonal seam tape. But what we're going to do is sew from corner to corner. And we're going to lay it down and make sure that we are drawing our lines and setting them up so that we're we're set for success. And these two go this direction. And then this other side goes the opposite direction. So as long as they both go opposite directions, but on the strip set itself, they go the same way, top and bottom, then you will you will have beautiful star legs, and it's all going to come together really nicely. All right. So, I'm going to draw the line diagonally right across this direction. And we're uh we're going to make sure that these all go the right way. I've got some of these drawn already. So, I'm going to line that one up so that they match. And then these two are going to go opposite. And I'll line these up. And then we're going to sew on the line corner to corner on both strip sets. So let me take these to the machine and we'll get these stitched up. So we are stitching from corner to corner diagonally on the line. And once you get going, you can just sort of assemble all of these all at once. But whenever I'm making a new quilt for the first time, I like to make one block and then after making that first block, you kind of work through the kinks. And one thing, one bit of advice that mom always gives is to start with the fabric that you like the least because then if you've made a mistake, you haven't lost your favorite fabric. And this quilt really only uses about 31, I think, of the 40 strips. So you have a few extras to play with. So I'm going to finish these and then we will get back to the next part. Trim these. Oh. All righty. So, now we're going to trim these away. Um, it's a trim and flip. So, I'm going to cut these off. And so as long as you've got your stuff lined up so that it all goes in opposite directions and then all of your yellows are done one way and all of your reds are done the other way, you'll be able to create this pattern all the way around. So I'm going to set these seams and press them back. And I've got a few of these already stitched together. So as soon as I get these ones done, we'll be able to lay that part out. And it is it just comes together so easy. I feel like this is one of those particular star leg patterns that looks really complicated because it's a little bit it just seems very fancy and sort of difficult or you know harder than what we normally do I guess. All righty. So now we're going to line them up like this. Set them together and stitch down that middle seam. There we go. And if you're really lucky, your sewing machine will do exactly what it's supposed to do. Set the seam and then press it back. And these should measure 4 and 1/2 by 6 and 1/2. And I've got Oh, there they are. I've got some already ready to go. So, what we're going to do is set these around our center square that is also 4 and 1/2 in square. And just like that, you've got the middle part of your star. Isn't that pretty? I just think these blocks are so beautiful. All right, so the next thing we're going to do is make our four patches. So, we're going to take those 20in strip sets or strips and turn them into strip sets. So, we're going to pair these up, one each uh print and a background. And then you can save the other half for another project or you can make your your sets throughout the quilt um a little bit more matchy. I set mine aside so that I could have more variety in the quilt, but it's completely up to you how you want to manage your fabric. And um and so you can do however you wish, but we are going to stitch on one side of both of these strip sets. And then we're going to subcut them into 2 and 1/2 in segments to make our four patches. All righty. And I'm just going to do one of these because I've got the other stuff sort of pre-done and ready to go. But this way you can see how we do it without spending too much time on the stuff that's just, you know, really simple. All right, keeping it all lined up. Sometimes when you've got a long strip, you just have to take a pause and reset and then keep going. All righty. Now, it's entirely up to you if you want to cut or press first. I like to cut first and then press them open. So, I'm going to line this up and cut a bunch of What did I do with my rotary cutter? There it is. There you go. I feel like everybody has that problem when they're sewing. You know, you you get your pile going and I often set my stuff down and then set fabric on top of it. And that's just that's such a normal thing. All right. So, we're cutting these into 2 and 1/2 in strip segments. And then we're going to press them open. So, I'll set our seams and press it to the dark side because if you press to the the print rolled back, then um your seams nest really naturally. So, you're it's very easy to put those together and have nice flat seams with four patches that have good points. All right. And I've already got the other side ready to go here. So, we are going to take these and we're going to set them opposite. And because it's a four patch, it doesn't matter which way you put them. As long as you've got opposite directions, they're going to work out just fine. So, I line them up. The one the one thing that I do is I like to just set them all together in a stack and then sort of um sort of mass assembly. I like to give myself little efficiencies that make things easier. And having them all stacked up and ready to go means that I can take that stack to the sewing machine and really work through it pretty quickly. Chain piece as often as I can. you know. All right. Okay. Okay. So, once we've got our little four patches made, set the seam, press it back, and then this part is set and ready to go. So, now we're going to take our 2 and 1/2x 4 and 1/2 in strips that we cut earlier, and we are going to stitch that to one side of our for patch because we're adding this little outer piece right here. So, we're going to we're going to stitch this to the side, but I I think I can go ahead. We're also going to put our two and 1/2 inch squares that we cut from our little act not accent, but it's an it's sort of an accent within the block, but it's from the precut. So, we're going to set that there. And then our other piece goes here. So, what I'm going to do now is put these two together and these two together and take both of these over to the sewing machine and sew a/ quart of an inch down these two sides. Then I'll bring them back and press them and we'll do the next step. All right. As long as your quarter inch is pretty consistent on this block, it doesn't really matter if it's wide or narrow. Just want to make sure that they are the same. Consistency is key here. Okay, we're going to take these to the iron, set the seam, and roll it back. And then I am going to go ahead and roll this the opposite direction. so that I can nest my seams. And you can go either way. It doesn't matter as long as they go opposite. So then what we're going to do is take this piece and roll it over here. And we're going to stitch a quarter of an inch on this side. And these units will be ready to go. Okay, setting our seam and rolling that back. A lot of people ask questions about pressing. And really what it comes down to is that we want to have blocks that are flat without too much bulk in the points because it makes a flatter, prettier quilt. But ultimately, it's up to you whether you press one way or the other, whether you press open. It really is a a personal decision. And nobody really looks at the inside of your quilt, especially once it quilt it's quilted. And if they do, then they've got their own set of problems and things to worry about and you don't need to worry about that. So, just pick which way works for you best and go with that. All right. So, these are our corner units, and I've got a few more made over here. What we're going to do is set these in with the green facing in. And you can line these up however you like, just as long as they're all the same. And that creates these that beautiful chaining pattern that you'll see throughout the quilt. So, these go into the corners. And that is everything that we need to make this block. So it comes together so easily and really really beautiful. And that's it. So now you're going to go ahead and stitch it together in a n like a nine patch. It's technically this would be called an uneven nine patch. And that's just because these are 6 and 1/2 square. And then these are 6 and 1/2 by 4 and 1/2. So it's a rectangle. So, when you hear somebody say a nine patch or an uneven nine patch, this is an uneven nine patch because the blocks are not all the same size, but they do go together beautifully. So, what we'll do is stitch those together. And then our block looks just like this. And you're done. That's all you need to know to make the quilt. Well, there's one more thing. So, the next thing you're going to do is you're going to cut your sashing strips. And these are 16 1/2 by 2 and 1/2. And then our cornerstones are also 2 and 1/2. And these come from a strip in your roll. And we're going to put them together again in a nine patch. And we went ahead and put the cornerstones out in that inner border as well, which makes putting that inner border on really nice. It's really nice when you're trying to line things up when you have these little seams to match up. So then it it comes together and it creates that really beautiful chain all the way throughout the quilt. We've got a 5 in border here on the outer border. And then our backing is this beautiful pink floral that I just think this line, it's so elegant. All right, so we went ahead and did our machine quilting here with a pattern we call Bloom and Plume. And I think it's one of our newer ones. It's very pretty. Um, this quilt ends up being 65 square, so 65x 65. And I just think it is fun and easy. It's a great quilt for lap quilt and jelly rolls and all of the fun fabrics that you have in your stash. So, I hope you enjoyed this tutorial on Rosewood Stars from the Missouri Star Quilt Company. Bye. Hi everybody. I hope you enjoyed today's video. We're trying super hard to get to a million subscribers. So, if you enjoyed it and you want to see more, just hit subscribe and share with your friends and encourage them to do the same. And I will see you next Friday with a brand new tutorial.


 Natalie Doan
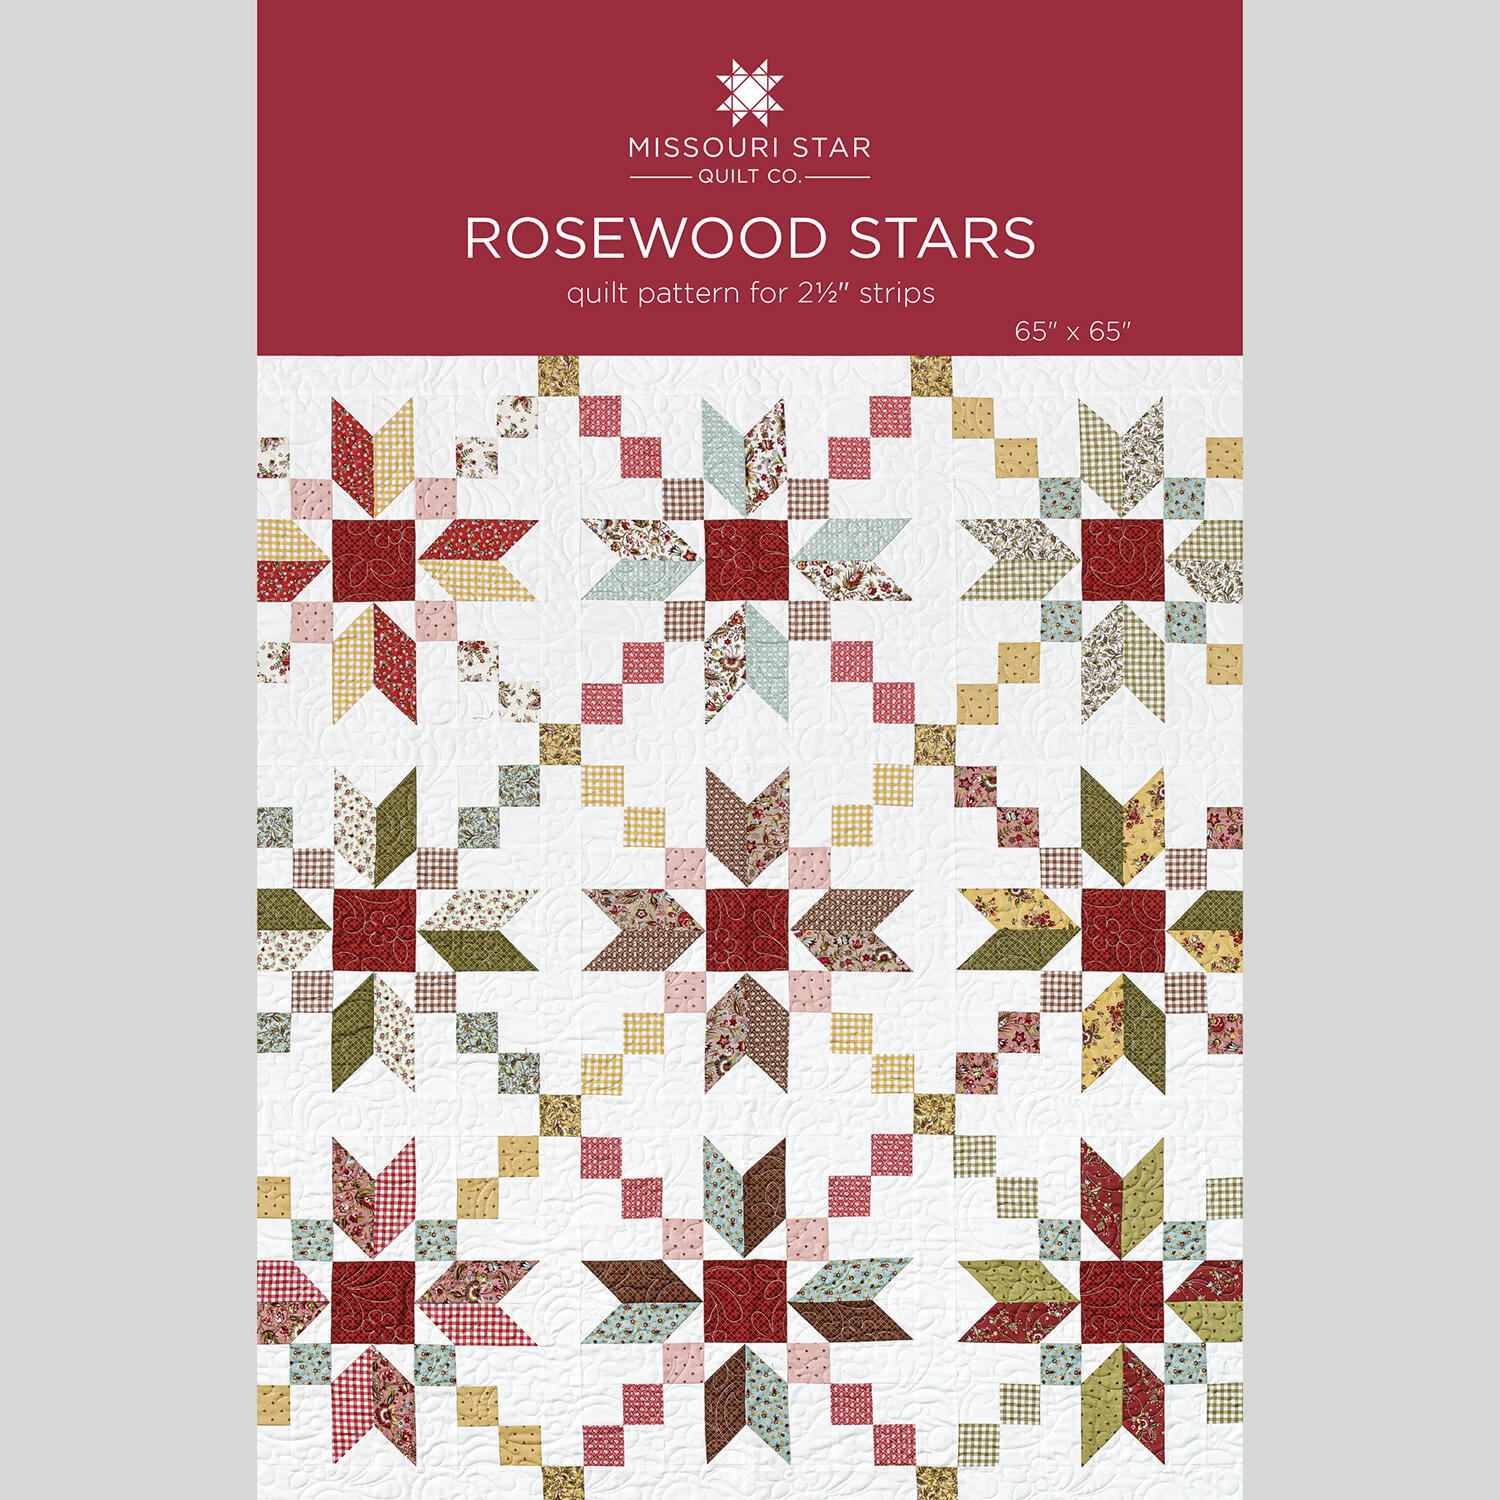 Rosewood Stars Quilt Pattern by Missouri Star$8.50Shop →
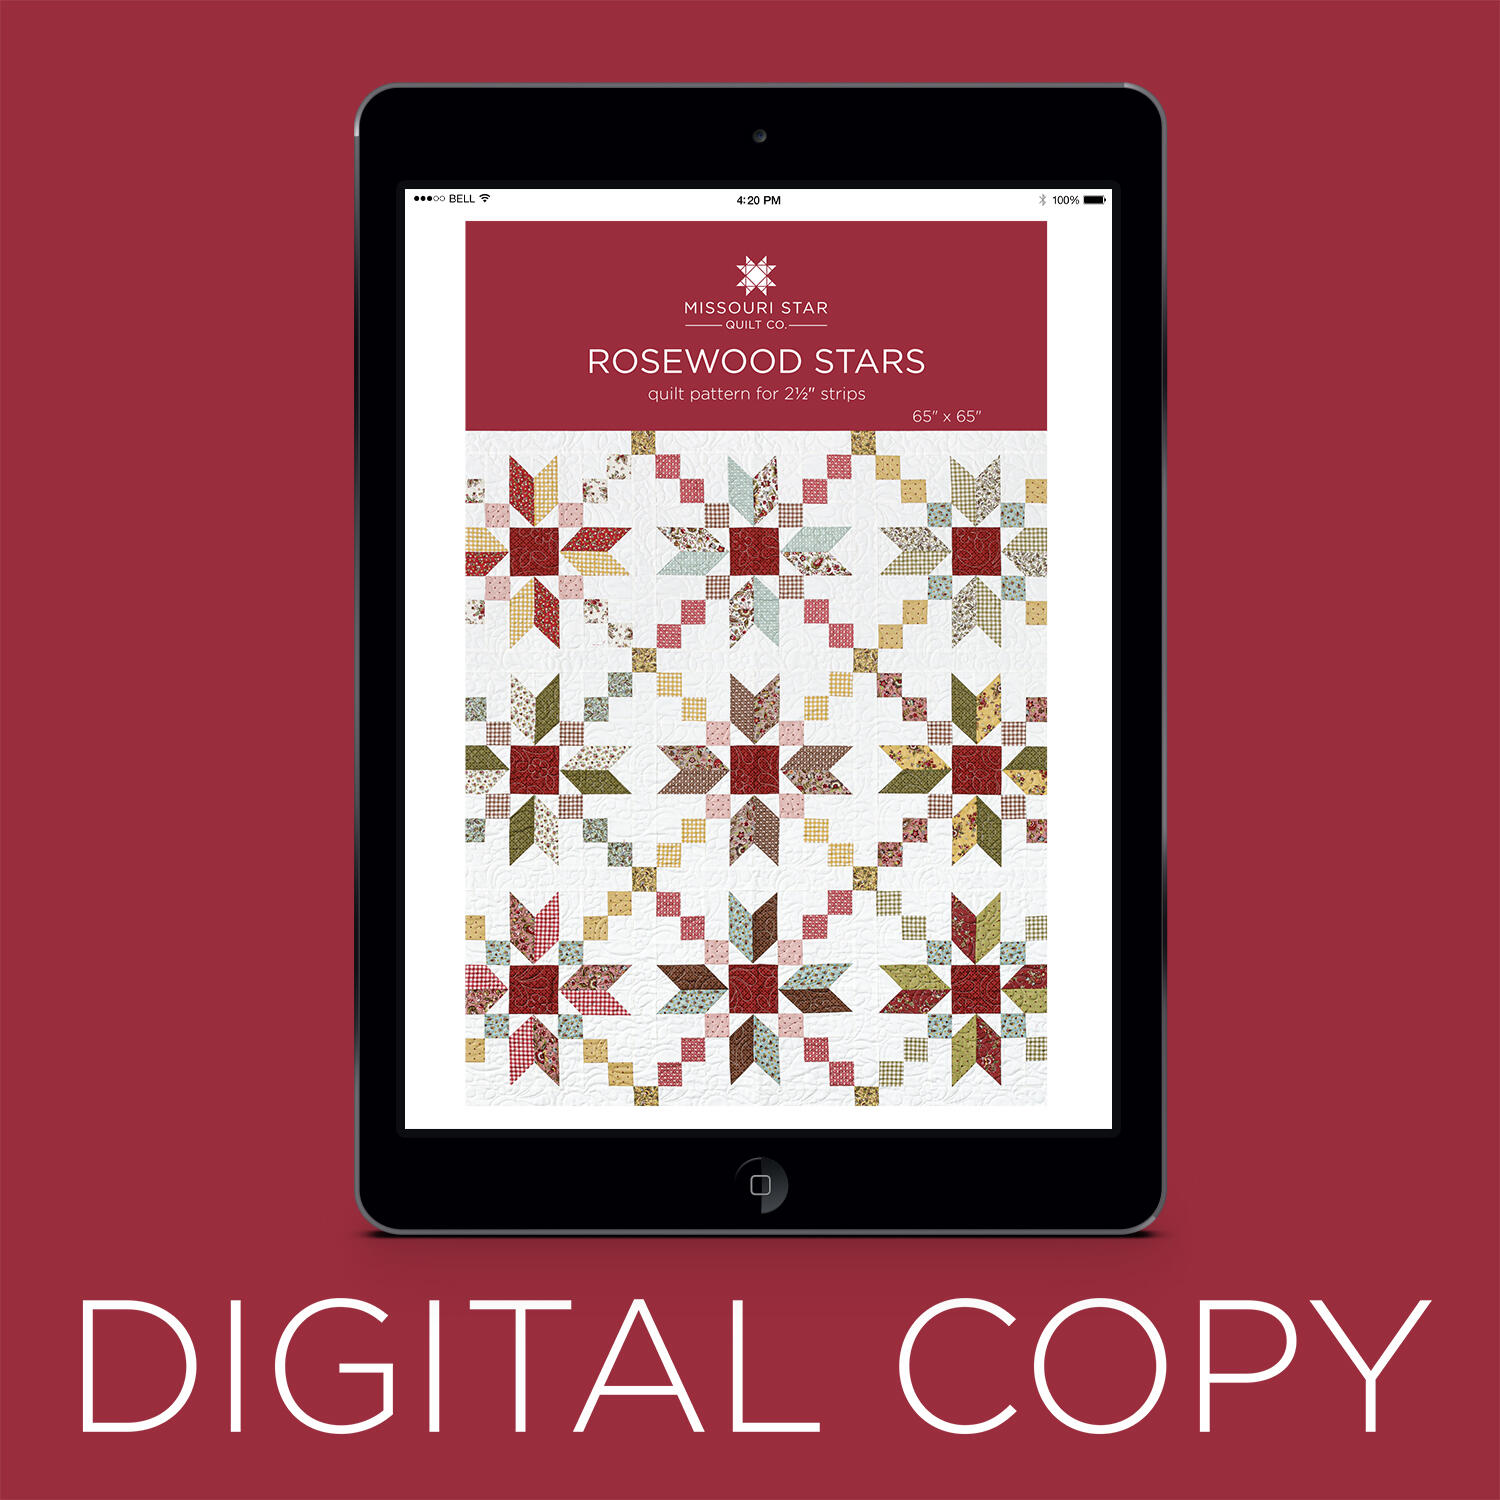 Digital Download - Rosewood Stars Quilt Pattern by Missouri Star$6.95Shop →
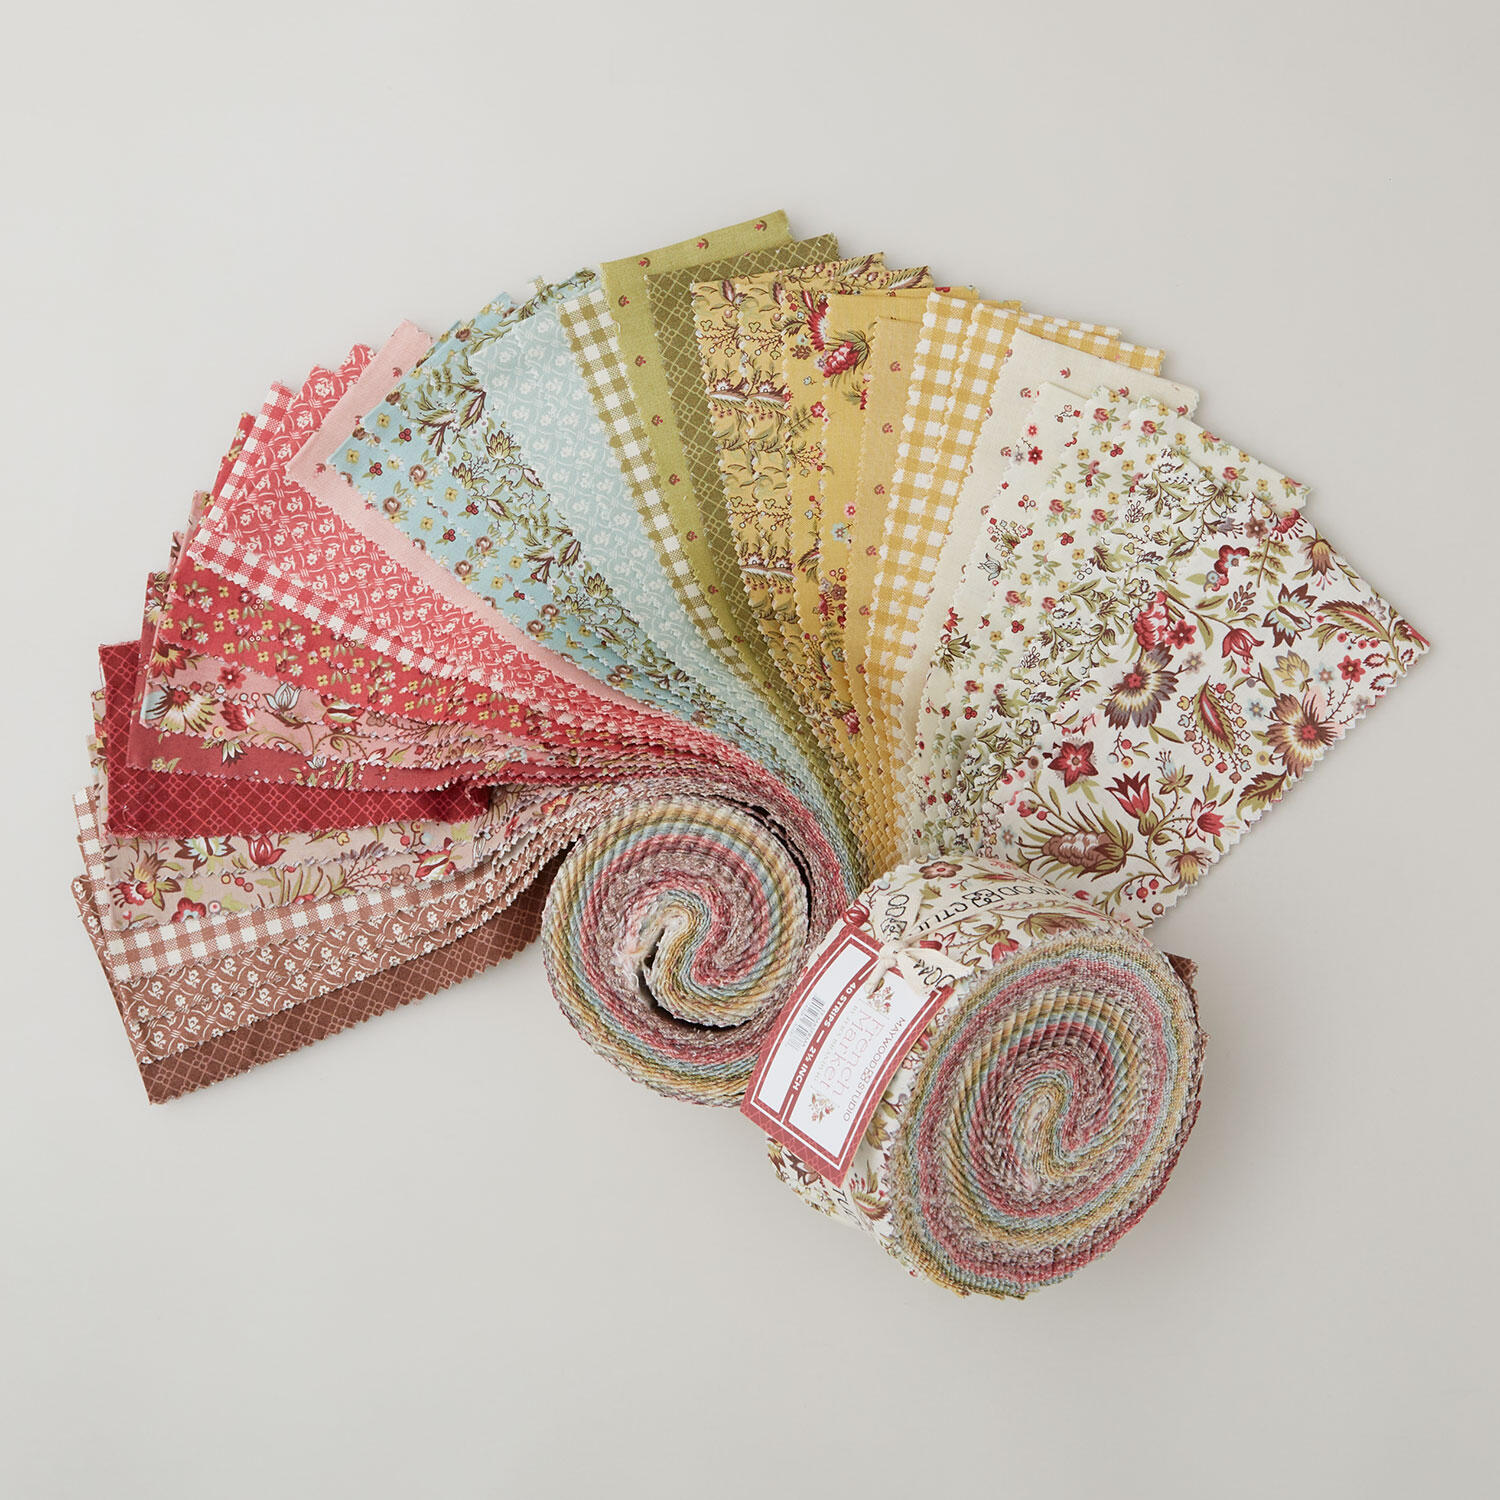 French Market 2 1/2" Strips$44.50Shop →
 Kona Cotton - Snow Yardage$7.92Shop →
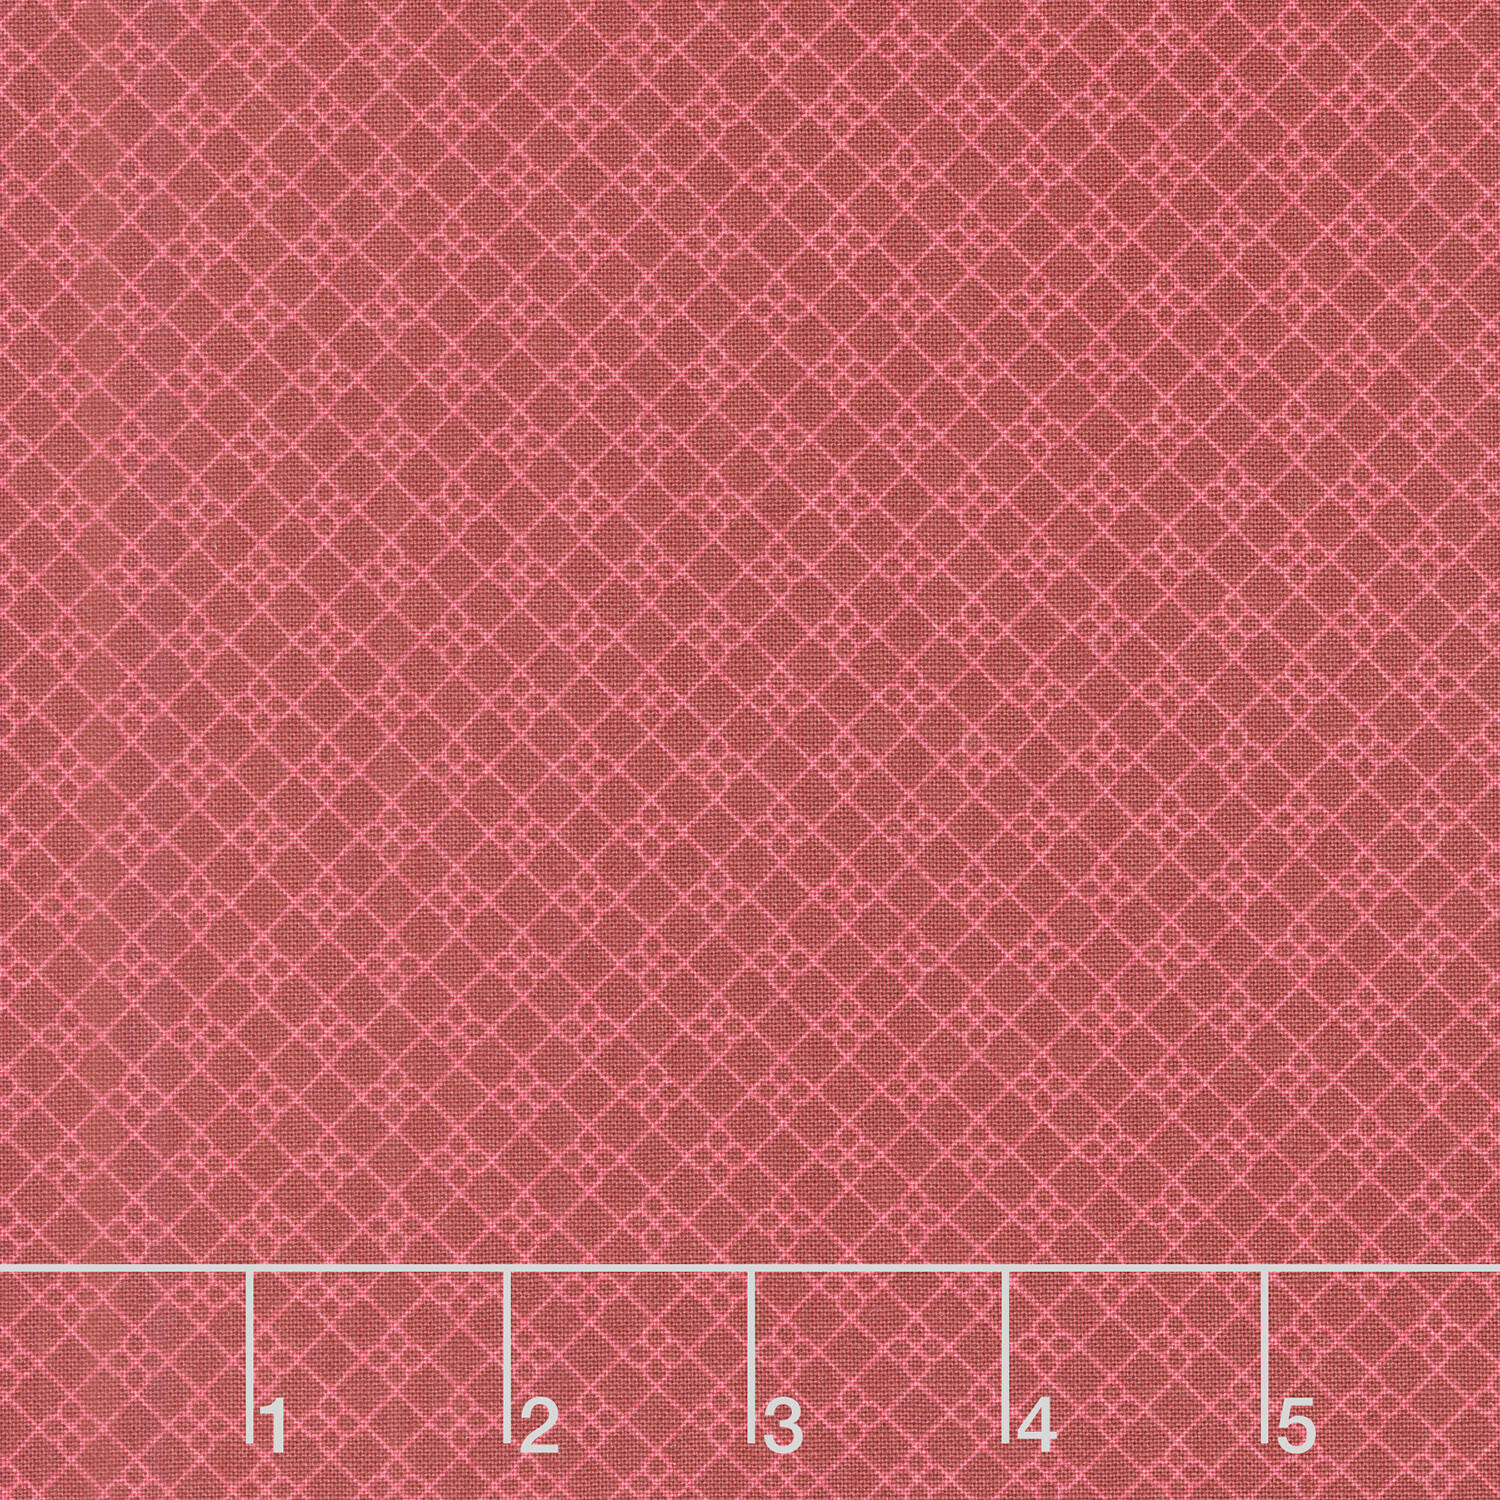 French Market - Geo Pattern Red Yardage$11.92Shop →
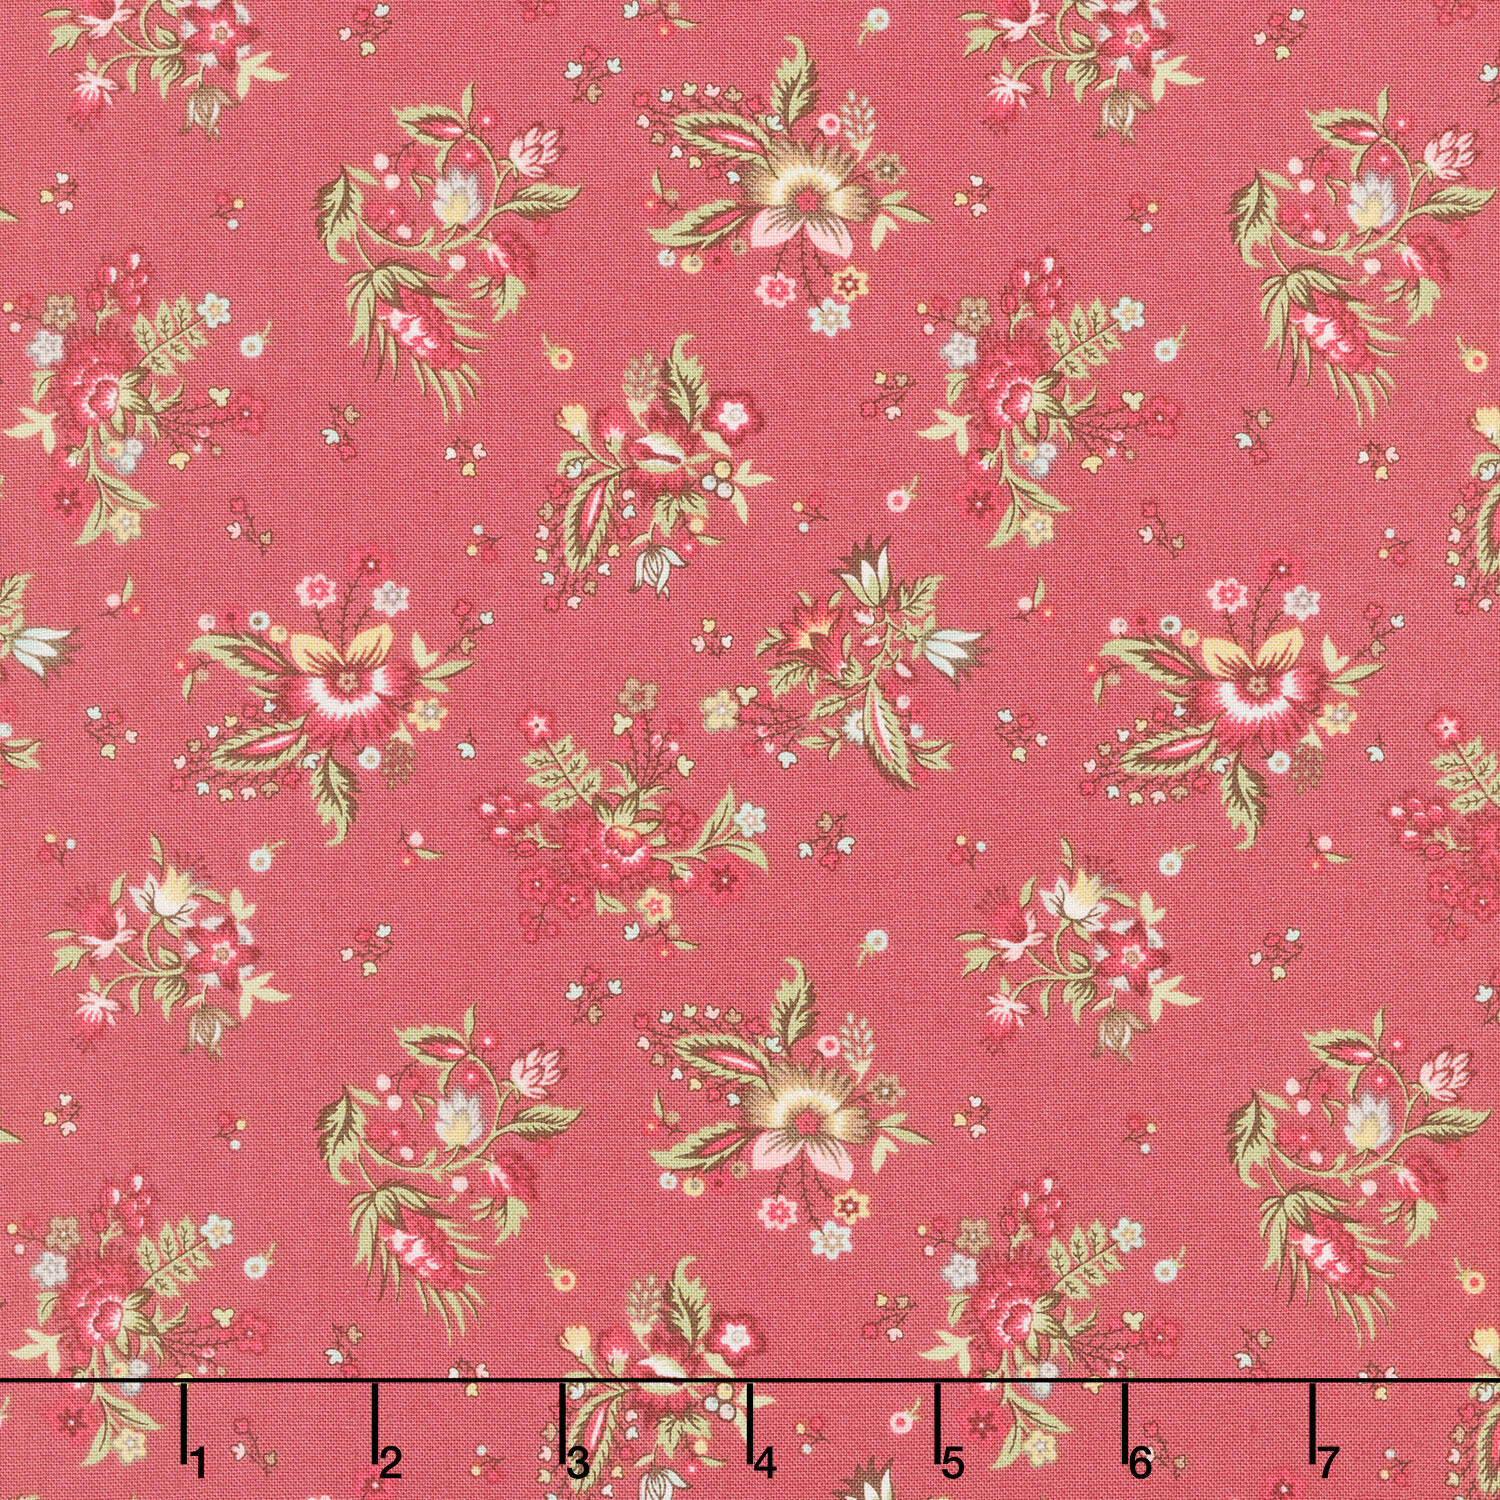 French Market - Bouquet Red Yardage$11.92Shop →
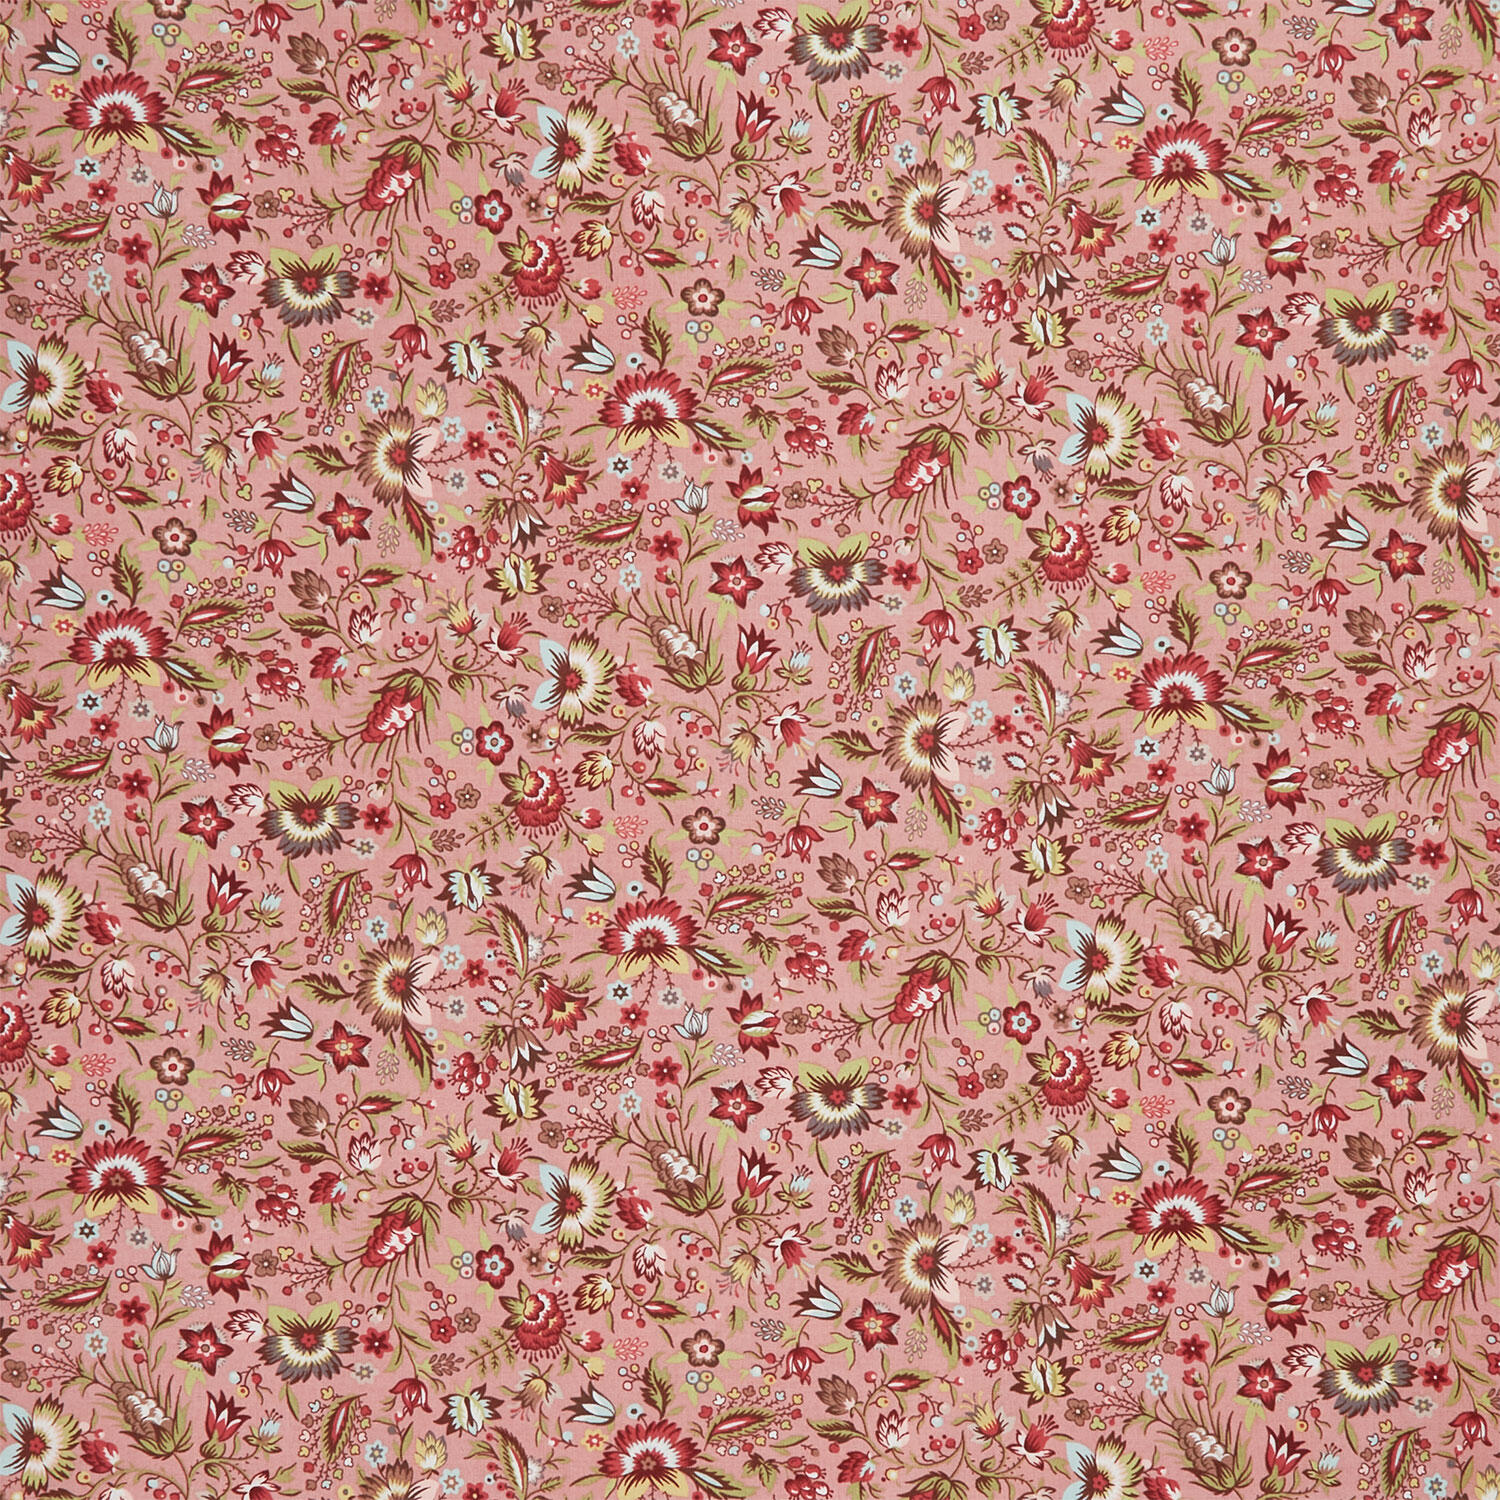 French Market - Floral Pink Yardage$11.92Shop →
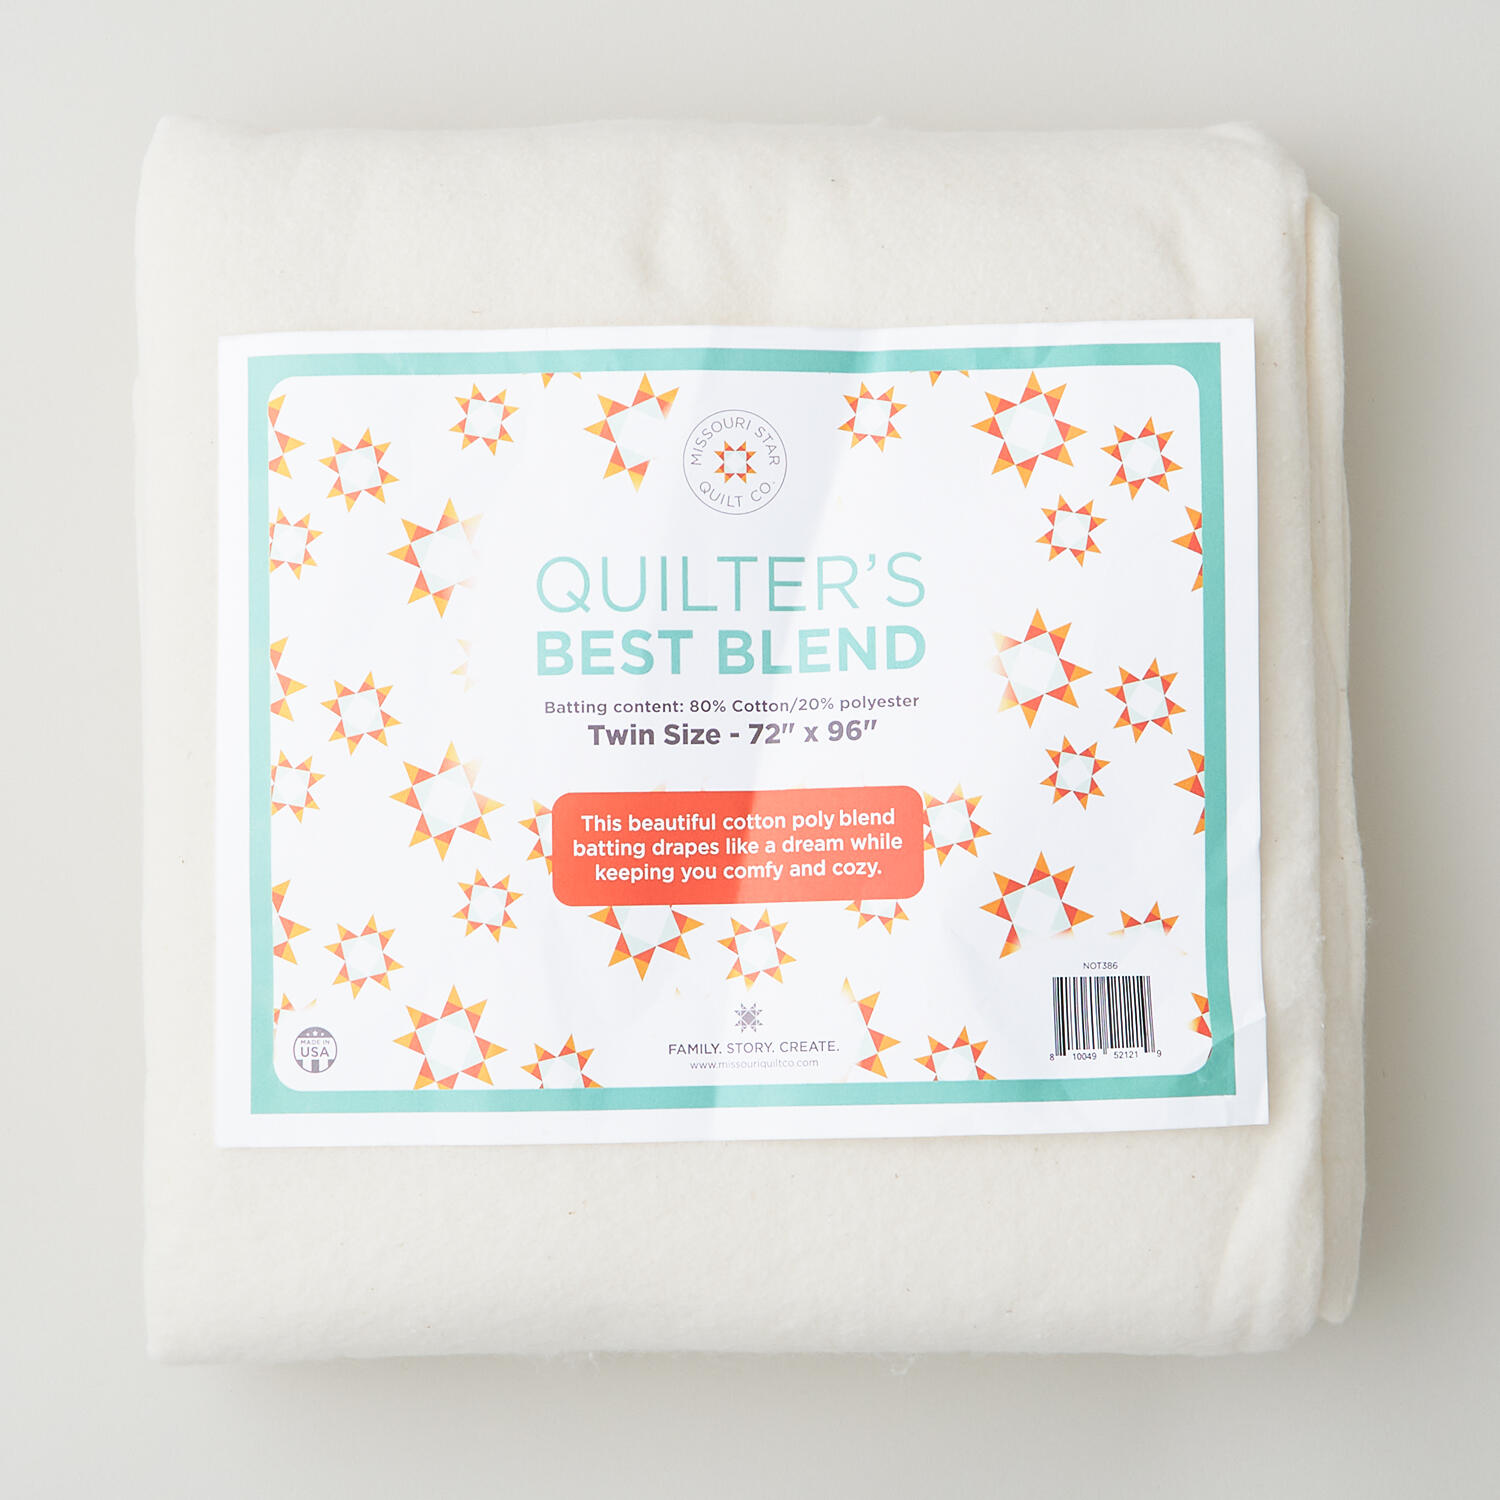 Missouri Star Quilter’s Best Blend Twin Batting$26.95Shop →
 Missouri Star 2.5" x 8" Ruler$11.95Shop →
 Missouri Star 5" x 15" Ruler$19.95Shop →
 Bernette 77 Sewing and Quilting Machine$1699.00Shop →
 Missouri Star 50 WT Cotton Thread White$7.95Shop →
 Missouri Star 45mm Rotary Cutter - Olga$19.95Shop →
 Missouri Star 6" Everyday Scissors - Lulla$12.95Shop →
 Missouri Star 8" Everyday Scissors - Amelia$19.95Shop →
 Missouri Star + Oliso TG1600 ProPlus Iron$209.95Shop →
 Missouri Star Wooly Betty Board - 17.25" x 25.5" Orange Border$99.95Shop →


