Looking for a modern quilt? Roundabout Lane leads straight to it! The bold colors and clean lines of this quilt come together for a dramatic effect. Blocks with large, round centers are framed by squares with rounded corners, tying the simple shapes together. A colorful layer cake from Andover Fabrics' Moody Hues collection gives the quilt its punch!
Misty Doan grew up surrounded by sewing and quilting. She loves spending time sharing tutorials each week each week, and when she’s not stitching up one of her fun sewing projects for home decor, most likely you’ll find her hanging out with her husband and three awesome kids or working on a house project.
Looking for a modern quilt? Roundabout Lane leads straight to it! The bold colors and clean lines of this quilt come together for a dramatic effect. Blocks with large, round centers are framed by squares with rounded corners, tying the simple shapes together. A colorful layer...
How long is the tutorial video?
The tutorial video is 00:14:59.
Are supplies listed for this tutorial?
Yes. The tutorial page includes the supplies and materials connected to this project.
Video Transcript
Hey everyone, I have a super fun quilt to share with you today. It's called a roundabout and it uses 10in squares. I can't wait to show you how easy it is to make. So, this is the quilt we're going to be making today. I called it roundabout. You want to pick your favorite 10in squares and we're going to add some simple little drunkards path curves to give it this nice movement and impact. I just love how it comes together and you know I love big blocks. So to make this quilt you're going to need one package of 10inch squares and I use this fun collection called Moody Hughes by Karen Rink for Andover. You're also going to need a little bit of background fabric 1 and 1/8 yard and I just used some black. That also includes your first little inner border. For your outer border I use this cute navy star print from the line. You also need 1 and 1 eigh yard of that. And then for the backing, I use this fun purple print. And you'll need 4 and 1/4 yards with vertical seams. Or if you have a 108, you'll need 2 and 1 eigh yard. A couple other things that will be helpful. We have both the mini and the small drunkard's path templates. Those are really great. If you don't have the templates, the pattern does include the curves that you'll need to use. We also have these great new labels that I added to the back of the quilt. It will be helpful to have some sort of fabric marker, a glue stick, and your 28mm rotary cutter. So, let's get started. This is the block that makes up the entire quilt. We're just going to make nine of these great big blocks. They come together so fast. So, let me show you how to do that. Up first, you're going to grab one of your 10in squares from your pack. And of course, you're going to need four of these to make your whole block. And I just wanted to make sure I had some color variation between each of those. So just keep that in mind as you're picking. And so first things first, we are going to use our template here to cut out this curve. And so this template is designed to fit exactly on a 10in square. So I'm just going to line that up on the outside edges. And then you can use your regular rotary cutter for this one, but I just have my 28 mm handy. So, we are just going to cut that curve there. And you can set this aside for another project. Toss it in your scraps. And then from our background, we are going to cut some 4 and 1/2 in squares. And we'll use the opposite piece of our template set now to cut out this curve. And so, you can see again, it nestles right in there. And we're just going to cut off this little bit of excess. And now we can take this to the sewing machine. If you've never sewn a drunkard's path before, you're going to line it up beginning like this. So these straight edges are going to match. And if you want, you can fold and find your middle point. I just like to finger press. And some people really like to pin. I find that they get in my way. And so I just kind of use those as a guide as I'm sewing. I'll line up those little creases and then I will use a little dab of glue at the end under the machine to finish off the end of this curve. So let's go ahead and start right here with our quarter inch seam. And I will just take a few stitches to get us started. And then we're going to gently kind of merge these two pieces together. kind of like merging into traffic. And just take your time. I'm getting close to that middle now. I can really line up those two creases. And then as I'm getting closer to this end here, I'll just keep merging those two fabrics together gently under the presser foot. And then I'm going to stop for just a second. And I like to put a little dot of glue right here at the end. And you could totally pin this if you want, but for me, the glue is much easier. And then I'm going to swing this around. And just like I lined up the straight end at the beginning, I'm going to make sure that those are lining up as well. And so now I've got that. And we can just continue with our quarter inch seam all the way to the end. All right. So there is our first curve. I think that looks really nice. Let's go ahead and give it a press. And that will just roll back nicely. So that is step one. And so now on the opposite corner, we're going to cut this little outside curve. And so to do that, I'm going to set this template aside for now. And we are going to use this little guy. And you just kind of want to float it here on the outside edge. And before I cut, I'm going to take my marking pen and I'm just going to make one mark on each of these straight sides of my template. That will come in handy later. And then I'll make sure this is straight. Use my little curve here and trim that off. There we go. And so now for the outside part of this, I have a 2 and 1/2 in background square. And we're going to line that up with the 2 and 1/2 inch line of our template here and cut this out. There we go. And now when you start sewing these, you're going to line this up with that mark that you made on your fabric. And you can line up the two little marks just like we did before to find your center line. Same thing with this. This little curve can be a bit more difficult to work with, so just take your time. Where did I put my glue stick? There we go. And so I'm actually gonna glue this before I get to the machine here. So we'll line that one up right with our mark. We'll pull this one around. And just a tiny bit of glue goes a long way. Line up the middle. And then again on this opposite side here, line up the straight piece. There we go. And you can see it just kind of naturally curls. And so we're just going to sew our quarter inch seam from the start of this fabric to the end there. So let's go ahead and take it to the sewing machine. I am going to back stitch just because I don't want that to come out later. And then I'm going to gently make my way around this little curve. And sometimes having a stiletto with this little curve can be handy as well. Now, just remember on this smaller curve, you want to take your time. Use your fingers or the stiletto to guide the fabric out of the way so you don't have any little pleats in there. And it's okay to just slow down here on this step and just let the machine do the work and just gently guide it under there. And then I'm going to back stitch at the end. All right. So, let's go give this a press and see how it looks. And I know when you're you've stitched this, you're like, there's no way that's going to lay flat. It surprises me every time. And so we're just going to gently let this roll back. All right. So once you have that pressed down, here's our little quarter of our block. And I do want to point out, you'll see these little notches that are sticking out there. That's correct. That's all going to get caught in your quarterinch seam. So don't worry about that. And you're just going to make three more of these to complete your block. But I know this little outer curve can be the trickiest part of this entire quilt. So, I thought I'd show it to you one more time. So, I have a little piece prepped and ready to go here. So, I've already cut the curves for us. Let's go ahead and take it to the machine now. And I am going to start by putting my little dot of glue right there. Lining up this little straight edge. Giving that a nice little press to hold it in place. Then we'll pull around and line up our middle seams. Again, squeeze it to set that in place. And then do our last one right over here by this other mark. I'm not sure if you can see it, but I did put that mark there. And line up the end. Whoops. My nail got in the way there. There we go. And again, if you don't want to use the glue, you could pin, but this is just the easiest that I've found. I really like how simple this makes it. So, now we'll place this right under the presser foot. Get your little stiletto to help guide this into place. All right. So, remember I backstitched at the beginning and now I'm just gently guiding my fabric, keeping my needle down. You kind of have to watch because sometimes these little pieces will want to form a tuck. So, just use the stiletto. Move that out of the way and gently ease your way around here. Here we go. and back stitch at the end just to secure that little piece. There we go. All right, we'll give this one a press. All right, just going to roll that down. Just press it in place. You don't want to stretch this too much since you've got that curve. There we go. That looks great. So, just trust yourself. Maybe do a few little practice pieces on scraps just to get the hang of it, but it is really not difficult. You just want to take your time. And so, then to finish this off, we are just going to put four of these blocks together now. Just like so. And we are just going to sew this together into a giant four patch. The only thing you want to watch at this point is you want those little curves to match up. So, if you want to put a pin in there, you absolutely can. But these are large enough blocks that you can just watch as you're approaching that point. So, let's go ahead and sew these together with our quarter inch seam. And then before I get to the curve here, I'll just make sure I am still lined up nicely. And then line up the bottom of my circle. And then I'll just add this one in right behind. [snorts] And then make sure I'm matching here. Hold that in place. And then now we can just open this up. If you want to press in between, you obviously can. But I'm just going to lay these now right sides together. And our block will be complete after this one last seam. So when I get to the middle here, I am going to make sure that these center seams are nesting going in opposite directions and then match up our circles. Beautiful. There you go. There is your block. You're just going to make nine of these. You can see the layout is three across by three down. I didn't put any sashing or anything between the blocks themselves. I just love this little diamond shape and how these blocks come together. You still see them have the nice curve shape. This first little inner border is cut at an inch and a half. And then your outer border is 5 in. And so let's go ahead and take a look at that fun purple backing. I think that's so cute. I quilted it with a newer pattern to us called cartwheel, which I love that kind of circular shape. And then also, you'll notice the little tags that I added. I added this cute little scissor and our handmade label so that people know it's made with love. It finishes at 68 in square, so it's a great throw size. And I hope you guys enjoyed this tutorial on the Roundabout Quilt. I'll see you next time on At Home. Hey everyone, thank you so [music] much for watching at home. We're so excited to be almost a million quilters strong here at Missouri Star. And so if you haven't already joined our family, be sure to [music] subscribe and hit that notification bell so you can be notified of all of our future tutorials. And we'll see you soon.

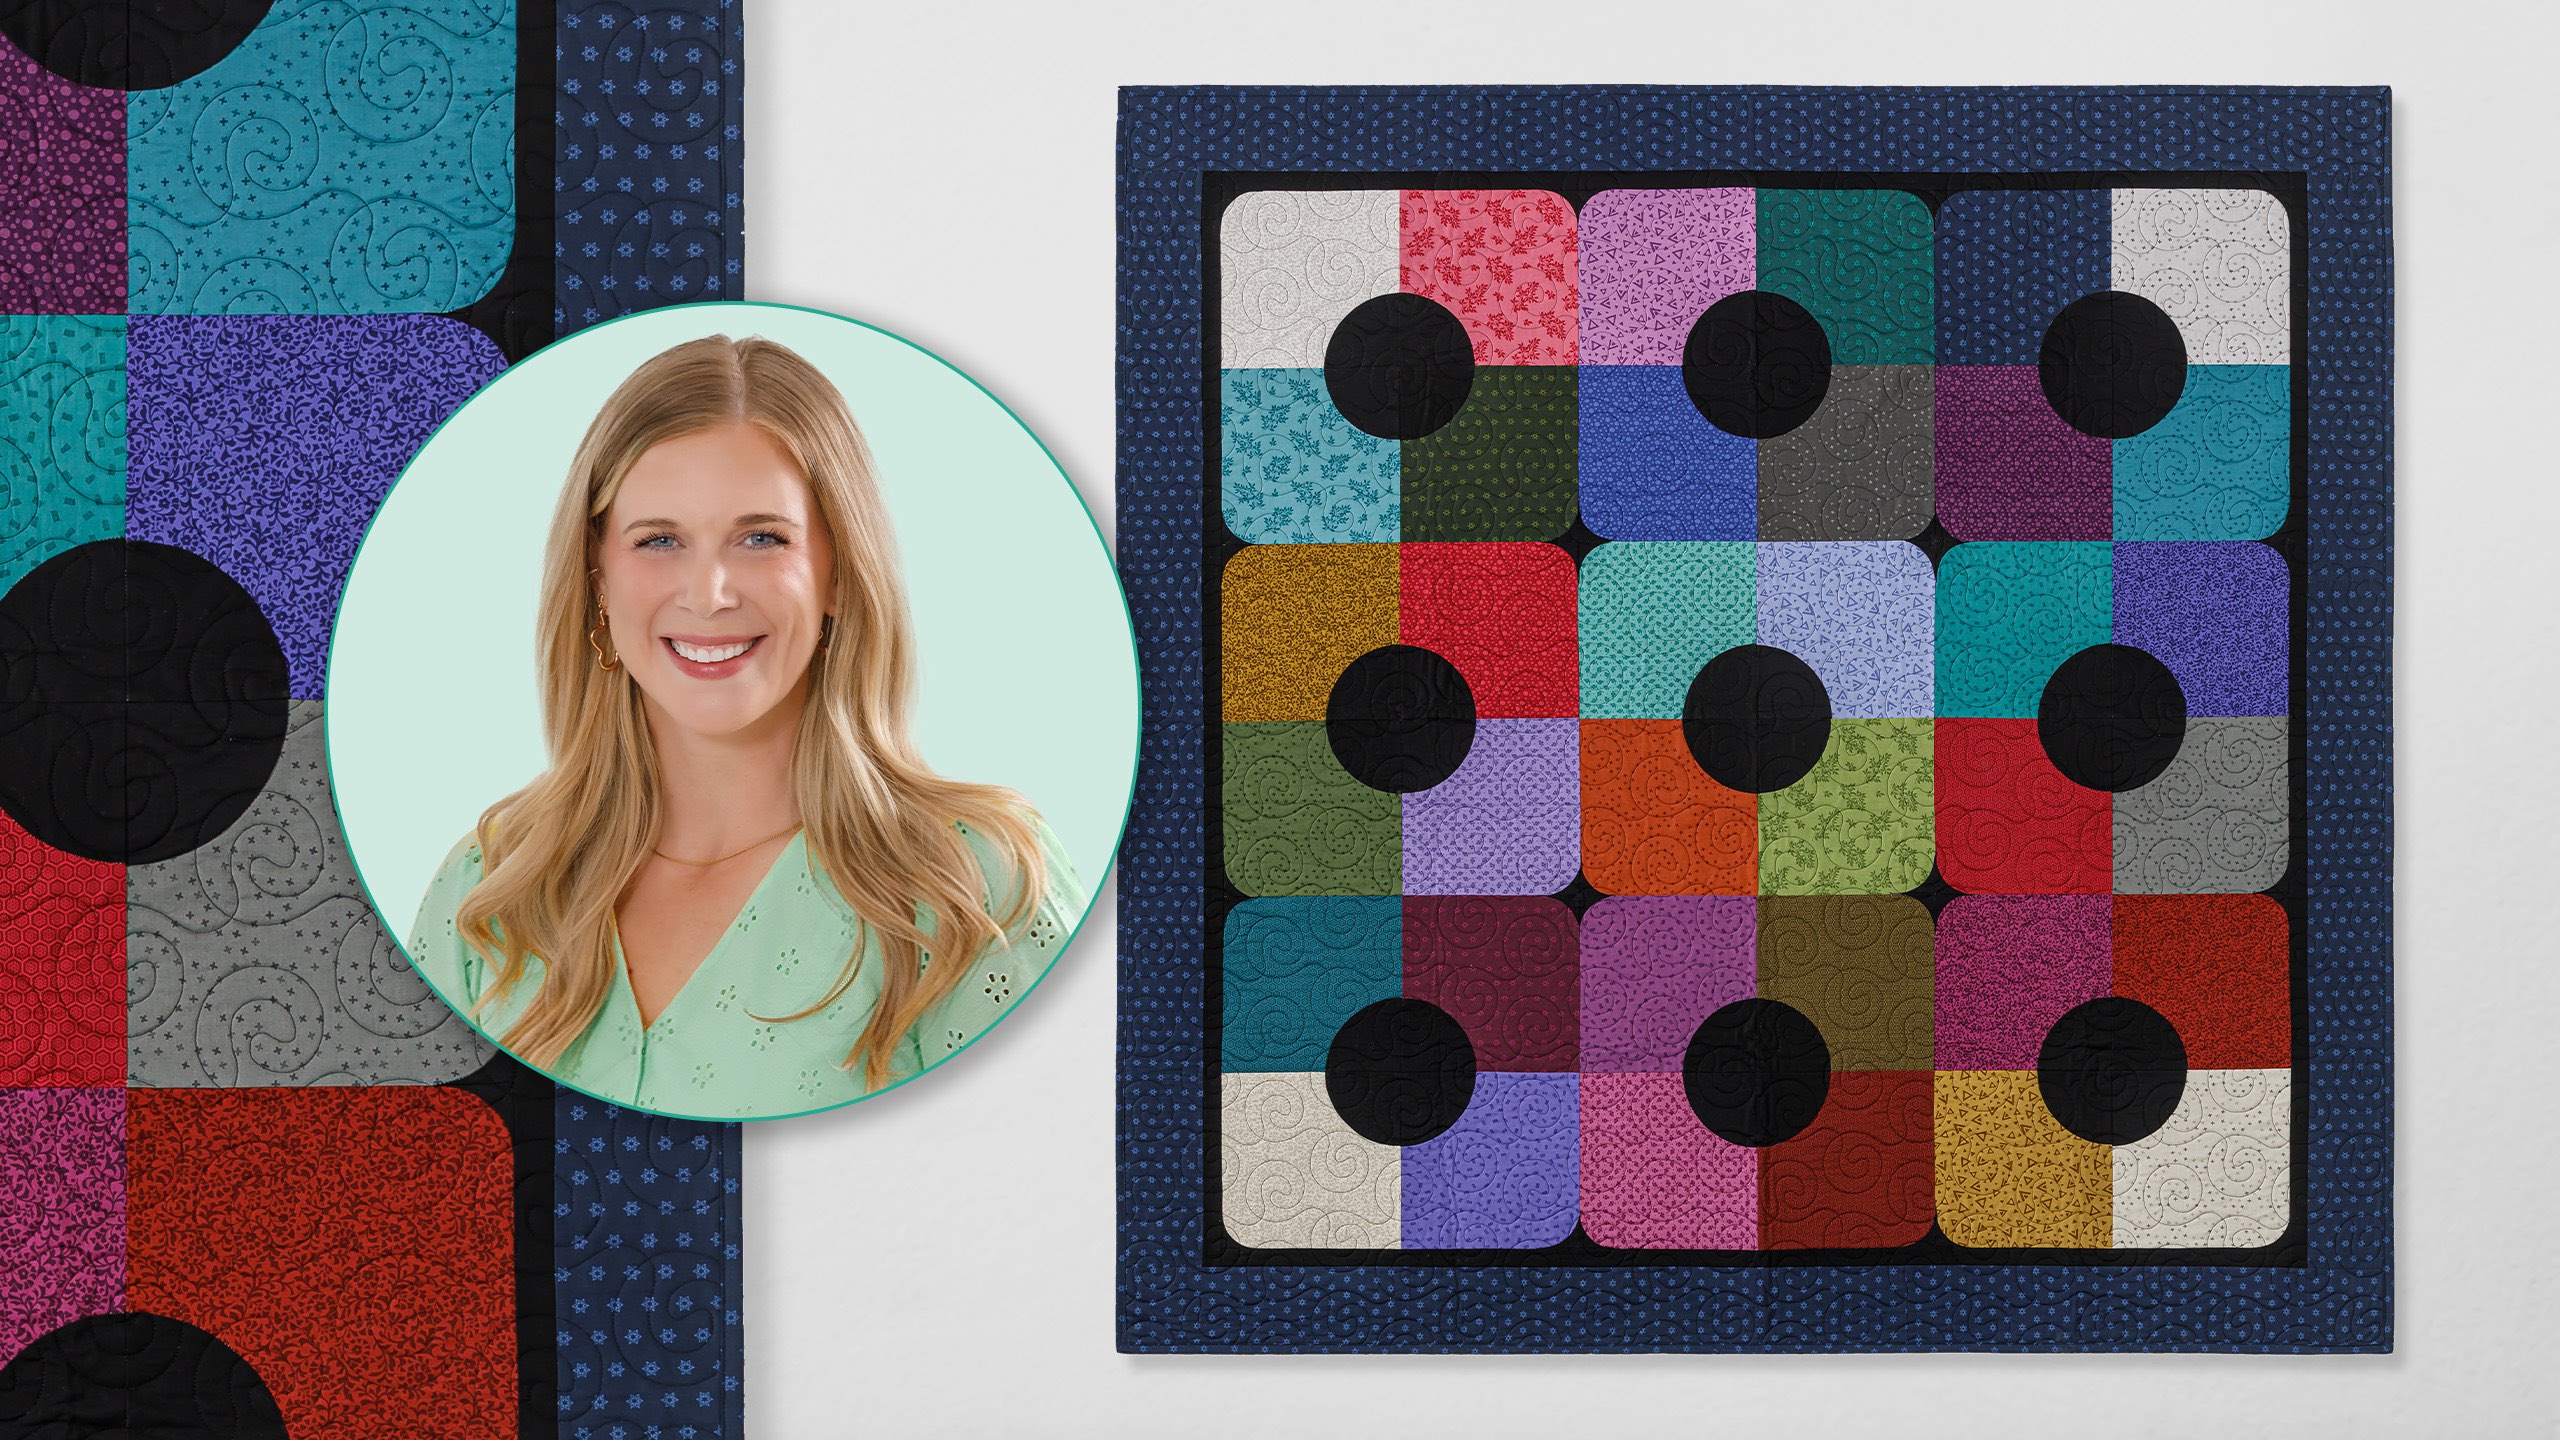
 Misty Doan
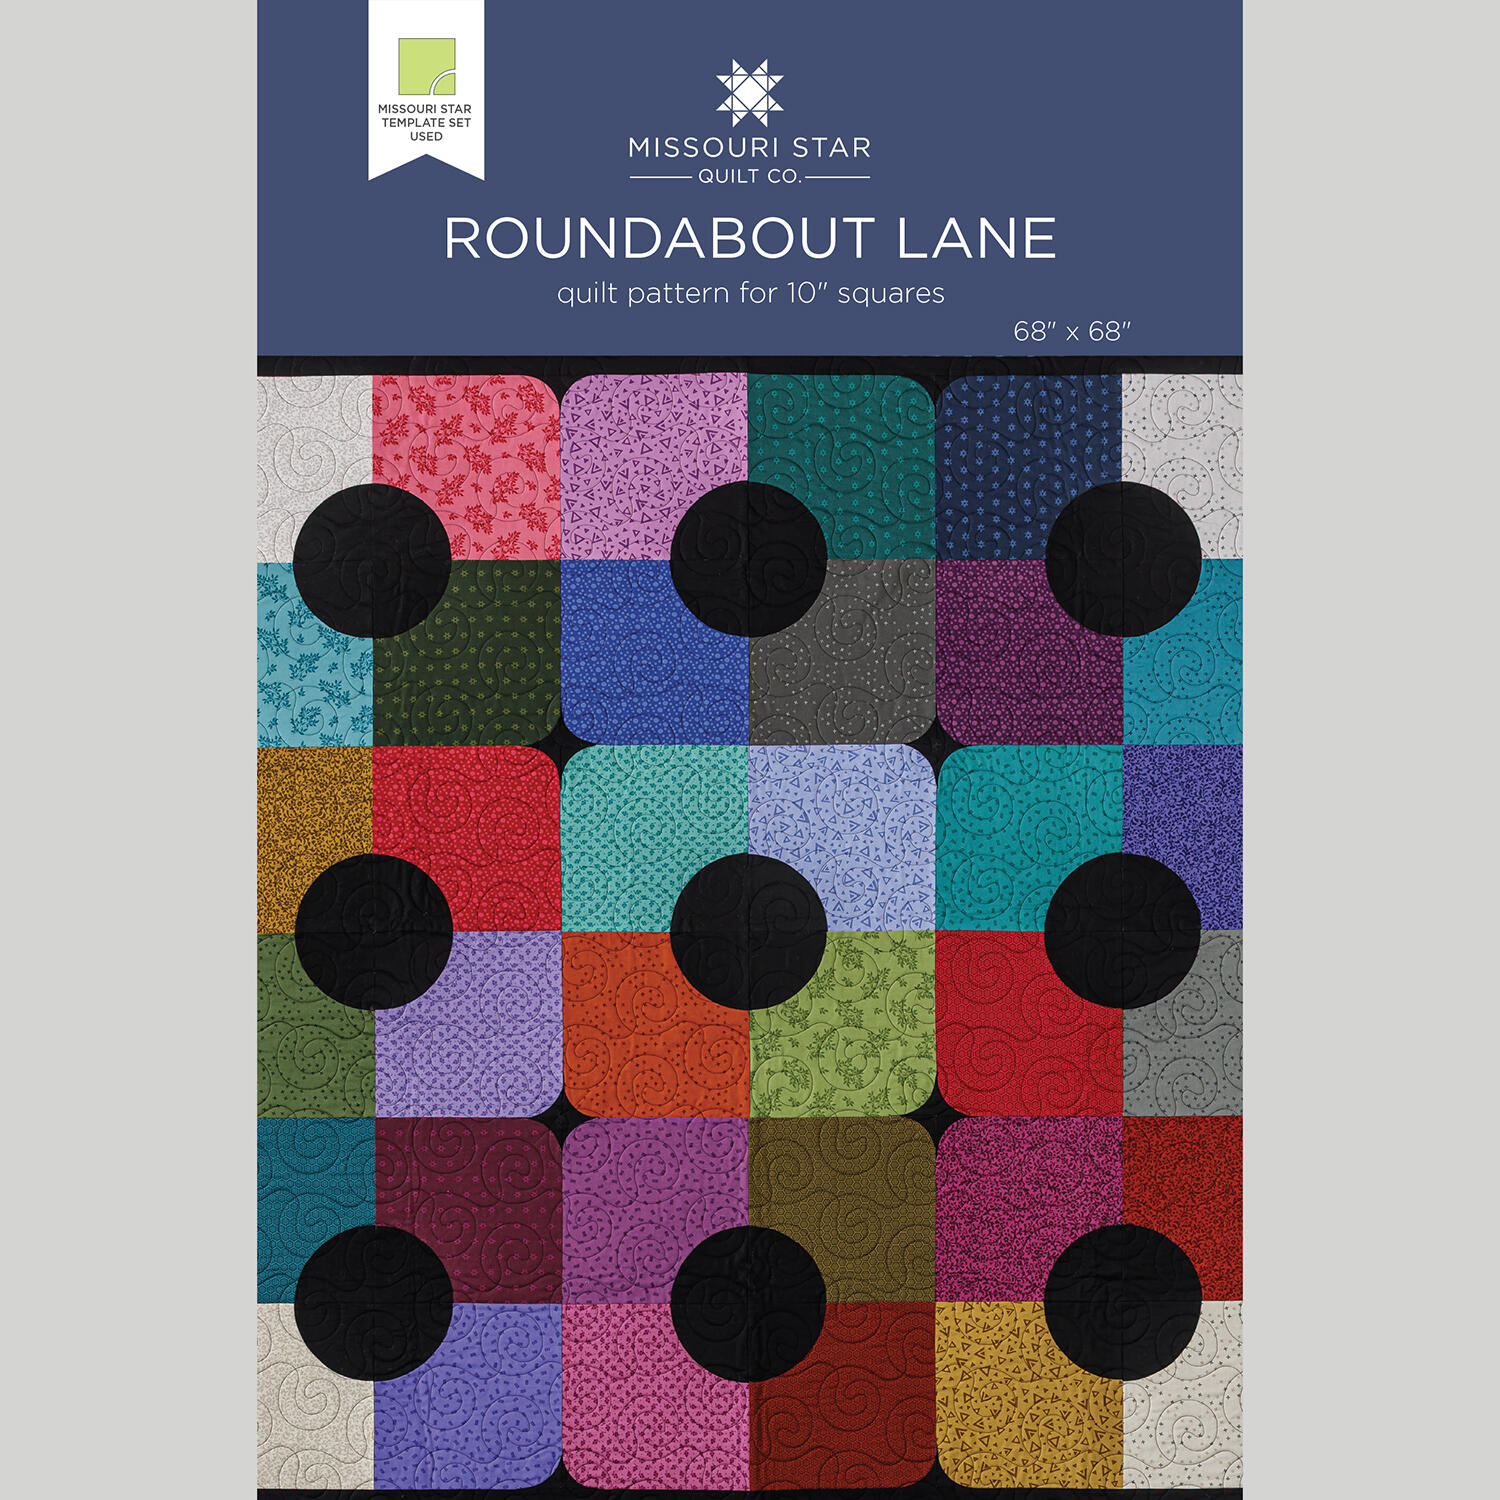 Roundabout Lane Quilt Pattern by Missouri Star$8.50Shop →
 Digital Download - Roundabout Lane Quilt Pattern by Missouri Star$6.95Shop →
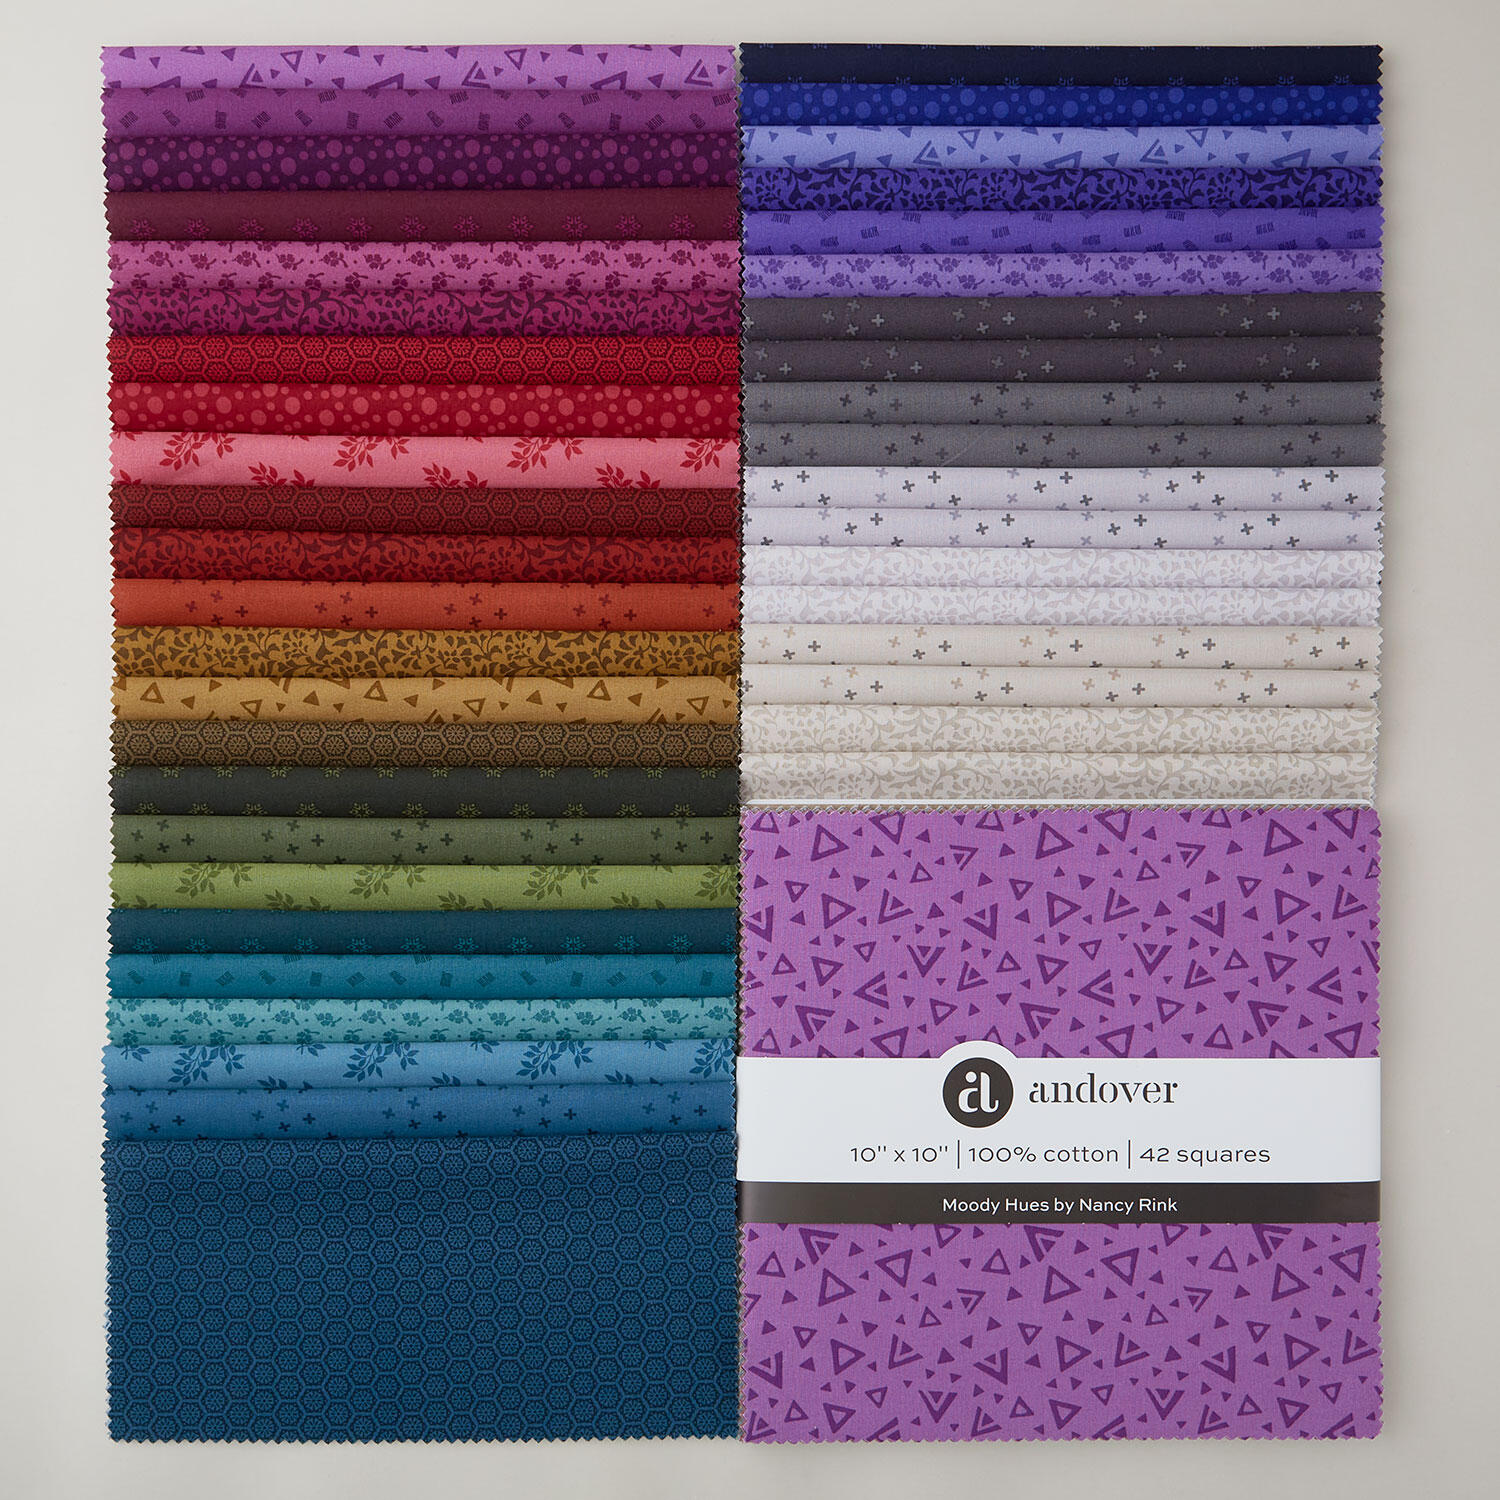 Moody Hues Sundaes$47.25Shop →
 Colorworks Premium Solids - Black Yardage$8.96Shop →
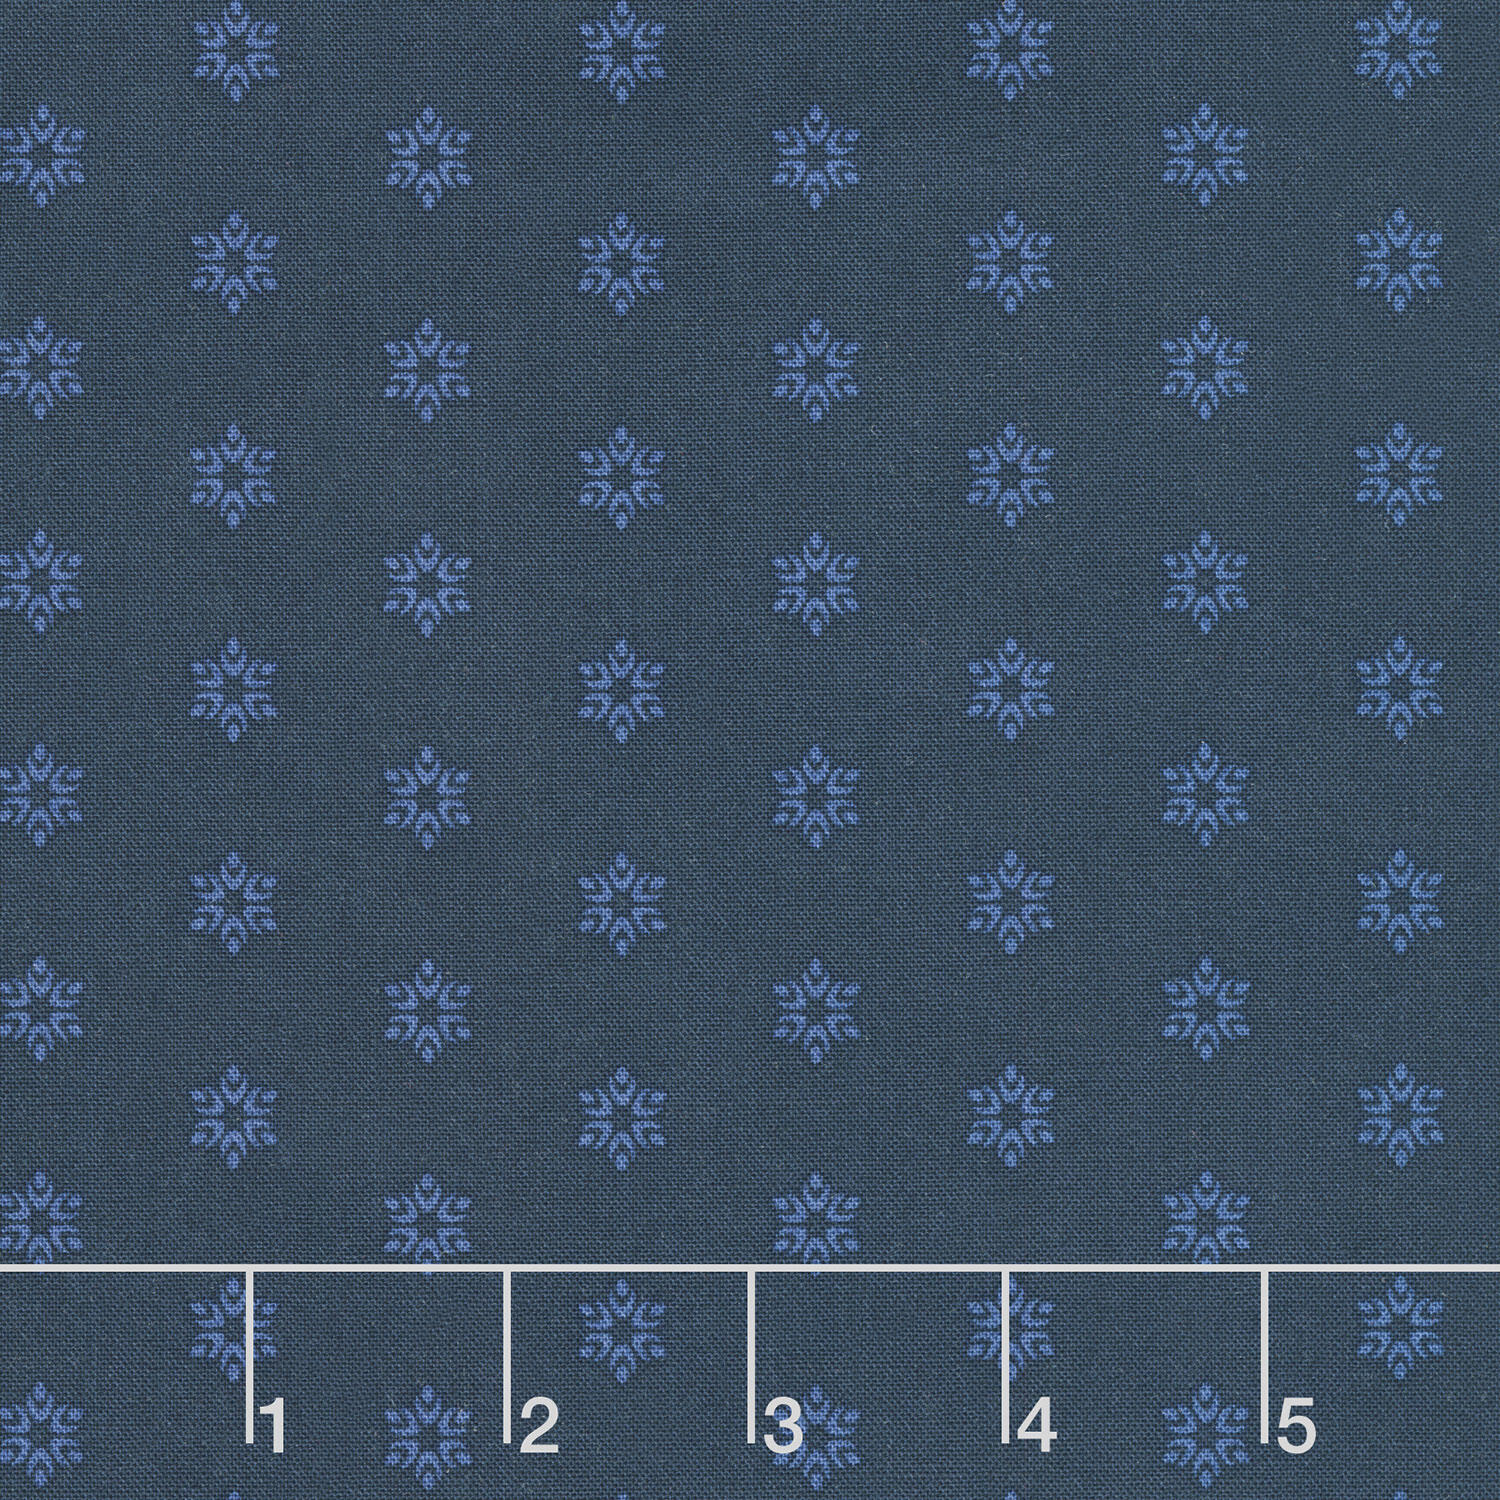 Moody Hues - Sparkle Midnight Yardage$11.24Shop →
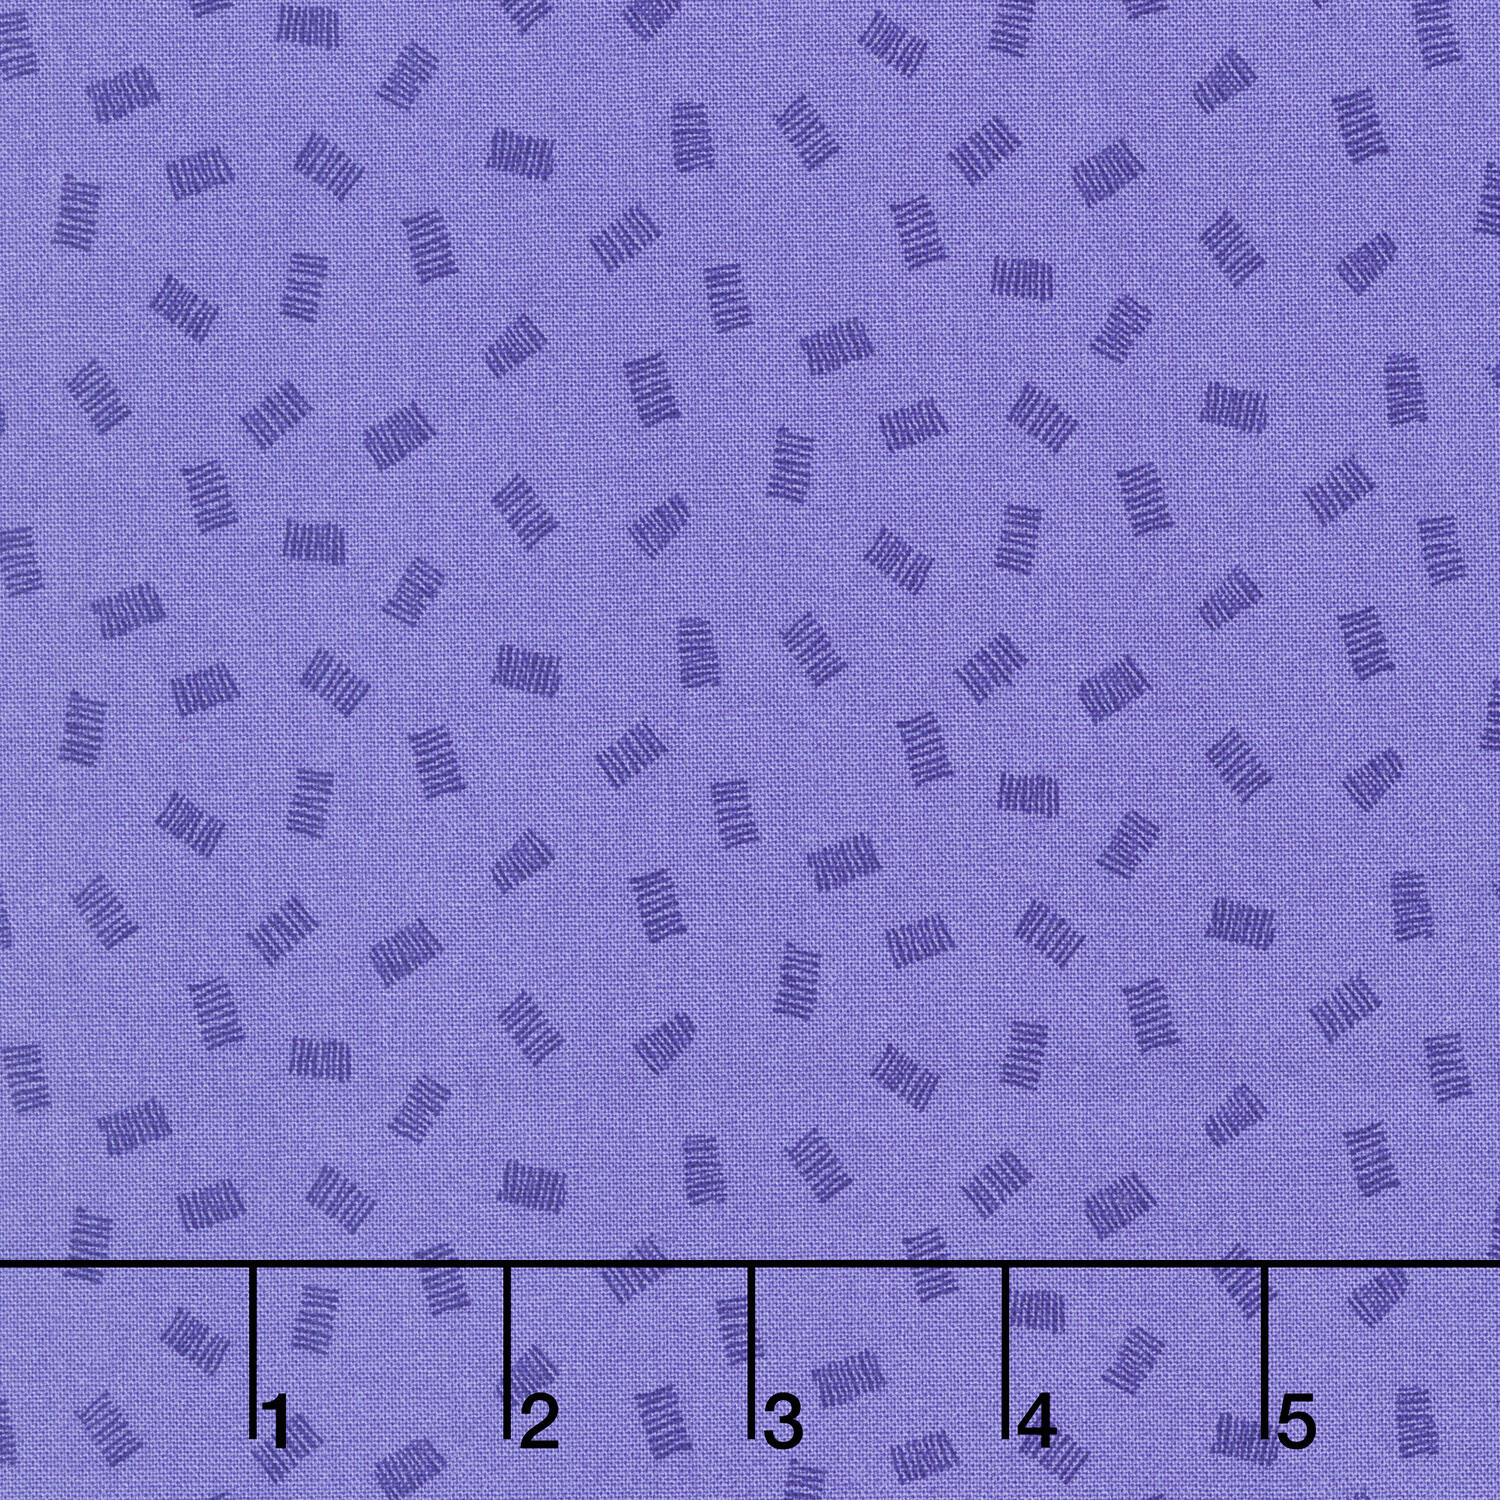 Moody Hues - Chunks Blue Violet Yardage$11.24Shop →
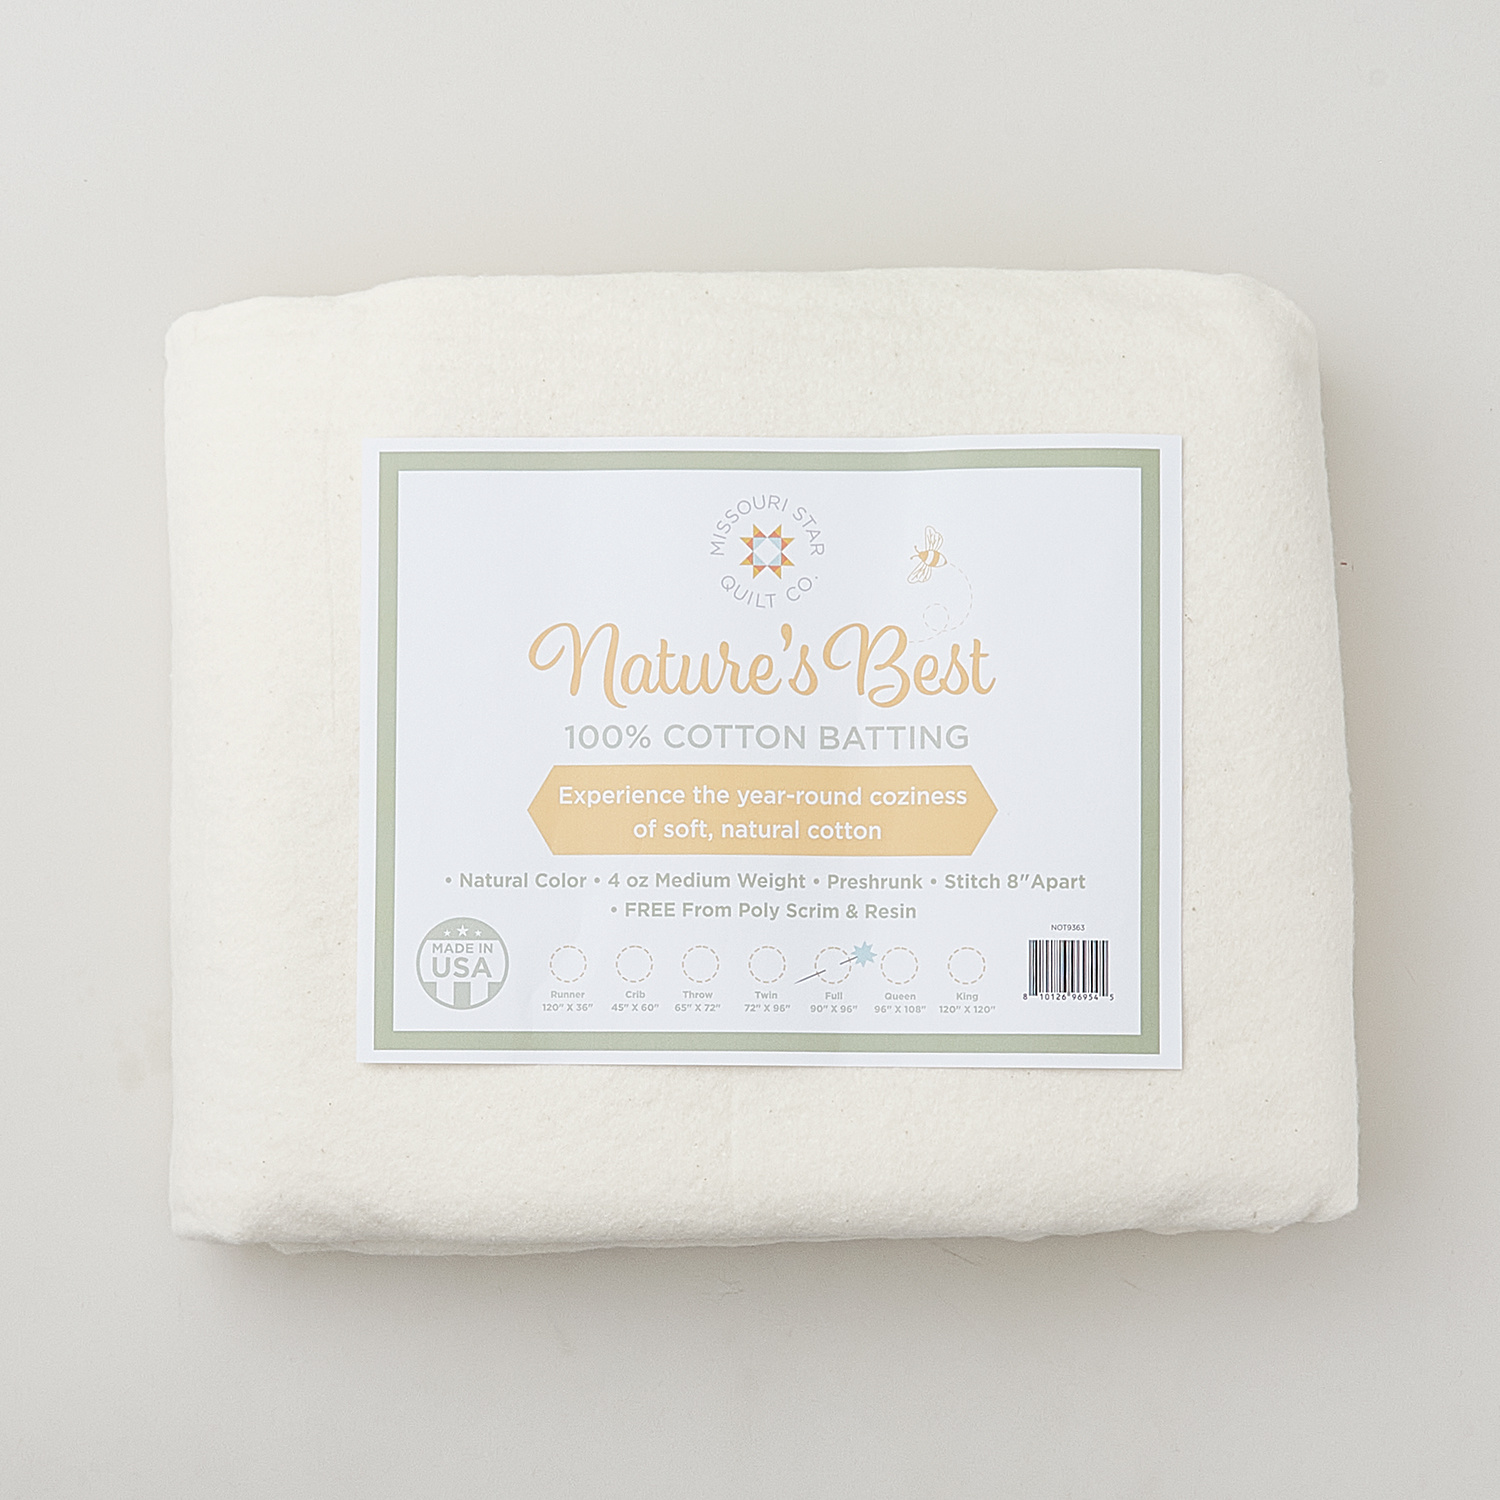 Missouri Star Nature's Best 100% Cotton Full Batting - Natural$37.95Shop →
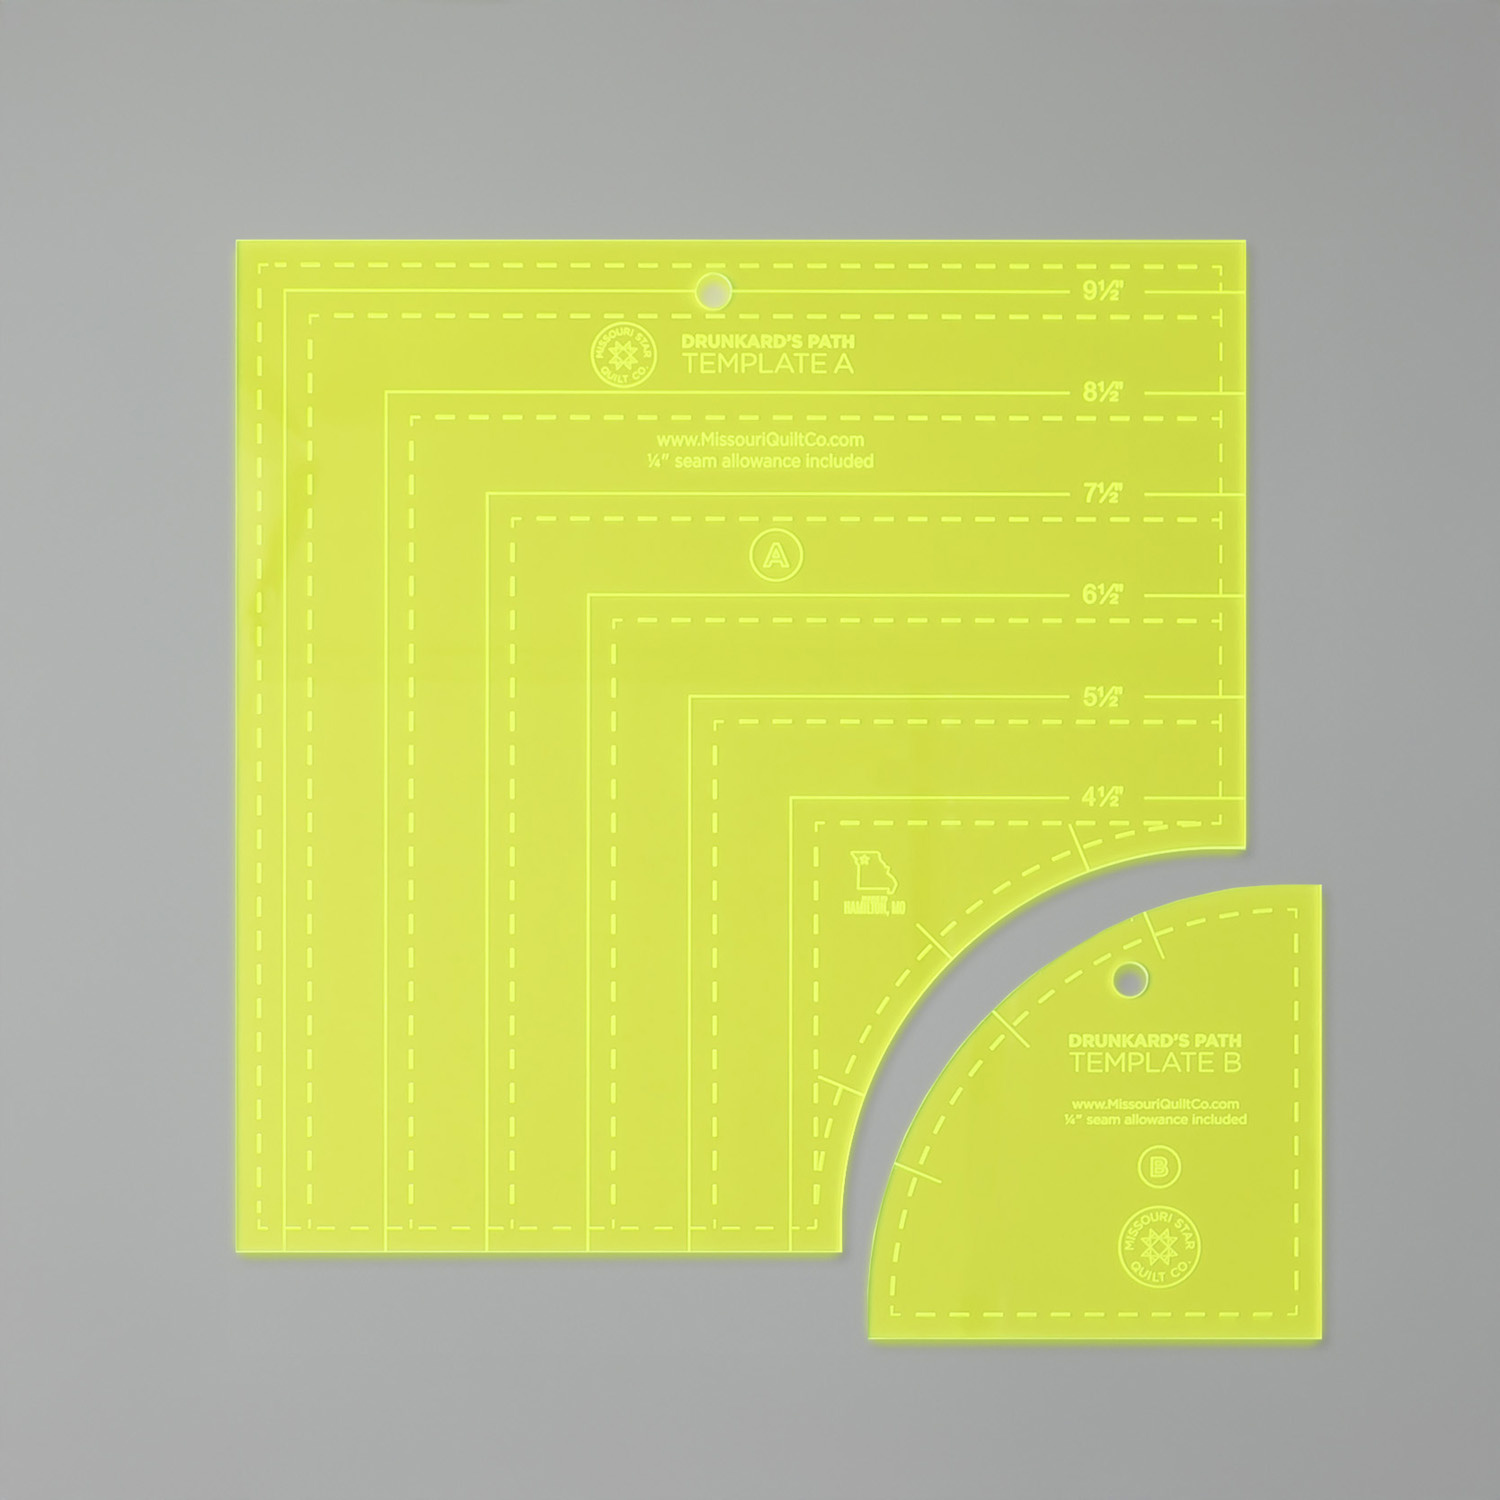 Missouri Star Drunkard's Path Circle Template Set - Small$21.95Shop →
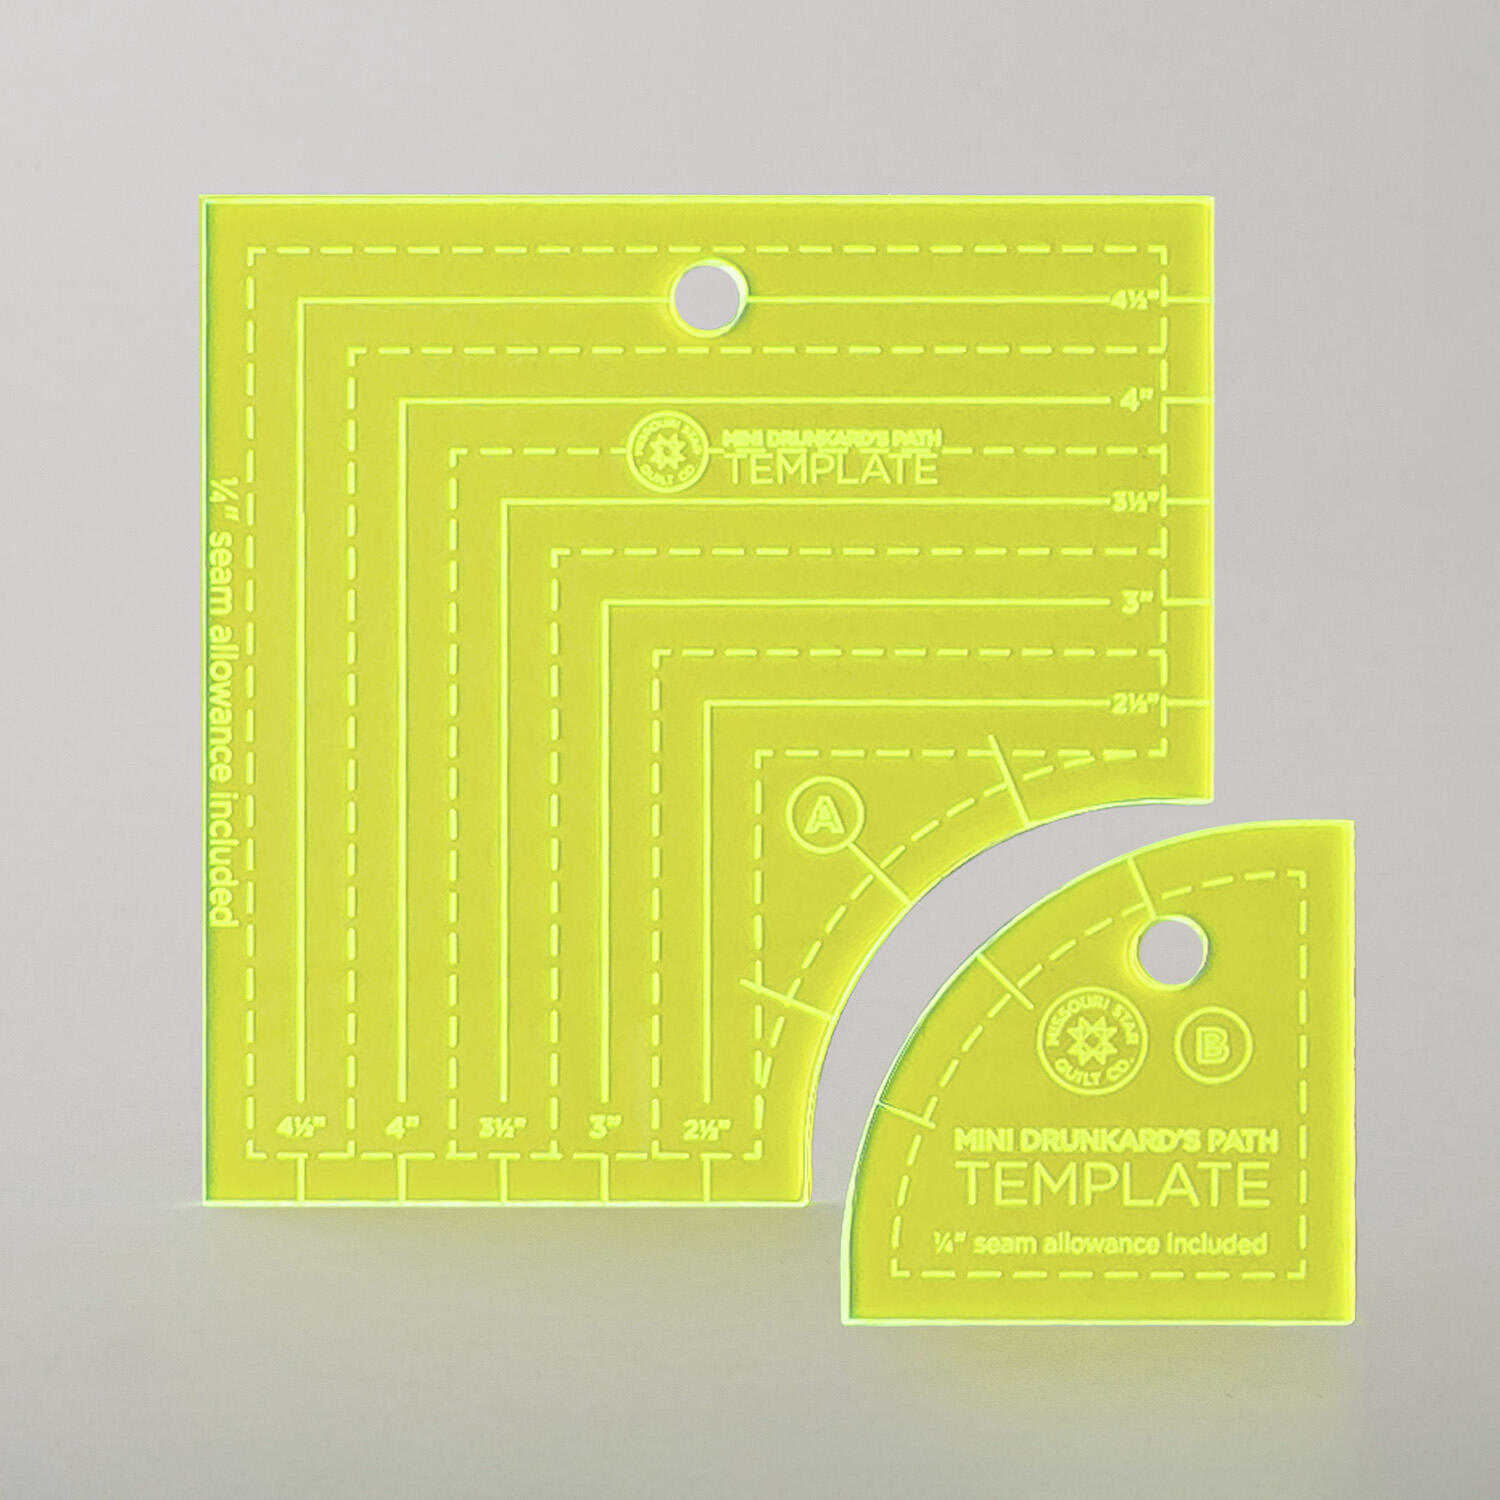 Missouri Star Drunkard's Path Circle Template Set - Mini$10.95Shop →
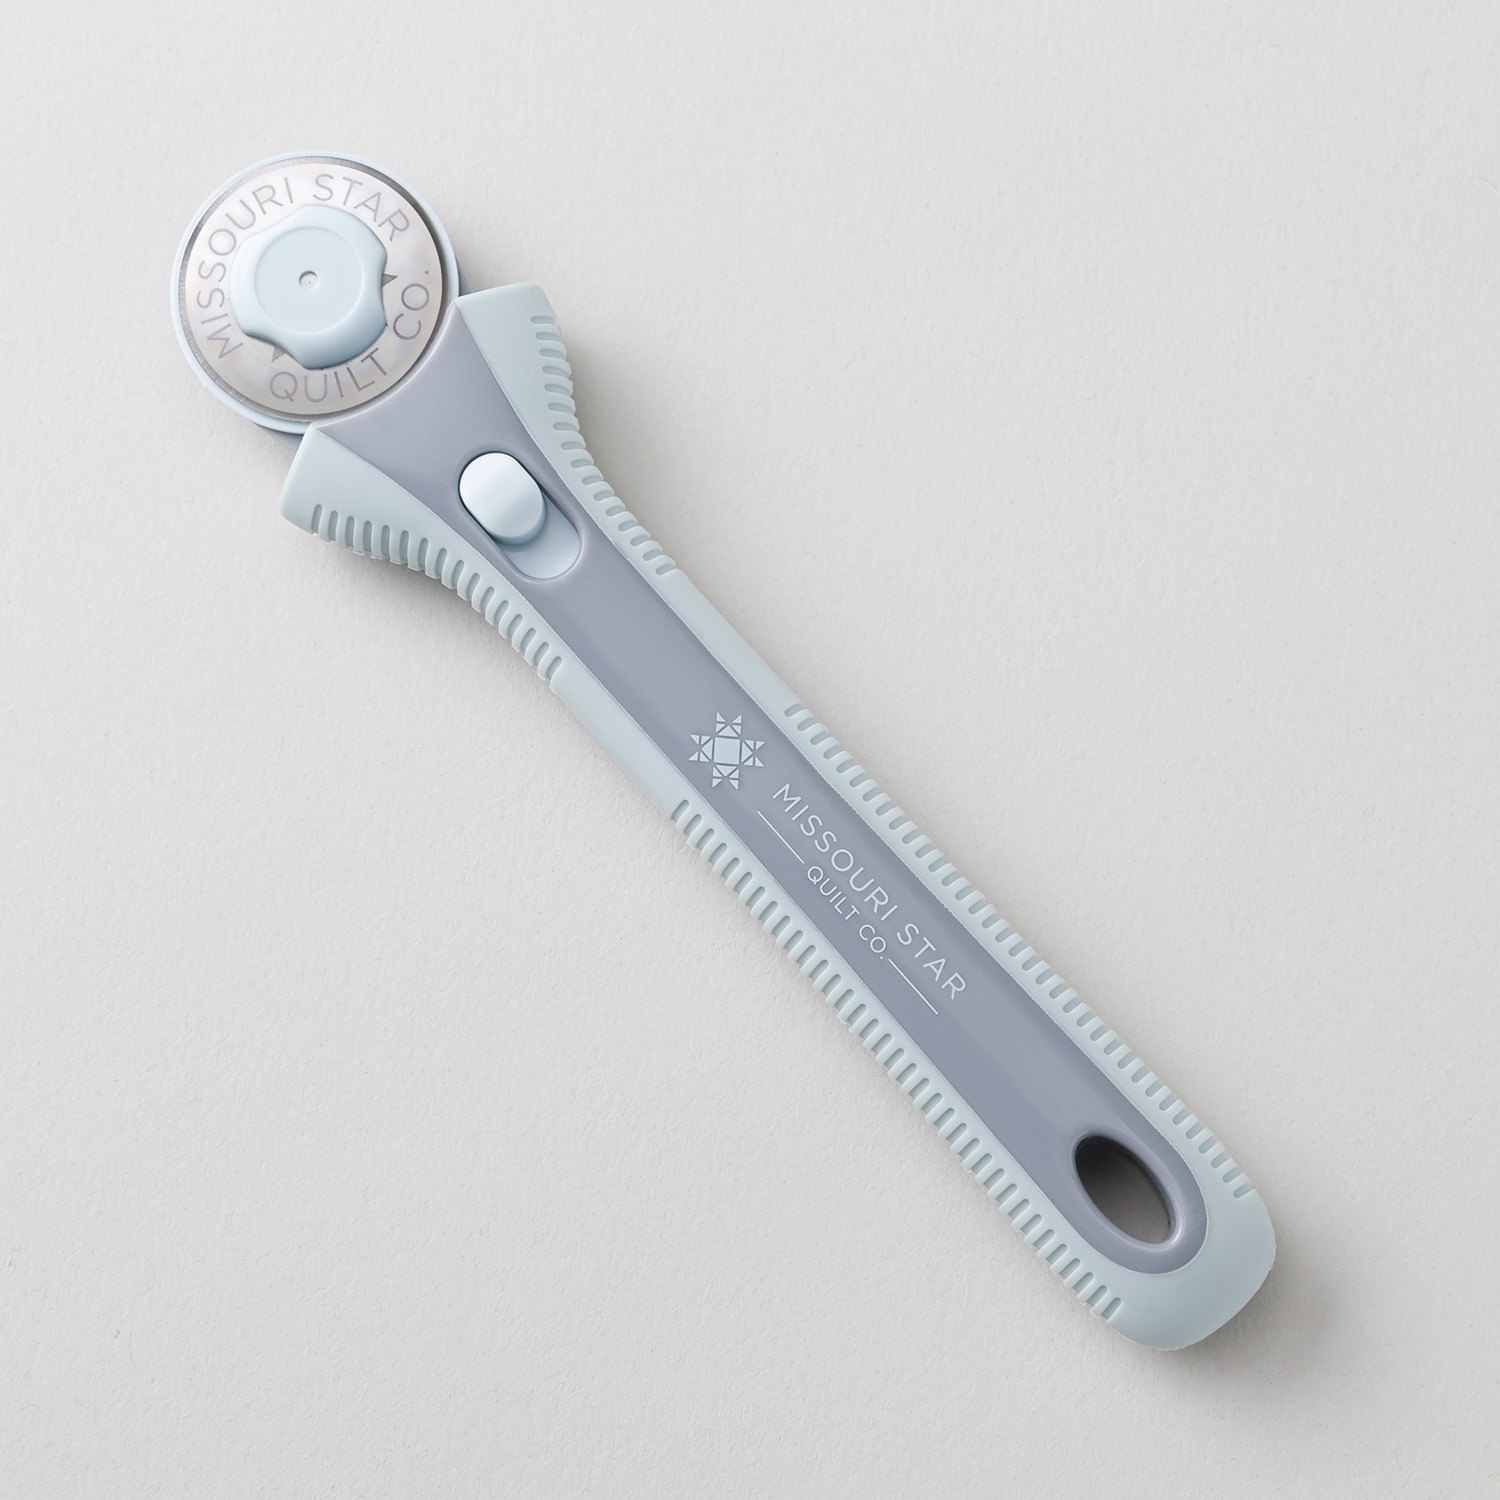 Missouri Star 28mm Rotary Cutter - Klara$16.95Shop →
 Roxanne Glue Stick$8.25Shop →
 Missouri Star + Oliso TG1600 ProPlus Iron$209.95Shop →


