Perfect your paper piecing skills with this new tutorial from Natalie! The Scrappy Mountains Wall Hanging brings the outdoors in with radiant, textured prints from the Fundamentals collection by White Owl Textiles, paper-pieced into crisp, precise mountain points. Natalie walks you through the whole process step-by-step, from foundation piecing basics to trimming and assembly, so you can build confidence in precision quilting and finish with a wall hanging you'll be proud to display.
Natalie is the host of Quilting 101, Embroidery 101 and the Creative Strategist and Editor of Block Magazine at Missouri Star Quilt Company. She was taught how to sew by her mom, of course, and began quilting when she grew up.
What is covered in Scrappy Mountains Wall Hanging?
Perfect your paper piecing skills with this new tutorial from Natalie! The Scrappy Mountains Wall Hanging brings the outdoors in with radiant, textured prints from the Fundamentals collection by White Owl Textiles, paper-pieced into crisp, precise mountain points. Natalie walk...
How long is the tutorial video?
The tutorial video is 00:20:22.
Are supplies listed for this tutorial?
Yes. The tutorial page includes the supplies and materials connected to this project.
Video Transcript
Hi everybody. I'm Natalie with Missouri Star Quilt Company and I am excited. I have a special guest with me today. This is my youngest daughter, Jenna. Hi guys. I'm so excited to be here. Yay. So, we are going to do a fun project and I think you're going to love it. Let's get started. So, we decided that today is bring your daughter to work day. So, Jenna has been sewing since she was little. She started making Barbie clothes when I don't know how old you were, maybe five or six or something. Yeah, it was in the first quilt shop. Yep. And every little scrap that I could that she would like steal off your desk. Yes. [laughter] Yes. I was trying to figure out how to say that. Like you you would just be like kind of hoarding them in your bedroom. Yeah. This is my little sewing stash. Um but she hasn't sewn in a long time and this project is foundation paper piecing and we thought it would be a really fun place to start. Yeah. What do you think? I'm so excited. I think it's going to be really nice um getting back into my crafting era. So, she's the best teacher I could have. So, these are our projects. They're in different fabric colors and styles. And I think the thing that's really cool is you could really represent any mountain range that you love. So, like these greens that are all done in my scrap fabrics for my stash, they really remind me of the mountains in Ireland. Everything was so green. These ones I think are so cool. I don't know if you guys have have heard of these, but there's a a mountain range in Peru called Rainbow Mountain, and they are gorgeous. They literally have these really vibrant, beautiful colors that like run through them in stripes and waves, and it's on my bucket list to go see them. Um, these remind me kind of of like the Rocky Mountains, and these could be like desert mountains. Whatever mountains you love, I feel like we could represent them really well, and it's just such a fun project. I love it. So, what you're going to need is one package of 5 in squares. And we've used the fundamentals line by White Owl Textiles. You'll need some fabric for your background, your sky, whatever you want that color to be. And again, we've used this gesso by White Owl Textiles. You'll need just about 3/4 of a yard for that background fabric. And that does include your sashing and your outer border. That's little 1 and 1/2 in strips. Um, your backing, you can get away with 2/3 of a yard of whatever fabric you've got in your stash. I think it'll be really cute. So then the other thing that you're going to need that I feel like is is so helpful and makes this whole project is this Scrappy Mountains foundation paper piecing book by Leela Gardunia. It's absolutely the most fun thing. So there's 50 different mountains in here. So like you're going to have a really hard time putting two of the same ones together. Um it's for a hundred different pieces. You get two of each design and you can mix and match them however you want. Some of them are single mountains and then there are some that have like a left side or a right side and some that have one on both sides. So, it's a lot of fun. I really, really love it. Okay, you might also want a little piece of card stock to help you with your foundation paper piecing. This just goes in behind the fold. So, that's about a 4x6. And honestly, I cut this out of a paper plate this morning. So, you know, no big deal. Super easy little take what you got and go with it. So, you think we feel ready? Yes, I do. All right, let's make some blocks. All right, [music] now it's time for you to make some choices. Oh my gosh. You get to look through the book and choose whichever mountain you'd like to pick and then you get to decide which kind of mountain range you want to make. Honestly, I've really been wanting to do some Hawaiian mountain ranges. So, I think like a Hawaiian island. I think that's so cool. That could be so fun. Yes. I love that. Okay. So, now let's choose your mountain that you want to make. So, you can actually switch me places cuz I'm going to let you sew. Okay. And I'll open this up. You're probably not going to use the green or the red on these mountains unless you wanted it to kind of look like a volcano. That's up to you, though. Are you going to do like more of a jungle mountain, an island mountain, or a volcano mountain? I feel like we could do a little mix. Okay. Why is all the things? That's true. That's true. But we can definitely start with these are such good greens. Okay. Um we're also going to need to take our background fabric and we're going to cut some squares. You can use different sizes. Uh the pattern that we've we've written up a little sheet pattern for you. They're about 5 and 3/4. So you could cut 6 in squares or 5 in squares if you didn't want to do the little 3/4. That's that's completely up to you guys. And then we cut them on the diagonal because it just makes piecing a little bit easier. So, that's ready and prepped for us to go. And then we also prepped our sashing strips and our outer border. These are one and a half inch strips. So, those are all ready. Did you pick your range? Yeah, I think I would love to do one that has the like mountains on the side. Start with the middle one. Okay. Can we? Yes, absolutely. Let's do it. I also love the blue of the sashing, too, cuz then it's like the turquoise waters. Okay. That's going to be so cute. You could lay them out ahead of time. You've got to remember that they're going to mirror image because what you're going to see if you look at it face up, you're actually going to stitch on the back. And so then everything is going to be on the opposite side of what you think it is when you're looking at it from the top. So, you know, we're going to put these out. I like to plan a little bit ahead um what shapes I want to make because these connect and create those mid mountains. That's pretty. And so then there's this one over here that has a side mountain that connects there. Or you could do just like separate ones. So these two don't really have that connecting range in the middle, but they can sit side by side or like that. Well, that one has a connector. So it would look kind of weird if you just had like a flat one there. So then we can lay them out. Another thing that I love about these is that they're marked with a light, medium, dark. So you can kind of know like this is where you want your darkest fabrics at the bottom. Your light could be where you put your snow cap or your your hot lava, whatever it is that you're putting at the top. And then the the white pieces are your background. Gorgeous. I love it. Yeah. I think it would even be fun if maybe we could do like the green mountains on top and then maybe lava in the middle. Yeah, [laughter] that'd be fun. Yep. There's so many creative possibilities. Alrighty. And we did take these out of the book. They're they're in one big sheet like this. They tear out really quickly and then we just cut them apart with scissors or if you have a rotary cutter that's special for paper, which I do. [laughter] I like to use my rotary cutter for just about everything. So, I have a paper one and a fabric one. Except you don't like it whenever I use it on other things. What did you use it on that I was like, "What are you doing?" It was probably something that I was like trying to cook in the kitchen. Oh yeah, like you were cutting aluminum foil or something. [laughter] That sounds right. She's always been a crafty little thing and she's very like independent. So I would come home from work and find her at like what 11 making cupcakes in the kitchen. Oh yes. I love what are you doing? [laughter] Funny girl. To get started, what we're going to do is we're going to look for our numbers. So, the cool thing about foundation paper piecing with a sheet like this is that it's numbered. And this piece has 14 pieces. So, we're going to find our one and our two. The very first seam is different than all the rest because you're sewing two pieces of fabric together and it's not already attached to your paper. So, what we want is to find figure out which colors you want to put on your number one piece and which one you want to put on your number two piece. Okay. Is there a certain way to know like which of these lines is for the one or the two? Um, yeah. So, you look for the line that's in between the two numbers that you're working on. So, when you're doing the one and the two, you're going to sew the line between them. And then when you go to three, you sew the line between your one and two and your three. So, that is the line you stitch. Okay. Then when you when you go to four, you stitch that line. I definitely would. It's whichever one. Oh, really? You would do that one first. That was like your instinct. Yeah. just directionally. That made the most sense to me, but it definitely makes more sense seeing it like in order. Yeah. So, you're always sewing on the line that's in between the two numbers, the one you just did and the one that you're doing next. Sounds good. All right. So, which fabrics? Um, I think we wanted to start with the greens, right? Yeah. Which ones do you want? You got to you got to choose. Do you want a light one for the top or do you want mediums? Maybe that one. do a medium because then like the four 9 14 we could do like a darker so maybe like these darker polka dots or that one's really on one or two. Um this one could be like a one. Okay. And then this one could be two. Perfect. Let's do it. All right. So, we're going to stack these right sides facing. And you can cut these smaller if that feels more comfortable, but I don't think it matters. We're going to trim as we go. Then you're going to take your handy dandy little paper plate cardboard. This is roughly 4x6. It doesn't really matter. What you want is an edge that you can then use to fold this paper so that you have that seam line on the back. So, we fold it. And I always just fold I fold clear across the whole thing. You can do a little bit or a lot, whatever. Now, we're going to flip it over and we're going to remember this is our one. That's our two. We're going to line it up over that fold by at least a quart of an inch so that um you can just sew a quick seam. So, you just kind of eyeball it. I never get hung up on like the perfection of this because as long as it covers everything it needs to cover, you're good. You're golden. And you don't need to be really skimpy. Uh you won't even use your whole charm pack. You'll have lots of pieces left over. So, we're going to stick a little pin in it so it doesn't fall off. The other thing is like some people would want maybe a light board or a window just to make sure that your fabric is covering the squares or the shapes that you're trying to cover. I just find that if I look at it, I can kind of guess and I'm not too worried about it. All right, so let's do our first seam. So, we're going to sew just on that line from there to there. And it is okay if your seams go past the lines because then you're just going to fold the paper back and sew across that seam. Okay? on the next one. It's no big deal. Okay, sounds good. All right, let's see. Good job. First one done. All right, I love it. Okay, we're going to take that pin out. We're going to head to our iron and we're just going to flip it back and stitch it. And I know that looks like a lot of extra fabric hanging on there and that is true. So, I'm actually going to just use my rotary cutter and get rid of it because I don't want [snorts] it flopping around. I'm going to flip that cuz it's definitely just going to be in my way. All right. So, now our next seam is which one do you think? [laughter] The two or the three? Nope. It's this one right here that goes across from the three to the one and the two. So, you're almost always crossing a seam. Okay. So, we're going to do this whole thing. Uh-huh. Okay. That's right. So, we'll use our little magic board to hold the fabric down. Pull it towards us. And see how that seam did um go a little farther. So, I'm just going to pull the paper and like I'm going to rip the paper and we're going to sew across the stitching. Okay. Okay. Now, we're going to use our ruler and we're going to do a little quart of an inch where we cut this off. And then you're going to add whichever fabric you want to be your next green color. And it was on the Can I see what that looks like? Yeah, you can flip it over so that you can see. It's going to be the green in this lighter sort of shade. Okay. Maybe this one. Okay. Or do you want to do that one? Yeah. Whichever one you think is fine. I love them all. Okay. All right. So, now you're going to flip it over and you're going to remember that this is your this is where you're going to line up your fabric because you gave yourself a quarter of an inch seam allowance. So, now you can do that. line it up. You can flip it over to make sure that it's going to cover your little square, which like if you do that, if you're worried about it at all, you can kind of just like fold it back. And then that's where you like hold it up and see like does it cover this? And if it does, then you're good. But I don't typically worry about that because I use a lot of like bigger pieces. All right. And we'll stick a little pin in it. Making sure to keep your pin away from your seam because you don't want to sew through a pin. That would be awful. And then you're going to stitch that line right there. Okay. Okay. All right. Good job. Now we take the pin out. do a little press. For this project, I totally built myself like a little nesting station. So, I had my little cutting mat and my little ironing board so that I could just kind of sit in my seat and like go from thing to thing cuz you're you're back and forth a lot. All righty. So, our next one is number four. It's kind of a little bit on the darker side. We're going to do our quarter inch seam or Yeah, we cut that. So, what do you think about this one next? Yep, that was my thought. A little bit darker. Perfect. [snorts] Okay, so this is going to do that piece right there. You can line that up. Stick a little pin in it. And then you're going to stitch the line between the one three and the four. So you're crossing that seam. Okay. Perfect. Yep. Easy peasy. How do you feel about it so far? Are you liking it? I think it looks cute. Yeah, I do too. Do you think you could do it without me? Um, maybe not yet. [laughter] But some self asssurance and patience, I'd get there eventually. Yeah. All right. Now, from four, we're going to do five because, you know, we're counting. Okay. So, that's that's how you remember like where's your next seam, right? It's always going to go in the block. Wherever your wherever your next number is, that's the seam you're looking for. Okay, we're on number six. Number six is our sky or our background. So, we'll get there. Go backwards just a little bit there. Set those aside because we can keep using them. Little sky piece. So, what we want to do is make sure that this will cover um and I'm going to use a bigger piece because I just have plenty of fabric and I'm not too worried about it. But if I stitch that, it's going to cover that corner. Okay. So, that's what I'm worried about here. [music] When you're getting ready to sew um and do foundation paper piecing, it's important to change your stitch length. So, we set our stitch length about 1.8 or 1.5. That makes it easier to tear the papers off, [music] and it makes your stitches tighter so that they don't come apart when you tear those papers off. So, I almost forgot to give that [music] hot tip. [laughter] Pro tip. Yeah, exactly. Nice. That one got a little Yep. Little wonky. No, I don't think so. Okay. That's the thing is is it doesn't matter. It's all going to look good. We're going to trim it now. Do you want to do that? Yes. Come on. You can do it. Okay. All right. So, all we're going to do is take our little ruler and we're going to line it up with those little dashes. And then you just trim along the edges and you go all the way around on the dash. Yep. [snorts] Just make sure that you like you're consistent. If you do on the inside of the dash or the outside, it will affect it eventually. Okay. How they go together, but you can just line it right up. You're going to cut through those seams up there at the top. They I heard that it didn't cut I could hear it. I got it. Like it didn't get the middle part. Yeah, cuz there's a lot of fabric there. Okay. I haven't cut in a while. I know. This is your first time in like five years. I always get nervous. It'll come right back, though. I know. Have to blow off the cobwebs. That's right. Let the crafty era begin. Yes. Now for the big reveal. Close your blade. Good job. [laughter] Oh my gosh, it's so cute. I love it. It turned out really good. I like it. I love the little polka dots on the top. It's so cute. All right, so now that we've got this done, what you're going to do is join it. And I'll grab a couple of these so you I'll actually grab this one so you can see how they join in the back. You want to leave your papers on until your whole quilt top is assembled and then tear them off because um if you tear them off before they can get a little bit distorted and stretched out. So leave the papers on until you have your sashings and your outer border done and then tear them off. And they come off pretty easy. Like you can just pull that off and sit. I like to sit and do this kind of while I'm like watching a movie and make a big mess [laughter] and then you just sweep it all up and throw it away. Is it okay if there's like a little bit left that you can't get? It is because it's going to be inside your quilt. Your quilt is going to be quilted on batting. You may wash it. It will dissolve. It's as long as you don't like you're not bothered by the crinkle. Doesn't matter. It's inside the quilt. That's good to know. I feel like I'd be sitting there with tweezers trying to like get every single piece. No, it's not that not that big of a deal. And typically they they come off pretty easy. You just kind of Oh, yeah. pull it apart. And you can also like something you can do is kind of just pull it like that and it'll it'll give that break and then I use my finger and just kind of slide in. That is just about it. Um so we've got a 1 and 1/2 in sashing in between the rows and I did that because I wanted a little bit of distance between the mountains. Uh we've got a 1 and 1/2 in outer border. It's machine quilted with a simple meander pattern and these quilts measure 17 by 20. And one of our uh hunter, he mentioned that this would be a really cool border, which I totally agree. You could make an entire border to go around the quilt. It would look so cool. Yeah, that's cool. They're machine quilted with meander. I just wanted something easy and simple, but you could put whatever you want on it. I love it. It looks beautiful. Aren't they fun? That's such a fun project. I agree. So, I hope you enjoyed this today. It's really fun. Be brave and start a foundation paper piece project. Yeah. Good. If we can do it, you can do it. Yes. Especially me. You guys got this. [laughter] Hope you enjoyed this tutorial on the foundation paper piece scrappy mountain wall hanging from the Missouri Star Quilt Company. See you next time.

 Natalie Doan
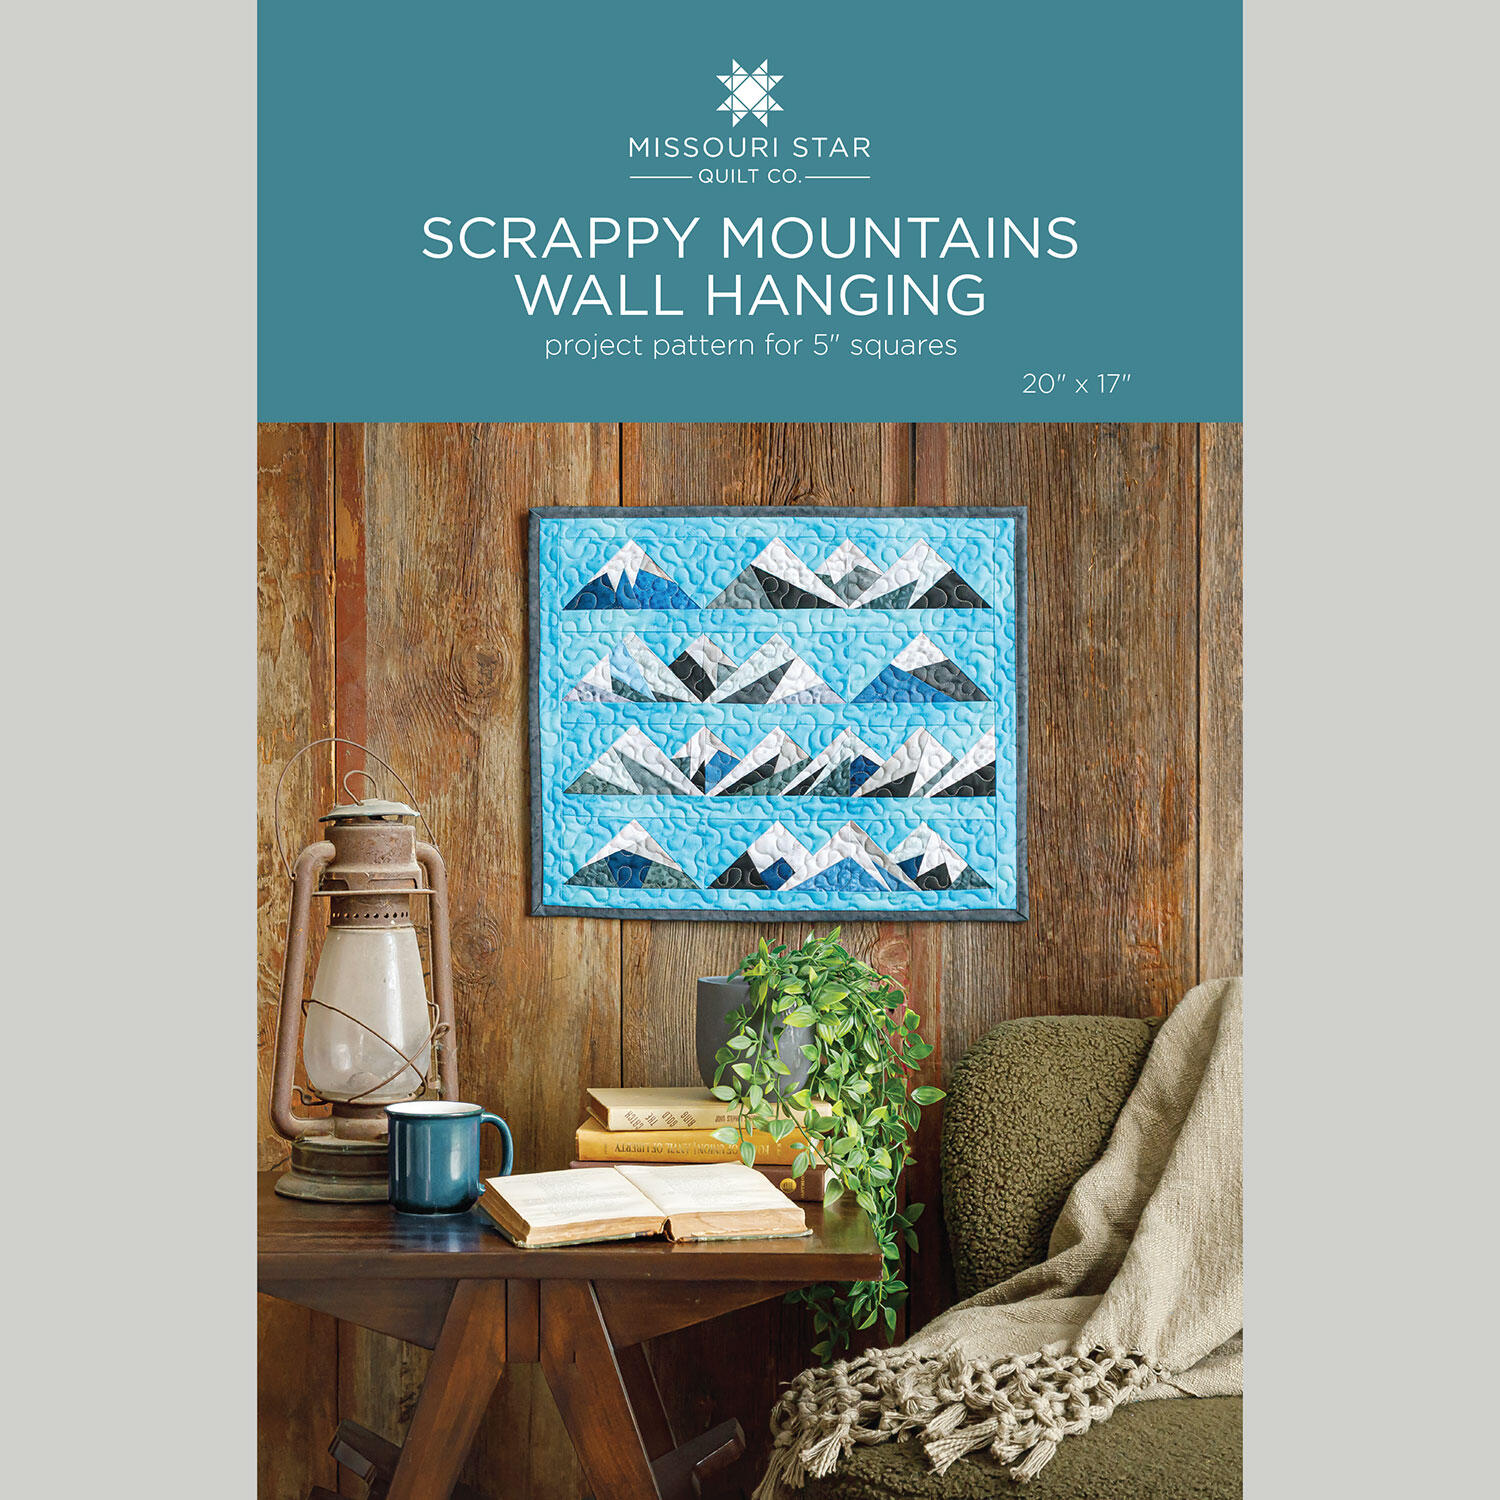 Scrappy Mountains Wall Hanging Pattern by Missouri Star$8.50Shop →
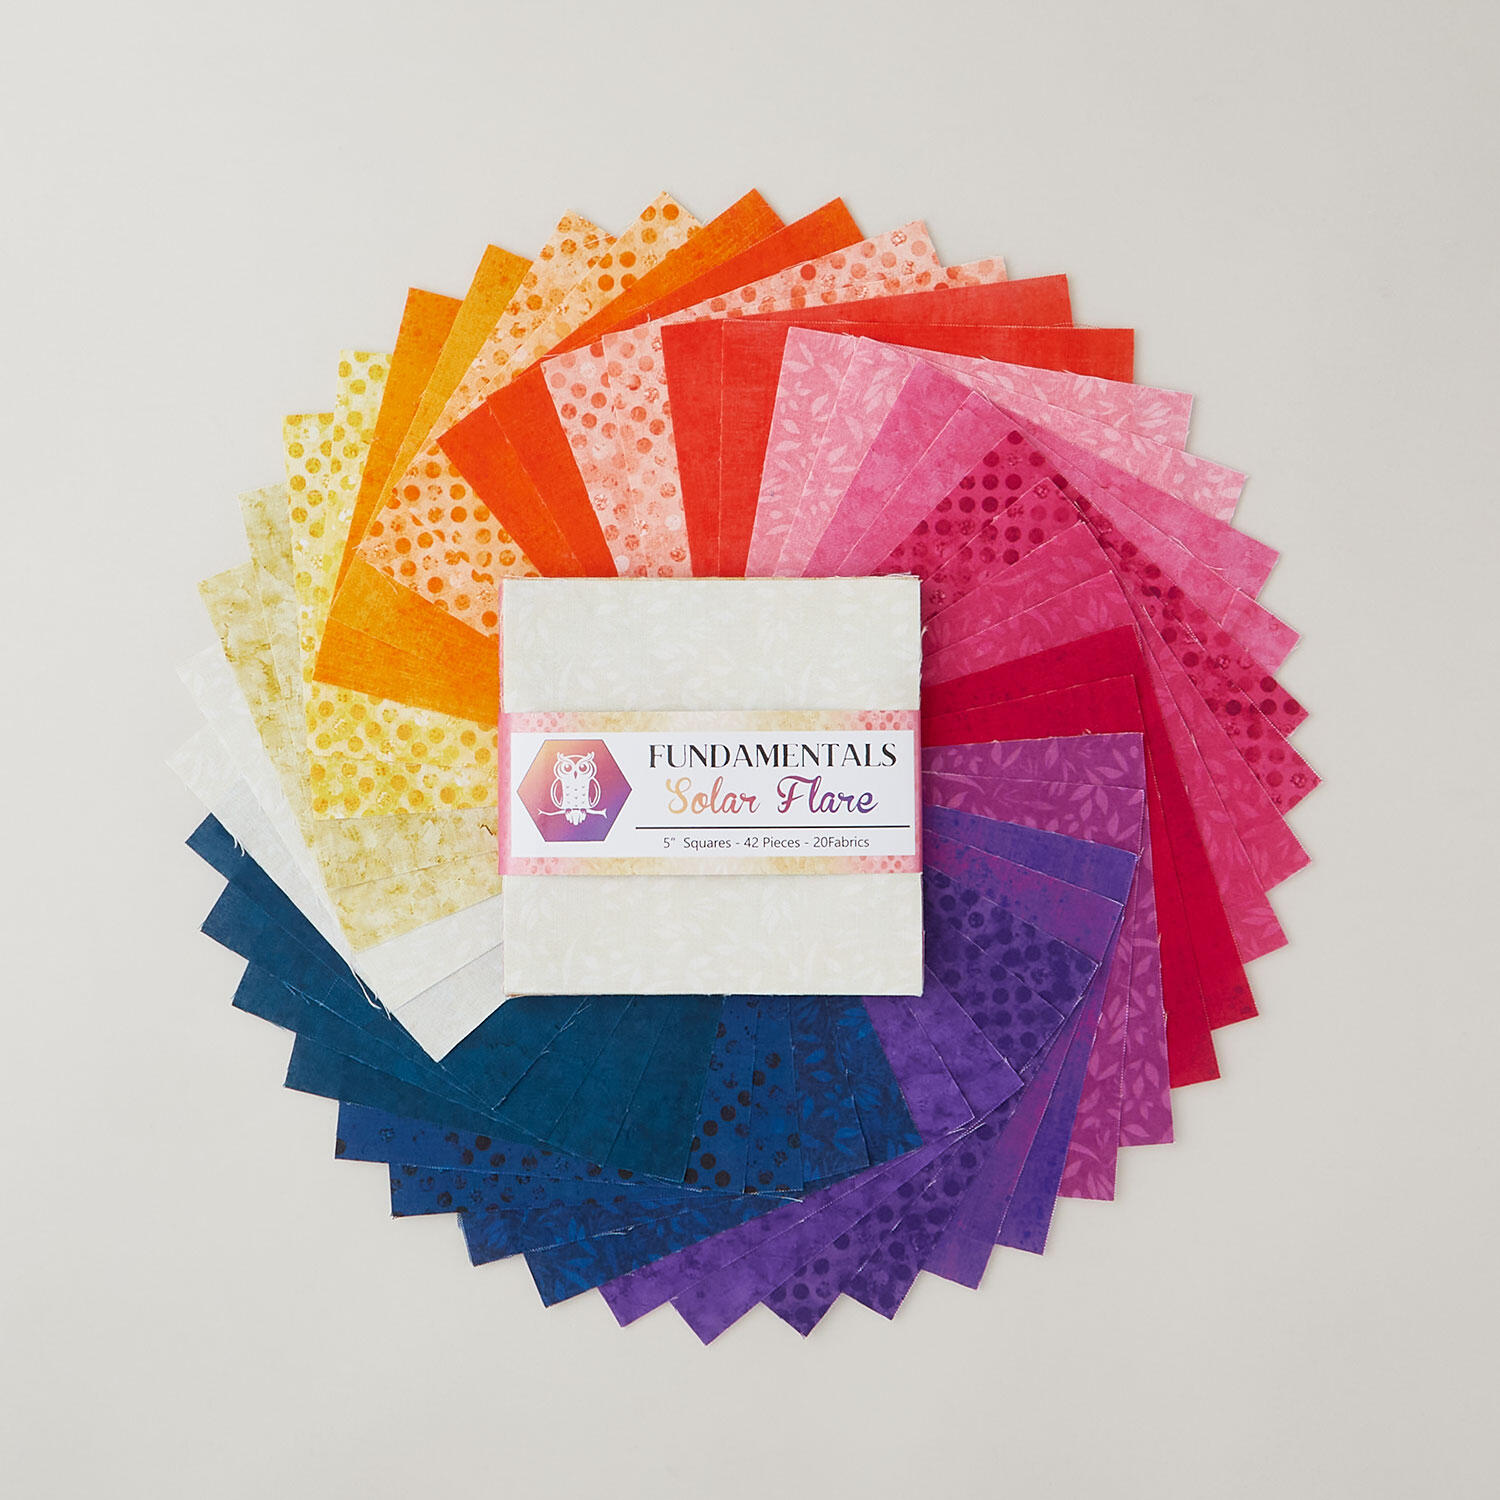 Fundamentals Solar Flare 5" Squares$13.45Shop →
 Fundamentals - Gesso Tropical Waters Yardage$11.48Shop →
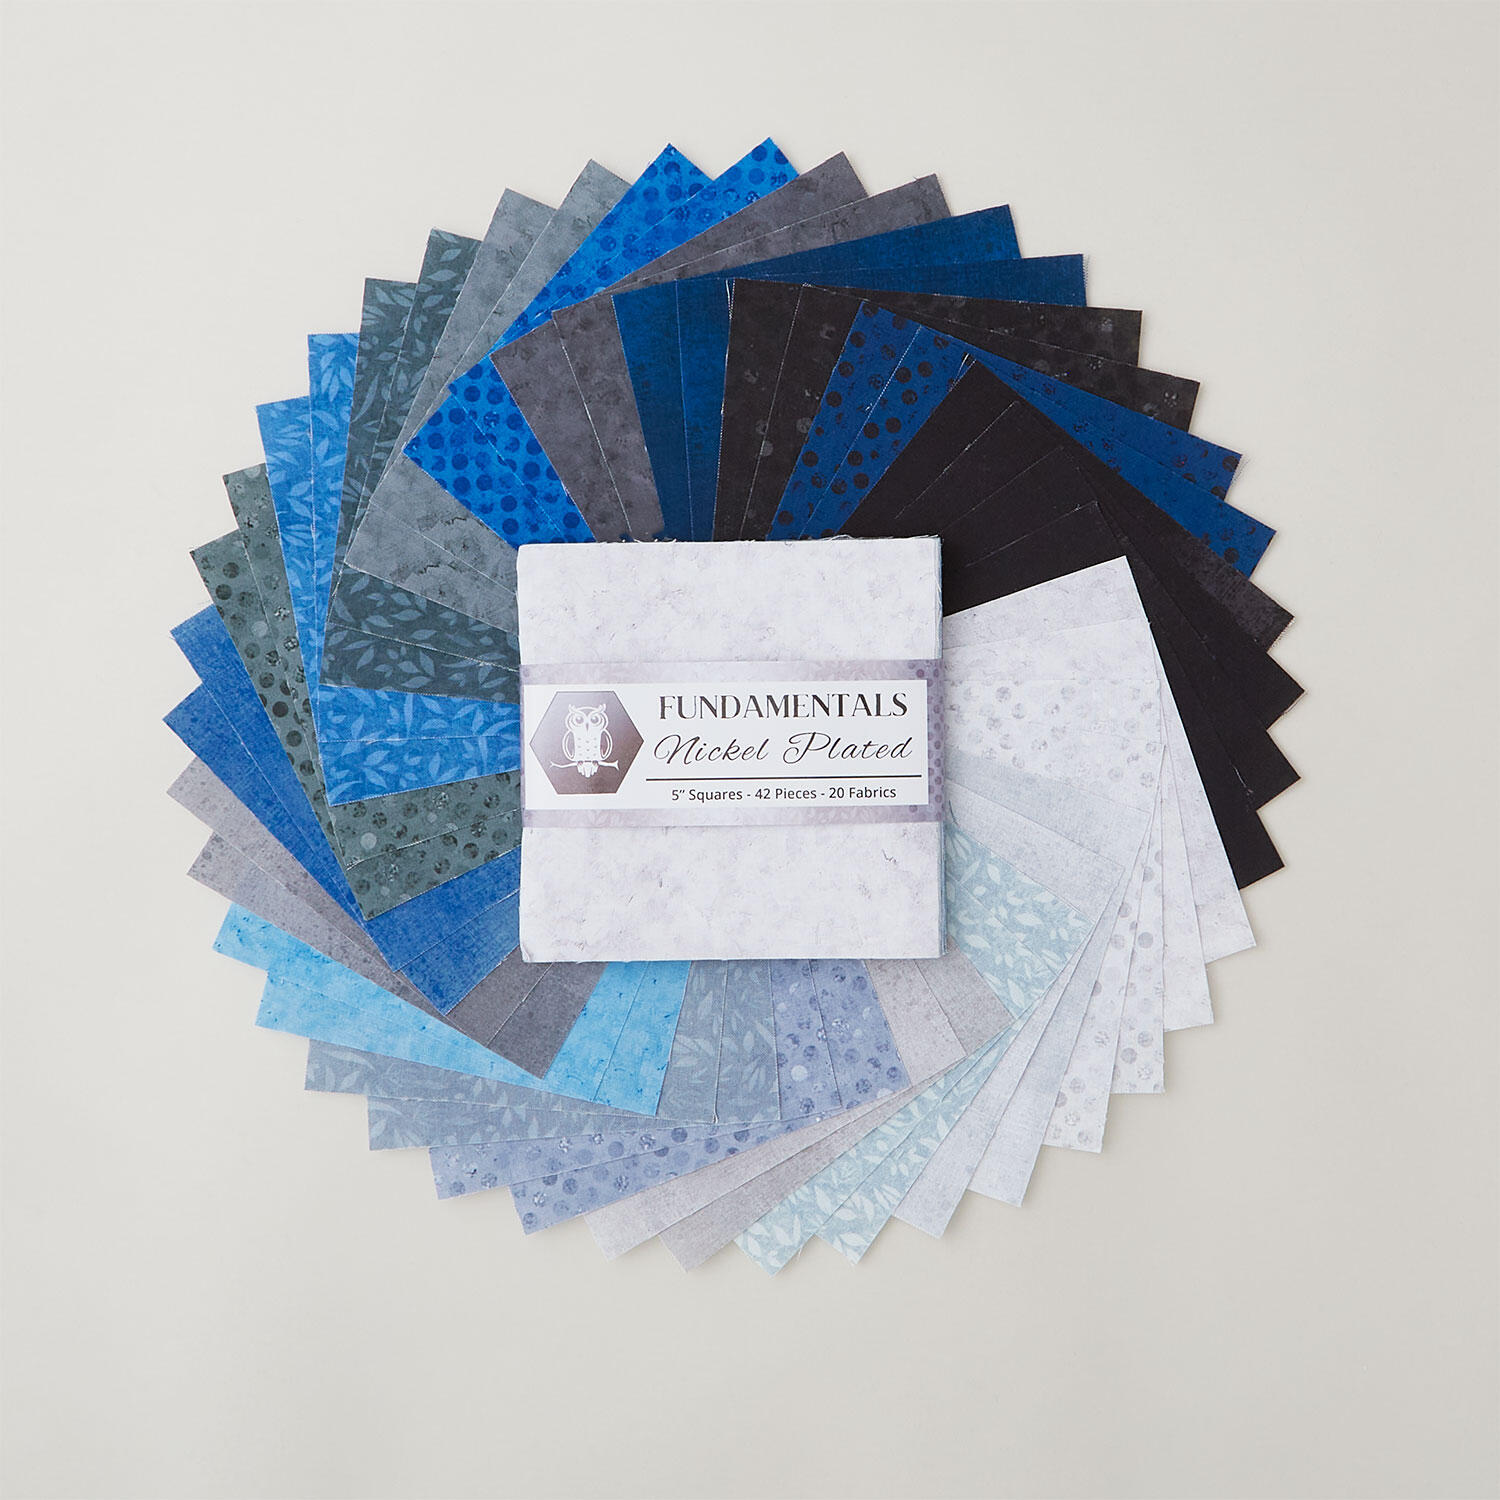 Fundamentals Nickel Plated 5" Squares$13.45Shop →
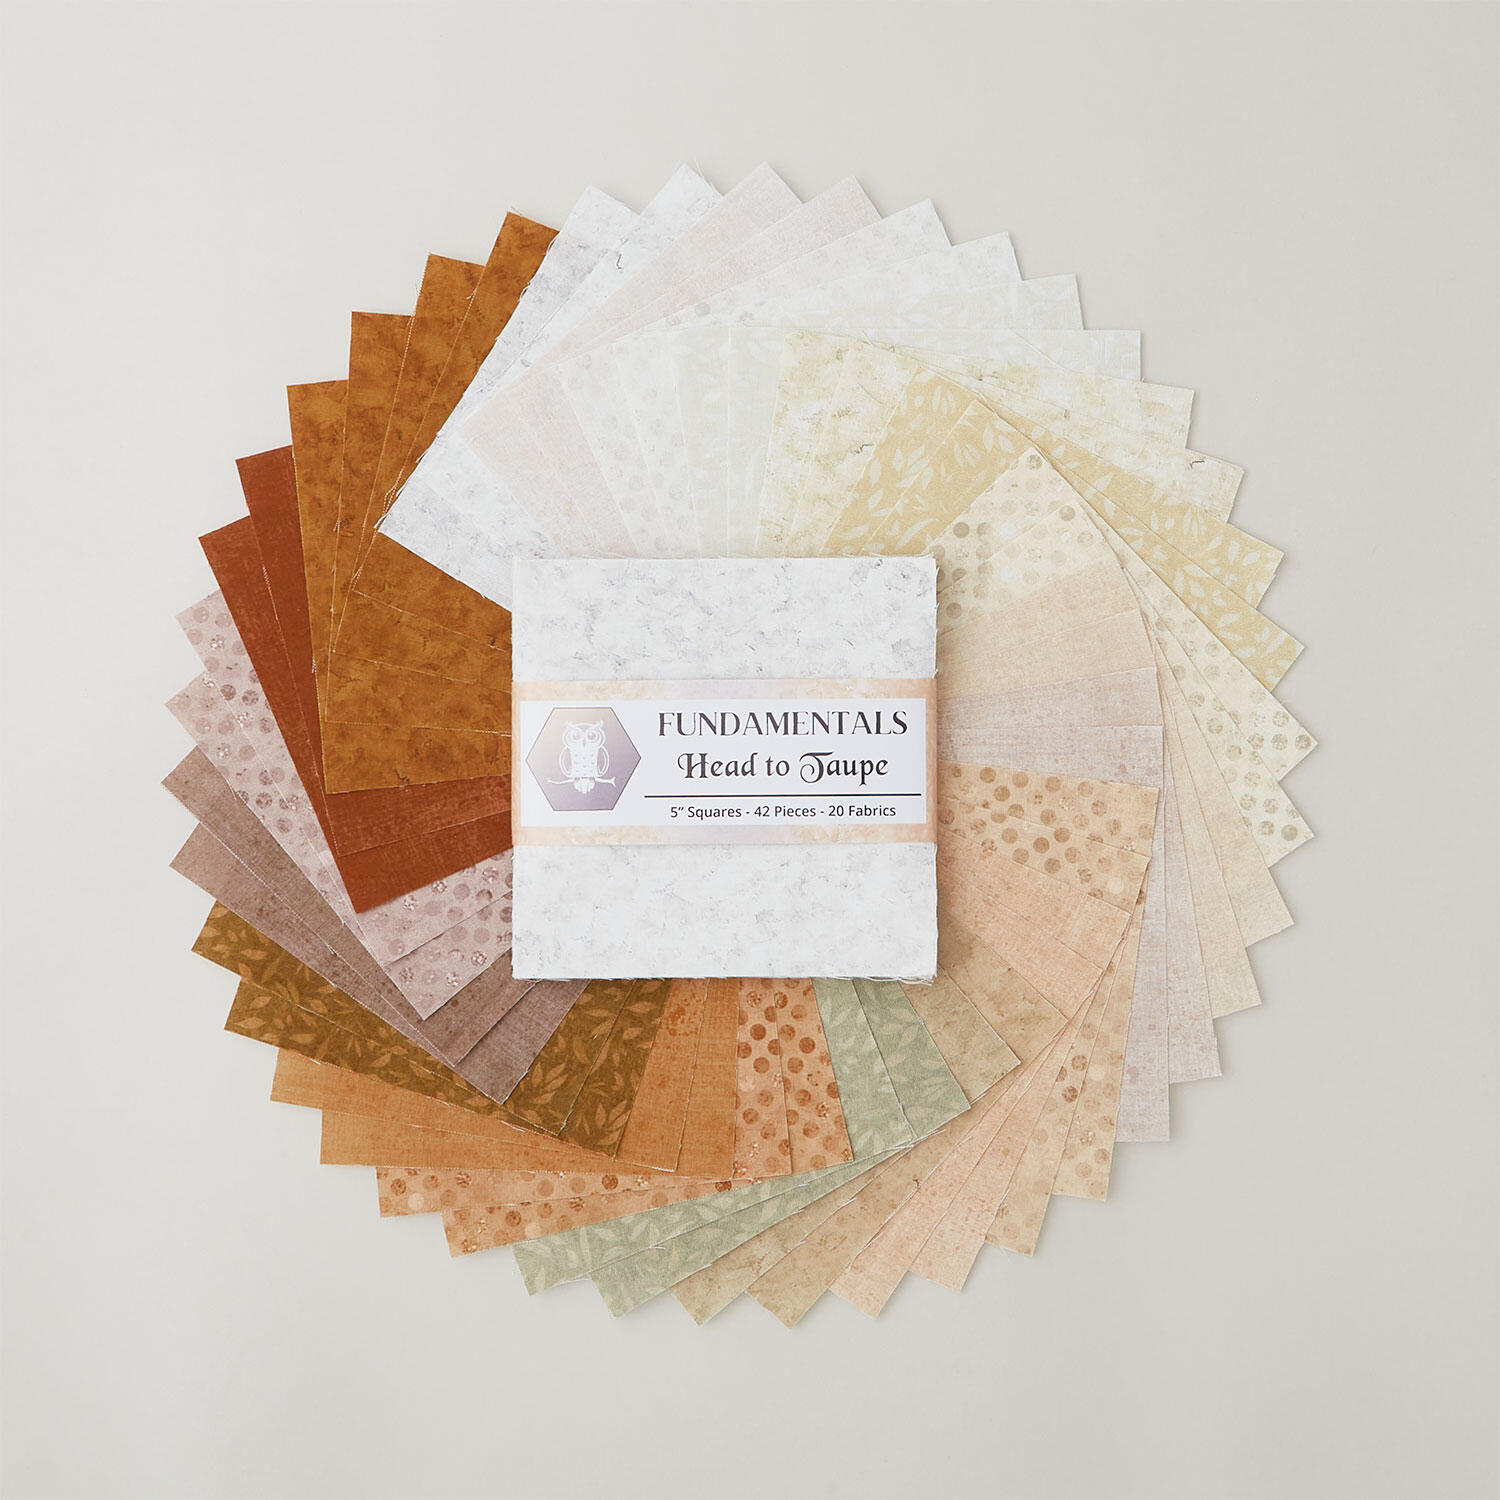 Fundamentals Head to Taupe 5" Squares$13.45Shop →
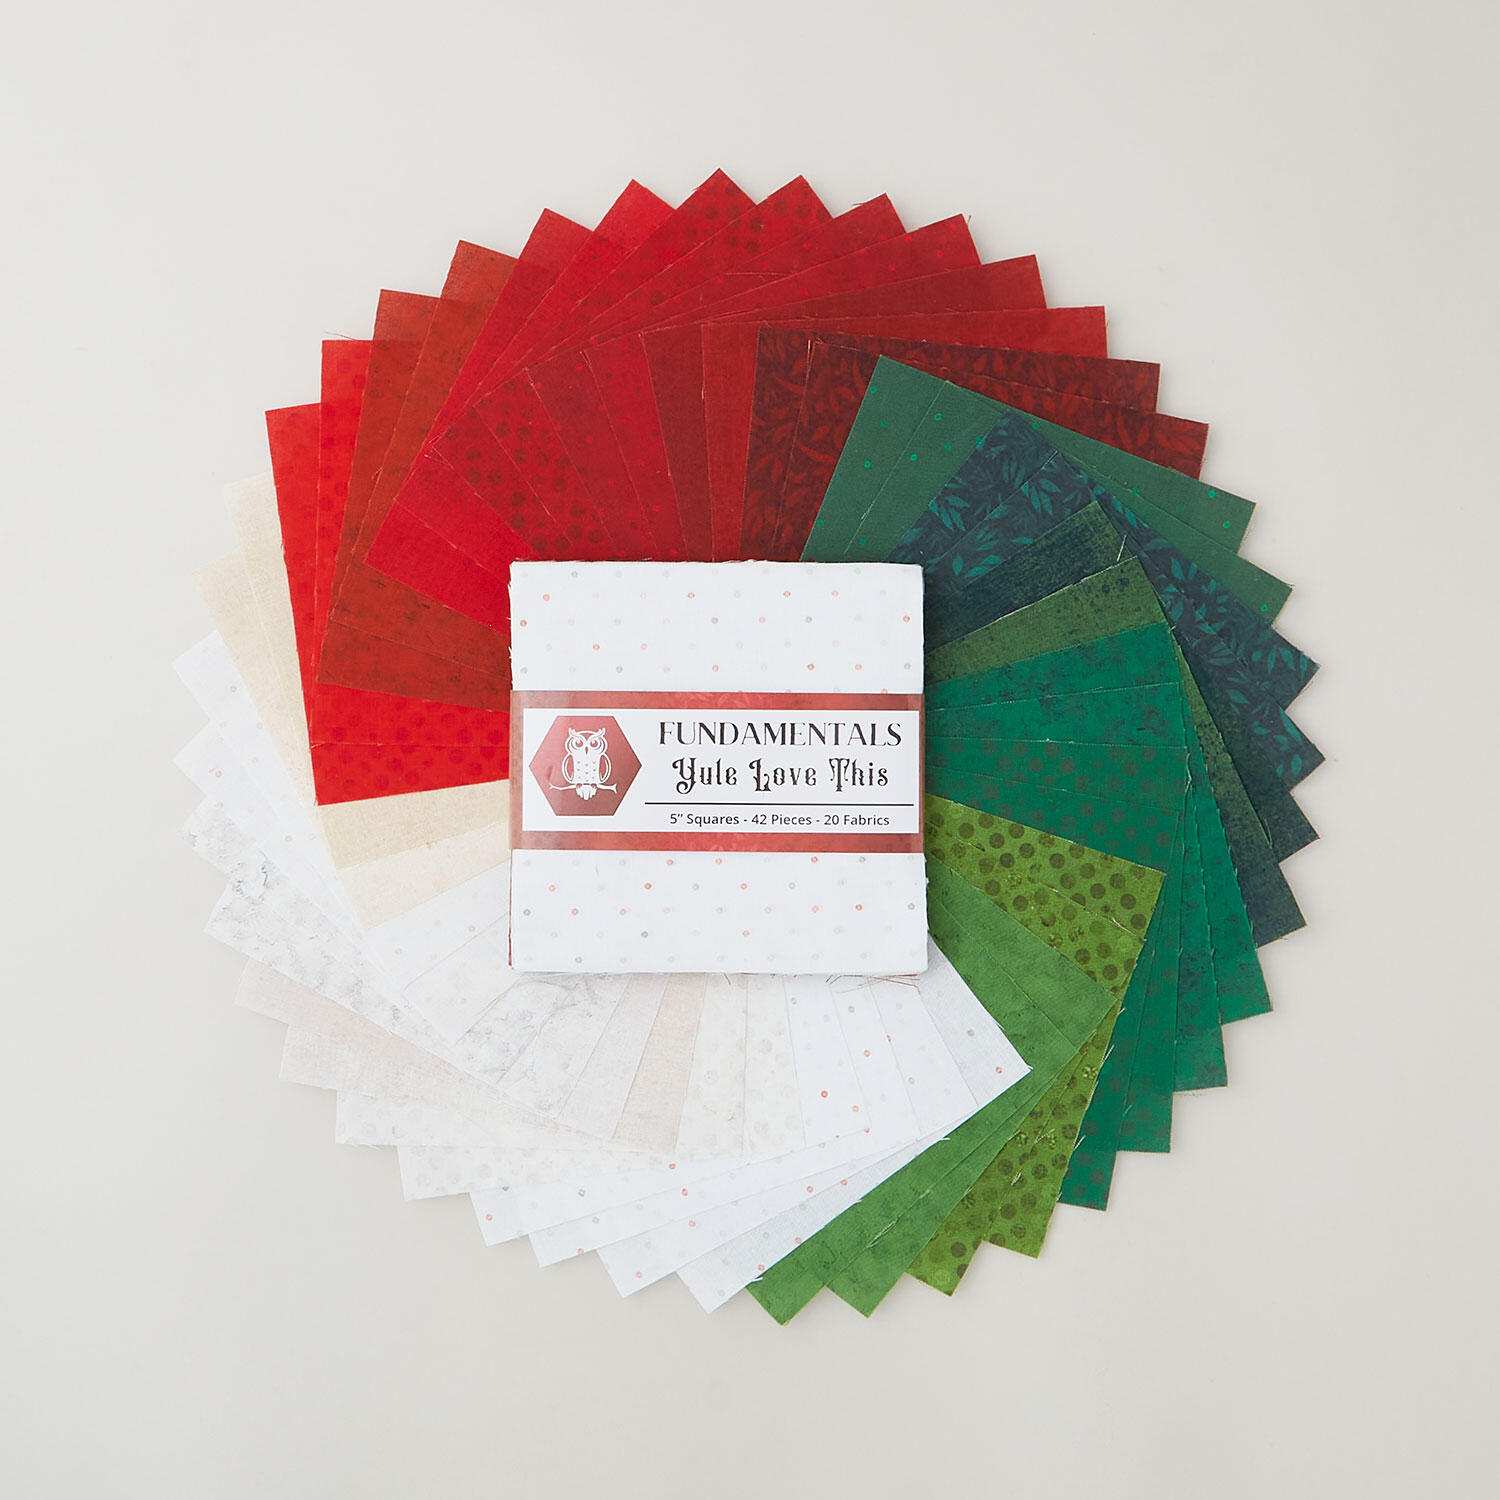 Fundamentals - Yule Love This 5" Squares$13.45Shop →
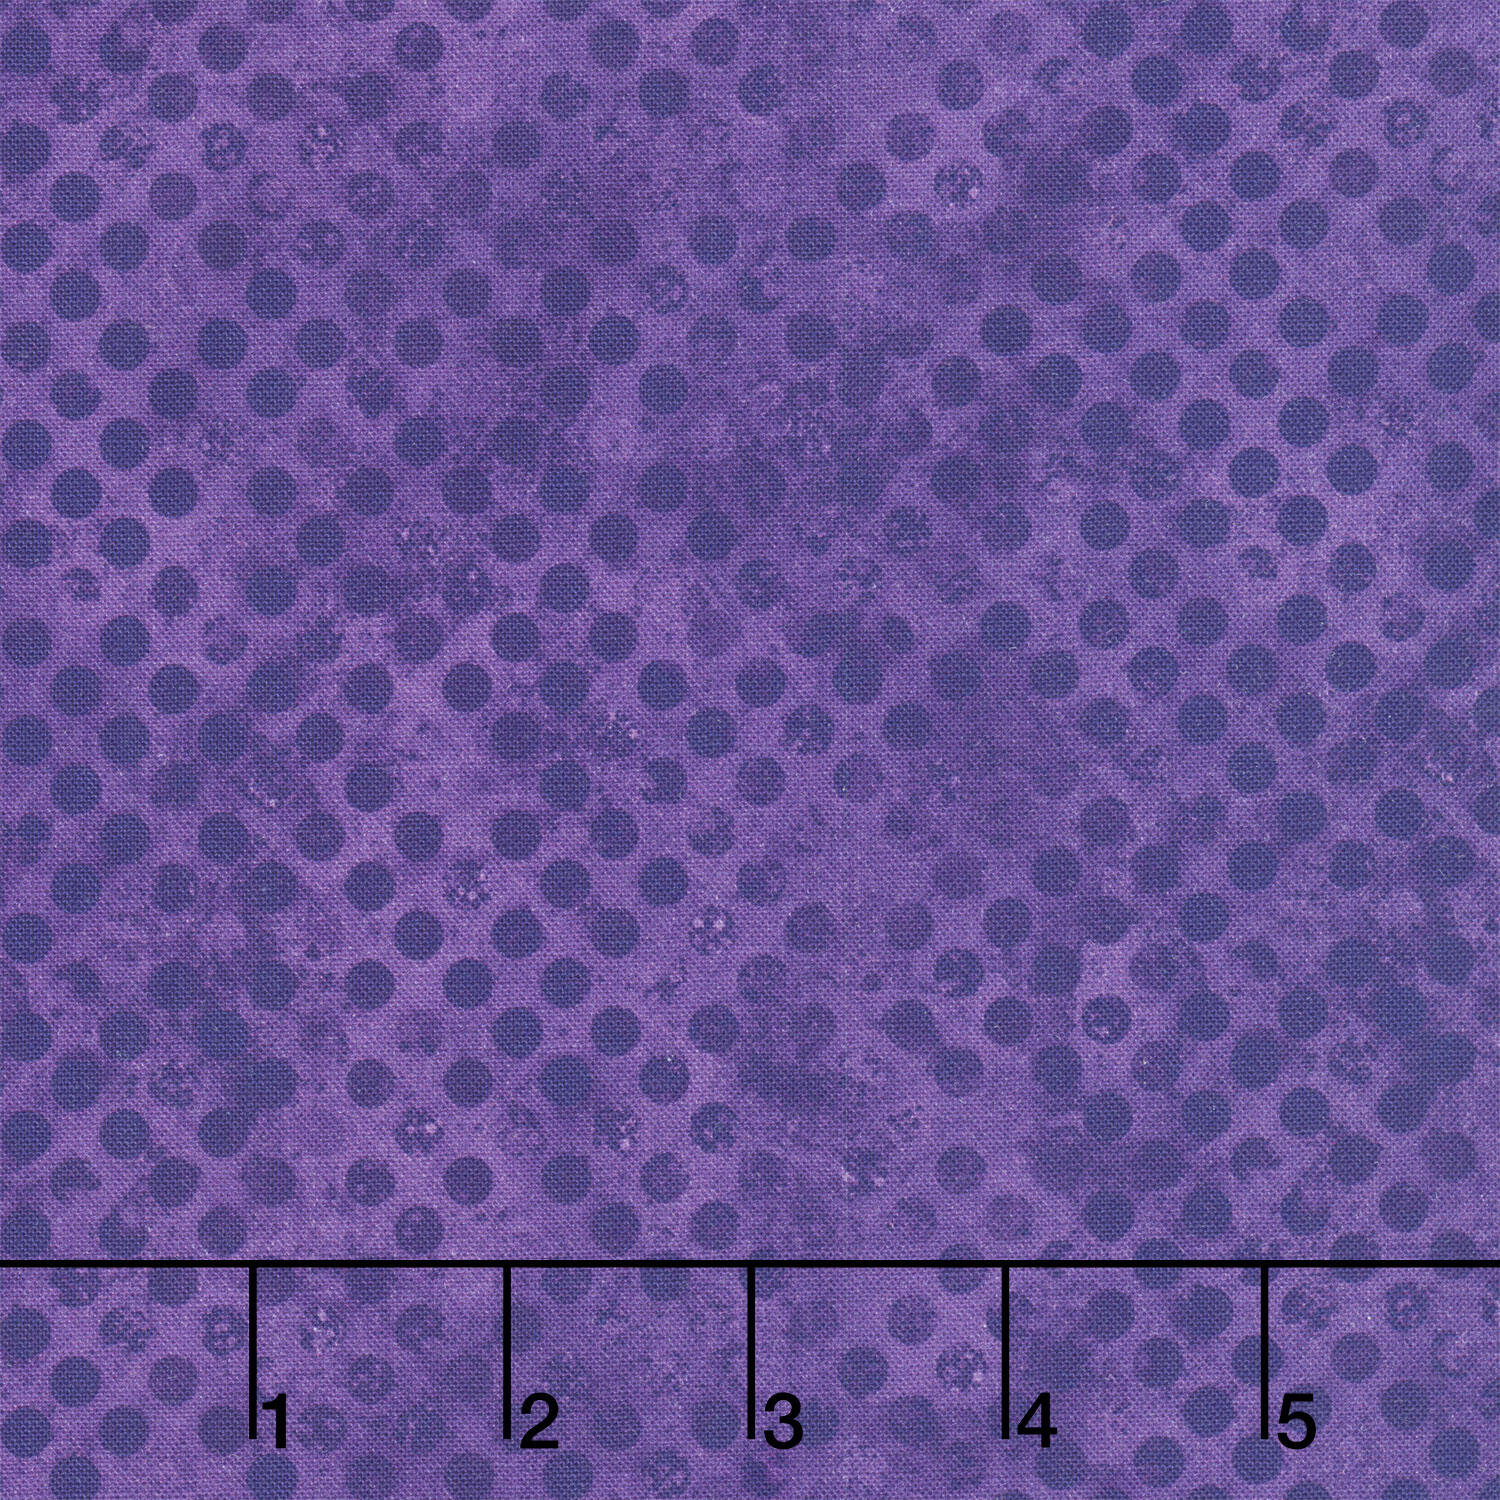 Fundamentals - Codici Blackberry Yardage$11.48Shop →
 Fundamentals - Stucco Charcoal Yardage$11.48Shop →
 Fundamentals - Gesso Espresso Yardage$11.48Shop →
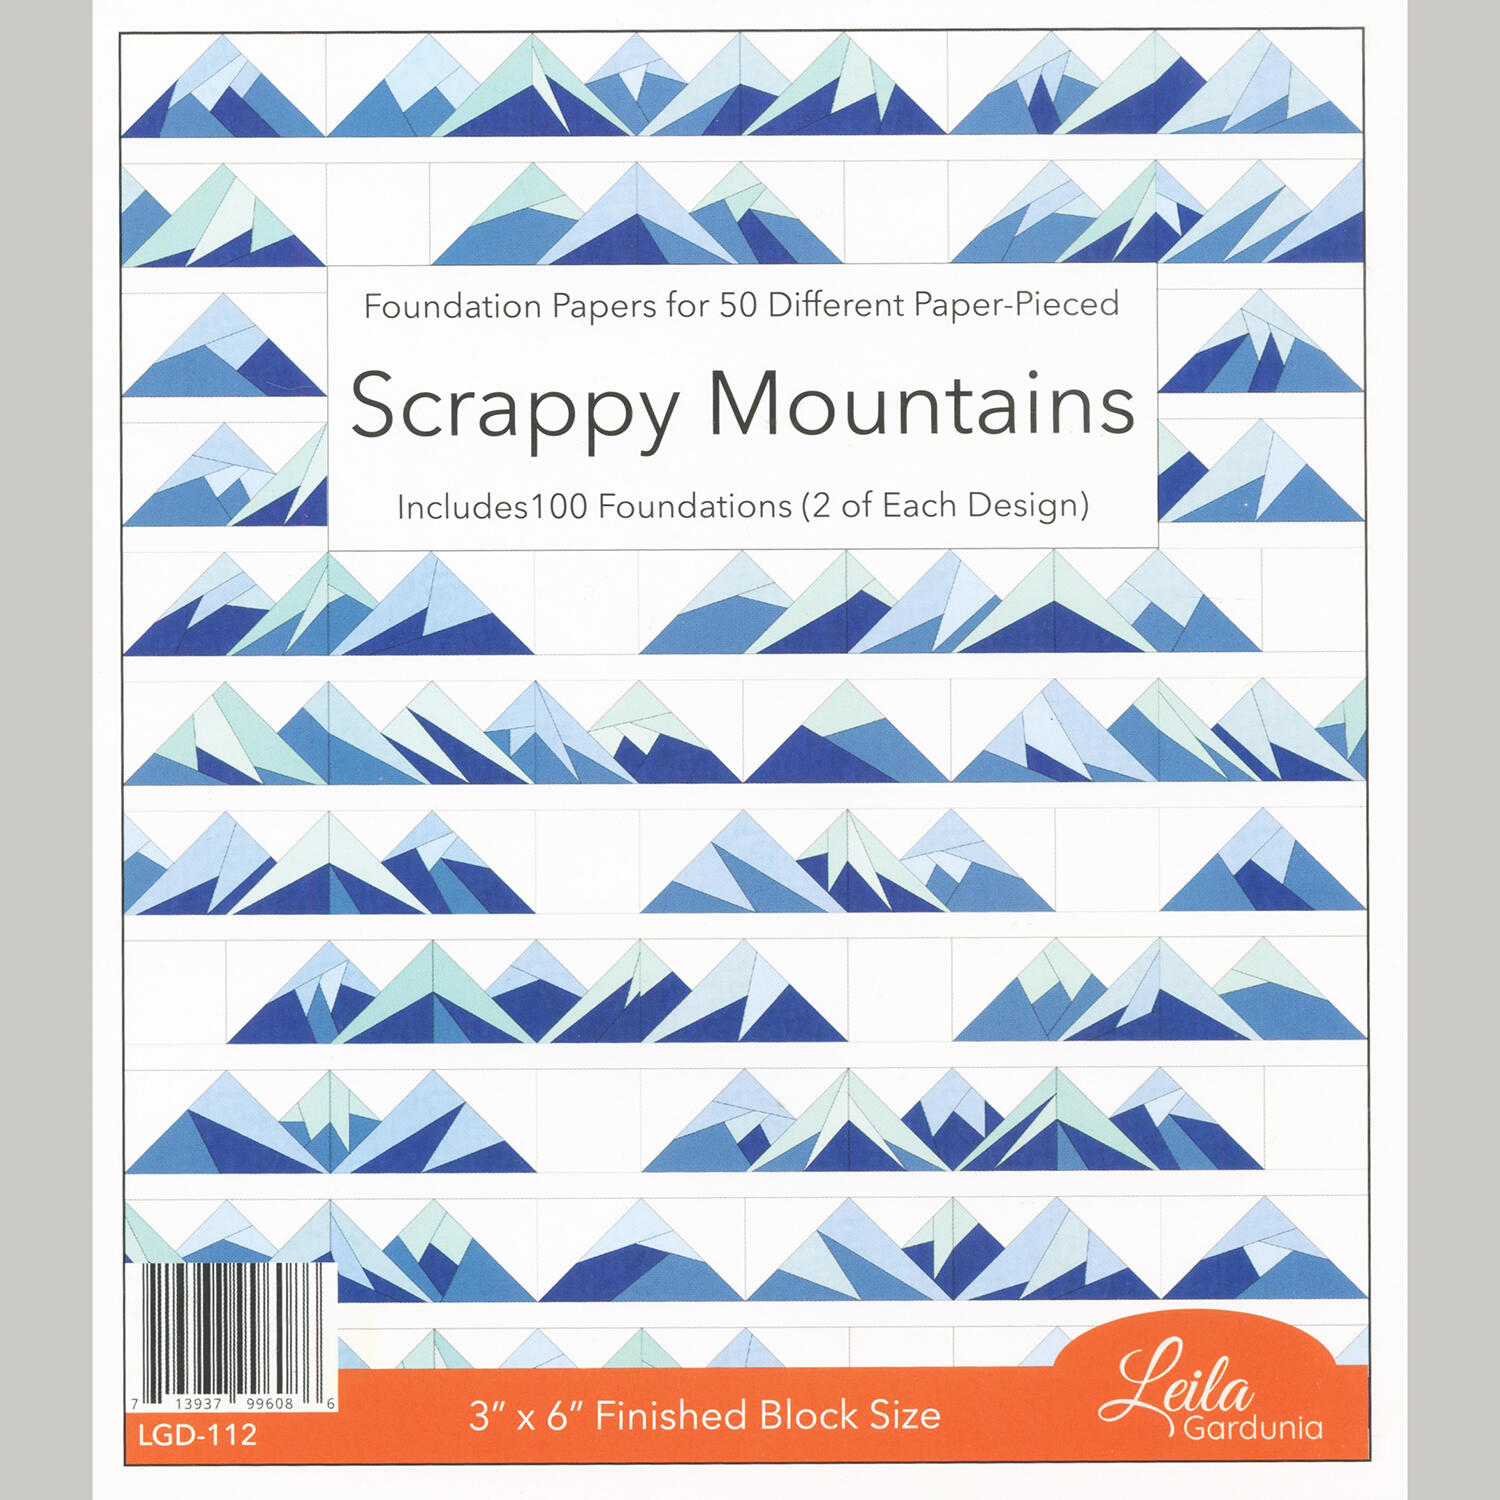 Scrappy Mountains Foundation Paper-Piecing Pad$17.75Shop →
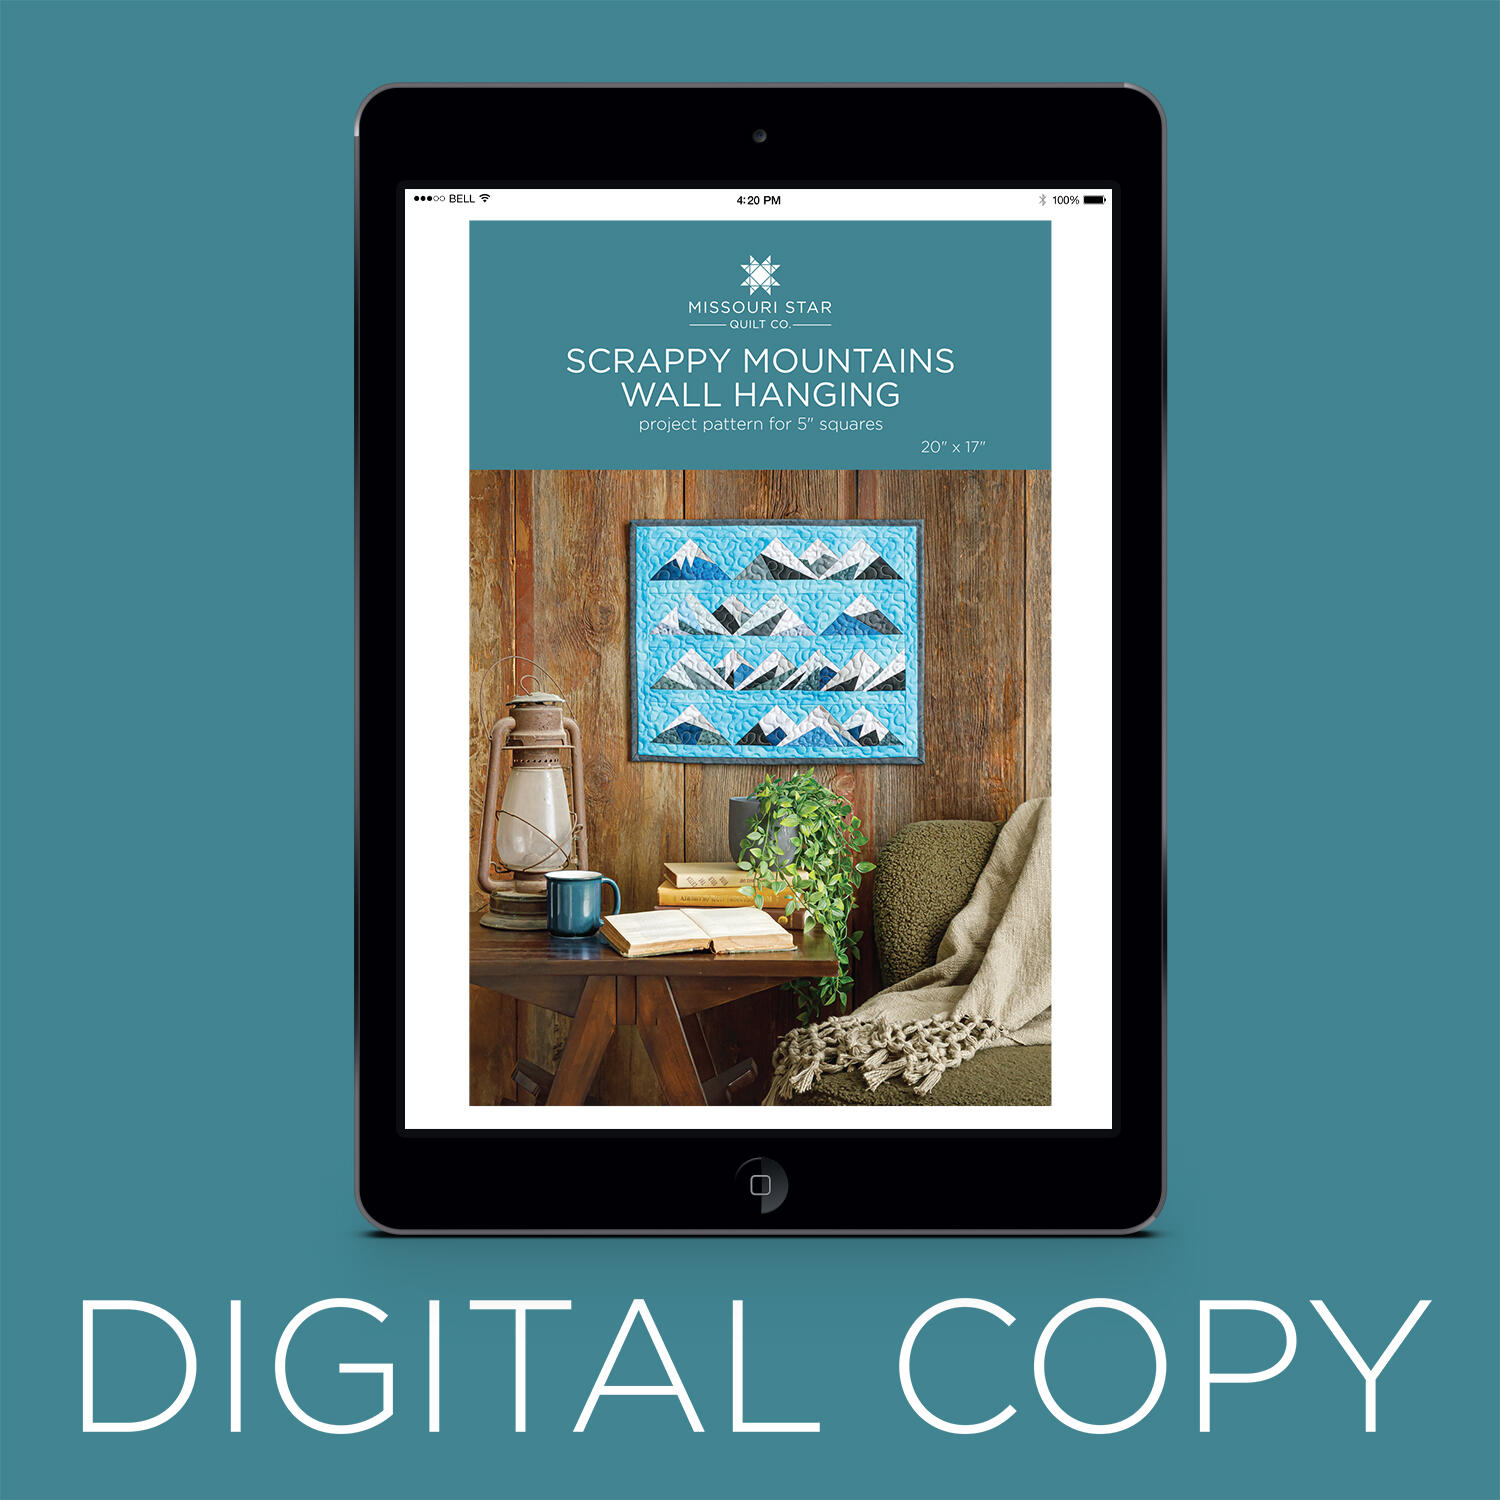 Digital Download - Scrappy Mountains Wall Hanging Pattern by Missouri Star$6.95Shop →
 Missouri Star 5" x 15" Ruler$19.95Shop →
 Missouri Star 2.5" x 8" Ruler$11.95Shop →
 Missouri Star 50 WT Cotton Thread White$7.95Shop →
 Missouri Star 45mm Rotary Cutter - Olga$19.95Shop →
 Missouri Star + Oliso TG1600 ProPlus Iron$209.95Shop →


