

Shimmering Snowflakes Table Runner
 Misty Doan
- Charm Pack
- Holiday
- Table Runner
- Intermediate
- Quilt size 17" × 42"
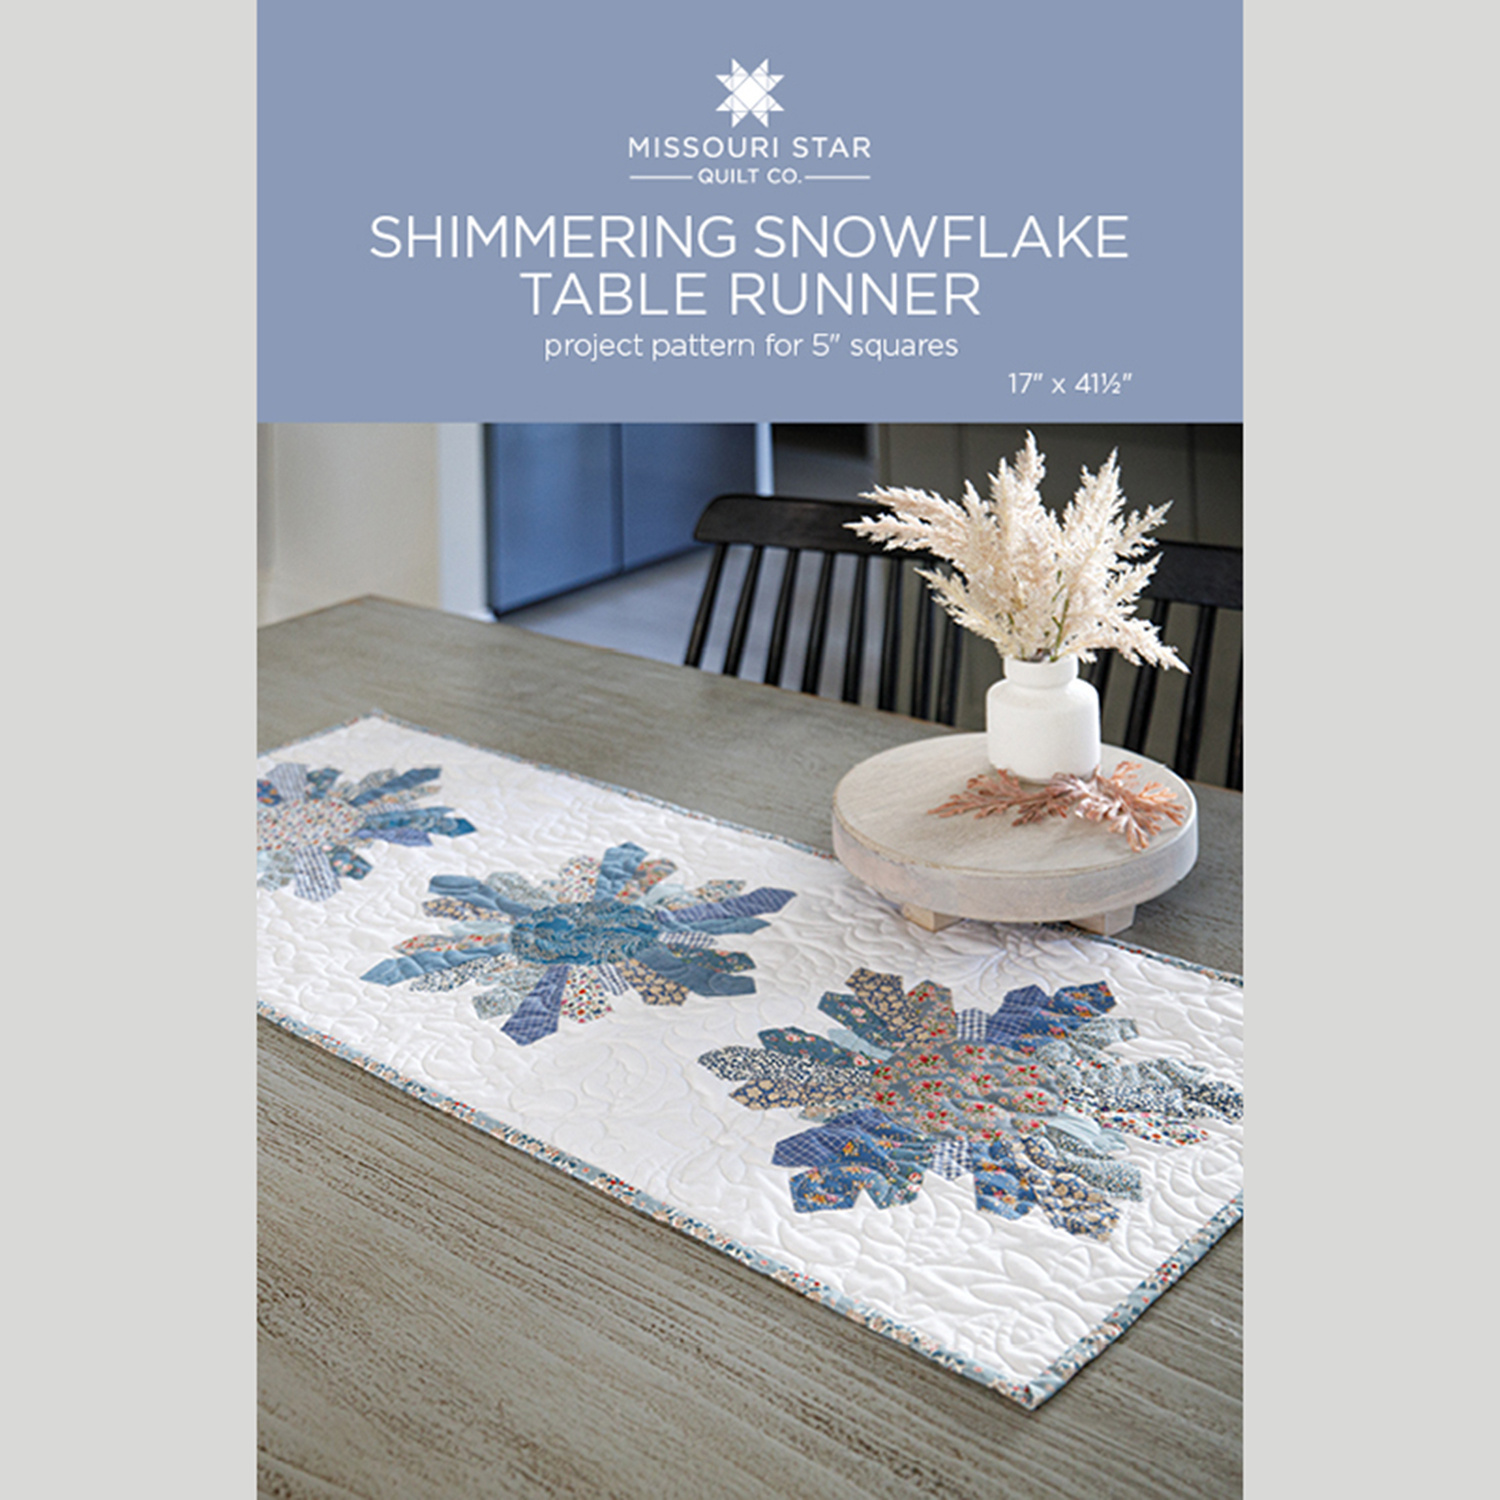
If your favorite things include snowflakes that stay on your nose and eyelashes, you’ll love snowflakes that stay on your table! The Shimmering Snowflakes table runner features Dresden-like snowflakes on a table runner that will bring enchantment to your table all winter long!
Instructor
Misty Doan
Misty Doan grew up surrounded by sewing and quilting. She loves spending time sharing tutorials each week each week, and when she’s not stitching up one of her fun sewing projects for home decor, most likely you’ll find her hanging out with her husband and three awesome kids or working on a house project.
Shop this tutorial
 Shimmering Snowflake Table Runner Pattern by Missouri Star$8.50Shop →
 Digital Download - Shimmering Snowflake Table Runner Pattern by Missouri Star$6.95Shop →
 Creating Memories - Summer Charm Pack$18.90Shop →
 Bella Solids - Super White Yardage$8.60Shop →
 Missouri Star Sew Light Fusible Adhesive - 17" x 2 yards$4.95Shop →
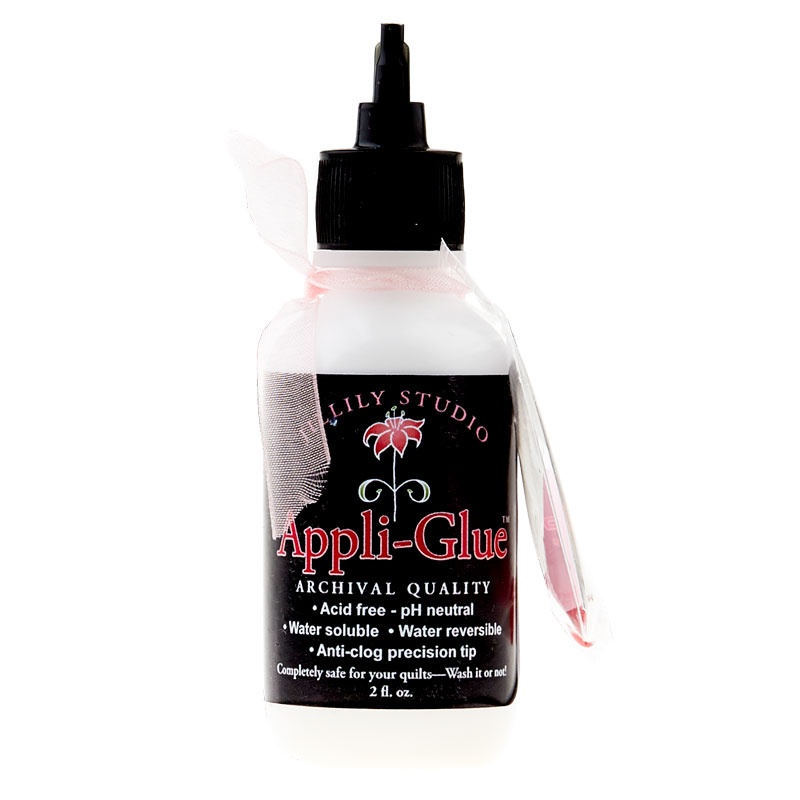 Appli-Glue 2 oz. Bottle$10.95Shop →
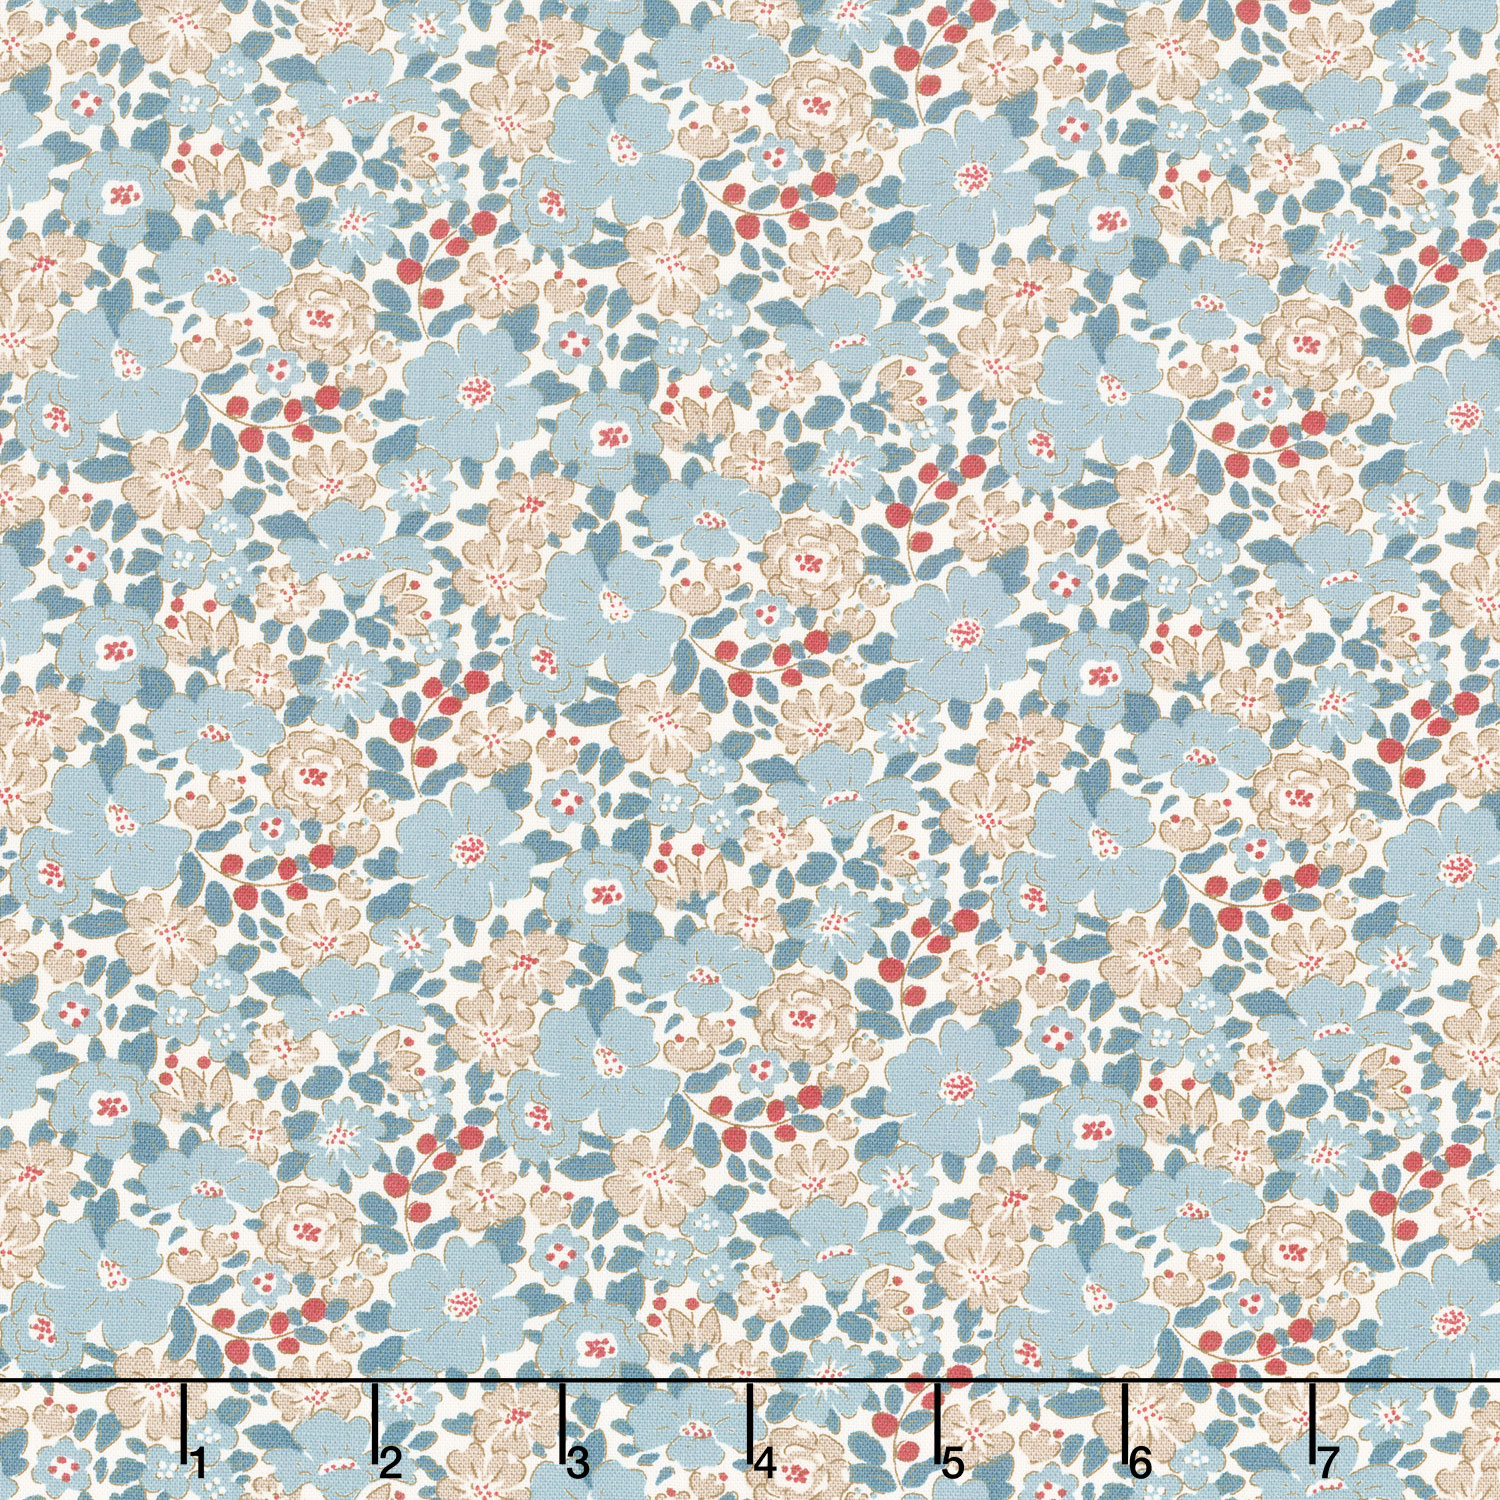 Creating Memories - Summer Harper Blue Yardage$14.96Shop →
 Missouri Star Quilter's Best Blend Bed/Table Runner Batting$14.95Shop →
 Missouri Star 5" x 15" Ruler$19.95Shop →
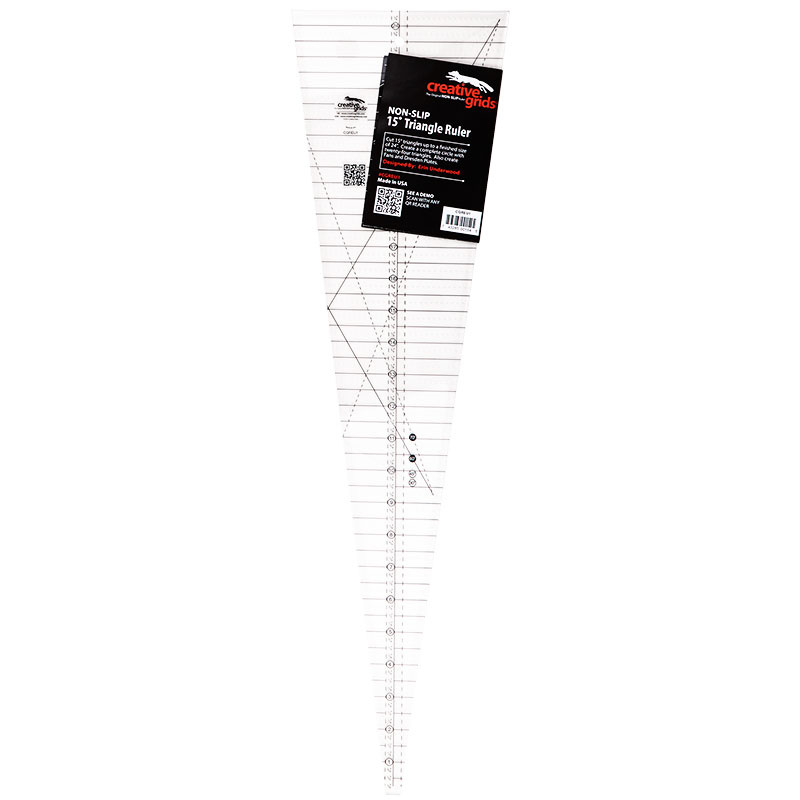 Creative Grids 15 Degree Triangle Ruler$31.99Shop →
 Missouri Star 45mm Rotary Cutter$19.95Shop →
 Missouri Star 8" Everyday Scissors$19.95Shop →
 MonoPoly™ Invisible Thread - Clear$8.75Shop →
 Exclusive Missouri Star Jenny TG1600 ProPlus Oliso Smart Iron$199.99Shop →
 Missouri Star Wooly Betty Board - 17.25" x 25.5" Orange Border$99.95Shop →
 Bernette 77 Sewing and Quilting Machine$1499.00Shop →
Common Questions
What is covered in Shimmering Snowflakes Table Runner?
If your favorite things include snowflakes that stay on your nose and eyelashes, you’ll love snowflakes that stay on your table! The Shimmering Snowflakes table runner features Dresden-like snowflakes on a table runner that will bring enchantment to your table all winter long!
How long is the tutorial video?
The tutorial video is 00:22:23.
Are supplies listed for this tutorial?
Yes. The tutorial page includes the supplies and materials connected to this project.
Is a transcript available?
Yes. A written transcript is available on the tutorial page.
Video Transcript
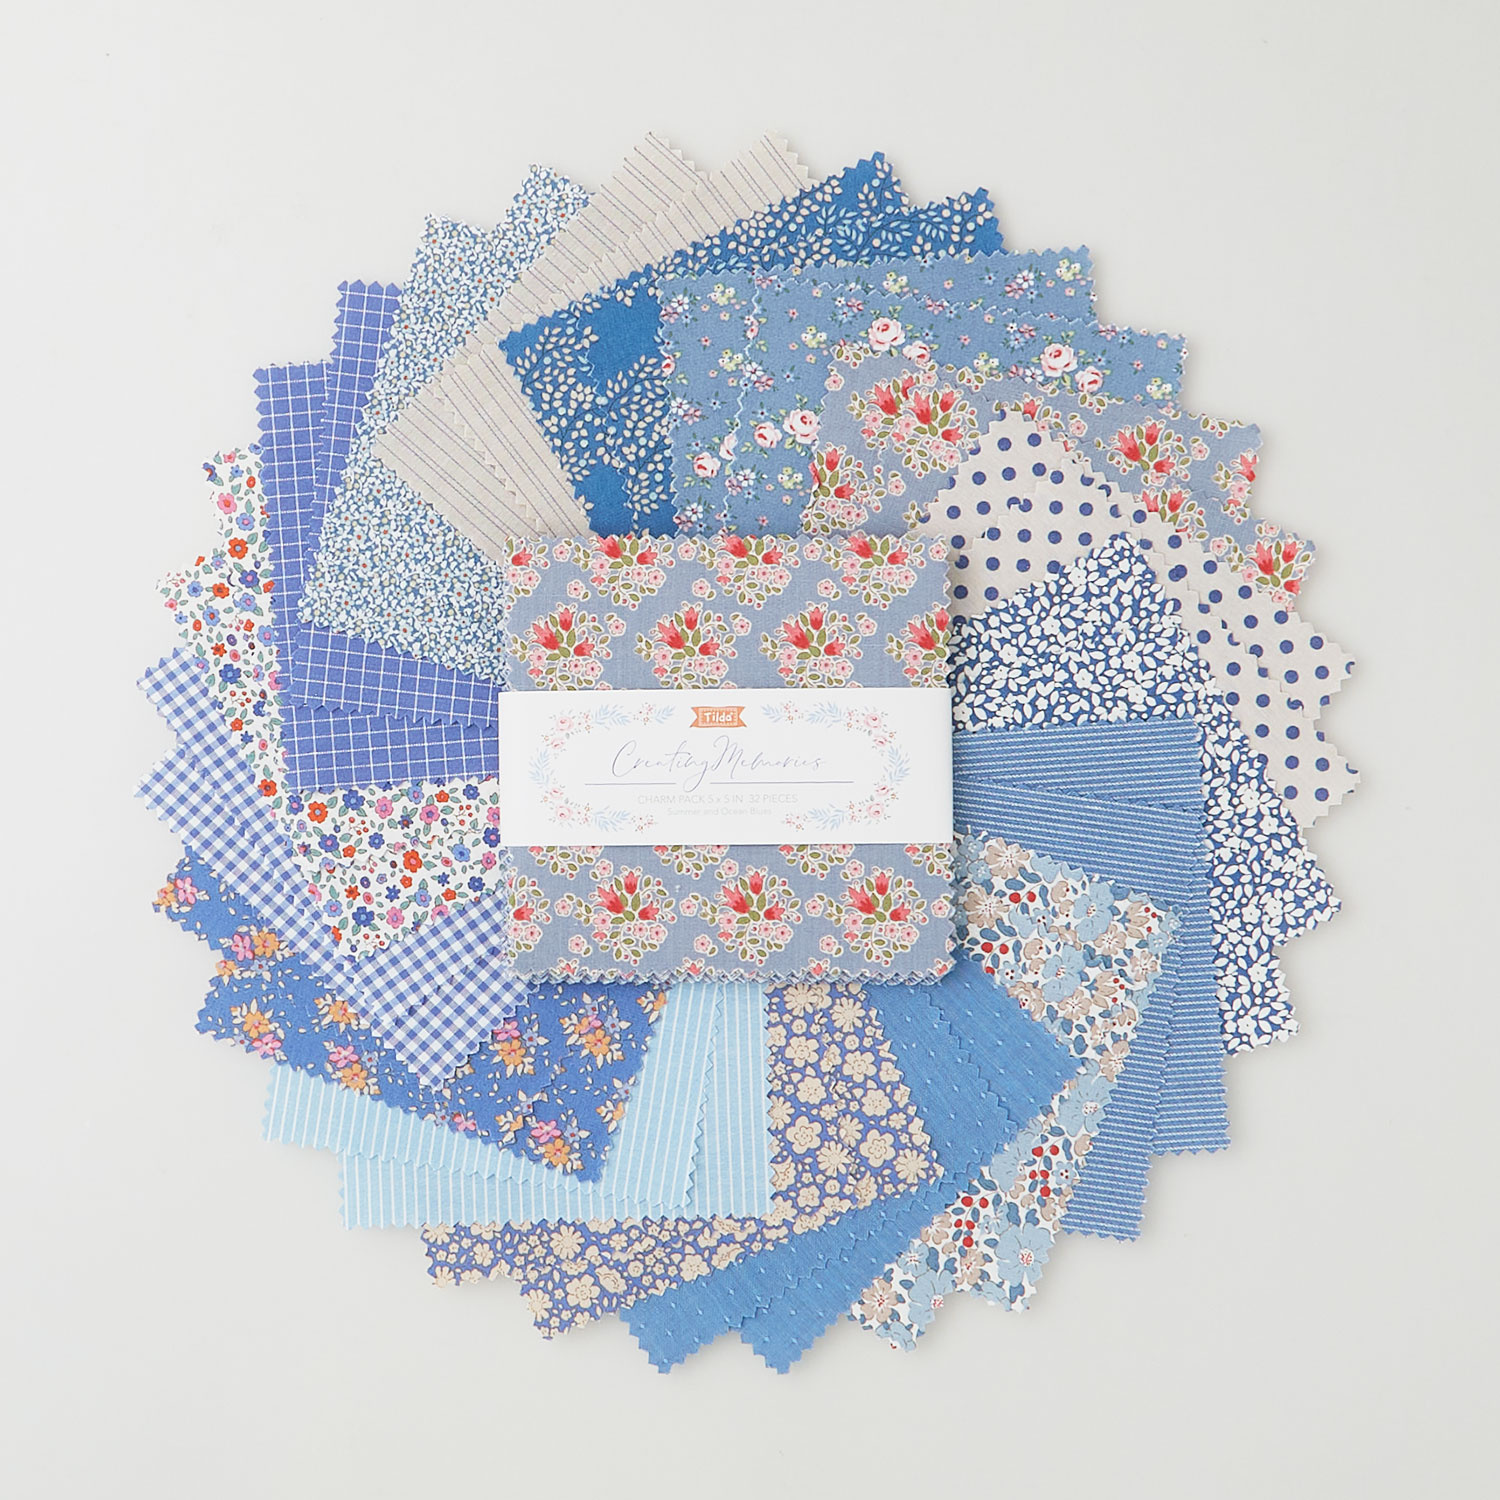
I'm super excited about today's project. I absolutely love how it came out. And to make it, you're just going to need one charm pack. I use this Creating Memories by Tilda and it's all in these beautiful blues. I just think it's so pretty. You'll also need ⅝ yard of your background Fabric and 1 ⅓ yards of your backing fabric with an additional ⅜ of a yard for the binding,
and I use the same print for both of those. You're going to want to grab this 15° triangle ruler from Creative Grids. And it will also be handy if you have some Sew Lite fusible, some Invisible Thread, some applique glue and a turning tool. So let me show you how to make it.
The first thing we want to do to get started is we're going to open up our
package of 5 inch squares and we're going to make three piles of eight. And it's going to be scrappy throughout, so you can pick different prints if you want. That's my preference. And so I have a stack here that I've divided up and the first three of those eight squares we are going to leave at 5 inches. So you can see I have three different prints here stacked together and then I'm going to take my triangle tool. And all of our cuts are going to start by lining up the bottom edge at the 2 inch mark of this ruler. And so we want to make sure we're lined up along the bottom edge and to the outside of this corner. And so I'm going to start by making one cut here, and then I'm going to go ahead and turn this just to save time, slide this down to the 2 inch, cut the other one. This is going to be waste, that's okay. And then I'll flip this around, so I can cut the other side. And again, just always make sure you're lining that 2 inch measurement up with the bottom side of your fabric. And so here is our 5 inch blades - I have those ready to go. And so then our next stack we are going to choose four that are going to make our 4 inch blades. And so we'll stack these up, make sure they're nice and straight. Then I'm going to use my ruler and trim these down so that they measure 4 inches by 5 inches. We'll get rid of that, and then we can rotate this again so we can cut with our ruler. Again, lining up that 2 inch line and I always come back and cut that one later. I don't know why it just makes sense to my brain. So we just flip our ruler over and we can cut across. And I just keep them stacked by size and you should be able to get three from your 4 inch stack. So then we'll flip this around, and you can see it comes right to the edge, so just make sure when you make that first cut that you're as far over as you can be so that you have room to get all of those out of your rectangle.
And so then from your last 5 inch square, that's going to make these little bitty blades. So we'll begin by cutting this in half so that it measures 2 ½ by
five, there we go. And then I can stack these up just like so. And exact same idea, we're going to line up that 2 inch line first along the bottom edge and just rotate this back and forth to get all of the cuts that we need. And then turn this one around just like so. And so now that you have all the cutting done, just to make this abundantly clear, you are doing six that are 5 inches tall, 12 that are 4 inches tall, and six that are 2 ½ inches tall. That's what we end up with in each of these piles. So if you're using scraps or something, that's what you're looking for to make each snowflake.
So now we can take these to the machine and we're going to turn these into essentially what you would consider a Dresden. We'll do that by folding the top in half right sides together and sewing straight across. And so I'm just going to sit here, one after the other, and feed these through until I have enough done to make a snowflake. So we'll just get started. One thing that is really helpful here when you're doing a project like this, is to back stitch and shorten your stitch length. And so I'm going to back stitch there and then I'll just zoom through and back stitch again. It takes a little bit more time, but it will save you time in the long run because it won't pop out when you go to turn these later. So like I said, I'm going to zoom through these and I'll meet you back here when it's done.
Okay I have a few of these sewn, so I'm just going to go ahead and cut these apart. Now so if you have scissors or a little rotary cutter to cut in
between, I didn't sew all of them but I sewed enough to get us started. And I have the rest already done. Okay so now one thing I'm going to do first on these little guys - it is really helpful if you trim off the bulk from the point area. So I'm just going to make sure I don't get too close to that seam and cut off some of this extra fabric to make it a little sharper when we turn this point. So just like, so it doesn't seem to matter on the other two sizes, but it really makes a difference on these little guys. And we're also going to take our little turning tool and I have some spray starch that really helps as well, and we are going to start turning these just like so, so that our little points will be like that. And then we can take it over to the iron and press them all into place. So I'm just going to flip these all right sides out. You can see it goes pretty quick, especially with this little tool, kind of makes all the difference. There we go. And then we can take these over to the ironing board and press them so that they lay nice and flat.
So let's go ahead and do that. So what we're looking for is for that seam
that we have to be running basically down the middle and it's pretty easy to eyeball it. And so we're just going to do that and then press them in
place. So we'll make our way through all of these. It's pretty forgiving, because on this particular design we're not matching up those top peaks since they're different sizes. And so just eyeball it and get it as close to the middle as you can and you'll be good to go. So we'll just get all of these
pressed and then I'll meet you back here and we can talk about layout.
All right, so we have all of these pressed now and so let's talk a little bit how you're going to lay out each section, because I made these in six sections that go together in our Snowflake and they're all made exactly the same. So you're going to need one of your 5 inch blades, two of your 4 inch blades, and one of the little 2 ½ inch blades. I'm actually going to swap that guy maybe for this floraly one, just because I like it. All right and so then we're going to sew these together. So it goes four, five, four, 2 ½, and you're going to make six units just like this.
So let's go ahead and sew this one together and I'll show you how we press these individually, because that's kind of the magic of this whole project. So we're going to start by lining up the narrow side of our blades here and I'm going to back stitch and sew to where the small one ends. Then I'll back stitch again there. All right, cut our threads and if you have your ironing board close to the machine it's really helpful to press in between. You can also wait to press after you finish sewing these four together - it's really whatever is your preference. I'm going to go ahead and sew them all together and then I'll press at the end. So now that I'll just kind of finger
press this out of the way for now. And we'll add our other 4 inch blade to the opposite side, again lining up that narrow bottom end and we will just stitch this down, there we go. Again I'll kind of finger press that, and we're going to add that little 2 ½ inch blade to just one side, one of our 4 inch segments and whichever side you choose you just need to do that every time. So the same order every time, there we go.
All right, so now we are ready to press this. And so let me show you how I
go about it, because you can see here we have some raw edges that are showing along here and we want to make sure that that doesn't show in the final version. So I'm going to start with this little blade here and I'm going to roll back the one next to it. It takes a little maneuvering and that's automatically going to kind of make that quarter inch turn under. And so you can see now my little raw edge is turned under all the way up to that tip. And I'm just going to continue working from the smaller blade to the larger. And so I like to kind of lift this side and then it lets the rest of this fold under naturally and then we just don't have to work quite so hard. We don't have to get our fingers so close to the blade. So now I'm going to work from that other side. Remember we're always going from the smaller blade towards the larger. So I'll put this 4 inch blade down on the bottom, and I'll turn this this way. And I'll start by pressing there and then pushing towards that 5 inch blade. And again, it's just going to tuck all of those raw edges underneath which is exactly what we're looking for. And you're going to have six segments that look exactly like this to make your Snowflake.
And so I have some other ones ready to go here. So I have one half already put together here and then we're going to assemble these other three sections into our other half. and so you can see how these are going to go together. So I'm just going to go ahead and take these to the machine, sew them together and then in the same way we press the segments, we'll do that method with each of these halves as well. So that all of those raw edges are just tucked under and out of the way. So let's go ahead and sew these, and I'll press them and meet you back here.
All right, so I have both of my halves complete and pressed under, so all of those raw edges are tucked away. And so now we can just put these together. You can see how these are going to match up so nicely. And so
this is really simple, don't overthink it. We're just going to line up these little small pieces in the middle and make those final two seams, and then we'll press in the exact same way. So let's go ahead and do that together. I always like to start, you know, when I'm joining these with the smaller
of the blades on top. It just helps me to see it a little bit clearer and I know
where to stop stitching and I don't have to continue all the way down. So again, we're going to do some back stitching just to anchor. Sometimes those little extra steps save you so much time, especially on things like applique. We don't want it to be difficult. So now I'll flip this around and over, again making sure that smaller blade is on the top, just so I can see it.
Okay, so now let me show you one last time how to press under those two little edges so that we don't have anything showing. And so we'll do that by putting our smaller blade down, had to kind of orient myself. And rolling it back towards the larger one, and it just automatically wants to turn under for you, which is so helpful. So then we just have one more on this other side. Again that small blade is down, and rolling this one back and sometimes you have to help guide it a little bit. There we go, that looks pretty good. And so this is one of those things where if it's not laying super flat or if you've got a little pucker, or sometimes even these top edges start by being turned under and then want to flip up. So this is a great chance to use just a little bit of spray starch and then just press, don't drag your iron but just press straight down, to kind of strengthen all of those turns that you've made under. And it just really makes the whole snowflake lay nice and flat which is what you're looking for. There we go, I think that looks really nice.
So you're just going to repeat that exact same thing until you have three of these done. Let me show you how to put it on our background fabric. So I have a piece here ready to go. Move some of this out of the way. So I just cut an 18 inch piece from our background fabric by the width of fabric
and then trimmed it to 42 inches long. And so I have this all folded because I find it really helpful to have a crease the full length and in the middle. So you can see I've pressed that so I have this kind of guideline there to work from. And so now we are going to take our first snowflake. And I started by lining up vertically the smaller blades and horizontally the larger ones should go on our crease lines. And so that's kind of the first step and then I have some applique glue, and this is what I use to kind of just hold this in place while I was working. A little bit goes a long way if you've never used this before. We're just going to put a tiny dot about a half an inch down from the tip because I don't really want this to go or get in the way of my needle. And so I'll just put a little dot on each of these…there we go, just a few more here and just like so perfect. And so once you have those dots of applique glue in place, you can take this back to the ironing board and just
hit it with a hot iron and it will kind of set that glue.
So I'm just going to move this over again. Just be careful not to drag - you just want to really press straight down just like so. And that tiny little bit will help anchor this in place before we can do our applique stitching. There we go. You can see it's staying really well which is what we're looking for. And so now we just need to make that circle to finish off the middle. So let me show you what we did for that.
All right, so let's move this up out of the way. And so the first thing you're going to want to do is you're going to cut a 5 inch square from your Sew Lite fusible, whatever fusible web you have, and you're just going to fuse that to the back of another 5 inch square from your pack. So I've gone ahead and done that here. And then in the pattern there's a 4 ½ inch circle - that's about what you need, but really you just need to find a circle that will cover the middle of your snowflake. And this little pin dish that I had just so happens to be the perfect size. So I'm going to turn this over on the back of my 5 inch square and I'm just going to trace it. Sometimes it's best to just make do with what you have lying around and this certainly does the trick. There we go. And so now I can just cut that out real quick. Need like Jeopardy music or something going while I'm cutting, just for pure
entertainment. There we go, there's our circle. And then we can just kind of crease that and that will make the paper lift away and we'll leave just the glue behind. And so now we can take this over to the ironing board. And again we just want to make sure that our circle is going to cover all those raw edges in the middle. If you want to, you can fold it in half and kind of give yourself a little crease line so you know where your middles are, but I really find it's mostly okay to just eyeball it. And so then you know those little creases need to go in the middle of those blades, just like so. And we can just give it a press and now we know our snowflake is going to be really stuck. Perfect!
All right, there you go. So now our middle snowflake is adhered. Since I only have this one snowflake, let me talk a little bit about how I added the other two, because I want you to see this so you can see how the center is lined up. On the two sides, I just rotated the snowflake so that instead of the small one being pointed up here on each end, it's the larger blade and it just gives it some movement across the runner which I really liked. And I lined up those points 7 ½ inches in from the edge. So it's just going to go together the exact same way, and all you're going to do now is finish this off, either with some hand appliqueing all these edges down. My preferred way is using some Invisible Thread and an applique stitch on my machine to just stitch down all these edges and of course this center circle.
And so you can see how beautiful that turns out on this finished runner. I
think it's just absolutely great and the thing that I like about it is it's great
for all winter long. So even after Christmas is over, you can leave this out
on the table you know all the way through the winter season which is so
fun. I quilted it with Christmas Paisley and it finishes up at 17” by 41 ½”. I just think it's a great little project and I hope you enjoyed it. I'll see you next time on At Home.


