
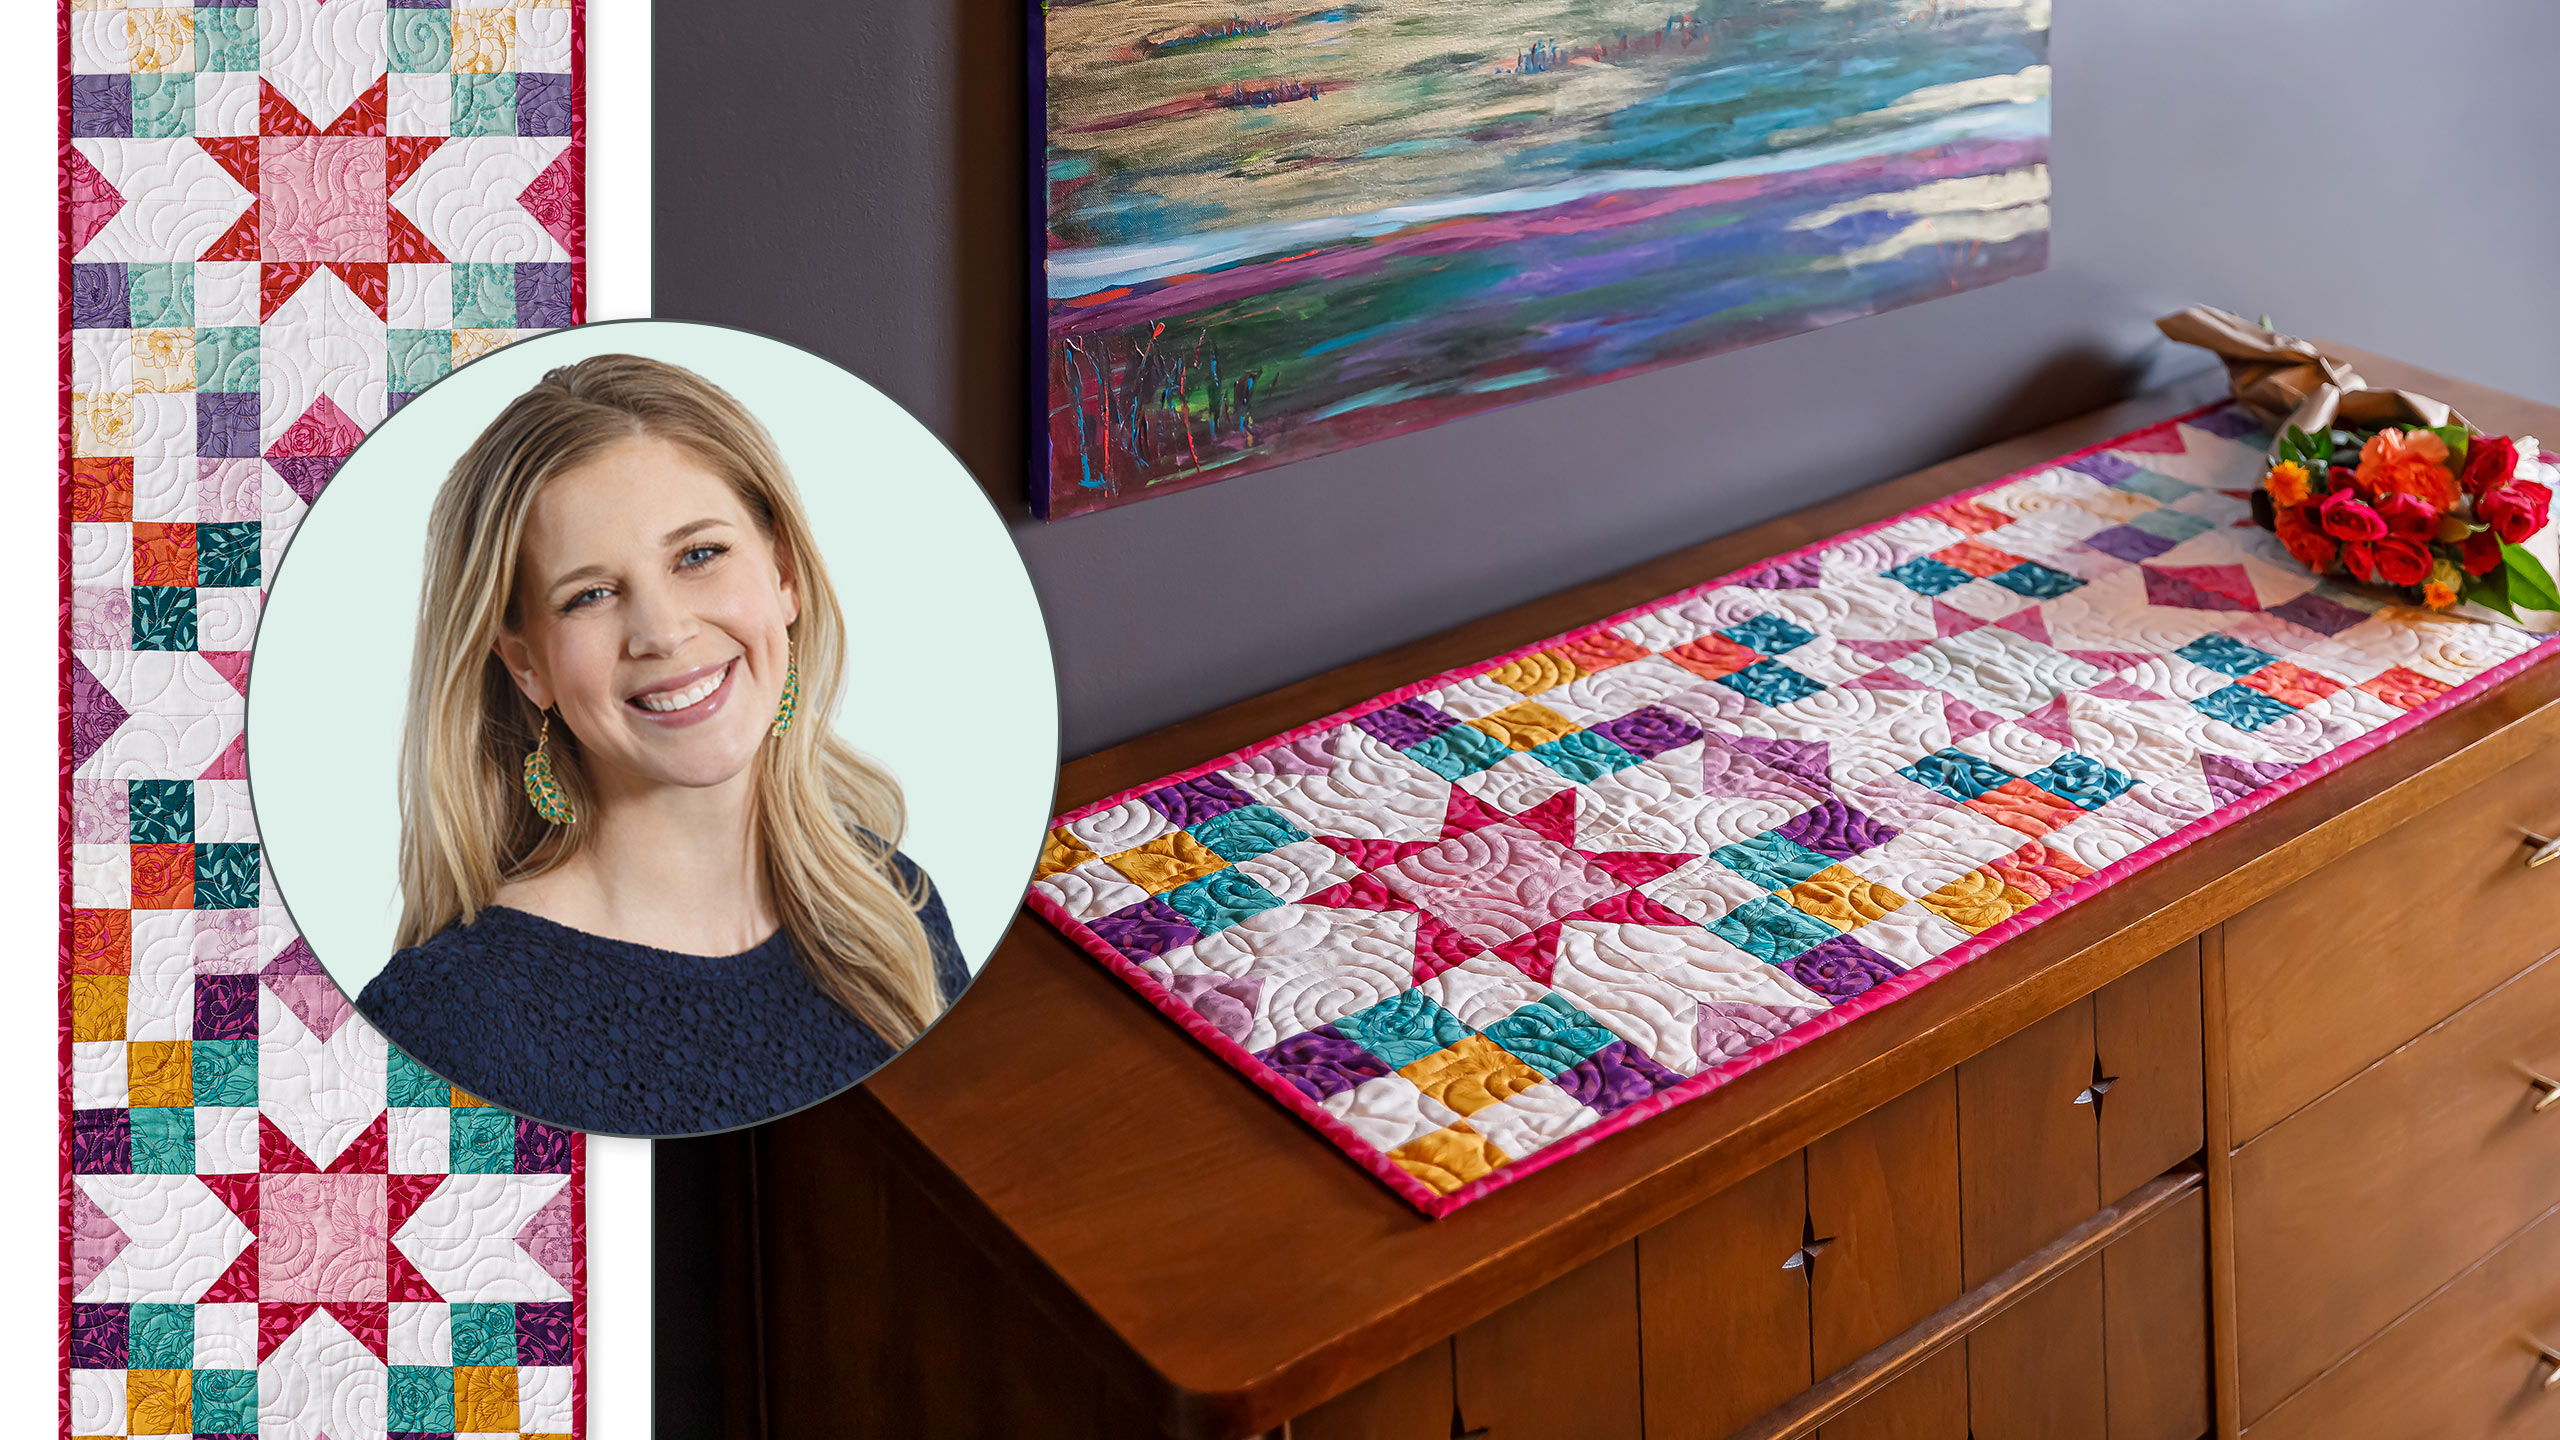
Shimmering Stars Table Runner
 Misty Doan
- Charm Pack
- Modern
- Table Runner
- Intermediate
- Quilt size 16" × 48"
Color Me Pretty! That's the name of designer Stephanie Organes’ fabric collection used to make an oh-sew-pretty Shimmering Stars table runner. Vibrant hues complemented by softer shades make this project shimmer! Stephanie joins Misty as they also make Stephanie’s brand-new pillow design.
Instructor
Misty Doan
Misty Doan grew up surrounded by sewing and quilting. She loves spending time sharing tutorials each week each week, and when she’s not stitching up one of her fun sewing projects for home decor, most likely you’ll find her hanging out with her husband and three awesome kids or working on a house project.
Shop this tutorial
 Shimmering Stars Table Runner Pattern by Missouri Star$8.50Shop →
 Digital Download - Shimmering Stars Table Runner Pattern by Missouri Star$6.95Shop →
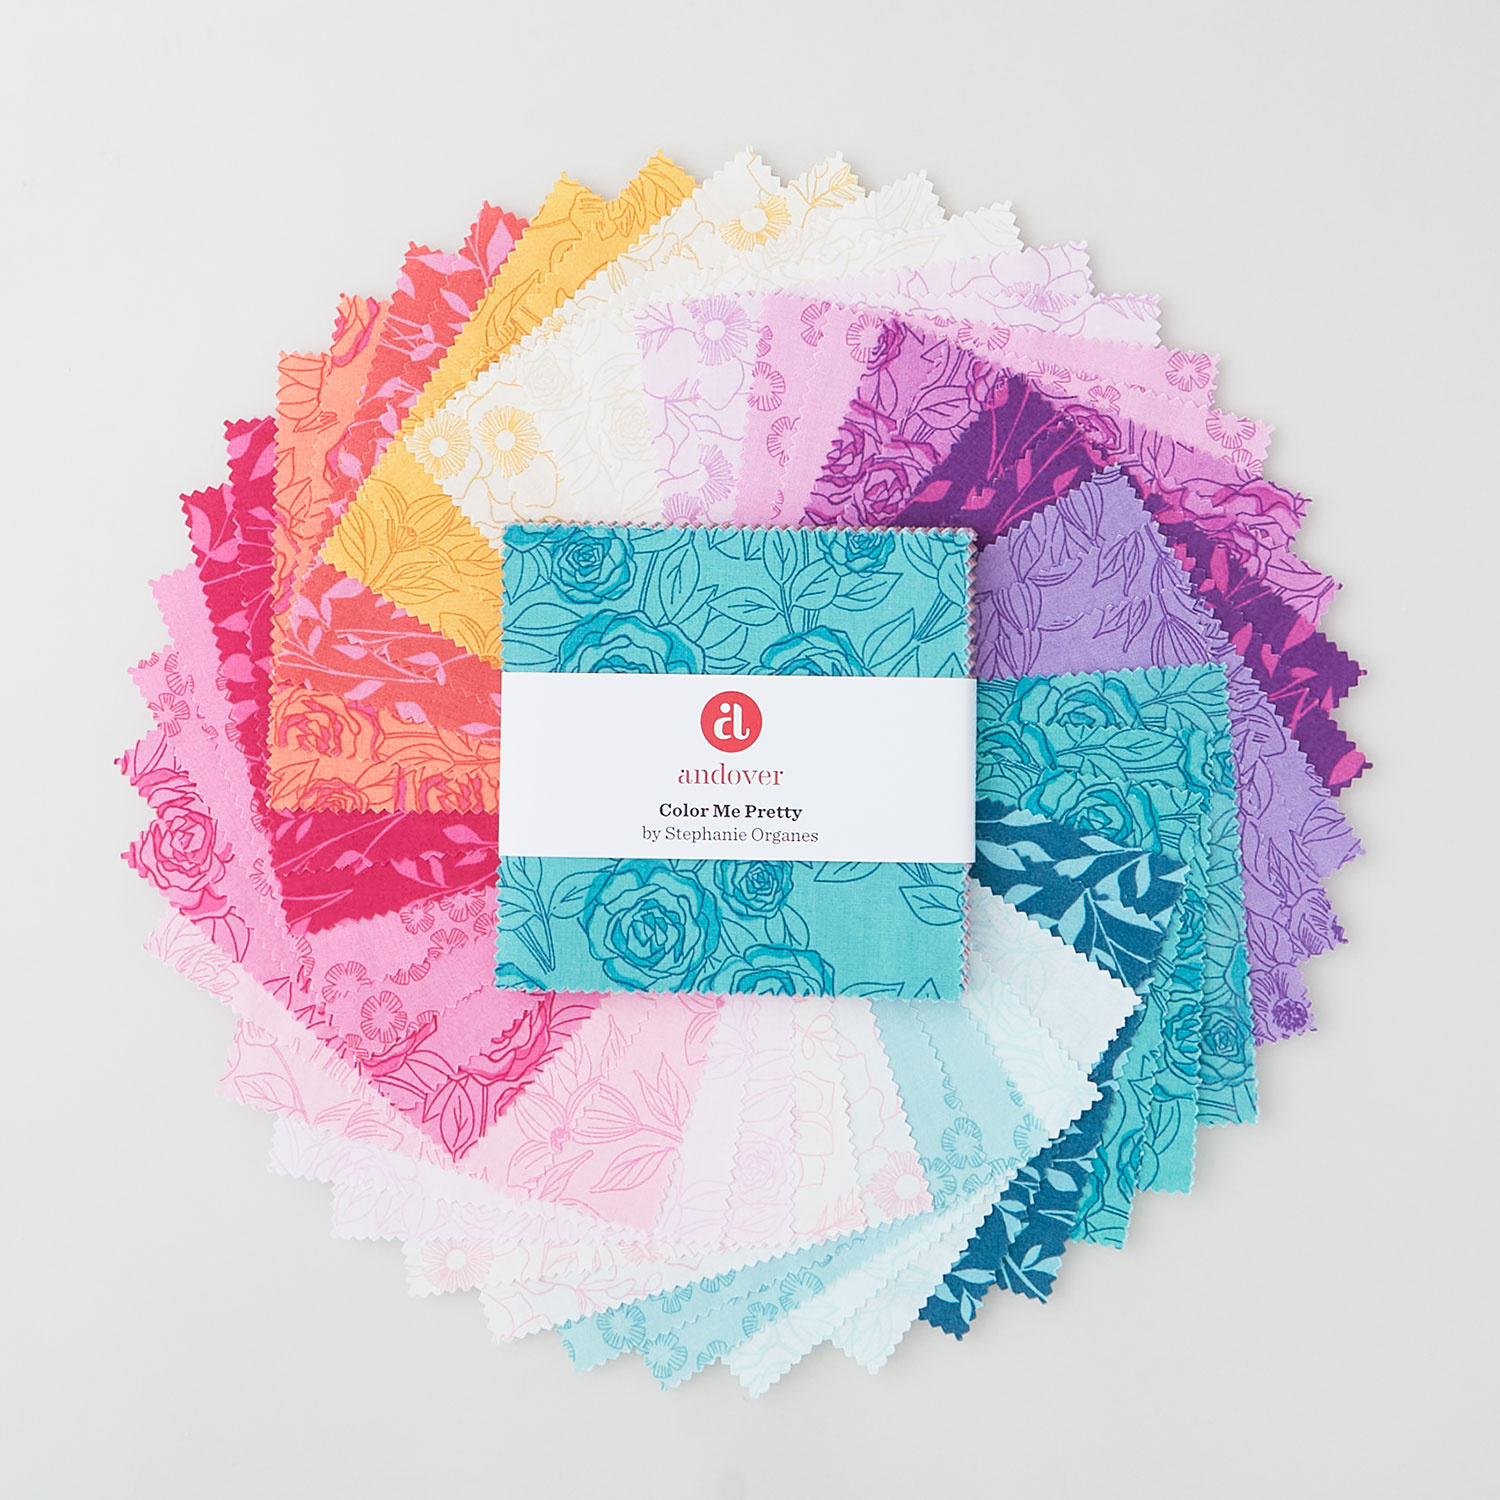 Color Me Pretty Single Scoops$11.50Shop →
 Kona Cotton - White Yardage$7.48Shop →
 Color Me Pretty - Meadow Magenta Yardage$12.44Shop →
 Color Me Pretty - Flora Lavender Yardage$12.44Shop →
 Missouri Star Quilter's Best Blend Bed/Table Runner Batting$14.95Shop →
 Missouri Star 2.5" x 8" Ruler$11.95Shop →
 Missouri Star 45mm Rotary Cutter$19.95Shop →
 Missouri Star Seam Ripper$9.95Shop →
 Missouri Star 4.5" Everyday Scissors$9.95Shop →
 Missouri Star 6" Everyday Scissors$12.95Shop →
 Missouri Star 50 WT Cotton Thread White$7.95Shop →
 Exclusive Missouri Star Jenny TG1600 ProPlus Oliso Smart Iron$199.99Shop →
 Missouri Star Wooly Betty Board - 17.25" x 25.5" Orange Border$99.95Shop →
 Bernette 77 Sewing and Quilting Machine$1499.00Shop →
Common Questions
What is covered in Shimmering Stars Table Runner?
Color Me Pretty! That's the name of designer Stephanie Organes’ fabric collection used to make an oh-sew-pretty Shimmering Stars table runner. Vibrant hues complemented by softer shades make this project shimmer! Stephanie joins Misty as they also make Stephanie’s brand-new pi...
How long is the tutorial video?
The tutorial video is 00:12:11.
Are supplies listed for this tutorial?
Yes. The tutorial page includes the supplies and materials connected to this project.
Is a transcript available?
Yes. A written transcript is available on the tutorial page.
Video Transcript
All right, so this runner is super fun because it's just made up of three big blocks just like this one. In order to make it you are going to need one package of 5 inch print squares and like I said I used Color Me Pretty by
Stephanie Organes for Andover Fabrics. You're also going to need ⅔ of a yard of your background fabric, 1 ½ yards of your backing and ⅜ of a yard for your binding. So let's go ahead and get started with making this!
So I wanted all of my blocks to still have lots of contrast. So what I did is I
went into my package of 5 inch squares and I pulled out some colors for the different sections. So up first, I have this guy here for the middle of my block. And then I'm going to have one for my star legs and one for these outside flying geese. And then the rest is going to make up these nine patches in the corners. And so I picked these three colors. So I have two of each of these, two of each of these, and the one for my middle. So this is what I'm going to need from my prints to make one block.
So now let's go ahead and start by trimming up our center square, and we're just going to cut a half inch off of two sides to trim this down to 4 ½ inches, so I'll go ahead and do that. Then this can just be set aside and it is good to go. Then from our colors that we chose for our star legs and our outside, we’re going to stack these up and I'm going to cut them in half in both directions so that I get a bunch of 2 ½ inch squares. So I just want to make sure I have it all lined up and I can just cut and cut there we go. And then I am going to go ahead and separate out my colors and make little piles just to make it easier for myself.
So I have those ready to go and then I'm going to pair that up with a background strip that measures 2 ½ by 6 ½. And so we are going to actually need eight of these for each block and how this is going to go, is we are going to take two on one side of one color and two on the other side. Then we are going to draw a line corner to corner and within the same strip these are going to run the same direction but we need half of them going one way and half going the other. So I've got one little pile that I'll make here. Whoops make sure I'm going corner to corner, there we go. And then the other ones are going to go the opposite direction, corner to corner. So you're just making four strip sets like this one way and four the other.
Now we can take this to the sewing machine. And when you have four at a time you can chain piece one after the other and just sew right on that line. Okay I have finished chain piecing this entire set. You can see I started here and just went point to point all the way down on these darker pink and then came back and went point to point on my second ones. So then now I can trim these apart. I already did the set going the other way because, remember, you're looking for opposite directions here. And so we can go through and trim off all of our excess leaving our ¼ inch seam allowance. And then we can press these, whoops didn't get all the way to the end there, and one more, okay. All right so now let's take this over to the iron and press these open.
We'll just roll those back one after the other, right one more. Okay beautiful now I have all of those ready to go and here is our set going in the opposite direction. So one thing I want you to keep in mind is you can kind of decide at this point which one of these colors you want to be your star leg. I really like this dark pink - I think it'll pop in the middle. So I'm going to make sure that I sew these together so that the dark pink is going to be on the outside and that light purple is going to form our flying geese. So we can put these together in strip sets now just like so. And we'll, you know, chain piece again and sew all four of these together. So I'm going to take these to the machine and do that.
Okay, all right. We've sewn together all of those strip sets. Now we can cut them back apart. Now I will press these open so they're nice and flat. Here we go. So now we have those ready to go, we can set them aside.
Now we'll work on our nine patches for the center. So in order to do that we are going to pair these up and we are going to put our yellow squares with a background each. Then we are going to pair our purples and greens together. So all of these sets we are going to sew on two sides and I already have some of that done. So you can see here, here is my yellow and white I've stitched on two sides and now we're going to cut this in half and press these open. So I'll press these to the dark side and then I'm going to lay these so that my yellow is against my background. I'm going to really nest those seams and then I'm going to sew on these two sides. So let's go ahead and take that to the machine and do that. And here's the other side.
All right and now when we cut this in half, whoops just like so, we get this great little four patch. And so we need four of those, one for each of our outside corners. So we'll just press that. I have the other set done already, so there are those and then to make some two patches I've sewn these already, just like I showed you. We are going to cut these in half and then we are going to turn and cut this in half again. We're not going to stitch this one again. So then when I open these up, I'm just going to have some great little two patches and it just saves us time. Instead of having to sew a bunch of little 2 ½ inch squares together. So let's go ahead and press
these all open, because we want everything to lay so nice.
All right. Now let's start laying out our nine patch. We're going to start with our four patch, here is going to be the outside corner of our nine patch and then our darker color is going to come in just like so, and we're going to finish it off with a 2 ½ inch background. So you're going to make every outside corner of your block exactly like that. So you'll sew this to this, this to this, and then those rows together. Then we can lay out our block. Then we can bring our star leg in just like this, and then we'll just continue building out this block.
And so again here's our outside corner. Our two patch would go in here, and you just want to make sure that your colors are chaining throughout the block consistently - that's what you're looking for. There's really no right or wrong way to do this. Here's our little center square that we cut and our star legs will come in here. And you can totally see and you'll have this beautiful block that looks just like this!
So just to reiterate, here is our nine patch in each of our four corners. So you're going to go ahead and assemble all of those and then it will go together in rows. So you've got your nine patch, your star leg strips, and your nine patch, star leg strip, center square, star leg strip and then same with those nine patches on the bottom. You just want to make sure that your four patches are kind of spinning in those outside corners and you are good to go.
So I just sewed three of those big blocks together to make my runner. It comes together super quick. I quilted it in curly twirly flowers and I even used pink thread, which I think is just really fun on this. I just love this! I think it's a beautiful block and I can't wait to see what version you make!


