Step right up! The fun quilt you've been searching for is here. Clever color placement creates the illusion of steps that travel diagonally across the Side Step quilt. Misty uses Indigo Denim from Robert Kaufman Fabrics, and precuts in a red, white, and blue palette from Blank Quilting's Front Porch Charm collection to give the quilt a patriotic feel. You could easily change the colors to create a quilt for any season!
Misty Doan grew up surrounded by sewing and quilting. She loves spending time sharing tutorials each week each week, and when she’s not stitching up one of her fun sewing projects for home decor, most likely you’ll find her hanging out with her husband and three awesome kids or working on a house project.
Step right up! The fun quilt you've been searching for is here. Clever color placement creates the illusion of steps that travel diagonally across the Side Step quilt. Misty uses Indigo Denim from Robert Kaufman Fabrics, and precuts in a red, white, and blue palette from Blank...
How long is the tutorial video?
The tutorial video is 00:08:59.
Are supplies listed for this tutorial?
Yes. The tutorial page includes the supplies and materials connected to this project.
Video Transcript
Hey everyone, it is Misty and today's quilt is called Sideep. I think it's just a perfect picnic quilt or it's even a great large twin for your bed and it goes together really quickly. So, let me show you how to make it. This quilt is such a fun one. I think you're really going to enjoy how simple it is. is. And I do want to point out you have kind of these sister blocks that are the opposite of each other and it's assembled in columns, which is a little different than most of our quilts. So, let me show you how easy this one is to make. Up first, you're going to need one package of 10in squares. And I use this adorable red, white, and blue collection called Front Porch Charm from Satin Moon Designs for Blank Quilting. I just think it's so cute. And I also opted to use some denim. This is called light indigo washed by Robert Kaufman um for my background. But I want to point out if you don't want to use the denim, you can just grab another pack of 10-in background squares and that same color an additional yard for your sashing strips. So, you have either one of those options, but I went with the denim. Then, you're also going to need 78 of a yard for your binding. And I love a diagonal stripe, so you know I used that. And for your backing, you need eight and a quarter yards with vertical seams or two and 5/8 of a 108. So, let me show you how to make it. So, remember, if you're using the denim, you're going to want to cut that into 40 10in squares that we're going to use to make our blocks here. And the rest of it you'll cut into 2in strips for your sashing. Otherwise, if you're using a pre-cut background, you'll already have the 10in squares ready to go. And so we're going to start by pairing up one of those denim squares with one of our prints. And I just have a couple ready to go here. So I'm going to go ahead and stack these up right sides facing. And then I just want to make sure they're nice and straight on my mat. And I'm going to use my 5 by15 ruler. Lay it along one edge. And the first thing we're going to do is we're going to cut these in half so that they now measure 5 in by 10 in. So then the next thing we're going to do is I'm going to use my cutting mat here and I'm going to count up 3 in on this side and 4 in on the other. And I like to use my little ruler here and just kind of lay it corner to corner. So I'm on the 3inch mark there and the 4 inch mark there. And we're just going to make a cut. There we go. And I'm going to do the exact same thing in the same direction on this other side. Make sure I'm nice and straight. 3 in and 4 in. And make the cut. And so then now what we want to do is we are going to swap these and pair our print with our denim in opposites like this. And I'm going to set these aside for now because I have a few of these other ones ready to go. But now we just want to lay these right sides together. And I do want to point out you want to make sure you have a quarter inch overhang. And so if it's helpful, you can actually mark that quarter inch seam. Let me get a pen or a pencil here because I know sometimes eyeballing is tricky for people. And so then I can line that up right on the edge. And then I know that this is going to fold over correctly when I take it to the machine. I've gotten pretty good at eyeballing this. So, I just make sure I have that little bit of overhang at the top and the bottom. But let's go ahead and take each of these to the sewing machine. And we're going to sew this with our quarter inch seam. There's one. And there's the other. Perfect. Let's trim those apart. And now we can press these back. And you're going to do this exact same process to your entire pack until you have all of these little rectangle segments. That denim didn't want to roll back for me. There we go. Beautiful. And so then you can see here I just make stacks of my two different styles. So here's my large denim piece and here are the ones with the larger print pieces. So we are just going to use two from the same pile now to make our blocks. And the thing that you want to keep in mind is the skinny part of your angle is going to be going in towards the center. And so that's what I've done here. And we are just going to lay these right sides together. And we'll sew right down this side with a quarter inch seam. Take a few stitches. These blocks go together so quick because you don't have to line anything up. There's that one. We'll give this a press. Set that seam. Roll it back. There we go. There's the first of our little blocks. And just like before, I've got a few more of these done. And so I'm just going to add it to the pile and we'll set it aside for now. And then we're going to work on our pieces that have the larger print. And so in the exact same way, we want to make sure the narrow side is pointing in towards each other. And so we're just going to sew those together now, right sides together, and stitch it down with a quarter inch seam. Okay. So, now let's give this one a press. Set that seam and roll it back. All right. Beautiful. And so there is our secondary block. Let me move these out of the way. Now we'll bring the other ones in. And so remember I mentioned earlier that we're actually going to assemble this in columns. So to begin, we are going to start our first row with one of these larger denim middles. And then we just bring in the alternate block. And you're just going to swap between the two just like so. And I love how you get this little bit of scrainess that shows up. And then in between your columns, you're going to have a 2-in sashing strip that you'll set in. And then your next row begins with the other block and just alternates. And it gives you this kind of fun chevron diagonal pattern, just a lot of movement. And so you have eight columns with 10 blocks each and that little sashing strip in between each one. So then this measures 82 across by 90 down. And let's go ahead and look at this backing. I love this floral. I think it is so pretty. And then we've got a few of our fun little labels we can add in there. And that striped binding. I quilted it with a pattern called cartwheel. Super quick and easy. And I hope you guys enjoyed this tutorial on the Sideep Quilt. I'll see you next time on At Home. Hey everyone, thank you so much for watching at home. We're so excited to be almost a million quilters strong here at Missouri Star. And so if you haven't already [music] joined our family, be sure to subscribe and hit that notification bell so you can be notified of all of our future tutorials. And [music] we'll see you soon.


 Misty Doan
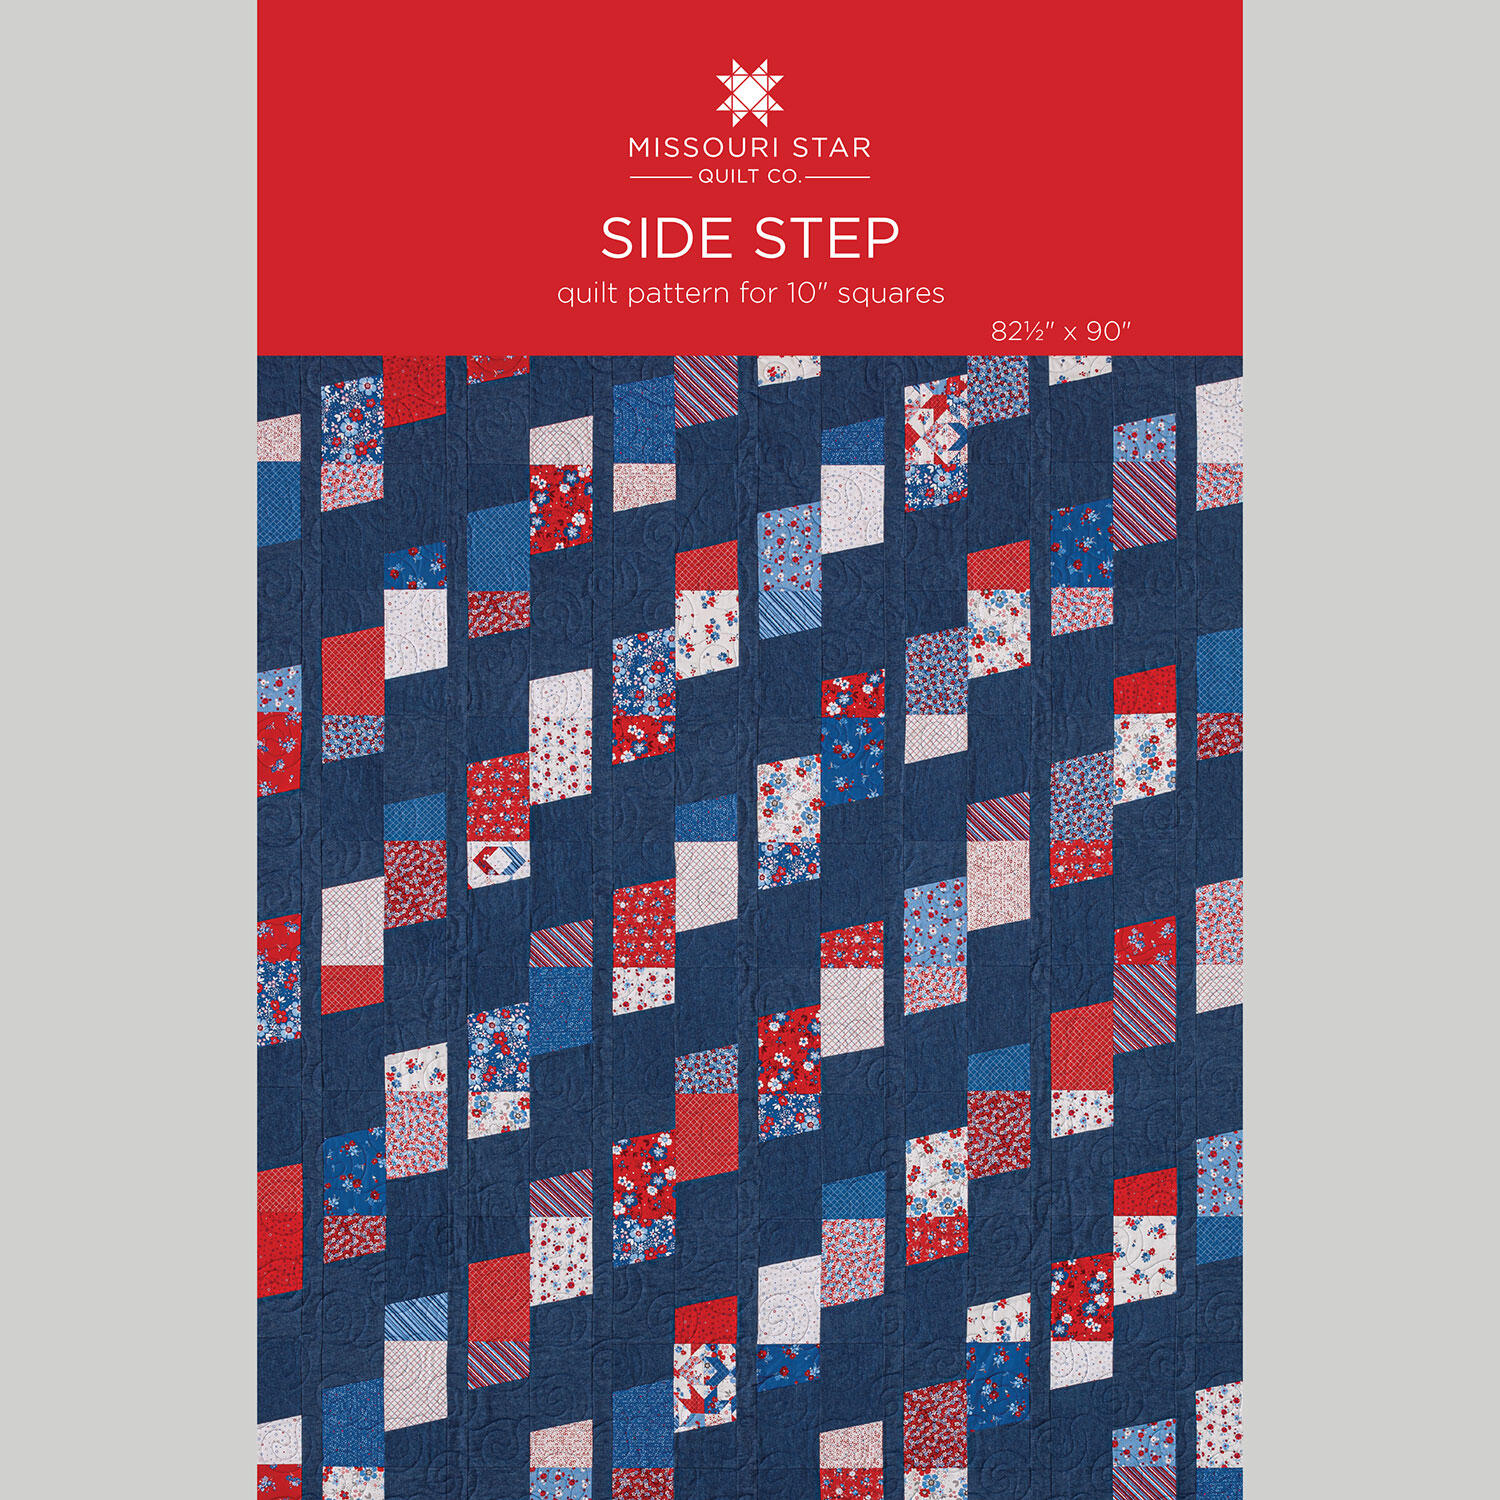 Side Step Quilt Pattern by Missouri Star$8.50Shop →
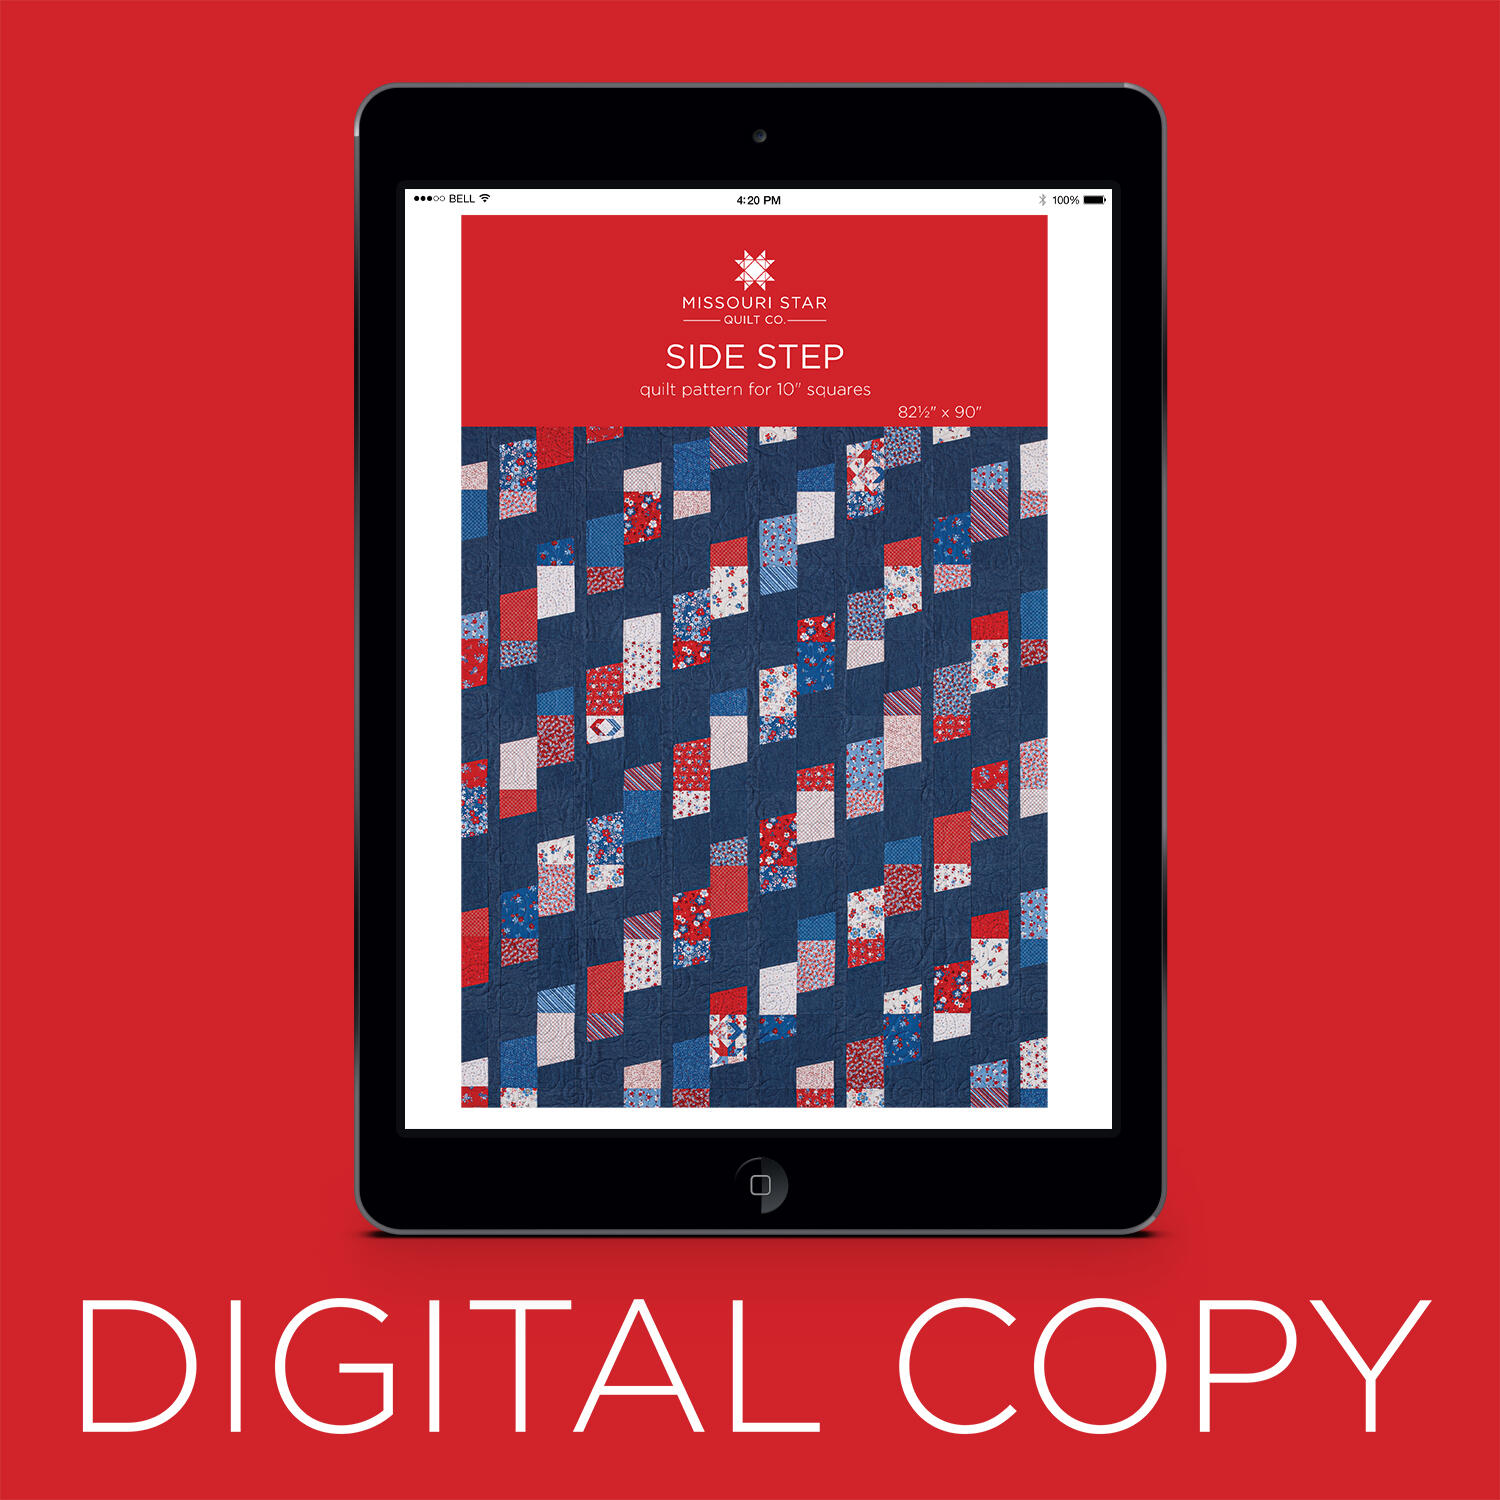 Digital Download - Side Step Quilt Pattern by Missouri Star$6.95Shop →
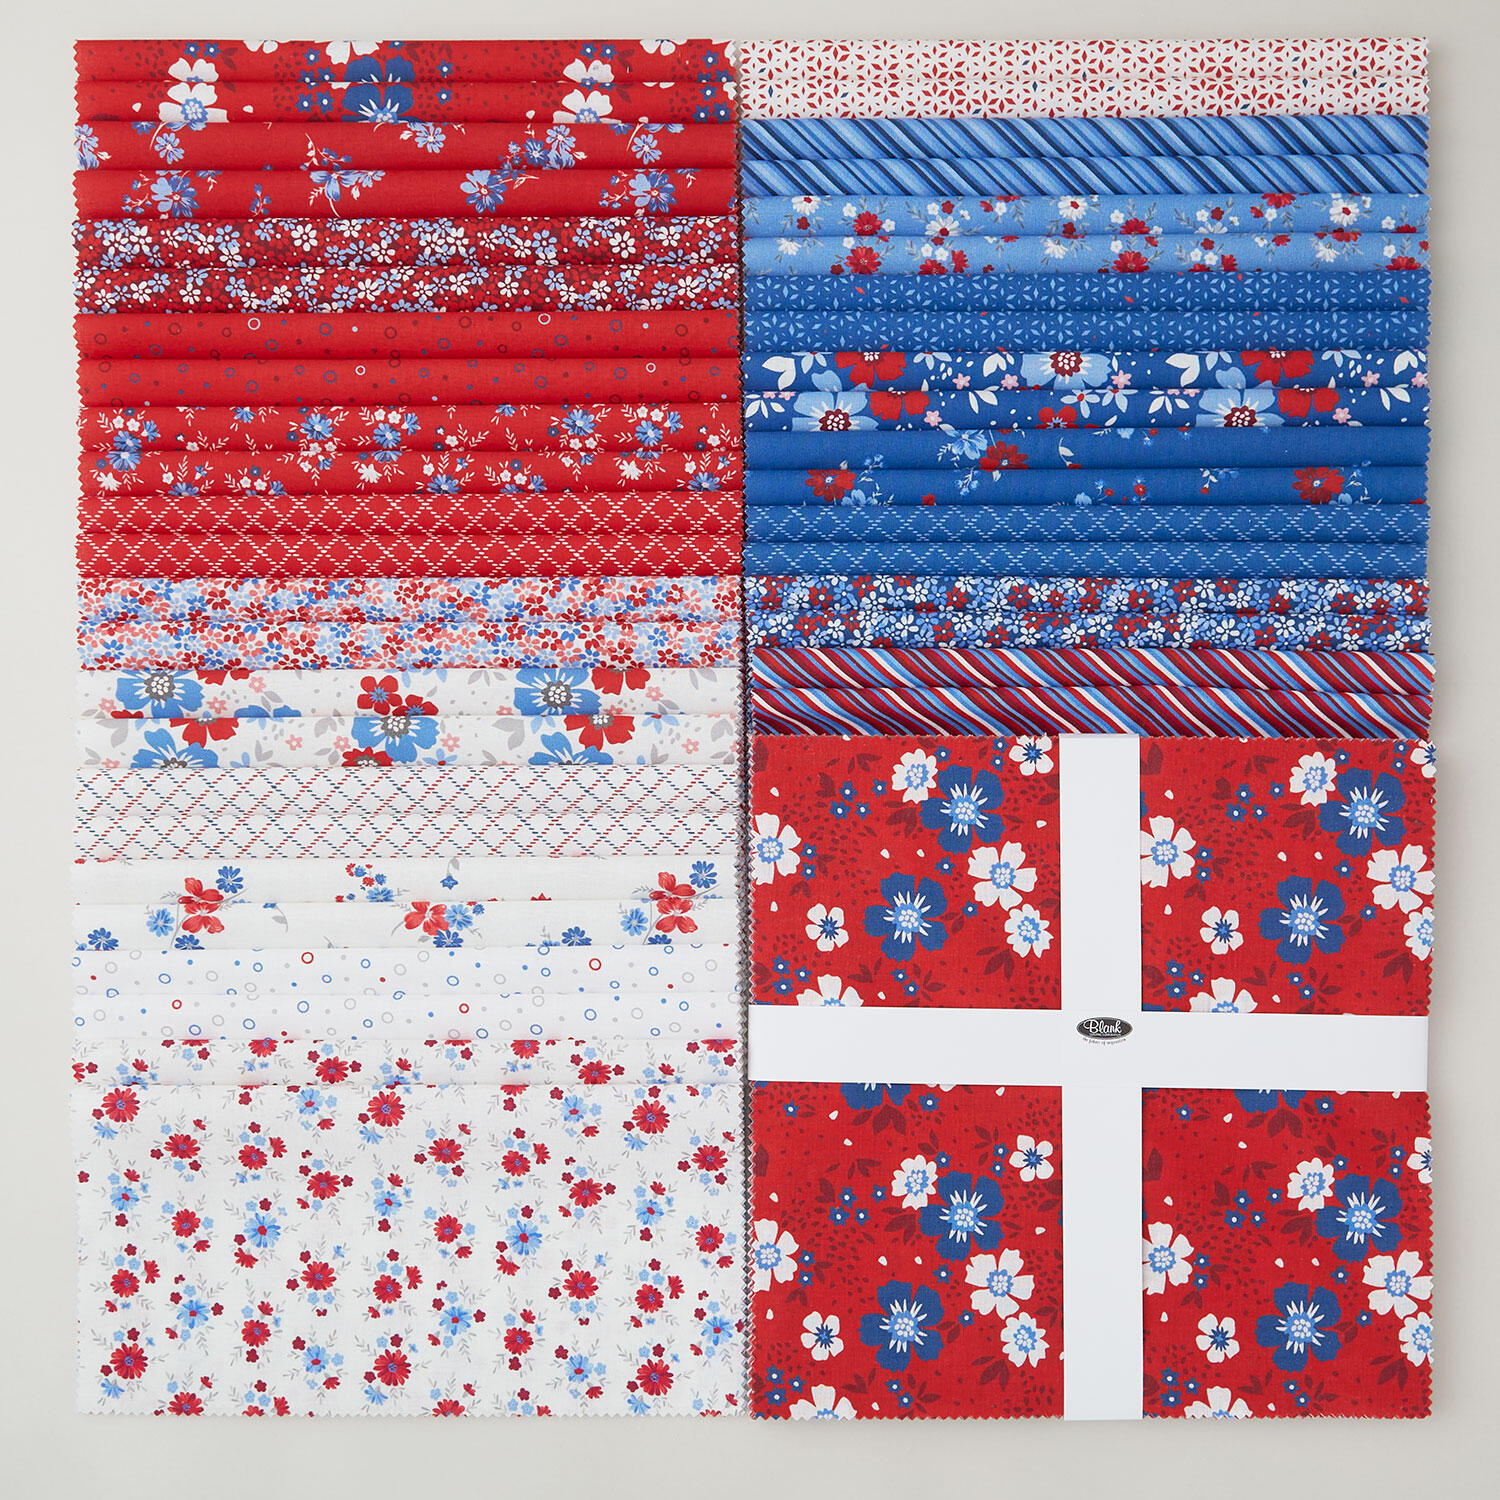 Front Porch Charm 10" Squares$47.95Shop →
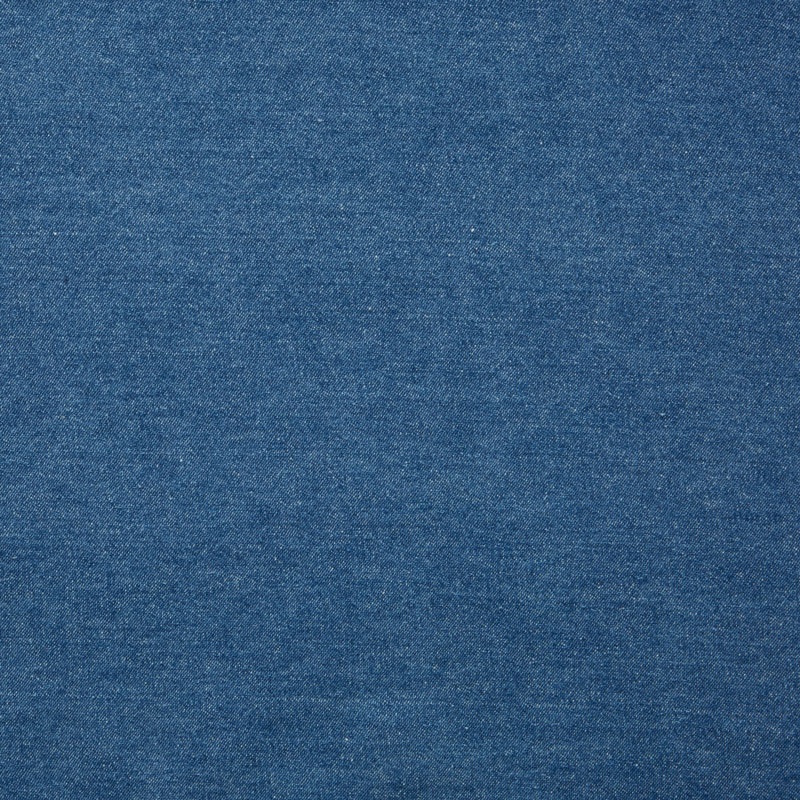 Indigo Denim - 56" Wide 8 oz Light Indigo Washed Yardage$14.88Shop →
 Front Porch Charm - Bias Stripe Blue Yardage$12.56Shop →
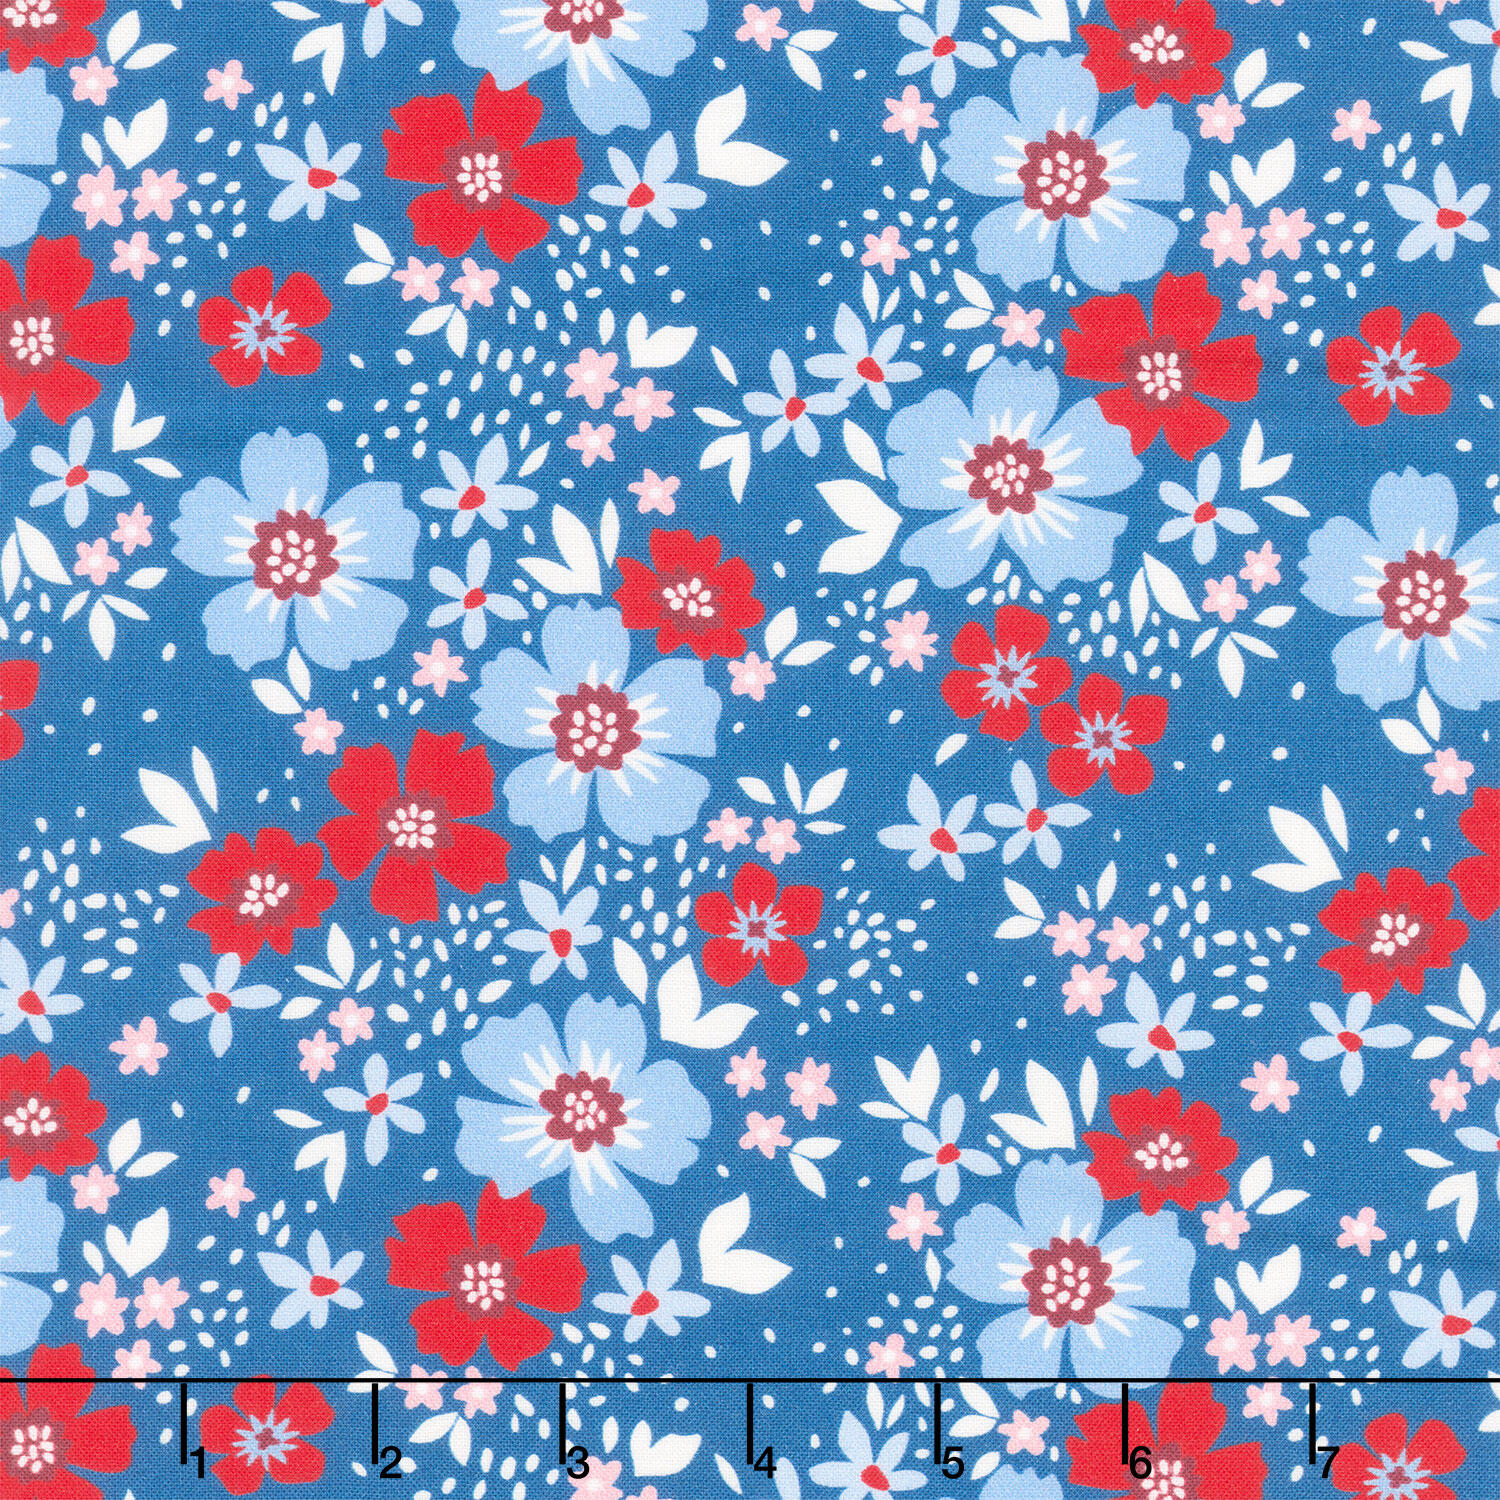 Front Porch Charm - Flowers Blue Yardage$12.56Shop →
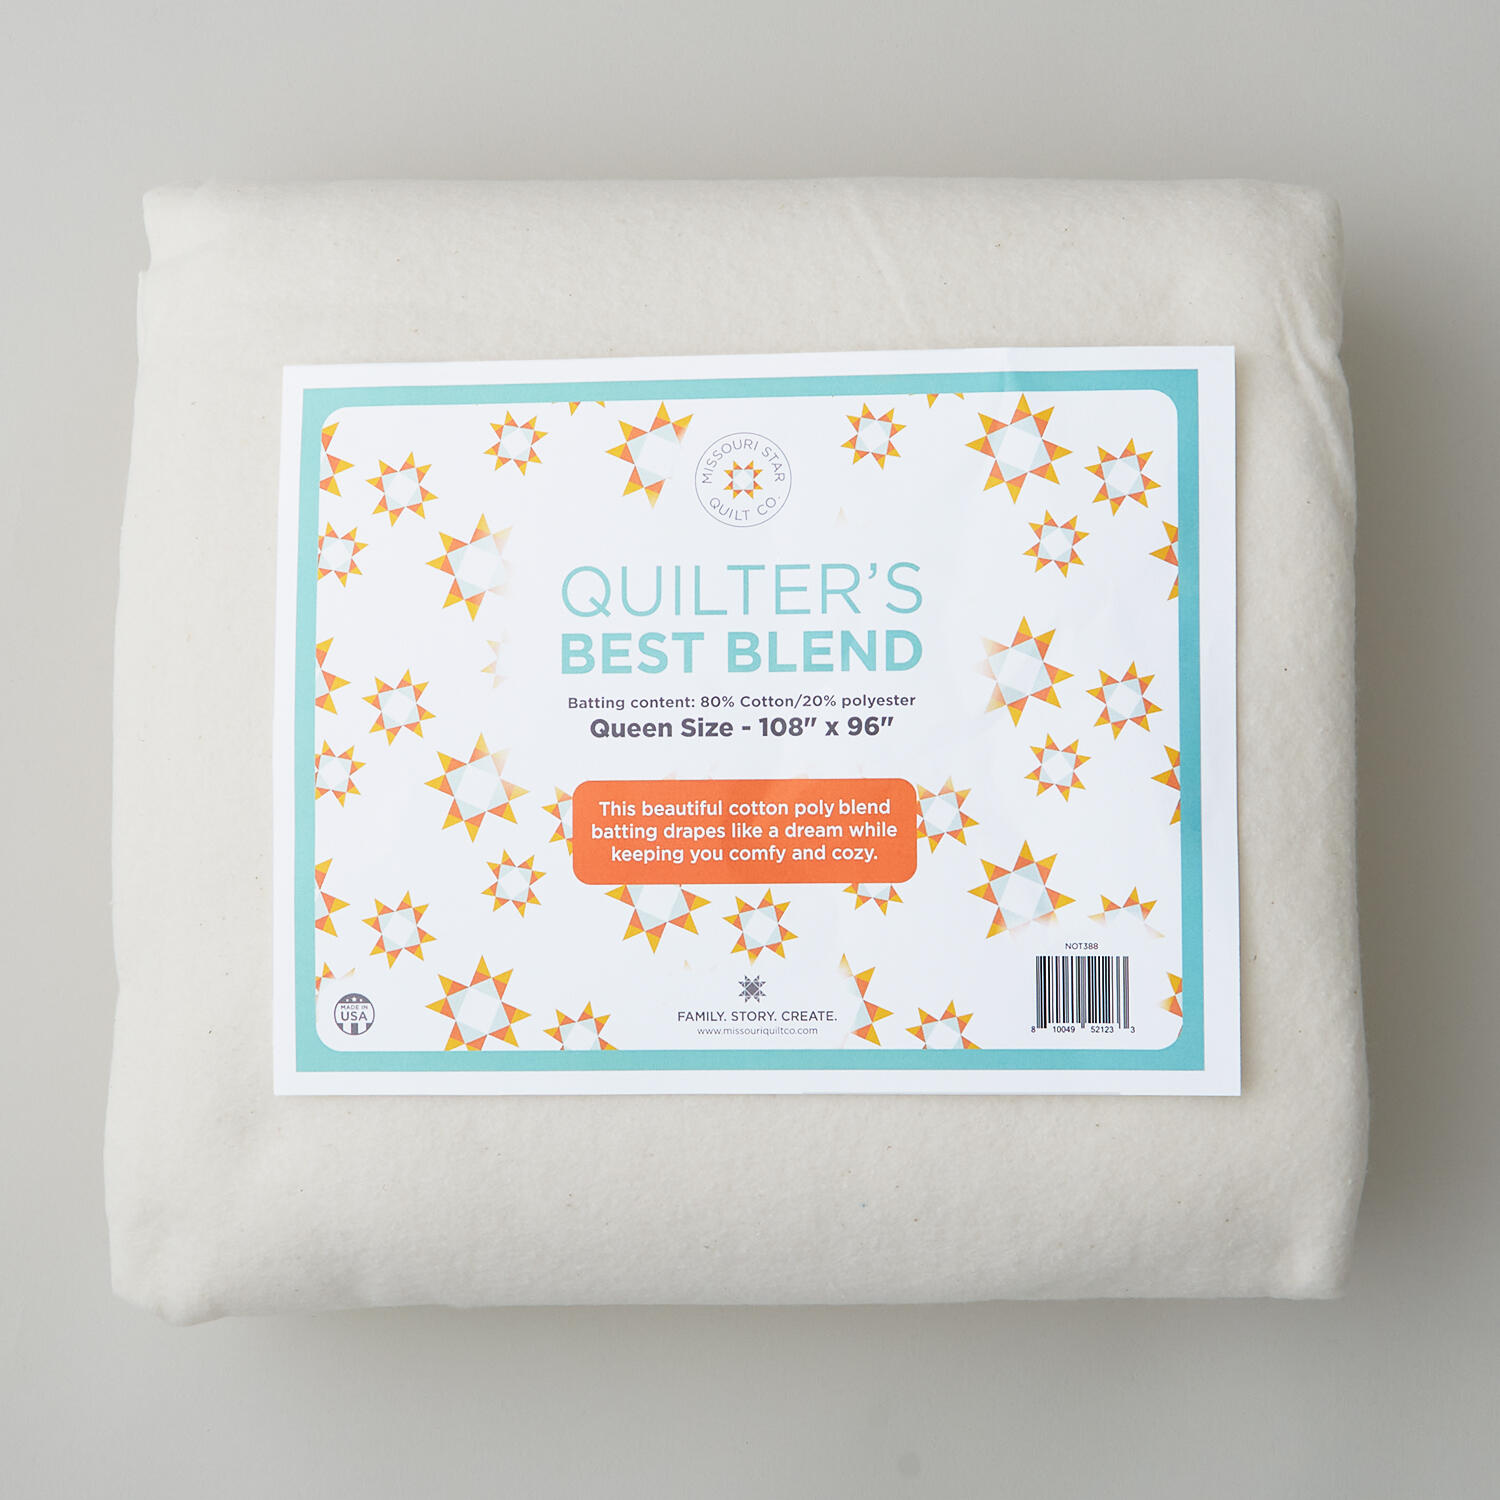 Missouri Star Quilter’s Best Blend Queen Batting$37.95Shop →
 Missouri Star 2.5" x 8" Ruler$11.95Shop →
 Missouri Star 5" x 15" Ruler$19.95Shop →
 Missouri Star 45mm Rotary Cutter - Olga$19.95Shop →
 Missouri Star 8" Everyday Scissors - Amelia$19.95Shop →
 Missouri Star 50 WT Cotton Thread White$7.95Shop →
 Missouri Star + Oliso TG1600 ProPlus Iron$209.95Shop →
 Bernette 77 Sewing and Quilting Machine$1699.00Shop →