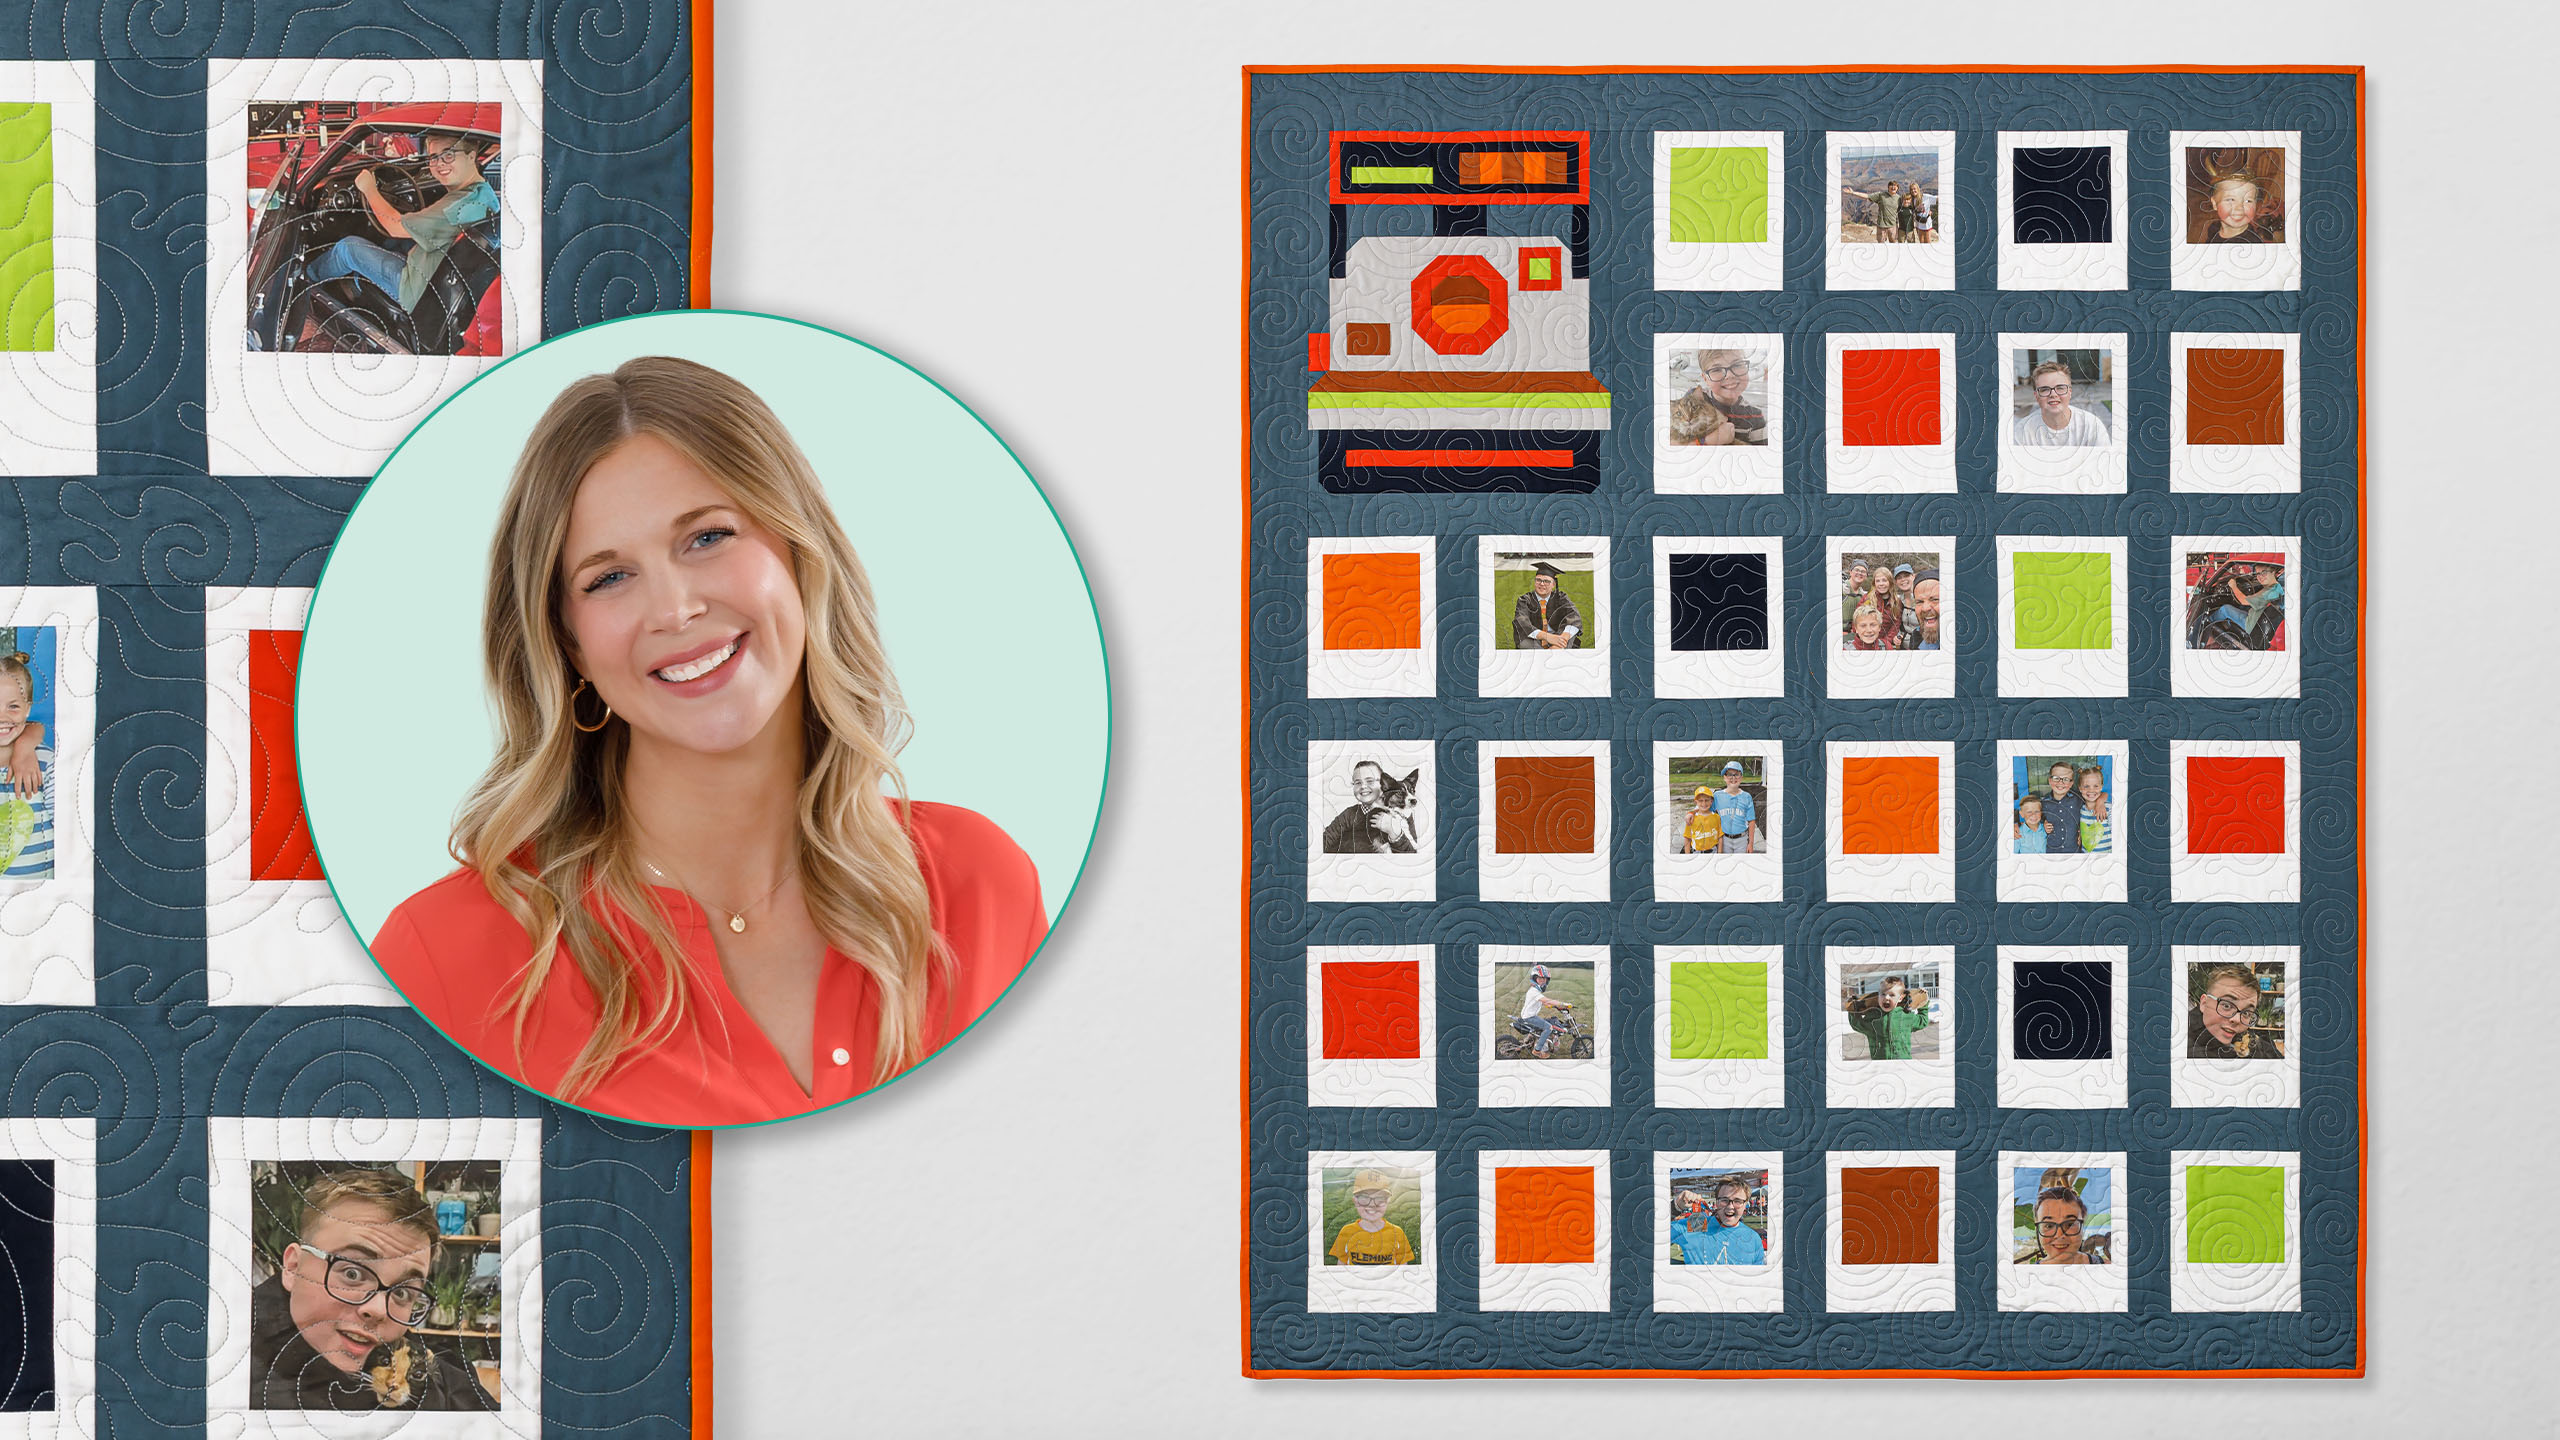
Picture this–you can make a quilt for showcasing favorite photos! The Snap Happy quilt features Polaroid-type instant photo frames that are the bases for personalized printed photos on fabric. Make this one-of-a-kind quilt for yourself or as a fantastic gift!
Misty Doan grew up surrounded by sewing and quilting. She loves spending time sharing tutorials each week each week, and when she’s not stitching up one of her fun sewing projects for home decor, most likely you’ll find her hanging out with her husband and three awesome kids or working on a house project.
Picture this–you can make a quilt for showcasing favorite photos! The Snap Happy quilt features Polaroid-type instant photo frames that are the bases for personalized printed photos on fabric. Make this one-of-a-kind quilt for yourself or as a fantastic gift!
How long is the tutorial video?
The tutorial video is 00:11:59.
Are supplies listed for this tutorial?
Yes. The tutorial page includes the supplies and materials connected to this project.
Video Transcript
Hey everyone, I am super excited about today's project. We're going to make this adorable snap happy quilt using printable fabric sheets to add a little customization. So, let's get started. [Music] [Music] When I first saw this pattern, Snap Happy from Pen and Paper Patterns, I immediately fell in love with it. And when I had my two kiddos graduate from high school, I just thought it would be the perfect way to kind of celebrate this milestone in their life. And I could not be happier with how the first one of these quilts came together. So, let me show you how to make one of these of your very own. So, for the supplies, of course, you're going to want to pick up a copy of this pattern. And if you're not familiar with Lindsay's patterns, they're some of my favorite in the industry. She does an incredible job with laying out your cutting and sewing diagrams. worth absolutely every penny. And believe it or not, they're all traditionally pieced. Even this camera block here is actually traditionally pieced. So, no paper piecing. Super fun to make. So, let's go ahead and flip to the back of the pattern here. We are making the throw size today. And so, you have a couple options here. You can either grab six fat quarters and that will make your camera and your photos or you can do um a combination of 5 in squares and fat eights. And so we actually put together a custom uh pack of 5 in squares inspired by Lindsay's original quilt that you see here. So you can pick those up to save you some time on cutting. Then in addition to that, you need a yard of this cream color. That's going to make all of our photo frames. You also need 1 and 5/8 yards of your background, 3 and 38 yards of your backing, and 5/8 of a yard for your binding. In addition to that, I added these super cute uh, you know, family photos to my project. So, grab a pack of these June Taylor colorf fast sewing fabric sheets and a 5-in square ruler would also come in handy. So, let's get going. Okay, so first up, you're going to get your printable fabric sheets and your inkjet printer ready to go. And I went ahead and made collages of my photos. And honestly, this part was the most fun going back through all of those family photos and remembering all those sweet memories with all my kiddos. I just absolutely loved it. To get the most bang for your buck, you want to print two to a page. And that will give you enough space to fussy cut with your square ruler, your 5 in square, and you know, make sure you get your photos centered up the way that you want. And so, let's go ahead and cut these. I'm going to cut them in half just because I don't want to run the risk of accidentally trimming into the other photo. And so, let's square this one up here. And I really liked having this ruler that I could see through that was exactly the right size. It just made it super easy, you know, to know I was going to be happy with my squares once they were cut. And so then we'll just trim this down to five. just like so. So cute. I just love it so much. And so, you know, you'll just do the same thing with all of your photos. If you do two to a page, you'll get 20 photos out of a pack of this printable uh sheets. And so, I just decided to use a combination of the photos and some, you know, solid color squares. I liked those pops of color in there, but you could absolutely do all photos if you want. You know, just play with it and have fun. So, from here, the reason that I liked this particular product the best is because there's really nothing else you have to do to get this ready to sew except for peel off the paper backing. And so, I just kind of crease that and peel away. If I can get my nail under there. There we go. peel away that stabilizer and then it leaves my fabric photo ready to sew. And so I went ahead and cut my strips according to Lindsay's pattern. So we're going to start by sewing one of these to either side of our photo. So let's go ahead and take this to the sewing machine. And we will add one on the right and one on the left. Let's turn this around. I just have had so much fun with this. I I just love this pattern and I think it's super versatile. All right. So, we've added those first two strips. I'm going to press these back. Just roll them away from the photo. There we go. And now we'll add our other skinny strip to the top and this wider strip to the bottom. And that's how easy it is to make these adorable Polaroid photo blocks. So, let's go ahead and add this now. And the wider strip to the bottom here. And then our cute little Polaroid block will be complete. Okay, let's give this a press. Oh my goodness, it's so cute. Look at that. Isn't that adorable? It's just so much fun. I just have absolutely loved making this quilt. Take a look at this one more time with me. Look at all these sweet photos of my boy. This is Gideon through the years. And like I said, both he and Ashlin graduated. And I just thought this was the perfect pattern to use as a memory quilt to celebrate this milestone. And so I'm working on Ashlin's. I thought you might want to see um it was so fun to customize the colors and just make this unique to them. So here's Ashlin's camera block. So cute. And I've got a bunch of her photos ready to go into the quilt as well. And so let's just talk a little bit about layout. So one of the things I liked about this quilt is you can kind of mix up where you want to put the camera. So you can see I put Gideon's up in the top and in Lindsay's it's down in the the bottom. Um so you know just just have fun with it. And then I just kind of alternated between these photo blocks and these solid color blocks that I put in. And so you'll see here I popped in a solid one and a photo and just alternated between the two. And I've got some different colors in here just to really mix it up. And of course you'll come in and you'll add your sashing in between these. But they're just so cute and so much fun. I just really loved making this project and so I hope you guys will give it a try because it has just been an absolute blast and I think my kids are going to love, you know, having something that really celebrates them and this accomplishment in their life. I do have one more little trick that I wanted to share with you which I think is a super fun idea. So, I made an extra photo block that I'm going to use for the label on the back of this quilt. And so what I have is that finished block. And then I cut a piece of my interfacing to the exact same size. And so this is a single side fusible. And I'm going to put the bumpy side toward the photo and match those up exactly. And we're going to sew all the way around leaving about a 2-in opening so that I can turn this right sides out. So let's go ahead and do that. And I am going to back stitch. We want to make sure everything's nice and straight. Keep going all the way around just with that quarter inch seam allowance. And a little bit more down this side, remembering to leave an opening. If you need to put some pins in there or something to remind you, you can totally do that. There we go. All right. And so then now I am going to just trim off these corners a little bit just to get rid of some of the bulk. Just like so. And then I can turn this right sides out through that opening that we've left. One thing you do want to keep in mind is you have fusible here. So, you don't want to hit it with an iron until you're ready to fuse it to your project. Otherwise, you'll have to try again and print a new one. So, we are just going to use a chopstick or our fingernails, whatever we can to turn this out and get those corners nice and sharp. And then we're just going to give it a little finger press before we're ready to attach it to the back of our quilt. And so, just like so. that little seam will tuck inside. And I'm just going to run my finger along that. And I like to kind of roll these edges to pop the seam so it will lay nice and flat without hitting it with the iron. And then there you go. You can see how cute this is going to be. And because of this method, we have the fusible that's now on the outside. We'll press this towards the back of our quilt. And then I'll just do a little whip stitch to secure that in place and sign the bottom of a Polaroid to uh celebrate this adorable quilt and have um a great memory for my kiddos for years to come. So, I hope you guys enjoyed this fun little inspiration project. It's a great memory quilt and I love all of the possibilities with this pattern. Lindsay even mentions in there if you make the baby size, you could put a photo of every month of baby's first year to celebrate them growing up. There's just so many possibilities. This would be great for what I'm using it for graduation or even a wedding quilt. So, just play with this. I can't wait to see the versions that you make. Thanks again to Lindsay from Pen and Paper Patterns for letting me share this with you. Be sure to pick up a copy of the pattern so you can see just how fun and easy it is to make this quilt. And I will see you guys next time on At Home. Hey everyone, thank you so much for watching at home. We're so excited to be almost a million quilters strong here at Missouri Star. And so if you haven't already joined our family, be sure to subscribe and hit that notification bell so you can be notified of all of our future tutorials. And we'll see you soon. [Music]


 Colorworks Premium Solids - Brass Yardage$8.10Shop →
 Colorworks Premium Solids - Sunrise Yardage$8.10Shop →
 Colorworks Premium Solids - Ginger Yardage$8.10Shop →
 Colorworks Premium Solids - Blue My Mind Yardage$8.10Shop →
 Colorworks Premium Solids - Sunbleached Yardage$8.10Shop →
 Colorworks Premium Solids - Liberty Blue Yardage$8.10Shop →
 Colorworks Premium Solids - Apricot Yardage$8.10Shop →
 Missouri Star 5" x 15" Ruler$19.95Shop →
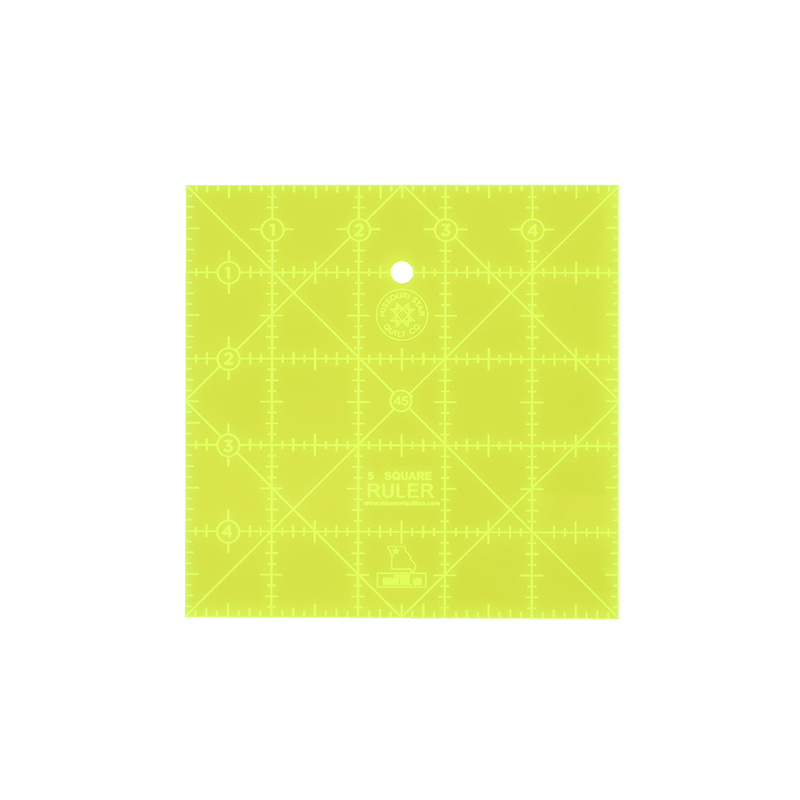 Missouri Star 5" x 5" Square Ruler$8.95Shop →
 Missouri Star 45mm Rotary Cutter - Olga$19.95Shop →
 Missouri Star 8" Everyday Scissors - Amelia$19.95Shop →
 Missouri Star + Oliso TG1600 ProPlus Iron$209.95Shop →
 Missouri Star Wooly Betty Board - 17.25" x 25.5" Orange Border$99.95Shop →
 Bernette 77 Sewing and Quilting Machine$1699.00Shop →
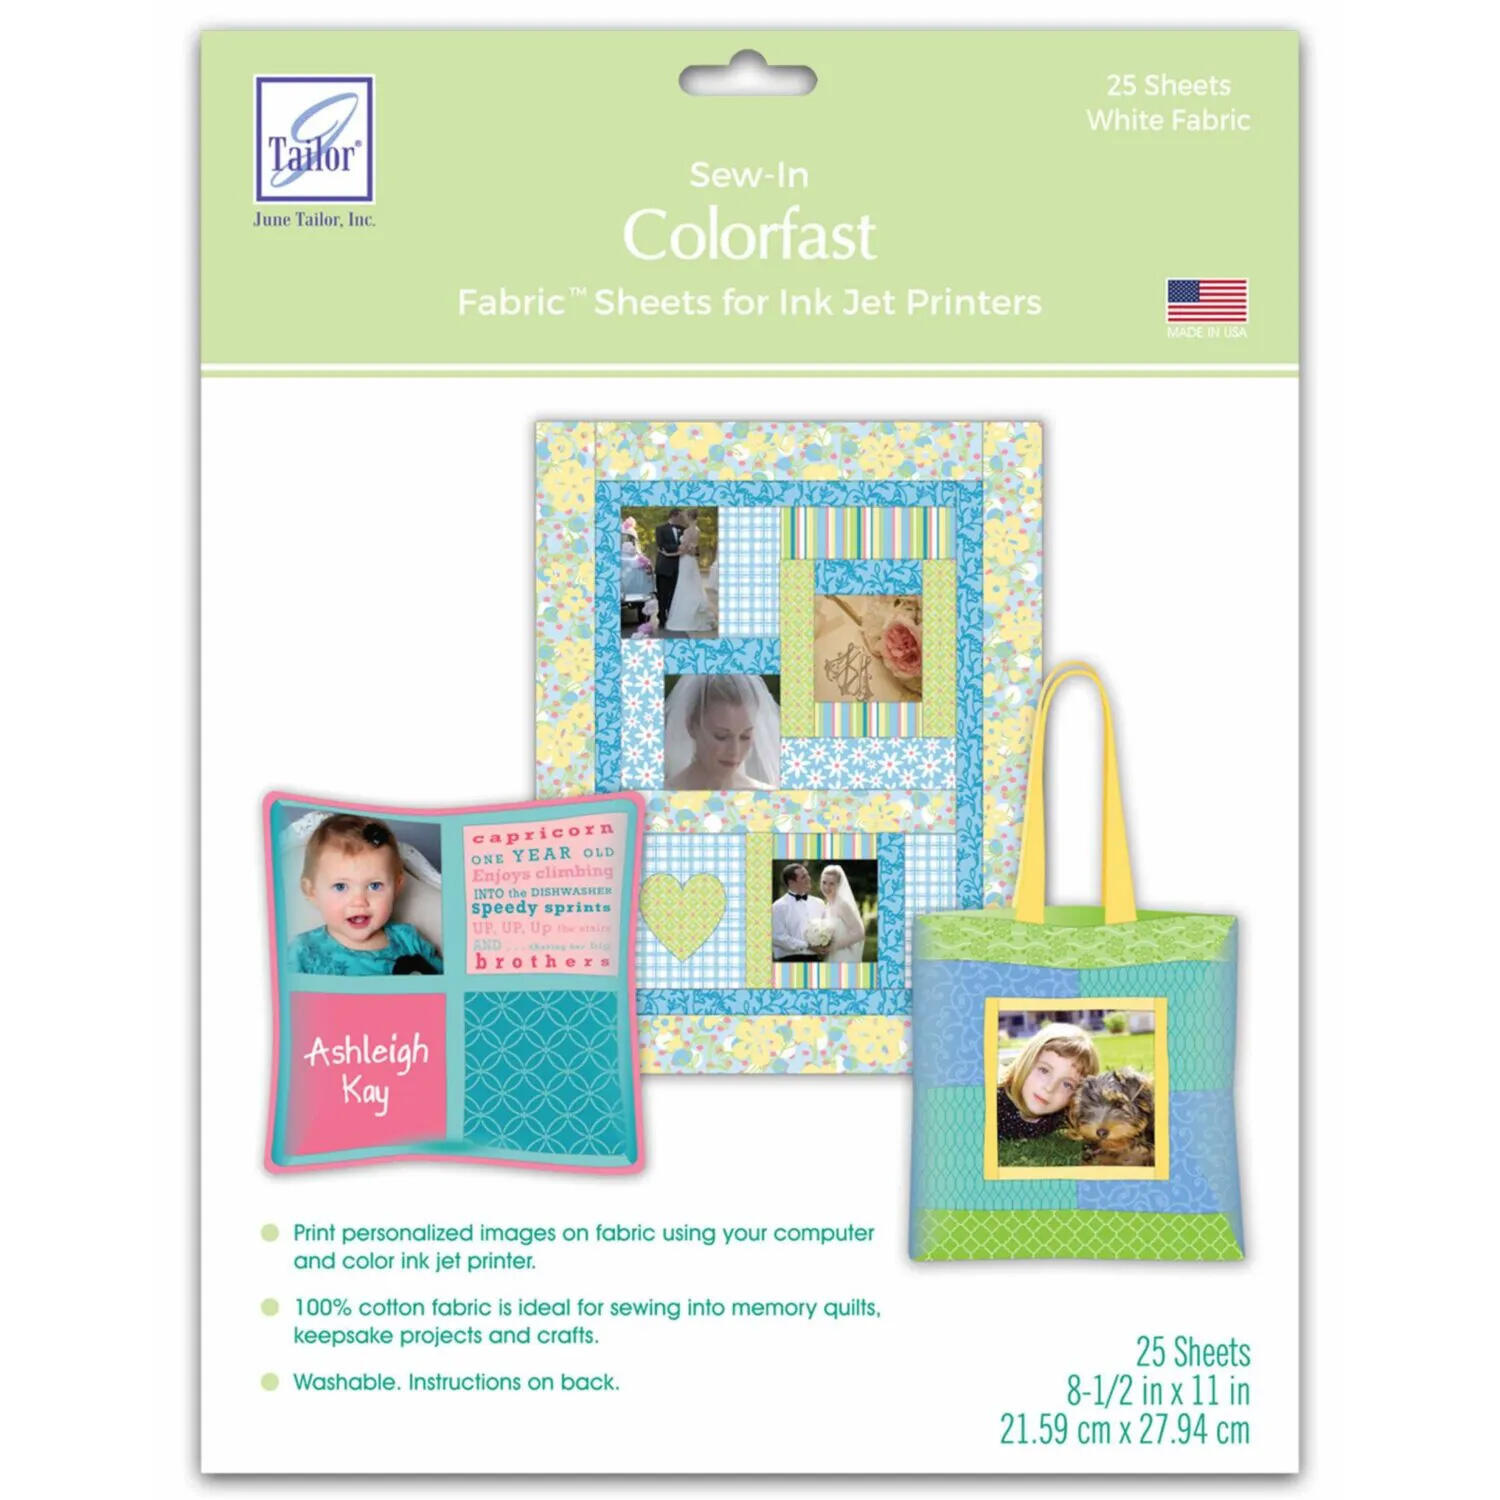 Colorfast Sew-In Fabric Sheets Inkjet Printables - White (25 Sheets)$114.95Shop →
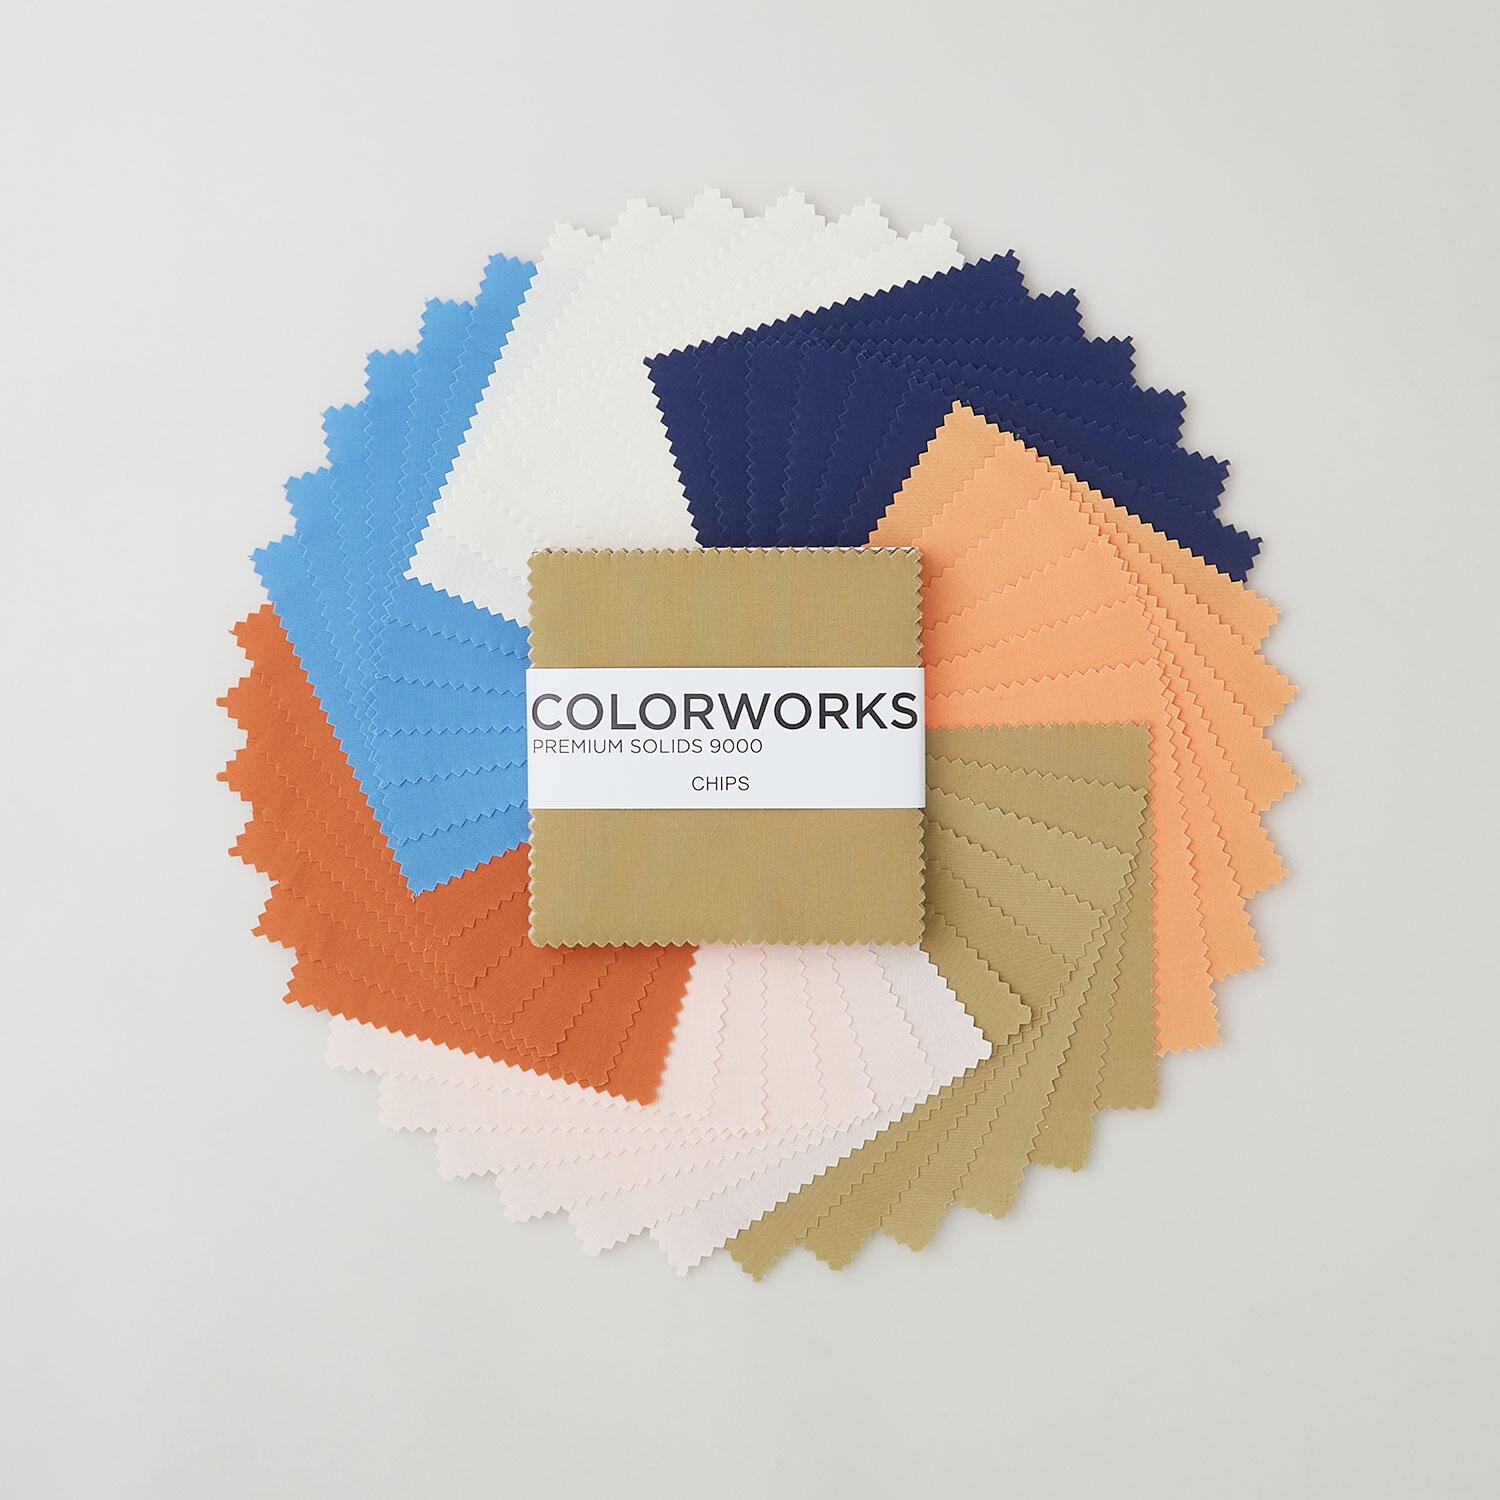 Colorworks Premium Solids - Snap Happy 5" Chips$9.15Shop →
 Snap Happy Quilt Pattern$13.75Shop →


