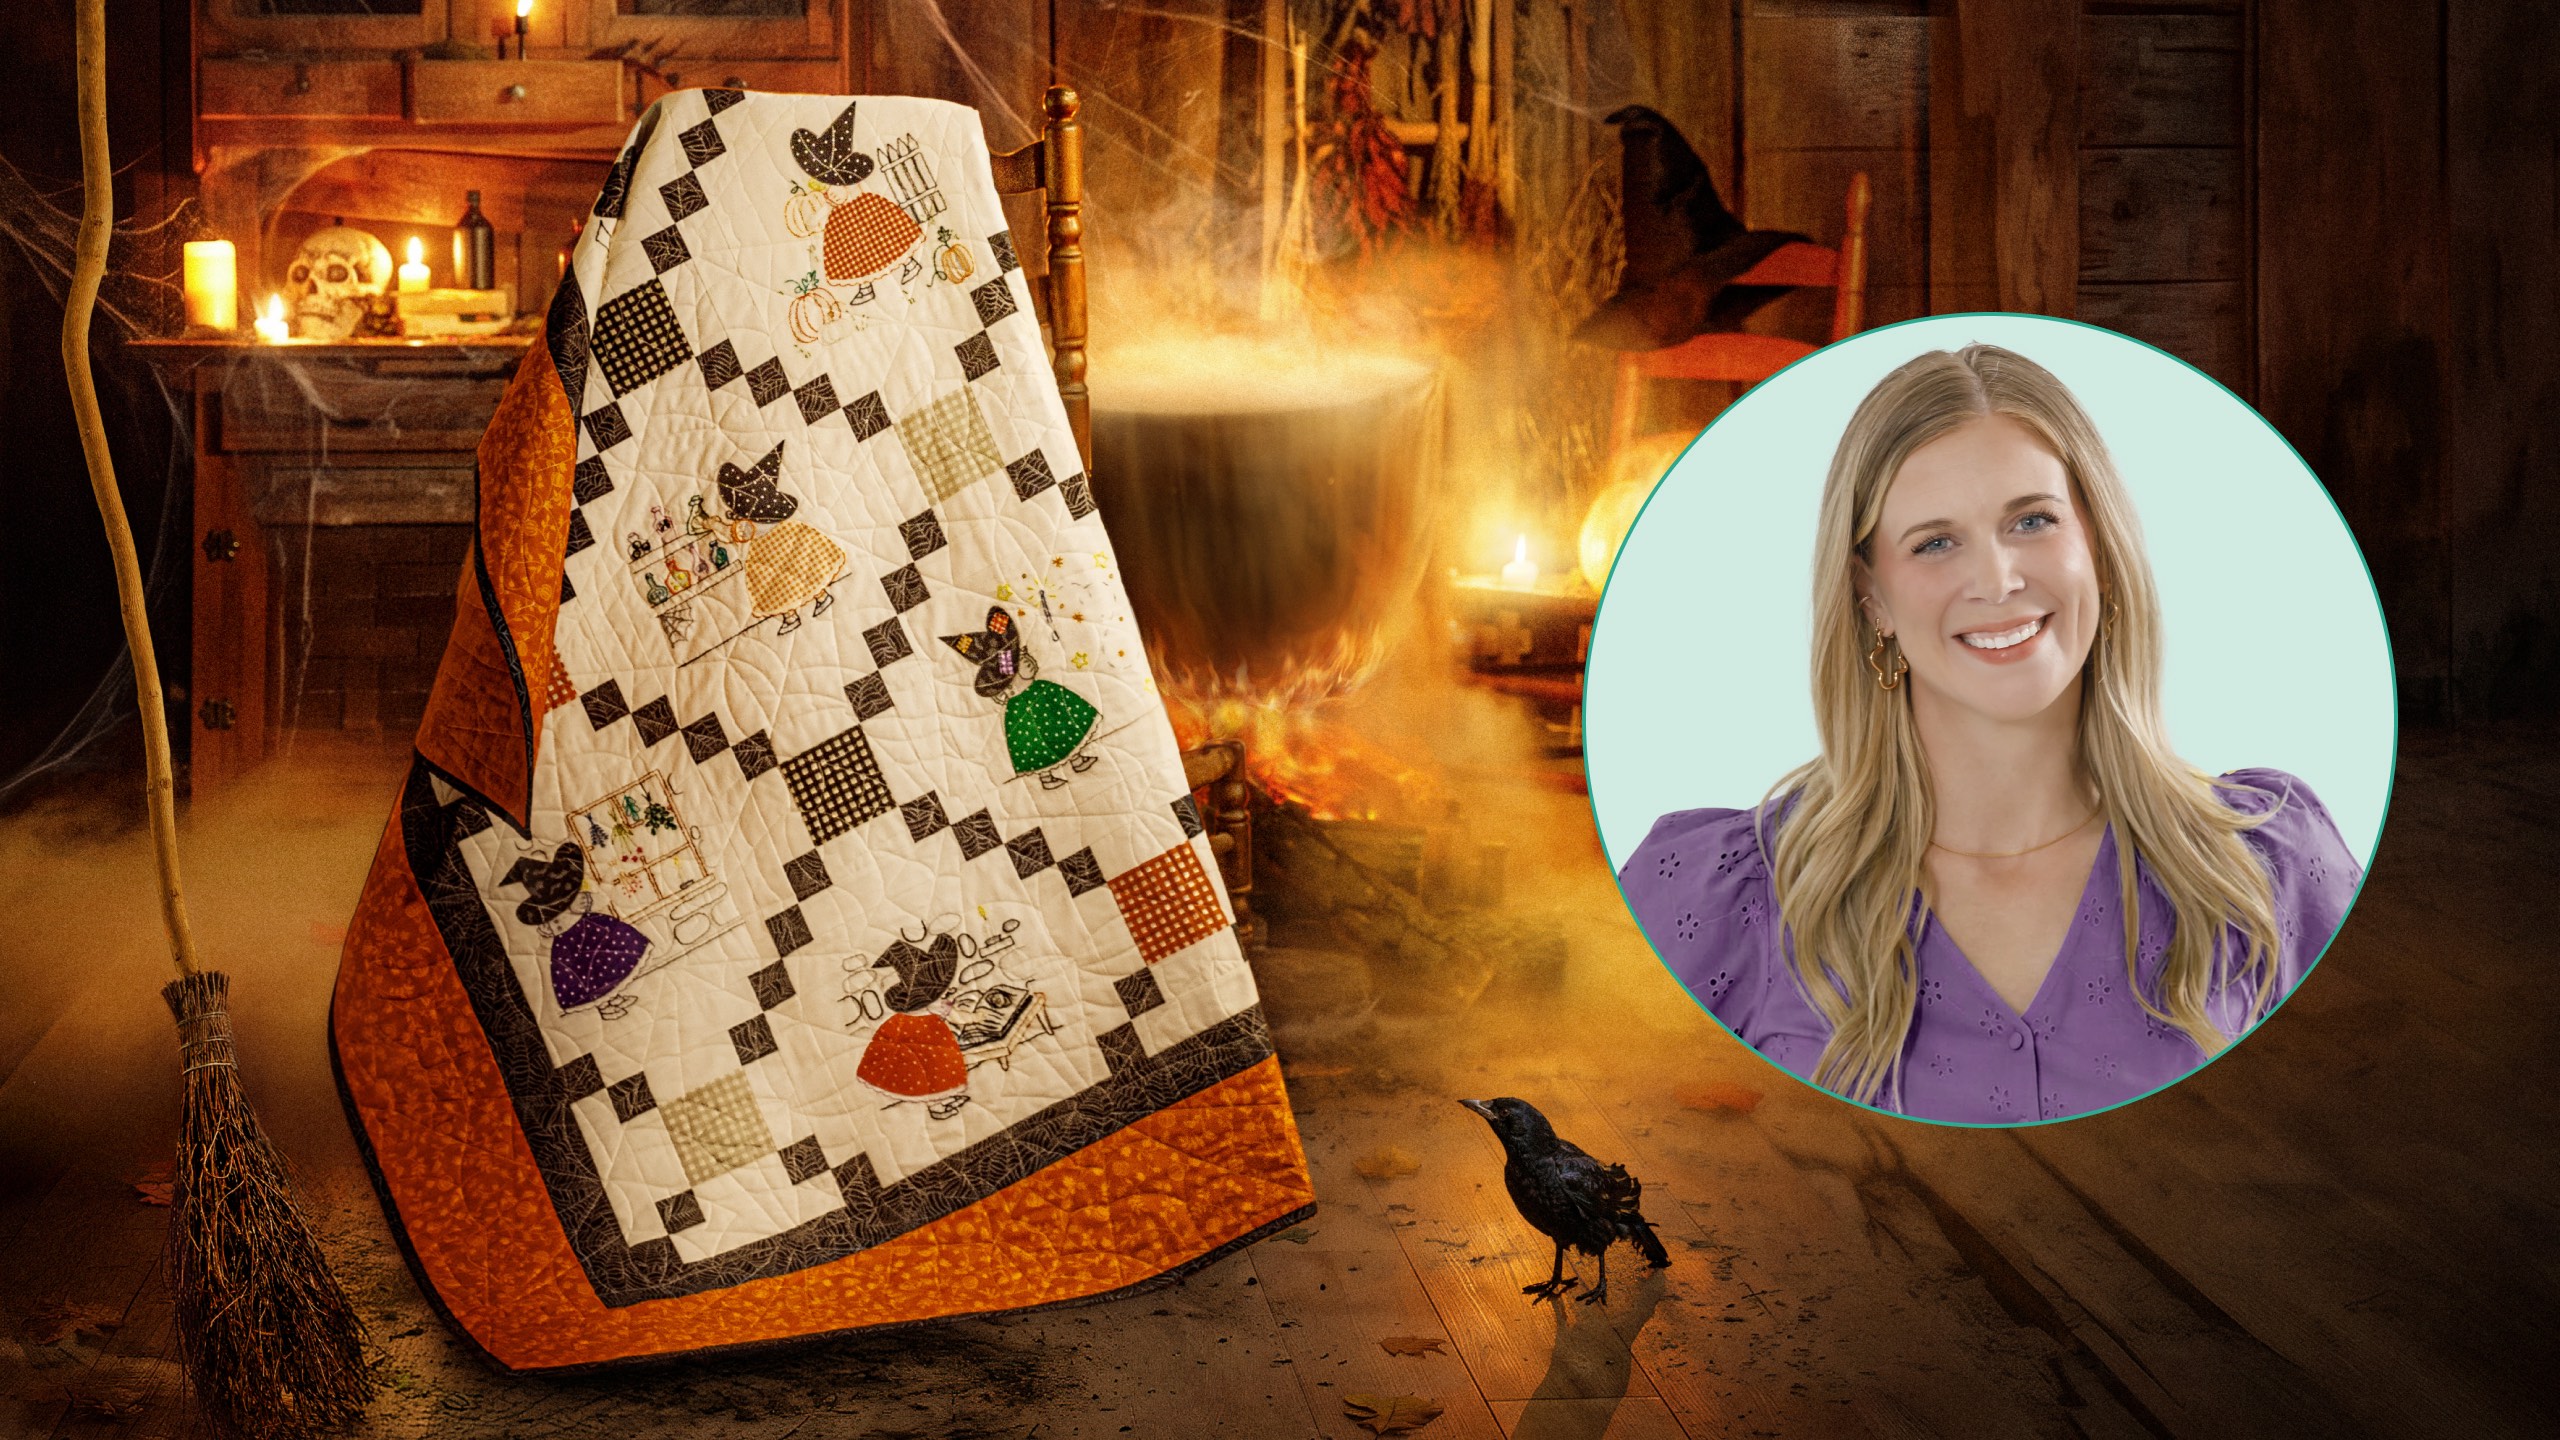
Meet Spellbound Sue! This little lady shares the iconic profile of Sunbonnet Sue, but her pointed hat gives her a bewitching twist! Make a darling pieced, appliquéd, and embroidered Spellbound Sue quilt with Misty! See how a Spellbound Spectrum charm pack from Maywood Studio, and Missouri Star's Spellbound Sue templates and embroidery kit can help you conjure up a Halloween showpiece.
Misty Doan grew up surrounded by sewing and quilting. She loves spending time sharing tutorials each week each week, and when she’s not stitching up one of her fun sewing projects for home decor, most likely you’ll find her hanging out with her husband and three awesome kids or working on a house project.
Meet Spellbound Sue! This little lady shares the iconic profile of Sunbonnet Sue, but her pointed hat gives her a bewitching twist! Make a darling pieced, appliquéd, and embroidered Spellbound Sue quilt with Misty! See how a Spellbound Spectrum charm pack from Maywood Studio,...
How long is the tutorial video?
The tutorial video is 00:15:00.
Are supplies listed for this tutorial?
Yes. The tutorial page includes the supplies and materials connected to this project.
Video Transcript
Hey everyone, I am so excited to share today's project with you. We're calling this adorable quilt Spellbound Sue and I can't wait to show you how to make it. I just think this quilt turned out so so cute. It's a mix of fusible applique and embroidery and of course set together with a wonderful piece block. I absolutely love how it turned out and I can't wait to stitch these little motifs on tea towels and sweatshirts and all kinds of things. So, let me show you everything you're going to need to make this. All right, so up first you're going to need one package of 5 in squares. And we've put together this great special collection for this project that we're calling Spellbound Spectrum. In addition to that, you need three accent fabrics or focus fabrics is what they're called in the pattern. And you need a quarter yard of each of those. Those are going to be the centers of these blocks that you see in the secondary block of the quilt. You're also going to need an accent fabric. That is our spiderweb. And you need one yard of that. And that does include your little 2 and 1/2 in inner border. Of your background, you need 2 and 7/8 yard. And we just use this nice cream. Your outer border is a six inch border and you will need one and a quarter yards of that. And then for your backing, you need four yards with a vertical seam. In addition to that, you are going to want to grab our little spellbound sue project keeper. So, let's open that up. Let me show you what comes inside. Move this out of the way. So, first you have, of course, this adorable peel and stitch book that has all of these fun little motifs as well as a few little extras along the top. You'll also find some acrylic templates that will match up with the dress and the hats and the moon that you see on the quilt behind me. And that's so you can set fabric in on those and do some fusible applique. Of course, it comes with a little pair of scissors and a needle minder and some needles. And then when we flip to the back here, it's got a hoop and all of your colors of your embroidery floss. So, everything you need besides the fabric is in this project keeper. A couple other things that you'll need is some Missouri Star So light fusible. A lightboard or a window is really helpful. And then we're going to square this up. And I'm going to use the 10in square ruler. So, let me show you how to make it. Okay. So, we're going to begin with our embroidered and applique block. And so the first thing you're going to do is you're going to cut some 12-in background squares to use for that. And that gives us a little bit of room to work with this and then still be able to trim it down so it's nice and neat to fit in the block. And then of course you're just going to flip through that peel and stitch book and pick which pattern you want to use. And so I'm going to use this one. And the first thing I need to do is find my templates that match. These little dashed areas are where the fabric is going to set in. So, of course, I've got the little skirt, the hat, and the moon on this one that are going to be out of fabric. So, I went ahead and traced those onto some Soite fusible onto the paper side. And now, I'm just going to rough cut around each of those. There's that. and our moon. We'll throw this away. And then we're going to bring in some of our 5 in squares from the pack. And we're going to use this cute little orange gingham for the skirt. And I'm just going to place this on the wrong side of the fabric. Hit that with a nice hot iron. And I'll repeat that with each of these other fabrics. So the black will be the little hat for our spellbound Sue. And of course, we'll use this yellow for our moon. There we go. And so then once you have all of those fused to your fabric, then we can cut them out right on the line. And I've gone ahead and done that here. And so I'm going to set these aside, move my templates out of the way. And this is where the lightboard will be really handy. And so the first thing I'm going to do is I'm going to go ahead and press my square in half both directions just to give me a little bit of guide to center up this design. So we'll do this first. There we go. And now I'll put this and turn on my lightboard. And then this little motif at the top is extra. So I really just want to center my little spellbound sue in there. And by using the lightboard now I can see exactly where my fabric needs to line up. So I'll peel off that paper backing and I can line my skirt up exactly where it needs to go. And the same with my little witch's hat. If I can get a hold of that paper. There we go. And finally the moon. There we go. And so then from here I can just turn my lightboard off. I can take this gently over to the pressing mat. Might have been a good idea to put a pin in there. But I'm just going to kind of roughly set this on top. Make sure everything's lining up again. It looks right. And then we're going to press these in place. Now, from this step, you're going to go ahead and do whatever kind of top stitching you want to secure those applique pieces on. I typically like to do a little blanket stitch with invisible thread, but you can do a straight stitch or a zigzag, whatever you'd like. And so then from there, I'm going to cut off this little extra piece. I'll actually use my rotary cutter. and trim off these little edges from where I tore it out of the book. There we go. And so then now we can peel away our peel and stitch. And we will line those same outlines up with where we placed our shapes. All right. And so you'll notice my little moon did shift a little bit, but I'm not worried about that because it doesn't correlate perfectly with any of the other embroidery. And so from now, I'll use my embroidery floss and I will just finish all of these stitches. They're simple line stitches for the most part. And here is how that turns out. Isn't it so cute? I've gone ahead then after all the stitching is done, we're going to square the block up to 10 in. So that's where that uh 10in square ruler comes in handy. And then once you have all of your adorable little spellbound sus all stitched, we can move on to block B. This is the B block that we'll be making today. and it goes together really quickly because it's made using strip sets. So, the first thing you're going to do is you're going to take those focus fabrics. Those are our three kind of gingham prints. And you're going to cut those into 4in strips. And on each side of those 4-in strips, you're going to sew a 2-in background strip by the width of fabric. And I went ahead and did that. And so then we're going to subcut this strip set into 4 in segments. So, I'm just going to make sure this is nice and straight on my mat. And I'll trim off my salvage here. Whoop. Keep catching little threads. And then I'm going to measure over 4 in. And when I'm cutting strip sets, there's a couple things that I pay attention to. Of course, I want this straight edge to be straight, but then I'm also checking the top and bottom of this strip set and making sure all of my lines are just running nice and straight across this cut. And so, you're going to go ahead and cut the full length of this strip until you have enough for your quilt. I'm just going to cut one for now. And then our next strip set is going to be made in the exact same way, but we have our background in the center with that 4-in cut and our accent fabric, which is those spiderw webs at 2 in on either side. This strip set we're going to cut into twoin segments. So, just the same idea. Trim off the salvage and cut two inch strips. And we're going to need two of these for each block. [snorts] There we go. And so now we're going to take one of these and place it on either side of that strip. and we'll go ahead and sew this to each side. So, we'll take it to the sewing machine. I'm just going to make sure this is lined up really nicely. And then we will nest those seams as we get there. There we go. Now we'll just flip this around. Do the same thing to the other side. All right. So, now we'll go ahead and give this a press so that it will lay nice and flat for us. Just make those seams go the way I want and then press these back. There we go. So, there's the center of our block. And so, the next thing we're going to do is we're going to take some 2-in background strips. And I've cut these into seven inch segments. And you'll see how these are just going to fit on two sides. So we'll go ahead and sew these on. And then before I do that, because I can sew all of these, the last strips that we're going to make is a 7in background strip with that 2-in accent on both sides. So we'll subcut this one as well. This is also getting cut into 2in segments. So again, just lining this up across my mat, trimming away that salvage edge, and then subcutting at 2 in one. Whoops. A little thread there. And two. Perfect. And so then just like we did before, let me go ahead and lay this out here so you guys have a good visual. This will come on these two sides and then we will add this and this to finish out our block. So let's go ahead and sew these little background strips first and then we can add those. [groaning] [music] All right. And there is our little block. Once it is all pressed, it is just going to look exactly like these. And so then these are the two blocks that we're making for the whole quilt. So let's go ahead and go back here because you'll notice that we're going to start and end our top and bottom row with our secondary block. And pay attention to how we've just mixed up those kind of fun focus fabrics so that they're sprinkled throughout. And so it is five blocks across by five down. In between those uh chaining blocks, we of course have our adorable spellbound sue. Then we have that 2 and 1/2 in inner border from that spiderweb fabric and a 6in outer border. It finishes at 62 and 1/2 in square. We just put a nice orange on the back and quilted it up with a little spiderweb motif. And I think it just turned out so cute. So, I hope you guys will give this spellbound sue a try, and I can't wait to see how you stitch it up. See you next time.

 Misty Doan
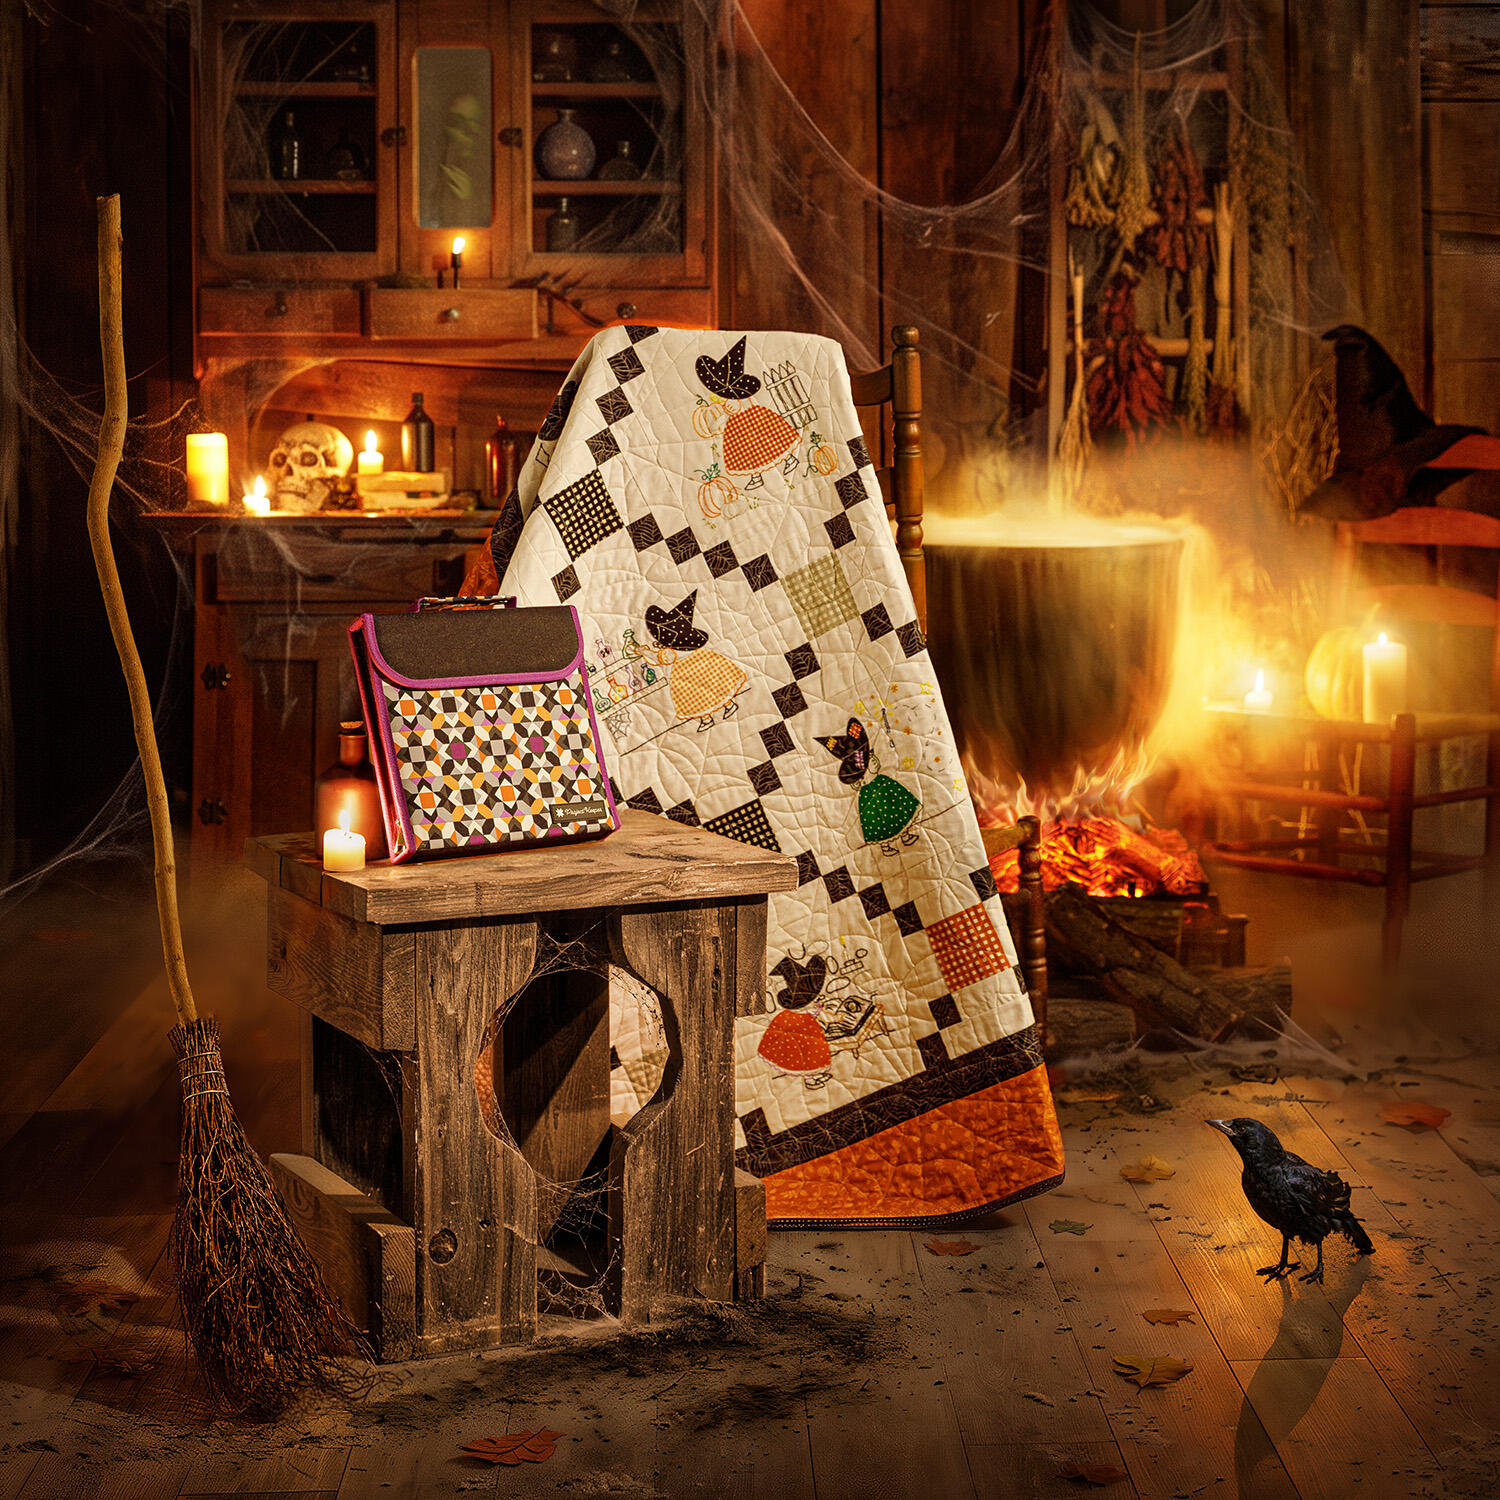 Spellbound Sue Embroidery Kit$59.95Shop →
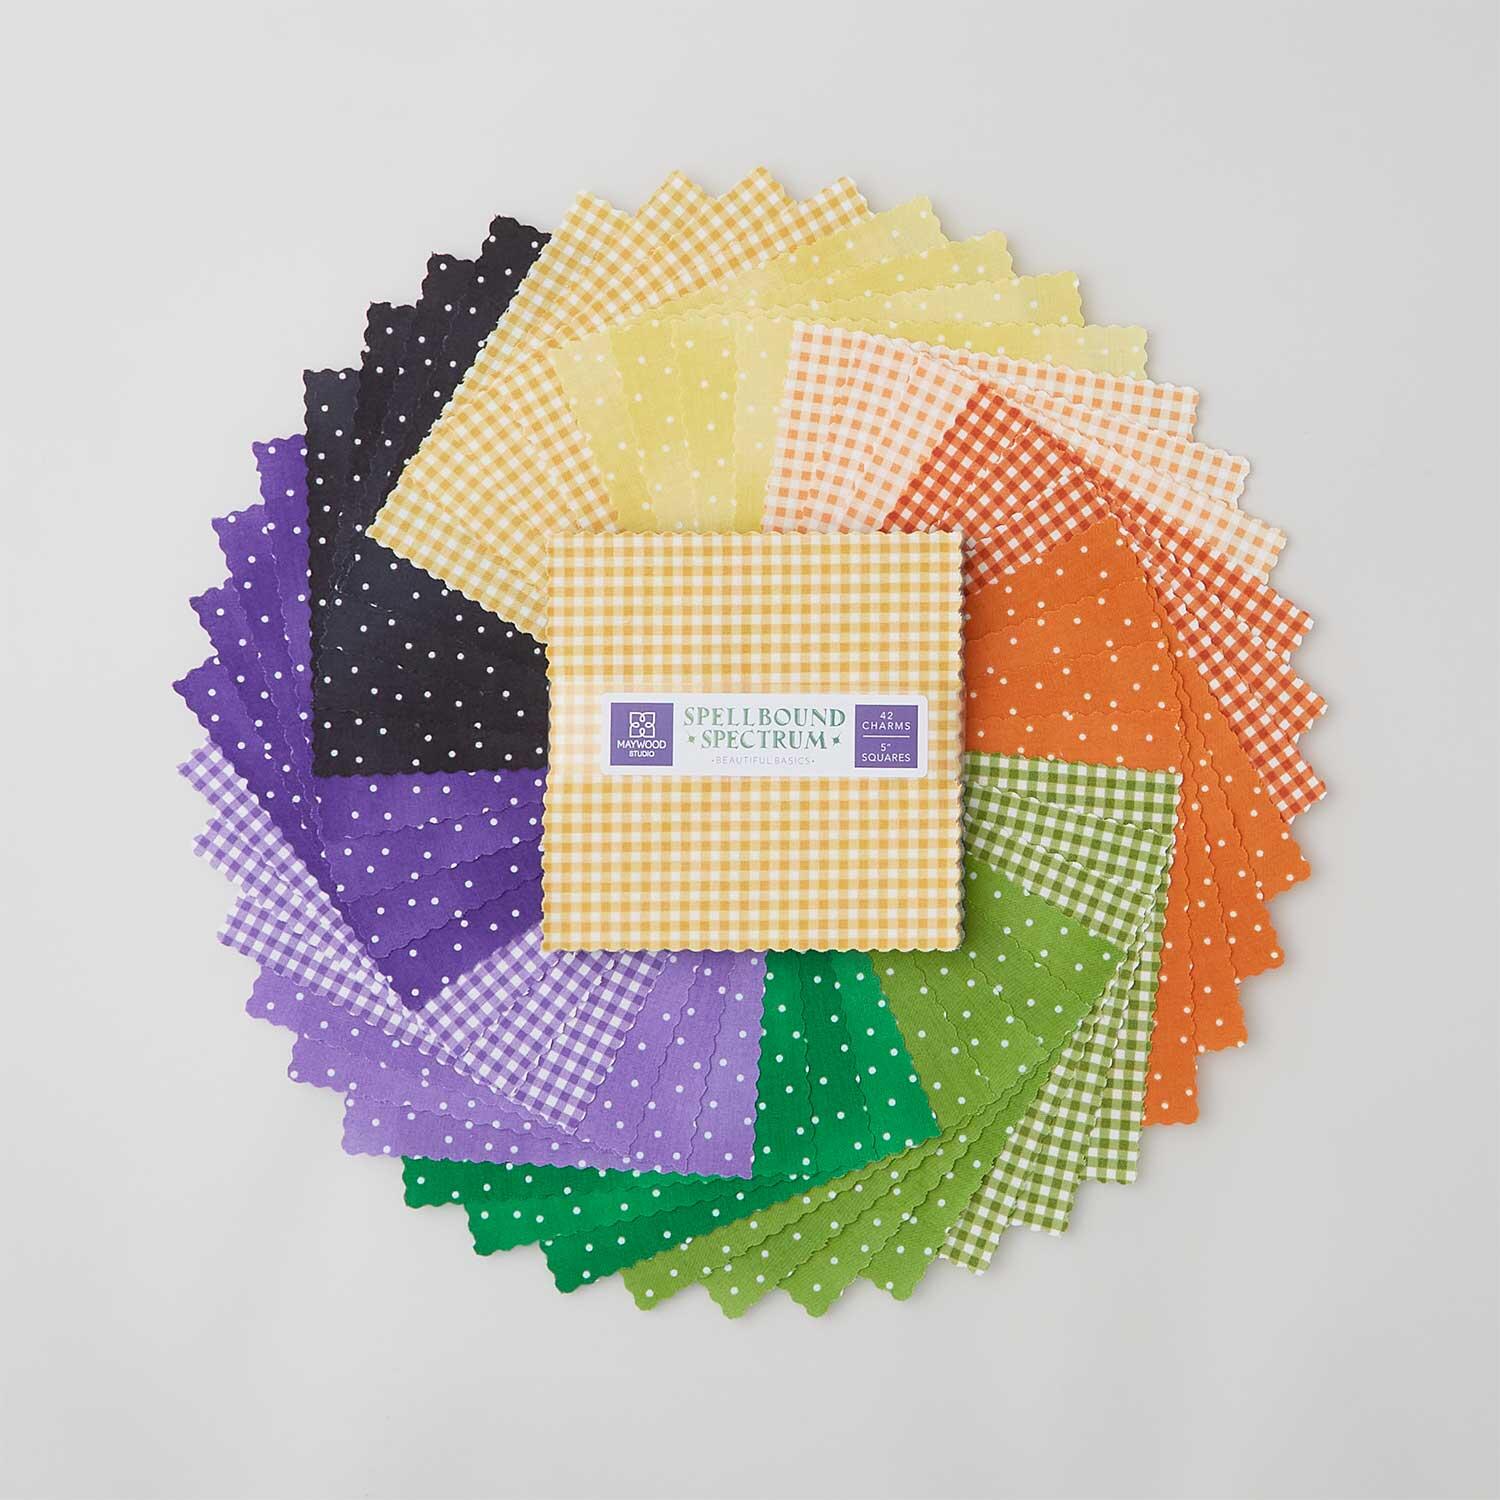 Beautiful Basics - Spellbound Spectrum Charm Pack$15.25Shop →
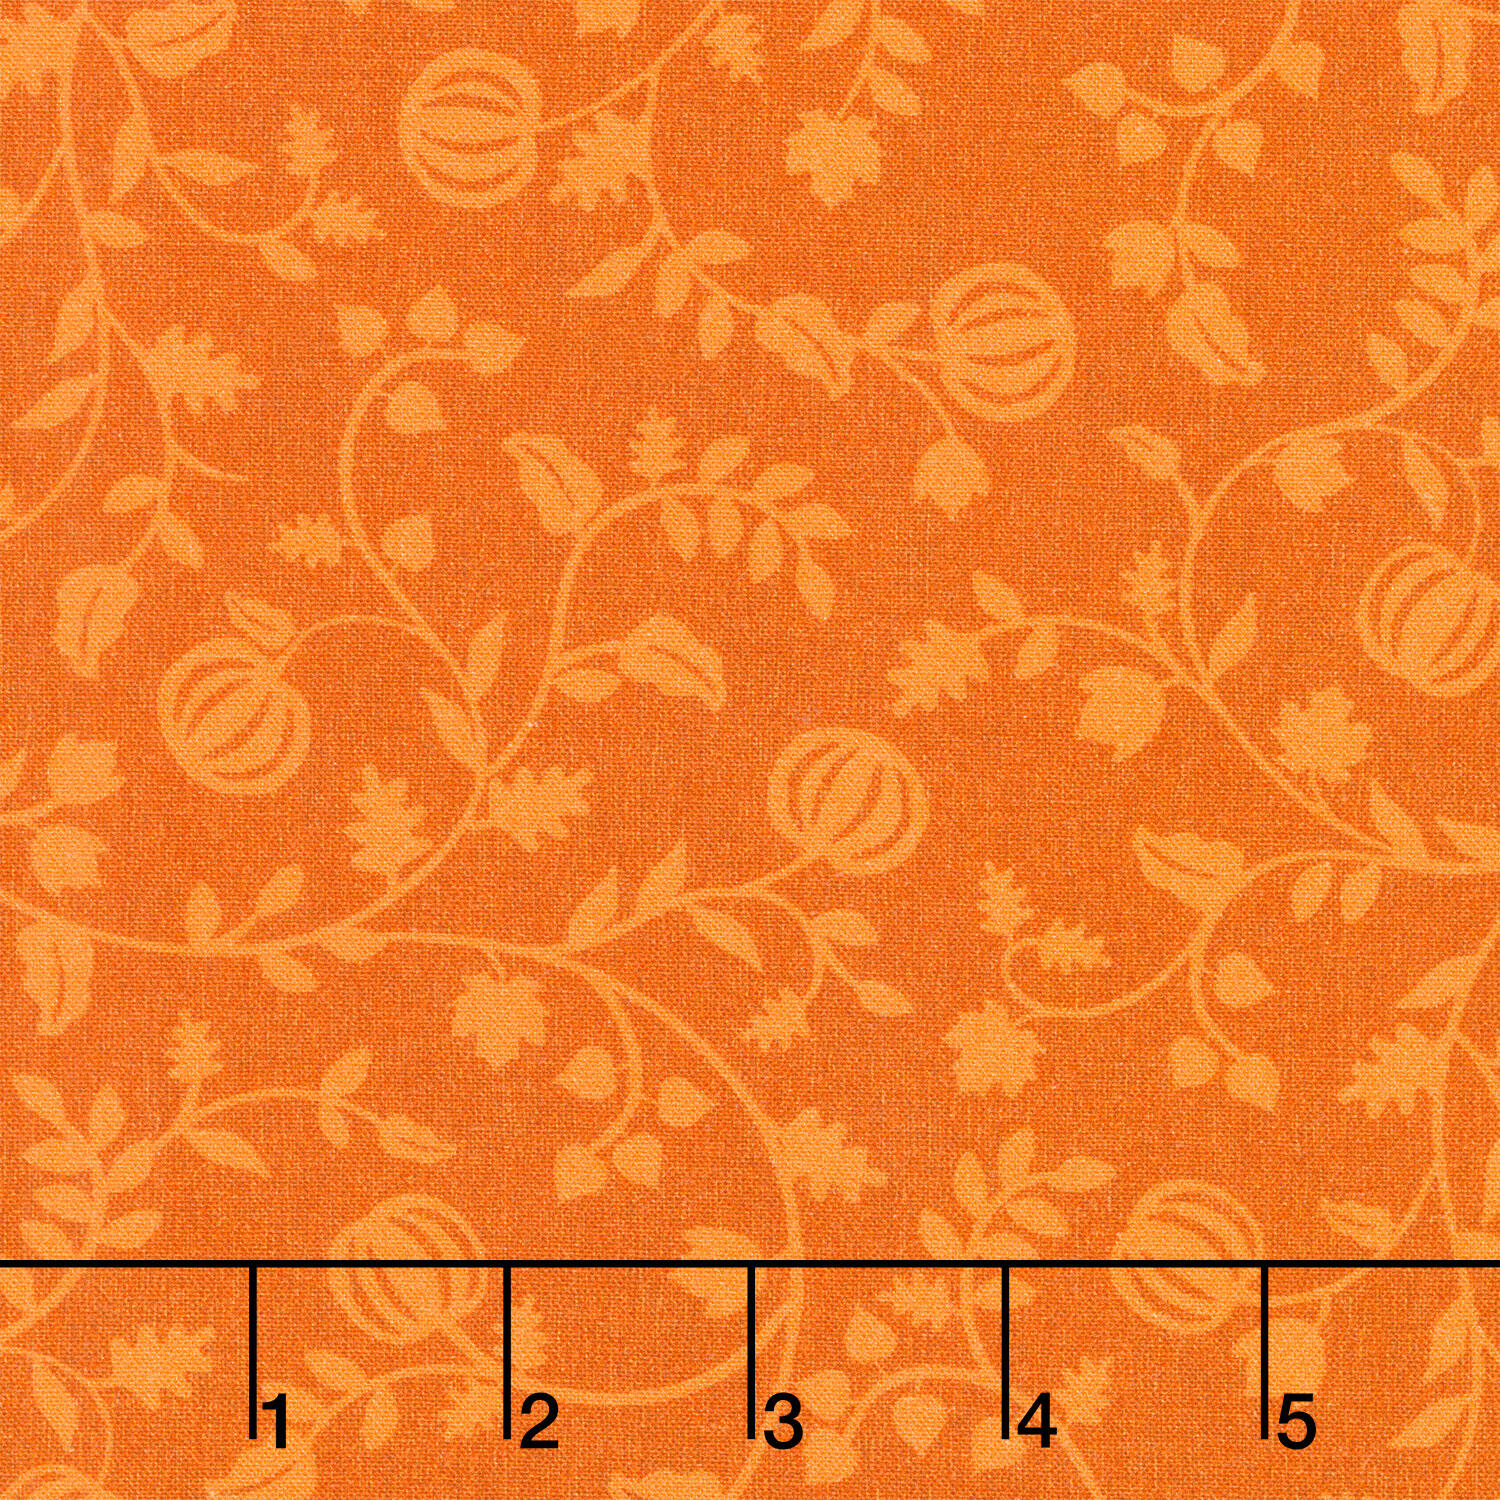 Pumpkin Grove - Pumpkin Vines Orange Yardage$12.36Shop →
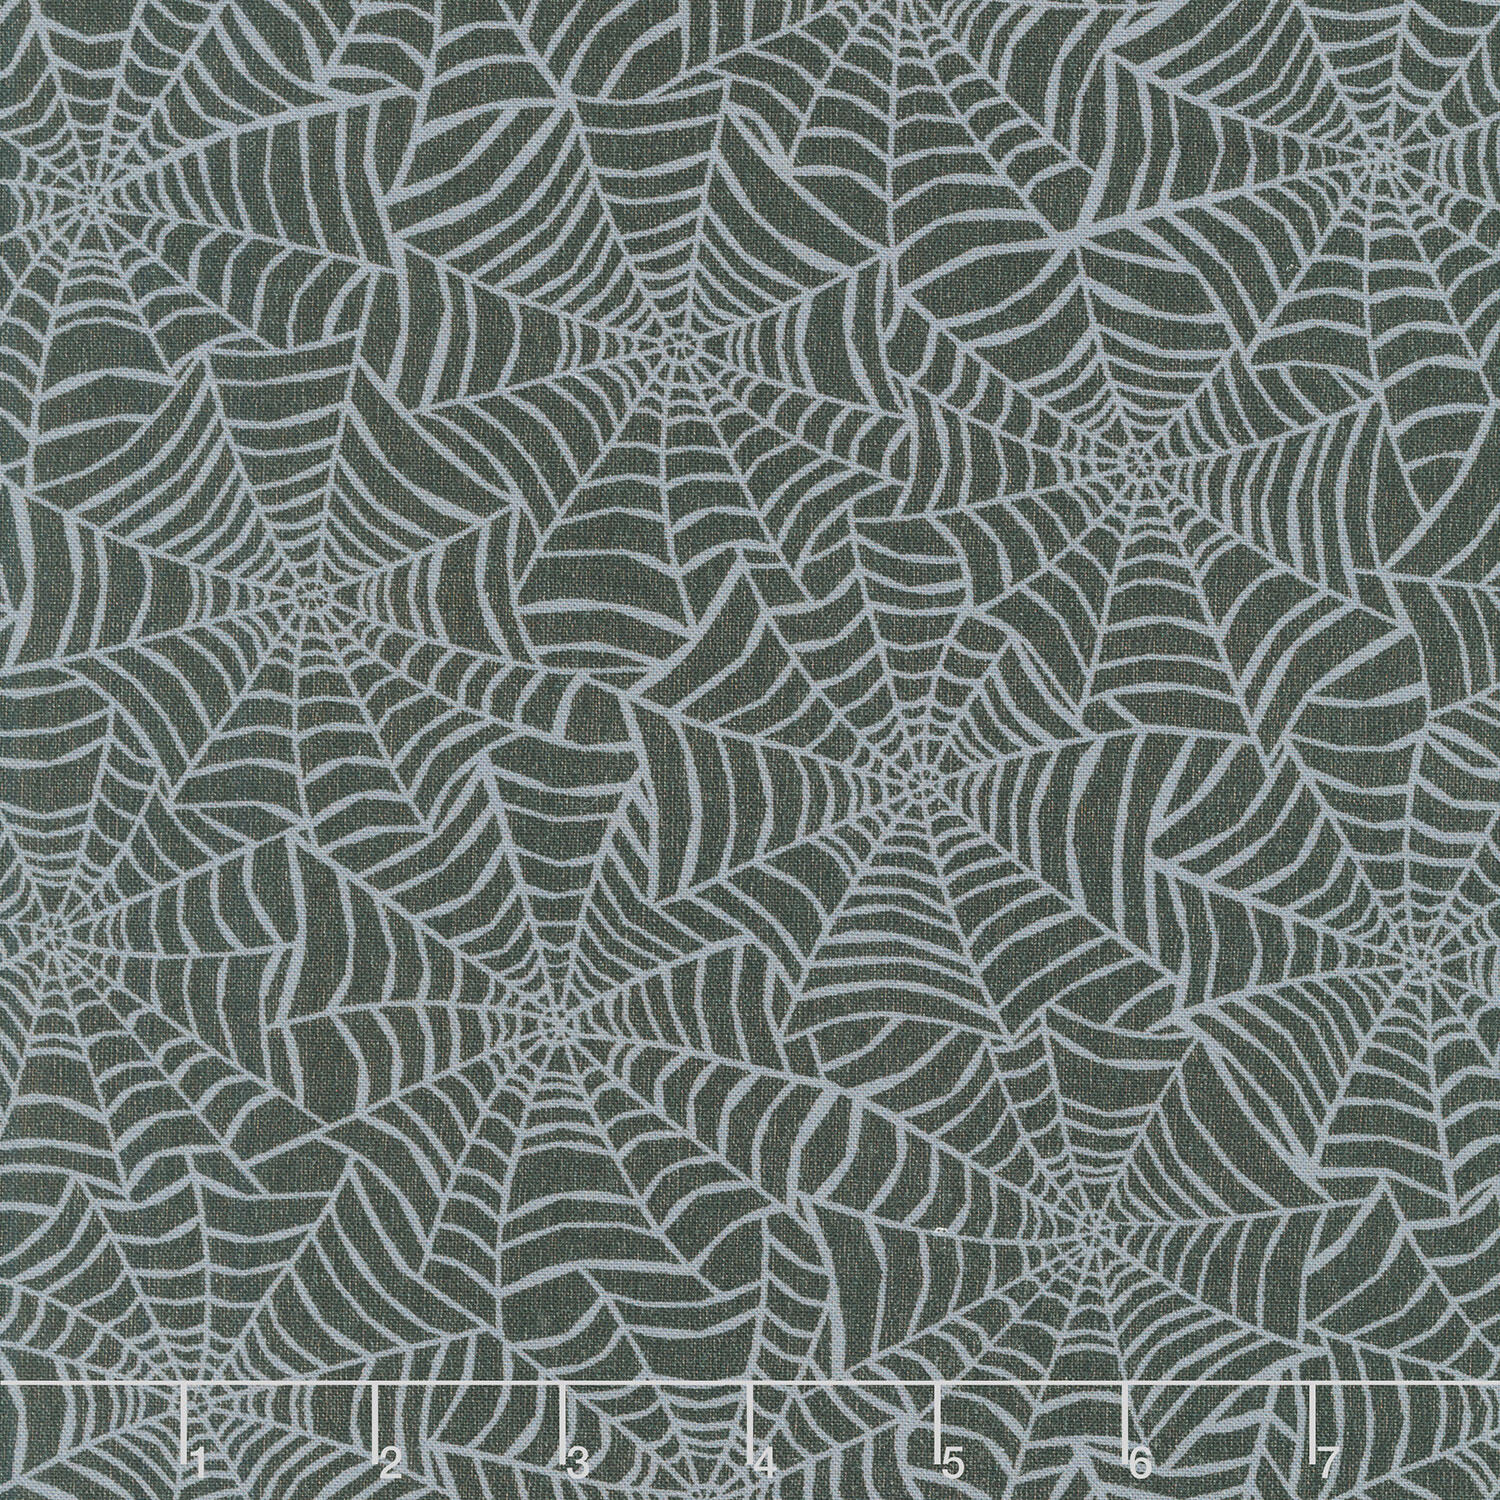 Pumpkin Grove - Spider Webs Black Yardage$12.36Shop →
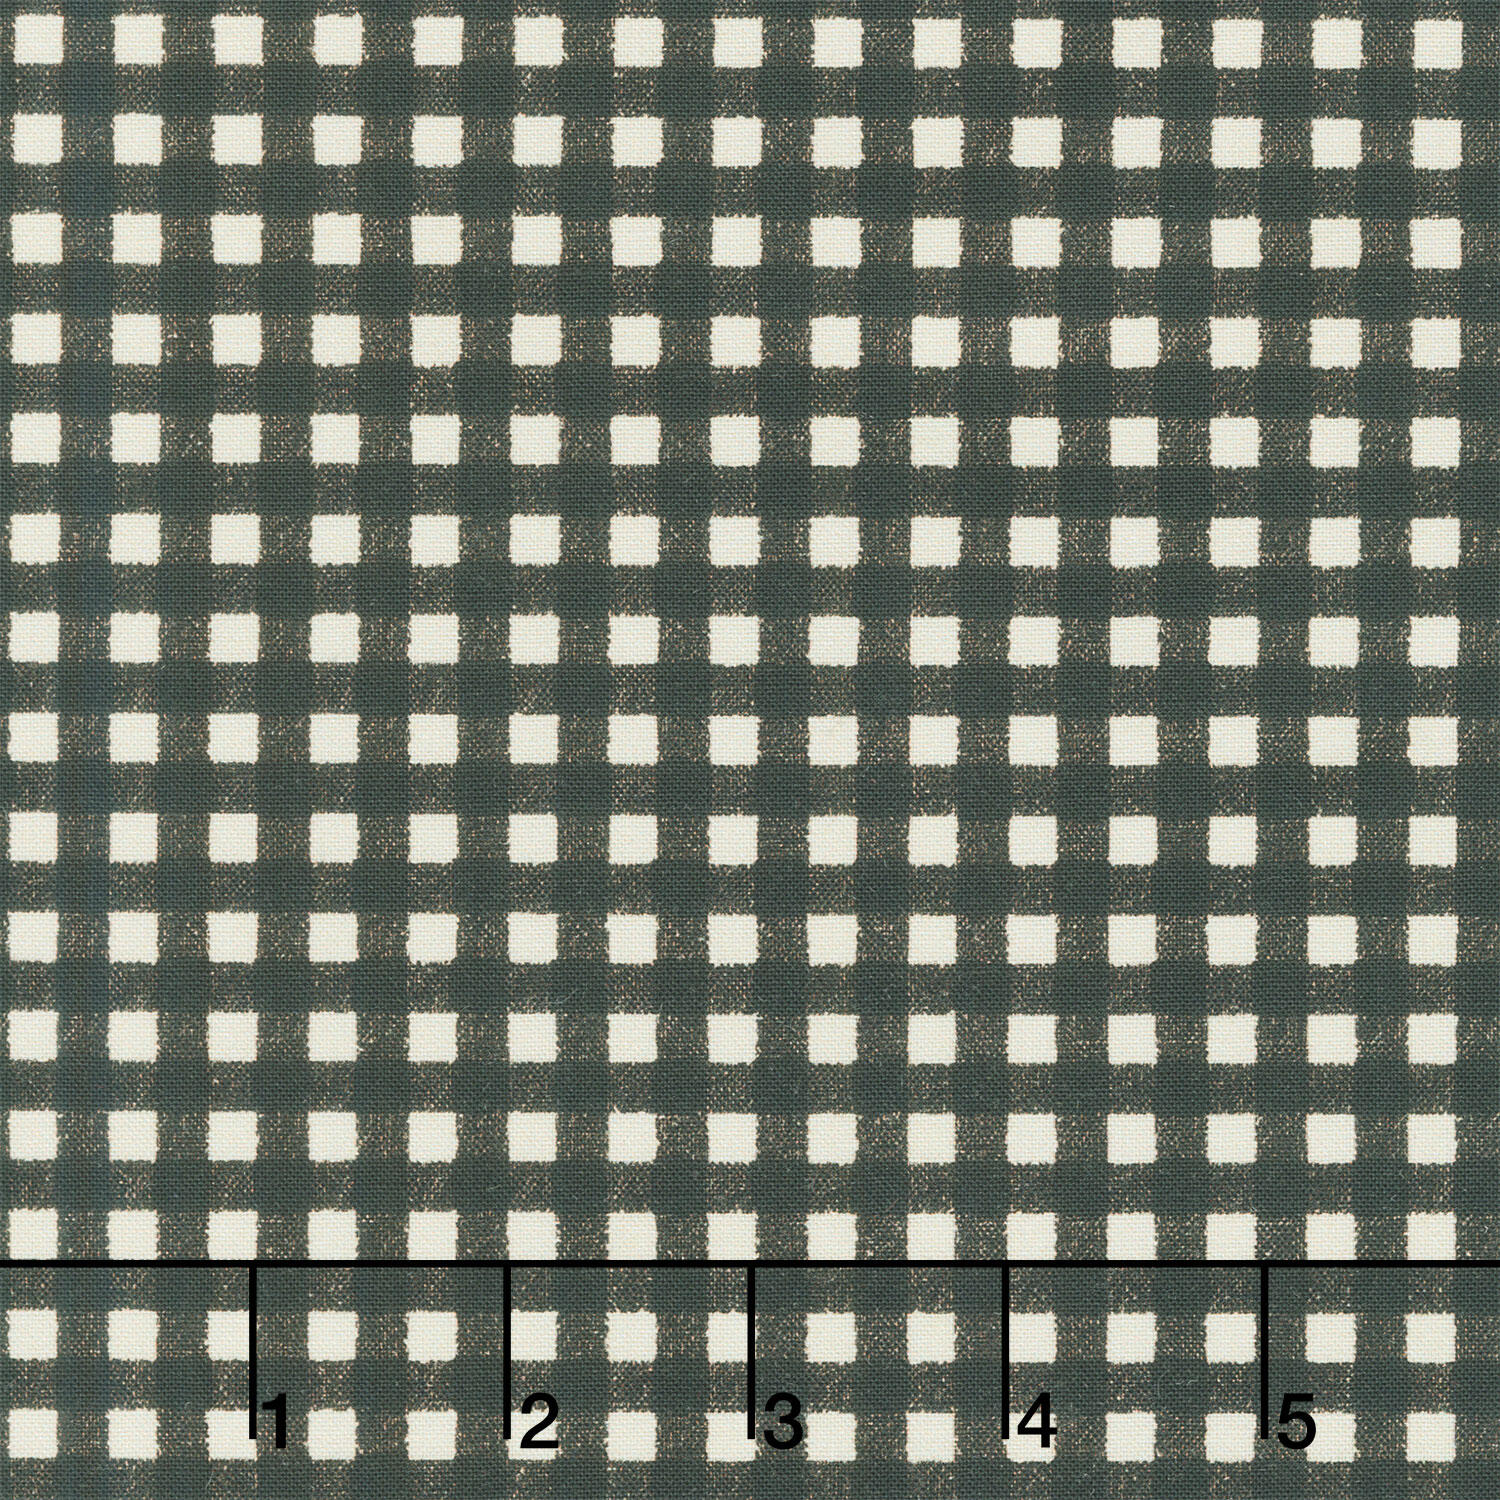 Pumpkin Grove - Gingham Black Yardage$12.36Shop →
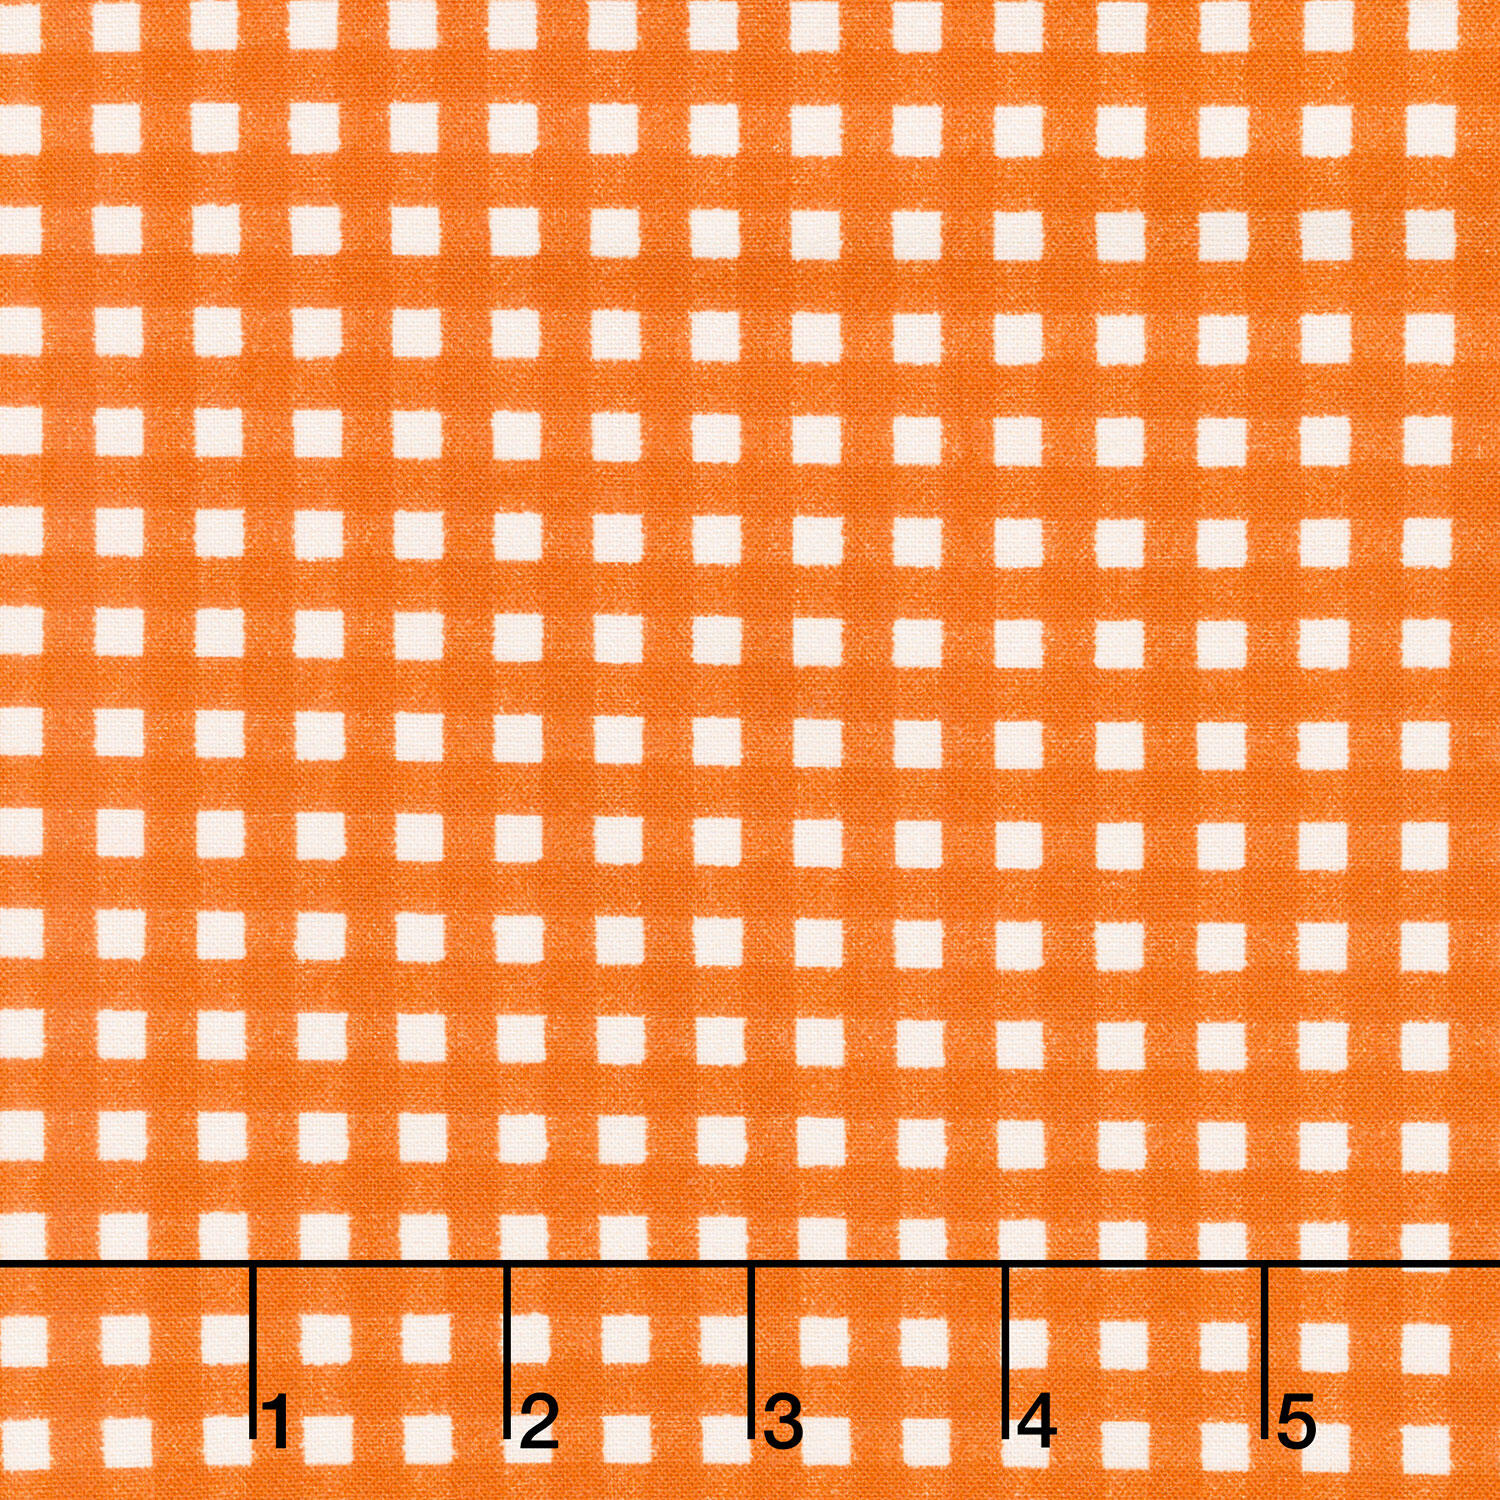 Pumpkin Grove - Gingham Orange Yardage$12.36Shop →
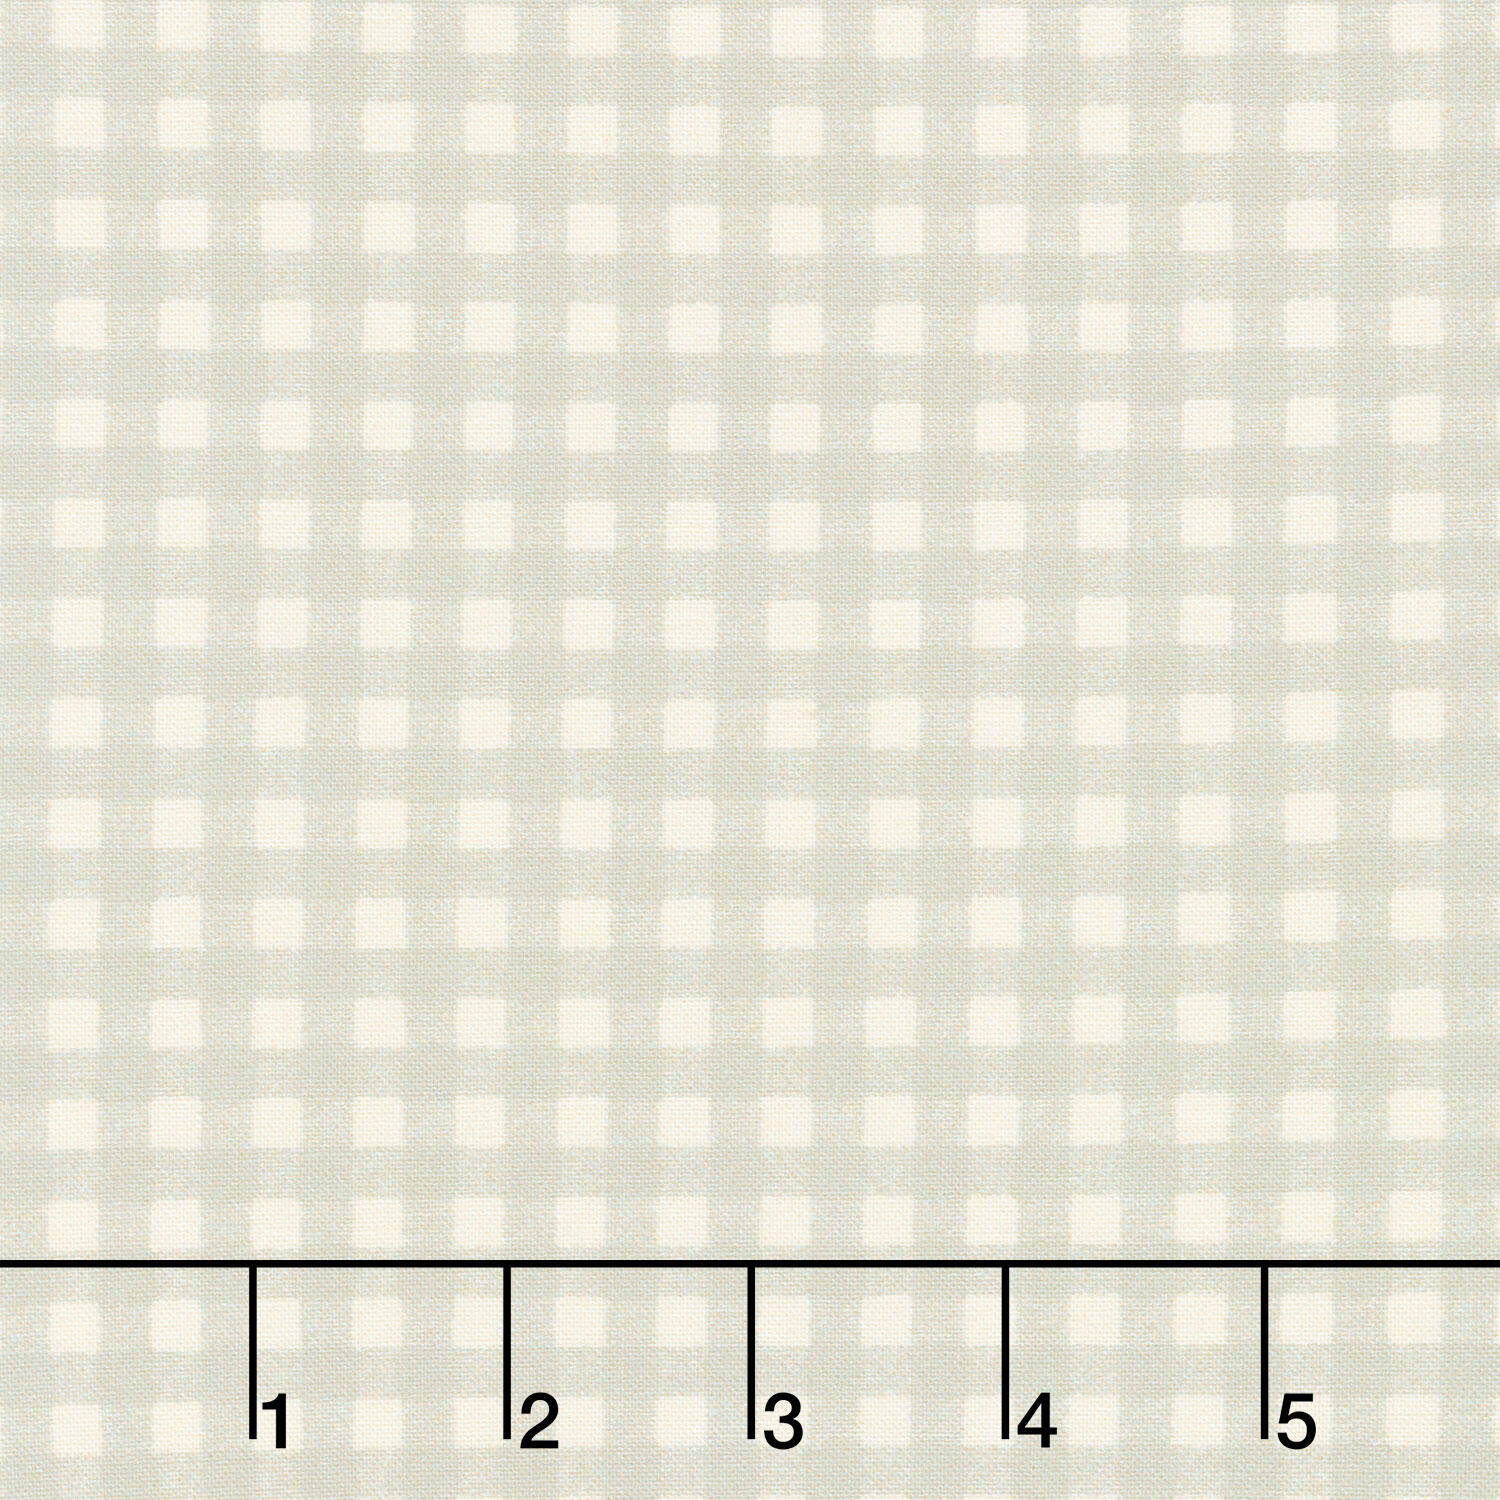 Pumpkin Grove - Gingham Tan Yardage$12.36Shop →
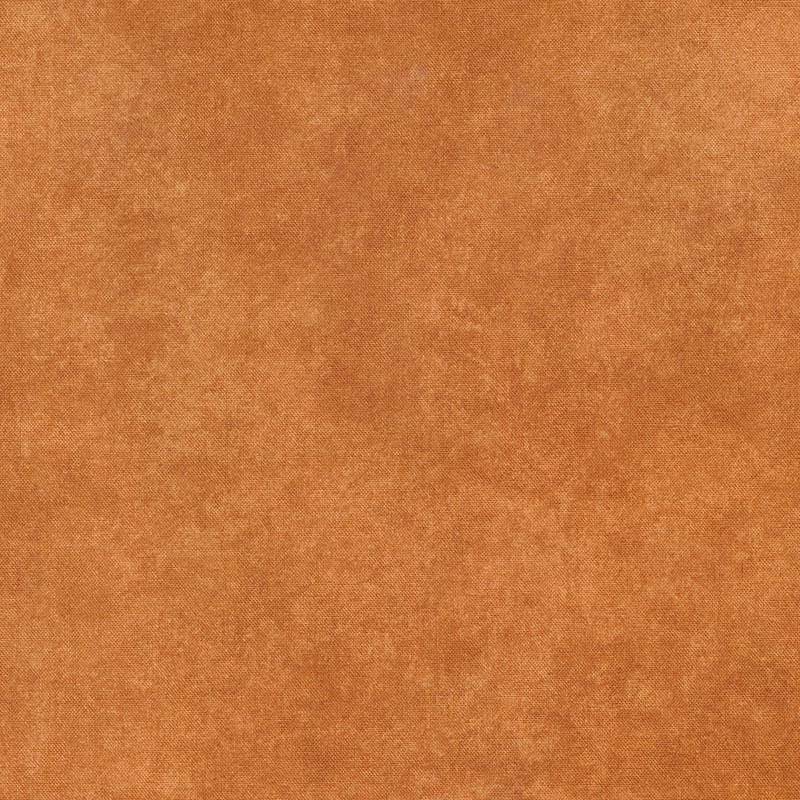 Shadow Play - Burnt Orange Yardage$11.28Shop →
 Kona Cotton - Cream Yardage$8.48Shop →
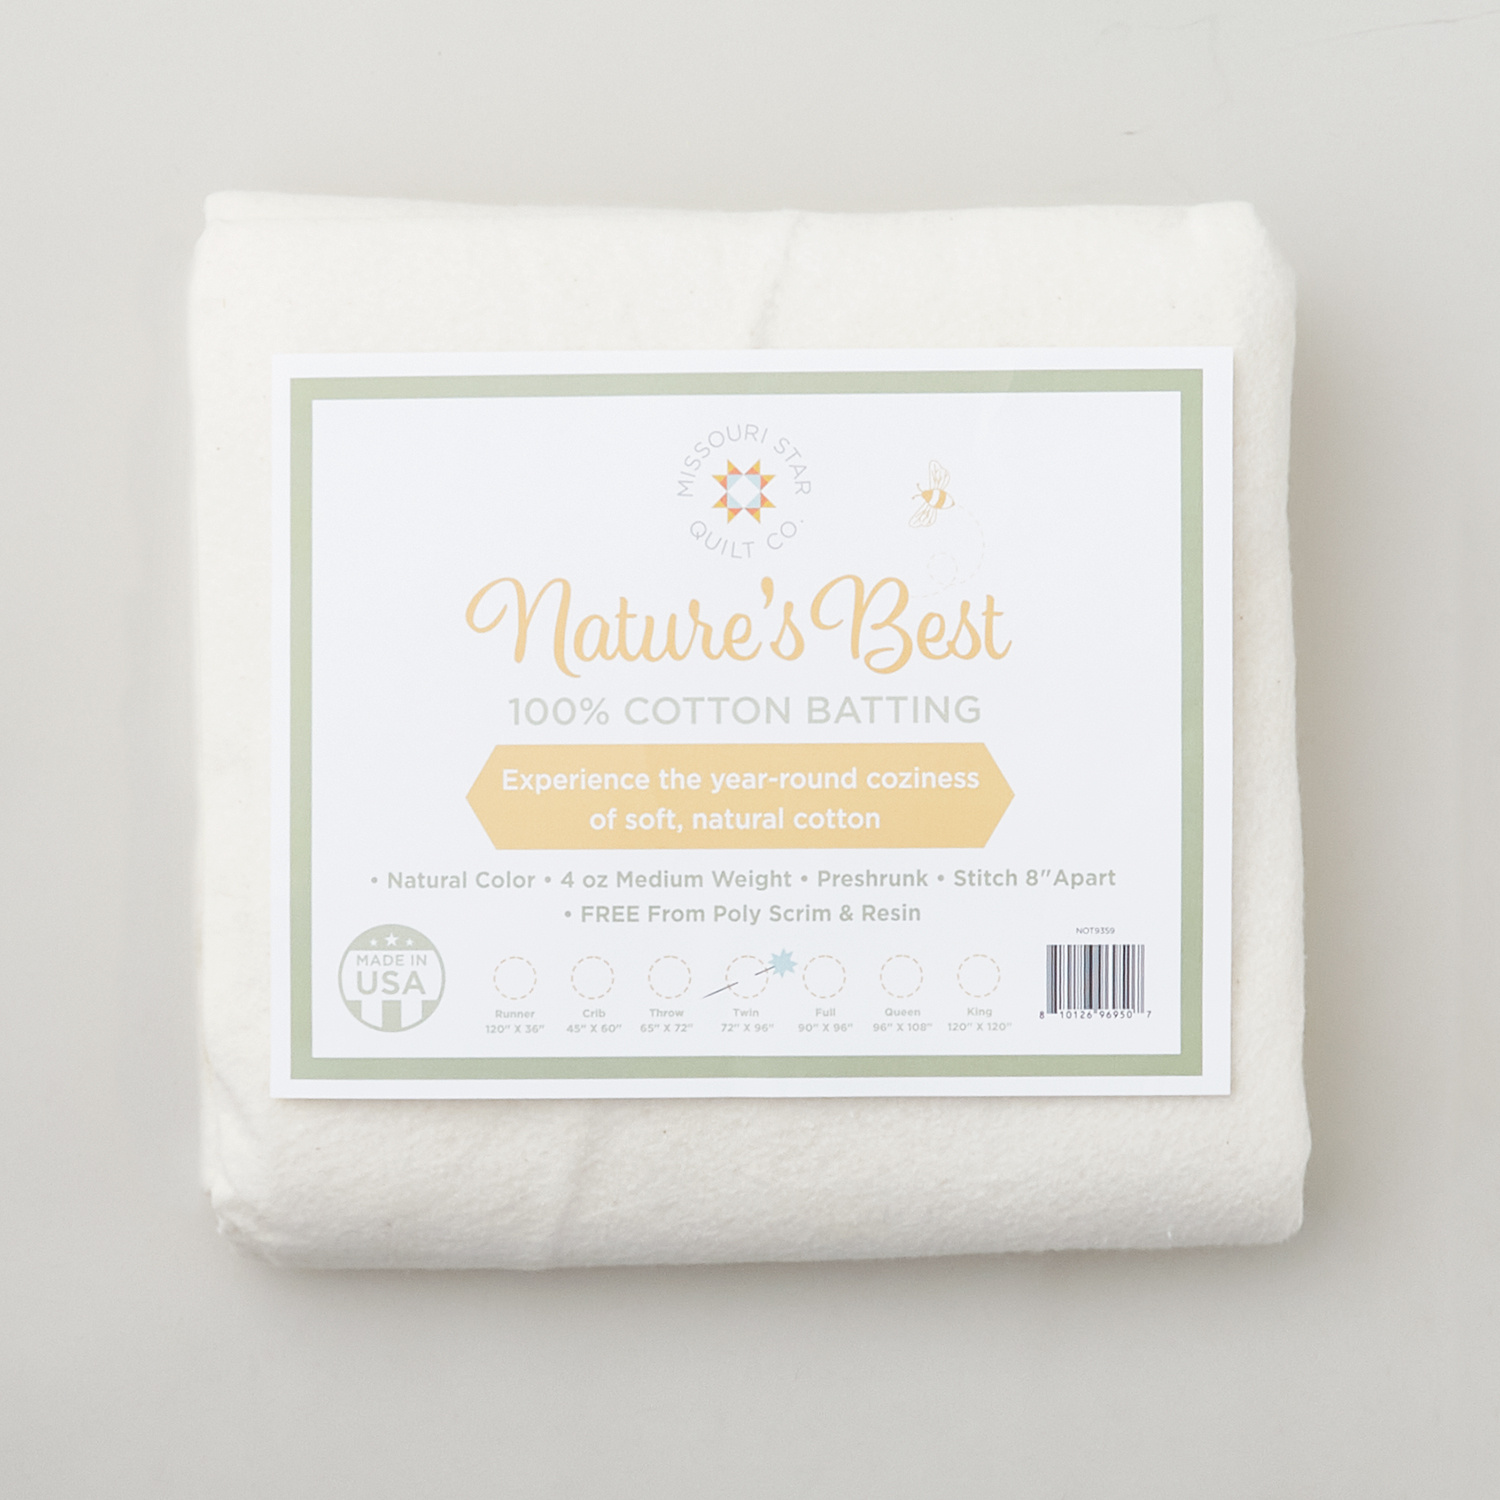 Missouri Star Nature's Best 100% Cotton Twin Batting - Natural$29.95Shop →
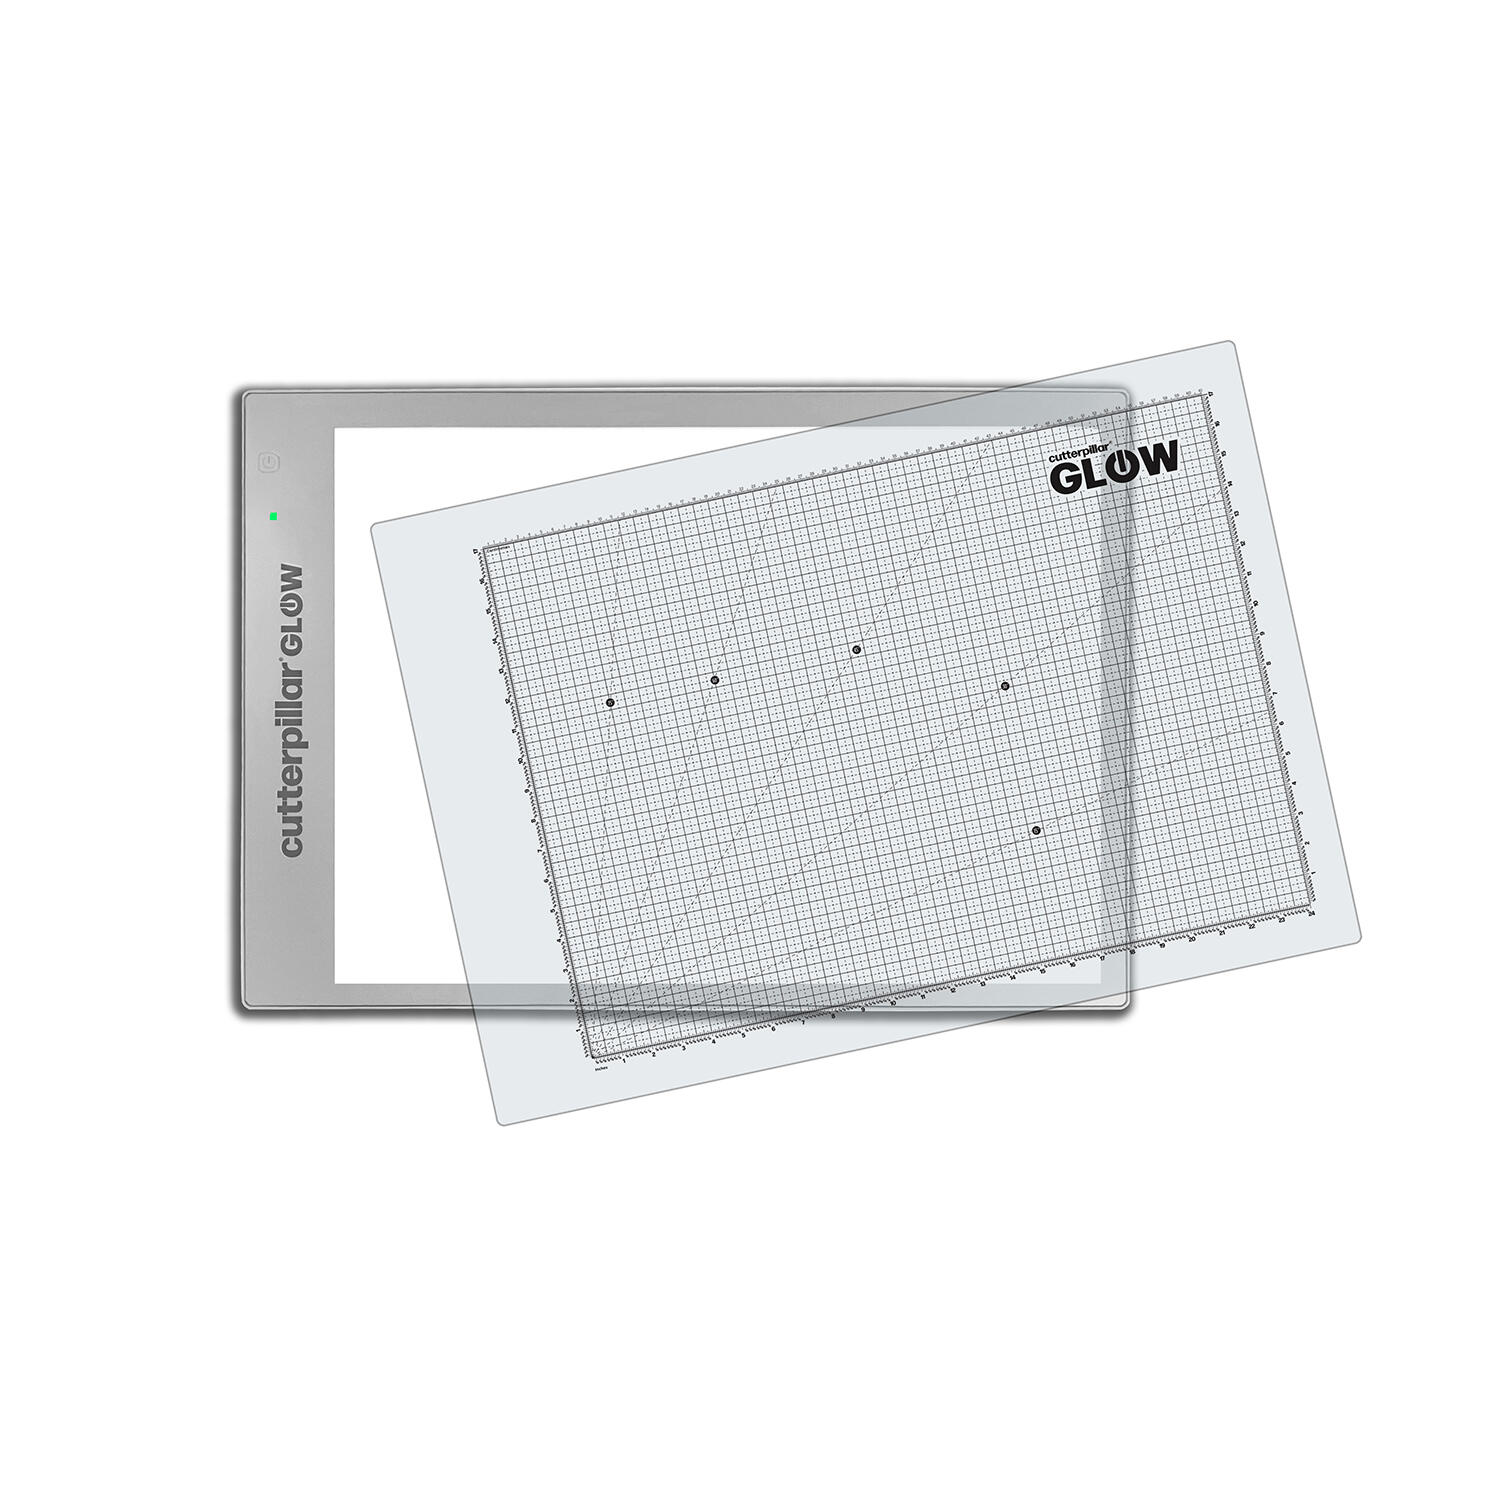 CutterPillar Glow Classic Lightboard$199.99Shop →
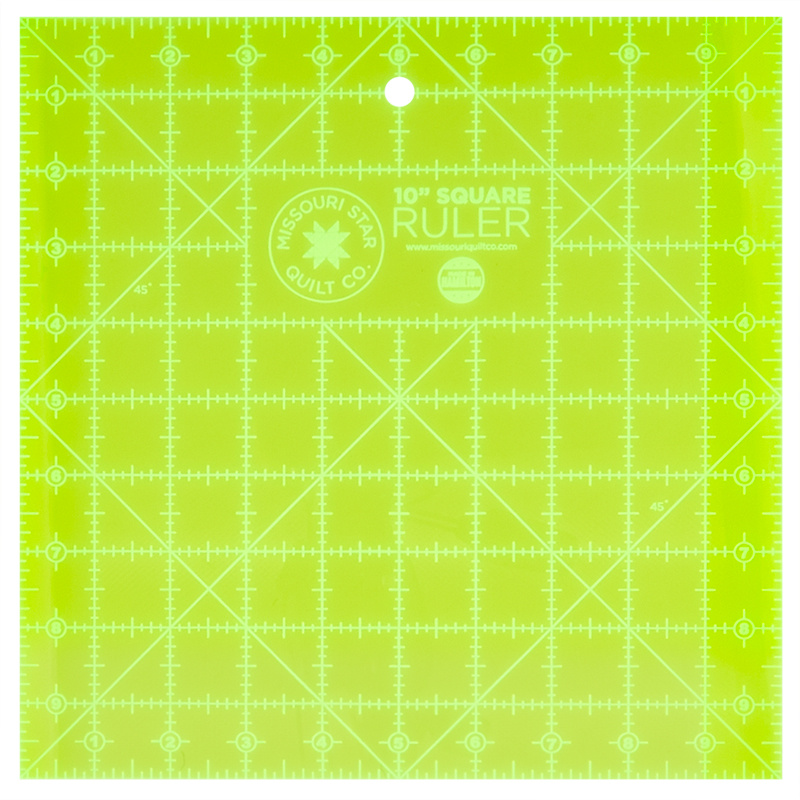 Missouri Star 10" x 10" Square Ruler$19.95Shop →
 Missouri Star 45mm Rotary Cutter - Olga$19.95Shop →
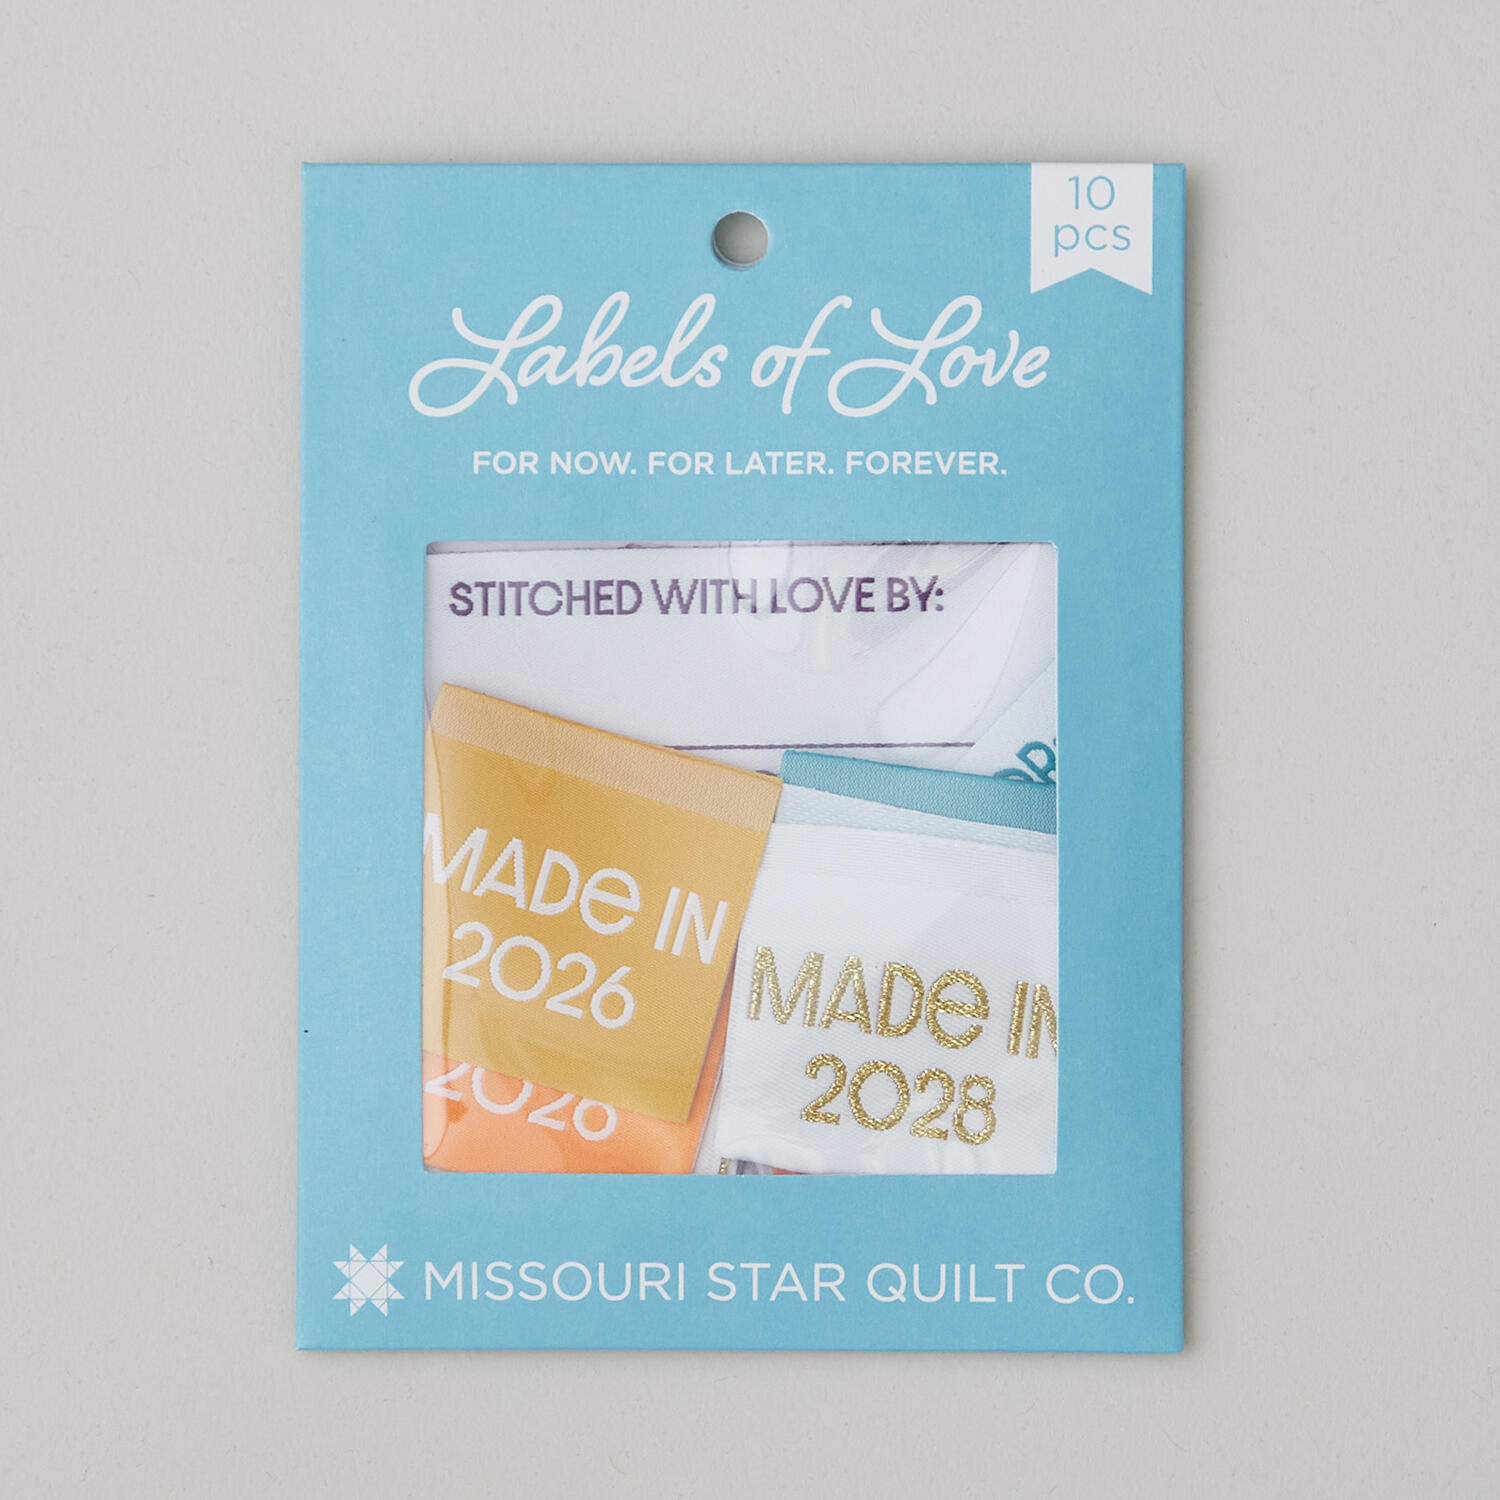 Missouri Star Labels of Love: For Now, For Later, Forever$9.95Shop →
 Missouri Star 8" Everyday Scissors - Amelia$19.95Shop →
 Missouri Star 50 WT Cotton Thread White$7.95Shop →
 Missouri Star + Oliso TG1600 ProPlus Iron$209.95Shop →
 Bernette 77 Sewing and Quilting Machine$1699.00Shop →


