Take this fun quilt for a spin! Colorful blades spin against a striking dark background in the Spin Cycle quilt. Misty shows you how easily you can make the blades' curved edges using the Missouri Star Small Drunkard's Path Circle Template Set. Cheerful florals and bright solids pair up to create an eye-catching quilt that is fresh and energetic. Great for a teen!
Misty Doan grew up surrounded by sewing and quilting. She loves spending time sharing tutorials each week each week, and when she’s not stitching up one of her fun sewing projects for home decor, most likely you’ll find her hanging out with her husband and three awesome kids or working on a house project.
Take this fun quilt for a spin! Colorful blades spin against a striking dark background in the Spin Cycle quilt. Misty shows you how easily you can make the blades' curved edges using the Missouri Star Small Drunkard's Path Circle Template Set. Cheerful florals and bright soli...
How long is the tutorial video?
The tutorial video is 00:15:05.
Are supplies listed for this tutorial?
Yes. The tutorial page includes the supplies and materials connected to this project.
Video Transcript
Hey everyone, welcome to At Home. Today I'm going to teach you how to make this super fun spin cycle quilt. I think you'll be surprised at how simple it comes together. All right, so let's go ahead and check out this adorable quilt. Like I mentioned, I'm calling it spin cycle. And I absolutely love how you get these fun kind of spinning flowers or pin wheels that come together. The magic in this quilt is really in the layout. That's how you get all of these blooms to come together. But it is so much fun to make. So, first up, you're going to need one package of 10in squares. And I use this beautiful collection called Daisy Crush by Heather Bailey for Figo Fabrics. For the background fabric, you're going to need 2 and 1/2 yards. And this color is called Moon Shadow. These are all Northcot uh solids. So then for the pink, it's called Love Potion. And you need a third of a yard of both it and this high energy yellow or neon green. Uh those are going to be the accents that make up the centers of our blooms. For the backing fabric, you need four and 5/8 yards with a vertical seam. Or if you have a 108, you just need two yards of that. We're also going to use the Missouri Star small drunkard's path template. And it's helpful if you have a glue stick and a marking pen for that portion. So, let me show you how to make it. All right. So, to make this quilt, all of the blocks are made exactly the same. They look just like this. And I'm going to walk you through how to make them. And the magic really is in laying it out and making sure that your colors are coming together. So the first step you want to take is from your package of 10inch squares, you want to select 15 matching sets of two. And that's going to make up all of these complete blooms that you see in the middle of the quilt. So I have that here. I've got these two matching 10in squares. And to begin, we are going to cut two 4 and 1/2 inch by 10 inch strips across these. So here's the first set and the second. All right. And so then we can just get rid of this little strip or you could add it to your stash. It'd be great for some string quilts, but we don't need it today. And so now we have four of these 4 and 1/2 by 10 in rectangles. And so we are going to make all of these every unit for the entire quilt in the exact same way. And so step one is we're going to take template B from our drunkard's path. And I like to remember the curve goes on the top and I'm cutting off the part on the right hand side because I'm right-handed. So this is just the little mantra that I use throughout the whole thing to help me remember. And I'm also going to use my little chalk marker and I'm going to mark the end. Actually, let me grab a regular pen because I want to make sure you guys can see. Maybe this pencil will show up better for you guys. I'm just going to mark the end of where that template is because I'll need that as a reference guide later. And so now, because this fits exactly on the edge, I can just shave off this little bit. And I'm going to do that same thing with all four of these rectangles. So, we'll trim it off. Leave our little reference mark and continue on the stack. I'm going to be wild and cut both of these at the same time just to save me a little time. You just want to make sure it's lined up all the way to the top edge there. And on the side here and this last one. All right, perfect. So, those are ready. And so, now from our background fabric, I have cut some rectangles that measure 4 and 1/2 by 5 and 1/2. And so we are going to use the 4 and 1/2 inch measurement on the other side of our template here to cut out our background pieces. And so I'm lining up the edge of my fabric with the solid line of the template. And I'll cut one here. There's that first one. And now I can flip this around. And I can get two of these cuts out of each of these rectangle pieces. There we go. We'll do that same thing one more time. I cut didn't quite cut through that little stitch there or thread there. There we go. And so now we'll cut this side again. There we go. Beautiful. All right. So now I'm going to go ahead and take these. I'm going to finger press them in half and just find the center point of my curves. And I like to get a bunch of these ready so that I can stay at my machine and just keep working my way through that. So, we're just going to line those ends up, find my little center mark, and finger press. Of course, you could take this to the ironing board if you wanted to, but this is my preference. And one more. Okay. Now, remember, we made that little mark on these where we cut the curves. So, now we're going to fold this top point to line up with that mark and then finger press the middle here. This is going to help us add our background unit and make sure everything is lining up where we need it to go. All right. So, just like that. I actually have done some of this work ahead. So, I'm just going to sew one of these on camera for you, but just know you're going to repeat that with all of these. And you want to make sure the orientation is the same on every single unit that you cut. So, let's go ahead and take this now to the machine. Let me show you over here before I start how to line this up to begin. So, we're going to take this straight edge and this short little straight edge here and we're going to start stitching at the top. If you want to pin, you absolutely can. Then we will line up where we finger pressed in the middle and this opposite end is going to line up straight with the mark that we made. So, those are the things I'm looking for. I don't like to pin. I've done enough of these that it kind of gets in my way. But what I do like to do is use a glue stick. So, I'll use a little glue stick to begin to just keep those lined up. And then I'm going to take this with me over to the machine. And as I get past the halfway point, I'll line up my ends again as well. And that glue will just hold that in place as I come around the curve. So, let's go ahead and do that. Just want to make sure that's nice and straight. And when you're sewing curves, you just need to slow down and be patient with yourself. And I kind of like to think of it as like merging traffic. I'm just going to merge these two pieces of fabric together as I maintain my quarter inch seam. And because that curved piece that we're adding to the top is cut on the bias, it just gently stretches and lines up exactly where we need it. So now I've made my way to that midpoint. And so I'm just going to pull around the back side here. Hopefully you can see how that's going to line up exactly. And I'm going to go ahead and just put a little glue there. And I'll just turn that. And then as I approach the machine, I know my end is going to be exactly where I want it. Okay, there is our little curve. I love how these come together. And let's give this a press. It's just going to want to roll back. And so I will just gently let that roll back. Make sure I don't have any pleats or tucks along that seam edge. And I think that turned out really nice. And that's how that's going to look. So, let me go ahead and point this out to you because I want to make sure you see this. This little bit here is going to get caught in our quarter inch seam. And so, that's normal. You're looking for that. We're not going to trim it off. We want that to stay just like that. And so, then now the next step is once we have added that curve on the opposite corner, we are going to add our accent fabric. And so the pattern will tell you how many of these sets get what color. So pay attention to that. But I'm just going to lay this here and stitch corner to corner. So let's go ahead. Now again, you could draw the line, press the line, use diagonal seam tape. I'm just going to eyeball it. Perfect. And now we can trim this off, leaving our quarter inch seam allowance. And we'll press this side as well. Beautiful. Okay. So, there's our little unit that is completed. Let me clear some of this off of here and now we can talk about the layout. So, I'll meet you back here in just a second. All right. So once we have stitched all the units according to the pattern instruction, I've got a stack with my yellow snowballs and a stack with my pink. And you really want to take a a minute and lay out the whole top so that you can make sure all of these prints will match together. So to begin with, I just choose one of my sets of four. And I know that my blooms are all going to meet up and this is going to spin. And so this diamond will finish off in the center here. And then if you want to lay these on the board, you can or you can wait till you sew your blocks together. But in between your curves is this 2 in by 10 in strip that will set in place here. And one more. And then on the opposite side, since these are yellow in the middle, you always know the other side of that block is going to be the different accent color. So then this pink should be on the opposite. And technically, all four of these blocks should have a different print because we want these to then meet up with a different one later, right? So just like so. And so then once you have it laid out, we can sew these little units together. So we'll add our 2-in strip and then I'll add this opposite one as well. So let's go ahead and do that. And so now we can just open this up. The thing that you want to check is that those accents are on opposite corners of your block. So, look for that. And then we can just add this one here to the other side of our 2-in sashing strip. Take a few stitches and then zoom down. There we go. So, now let's press this And you can see here how that block will just set in like so. I have another set that are all going to match. So, let's go ahead and pull these over here. I've already sewn these just so you can see how those are all going to fit together. Just like so. Oops. No, actually, this one's wrong. So, that needs to spin because we want that same color to meet up in the middle. So, that's just right. So, now let's look back at the quilt behind me. So, those large blooms that we laid out are going to make up the center of the quilt. Remember, that was those 15 matching sets. And then our individual prints are going to make up these partial blooms that go all the way around the outside. So, just look at the pattern, pay attention. And they've laid out exactly how many of each set you want to use, what color of accent, and you get this absolutely beautiful, fun quilt. I love how vibrant and joyful it is, and it goes together really, really fast. I did go ahead and finish this off with a 4in outer border, and I quilted it with this fun pattern called Daisy Days. I think it's so cute. For the backing, I used this beautiful daisy print from the line. I absolutely love it. And this quilt finishes at 64 in x 74 in. So a great throw size. I hope you enjoyed this tutorial on the spin cycle quilt and I'll see you next time on At Home.


 Misty Doan
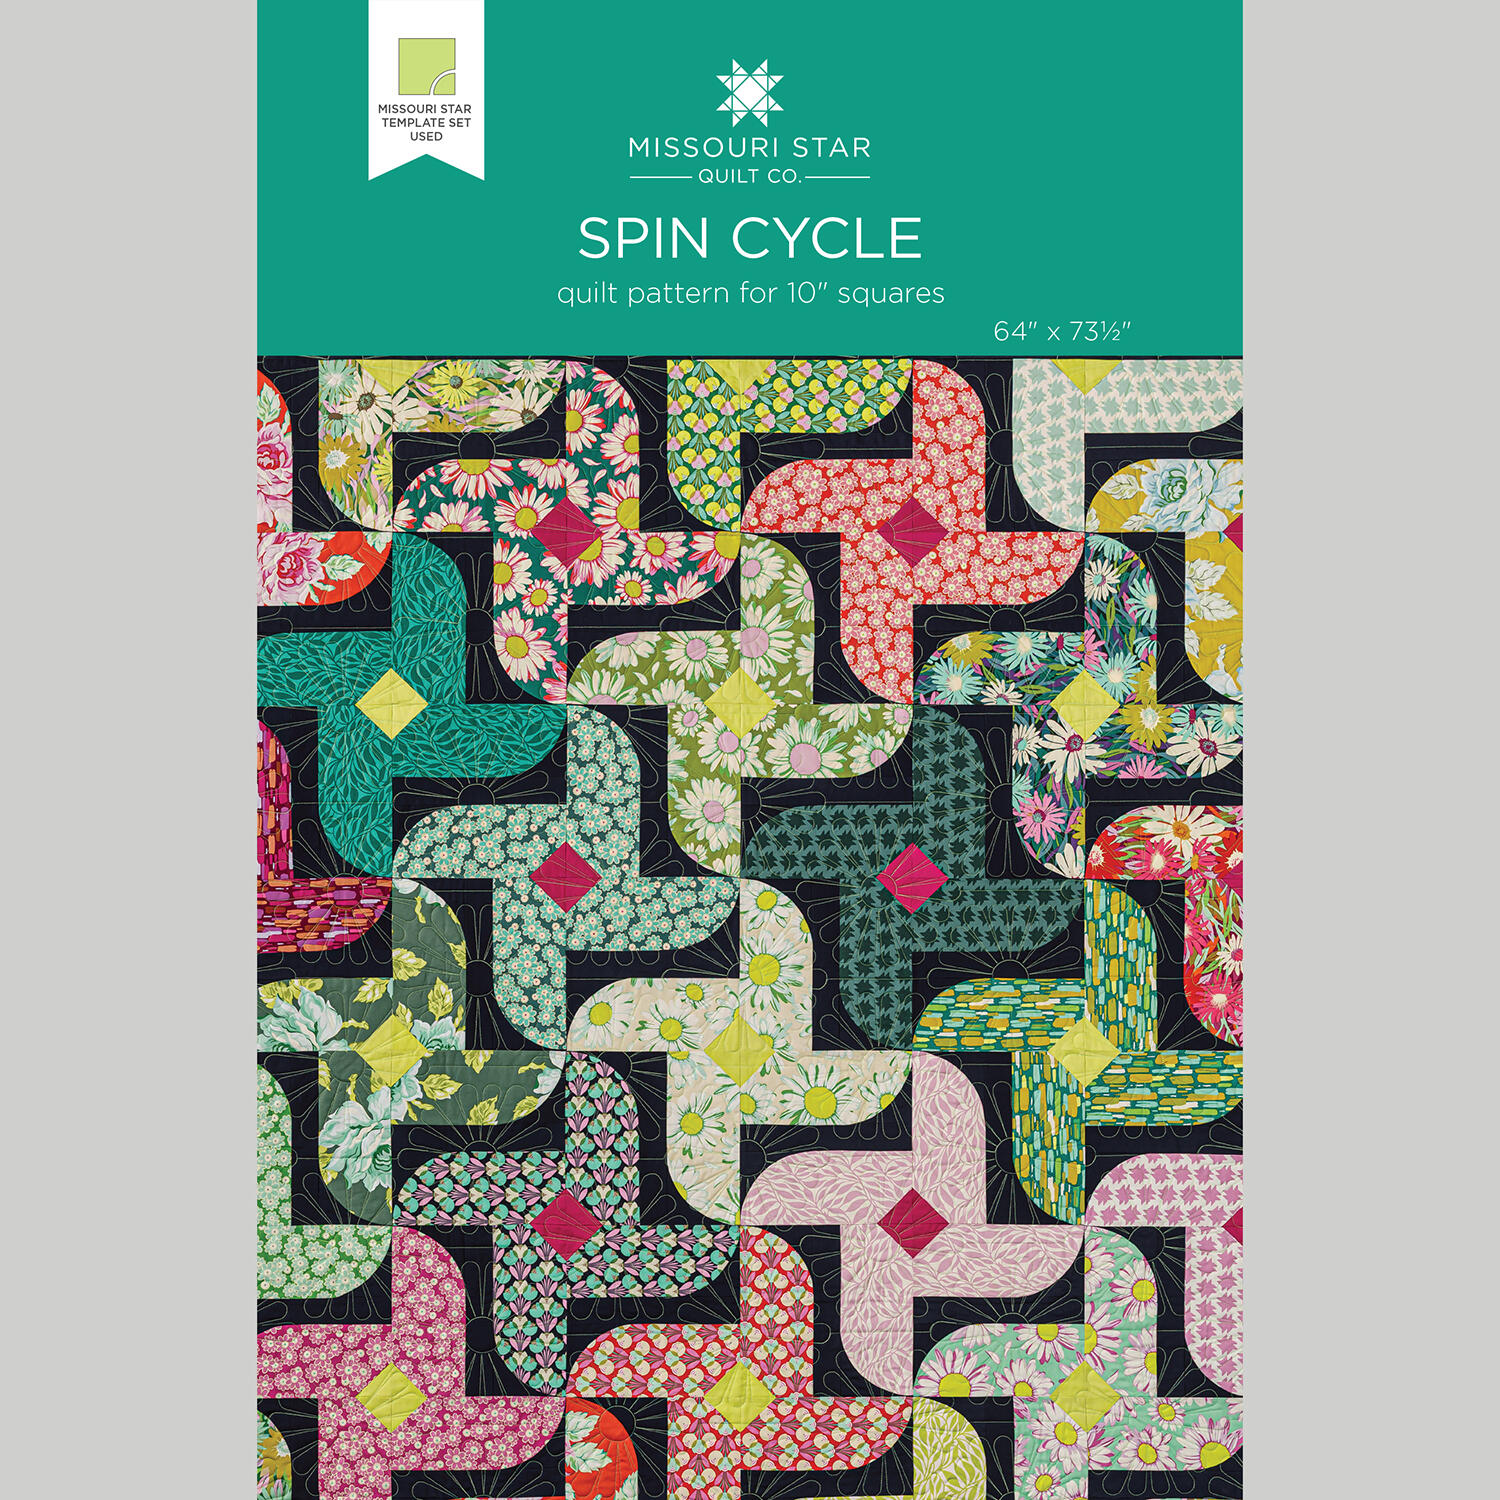 Spin Cycle Quilt Pattern by Missouri Star$8.50Shop →
 Digital Download - Spin Cycle Quilt Pattern by Missouri Star$6.95Shop →
 Colorworks Premium Solids - Moon Shadow Yardage$8.96Shop →
 Colorworks Premium Solids - High Energy Yardage$8.96Shop →
 Colorworks Premium Solids - Love Potion Yardage$8.96Shop →
 Missouri Star Quilter’s Best Blend Twin Batting$26.95Shop →
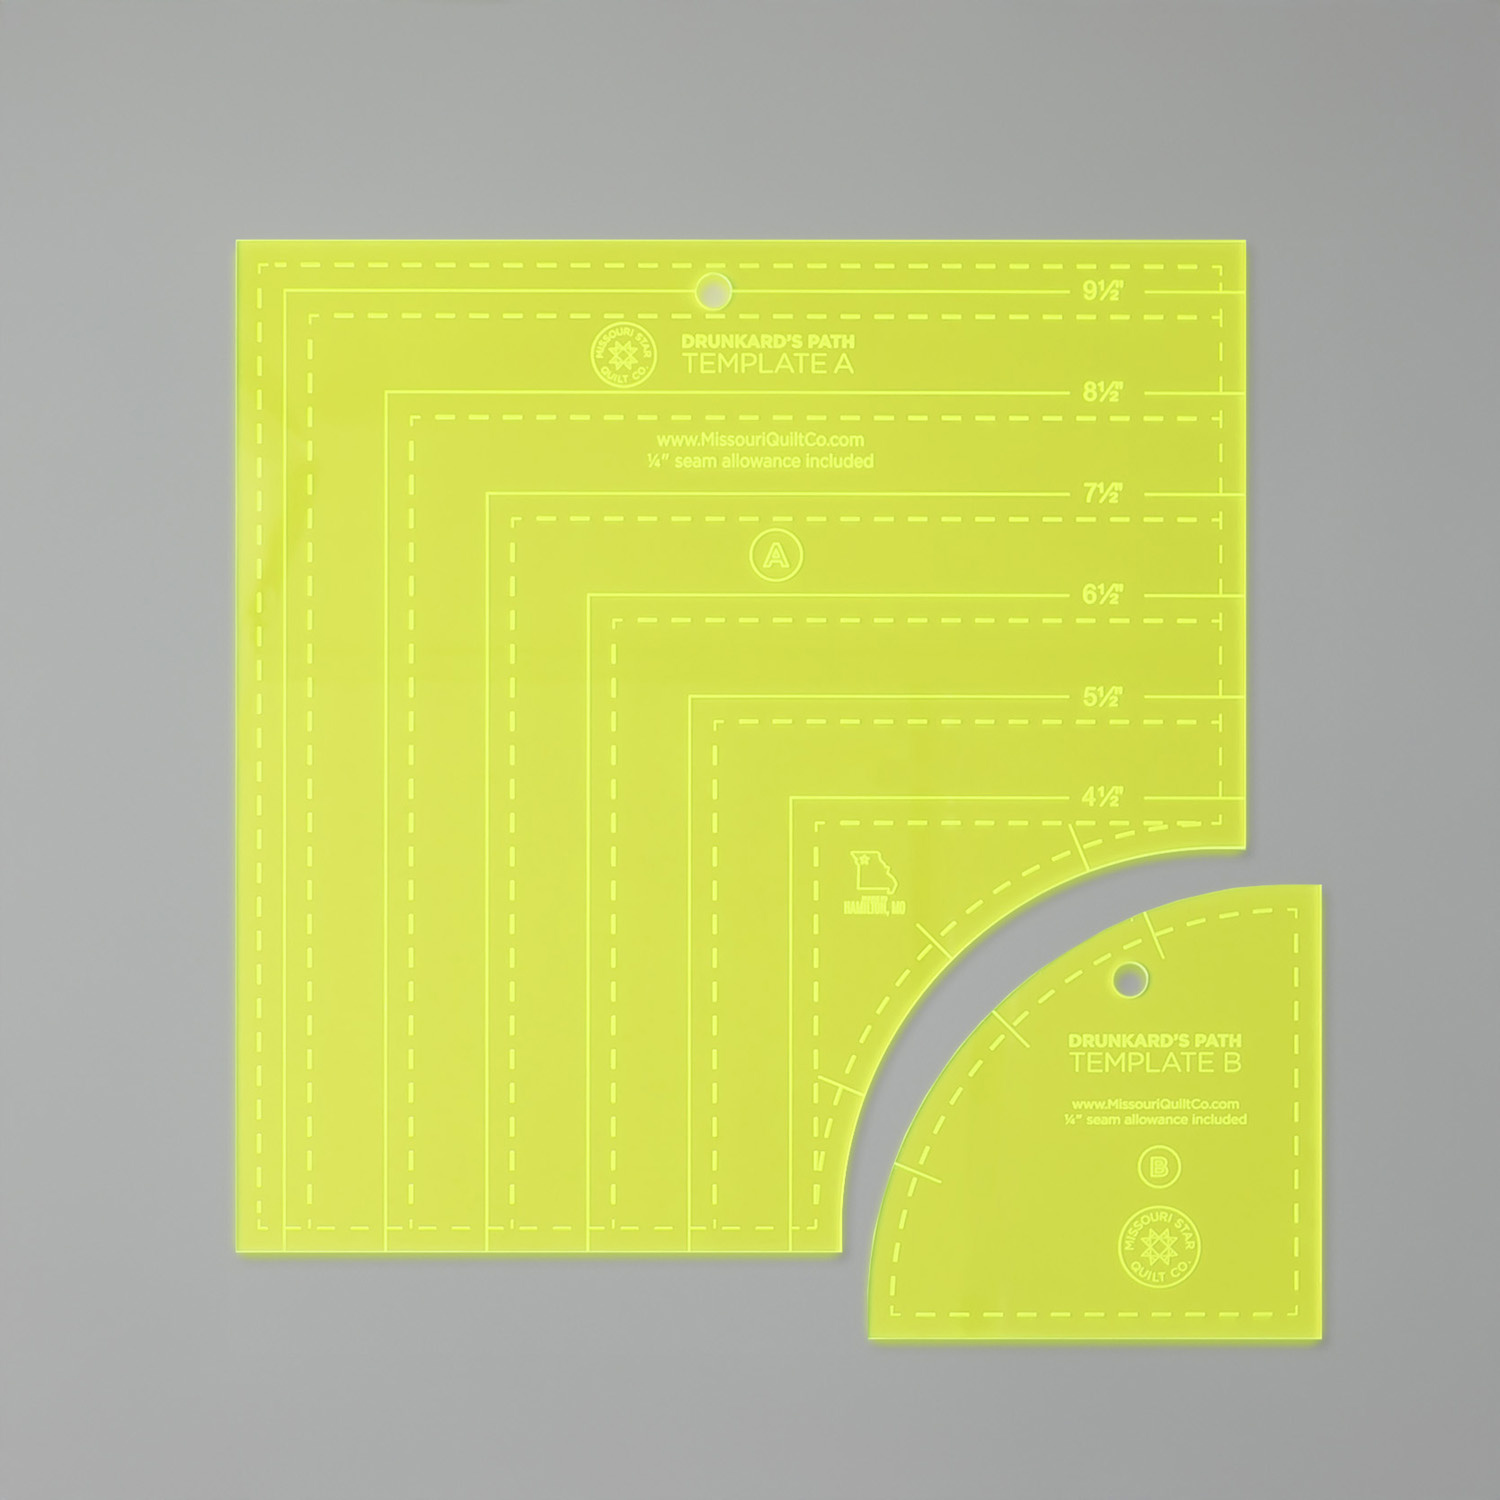 Missouri Star Drunkard's Path Circle Template Set - Small$21.95Shop →
 Missouri Star 5" x 15" Ruler$19.95Shop →
 Missouri Star 2.5" x 8" Ruler$11.95Shop →
 Missouri Star 45mm Rotary Cutter - Olga$19.95Shop →
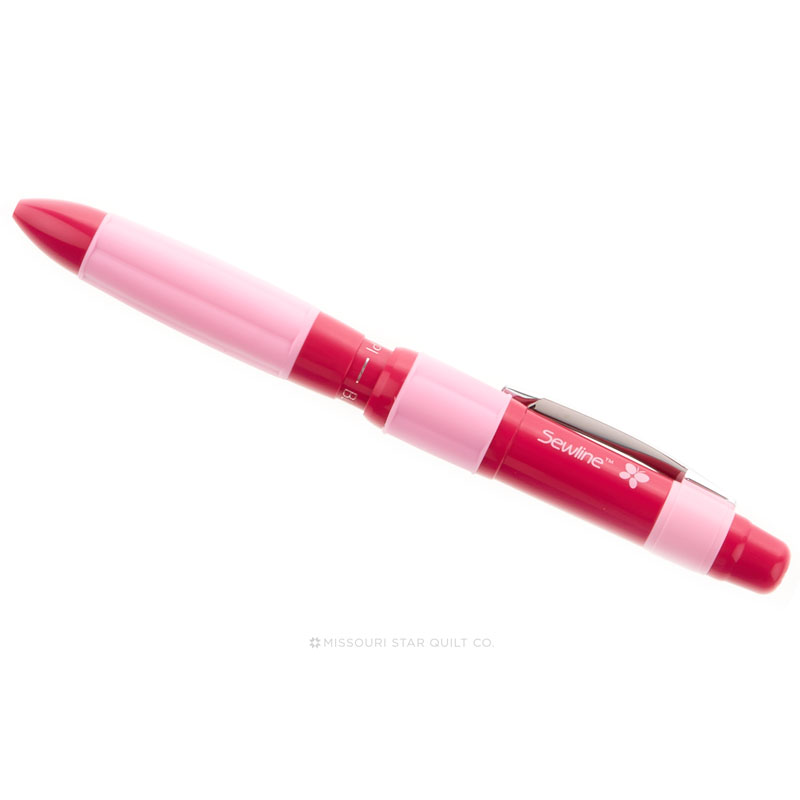 Sewline Pencil Trio$17.75Shop →
 Missouri Star 8" Everyday Scissors - Amelia$19.95Shop →
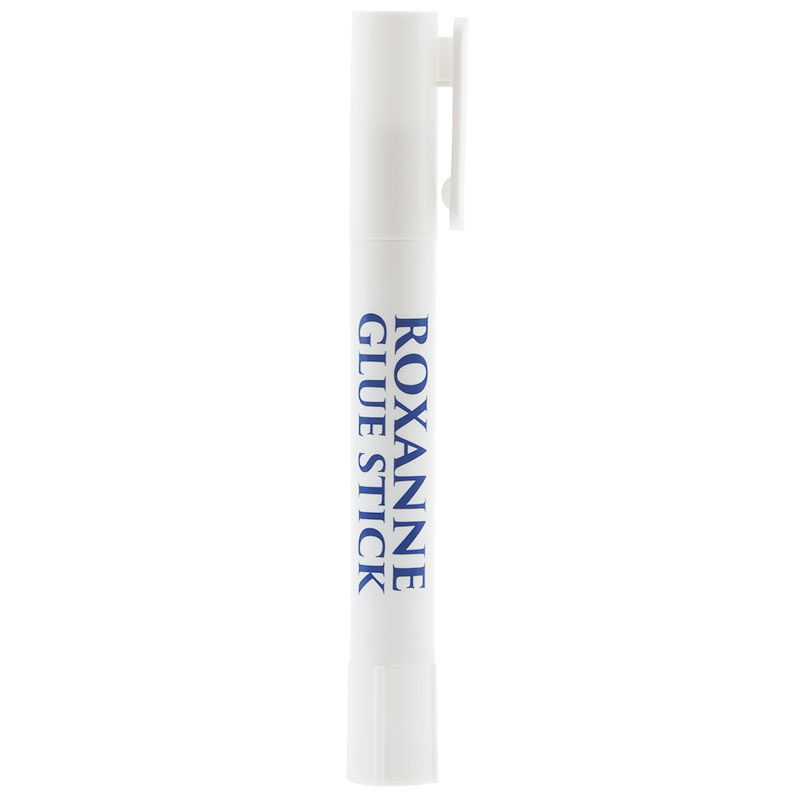 Roxanne Glue Stick$8.25Shop →
 Missouri Star 50 WT Cotton Thread White$7.95Shop →
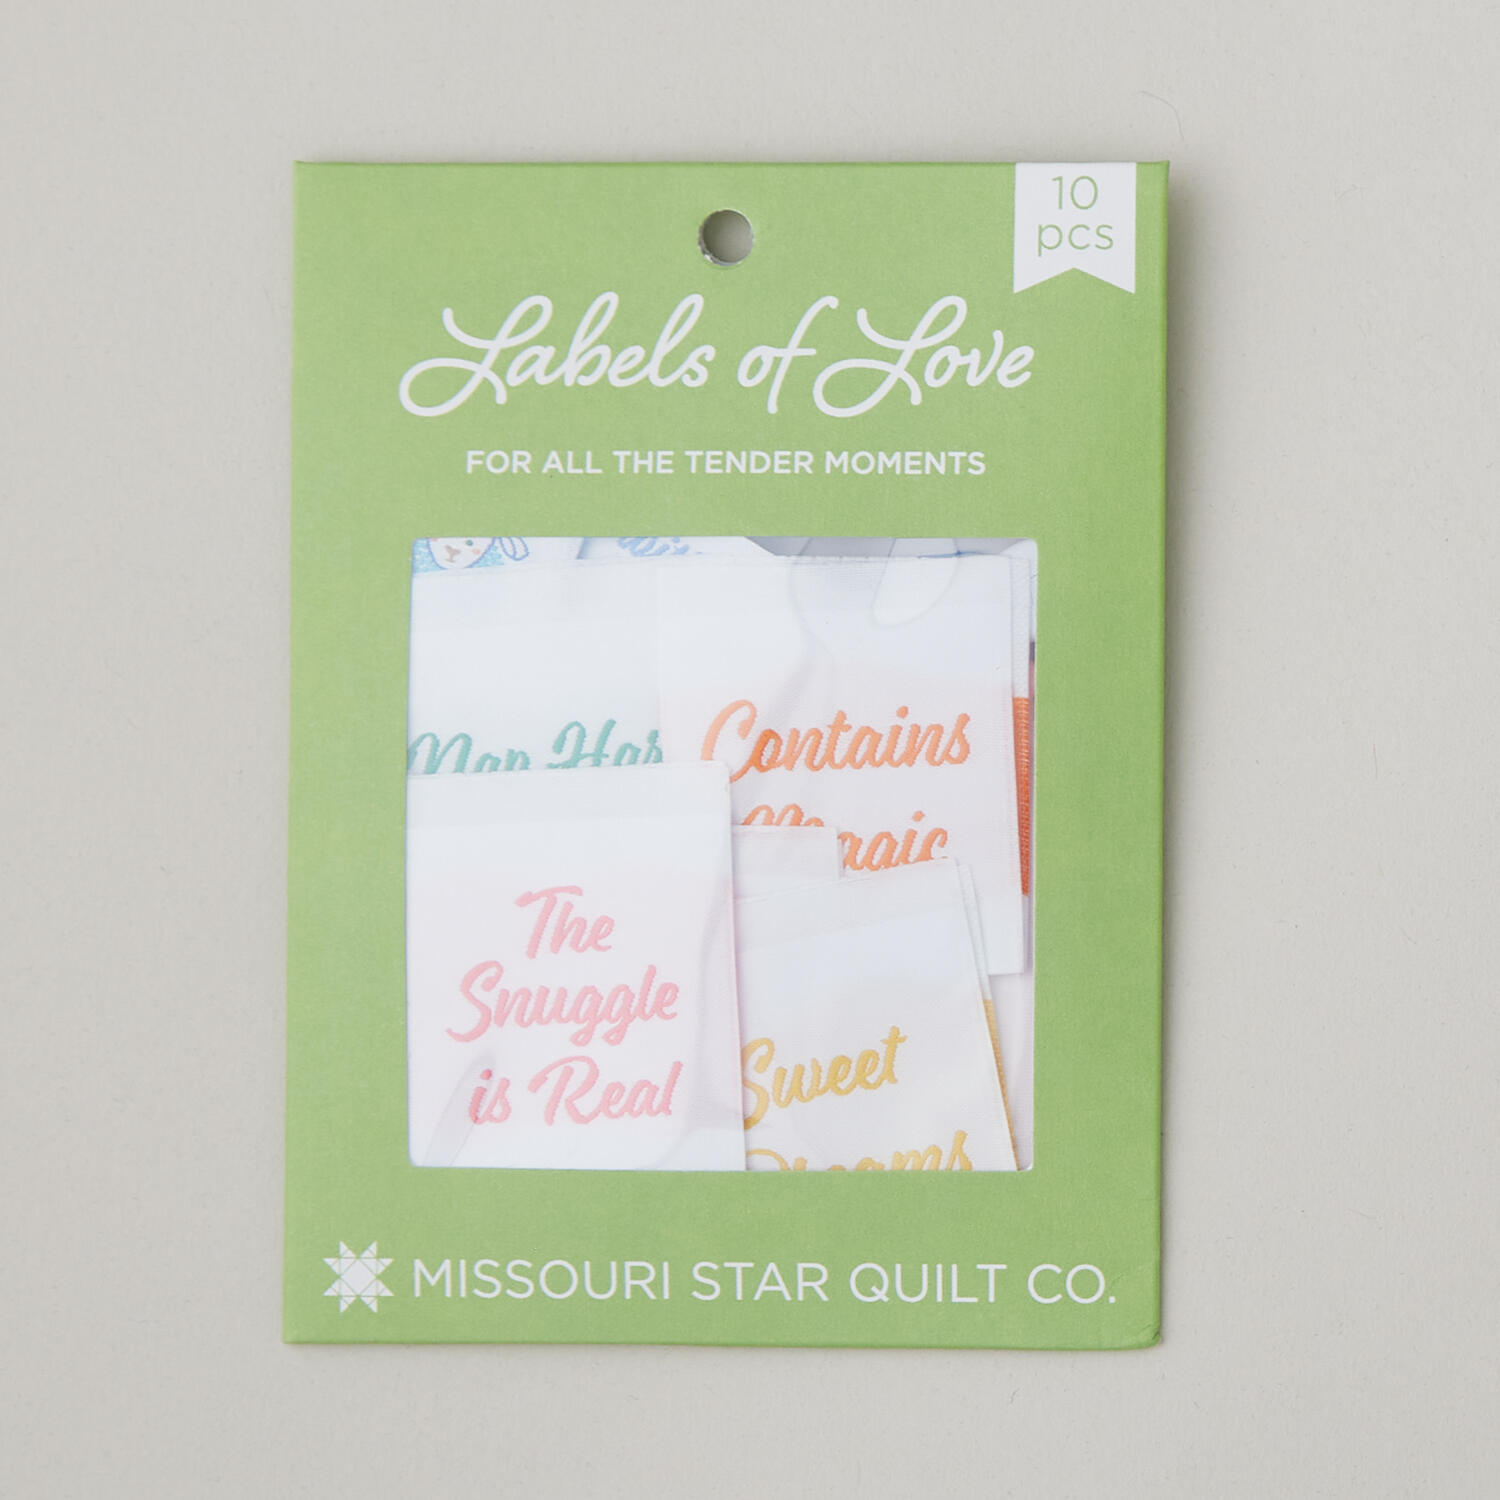 Missouri Star Labels of Love: For All the Tender Moments$9.95Shop →
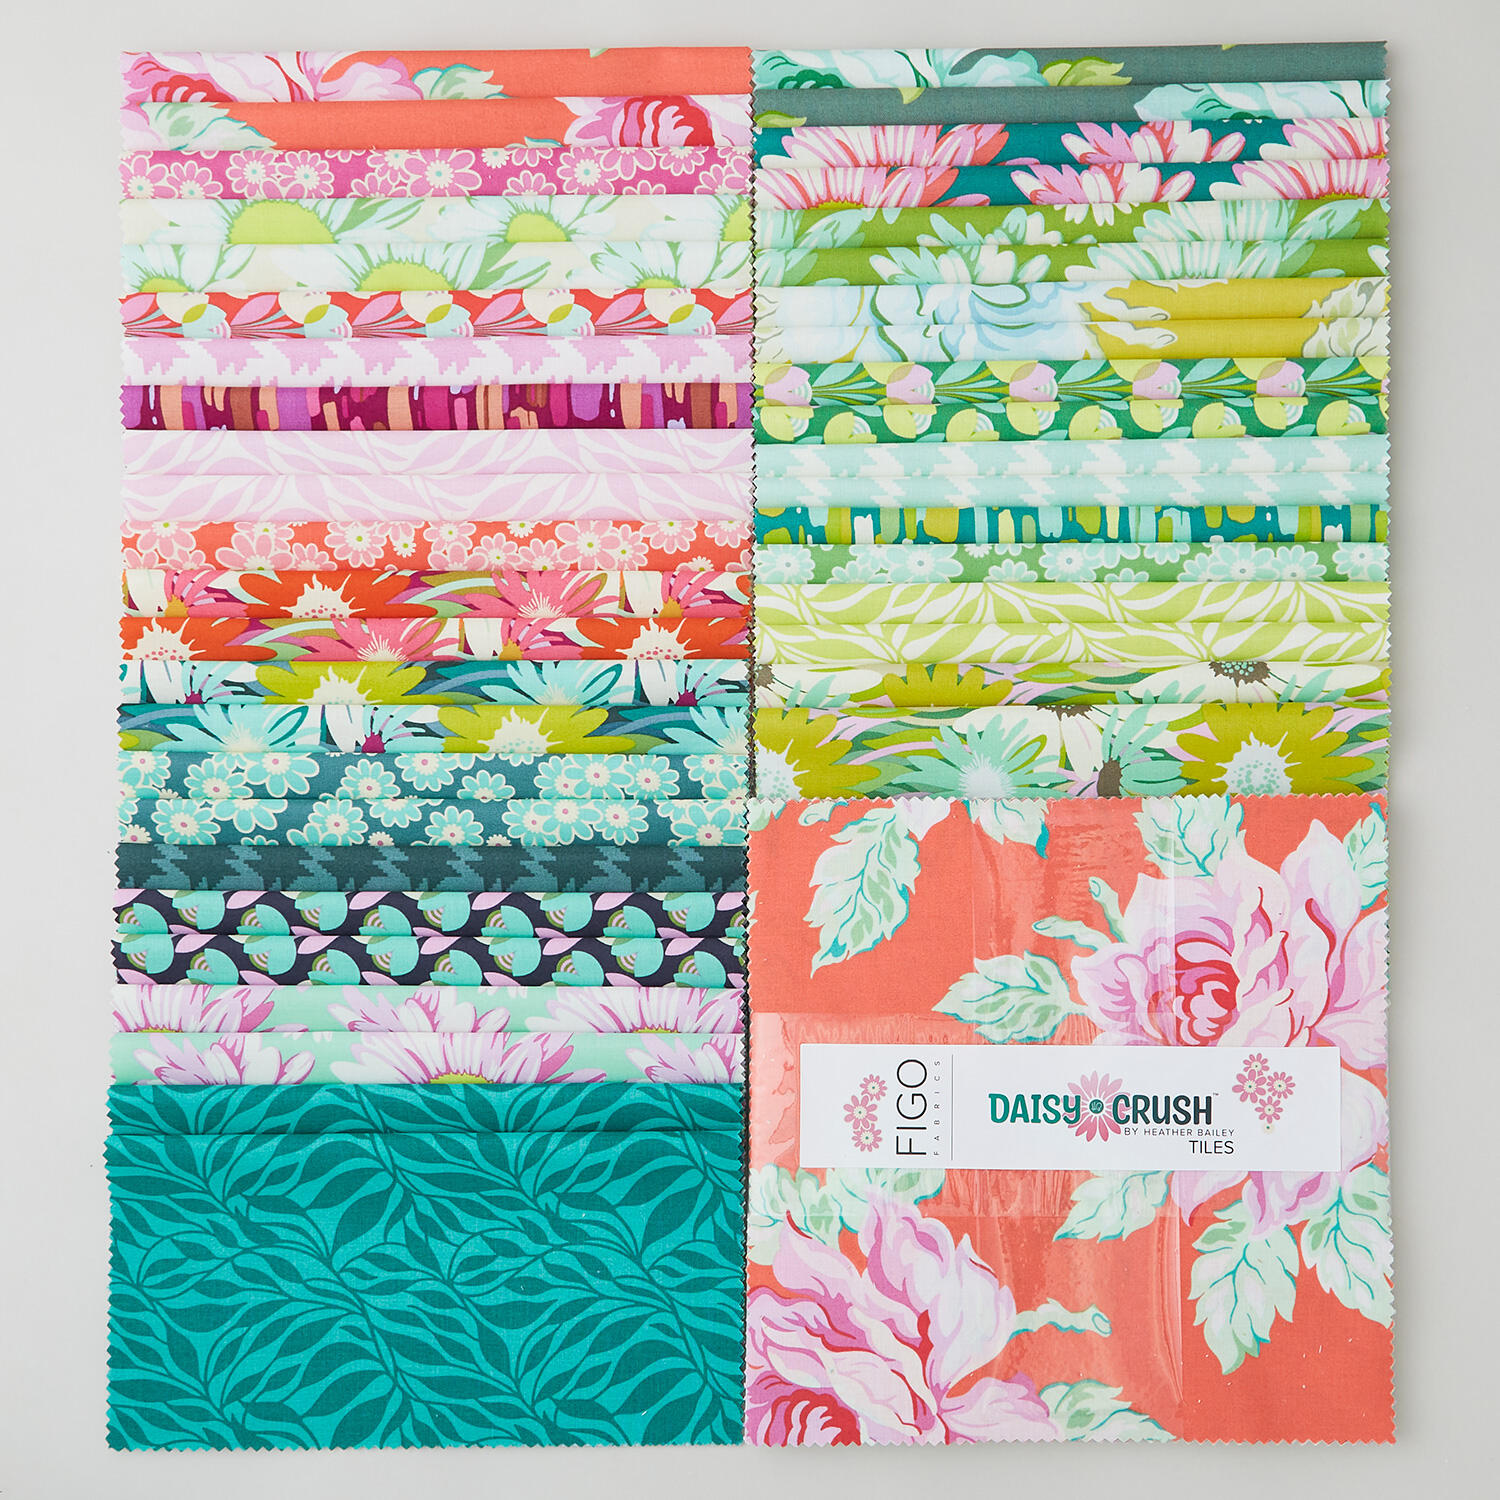 Daisy Crush Tiles$49.95Shop →
 Daisy Crush - Wander Emerald Yardage$12.80Shop →
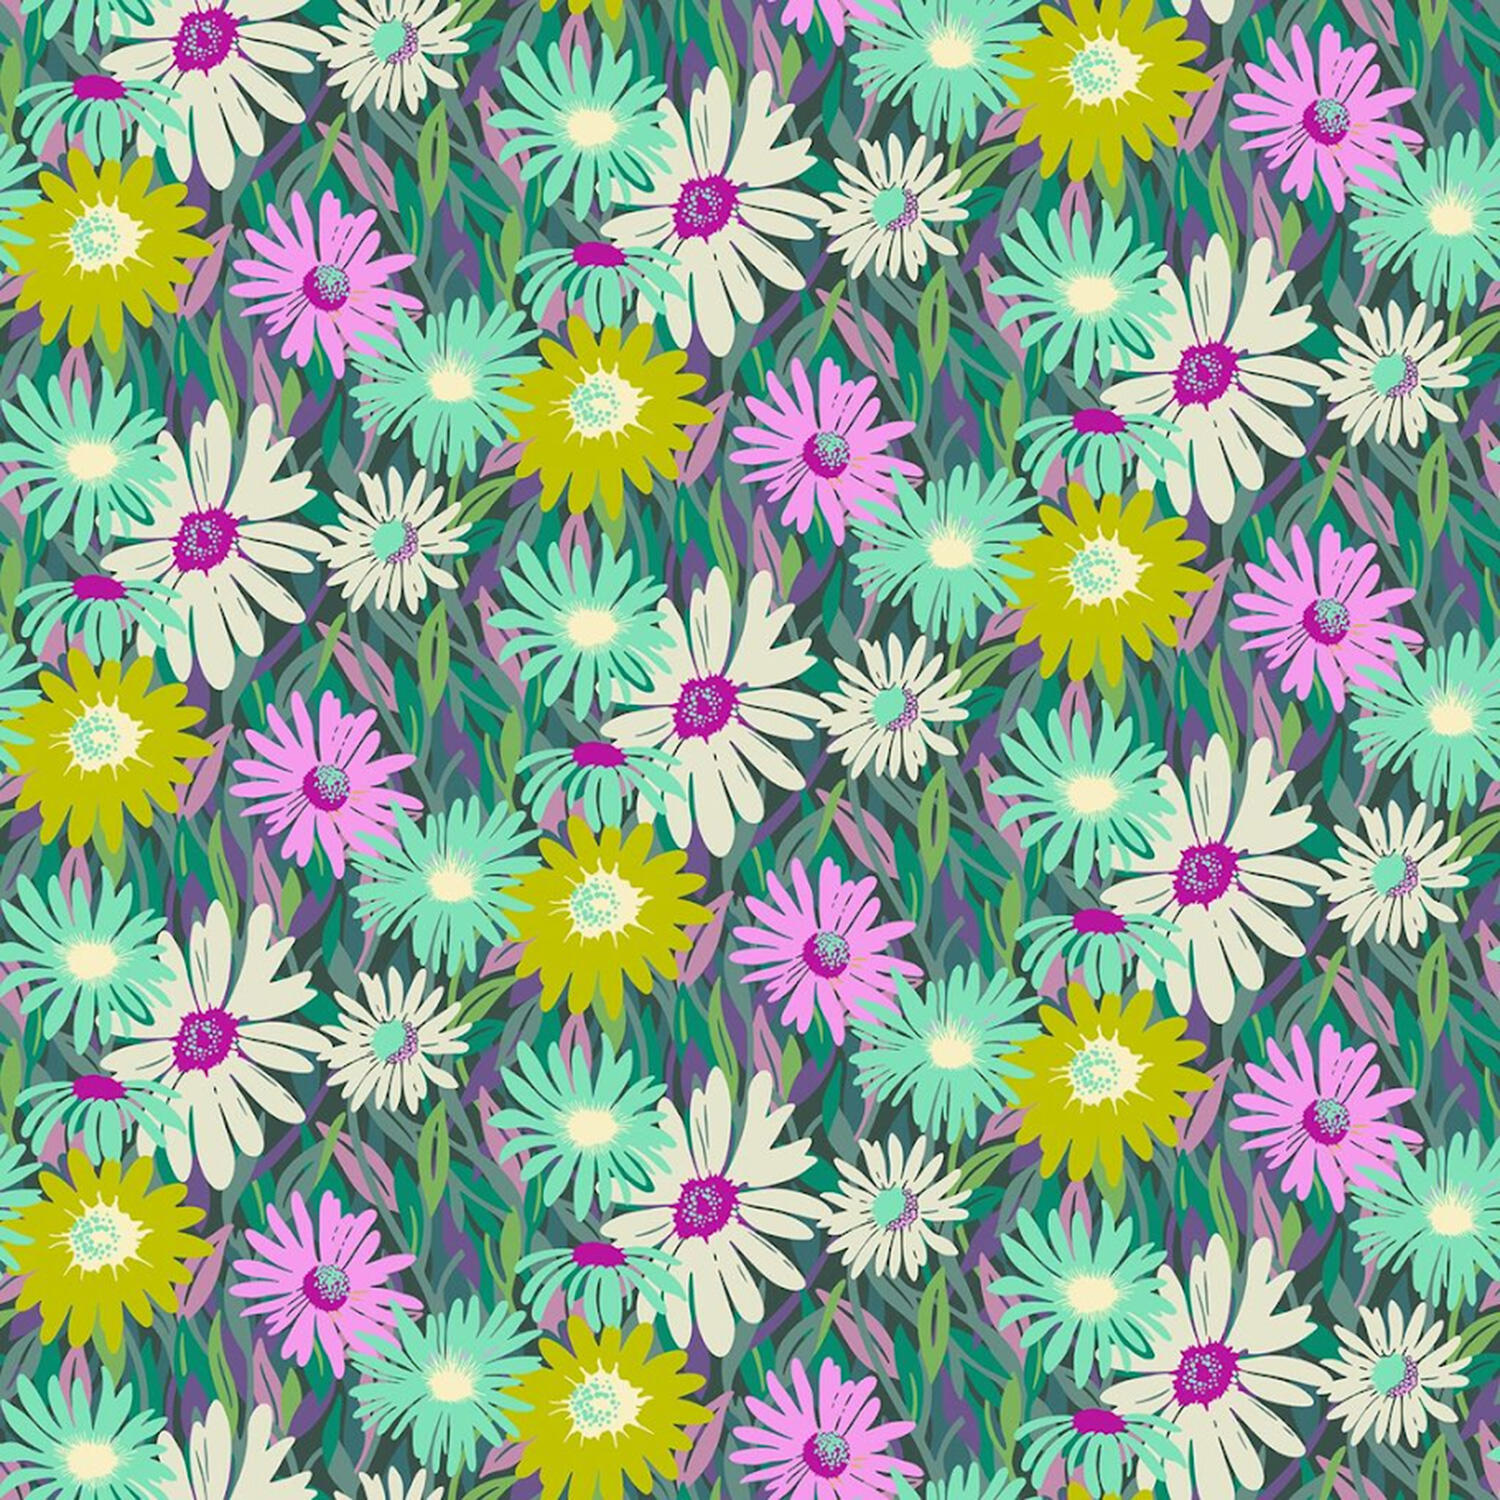 Daisy Crush - Unchained Midnight Yardage$12.80Shop →


