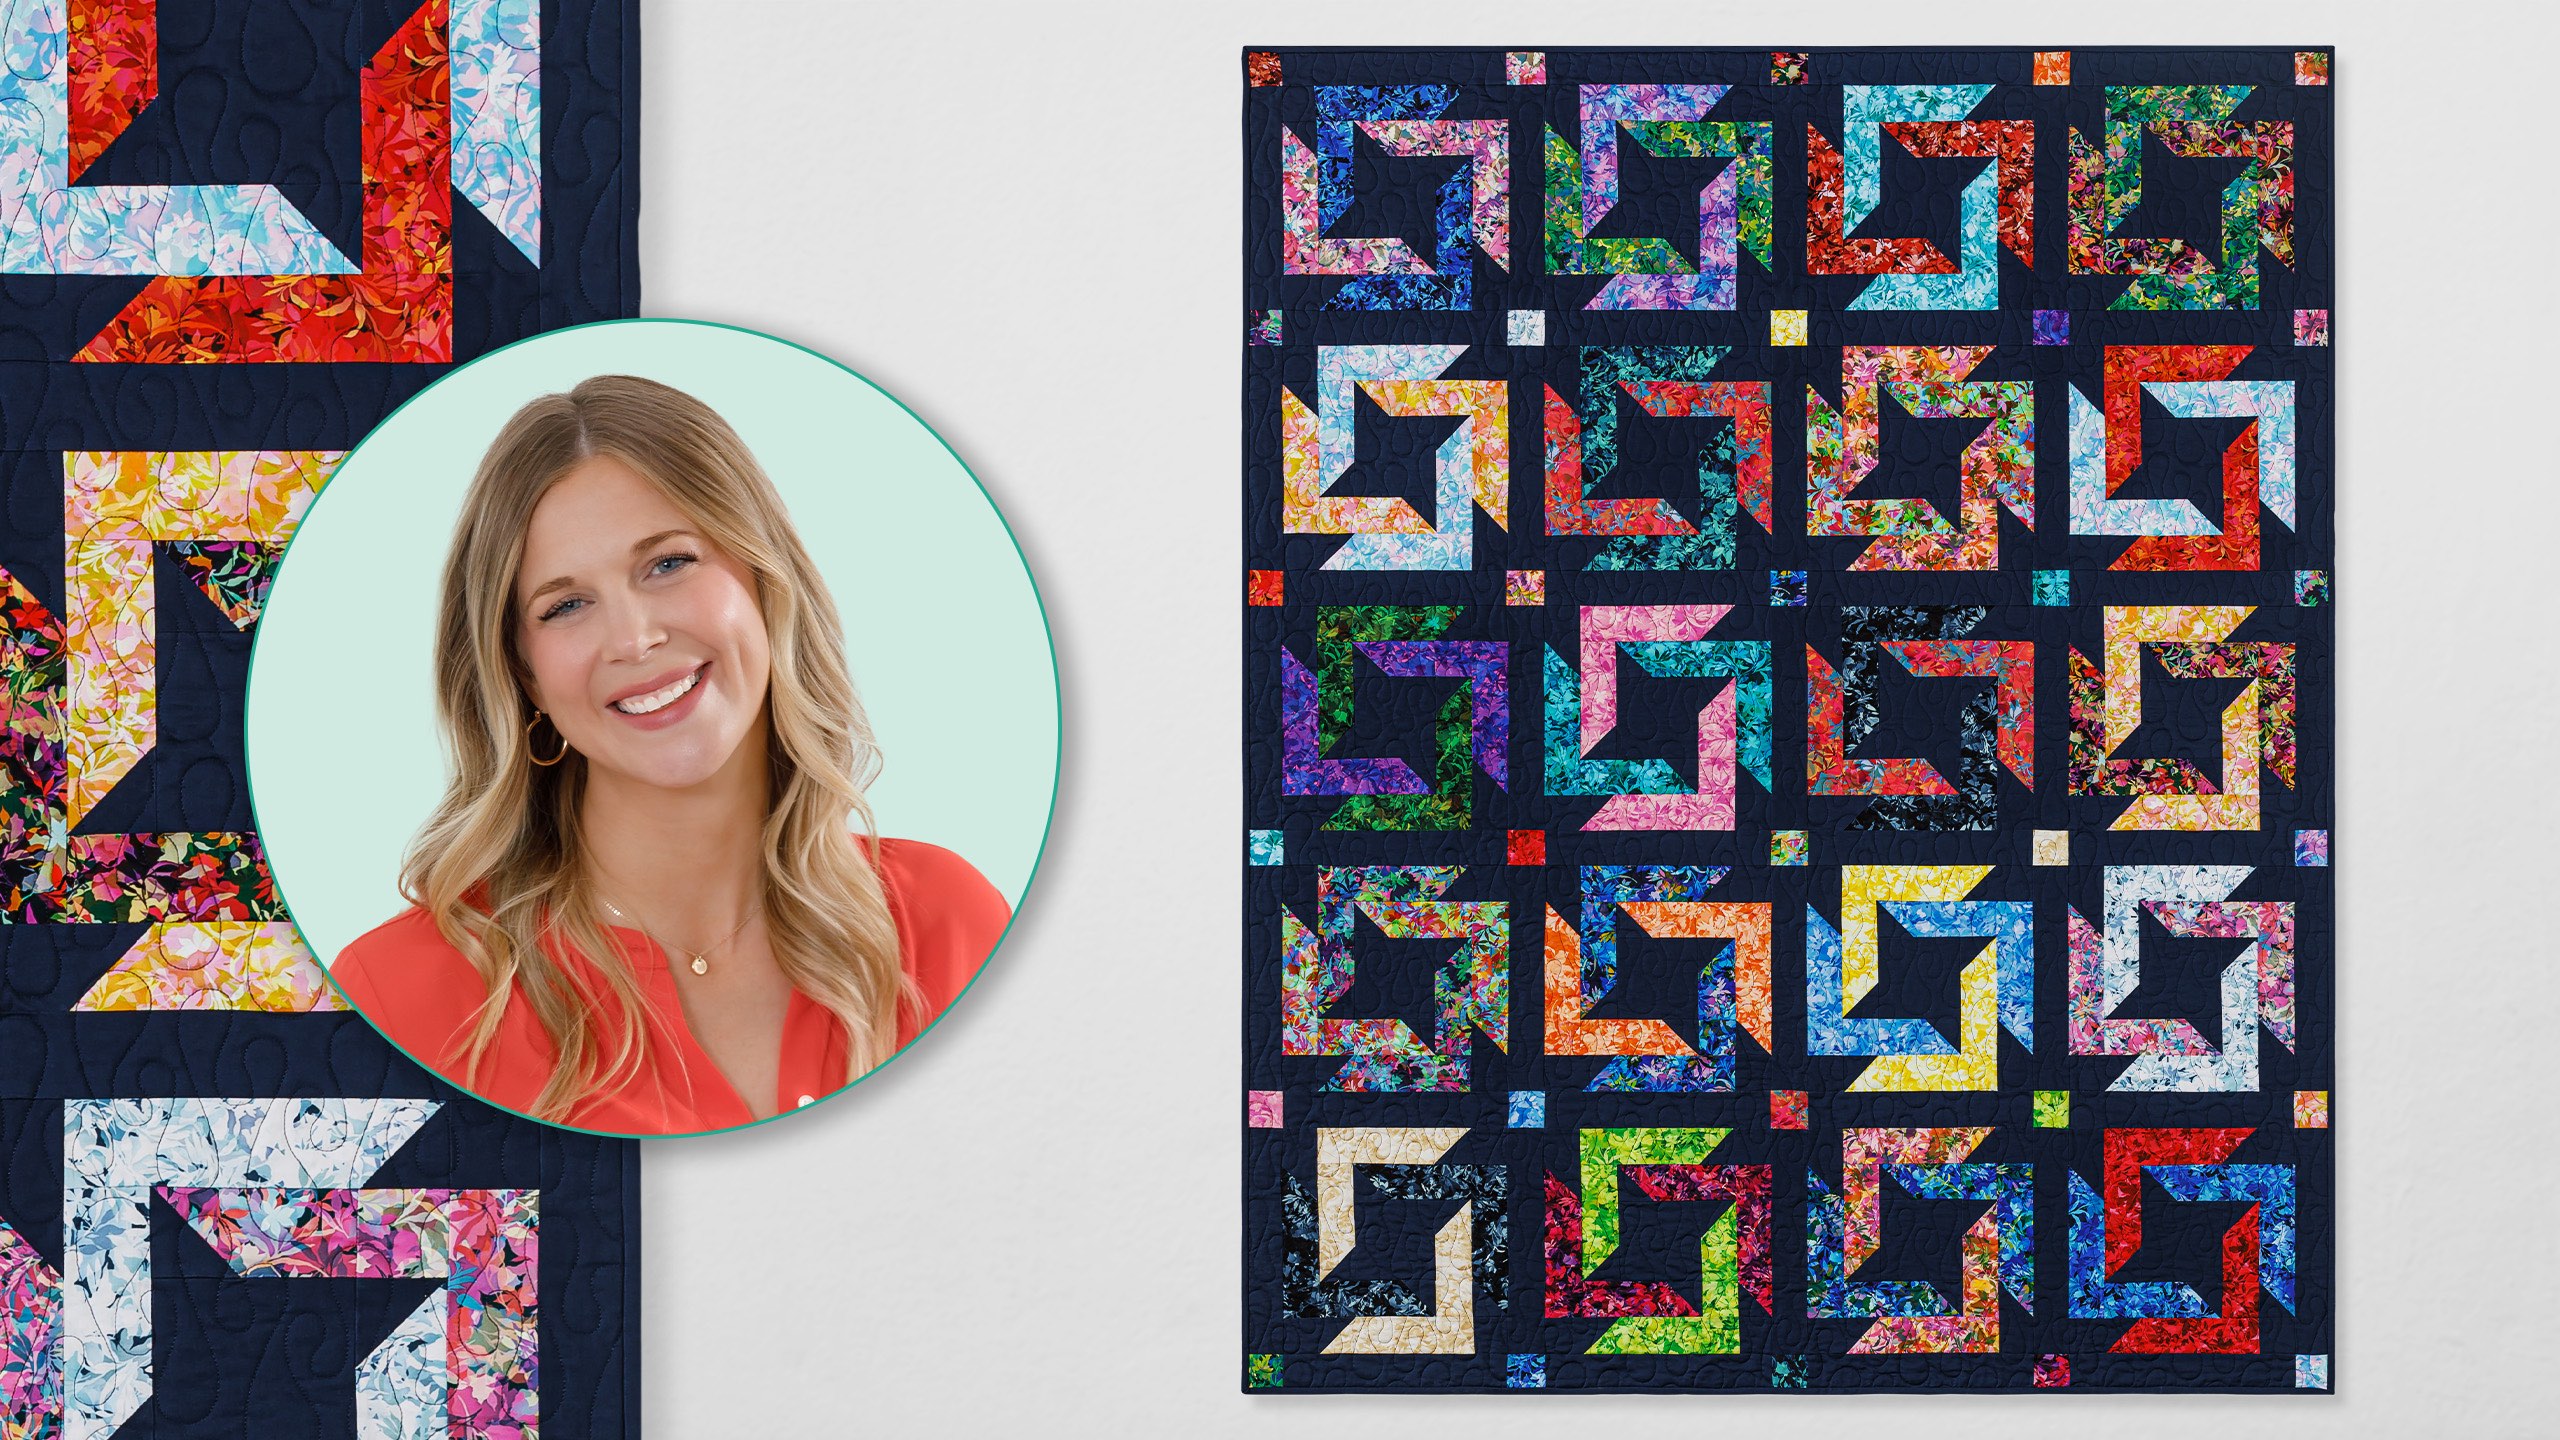
Take this quilt for a spin! The Spinning Links quilt is filled with motion and energy, featuring stars, snowballs, links, and contrasting colors. It’s put together counterclockwise, and Misty will walk you through all the steps for creating this fun, lively quilt!
Misty Doan grew up surrounded by sewing and quilting. She loves spending time sharing tutorials each week each week, and when she’s not stitching up one of her fun sewing projects for home decor, most likely you’ll find her hanging out with her husband and three awesome kids or working on a house project.
Take this quilt for a spin! The Spinning Links quilt is filled with motion and energy, featuring stars, snowballs, links, and contrasting colors. It’s put together counterclockwise, and Misty will walk you through all the steps for creating this fun, lively quilt!
How long is the tutorial video?
The tutorial video is 00:15:18.
Are supplies listed for this tutorial?
Yes. The tutorial page includes the supplies and materials connected to this project.
Video Transcript
Hey everyone. Today I'm going to teach you how to make this quick and easy block to make this spinning links [Music] [Music] quilt. This is the block that we're going to make today to make this beautiful quilt that you see behind me. And let me show you what you're going to need to make that. So up first, you're going to need one roll of 2 and 1/2 in strips. I used Artful Blooms by Robert Kaufman. It's got these beautiful gradated kind of floral patterns, which I really love. And remember, there's 40 strips in there. You're also going to need of your background fabric 2 and 3/4 yards. And I used navy. And then for your backing, you need 3 and 7/8 yards with horizontal seams or 2 yards of a 108. So, let's get started. To begin with, we're going to tackle all of our cutting. And so from your background fabric, first you're going to cut some 5 in squares, some 2 and 1 half in strips that you'll subcut into 2 and 1/2 by 4 and 1/2 in rectangles, and 2 and 1/2 in squares. And so that's all of your background cutting. And then for each block, we are going to pick two contrasting strips. You want to have some good contrast so you really see the different lengths as they're spinning together in that block. And so these are the two that I pulled. So, from the first strip, I'm going to keep it folded in half, and we are going to make our cuts here. I always like to make sure it's straight on my cutting mat just to make my life a little easier. Cut off that salvage. And we are going to measure um 2 and 1/2 by seven for our first cut. There we go. So, we'll have two of those. And then I'm going to use this ruler because I need 9 in for the second cut. There we go. And we can just save this. We'll use this for cornerstones or whatever you need later in the quilt. And so that is our first print. I'm going to keep these kind of stacked up together. So 7 in and 9 in. And then from our second print here, we have a little bit more that we need to cut. So, let me again trim off my salvage. Beautiful. And I'm going to begin by doing the 2 and 1/2 by 9 in rectangles. We need two of these. So, I'll cut those first and then I can stack them here. And then I'm going to open this up for the next part. And I am going to cut one 2 and 1/2 by 7 in rectangle, one 2 and 1/2 x 5 in, and then I need one 2 and 1/2 in square. This middle's kind of wrinkly, so I'm going to flip this around and cut my two and a half inch square off this end here. So again, save this in your scrap bin for another project. These are the cuts we need for our blocks. And so first of all, we are going to take our 5-in background square that we cut. We're just going to come from the center out. And so the first piece of print fabric that we're going to need is this five inch strip that we cut here. And so that's actually going to come along this side and we're going to take one of our 2 and 12 inch background squares and we're going to set that just like so. And you can either draw a line or press a line and we're going to sew this direction point to point. So let me go ahead and mark that. Hopefully you guys will be able to see this on the navy and we're going to sew right on that drawn line. So that is step number one. Beautiful. Now we can trim that off, leaving our quarter inch seam allowance. And we're going to press this back real quick. All right. And there is our first piece that attaches to our middle. I'm going to go ahead and sew that down. So, let's take this to the machine. Okay. And then we'll roll that back. Beautiful. All right. So then the next piece that comes in is our opposite color. And we are going to need the 7in strip and also another one of our 2 and 1/2 in backgrounds. And so again, we are going to snowball this point to point. And we want to make sure that when we fold it back, we're going to get this kind of star, spinning star in the middle. And so I'm going to draw that line point to point. And just like we did before, I'm going to sew right on that line. Trim it off. and then we'll add it to the middle. So, let's go ahead and do that. All right. And now we can trim off that [Music] excess and we can add this piece to our block. Once you get the hang of how this is all going to go together, you can absolutely, you know, chain piece some of these steps as you go. But because color placement really matters, I just made one block at a time just because that was the easiest way for me to keep track of all my colors and where everything went. Okay. Beautiful. And so now we're going back to our opposite color. So our sevenin green is going to come in just like so. We're going to use that 2 and 1/2 inch background square. We are going to snowball it corner to corner so that when we wait, hold on. Corner to corner so that when we fold it back, we get that spinning star. So you want to double check that every time to make sure you're getting the angles correct. And so I'm going to go ahead and take care of that and I'll meet you back here when I have it all sewn. Okay. So there is our next step. I've gone ahead and sewn it to the center. And so up next, this this side is a little bit different. So we have our 7in purple piece that's going to set in here. And we are going to, you know, snowball that just like before. So I'll sew that. Make sure it presses back. So let's go ahead and do that first. All right. Okay. So, now we can trim this off just like before. So, I'll fold this back, trim off my excess to just leave my quarter inch seam. And so we have this little piece that fits in here, but we need to continue this color here. And so that's where this 2 and 1/2 inch square of that color comes in. So now we can add that to our strip with our quarter inch seam. Press that back. And now I can sew this to my center block. And so you can see how this is going to complete that kind of spinning star in the middle. And so let's just add this. And I am going to make sure that these little seams kind of nest here. It's going to be pretty forgiving, but you want those colors to kind of look seamless, like it's just one piece. All right, give that a press. All right, beautiful. So, our first round of our block is done. So, now for the second round, we're going to come back to this pink color because we want these to connect. And also, we're going to have to add one little 2 and 1/2 in square. And this one needs to go this way. Remember, we're snowballing towards the center. That's a good rule of thumb. And so, let's go ahead and take care of that. I'm just going to use my diagonal seam tape. So, I'm not going to mark the lines anymore. You do have to be careful to make sure that you're snowballing it the right way or you'll have a whole new quilt. There we go. And again, we will trim this off. Beautiful. And I will add that right to this side here. And you can see that first little link is complete. All right. So, this part is done. And so, now we can move on to our other color. And we're going to just keep working our way around this block. And so, we have this 9 in piece of our green. And this is where we're going to pull in those 4 and 1/2 in x 2 and 1/2 in rectangles that we cut from our background fabric. And so, the trick here is we are going to overlap this. Make sure I get it correctly. We're going to overlap it like this. And we're going to sew from this point to the point of our background strip. And this is one of those cases where it might be helpful to draw the line just to keep you on track. Just like so. We're going to sew right on that marked line. And then when I fold this back, this is going to give me the right strip length to fill in this top. So, let's go ahead and do that. Make sure I keep it correct while I take it to the machine. Beautiful. You can see that this is a pattern where it would be really helpful to have all your things close to you because you've got a lot of cutting and pressing in between each step, but it's totally worth it in the end. So, we'll press that back. And now, this piece is going to come on right there. And so, I'll sew this down. And we'll just keep making our way around our block. So, we added our green just like I showed you. And you're actually going to do that two more times with your remaining print strips. So, I have this purple one that I've added. And then I have my last green. And that you can see is going to set in just like so. But I've got this little missing two and a half inch square. So that is where one more of our little background 2 and 1 half inch squares is going to come into play. So we will add that right here to finish this little strip. And then we can add it to our block. There's that one. Roll that back. And then you can just double check and make sure all of this is lining up how we want. And we can take this and sew it down. So again, I'm going to make sure that first little seam is nesting. That's really the only place that I need to line up. And then the rest I can just zoom down this [Music] side. Beautiful. Give it one final press here. Lovely. There is our block, the spinning links block. And so, let's talk about how it fits into the quilt behind me. So, you can see I have four blocks across by five down. And every single one is just set in exactly the same because you can't really make it look different. You just spin it and it plays with the color placement, but it's the same on all four sides. I did go ahead and add a sashing and I really love how that turned out because it kind of gives you this secondary spinning star with that print in the middle. And remember those little squares came from our leftover pieces of our strip. And so to do that, you're just going to measure the height of your block by two and a half inch in two and a half inches, sorry. And that's going to be the size of your sashing strip. And you're going to do that all the way around um with a little two and a half inch cornerstone in between. And so the finished size of this quilt is 60 by 74. It's a really great size. I quilted it with the pattern called Dollip. And I used this beautiful floral on the back. I absolutely love it. So, I hope you guys enjoyed this one. I think it's a really fun block and I can't wait to see what you make. So, I'll see you next time on At Home. Hey everyone, thank you so much for watching At Home. We're so excited to be almost a million quilters strong here at Missouri Star. And so, if you haven't already joined our family, be sure to subscribe and hit that notification bell so you can be notified of all of our future tutorials. And we'll see you soon. [Music]

 Misty Doan
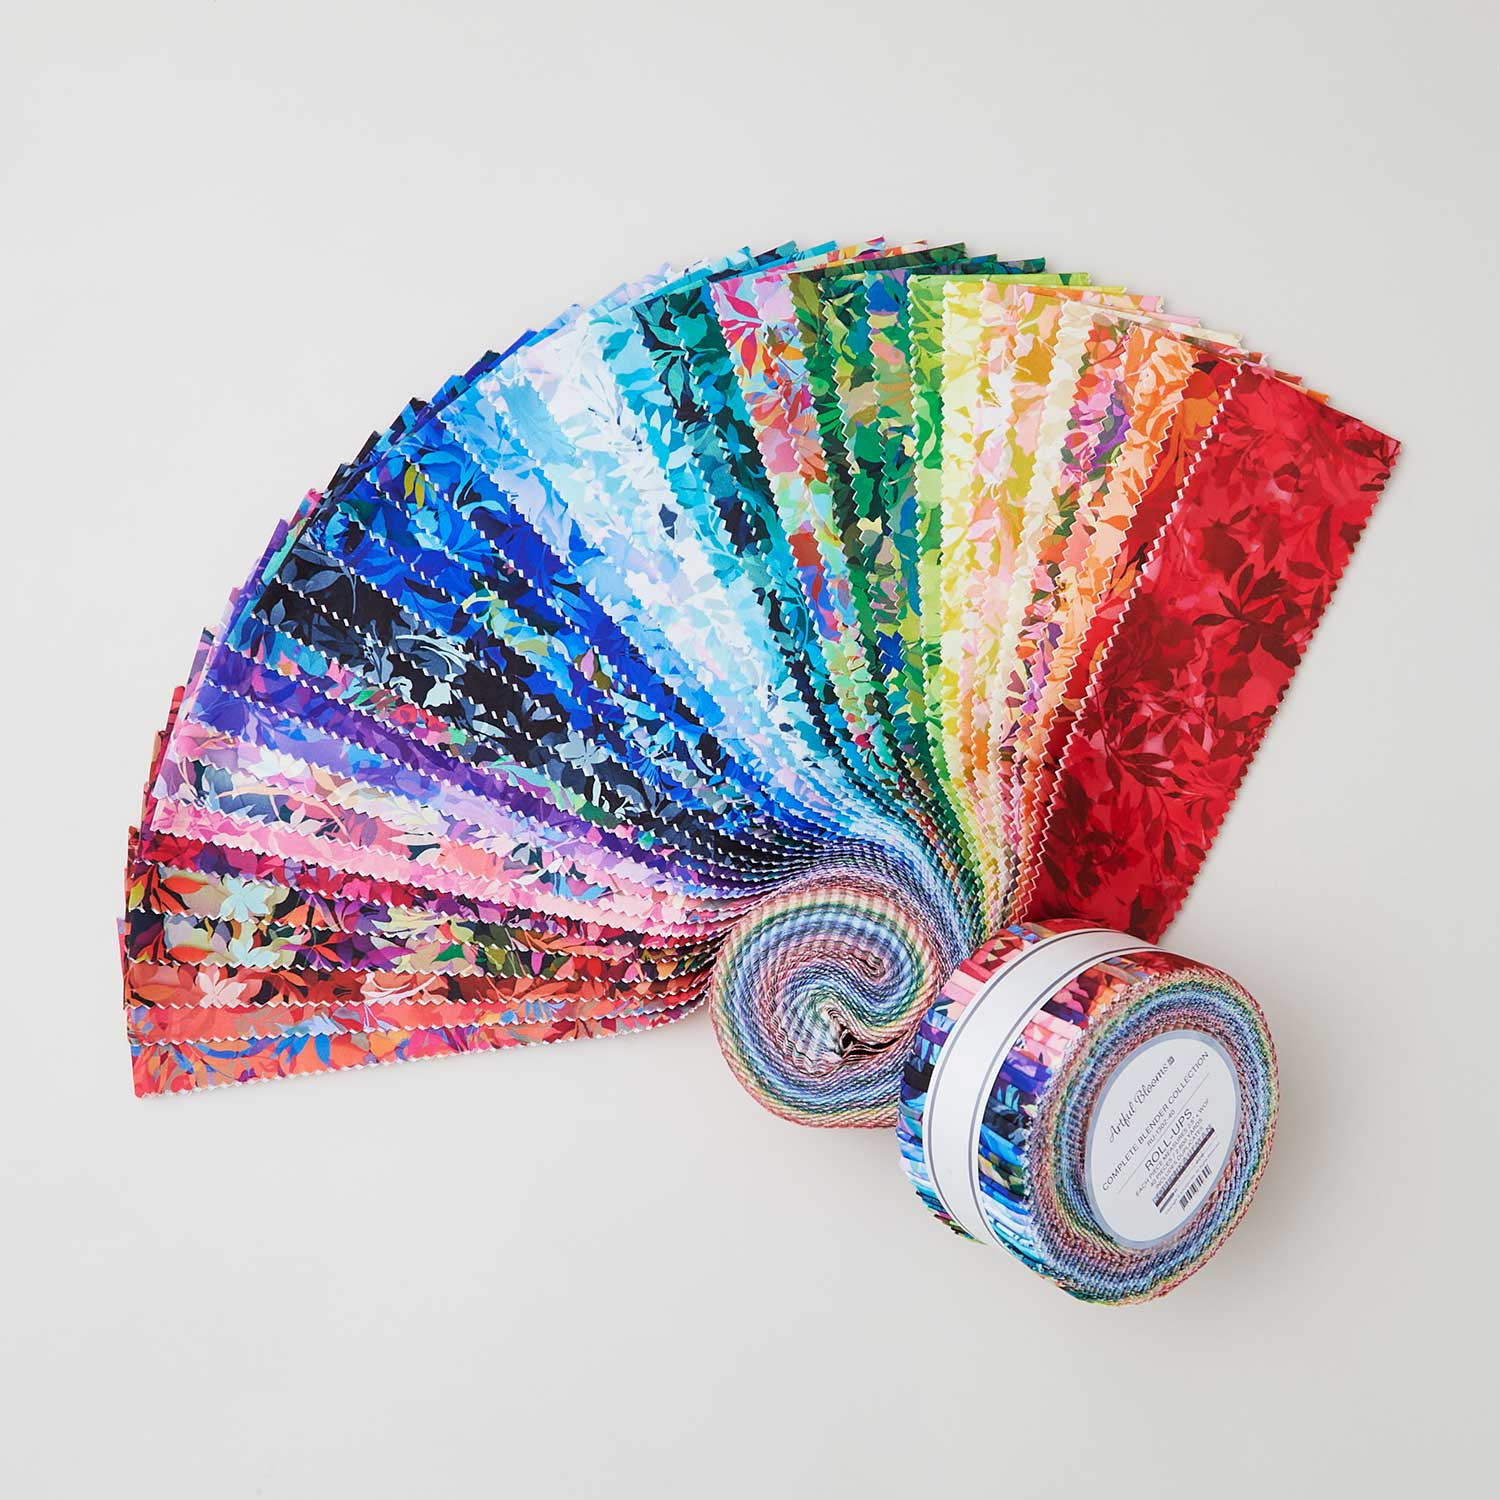 Artful Blooms - Roll Up$42.95Shop →
 Kona Cotton - Navy Yardage$7.48Shop →
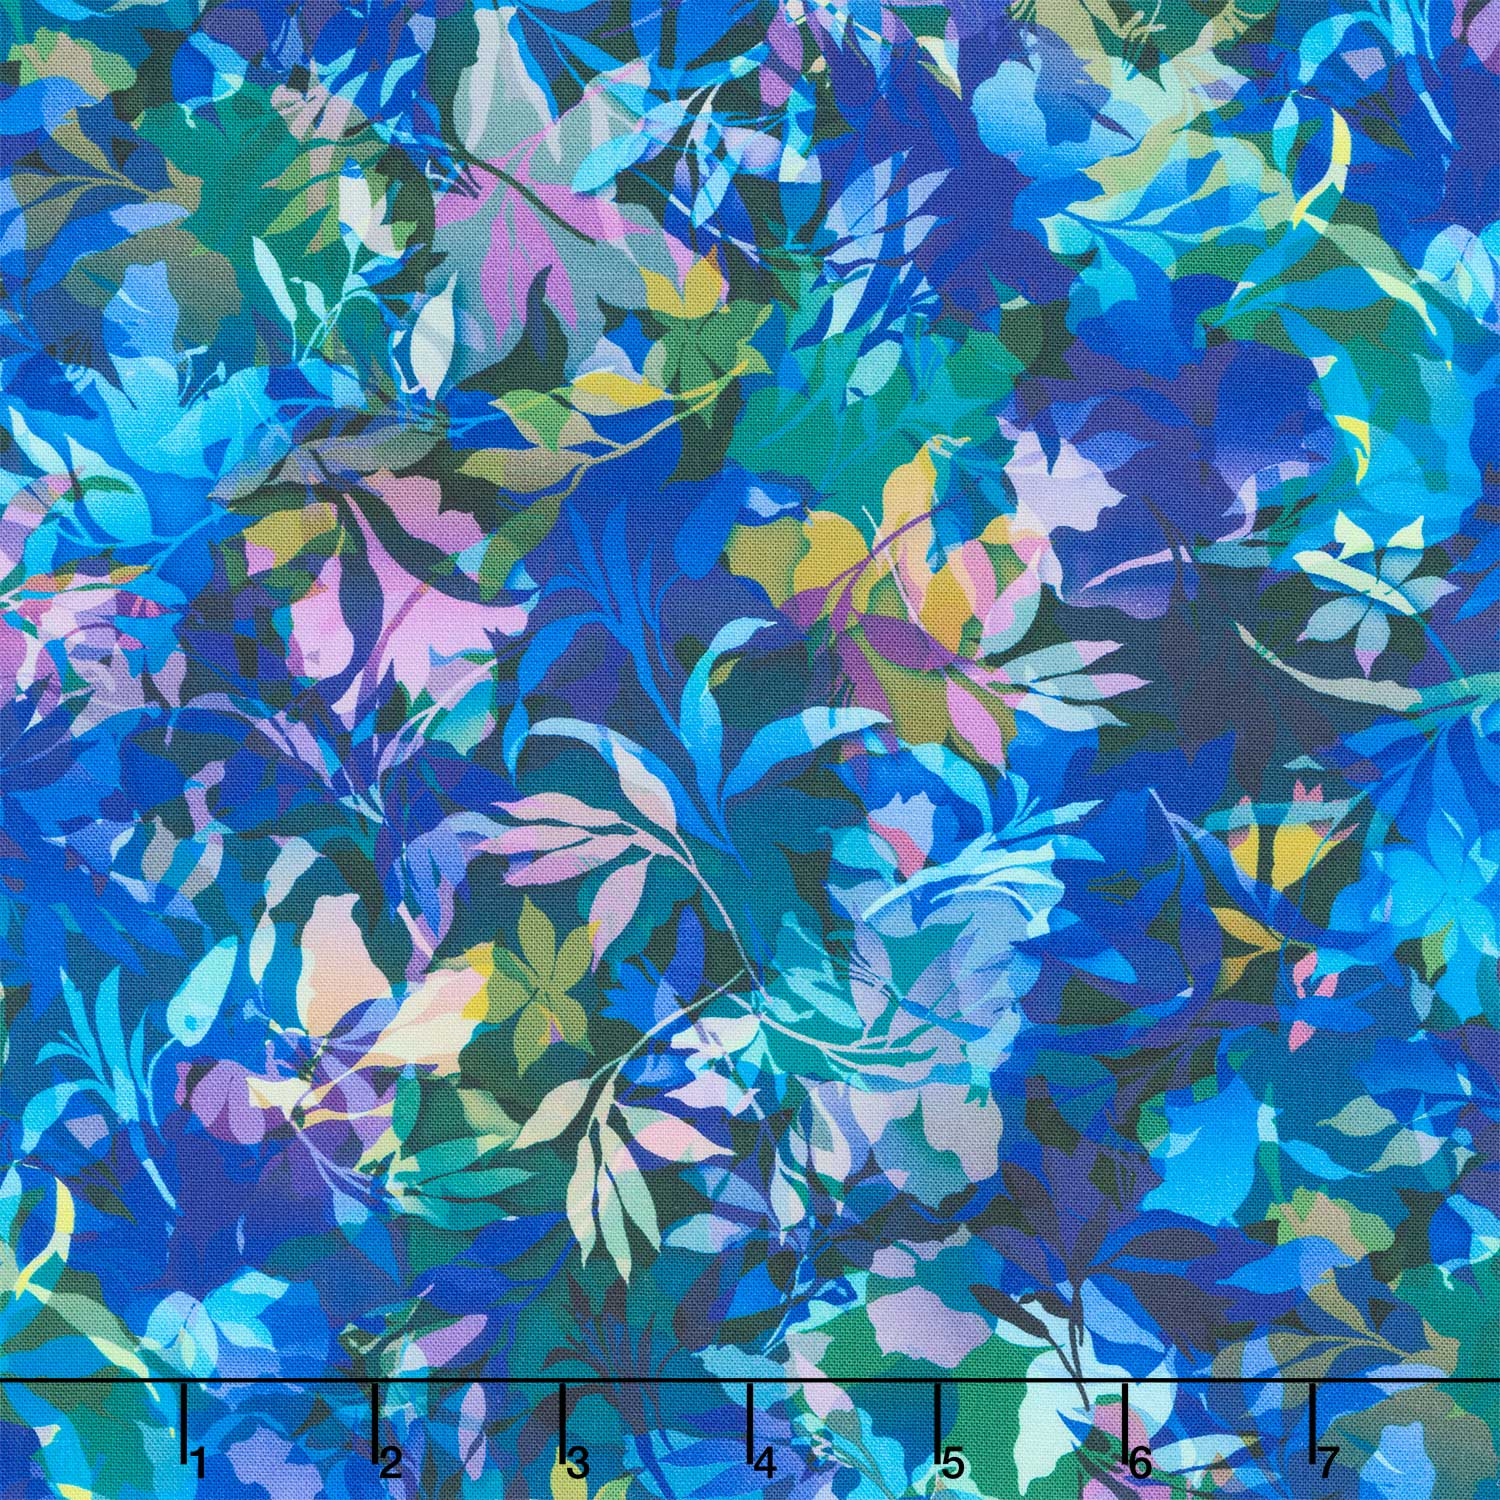 Artful Blooms - Leaves Caribbean Yardage$12.44Shop →
 Missouri Star Quilter’s Best Blend Twin Batting$26.95Shop →
 Missouri Star 2.5" x 8" Ruler$11.95Shop →
 Missouri Star 5" x 15" Ruler$19.95Shop →
 Missouri Star 45mm Rotary Cutter - Olga$19.95Shop →
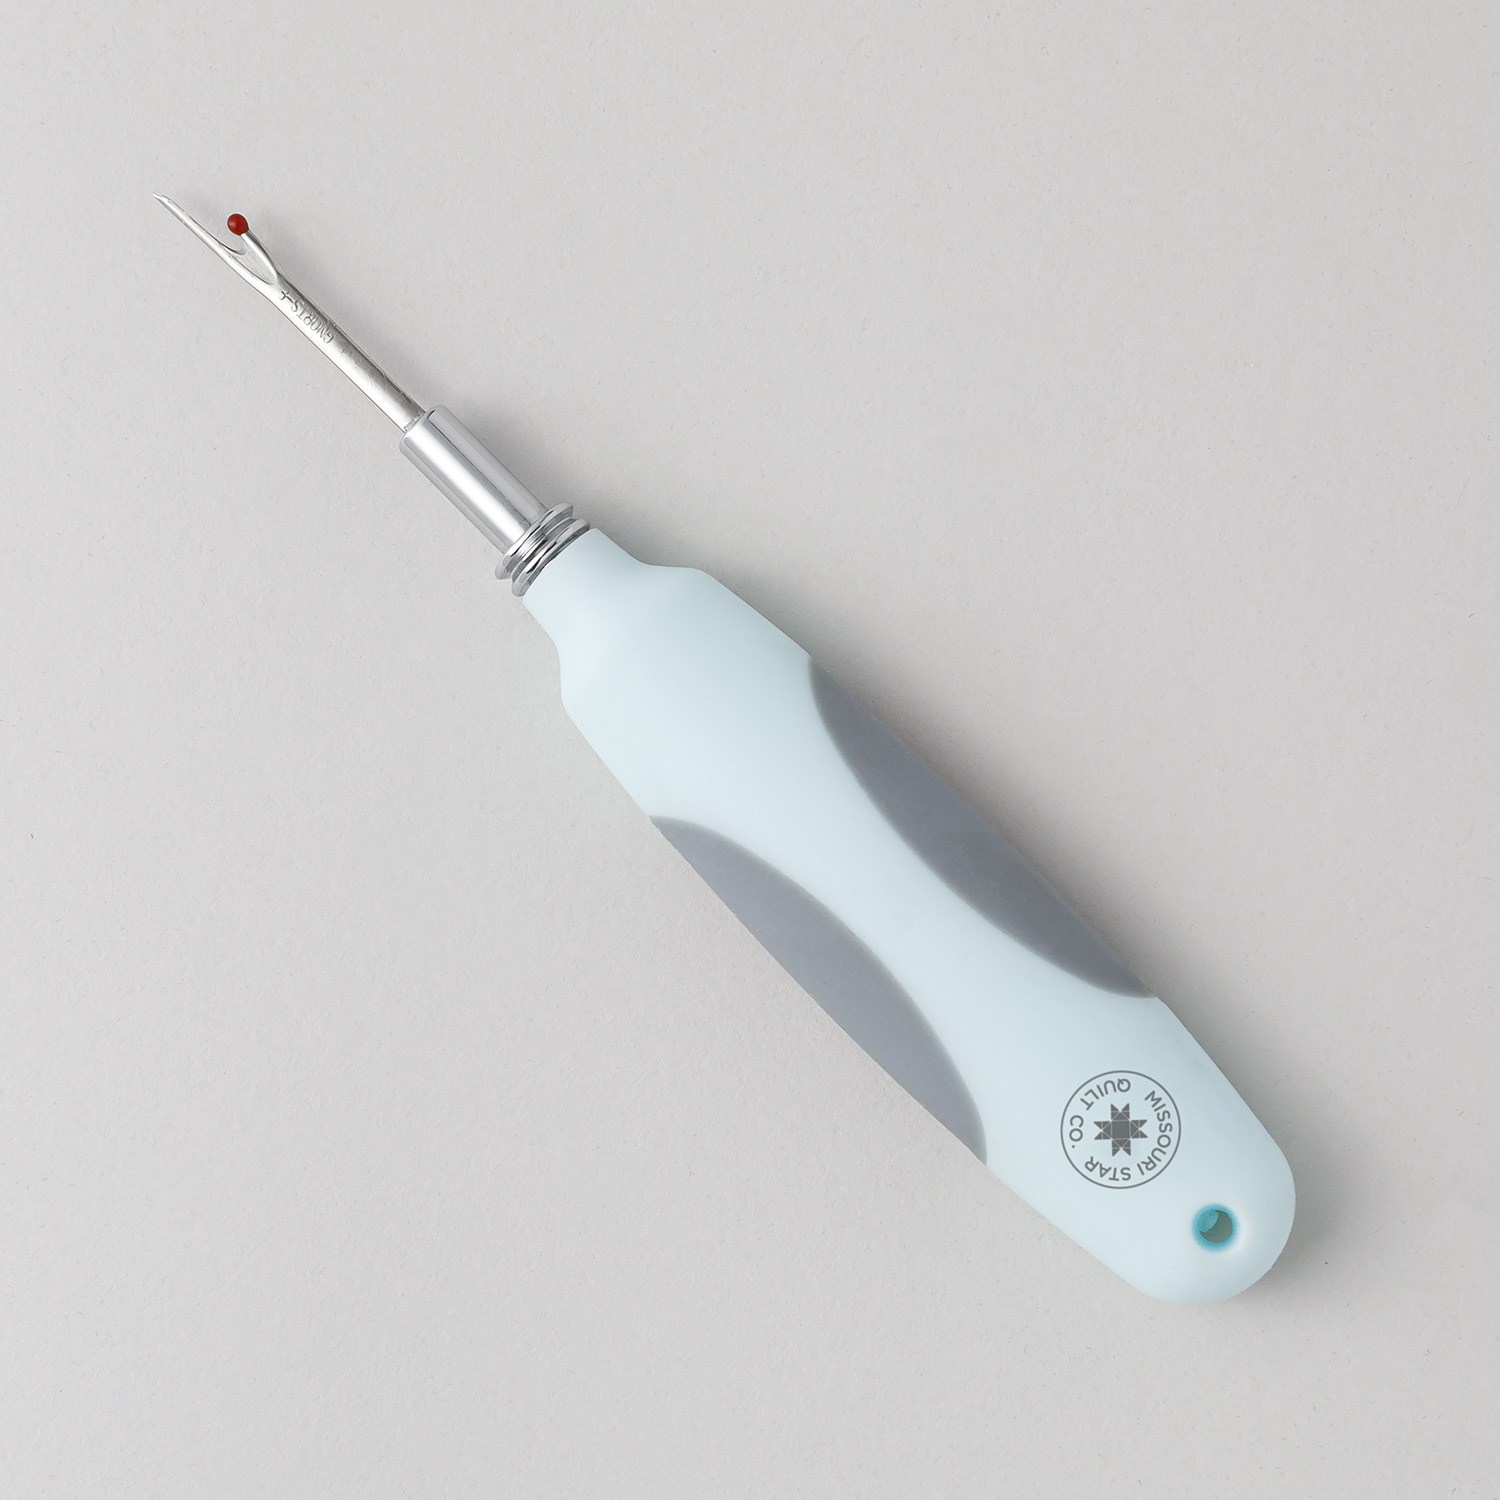 Missouri Star Seam Ripper - Frida$9.95Shop →
 Missouri Star 8" Everyday Scissors - Amelia$19.95Shop →
 Missouri Star 6" Everyday Scissors - Lulla$12.95Shop →
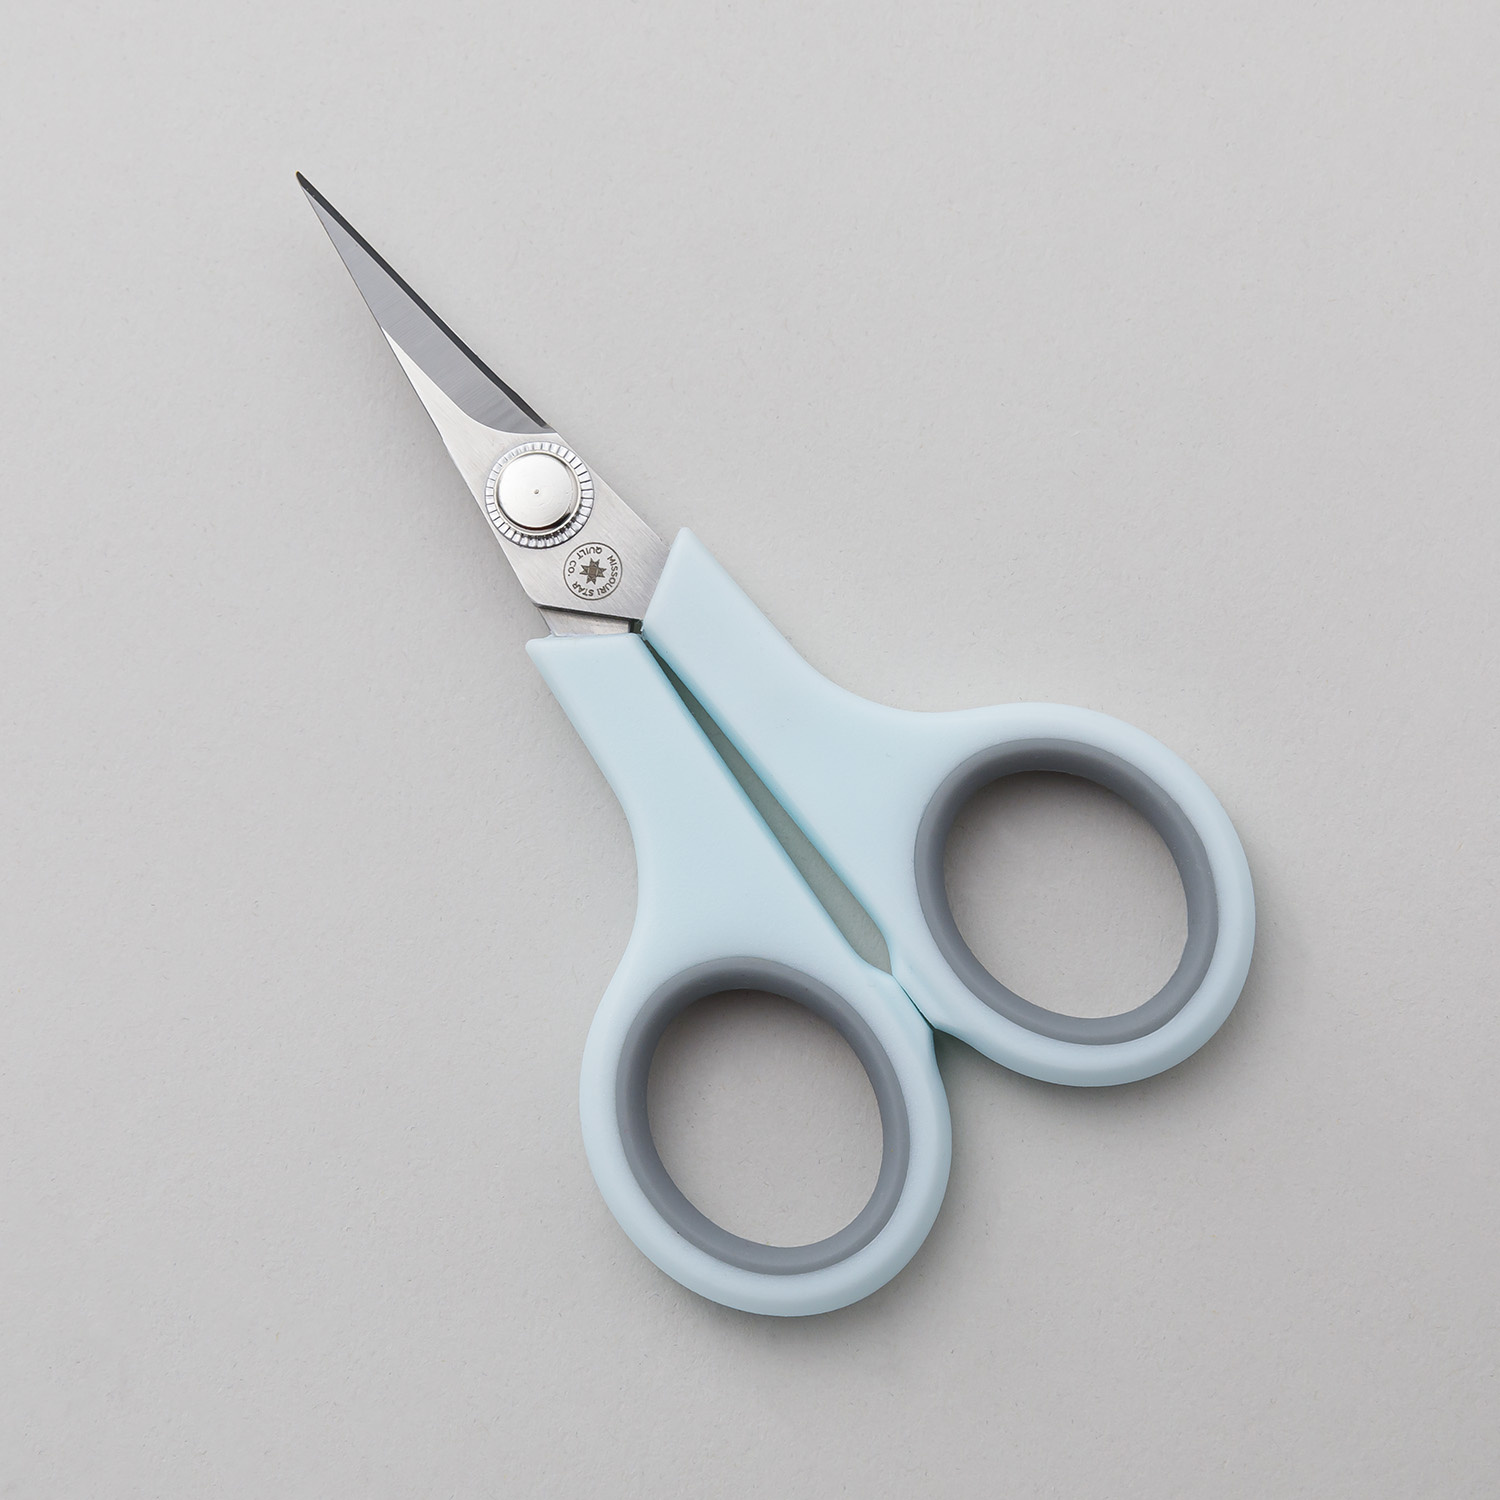 Missouri Star 4.5" Everyday Scissors - Elna$9.95Shop →
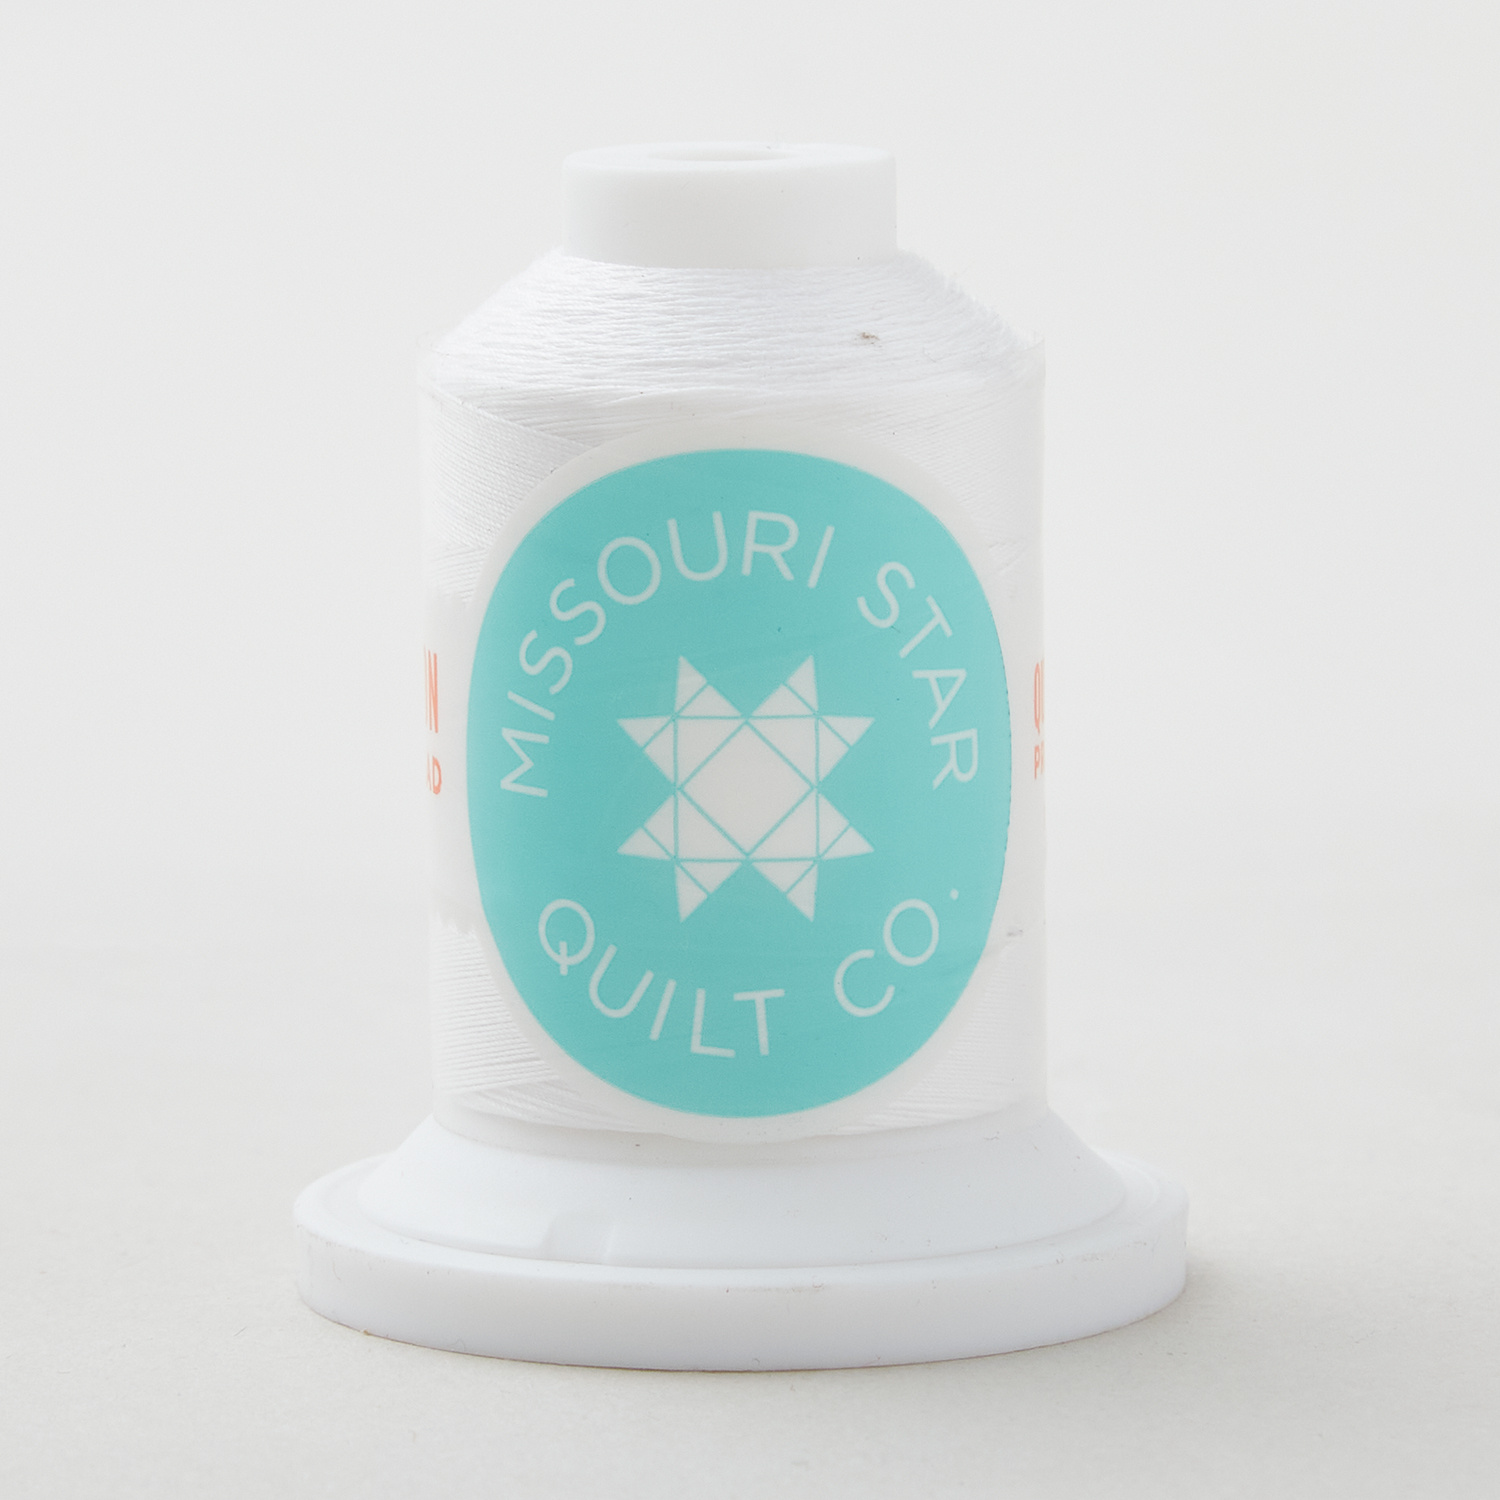 Missouri Star 50 WT Cotton Thread White$7.95Shop →
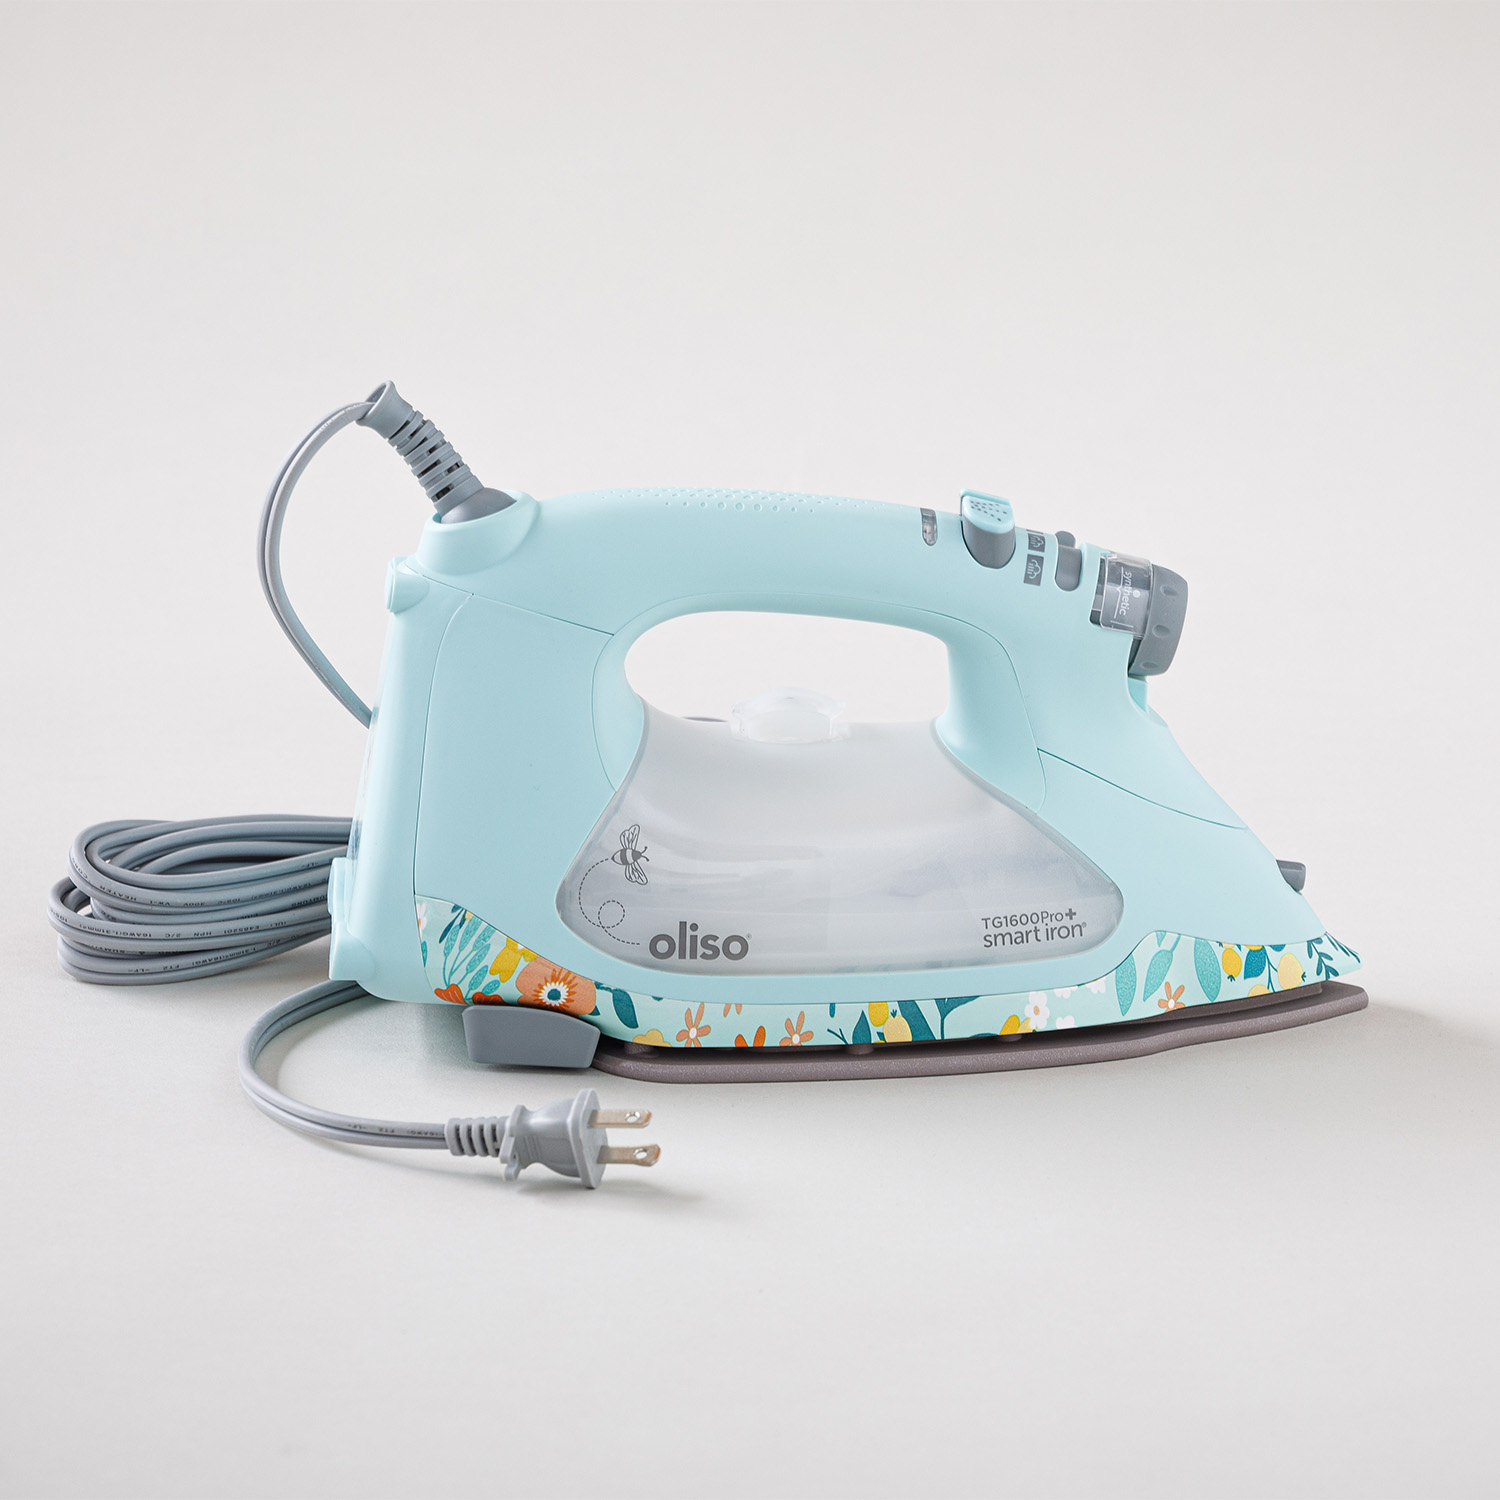 Missouri Star + Oliso TG1600 ProPlus Iron$209.95Shop →
 Bernette 77 Sewing and Quilting Machine$1499.00Shop →
 Spinning Links Quilt Pattern by Missouri Star$8.50Shop →
 Digital Download - Spinning Links Quilt Pattern by Missouri Star$6.95Shop →


